Tag: sourceedit |
No edit summary |
||
| (29 intermediate revisions by one other user not shown) | |||
| Line 38: | Line 38: | ||
- [[Shovel Knight]] |
- [[Shovel Knight]] |
||
| + | |||
| + | - [[Rabbids]] |
||
==Characters== |
==Characters== |
||
| Line 54: | Line 56: | ||
|-style="background-color: pink;" |
|-style="background-color: pink;" |
||
|[[File:Nintendopublisher.png|50px]] |
|[[File:Nintendopublisher.png|50px]] |
||
| − | |||
[[File:Nintendomario.png|50px]] |
[[File:Nintendomario.png|50px]] |
||
|[[File:Nintendomariomario.png|70px]] |
|[[File:Nintendomariomario.png|70px]] |
||
| − | |||
[[Mario]] |
[[Mario]] |
||
| Line 75: | Line 75: | ||
[[File:Nintendomario1.png|30px]][[File:Nintendomario1.png|30px]][[File:Nintendomario0.png|30px]][[File:Nintendomario0.png|30px]] |
[[File:Nintendomario1.png|30px]][[File:Nintendomario1.png|30px]][[File:Nintendomario0.png|30px]][[File:Nintendomario0.png|30px]] |
||
|[[File:Nintendomariomariohammer.png|70px]] |
|[[File:Nintendomariomariohammer.png|70px]] |
||
| − | |||
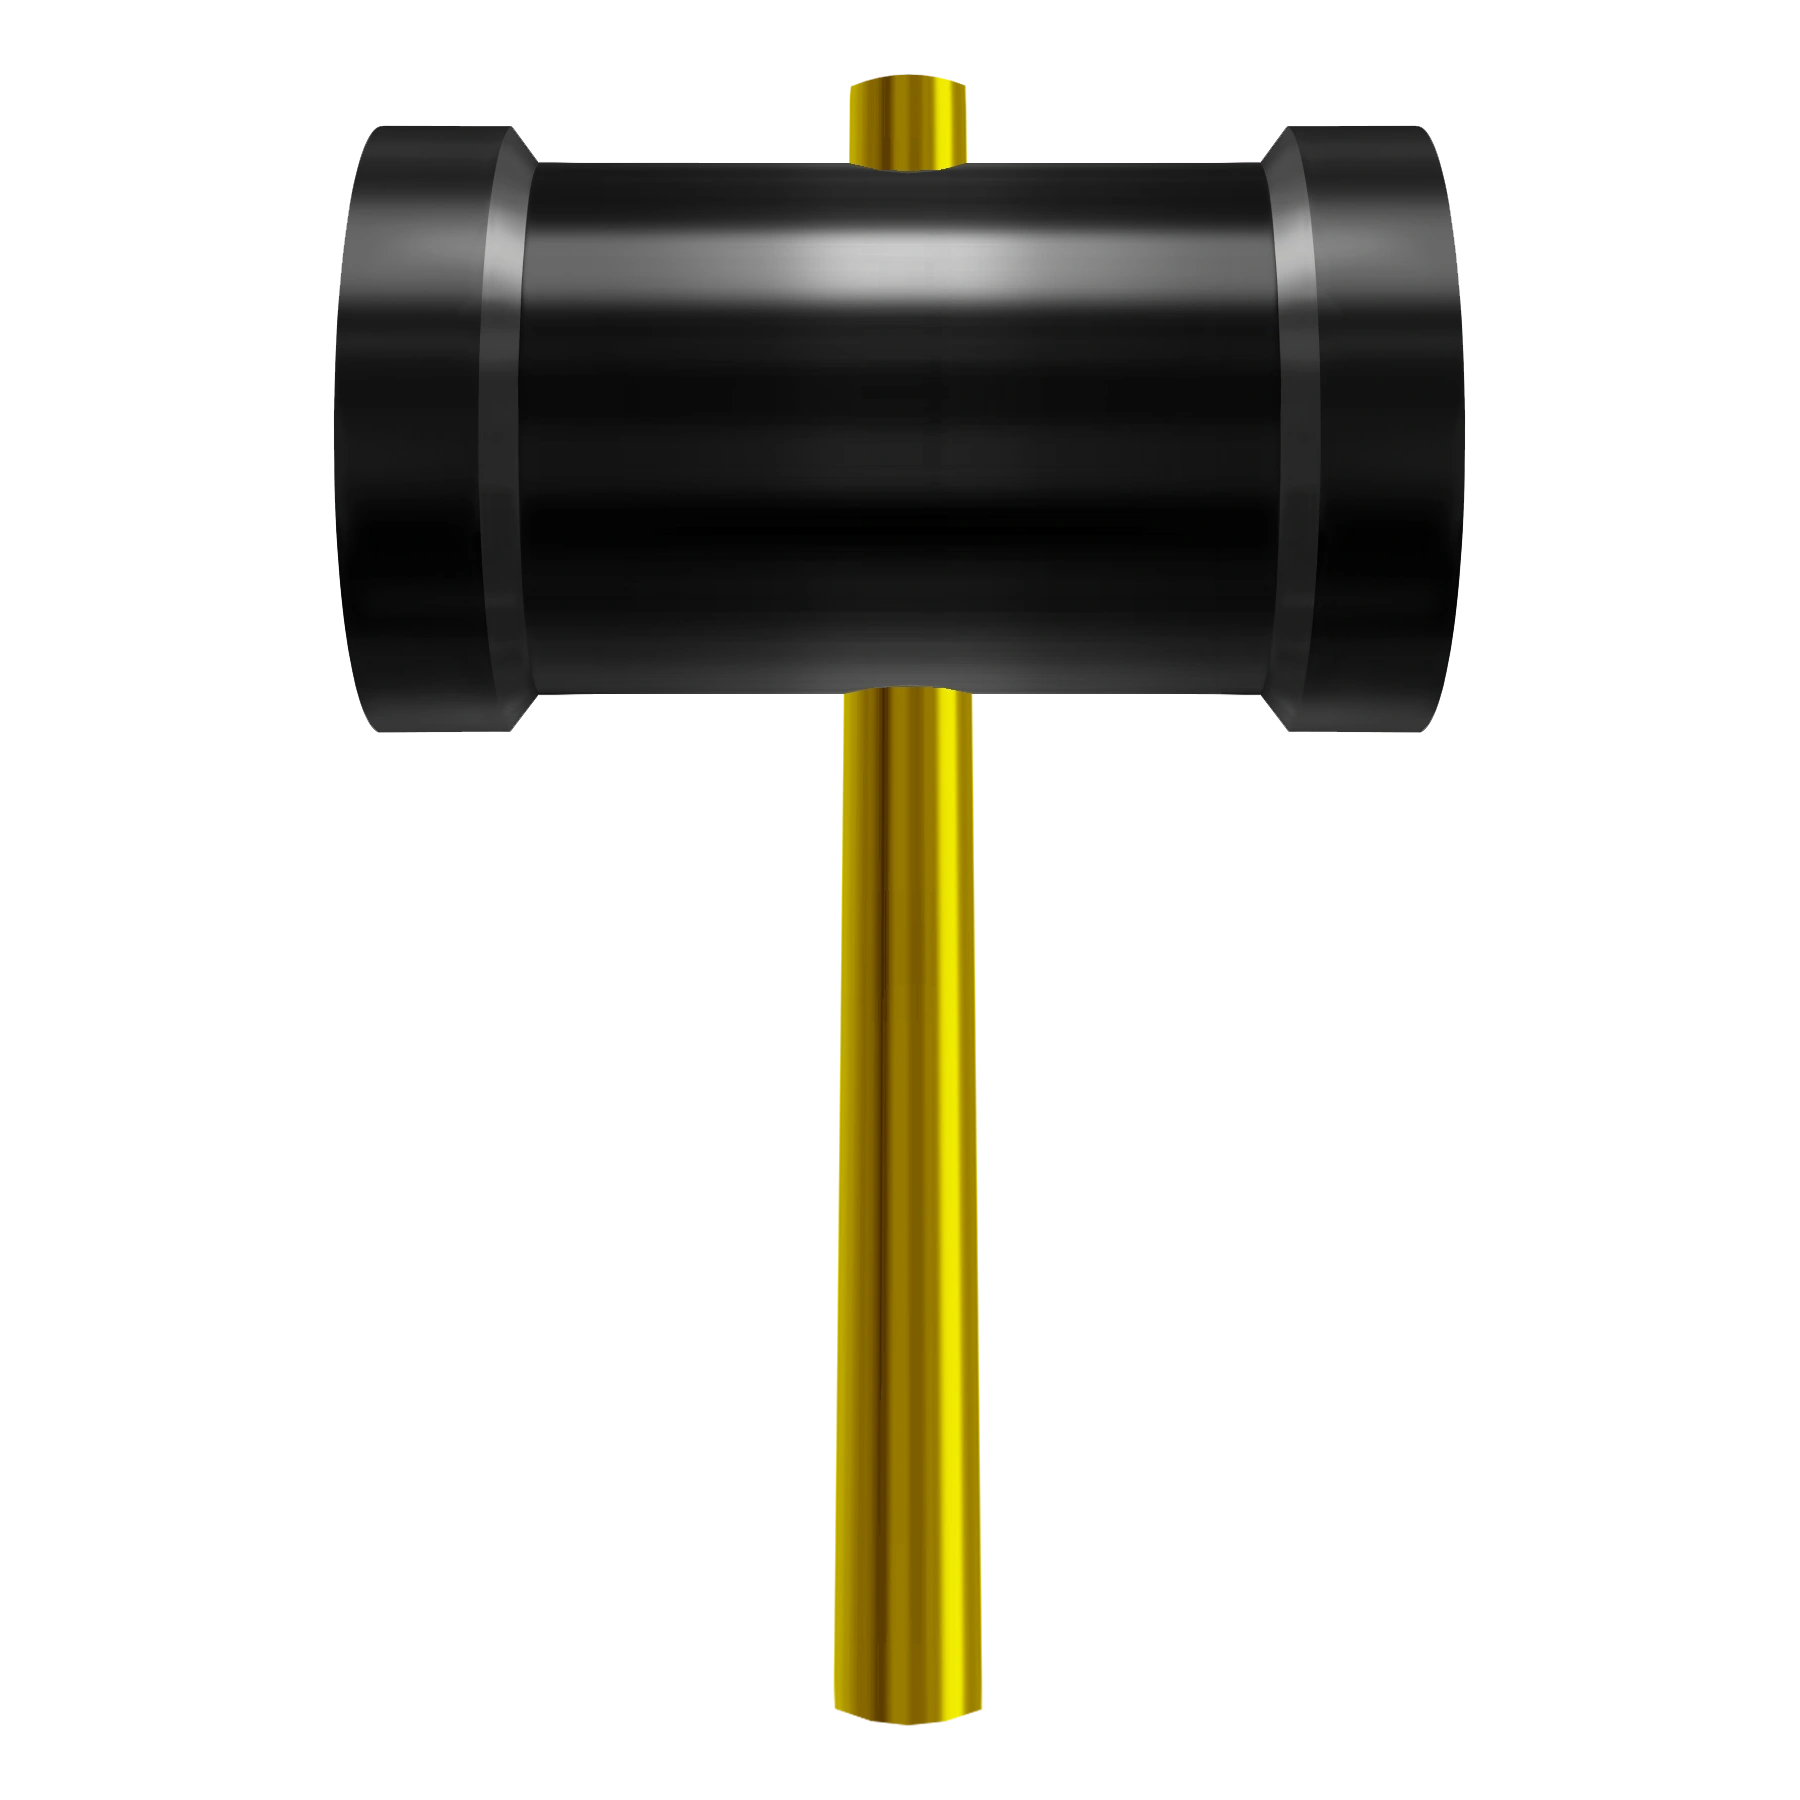
Mario uses the [[Hammer]] to powerfully attack enemies |
Mario uses the [[Hammer]] to powerfully attack enemies |
||
|'''Attack''' |
|'''Attack''' |
||
| Line 89: | Line 88: | ||
[[File:Nintendomario1.png|30px]][[File:Nintendomario1.png|30px]][[File:Nintendomario0.png|30px]][[File:Nintendomario0.png|30px]] |
[[File:Nintendomario1.png|30px]][[File:Nintendomario1.png|30px]][[File:Nintendomario0.png|30px]][[File:Nintendomario0.png|30px]] |
||
|[[File:Nintendomariomariofireflower.png|70px]] |
|[[File:Nintendomariomariofireflower.png|70px]] |
||
| − | |||
The [[Fire Flower]] allows Mario to rapidly shoots fireballs from his hands |
The [[Fire Flower]] allows Mario to rapidly shoots fireballs from his hands |
||
|'''Attack''' |
|'''Attack''' |
||
| Line 102: | Line 100: | ||
[[File:Nintendomario1.png|30px]][[File:Nintendomario1.png|30px]][[File:Nintendomario1.png|30px]][[File:Nintendomario0.png|30px]] |
[[File:Nintendomario1.png|30px]][[File:Nintendomario1.png|30px]][[File:Nintendomario1.png|30px]][[File:Nintendomario0.png|30px]] |
||
| − | |-style="background-color: |
+ | |-style="background-color: aqua;" |
|[[File:Nintendopublisher.png|50px]] |
|[[File:Nintendopublisher.png|50px]] |
||
| − | |||
[[File:Nintendomario.png|50px]] |
[[File:Nintendomario.png|50px]] |
||
|[[File:Nintendomariotoad.png|70px]] |
|[[File:Nintendomariotoad.png|70px]] |
||
| − | |||
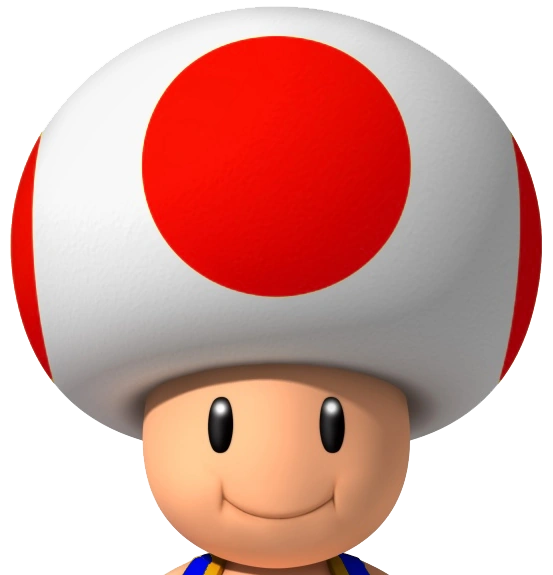
[[Toad]] |
[[Toad]] |
||
| Line 125: | Line 121: | ||
[[File:Nintendomario1.png|30px]][[File:Nintendomario1.png|30px]][[File:Nintendomario0.png|30px]][[File:Nintendomario0.png|30px]] |
[[File:Nintendomario1.png|30px]][[File:Nintendomario1.png|30px]][[File:Nintendomario0.png|30px]][[File:Nintendomario0.png|30px]] |
||
|[[File:Nintendomariotoadtennisracket.png|70px]] |
|[[File:Nintendomariotoadtennisracket.png|70px]] |
||
| − | |||
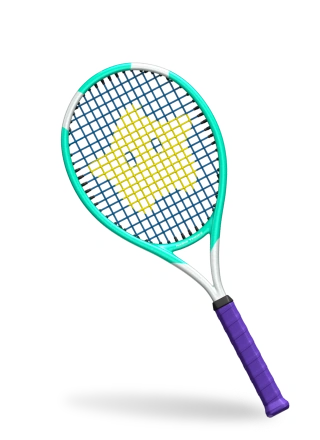
Toad uses a Tennis Racket to swat at foes. Using it to attack in the direction of a projectile will sometimes allow him to block that projectile |
Toad uses a Tennis Racket to swat at foes. Using it to attack in the direction of a projectile will sometimes allow him to block that projectile |
||
|'''Attack''' |
|'''Attack''' |
||
| Line 139: | Line 134: | ||
[[File:Nintendomario1.png|30px]][[File:Nintendomario1.png|30px]][[File:Nintendomario1.png|30px]][[File:Nintendomario0.png|30px]] |
[[File:Nintendomario1.png|30px]][[File:Nintendomario1.png|30px]][[File:Nintendomario1.png|30px]][[File:Nintendomario0.png|30px]] |
||
|[[File:Nintendomariotoadpickaxe.png|70px]] |
|[[File:Nintendomariotoadpickaxe.png|70px]] |
||
| − | |||
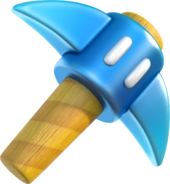
[[Captain Toad]]'s Pickaxe can be used by Toad as a boomerang, striking foes in a line before returning to Toad |
[[Captain Toad]]'s Pickaxe can be used by Toad as a boomerang, striking foes in a line before returning to Toad |
||
|'''Attack''' |
|'''Attack''' |
||
| Line 152: | Line 146: | ||
[[File:Nintendomario1.png|30px]][[File:Nintendomario0.png|30px]][[File:Nintendomario0.png|30px]][[File:Nintendomario0.png|30px]] |
[[File:Nintendomario1.png|30px]][[File:Nintendomario0.png|30px]][[File:Nintendomario0.png|30px]][[File:Nintendomario0.png|30px]] |
||
| − | |-style="background-color: |
+ | |-style="background-color: lightgreen;" |
|[[File:Nintendopublisher.png|50px]] |
|[[File:Nintendopublisher.png|50px]] |
||
| − | |||
[[File:Nintendomario.png|50px]] |
[[File:Nintendomario.png|50px]] |
||
|[[File:Nintendomarioyoshi.png|70px]] |
|[[File:Nintendomarioyoshi.png|70px]] |
||
| − | |||
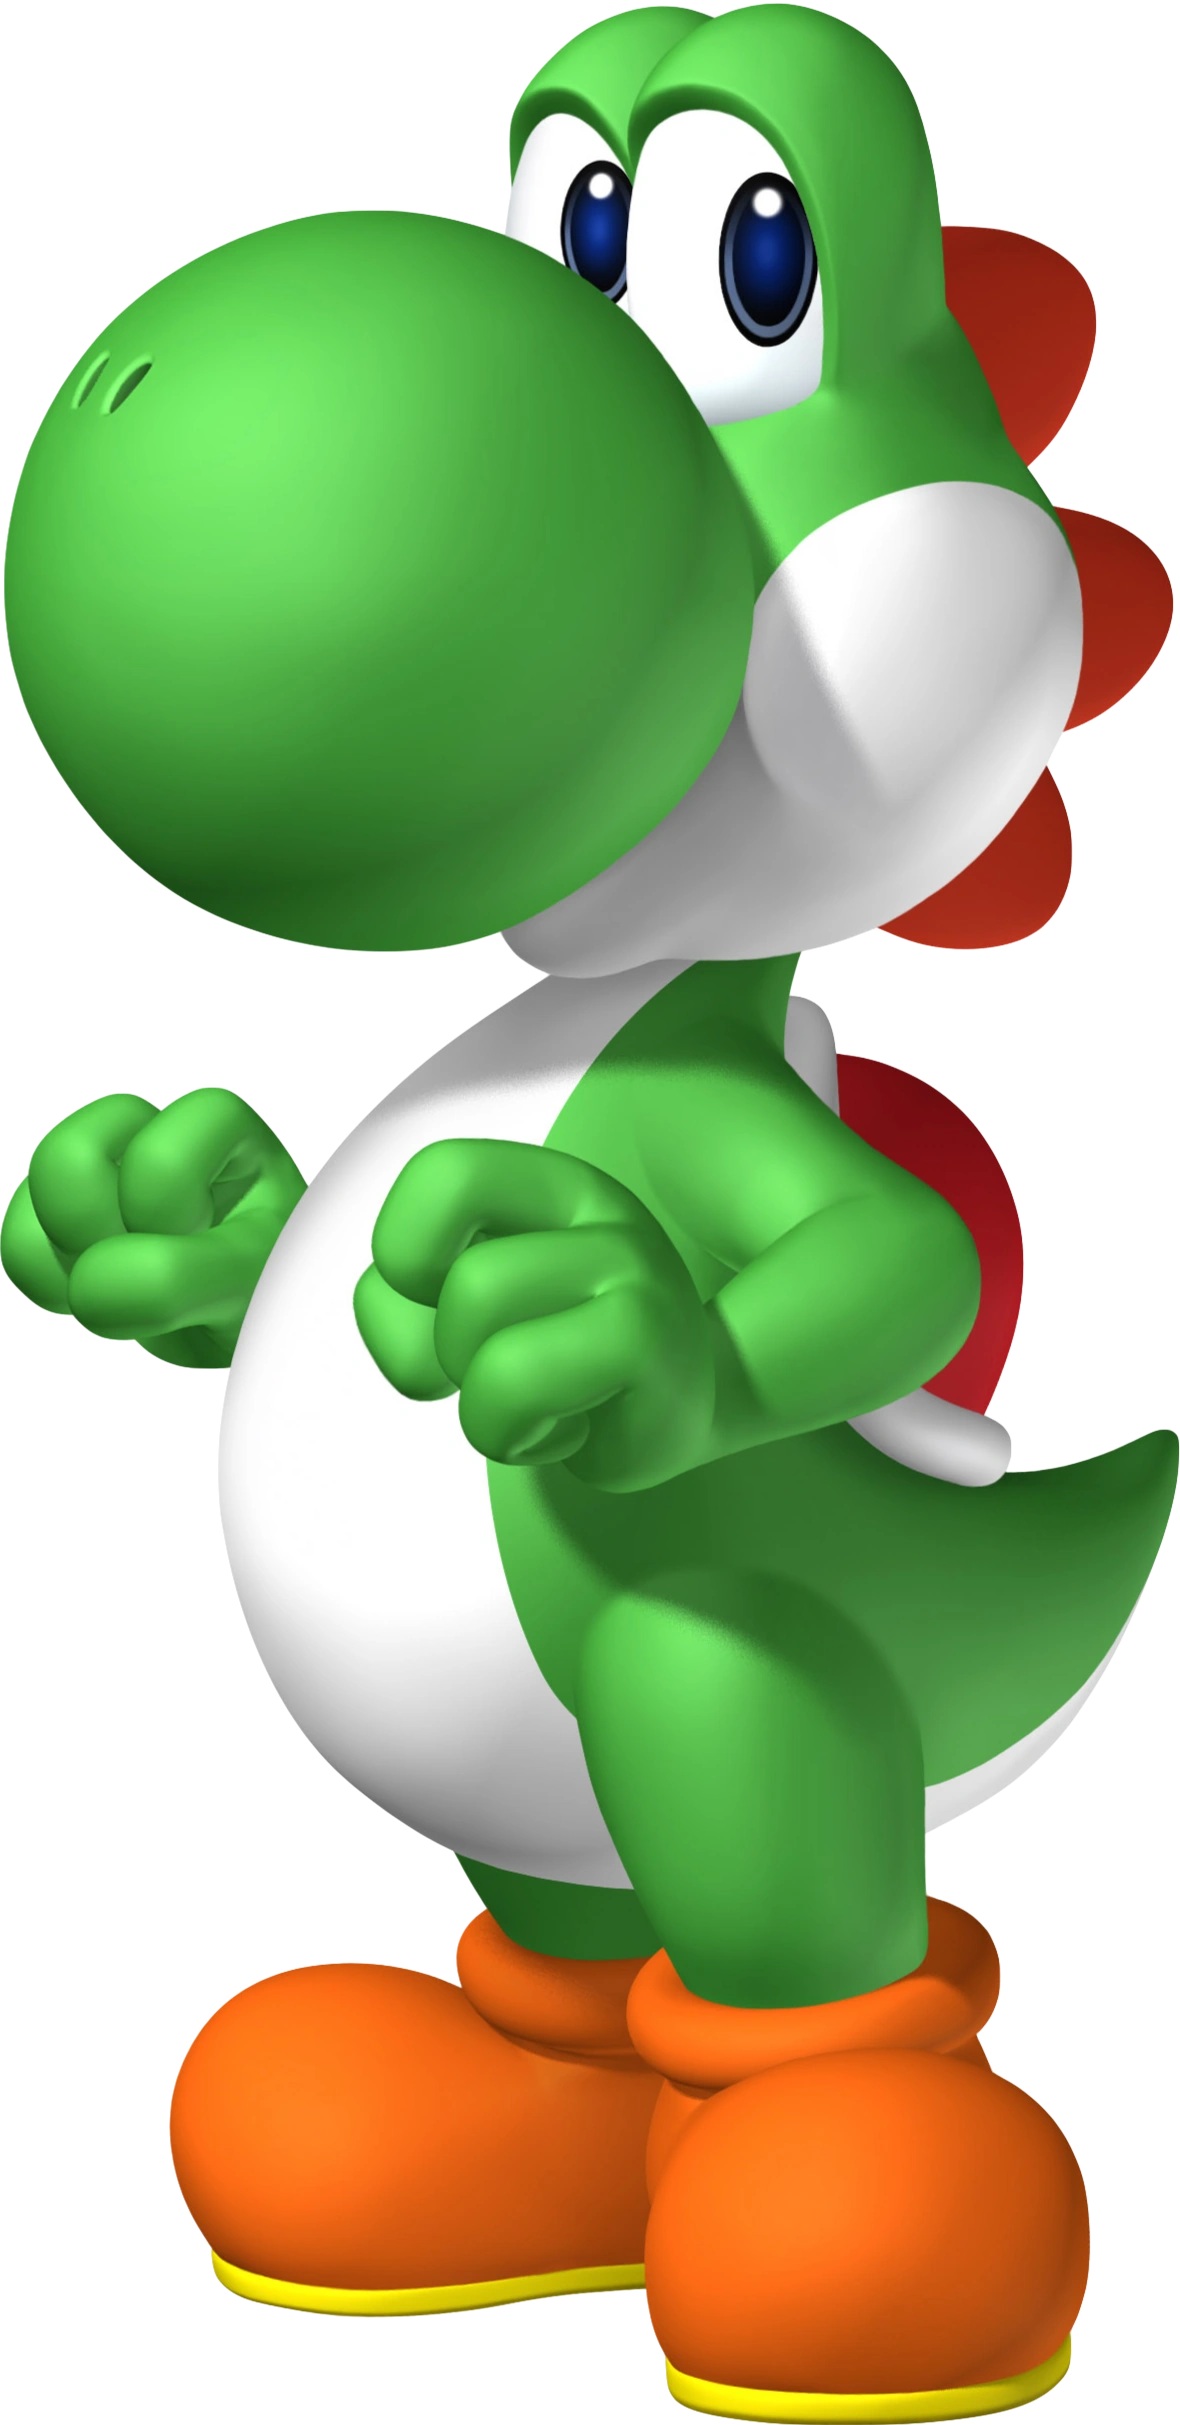
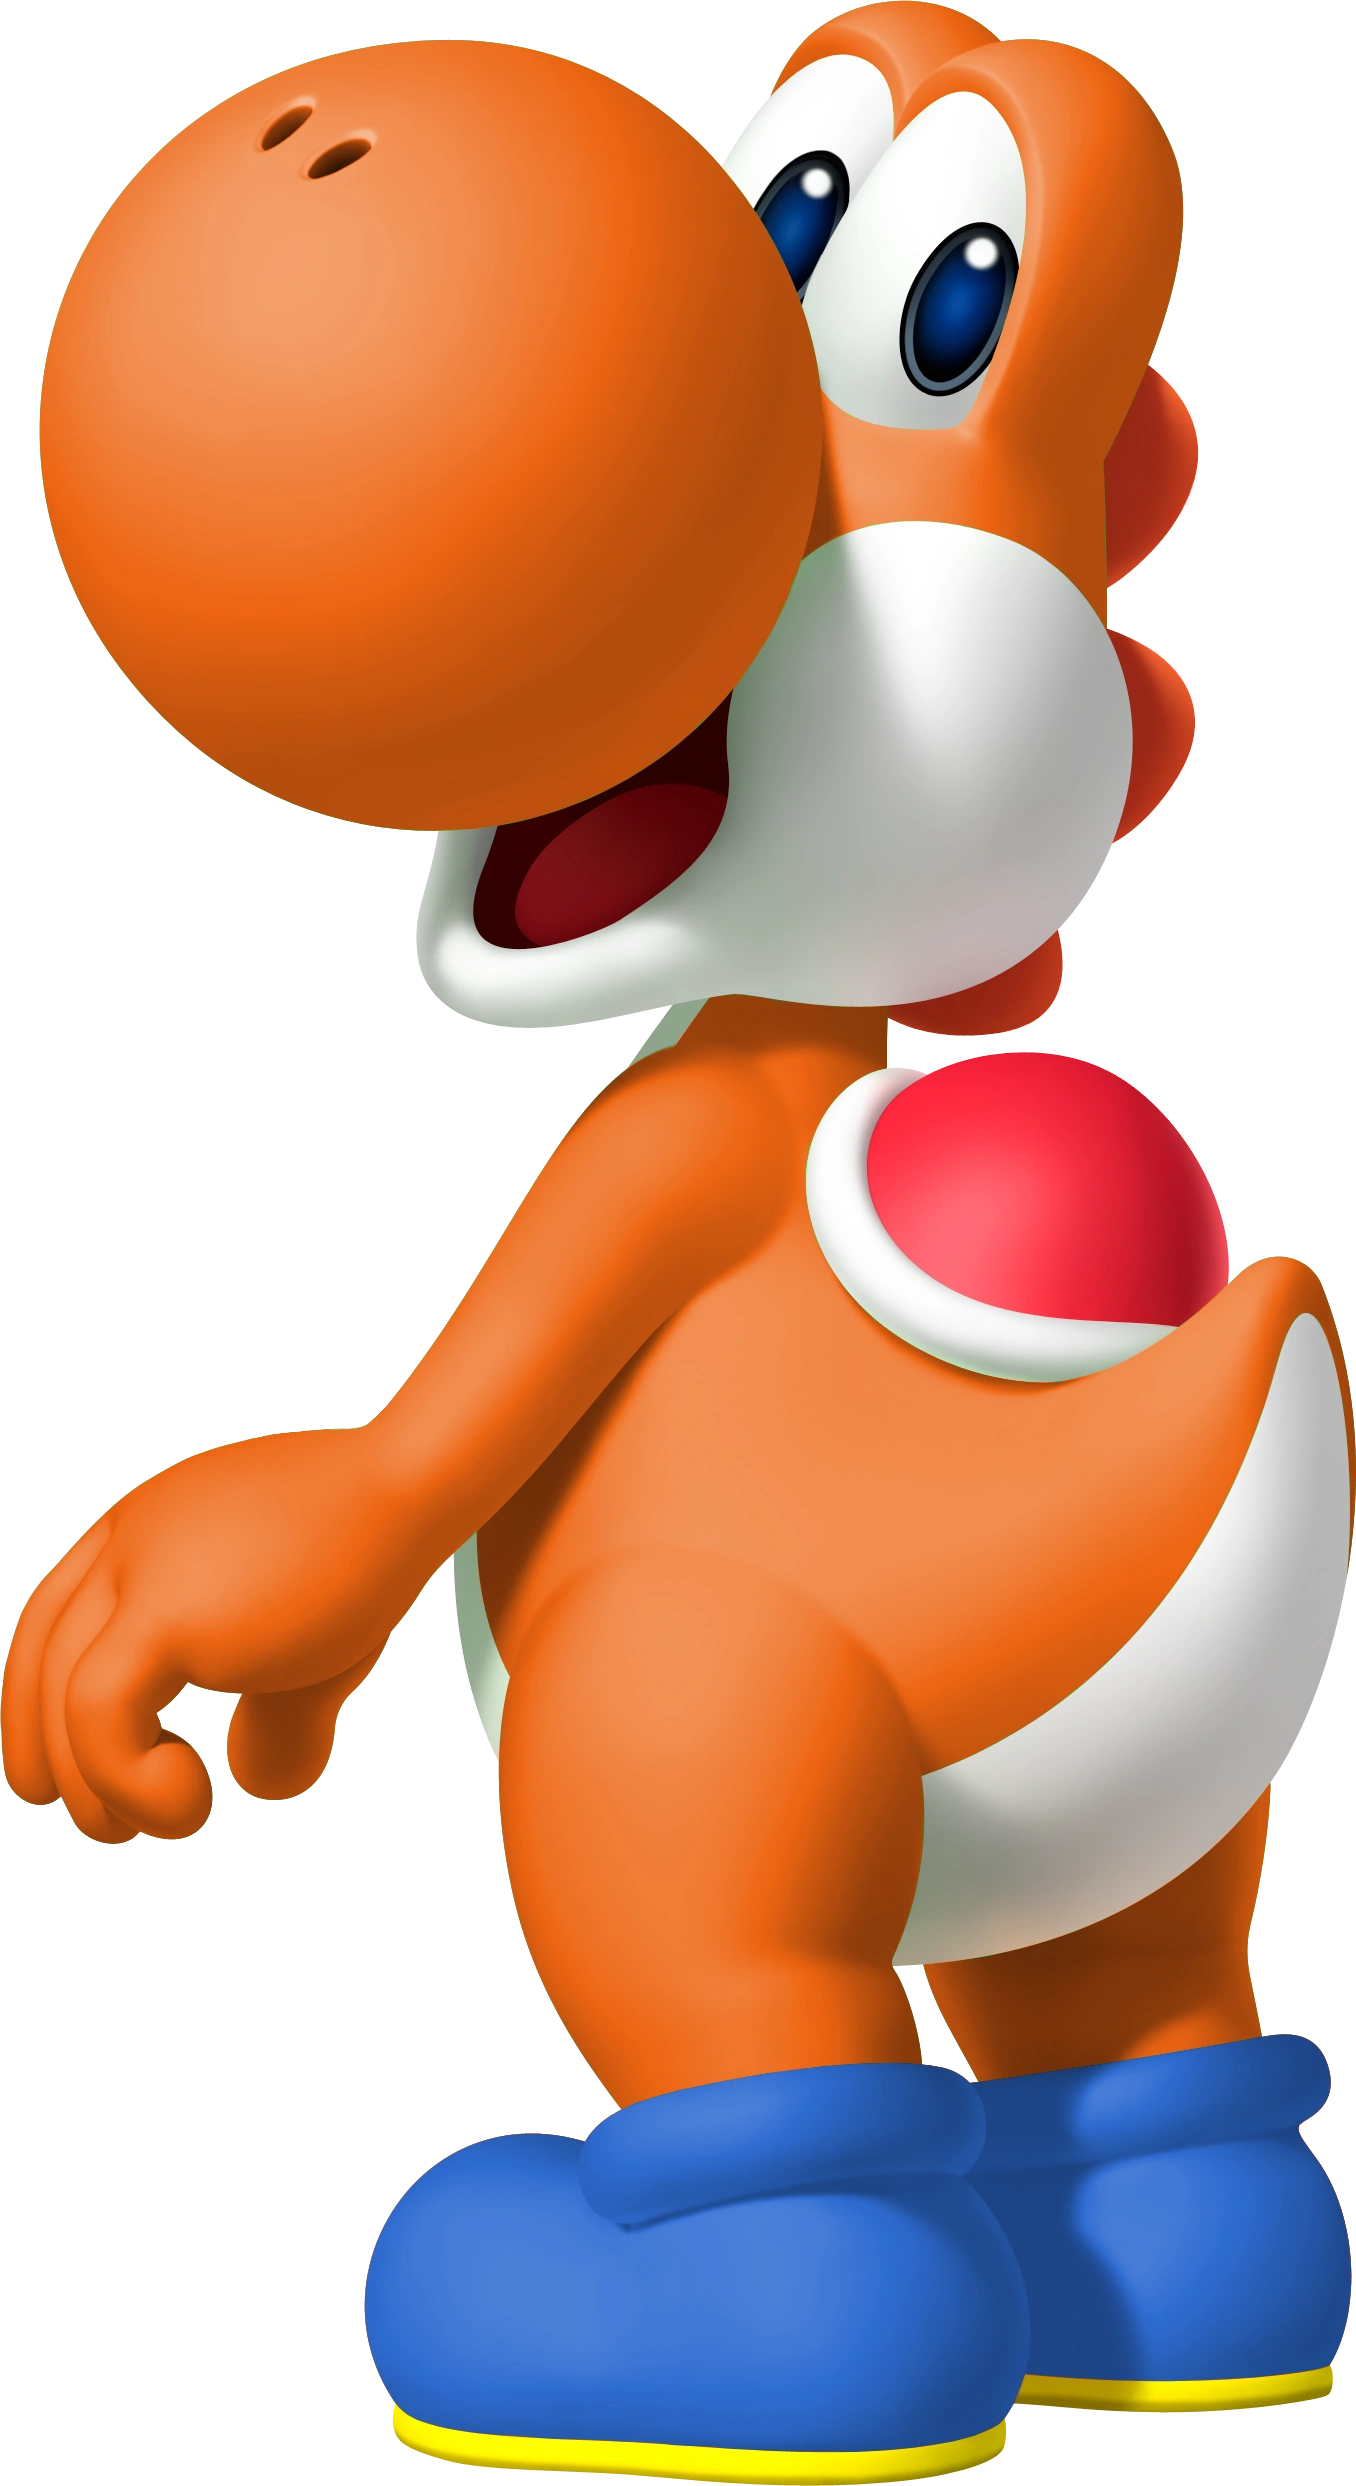
[[Yoshi]] |
[[Yoshi]] |
||
| Line 174: | Line 166: | ||
[[File:Nintendomario1.png|30px]][[File:Nintendomario0.png|30px]][[File:Nintendomario0.png|30px]][[File:Nintendomario0.png|30px]] |
[[File:Nintendomario1.png|30px]][[File:Nintendomario0.png|30px]][[File:Nintendomario0.png|30px]][[File:Nintendomario0.png|30px]] |
||
| − | |[[File: |
+ | |[[File:nintendomarioyoshieggcannon.png|70px]] |
| − | |||
The Egg Cannon shoots [[Yoshi Egg]]s as projectiles |
The Egg Cannon shoots [[Yoshi Egg]]s as projectiles |
||
|'''Attack''' |
|'''Attack''' |
||
| Line 189: | Line 180: | ||
[[File:Nintendomario1.png|30px]][[File:Nintendomario0.png|30px]][[File:Nintendomario0.png|30px]][[File:Nintendomario0.png|30px]] |
[[File:Nintendomario1.png|30px]][[File:Nintendomario0.png|30px]][[File:Nintendomario0.png|30px]][[File:Nintendomario0.png|30px]] |
||
|[[File:Nintendomarioyoshitonguelash.png|70px]] |
|[[File:Nintendomarioyoshitonguelash.png|70px]] |
||
| − | |||
Yoshi's native tongue lash is not his preferred method of attack in a large-scale battle, but it is certainly effective |
Yoshi's native tongue lash is not his preferred method of attack in a large-scale battle, but it is certainly effective |
||
|'''Attack''' |
|'''Attack''' |
||
| Line 202: | Line 192: | ||
[[File:Nintendomario1.png|30px]][[File:Nintendomario1.png|30px]][[File:Nintendomario1.png|30px]][[File:Nintendomario0.png|30px]] |
[[File:Nintendomario1.png|30px]][[File:Nintendomario1.png|30px]][[File:Nintendomario1.png|30px]][[File:Nintendomario0.png|30px]] |
||
| − | |-style="background-color: |
+ | |-style="background-color: lightyellow;" |
|[[File:Nintendopublisher.png|50px]] |
|[[File:Nintendopublisher.png|50px]] |
||
| − | |||
[[File:Nintendomario.png|50px]] |
[[File:Nintendomario.png|50px]] |
||
|[[File:Nintendomariorosalina.png|70px]] |
|[[File:Nintendomariorosalina.png|70px]] |
||
| − | |||
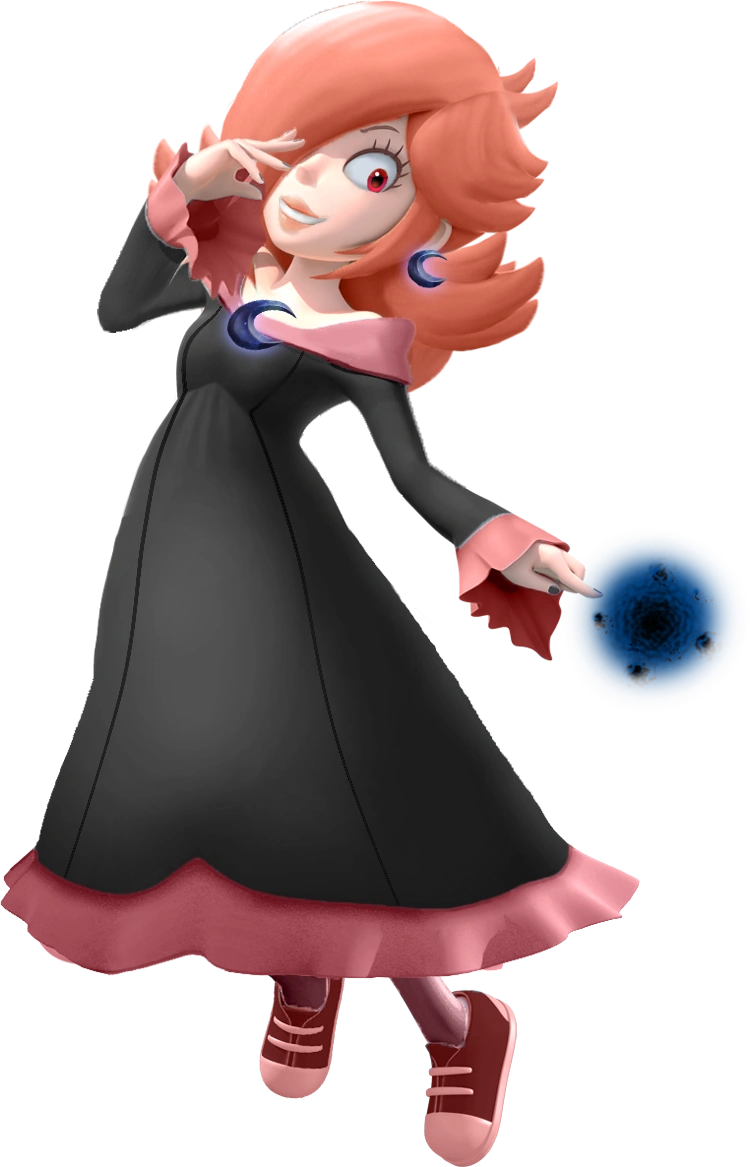
[[Rosalina]] |
[[Rosalina]] |
||
| Line 225: | Line 213: | ||
[[File:Nintendomario1.png|30px]][[File:Nintendomario1.png|30px]][[File:Nintendomario0.png|30px]][[File:Nintendomario0.png|30px]] |
[[File:Nintendomario1.png|30px]][[File:Nintendomario1.png|30px]][[File:Nintendomario0.png|30px]][[File:Nintendomario0.png|30px]] |
||
|[[File:Nintendomariorosalinawand.png|70px]] |
|[[File:Nintendomariorosalinawand.png|70px]] |
||
| ⚫ | |||
| − | |||
| ⚫ | |||
|'''Attack''' |
|'''Attack''' |
||
| Line 239: | Line 226: | ||
[[File:Nintendomario1.png|30px]][[File:Nintendomario1.png|30px]][[File:Nintendomario1.png|30px]][[File:Nintendomario1.png|30px]] |
[[File:Nintendomario1.png|30px]][[File:Nintendomario1.png|30px]][[File:Nintendomario1.png|30px]][[File:Nintendomario1.png|30px]] |
||
|[[File:Nintendomariorosalinalumas.png|70px]] |
|[[File:Nintendomariorosalinalumas.png|70px]] |
||
| ⚫ | |||
| − | |||
| ⚫ | |||
|'''Attack''' |
|'''Attack''' |
||
| Line 252: | Line 238: | ||
[[File:Nintendomario1.png|30px]][[File:Nintendomario1.png|30px]][[File:Nintendomario0.png|30px]][[File:Nintendomario0.png|30px]] |
[[File:Nintendomario1.png|30px]][[File:Nintendomario1.png|30px]][[File:Nintendomario0.png|30px]][[File:Nintendomario0.png|30px]] |
||
| − | |-style="background-color: |
+ | |-style="background-color: orange;" |
|[[File:Nintendopublisher.png|50px]] |
|[[File:Nintendopublisher.png|50px]] |
||
| − | |||
[[File:Nintendometroid.png|50px]] |
[[File:Nintendometroid.png|50px]] |
||
|[[File:Nintendometroidsamus.png|70px]] |
|[[File:Nintendometroidsamus.png|70px]] |
||
| − | |||
[[Samus Aran]] |
[[Samus Aran]] |
||
| Line 274: | Line 258: | ||
[[File:Nintendometroid1.png|30px]][[File:Nintendometroid1.png|30px]][[File:Nintendometroid1.png|30px]][[File:Nintendometroid0.png|30px]] |
[[File:Nintendometroid1.png|30px]][[File:Nintendometroid1.png|30px]][[File:Nintendometroid1.png|30px]][[File:Nintendometroid0.png|30px]] |
||
| − | |[[File:Nintendometroidsamusice. |
+ | |[[File:Nintendometroidsamusice.jpeg|70px]] |
| − | |||
Samus's Ice Beam fires continuously for three seconds before having to recharge, and stuns enemies on a direct hit |
Samus's Ice Beam fires continuously for three seconds before having to recharge, and stuns enemies on a direct hit |
||
|'''Attack''' |
|'''Attack''' |
||
| Line 288: | Line 271: | ||
[[File:Nintendometroid1.png|30px]][[File:Nintendometroid1.png|30px]][[File:Nintendometroid1.png|30px]][[File:Nintendometroid0.png|30px]] |
[[File:Nintendometroid1.png|30px]][[File:Nintendometroid1.png|30px]][[File:Nintendometroid1.png|30px]][[File:Nintendometroid0.png|30px]] |
||
| − | |[[File:Nintendometroidsamusspazer. |
+ | |[[File:Nintendometroidsamusspazer.jpeg|70px]] |
| − | |||
The Spazer Beam shoots 3 parallel needle projectiles at once |
The Spazer Beam shoots 3 parallel needle projectiles at once |
||
|'''Attack''' |
|'''Attack''' |
||
| Line 302: | Line 284: | ||
[[File:Nintendometroid1.png|30px]][[File:Nintendometroid1.png|30px]][[File:Nintendometroid1.png|30px]][[File:Nintendometroid0.png|30px]] |
[[File:Nintendometroid1.png|30px]][[File:Nintendometroid1.png|30px]][[File:Nintendometroid1.png|30px]][[File:Nintendometroid0.png|30px]] |
||
| + | |-style="background-color: teal;" |
||
| + | |[[File:Nintendopublisher.png|50px]] |
||
| + | [[File:Nintendometroid.png|50px]] |
||
| + | |[[File:Nintendometroidspacepirate.png|70px]] |
||
| + | [[Space Pirate]] |
||
| + | |||
| + | Unlocked by default |
||
| + | |||
| + | Upon being knocked out, the Space Pirate falls to the ground and must be attacked again within the next 2 seconds or else they will get back up with full health |
||
| + | |'''Health''' |
||
| + | |||
| + | [[File:Nintendometroid1.png|30px]][[File:Nintendometroid1.png|30px]][[File:Nintendometroid0.png|30px]][[File:Nintendometroid0.png|30px]] |
||
| + | |||
| + | '''Speed''' |
||
| + | |||
| + | [[File:Nintendometroid1.png|30px]][[File:Nintendometroid1.png|30px]][[File:Nintendometroid0.png|30px]][[File:Nintendometroid0.png|30px]] |
||
| + | |||
| + | '''Dexterity''' |
||
| + | |||
| + | [[File:Nintendometroid1.png|30px]][[File:Nintendometroid1.png|30px]][[File:Nintendometroid1.png|30px]][[File:Nintendometroid0.png|30px]] |
||
| + | |[[File:Nintendometroidspacepiratescythe.png|70px]] |
||
| + | The Space Pirate's Scythe acts a close-quarters combat weapon |
||
| + | |'''Attack''' |
||
| + | |||
| + | [[File:Nintendometroid1.png|30px]][[File:Nintendometroid1.png|30px]][[File:Nintendometroid1.png|30px]][[File:Nintendometroid0.png|30px]] |
||
| + | |||
| + | '''Range''' |
||
| + | |||
| + | [[File:Nintendometroid1.png|30px]][[File:Nintendometroid0.png|30px]][[File:Nintendometroid0.png|30px]][[File:Nintendometroid0.png|30px]] |
||
| + | |||
| + | '''Recharge Speed''' |
||
| + | |||
| + | [[File:Nintendometroid1.png|30px]][[File:Nintendometroid1.png|30px]][[File:Nintendometroid1.png|30px]][[File:Nintendometroid0.png|30px]] |
||
| + | |[[File:Nintendometroidspacepirategalvan.png|70px]] |
||
| + | The Galvanic Accelerator Cannon fires short blasts of red energy |
||
| + | |'''Attack''' |
||
| + | |||
| + | [[File:Nintendometroid1.png|30px]][[File:Nintendometroid1.png|30px]][[File:Nintendometroid0.png|30px]][[File:Nintendometroid0.png|30px]] |
||
| + | |||
| + | '''Range''' |
||
| + | |||
| + | [[File:Nintendometroid1.png|30px]][[File:Nintendometroid1.png|30px]][[File:Nintendometroid1.png|30px]][[File:Nintendometroid0.png|30px]] |
||
| + | |||
| + | '''Recharge Speed''' |
||
| + | |||
| + | [[File:Nintendometroid1.png|30px]][[File:Nintendometroid1.png|30px]][[File:Nintendometroid0.png|30px]][[File:Nintendometroid0.png|30px]] |
||
| + | |-style="background-color: blue;" |
||
| + | |[[File:Nintendopublisher.png|50px]] |
||
| + | [[File:Nintendometroid.png|50px]] |
||
| + | |[[File:Nintendometroidsylux.png|70px]] |
||
| + | [[Sylux]] |
||
| + | |||
| + | Unlocked upon reaching 20 Mushroom Tokens on [[Samus Aran]] |
||
| + | |||
| + | Attacks automatically aim at the nearest opponent |
||
| + | |'''Health''' |
||
| + | |||
| + | [[File:Nintendometroid1.png|30px]][[File:Nintendometroid0.png|30px]][[File:Nintendometroid0.png|30px]][[File:Nintendometroid0.png|30px]] |
||
| + | |||
| + | '''Speed''' |
||
| + | |||
| + | [[File:Nintendometroid1.png|30px]][[File:Nintendometroid1.png|30px]][[File:Nintendometroid0.png|30px]][[File:Nintendometroid0.png|30px]] |
||
| + | |||
| + | '''Dexterity''' |
||
| + | |||
| + | [[File:Nintendometroid1.png|30px]][[File:Nintendometroid1.png|30px]][[File:Nintendometroid1.png|30px]][[File:Nintendometroid1.png|30px]] |
||
| + | |[[File:Nintendometroidsyluxshockcoil.png|70px]] |
||
| + | The Shock Coil fires a beam that continues firing as long as the attack button is held and clips through enemies |
||
| + | |'''Attack''' |
||
| + | |||
| + | [[File:Nintendometroid1.png|30px]][[File:Nintendometroid0.png|30px]][[File:Nintendometroid0.png|30px]][[File:Nintendometroid0.png|30px]] |
||
| + | |||
| + | '''Range''' |
||
| + | |||
| + | [[File:Nintendometroid1.png|30px]][[File:Nintendometroid1.png|30px]][[File:Nintendometroid0.png|30px]][[File:Nintendometroid0.png|30px]] |
||
| + | |||
| + | '''Recharge Speed''' |
||
| + | |||
| + | [[File:Nintendometroid1.png|30px]][[File:Nintendometroid1.png|30px]][[File:Nintendometroid1.png|30px]][[File:Nintendometroid1.png|30px]] |
||
| + | |[[File:Nintendometroidsyluxshocksystem.png|70px]] |
||
| + | Sylux's Electric Bombs can be thrown at enemies to deal damage in an area upon impact |
||
| + | |'''Attack''' |
||
| + | |||
| + | [[File:Nintendometroid1.png|30px]][[File:Nintendometroid1.png|30px]][[File:Nintendometroid1.png|30px]][[File:Nintendometroid0.png|30px]] |
||
| + | |||
| + | '''Range''' |
||
| + | |||
| + | [[File:Nintendometroid1.png|30px]][[File:Nintendometroid1.png|30px]][[File:Nintendometroid0.png|30px]][[File:Nintendometroid0.png|30px]] |
||
| + | |||
| + | '''Recharge Speed''' |
||
| + | |||
| + | [[File:Nintendometroid1.png|30px]][[File:Nintendometroid1.png|30px]][[File:Nintendometroid0.png|30px]][[File:Nintendometroid0.png|30px]] |
||
| + | |-style="background-color: purple;" |
||
| + | |[[File:Nintendopublisher.png|50px]] |
||
| + | [[File:Nintendometroid.png|50px]] |
||
| + | |[[File:Nintendometroidridley.png|70px]] |
||
| + | [[Ridley]] |
||
| + | |||
| + | Unlocked upon reaching 20 Mushroom Tokens on [[Space Pirate]] |
||
| + | |||
| + | Can hover a short distance when double jumping |
||
| + | |'''Health''' |
||
| + | |||
| + | [[File:Nintendometroid1.png|30px]][[File:Nintendometroid1.png|30px]][[File:Nintendometroid0.png|30px]][[File:Nintendometroid0.png|30px]] |
||
| + | |||
| + | '''Speed''' |
||
| + | |||
| + | [[File:Nintendometroid1.png|30px]][[File:Nintendometroid0.png|30px]][[File:Nintendometroid0.png|30px]][[File:Nintendometroid0.png|30px]] |
||
| + | |||
| + | '''Dexterity''' |
||
| + | |||
| + | [[File:Nintendometroid1.png|30px]][[File:Nintendometroid1.png|30px]][[File:Nintendometroid1.png|30px]][[File:Nintendometroid1.png|30px]] |
||
| + | |[[File:Nintendometroidridleytail.png|70px]] |
||
| + | Ridley strikes foes with his powerful tail |
||
| + | |'''Attack''' |
||
| + | |||
| + | [[File:Nintendometroid1.png|30px]][[File:Nintendometroid1.png|30px]][[File:Nintendometroid1.png|30px]][[File:Nintendometroid0.png|30px]] |
||
| + | |||
| + | '''Range''' |
||
| + | |||
| + | [[File:Nintendometroid1.png|30px]][[File:Nintendometroid1.png|30px]][[File:Nintendometroid0.png|30px]][[File:Nintendometroid0.png|30px]] |
||
| + | |||
| + | '''Recharge Speed''' |
||
| + | |||
| + | [[File:Nintendometroid1.png|30px]][[File:Nintendometroid1.png|30px]][[File:Nintendometroid0.png|30px]][[File:Nintendometroid0.png|30px]] |
||
| + | |[[File:MetroidWiiU.png|70px]] |
||
| + | Ridley's two [[Metroid]]s automatically attack nearby enemies, but will immediately be knocked out and have to recharge if Ridley is hit |
||
| + | |'''Attack''' |
||
| + | |||
| + | [[File:Nintendometroid1.png|30px]][[File:Nintendometroid1.png|30px]][[File:Nintendometroid0.png|30px]][[File:Nintendometroid0.png|30px]] |
||
| + | |||
| + | '''Range''' |
||
| + | |||
| + | [[File:Nintendometroid1.png|30px]][[File:Nintendometroid1.png|30px]][[File:Nintendometroid1.png|30px]][[File:Nintendometroid0.png|30px]] |
||
| + | |||
| + | '''Recharge Speed''' |
||
| + | |||
| + | [[File:Nintendometroid1.png|30px]][[File:Nintendometroid1.png|30px]][[File:Nintendometroid0.png|30px]][[File:Nintendometroid0.png|30px]] |
||
|} |
|} |
||
| Line 316: | Line 436: | ||
! width=20% | How to Obtain |
! width=20% | How to Obtain |
||
|-style="background-color: pink;" |
|-style="background-color: pink;" |
||
| − | |[[File:Marioreal.png| |
+ | |[[File:Marioreal.png|90px]] |
| − | |||
[[Mario]] |
[[Mario]] |
||
| − | |[[File:Skinnintendomariomarioconstruction.png| |
+ | |[[File:Skinnintendomariomarioconstruction.png|85px]] |
| − | |||
Construction Mario |
Construction Mario |
||
| − | |[[File:Skinnintendomariomarioconstructionhammer.png| |
+ | |[[File:Skinnintendomariomarioconstructionhammer.png|45px]] |
| − | |||
Construction Hammer |
Construction Hammer |
||
|[[File:Skinnintendomariomarioconstructioniceflower.png|70px]] |
|[[File:Skinnintendomariomarioconstructioniceflower.png|70px]] |
||
| − | |||
[[Ice Flower]] |
[[Ice Flower]] |
||
|Obtained by using any generic Mario [[Amiibo/Mario|amiibo]] |
|Obtained by using any generic Mario [[Amiibo/Mario|amiibo]] |
||
|-style="background-color: pink;" |
|-style="background-color: pink;" |
||
| − | |[[File:Marioreal.png| |
+ | |[[File:Marioreal.png|90px]] |
| − | |||
[[Mario]] |
[[Mario]] |
||
| − | |[[File:DrMario-MP11.png| |
+ | |[[File:DrMario-MP11.png|95px]] |
| − | |||
[[Dr. Mario]] |
[[Dr. Mario]] |
||
|[[File:Skinnintendomariomariodoctorhammer.png|70px]] |
|[[File:Skinnintendomariomariodoctorhammer.png|70px]] |
||
| − | |||
Reflex Hammer |
Reflex Hammer |
||
|[[File:Skinnintendomariomariodoctormegavitamin.png|70px]] |
|[[File:Skinnintendomariomariodoctormegavitamin.png|70px]] |
||
| − | |||
Fire Megavitamin |
Fire Megavitamin |
||
| − | |Obtained by using the Dr. Mario [[Amiibo/ |
+ | |Obtained by using the Dr. Mario [[Amiibo/Dr._Mario|amiibo]] |
|-style="background-color: pink;" |
|-style="background-color: pink;" |
||
| − | |[[File:Marioreal.png| |
+ | |[[File:Marioreal.png|90px]] |
| − | |||
[[Mario]] |
[[Mario]] |
||
| − | |[[File:Skinnintendomariomariowedding.png| |
+ | |[[File:Skinnintendomariomariowedding.png|100px]] |
| − | |||
Wedding Mario |
Wedding Mario |
||
|[[File:Nintendomariomariohammer.png|70px]] |
|[[File:Nintendomariomariohammer.png|70px]] |
||
| − | |||
Hammer |
Hammer |
||
|[[File:Skinnintendomariomarioconstructioniceflower.png|70px]] |
|[[File:Skinnintendomariomarioconstructioniceflower.png|70px]] |
||
| − | |||
[[Ice Flower]] |
[[Ice Flower]] |
||
|Obtained by using the Mario (Wedding Outfit) [[Amiibo/Mario|amiibo]] |
|Obtained by using the Mario (Wedding Outfit) [[Amiibo/Mario|amiibo]] |
||
|-style="background-color: pink;" |
|-style="background-color: pink;" |
||
| − | |[[File:Marioreal.png| |
+ | |[[File:Marioreal.png|90px]] |
| − | |||
[[Mario]] |
[[Mario]] |
||
| − | |[[File:LuigiNSMBW.png| |
+ | |[[File:LuigiNSMBW.png|90px]] |
| − | |||
[[Luigi]] |
[[Luigi]] |
||
| − | |[[File:Skinnintendomariomarioluigigolfclub.png| |
+ | |[[File:Skinnintendomariomarioluigigolfclub.png|20px]] |
| − | |||
Golf Club |
Golf Club |
||
|[[File:BobOmbMK8.png|70px]] |
|[[File:BobOmbMK8.png|70px]] |
||
| ⚫ | |||
| − | |||
| ⚫ | |||
|Obtained by using any generic Luigi [[Amiibo/Luigi|amiibo]] |
|Obtained by using any generic Luigi [[Amiibo/Luigi|amiibo]] |
||
|-style="background-color: pink;" |
|-style="background-color: pink;" |
||
| − | |[[File:Marioreal.png| |
+ | |[[File:Marioreal.png|90px]] |
| − | |||
[[Mario]] |
[[Mario]] |
||
| − | |[[File:250px-Wario MP10.png| |
+ | |[[File:250px-Wario MP10.png|130px]] |
| − | |||
[[Wario]] |
[[Wario]] |
||
|[[File:Nintendomariomariohammer.png|70px]] |
|[[File:Nintendomariomariohammer.png|70px]] |
||
| − | |||
Hammer |
Hammer |
||
|[[File:Nintendomariomariofireflower.png|70px]] |
|[[File:Nintendomariomariofireflower.png|70px]] |
||
| − | |||
[[Fire Flower]] |
[[Fire Flower]] |
||
|Obtained by using any generic Wario [[Amiibo/Wario|amiibo]] |
|Obtained by using any generic Wario [[Amiibo/Wario|amiibo]] |
||
|-style="background-color: pink;" |
|-style="background-color: pink;" |
||
| − | |[[File:Marioreal.png| |
+ | |[[File:Marioreal.png|90px]] |
| − | |||
[[Mario]] |
[[Mario]] |
||
| − | |[[File:Waluigi-BoardWin-MP9.png| |
+ | |[[File:Waluigi-BoardWin-MP9.png|100px]] |
| − | |||
[[Waluigi]] |
[[Waluigi]] |
||
| − | |[[File:Skinnintendomariomarioluigigolfclub.png| |
+ | |[[File:Skinnintendomariomarioluigigolfclub.png|20px]] |
| − | |||
Golf Club |
Golf Club |
||
|[[File:BobOmbMK8.png|70px]] |
|[[File:BobOmbMK8.png|70px]] |
||
| ⚫ | |||
| − | |||
| ⚫ | |||
|Obtained by using any generic Waluigi [[Amiibo/Waluigi|amiibo]] |
|Obtained by using any generic Waluigi [[Amiibo/Waluigi|amiibo]] |
||
| − | |-style="background-color: |
+ | |-style="background-color: aqua;" |
|[[File:Red Blue Toad.png|110px]] |
|[[File:Red Blue Toad.png|110px]] |
||
| − | |||
[[Toad]] |
[[Toad]] |
||
| − | |[[File:Skinnintendomariotoadcaptain.png| |
+ | |[[File:Skinnintendomariotoadcaptain.png|60px]] |
| − | |||
[[Captain Toad]] |
[[Captain Toad]] |
||
|[[File:Skinnintendomariotoadcaptaincoinstick.png|70px]] |
|[[File:Skinnintendomariotoadcaptaincoinstick.png|70px]] |
||
| − | |||
Coin on a Stick |
Coin on a Stick |
||
|[[File:Nintendomariotoadpickaxe.png|70px]] |
|[[File:Nintendomariotoadpickaxe.png|70px]] |
||
| − | |||
[[Captain Toad]]'s Pickaxe |
[[Captain Toad]]'s Pickaxe |
||
|Obtained by using any generic Toad [[Amiibo/Toad|amiibo]] |
|Obtained by using any generic Toad [[Amiibo/Toad|amiibo]] |
||
| − | |-style="background-color: |
+ | |-style="background-color: aqua;" |
|[[File:Red Blue Toad.png|110px]] |
|[[File:Red Blue Toad.png|110px]] |
||
| − | |||
[[Toad]] |
[[Toad]] |
||
| − | |[[File:Toadette by Tom.png| |
+ | |[[File:Toadette by Tom.png|60px]] |
| − | |||
[[Toadette]] |
[[Toadette]] |
||
|[[File:Nintendomariotoadtennisracket.png|70px]] |
|[[File:Nintendomariotoadtennisracket.png|70px]] |
||
| − | |||
Tennis Racket |
Tennis Racket |
||
|[[File:Boomerang Super Mario.png|70px]] |
|[[File:Boomerang Super Mario.png|70px]] |
||
| − | |||
[[Boomerang]] |
[[Boomerang]] |
||
|Unlocked upon reaching 20 Mushroom Tokens on [[Toad]] |
|Unlocked upon reaching 20 Mushroom Tokens on [[Toad]] |
||
| − | |-style="background-color: |
+ | |-style="background-color: aqua;" |
|[[File:Red Blue Toad.png|110px]] |
|[[File:Red Blue Toad.png|110px]] |
||
| − | |||
[[Toad]] |
[[Toad]] |
||
| − | |[[File:Toadsworth sunrise stroll by vinfreild-d7no3sq.png| |
+ | |[[File:Toadsworth sunrise stroll by vinfreild-d7no3sq.png|65px]] |
| − | |||
[[Toadsworth]] |
[[Toadsworth]] |
||
| − | |[[File:Nintendomariotoadtoadsworthwalkingstick.png| |
+ | |[[File:Nintendomariotoadtoadsworthwalkingstick.png|20px]] |
| − | |||
Walking Stick |
Walking Stick |
||
|[[File:Boomerang Super Mario.png|70px]] |
|[[File:Boomerang Super Mario.png|70px]] |
||
| − | |||
[[Boomerang]] |
[[Boomerang]] |
||
|Unlocked upon reaching 30 Mushroom Tokens on [[Toad]] |
|Unlocked upon reaching 30 Mushroom Tokens on [[Toad]] |
||
| − | |-style="background-color: |
+ | |-style="background-color: lightgreen;" |
| − | |[[File:Skinnintendomarioyoshi.png| |
+ | |[[File:Skinnintendomarioyoshi.png|80px]] |
| − | |||
[[Yoshi]] |
[[Yoshi]] |
||
| − | |[[File:Yarn Yoshi YWW.png| |
+ | |[[File:Yarn Yoshi YWW.png|100px]] |
| − | |||
Yarn Yoshi |
Yarn Yoshi |
||
|[[File:Nintendomarioyoshiyarnyarnballcannon.png|70px]] |
|[[File:Nintendomarioyoshiyarnyarnballcannon.png|70px]] |
||
| − | |||
Yarn Ball Cannon |
Yarn Ball Cannon |
||
|[[File:Skinnintendomarioyoshiyarnyarnlash.png|70px]] |
|[[File:Skinnintendomarioyoshiyarnyarnlash.png|70px]] |
||
| − | |||
Yarn Lash |
Yarn Lash |
||
|Obtained by using any generic Yoshi [[Amiibo/Yoshi|amiibo]] |
|Obtained by using any generic Yoshi [[Amiibo/Yoshi|amiibo]] |
||
| − | |-style="background-color: |
+ | |-style="background-color: lightgreen;" |
| − | |[[File:Skinnintendomarioyoshi.png| |
+ | |[[File:Skinnintendomarioyoshi.png|80px]] |
| − | |||
[[Yoshi]] |
[[Yoshi]] |
||
| − | |[[File:Birdo MP9.png| |
+ | |[[File:Birdo MP9.png|105px]] |
| − | |||
[[Birdo]] |
[[Birdo]] |
||
|[[File:Nintendomarioyoshibirdomouth.png|70px]] |
|[[File:Nintendomarioyoshibirdomouth.png|70px]] |
||
| − | |||
Pink Egg Mouth Cannon |
Pink Egg Mouth Cannon |
||
|[[File:Skinnintendomarioyoshibirdoyoyo.png|70px]] |
|[[File:Skinnintendomarioyoshibirdoyoyo.png|70px]] |
||
| − | |||
Yo-yo |
Yo-yo |
||
|Unlocked upon reaching 20 Mushroom Tokens on [[Yoshi]] |
|Unlocked upon reaching 20 Mushroom Tokens on [[Yoshi]] |
||
| − | |-style="background-color: |
+ | |-style="background-color: lightyellow;" |
| − | |[[File:Rosalina(smw13).png| |
+ | |[[File:Rosalina(smw13).png|110px]] |
| − | |||
[[Rosalina]] |
[[Rosalina]] |
||
| − | |[[File:Rosalina in Black.png| |
+ | |[[File:Rosalina in Black.png|110px]] |
| − | |||
Black Dress Rosalina |
Black Dress Rosalina |
||
|[[File:Nintendomariorosalinawand.png|70px]] |
|[[File:Nintendomariorosalinawand.png|70px]] |
||
| − | |||
Rosalina's Wand |
Rosalina's Wand |
||
|[[File:Nintendomariorosalinalumas.png|70px]] |
|[[File:Nintendomariorosalinalumas.png|70px]] |
||
| − | |||
Lumas |
Lumas |
||
|Obtained by using any generic Rosalina [[Amiibo/Rosalina|amiibo]] |
|Obtained by using any generic Rosalina [[Amiibo/Rosalina|amiibo]] |
||
| − | |-style="background-color: |
+ | |-style="background-color: lightyellow;" |
| − | |[[File:Rosalina(smw13).png| |
+ | |[[File:Rosalina(smw13).png|110px]] |
| − | |||
[[Rosalina]] |
[[Rosalina]] |
||
| − | |[[File:Cosmetta 3D by Ziegs.png| |
+ | |[[File:Cosmetta 3D by Ziegs.png|105px]] |
| − | |||
[[Cosmetta]] |
[[Cosmetta]] |
||
|[[File:Nintendomariorosalinacosmettawand.png|70px]] |
|[[File:Nintendomariorosalinacosmettawand.png|70px]] |
||
| − | |||
Black Hole Gun Beam |
Black Hole Gun Beam |
||
|[[File:Skinnintendomariorosalinacosmettalumas.png|70px]] |
|[[File:Skinnintendomariorosalinacosmettalumas.png|70px]] |
||
| − | |||
Black Hole Lumas |
Black Hole Lumas |
||
|Obtained by using any generic Cosmetta [[Amiibo/Cosmetta|amiibo]] |
|Obtained by using any generic Cosmetta [[Amiibo/Cosmetta|amiibo]] |
||
| − | |-style="background-color: |
+ | |-style="background-color: lightyellow;" |
| − | |[[File:Rosalina(smw13).png| |
+ | |[[File:Rosalina(smw13).png|110px]] |
| − | |||
[[Rosalina]] |
[[Rosalina]] |
||
| − | |[[File:Peachy.png| |
+ | |[[File:Peachy.png|95px]] |
| − | |||
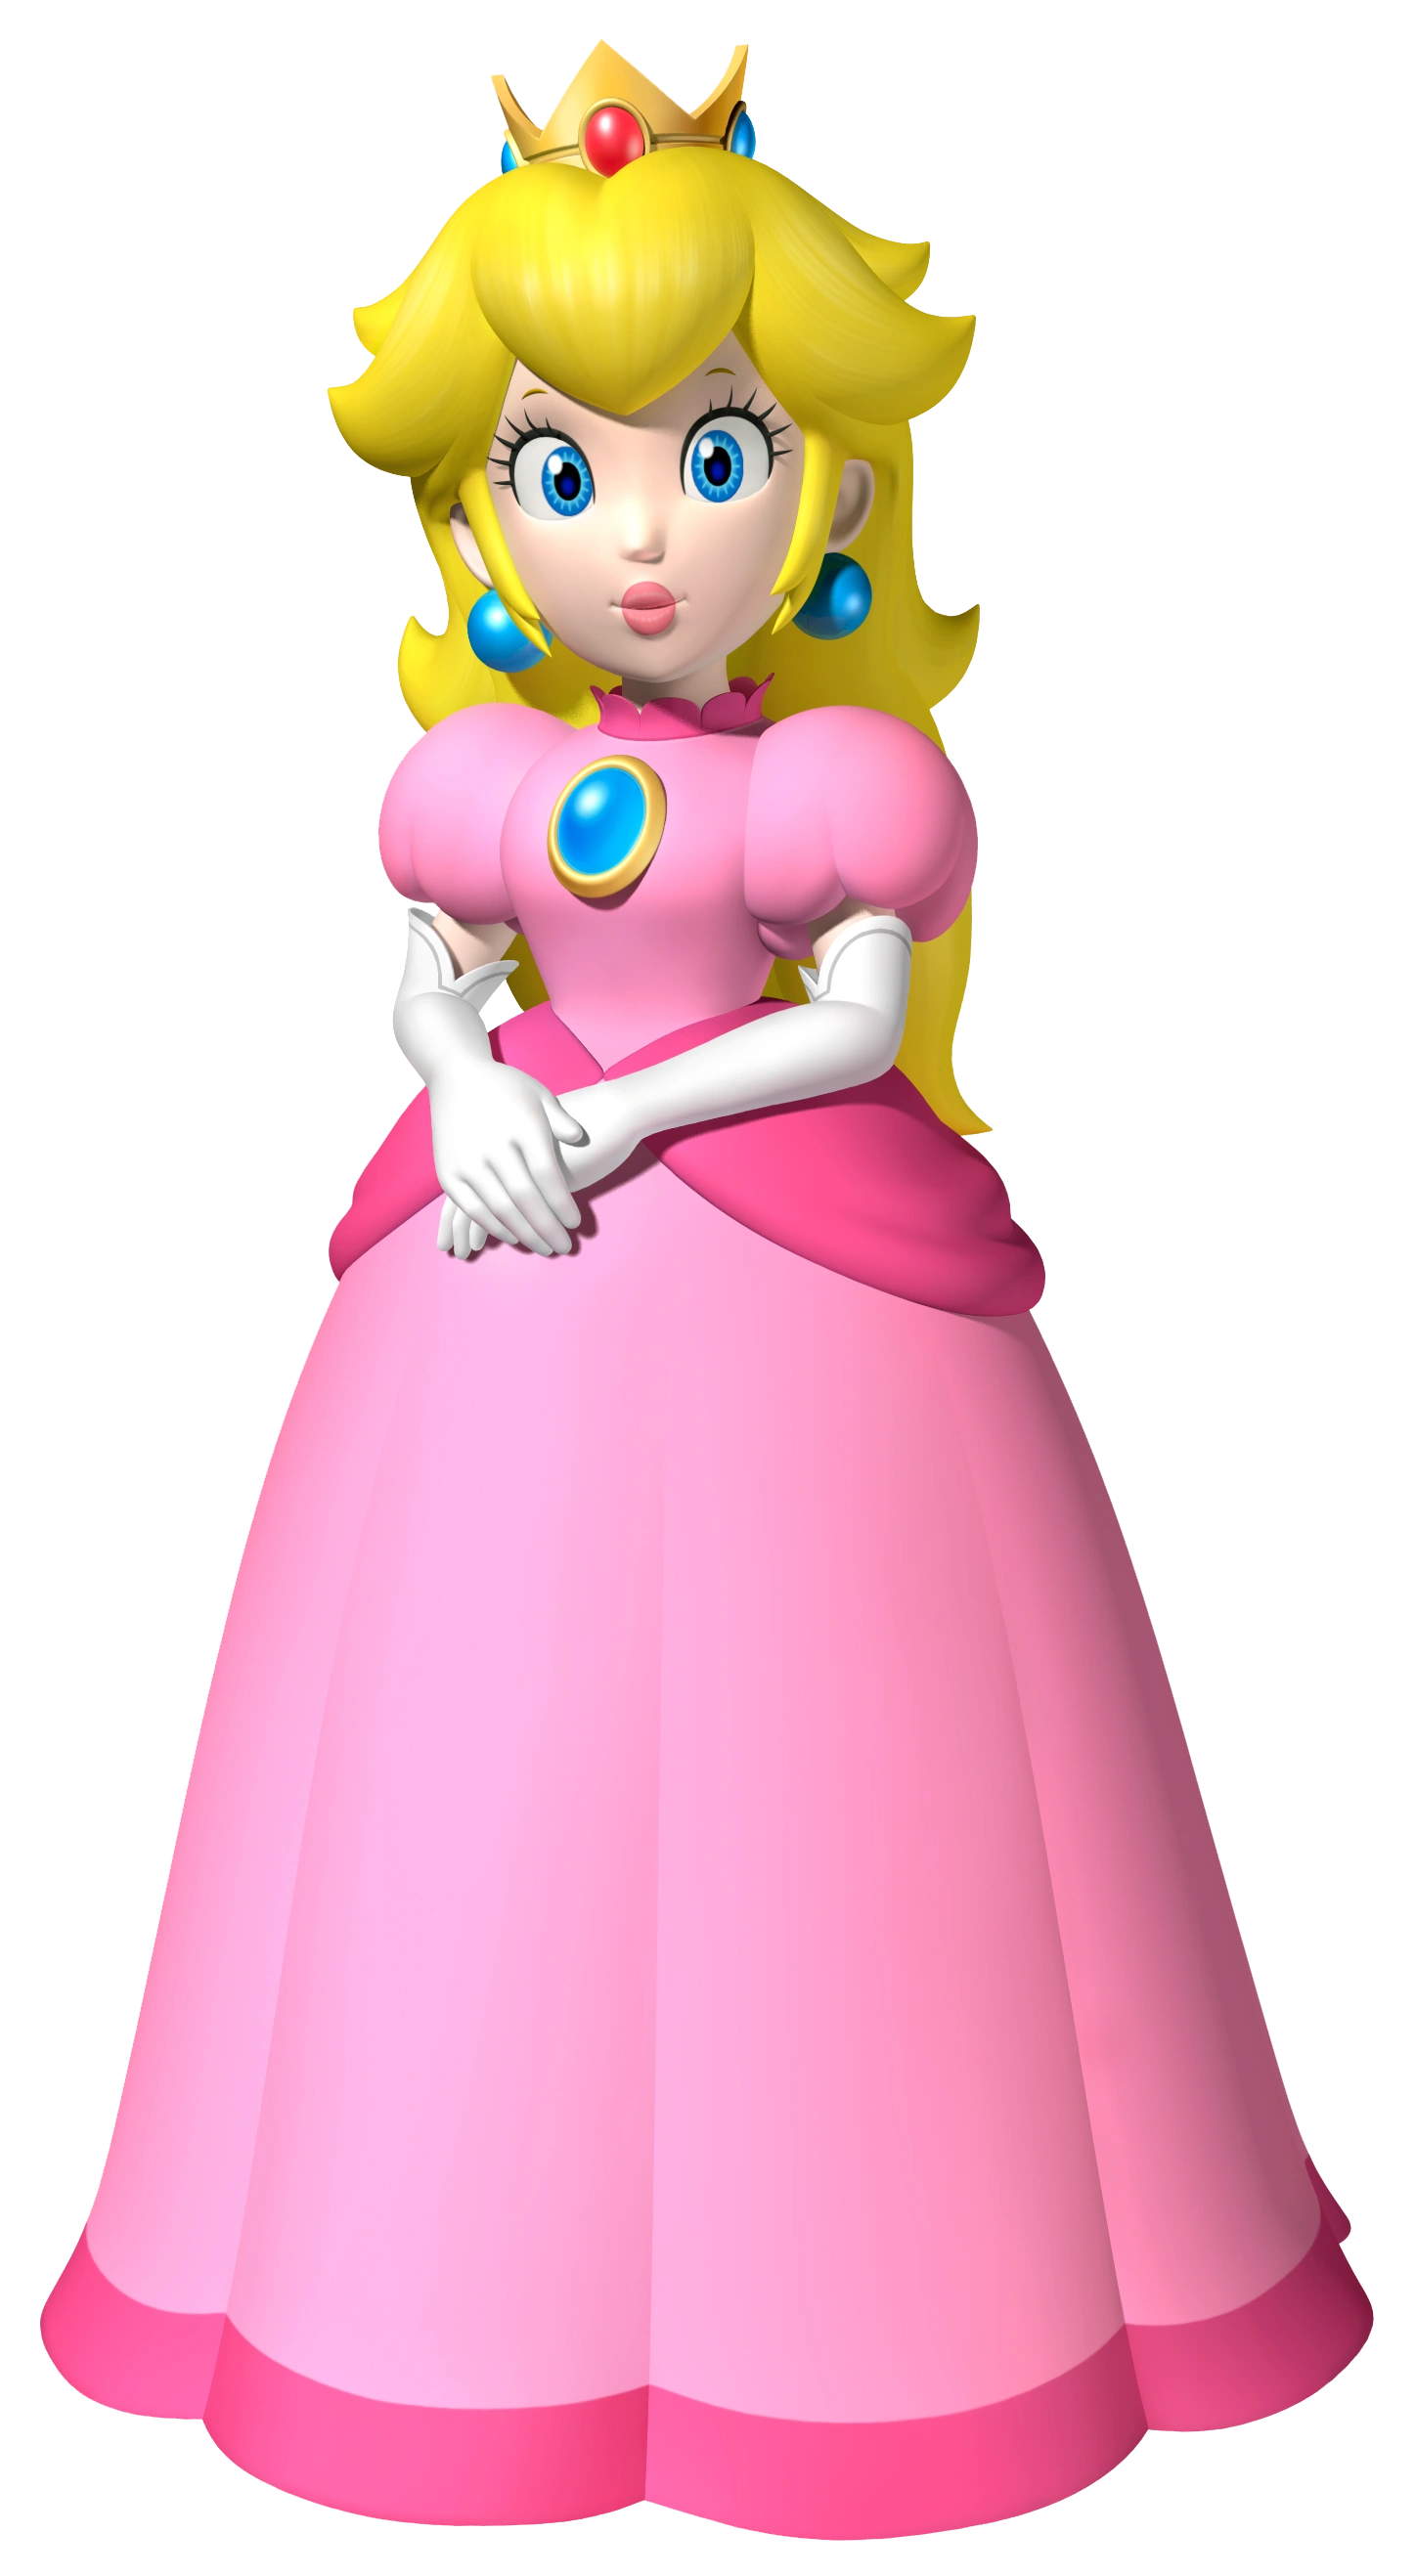
[[Princess Peach]] |
[[Princess Peach]] |
||
|[[File:Nintendomariorosalinapeachwand.png|70px]] |
|[[File:Nintendomariorosalinapeachwand.png|70px]] |
||
| − | |||
Peach's Wand |
Peach's Wand |
||
|[[File:SMRalltoads.png|70px]] |
|[[File:SMRalltoads.png|70px]] |
||
| − | |||
[[Toad (species)|Toad Minions]] |
[[Toad (species)|Toad Minions]] |
||
|Obtained by using any generic Peach [[Amiibo/Peach|amiibo]] |
|Obtained by using any generic Peach [[Amiibo/Peach|amiibo]] |
||
| − | |-style="background-color: |
+ | |-style="background-color: lightyellow;" |
| − | |[[File:Rosalina(smw13).png| |
+ | |[[File:Rosalina(smw13).png|110px]] |
| − | |||
[[Rosalina]] |
[[Rosalina]] |
||
| − | |[[File:Skinnintendomariorosalinapeachwedding.png| |
+ | |[[File:Skinnintendomariorosalinapeachwedding.png|115px]] |
| − | |||
Wedding Peach |
Wedding Peach |
||
|[[File:Nintendomariorosalinapeachwand.png|70px]] |
|[[File:Nintendomariorosalinapeachwand.png|70px]] |
||
| − | |||
Peach's Wand |
Peach's Wand |
||
|[[File:SMRalltoads.png|70px]] |
|[[File:SMRalltoads.png|70px]] |
||
| − | |||
[[Toad (species)|Toad Minions]] |
[[Toad (species)|Toad Minions]] |
||
|Obtained by using the Peach (Wedding Outfit) [[Amiibo/Peach|amiibo]] |
|Obtained by using the Peach (Wedding Outfit) [[Amiibo/Peach|amiibo]] |
||
| − | |-style="background-color: |
+ | |-style="background-color: lightyellow;" |
| − | |[[File:Rosalina(smw13).png| |
+ | |[[File:Rosalina(smw13).png|110px]] |
| − | |||
[[Rosalina]] |
[[Rosalina]] |
||
| − | |[[File:Daisy MK7.png| |
+ | |[[File:Daisy MK7.png|92px]] |
| − | |||
[[Princess Daisy]] |
[[Princess Daisy]] |
||
|[[File:Nintendomariorosalinadaisywand.png|70px]] |
|[[File:Nintendomariorosalinadaisywand.png|70px]] |
||
| − | |||
Daisy's Wand |
Daisy's Wand |
||
|[[File:ACL MK8 Orange Yoshi.png|70px]] |
|[[File:ACL MK8 Orange Yoshi.png|70px]] |
||
| − | |||
[[Yoshi (species)|Yoshi Minions]] |
[[Yoshi (species)|Yoshi Minions]] |
||
|Obtained by using any generic Daisy [[Amiibo/Daisy|amiibo]] |
|Obtained by using any generic Daisy [[Amiibo/Daisy|amiibo]] |
||
| Line 548: | Line 604: | ||
[[Category:Crossovers]] |
[[Category:Crossovers]] |
||
[[Category:Jtolla]] |
[[Category:Jtolla]] |
||
| + | [[Category:Metroid (series)]] |
||
| + | [[Category:Nintendo Switch Games]] |
||
Latest revision as of 08:04, 11 December 2017
| This page is under construction. Please excuse its informal appearance while it is being worked on. We hope to complete it as soon as possible! |
| Top Mushroom | ||||
| ||||
| Publisher(s) | Nintendo | |||
| Designer(s) | Jtolla | |||
| Artist(s) | Various | |||

This Nintendo Switch game places players in online matches of 15-30 fighters. By selecting unlocked "Character Mushrooms" before a match, players play as mushroom avatars of their favorite characters. The player with the highest "inflicted knockout" to "received knockout" ratio after ten minutes wins the round and becomes the "Top Mushroom".
Gameplay
In the default gameplay mode, players choose their character of choice before being dropped into a random map with anywhere from 14 to 29 other players. Each player can switch at will between their character's two weapons, all of which function and behave uniquely. Upon being defeated, a player will be taken out of the match for 5 seconds before respawning at a random point on the map that is deemed safe, with an extra 5 seconds of invulnerability but an inability to attack. The player with the highest "inflicted knockout" to "received knockout" ratio after ten minutes wins the round and becomes the "Top Mushroom", earning a Mushroom Token for the character they played as. If a tie occurs, all players tied for first will receive this honor.
Controls
Franchises
- The Legend of Zelda (series)
- Pac-Man
- Rabbids
Characters
Each franchise represented in the game adds exactly four playable characters. Additional characters are playable as skins for base characters.
If you wish for a franchise to be represented in the game, simply request it in the comments, preferably listing at least four playable characters from the franchise. If you wish for an individual character to be represented in the game, suggest that character as a skin for an existing character instead.
| Franchise | Character | Stats | Primary Weapon | Stats | Secondary Weapon | Stats |
|---|---|---|---|---|---|---|
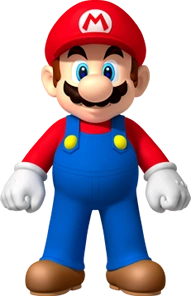
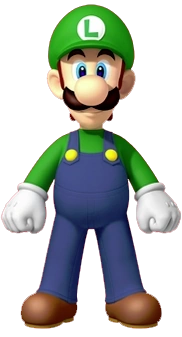
|

Unlocked by default Can deal minor damage to other players by stomping on them |
Health
Speed
Dexterity
|
Mario uses the Hammer to powerfully attack enemies |
Attack
Range
Recharge Speed
|

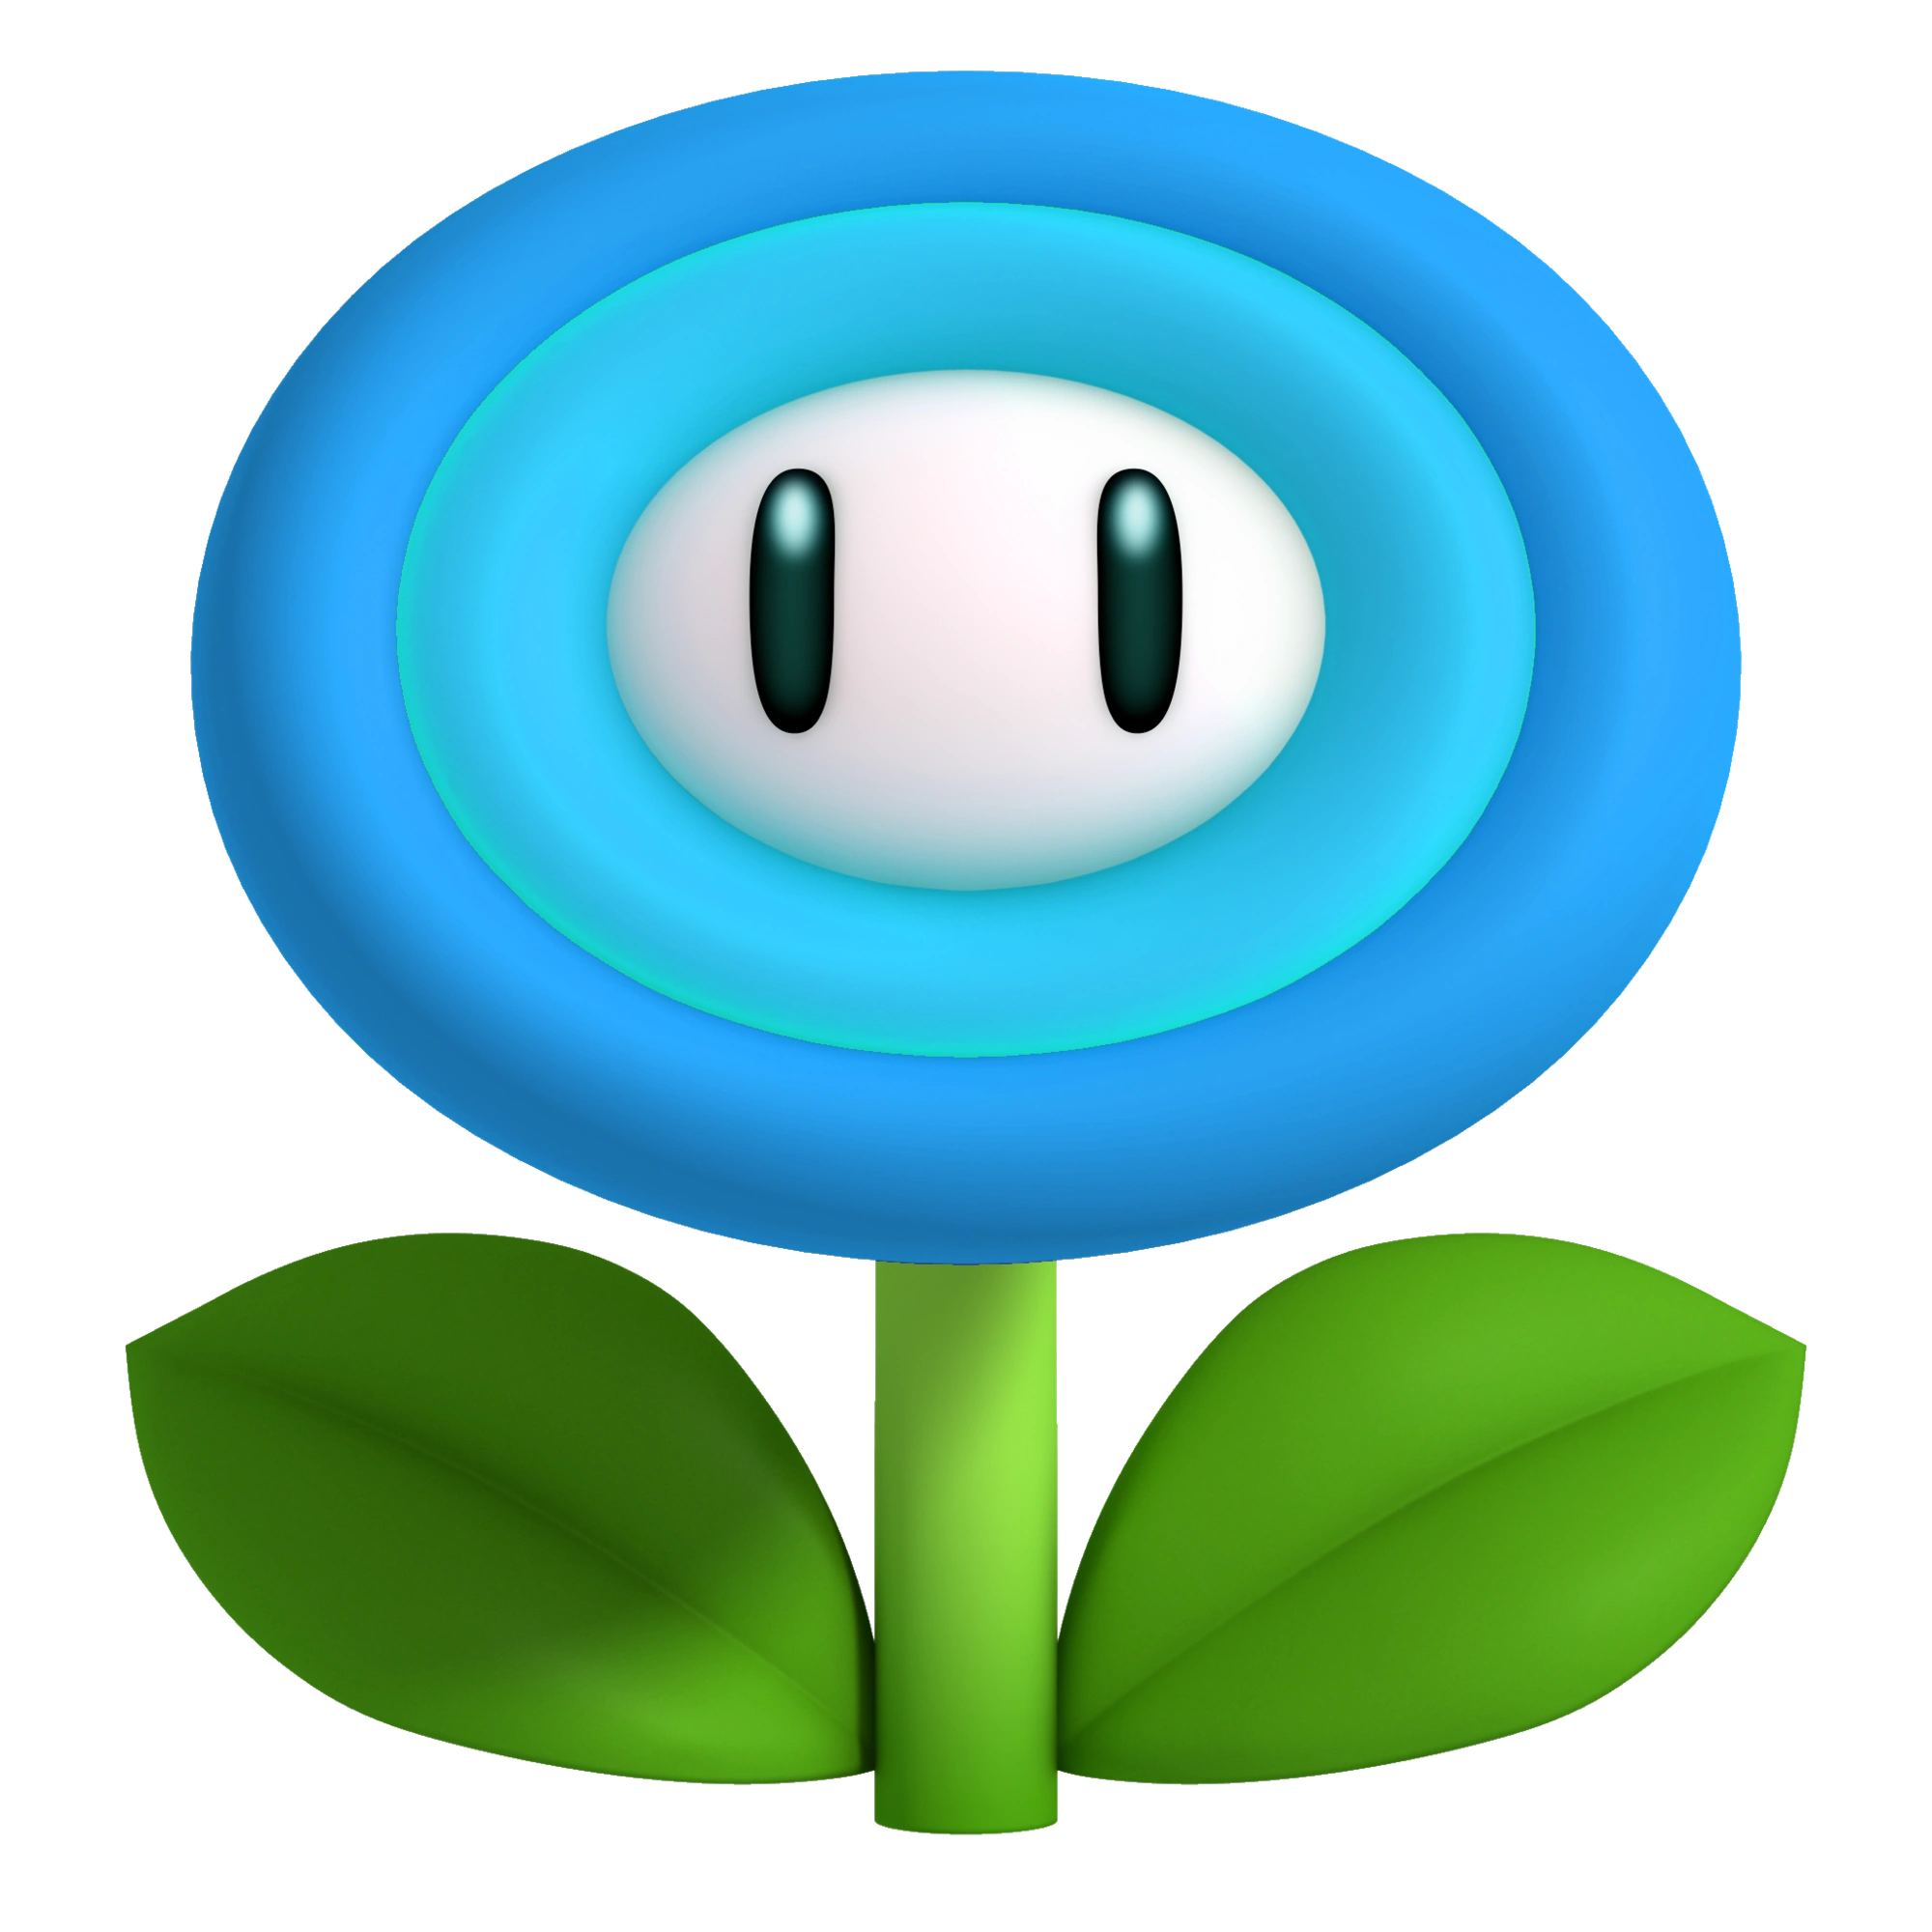
The Fire Flower allows Mario to rapidly shoots fireballs from his hands |
Attack
Range
Recharge Speed
|
|
Unlocked by default Unable to jump |
Health
Speed
Dexterity
|
Toad uses a Tennis Racket to swat at foes. Using it to attack in the direction of a projectile will sometimes allow him to block that projectile |
Attack
Range
Recharge Speed
|
Captain Toad's Pickaxe can be used by Toad as a boomerang, striking foes in a line before returning to Toad |
Attack
Range
Recharge Speed
|
|

Unlocked upon reaching 10 Mushroom Tokens on Mario Lays a Yoshi Egg at death point, giving the player the option to respawn there |
Health
Speed
Dexterity
|
The Egg Cannon shoots Yoshi Eggs as projectiles |
Attack
Range
Recharge Speed
|
Yoshi's native tongue lash is not his preferred method of attack in a large-scale battle, but it is certainly effective |
Attack
Range
Recharge Speed
|
|
Unlocked upon reaching 10 Mushroom Tokens on Toad Can hover a short distance when double jumping |
Health
Speed
Dexterity
|

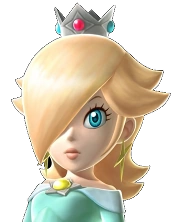
Rosalina's wand fires a beam of astral energy that continues firing as long as the attack button is held and clips through enemies |
Attack
Range
Recharge Speed
|
Rosalina's two Lumas automatically attack nearby enemies, but will immediately be knocked out and have to recharge if Rosalina is hit |
Attack
Range
Recharge Speed
|
|

Unlocked by default Speed increases gradually with continuous movement, eventually dealing minor damage on collision with opponents |
Health
Speed
Dexterity
|
Samus's Ice Beam fires continuously for three seconds before having to recharge, and stuns enemies on a direct hit |
Attack
Range
Recharge Speed
|
The Spazer Beam shoots 3 parallel needle projectiles at once |
Attack
Range
Recharge Speed
|
|
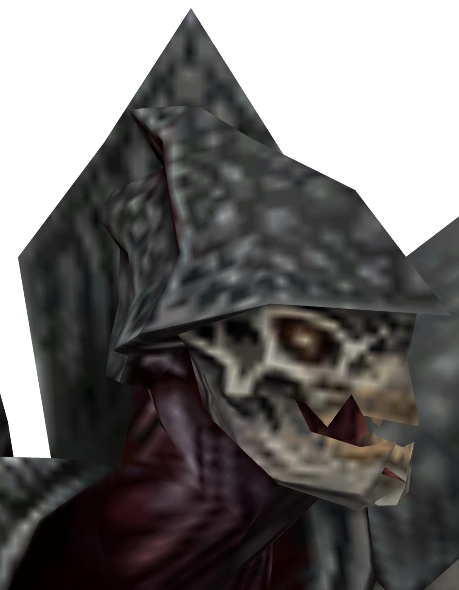
Space Pirate Unlocked by default Upon being knocked out, the Space Pirate falls to the ground and must be attacked again within the next 2 seconds or else they will get back up with full health |
Health
Speed
Dexterity
|
The Space Pirate's Scythe acts a close-quarters combat weapon |
Attack
Range
Recharge Speed
|
The Galvanic Accelerator Cannon fires short blasts of red energy |
Attack
Range
Recharge Speed
|
|

Unlocked upon reaching 20 Mushroom Tokens on Samus Aran Attacks automatically aim at the nearest opponent |
Health
Speed
Dexterity
|

The Shock Coil fires a beam that continues firing as long as the attack button is held and clips through enemies |
Attack
Range
Recharge Speed
|
Sylux's Electric Bombs can be thrown at enemies to deal damage in an area upon impact |
Attack
Range
Recharge Speed
|
|

Unlocked upon reaching 20 Mushroom Tokens on Space Pirate Can hover a short distance when double jumping |
Health
Speed
Dexterity
|
Ridley strikes foes with his powerful tail |
Attack
Range
Recharge Speed
|
Ridley's two Metroids automatically attack nearby enemies, but will immediately be knocked out and have to recharge if Ridley is hit |
Attack
Range
Recharge Speed
|
Skins
Skins can be unlocked a variety of ways and add new visuals to existing characters. Their weapons and abilities, while visually different, function identically to their base character counterparts.
If you know of a character who would make a good skin for a base playable character, suggest it in the comments.
| Character | Skin | Primary Weapon | Secondary Weapon | How to Obtain |
|---|---|---|---|---|
|
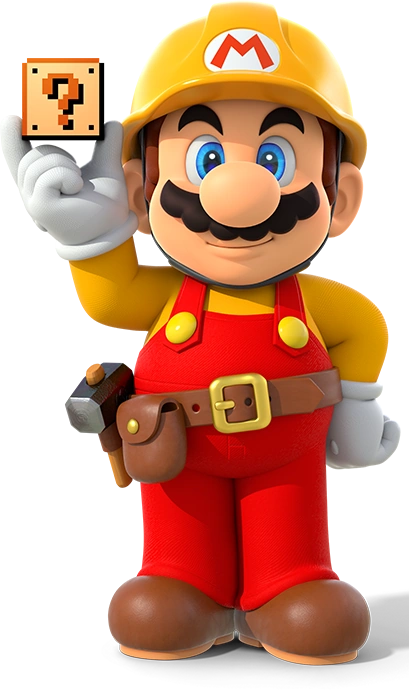
Construction Mario |
Construction Hammer |
|
Obtained by using any generic Mario amiibo |
|
|

|
File:Skinnintendomariomariodoctorhammer.png
Reflex Hammer |

Fire Megavitamin |
Obtained by using the Dr. Mario amiibo |
|
|

Wedding Mario |
Hammer |
|
Obtained by using the Mario (Wedding Outfit) amiibo |
|
|
|
Golf Club |
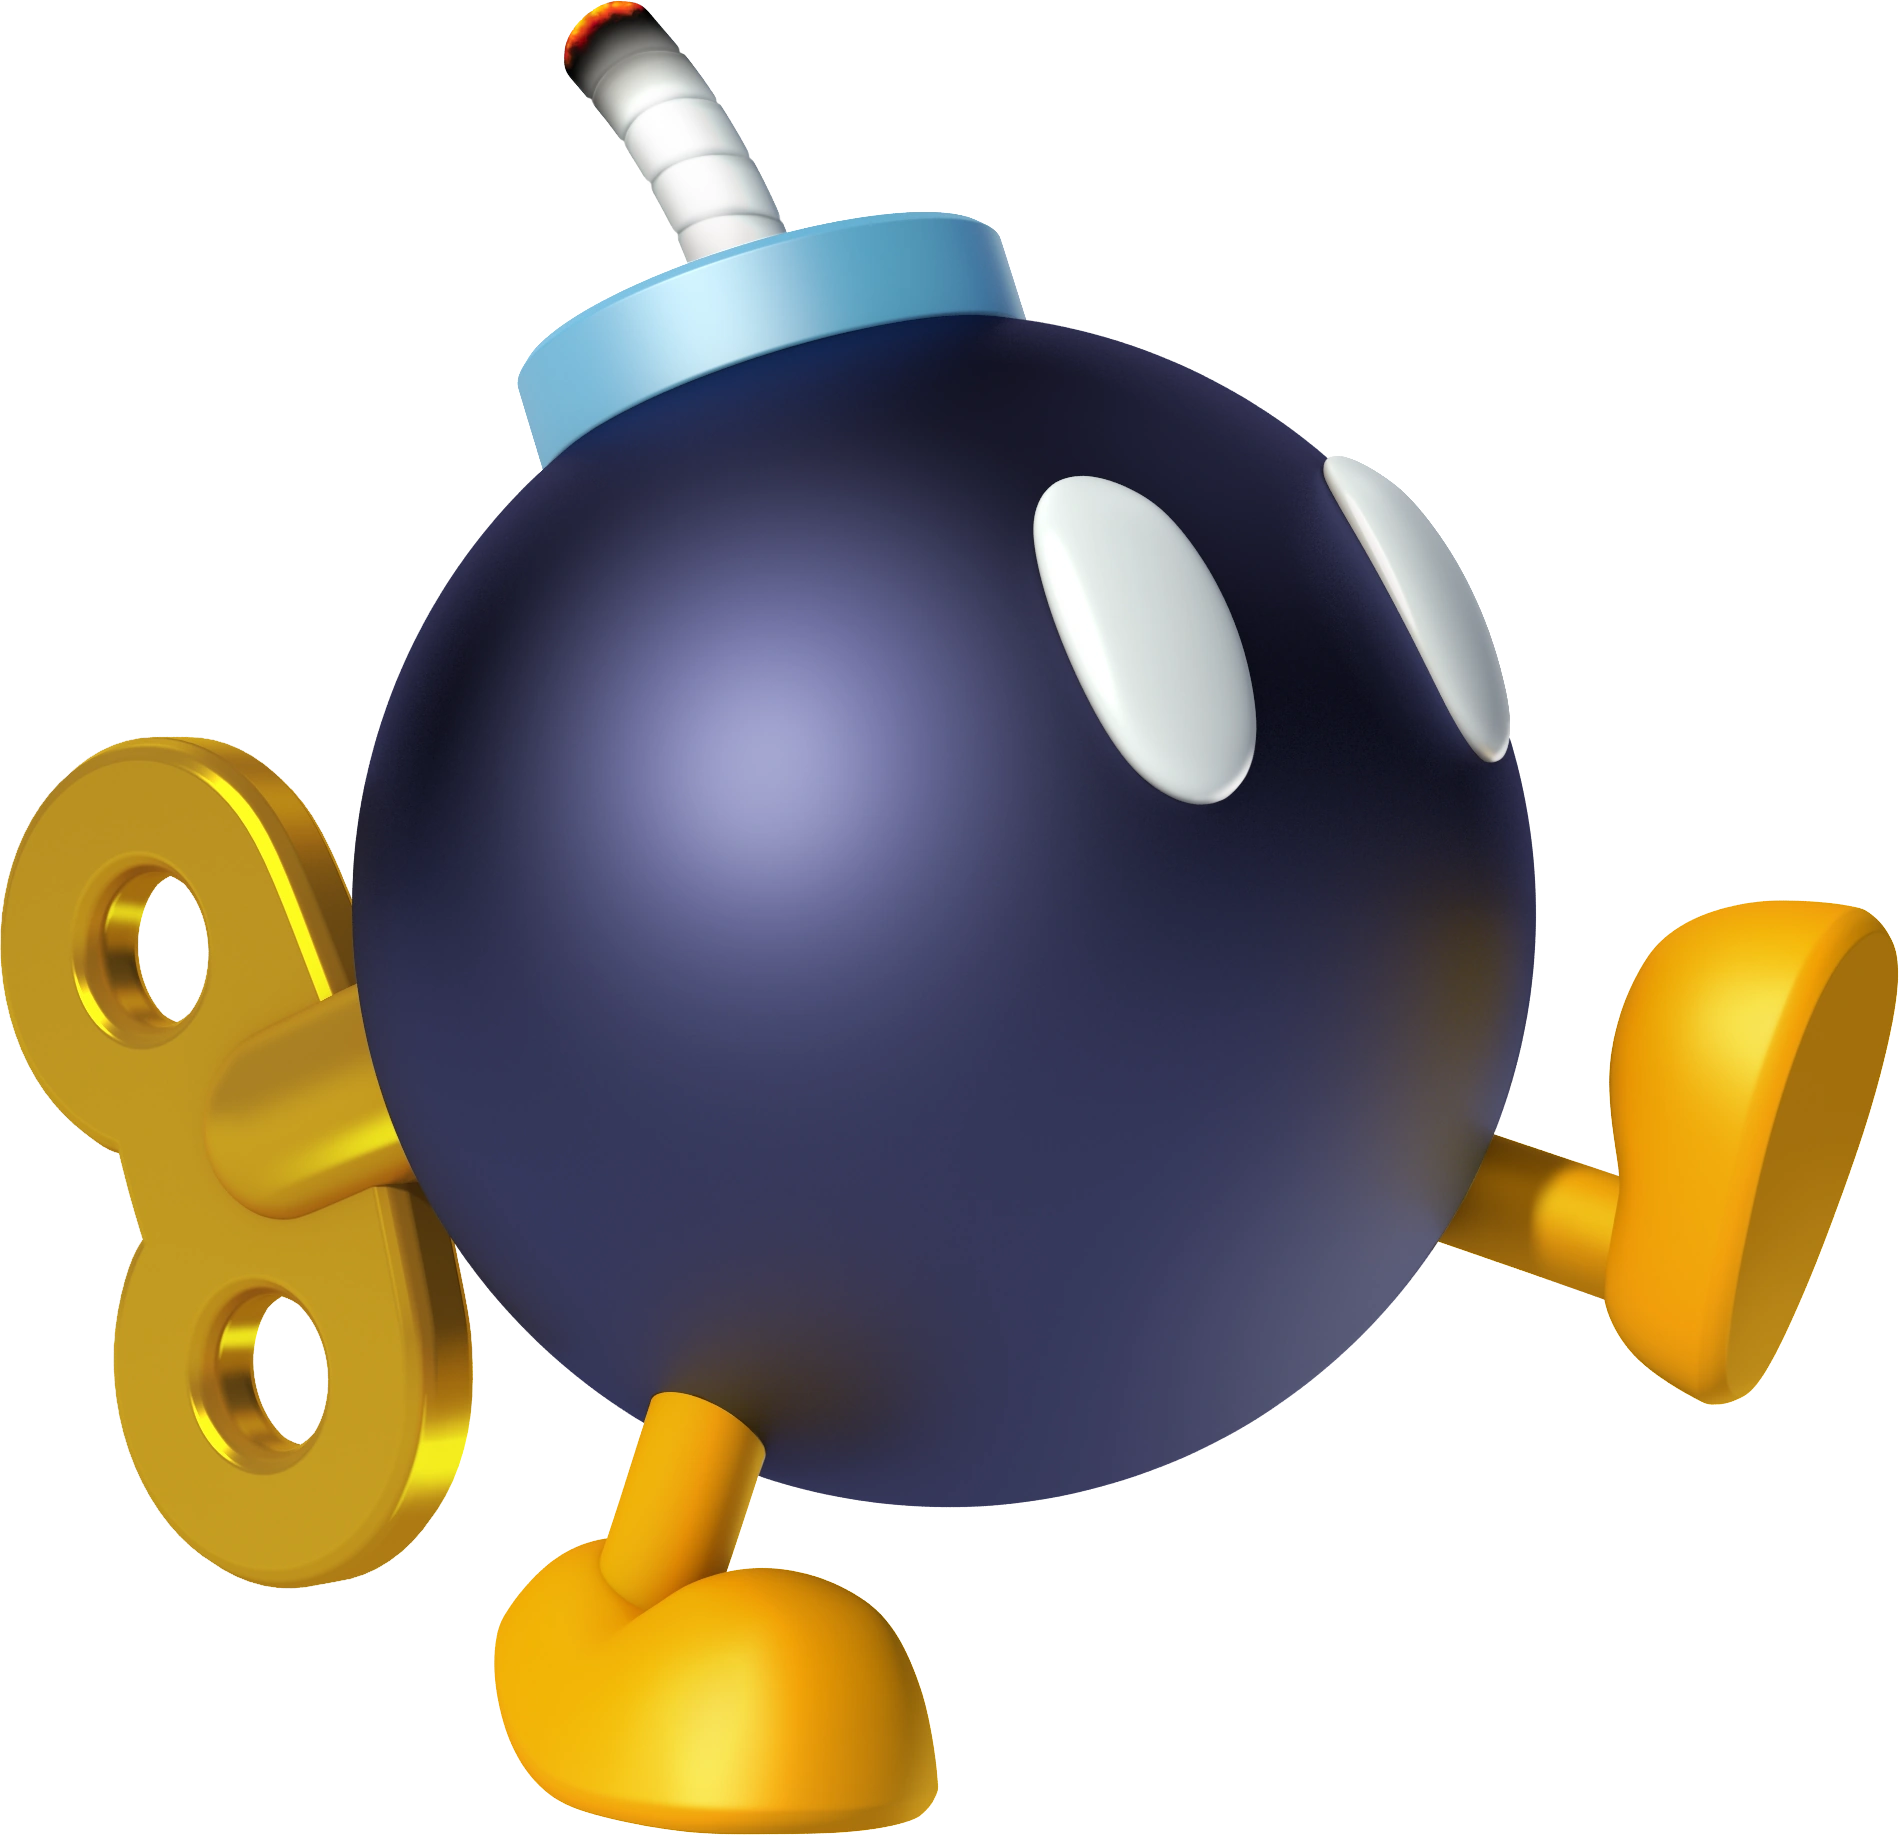
Bag of Bob-ombs |
Obtained by using any generic Luigi amiibo |
|
|
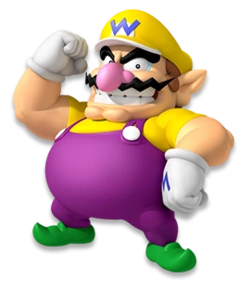
|
Hammer |
|
Obtained by using any generic Wario amiibo |
|
|
|
Golf Club |
Bag of Bob-ombs |
Obtained by using any generic Waluigi amiibo |

|

|
File:Skinnintendomariotoadcaptaincoinstick.png
Coin on a Stick |
Captain Toad's Pickaxe |
Obtained by using any generic Toad amiibo |
|
|
|
Tennis Racket |
Unlocked upon reaching 20 Mushroom Tokens on Toad | |
|
|
|
Walking Stick |
Unlocked upon reaching 30 Mushroom Tokens on Toad | |
|
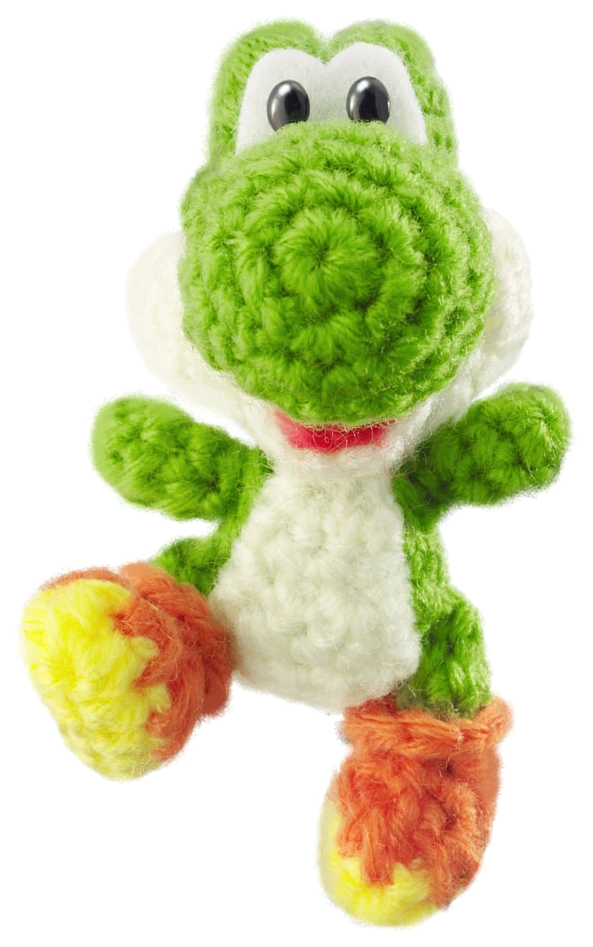
Yarn Yoshi |
File:Nintendomarioyoshiyarnyarnballcannon.png
Yarn Ball Cannon |
File:Skinnintendomarioyoshiyarnyarnlash.png
Yarn Lash |
Obtained by using any generic Yoshi amiibo |
|
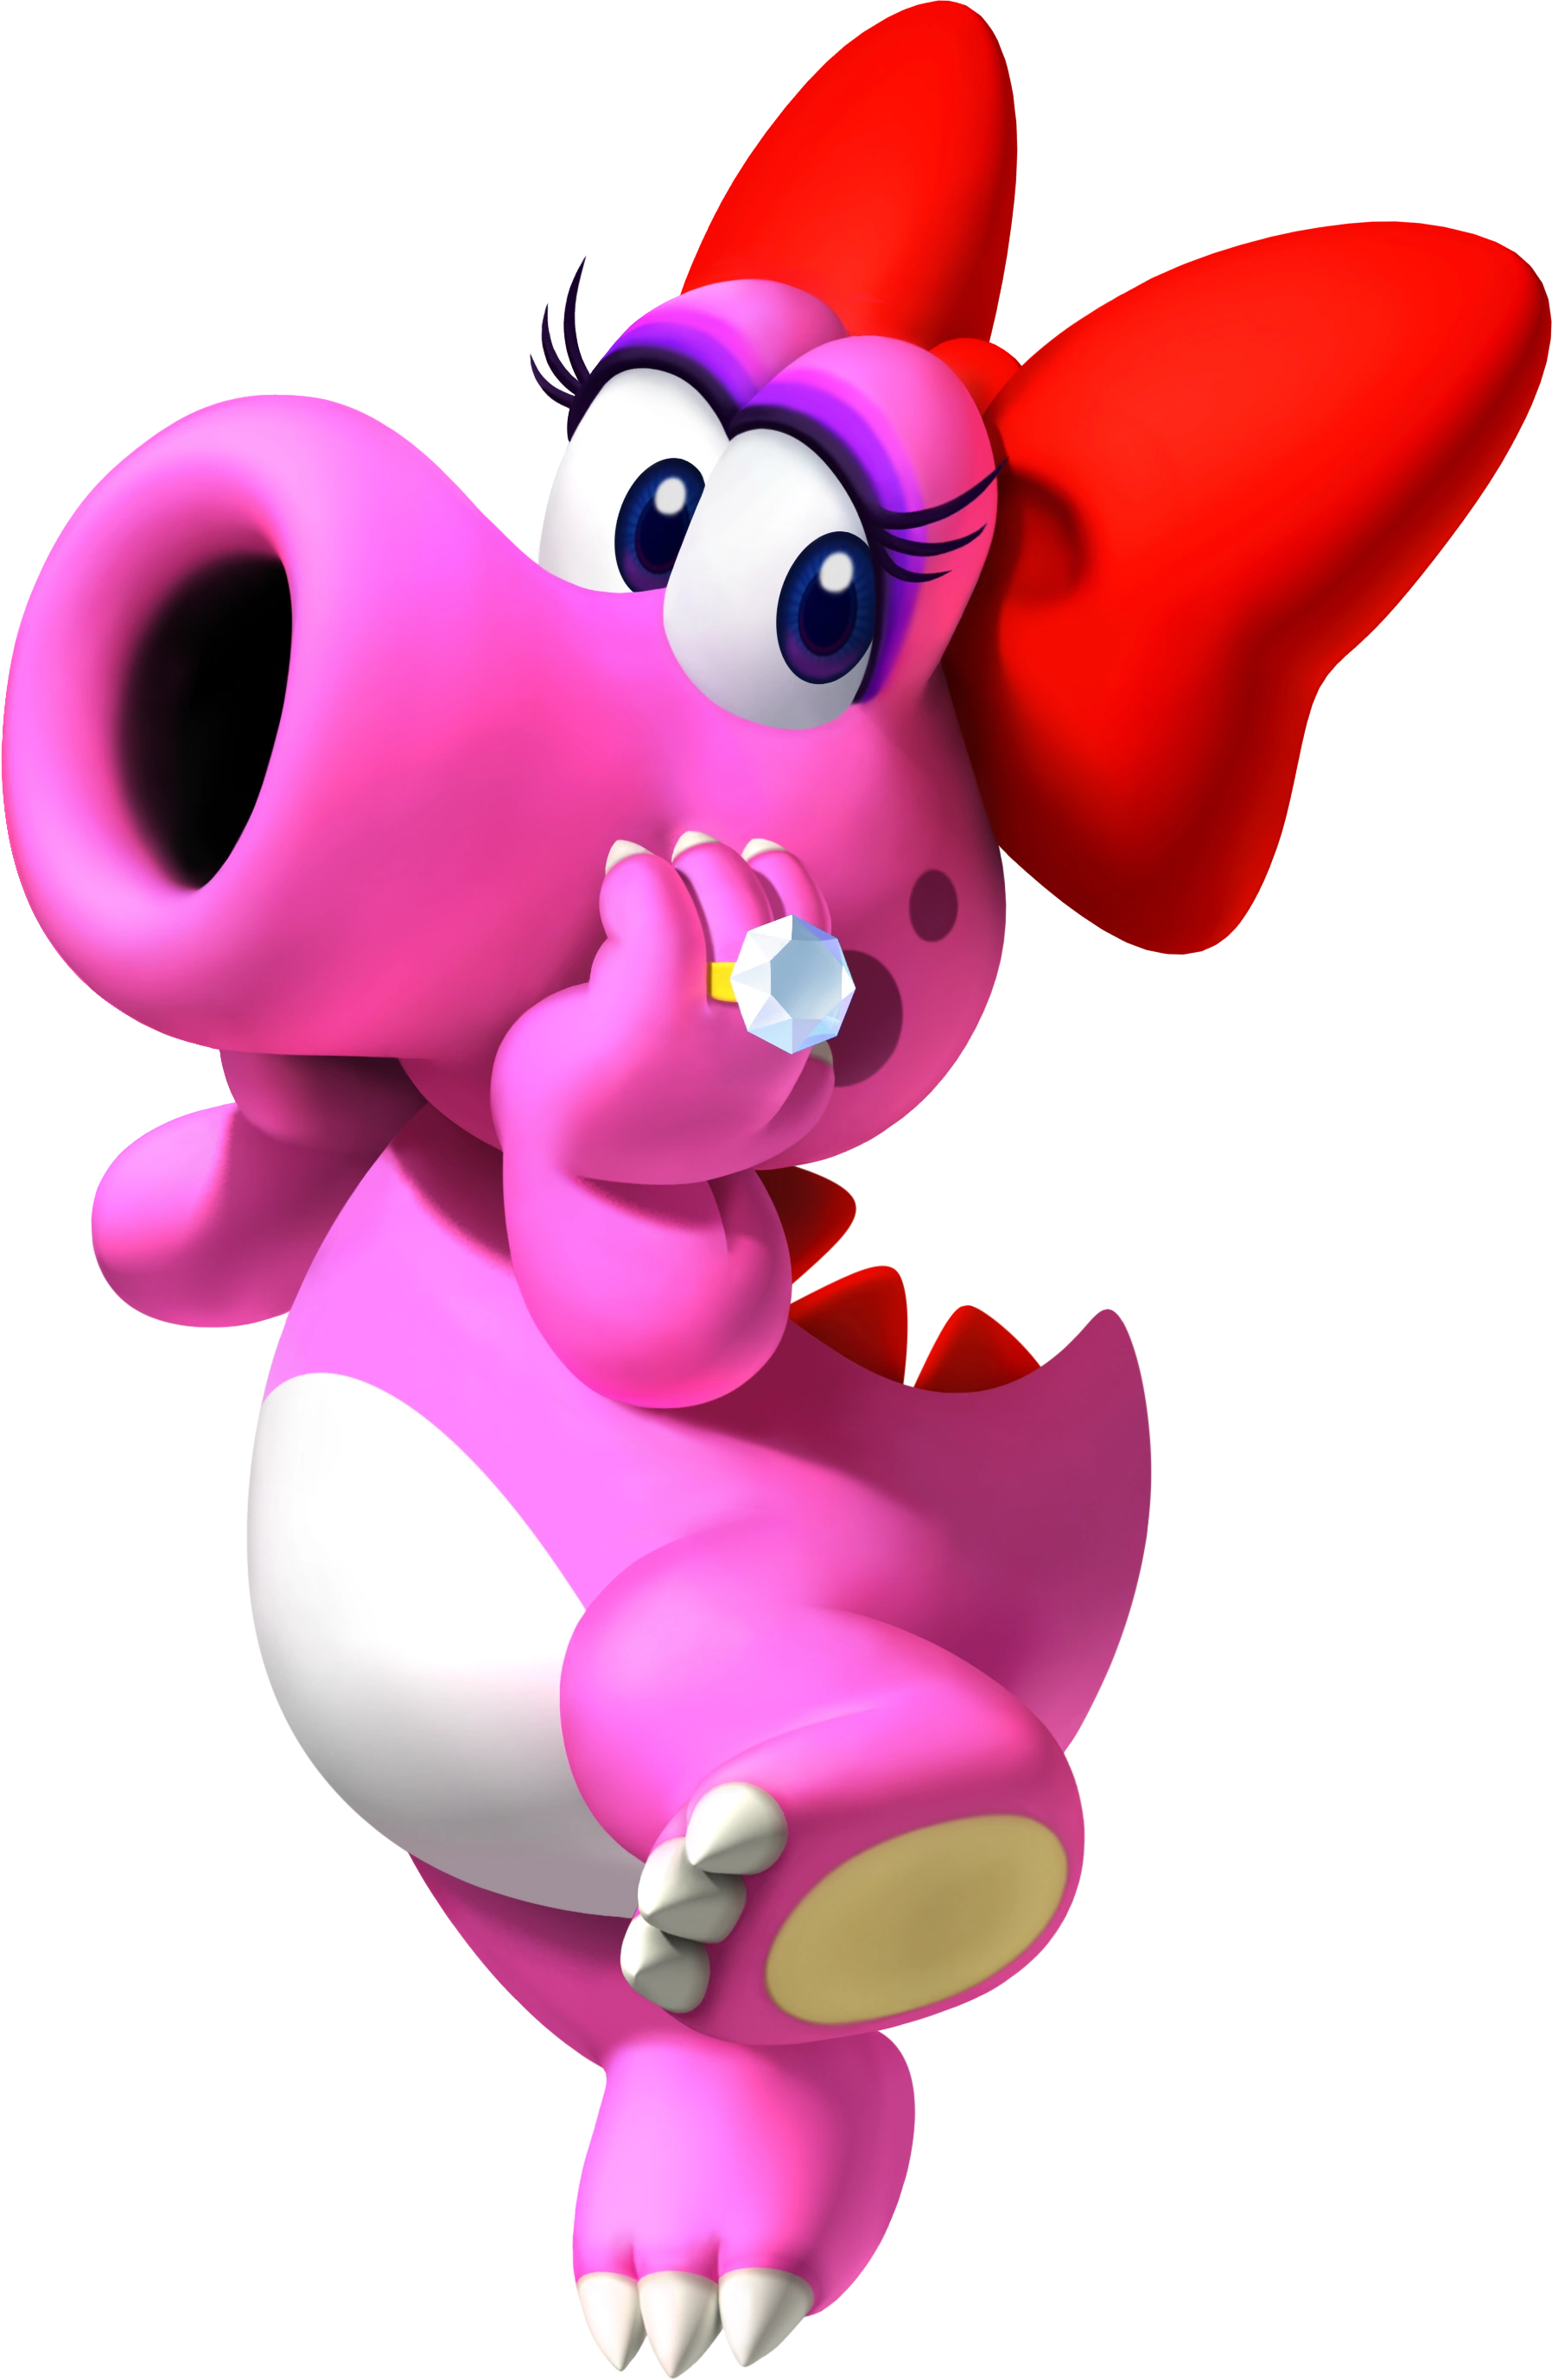
|
|
Pink Egg Mouth Cannon |
File:Skinnintendomarioyoshibirdoyoyo.png
Yo-yo |
Unlocked upon reaching 20 Mushroom Tokens on Yoshi |

|
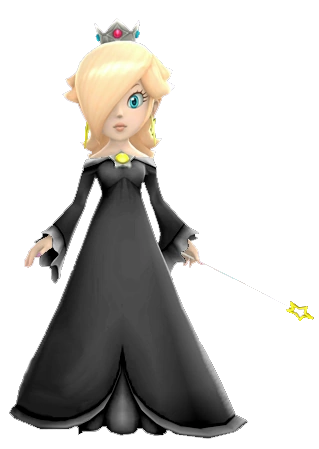
Black Dress Rosalina |
Rosalina's Wand |
Lumas |
Obtained by using any generic Rosalina amiibo |
|
|
|
File:Nintendomariorosalinacosmettawand.png
Black Hole Gun Beam |
Black Hole Lumas |
Obtained by using any generic Cosmetta amiibo |
|
|
|
File:Nintendomariorosalinapeachwand.png
Peach's Wand |
Obtained by using any generic Peach amiibo | |
|
|

Wedding Peach |
File:Nintendomariorosalinapeachwand.png
Peach's Wand |
Obtained by using the Peach (Wedding Outfit) amiibo | |
|
|

|
File:Nintendomariorosalinadaisywand.png
Daisy's Wand |
|
Obtained by using any generic Daisy amiibo |