| This page is under construction. Please excuse its informal appearance while it is being worked on. We hope to complete it as soon as possible! |
![]()
Gameplay[]
Against All Odds is a Tower Defense/PvE hybrid, with elements of both being used in game. Also, the game is quite inspired by Dungeon Defenders- the Terraria version, specifically. Gameplay is fought on a wide flat stage, with a "Smash Ball" on a pedestal in the middle. Enemies will approach from all directions, including walking on from the right or left, swooping in from the sky or digging up from the ground. Defending the Smash Ball, known as the "Grand Smash Ball", is key. The main objective of the game is to keep yourselves alive. Defending against enemies will get more and more difficult as time goes on. Enemies will spawn at a higher pace, and they will become more difficult enemies.
Enemies spawn in "waves". Each wave will complete after either 30 seconds has passed, or after every enemy on the field has been destroyed. You will lose if every member of your team is dead at the same time. Each fighter takes about 8 seconds to respawn after death, however it can be sped up if a teammate fighter stands near them. Later waves spawn higher frequencies of bigger and badder enemies. Like Smash Run, enemies drop stat boosts at some points, making it effective to destroy many enemies in higher numbers at a time.
Characters may experience Environmental Hazards that last an entire wave, such as Volcanoes spewing meteors onto the stage, or an Acid Rain storm. Enemies will begin teaming up in later rounds as well, some stacking on top of each other.
Modes[]
- Survival: Survive until you reach a certain wave (easy 15, normal 30, hard 45).
- Endless: Survive as long as possible! Your score will be tallied after each completion and will be placed on a leaderboard. If you play with a consistent group, you'll have a good time trying to get the best score on the leaderboard.
- Smash Ball Defense: Unlike the normal game, instead of the Smash Ball simply buffing the enemies, the destruction of it by them will grant the enemy an automatic win.
- Solo: Survive on your own in Endless and Survival modes. Good luck! Leaderboards are available for Endless mode for this as well.
The Grand Smash Ball[]

The Grand Smash Ball is a powerful force in the Smash world, and it's being attacked. You must protect it at all costs, or else hell might break loose. The Grand Smash Ball gives many positive effects when its alive, but when it breaks you're in for a tough time. It will sit in the center of the stage immobile- it will shoot small firey projectiles in an attempt to fend for itself, but that's basically it. It is your job to keep this thing safe- and every single enemy is going after it.
As it takes damage, the fire will dwindle, getting smaller and smaller before it completely goes out. The Great Smash Ball has about 500 HP.
When you keep it alive:
- Every 1 minute and 30 seconds, the Grand Smash Ball will grant the nearest player a Final Smash to use.
- Shop stuff will cost less under the influence of the GSB.
- The Smash Ball will shoot small projectiles when at low health in an attempt to defend itself.
Negative Effects Upon Break-
- Enemies have a chance of spawning a random boss.
- Enemy spawnage increases until the Smash Ball respawns.
- More powerful enemies will spawn in this time.
Shop[]
When battling huge hordes of enemies in Against All Odds, you may notice a counter in the top right of the screen. This is your Smash Coin section- as you defeat enemies, this is added to your count. Smash Coins will be produced more frequently in later rounds of the game, so it might be a good idea to use them wisely. Smash Coins are plentiful, so prices that seem high (100G etc) are actually fairly low- about 25G is earned by killing a stronger enemy in later rounds.
Who the Shopkeeper is depends on which stage is selected for AAO- they will have different lines and possibly different things in stock. The appearance of said currency will change in every style- for instance, Good Egg has star bits.
| Item | Information |
|---|---|
 General Items The following items can be found on each stage, in each stage's shop- they are not exclusive to any stage. | |
 Smash Ball |
1000G The Smash Ball gives you a Final Smash upon purchase, allowing you to unleash a devastating attack. For cinematic Final Smashes, it will give the initial attack a much larger range, so for things like K. Rool's, you can easily trap up to 30 enemies in one. It's a hefty price, but it's a good utility in a pinch. |
 Mushroom |
100G This item will be applied to the Great Smash Ball, healing it for about 50HP. |
 Golden Mushroom |
200G This item also is applied to the Great Smash Ball, and will heal it 100HP gradually over the span of 10 seconds, for about 10HP per second. |
 Home Run Bat |
250G This two time use item allows you to swing the Home Run bat at a single enemy- said enemy will rocket around Smash Run style, destroying/damaging other enemies it hits fiercely, before rocketing off screen eventually. Good for crowd control. |
 Golden Banana |
300G This item, when bought, gives a random enemy extremely increased power and speed, however it also multiplies the rewards for destroying it by 6. Can only be used once every 5 rounds. |
 Lubba Shopkeeper of Good Egg The following items are exclusive or semi-exclusive to the stage Good Egg Galaxy. For this stage, Lubba is your shopkeeper, and will sell the following items alongside the "general" items. | |
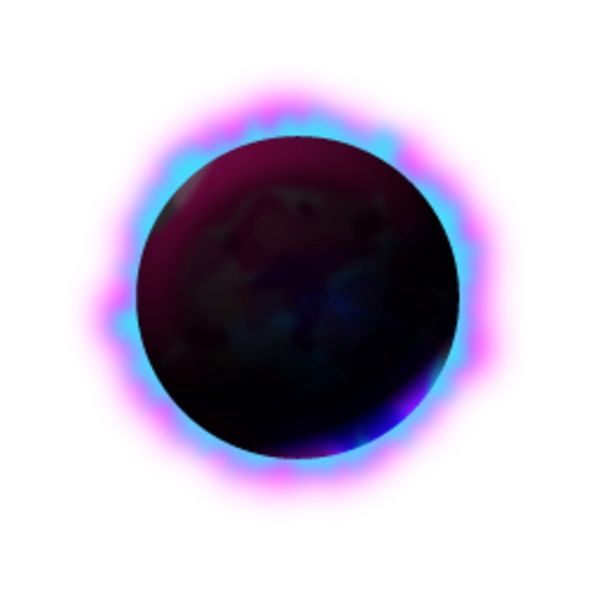 Black Hole |
400G The Black Hole acts as an inverse to the Launch Star. It stays stationary in midair when thrown, and pulls enemies towards it- sorta like a Graviton Surge. It says in place for about 7 seconds, and it's good for keeping enemies away from the Smash Ball temporarily. |
 Warp Star |
200G The Warp Star acts almost identically to its purpose in the normal game, sending players into the sky to crash down onto the battlefield near where they took off, exploding on impact with the ground. It sends enemies flying, and is good for crowd control. |
 Shulker |
700G The Shulker is given as a Shulker Box, and can be thrown. The Shulker acts as a sentry, shooting slow projectiles at enemies that cause them to levitate for a few seconds. Effective, but slow moving. The Shulker has about 40HP- keep it safe, and stack up many! |
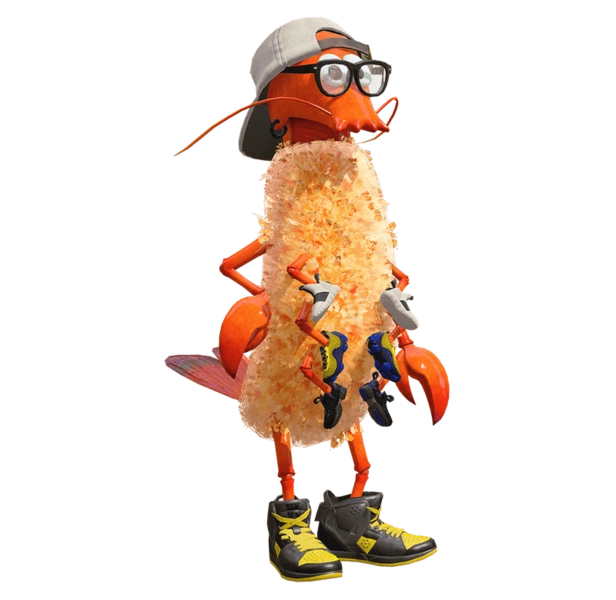 Crusty Sean Shopkeeper of Arowana Mall Crusty Sean will sell the following items out of his Crust Bucket truck, alongside the normal items. | |
 Meal Menu |
Depends On Meal A unique part of Crusty Sean's shop is that he has a completely seperate category for his food and drinks. Here he offers Shwaffles and Seanwiches, greasy but amazingly delicious food items held in the Splatoon series. Eating these will give you positive boosts or healing upon consumption. |
| Meal | Meal | Meal |
|---|---|---|
| Deep Fried Shwaffle 250G Gives the player 50% more payout for defeating enemies for 15 seconds. Can only be eaten once every wave. |
Double-Fried Super Shwaffle 500G Gives the player double payout for defeating enemies for 30 seconds. Can only be eaten once every wave. |
Triple-Fried Galactic Shwaffle 750G Gives the player triple payout for defeating enemies for the whole wave. Can only be eaten once every wave. |
| Crusty Seanwich 250G Turns on Combo Breaker (boosted damage for consecutive hits) for 15 seconds, with a maximum of 50% more damage dealt. |
Super Seanwich 500G Turns on Combo Breaker for 30 seconds, with a maximum of double more damage dealt on a string of consecutive hits. |
Galactic Seanwich 750G Turns on Combo Breaker for the whole wave, with a maximum of triple more damage dealt on a string of consecutive hits. |
 Sandvich |
1000G An item where the user is trapped in place for 4 seconds, eating the Sandvich. It will heal 100% over this 4 seconds, making it an extremely powerful item- it costs a ton of money, however, and if you get hit while eating it, the charge time starts over (but you can't drop it, either!) |
Enemies[]
| Enemy | Information |
|---|---|
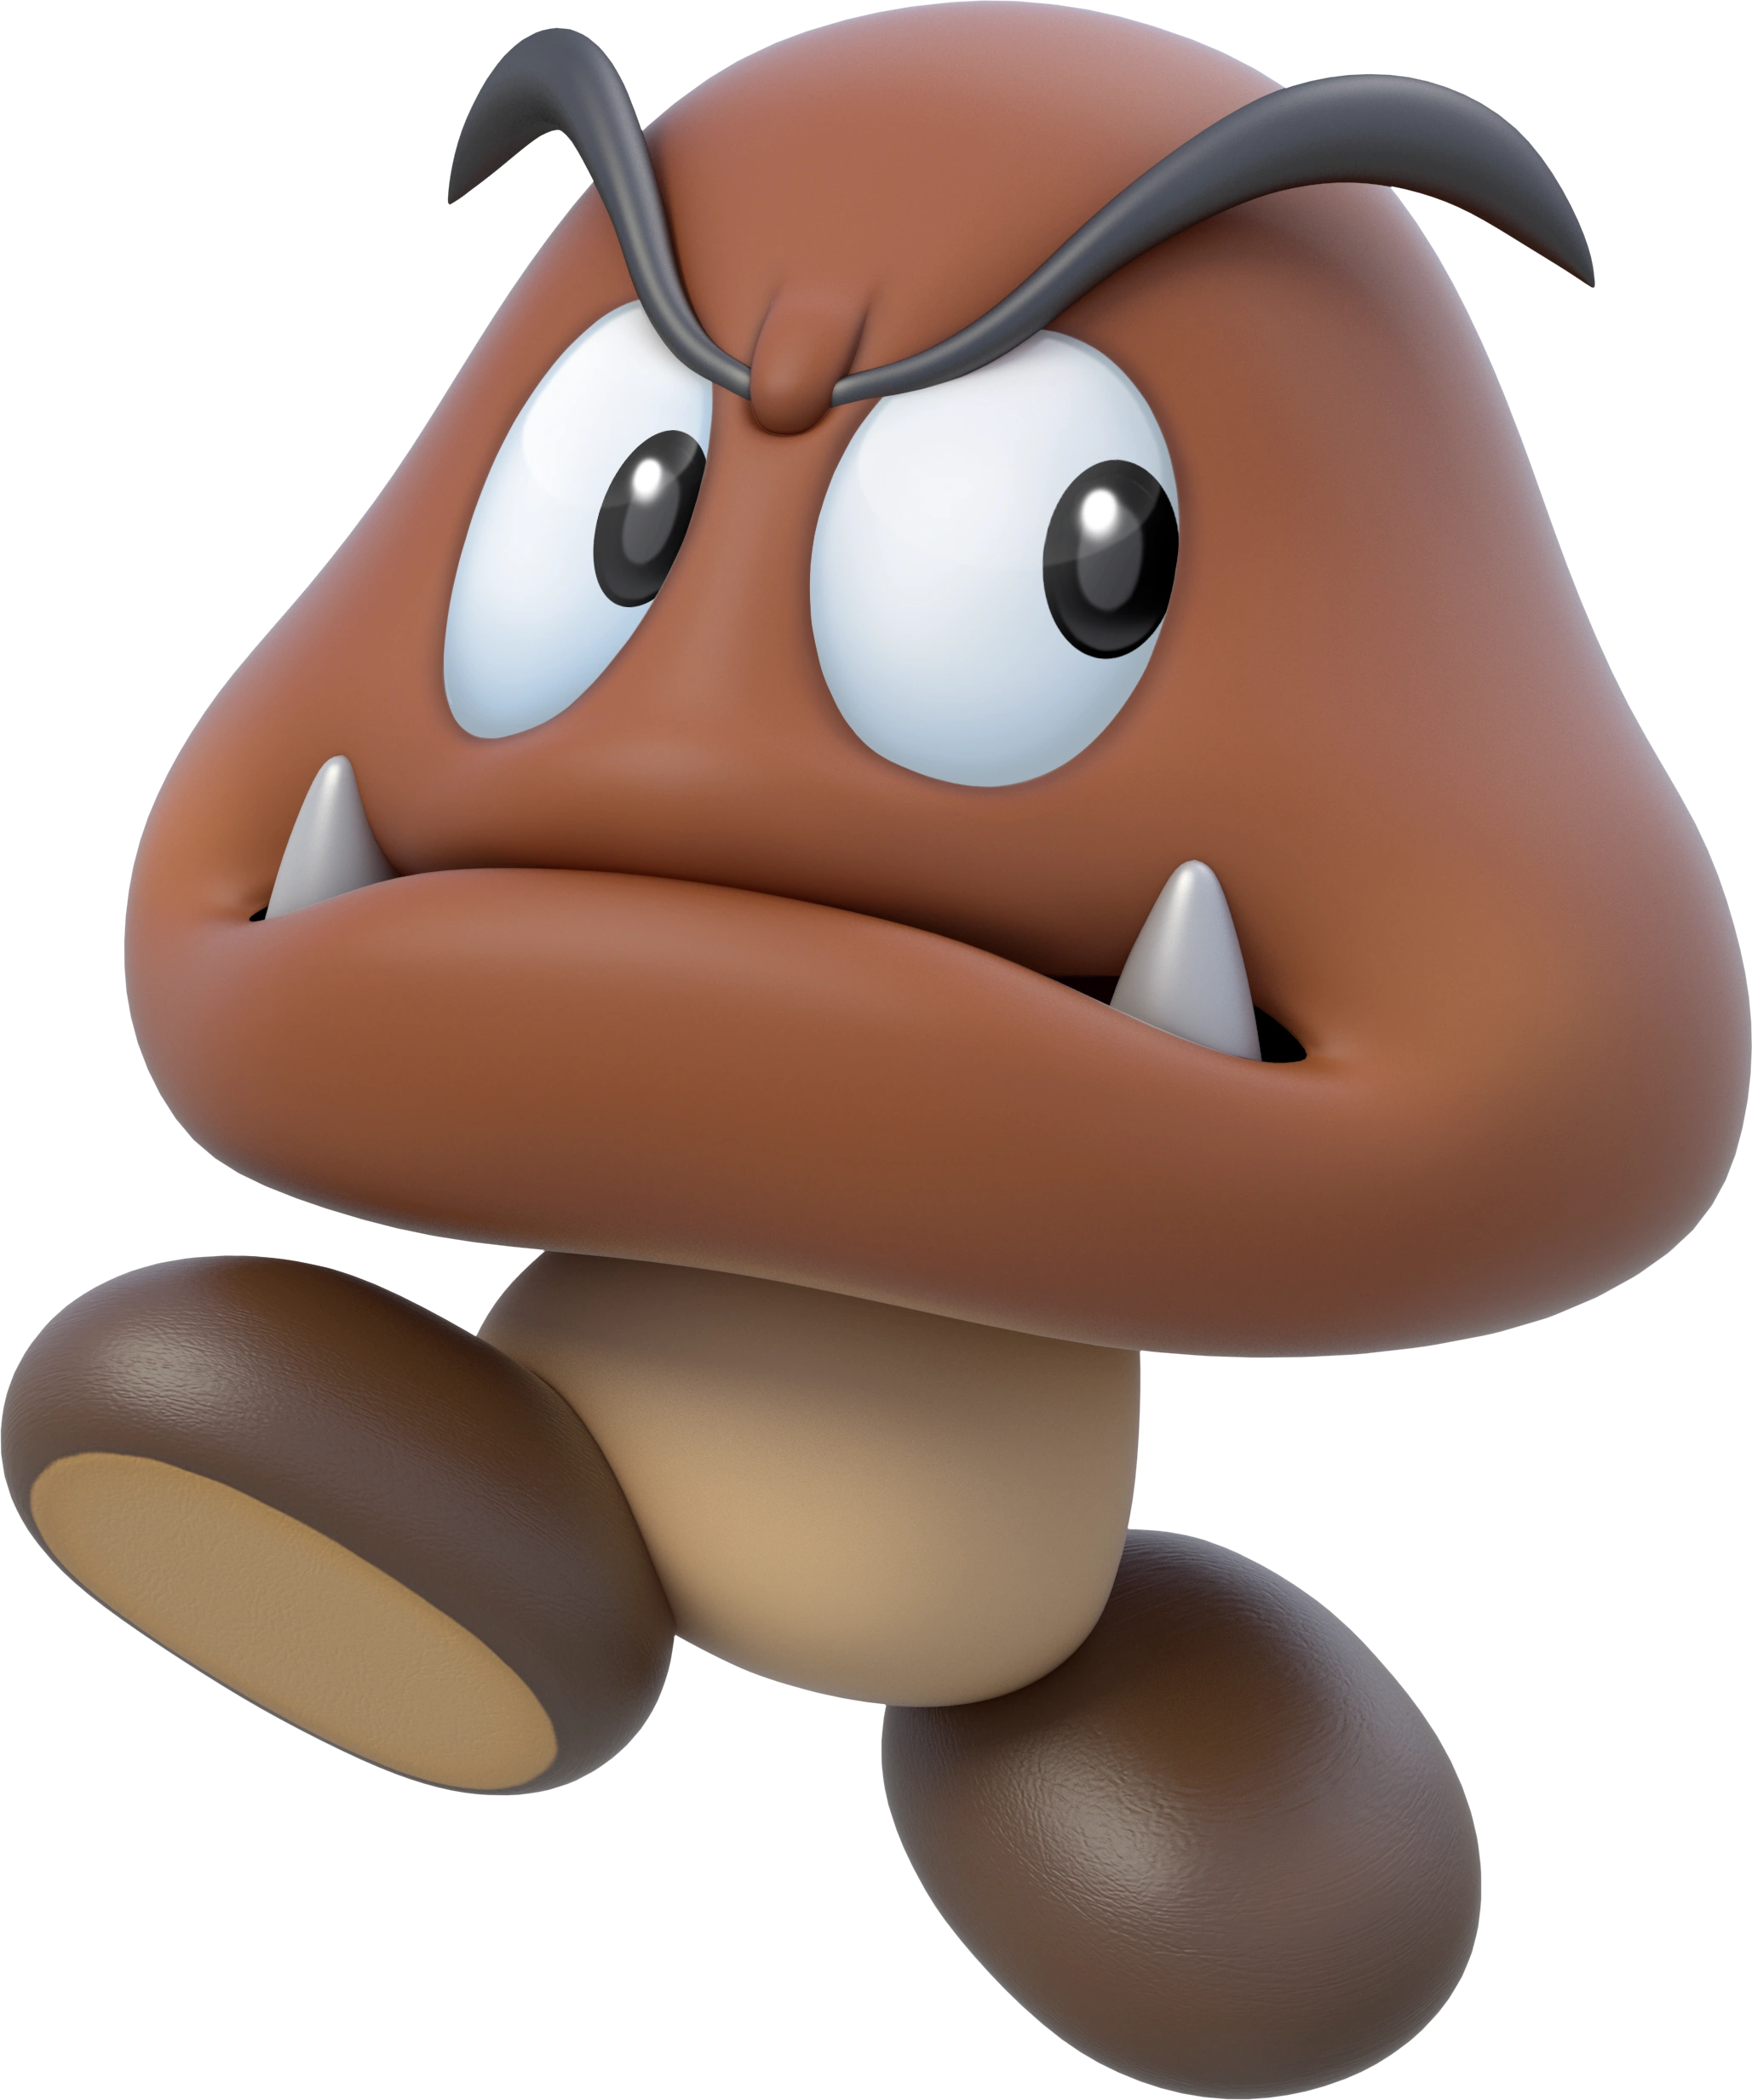 Goomba |
Earliest Wave- Wave 1 The Goomba is the most basic of basic enemies- appearing very frequently, the Goomba is an easily killed enemy that walks forward and damages people who touch it. Footstooling it is a 1 hit K.O and will send you high into the air while doing so. |
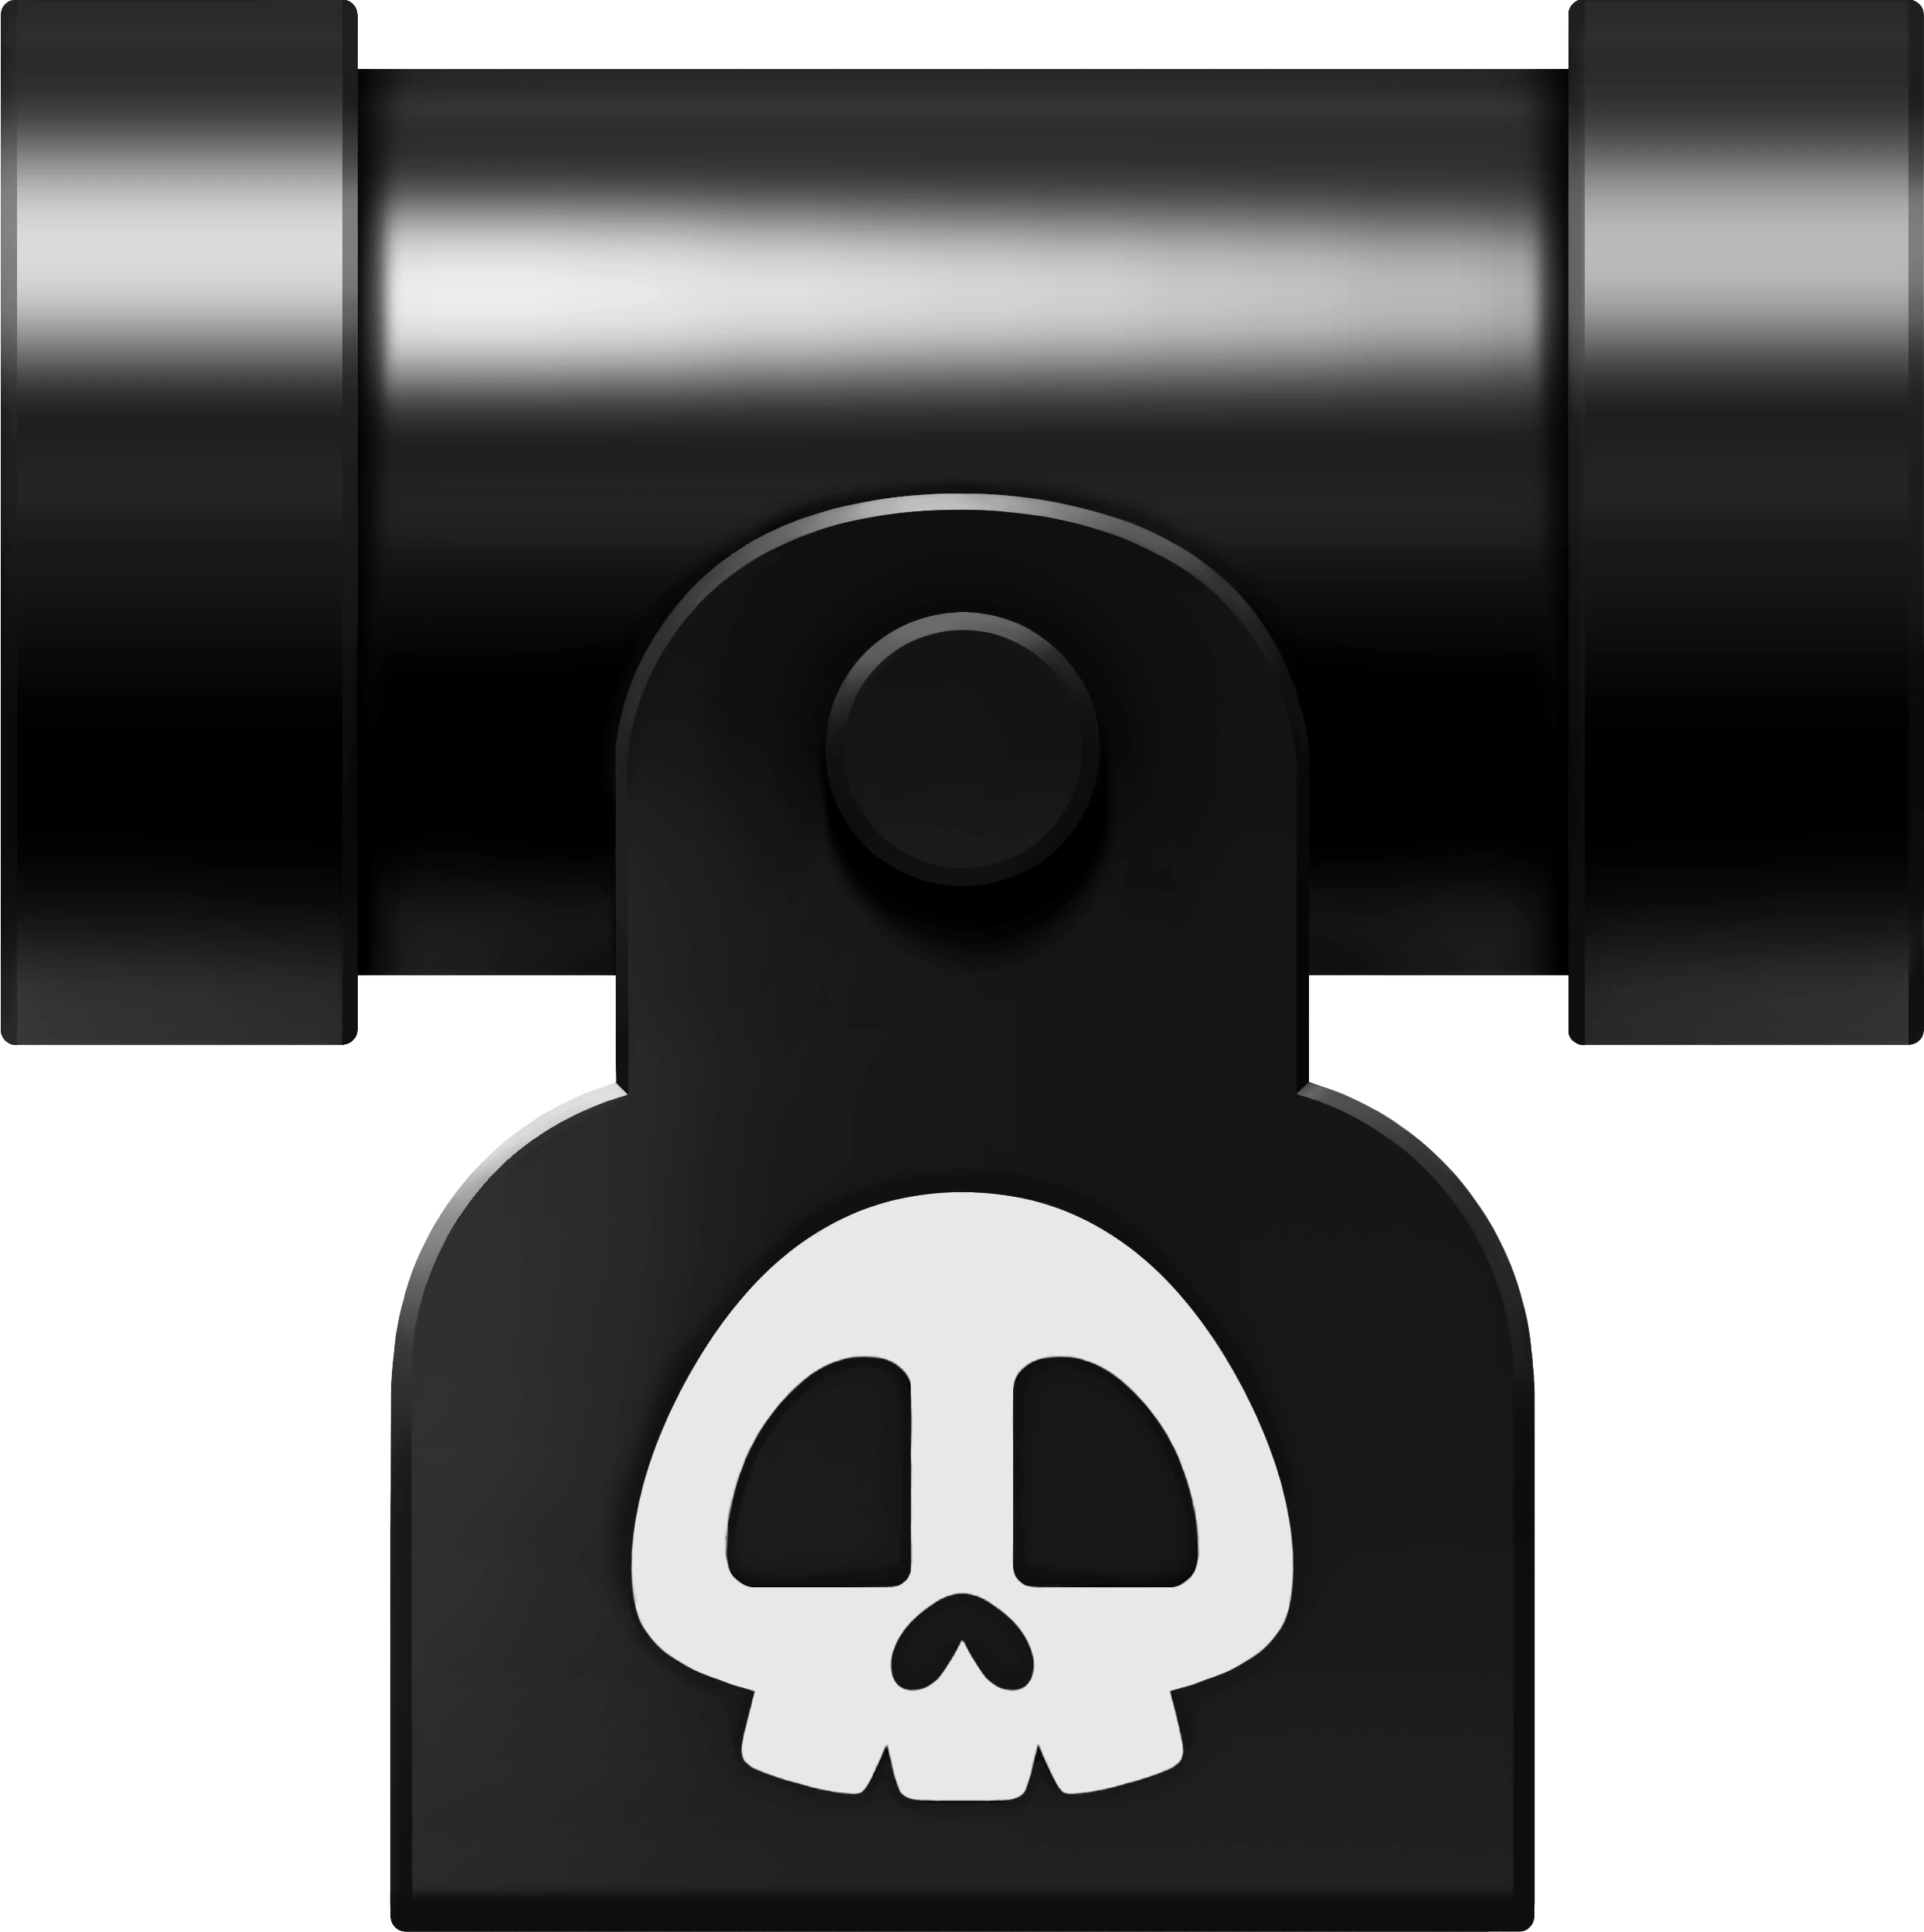 Bill Blasters |
Earliest Wave- Wave 5 Bill Blasters will set up in the enemy's backline, and will consistently fire Bullet Bills to explode on the GSB. You can destroy the Bills individually, but the way to stop it is to destroy the blaster itself. It will disappear once a wave ends. |
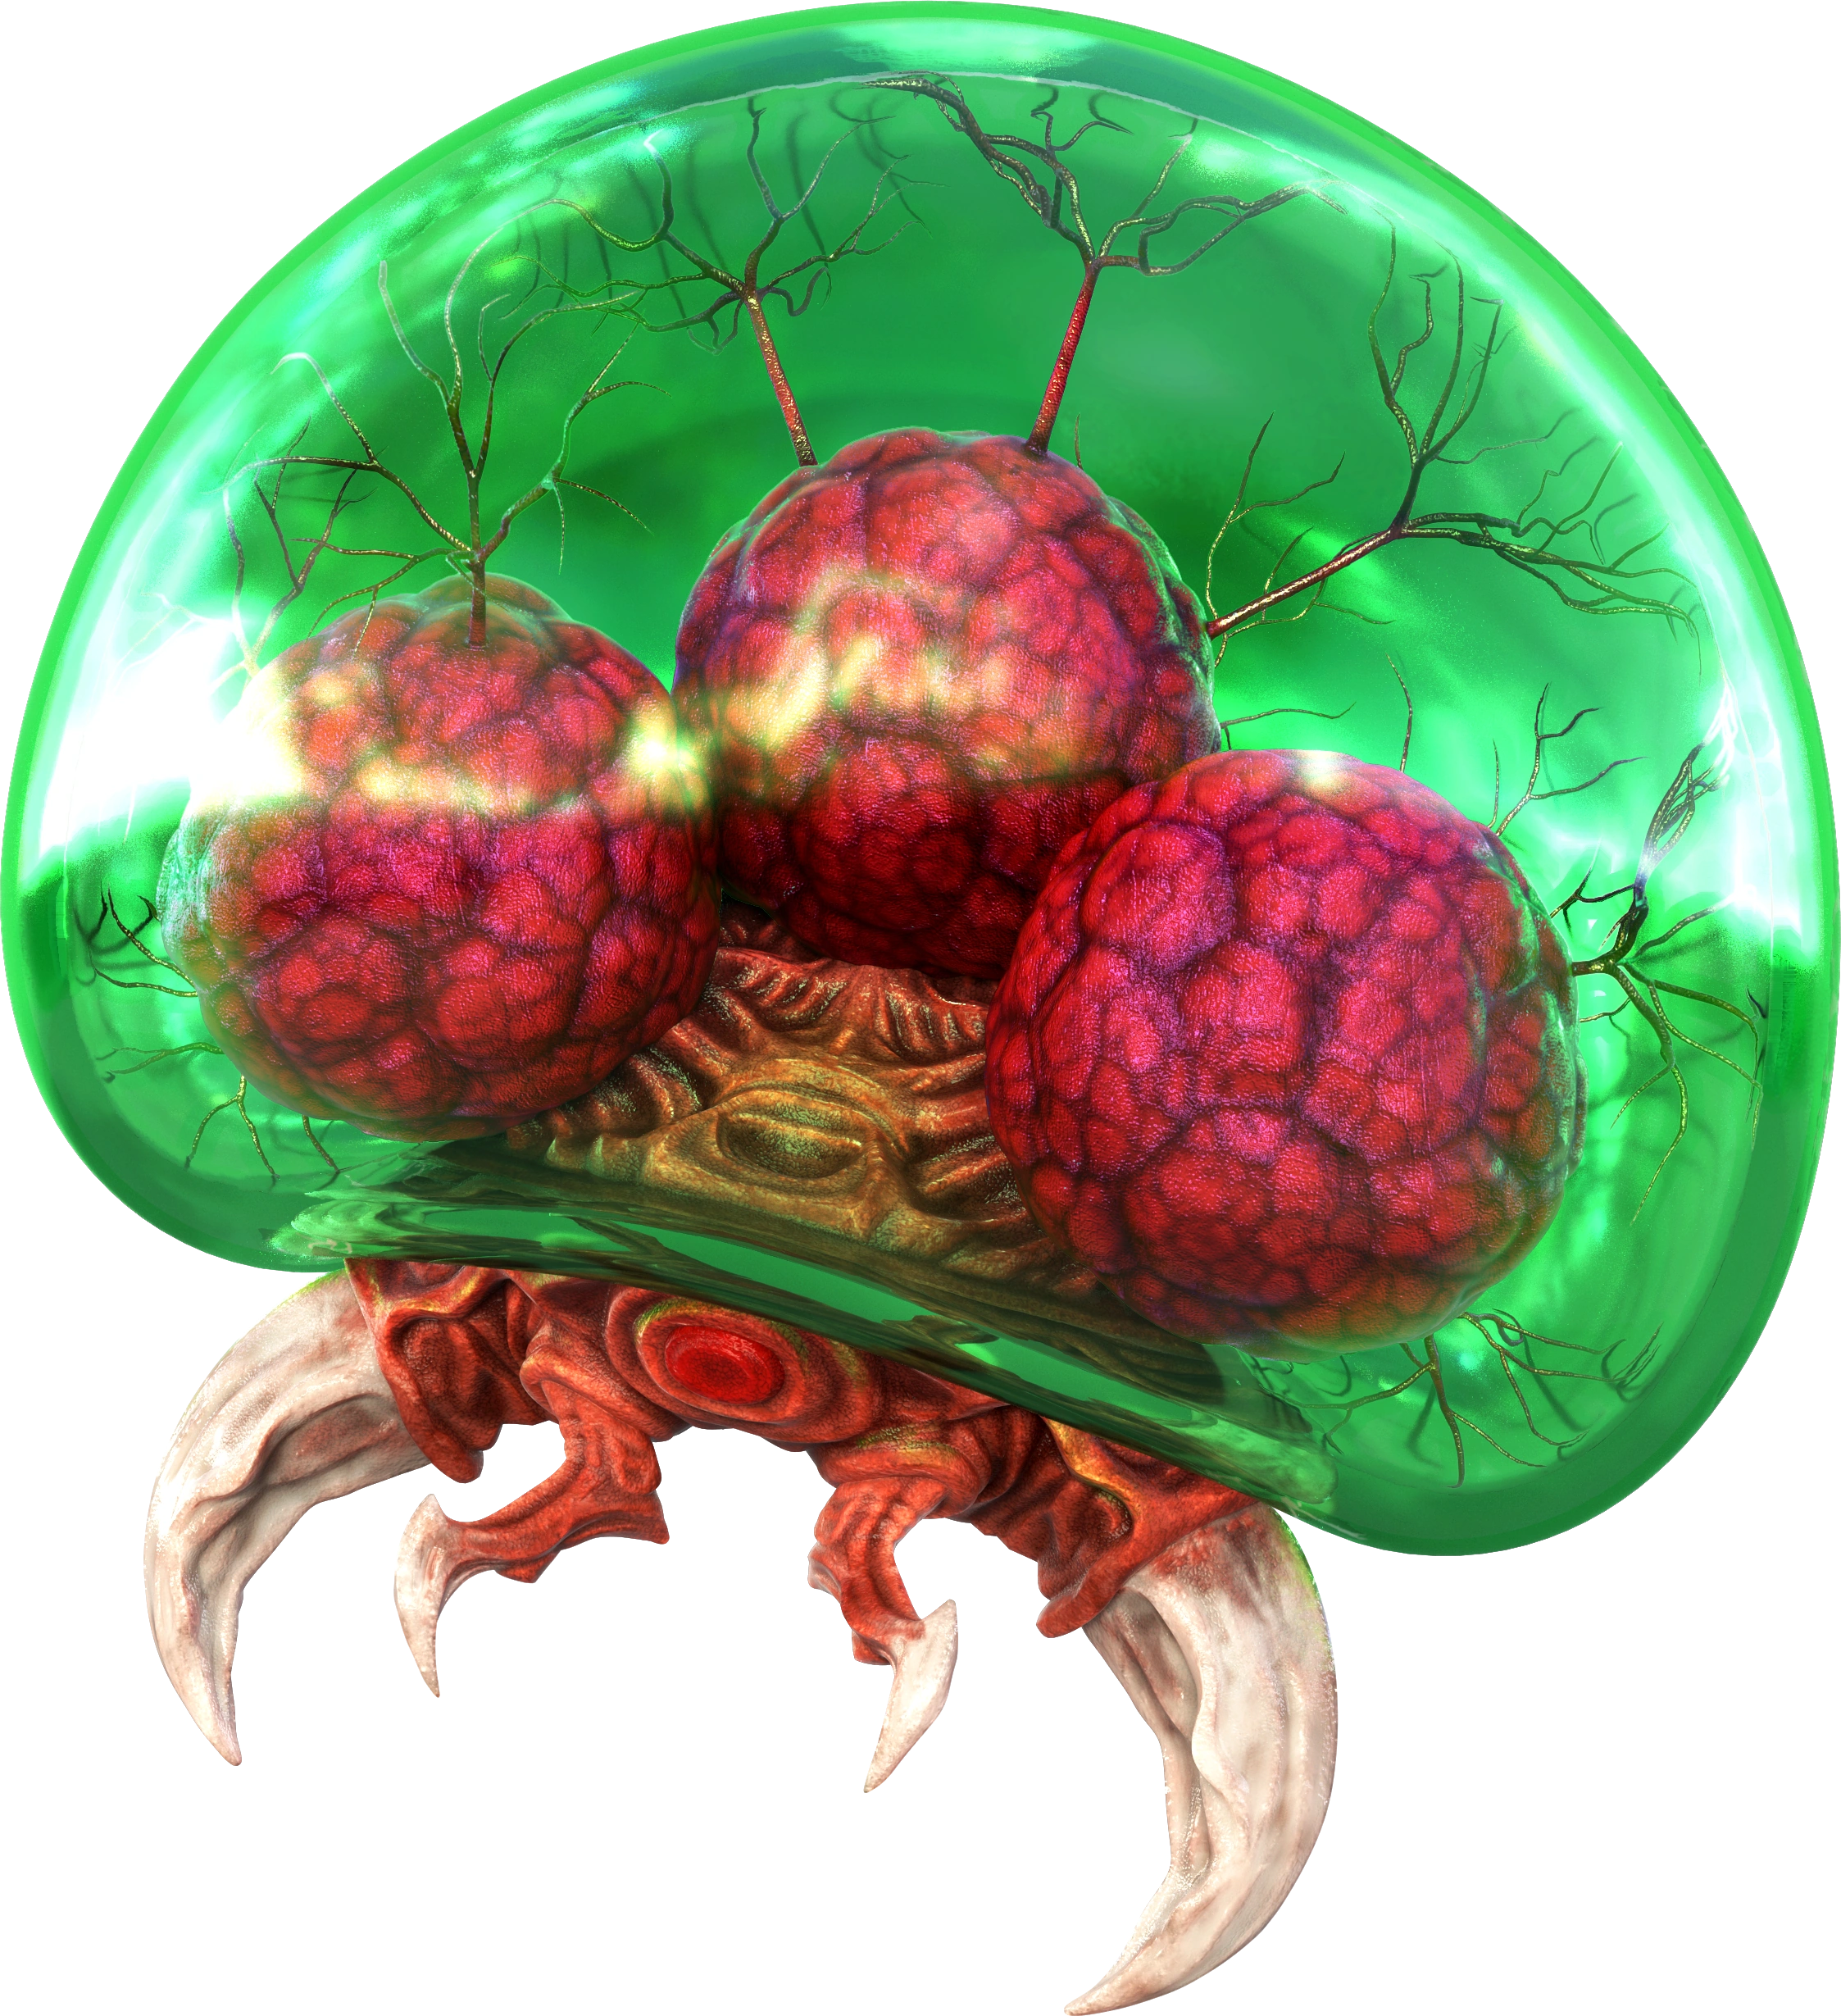 Metroid |
Earliest Wave- Wave 4 An uncommon flying enemy, the Metroid will fly in and go to drain health from the GSB- but, before doing so, it'll go for whoever's near it as well. It doesn't have too much health, but it can quickly become a nuisance. It's weak to Ice attacks. |
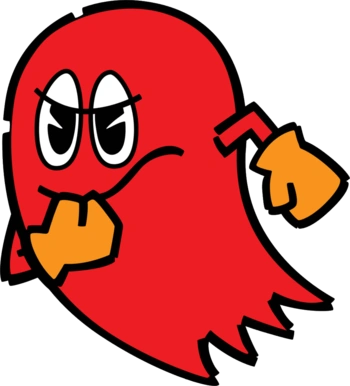 Blinky |
Earliest Wave- Wave 10 Blinky leads the squadron of 4 ghosts to attack. They move like they do in Pac-Man, but they're more interested in the Smash Ball than you. Try and destroy them before they close in on the GSP. |
 Space Pirate |
Earliest Wave- Wave 3 Space Pirates resemble their appearance in Super Metroid, and have variants based off of their appearances in different areas of the game. Space Pirates will slowly approach the GSB, throwing boomerang-ish projectiles at it. |
 Phantom |
Earliest Wave- Wave 15 Phantoms will circle above the GSB before diving down on it to damage it. Only about 3 can be active at a time, to keep things fair. |
 Quadrunner |
Earliest Wave- Wave 7 Quadrunners take an overhauled appearance from Mach Rider, with the alien vehicle being tricked out to appear more foreign to Earth- along with its pilot being some kind of creature. It will drive quickly towards the center, but will chase down grounded players who are in its range as well. |
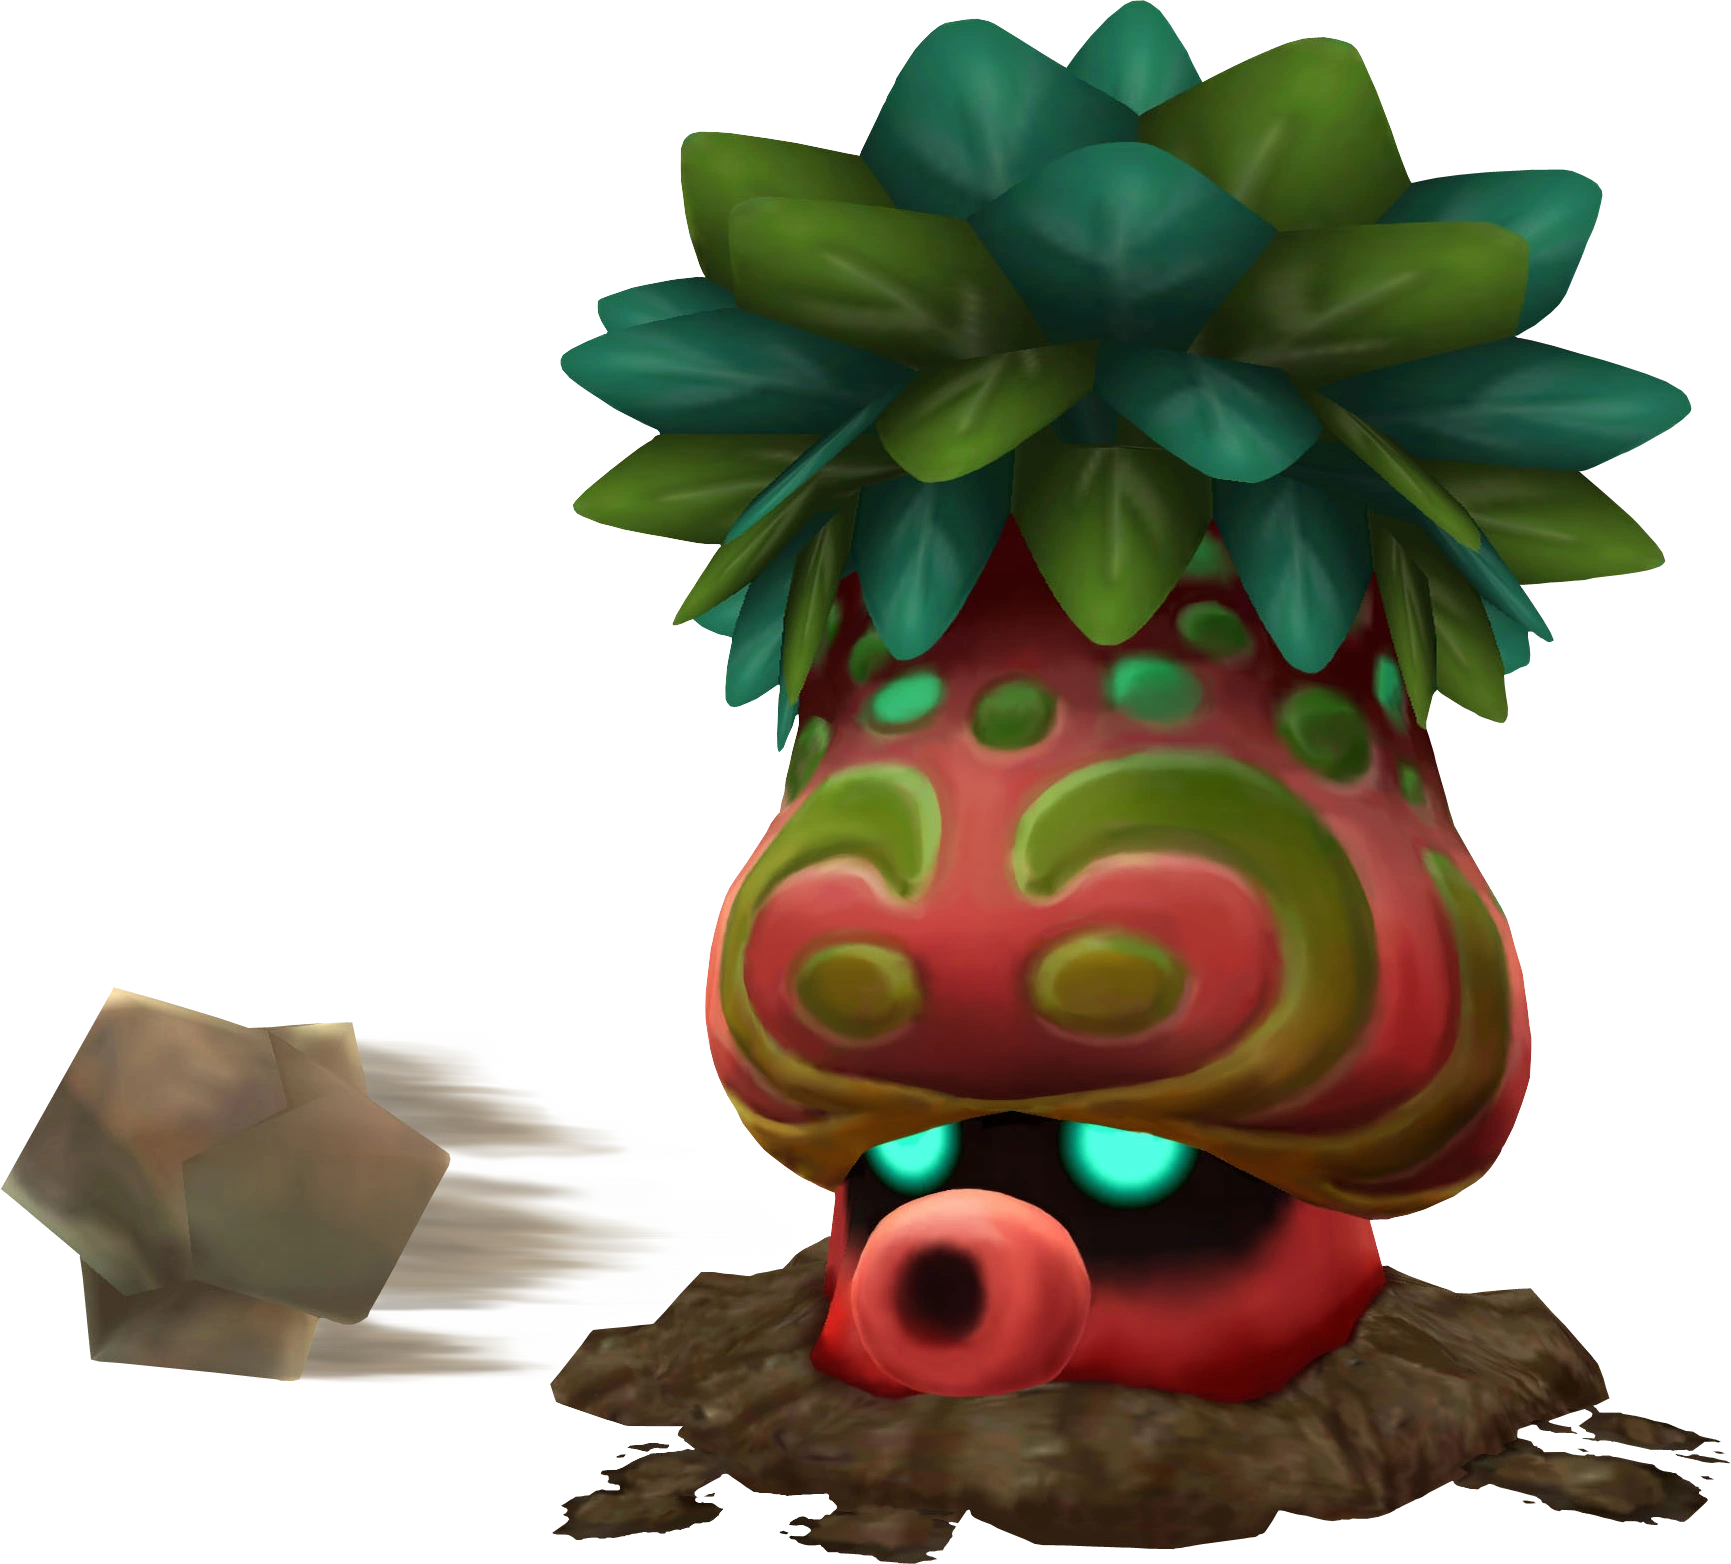 Octorok |
Earliest Wave- Wave 4 Octoroks will sit far out, only just in range of the GSB. It will launch rock projectiles at the orb, taking down its health. It can only shoot in one direction, and will hide when you get close. Projectiles can deal with them. |
 Medusa Head |
Earliest Wave- Wave 10 Medusa Heads will come from seemingly no where and attempt to hone in on one of your players and damage it. They're fast, powerful and hard to hit, but won't go for the GSB and will go away after one hit. |
 Talon Trooper |
Earliest Wave- Wave 3 These troopers come in packs of 3-10, and will huddle together. They will aim at whoever's closest and fire rounds of 5 bullets in a rapid fire at them at a time. Sometimes, they need to reload. Bullets don't do much knockback. Swarms will get bigger as the fight goes on. |
 Talon Sniper |
Earliest Wave- Wave 20 Up to two Talon Snipers can spawn at once. More of a mini boss, Talon Snipers will appear rarely at the back of the enemies' forces, taking aim with an obvious laser and firing at you after a certain interval. When you get close, they might try to grapple away. They can do tons of damage easily, so take them out fast! |
 Jack Frost |
Earliest Wave- Wave 10 A rare enemy, Jack Frost will freeze enemies in blocks of ice upon contact, as well as leave a slippery trail of ice in his wake. |
Bosses[]
Events[]
Maps[]
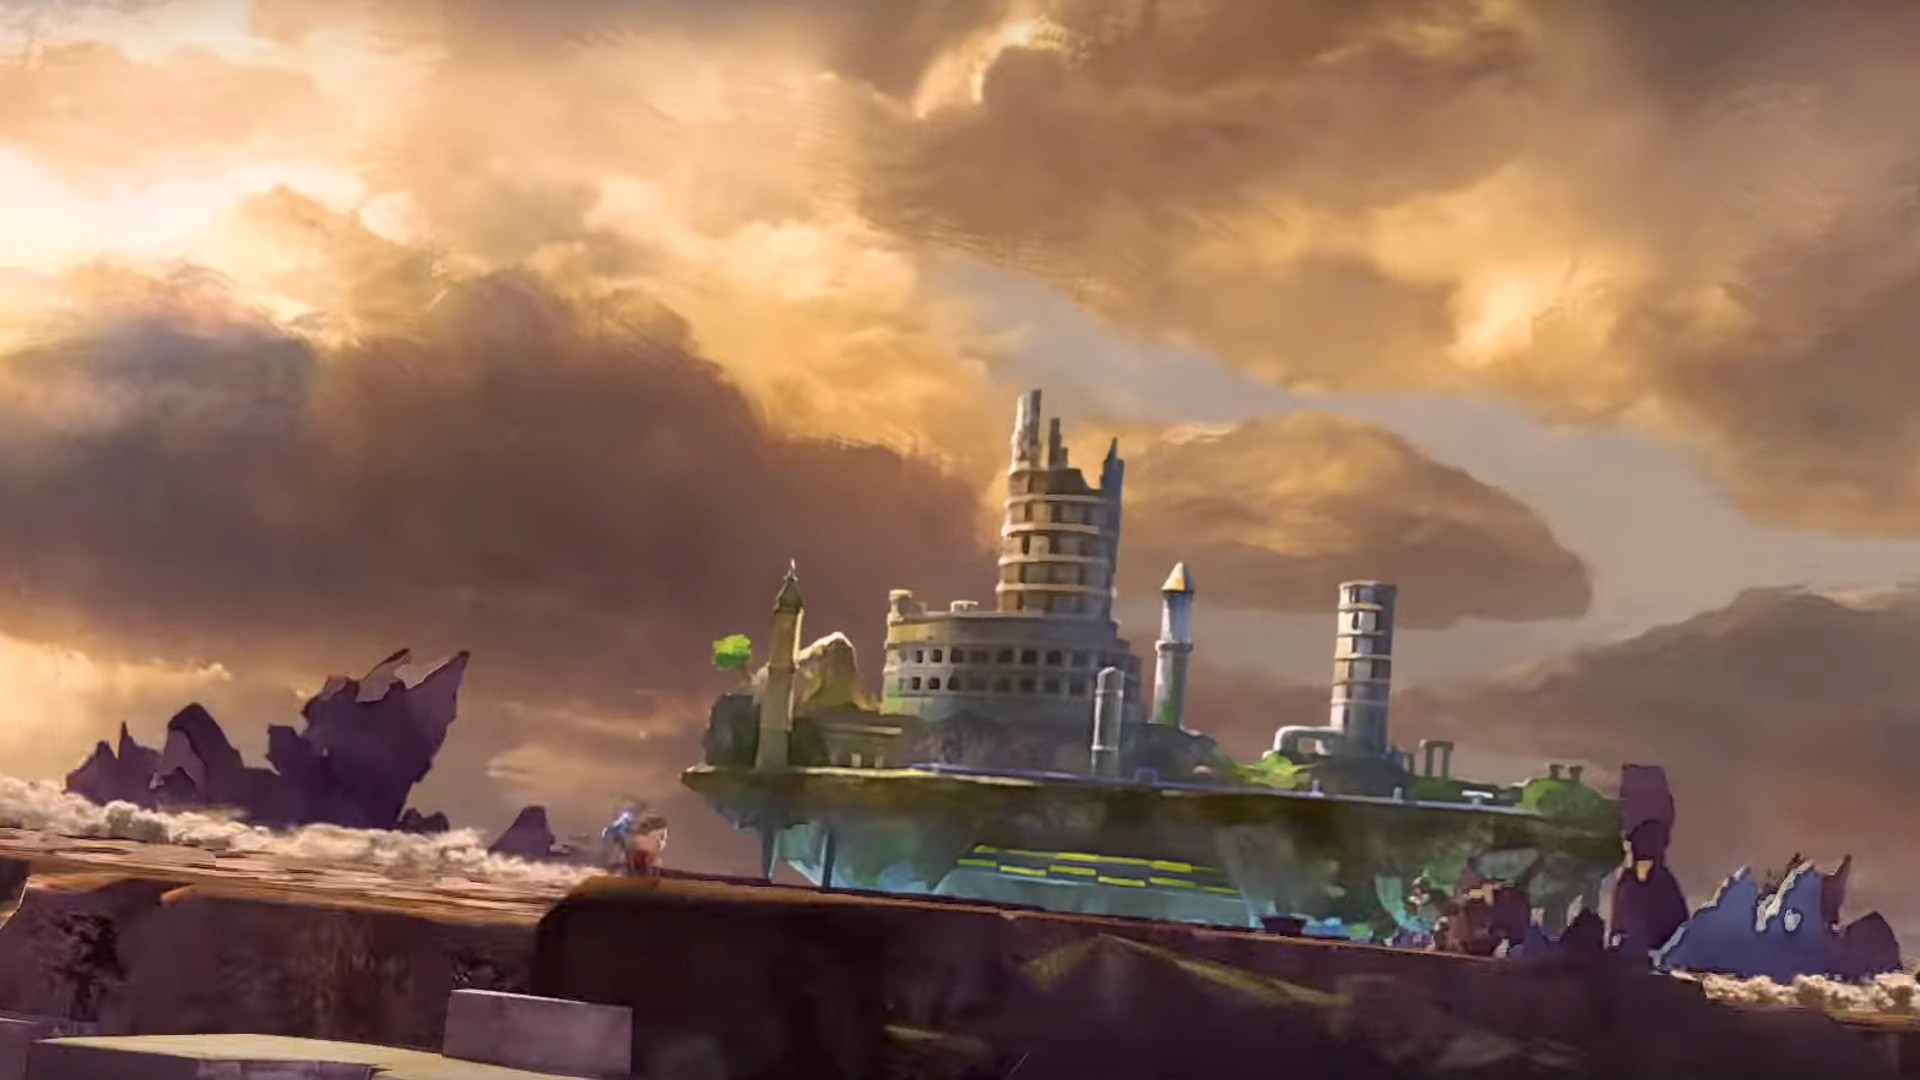 Ultimate Destination | |
| A land where many characters spring to life to battle, the Ultimate Destination is a large series of connected platforms, styled after Smash Ultimate's very own banner, as well as the advertisement in it. Here, there is one large battlefield in the middle, while many smaller Battlefield platforms are strewn about- some are connected by large stairways that enemies walk down, while others are suspended in midair. Even under the colosseum-inspired architecture you can find secret caverns under broken bricks that enemies might be treading through.
In the background is a series of waterfalls. Due to the nature of the water, many aquatic-based enemies, excluding ones that cannot live outside of it, will appear to battle you. Parts of the stage might appear to crack under force of the battle, but fear not, as it doesn't effect the battle at all. | |
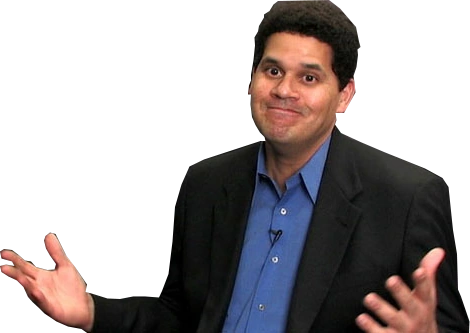 Surprise Cameo! |
In the midst of battle, your shopkeeper is none other than.... Reggie himself? A hologram of Reggie Fils-Aime will appear as your shopkeeper. You can buy Nintendo-themed items as his store- his main shop theme is around Nintendo merchandise, as well as items themed after his numerous skits during his time with Nintendo. |
|---|---|
 Galeem Intrudes?! |
The special event in this map is Galeem's Light. During this event, Galeem will appear in the background near the sun, rotating with its wings. Suddenly, it releases the beams as seen in World of Light. Galeem's attacks, while they won't go for the GSB, will be attracted to the fighters. Since Galeem is weakened, his beams of light will not be so pinpoint or fast- a reticle shows where it will fire from the background, and you must quickly move out of the way. Being hit by his beams will disintegrate you, and you'll respawn after a few seconds. After 3 rounds of beams, Galeem will disappear. Galeem appears every 30 waves. |
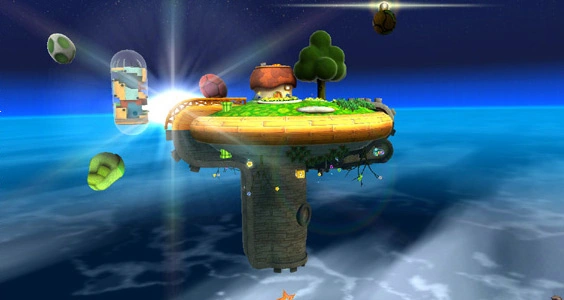 Good Egg Galaxy | |
| Good Egg Galaxy is a unique map in that, instead of being one flat terrain with a left and right axis, it's actually a loop. Good Egg Galaxy takes place on a much larger version of the Good Egg Galaxy planet pictured. Gravity is centered within the planet, and the GSB is on top of the large tower. Gravity will stick to the planet, and you can walk all around it without falling off. To the outer sides of the map lie many other planets with their own gravity. 2 ways around everything means unique battle strats. | |
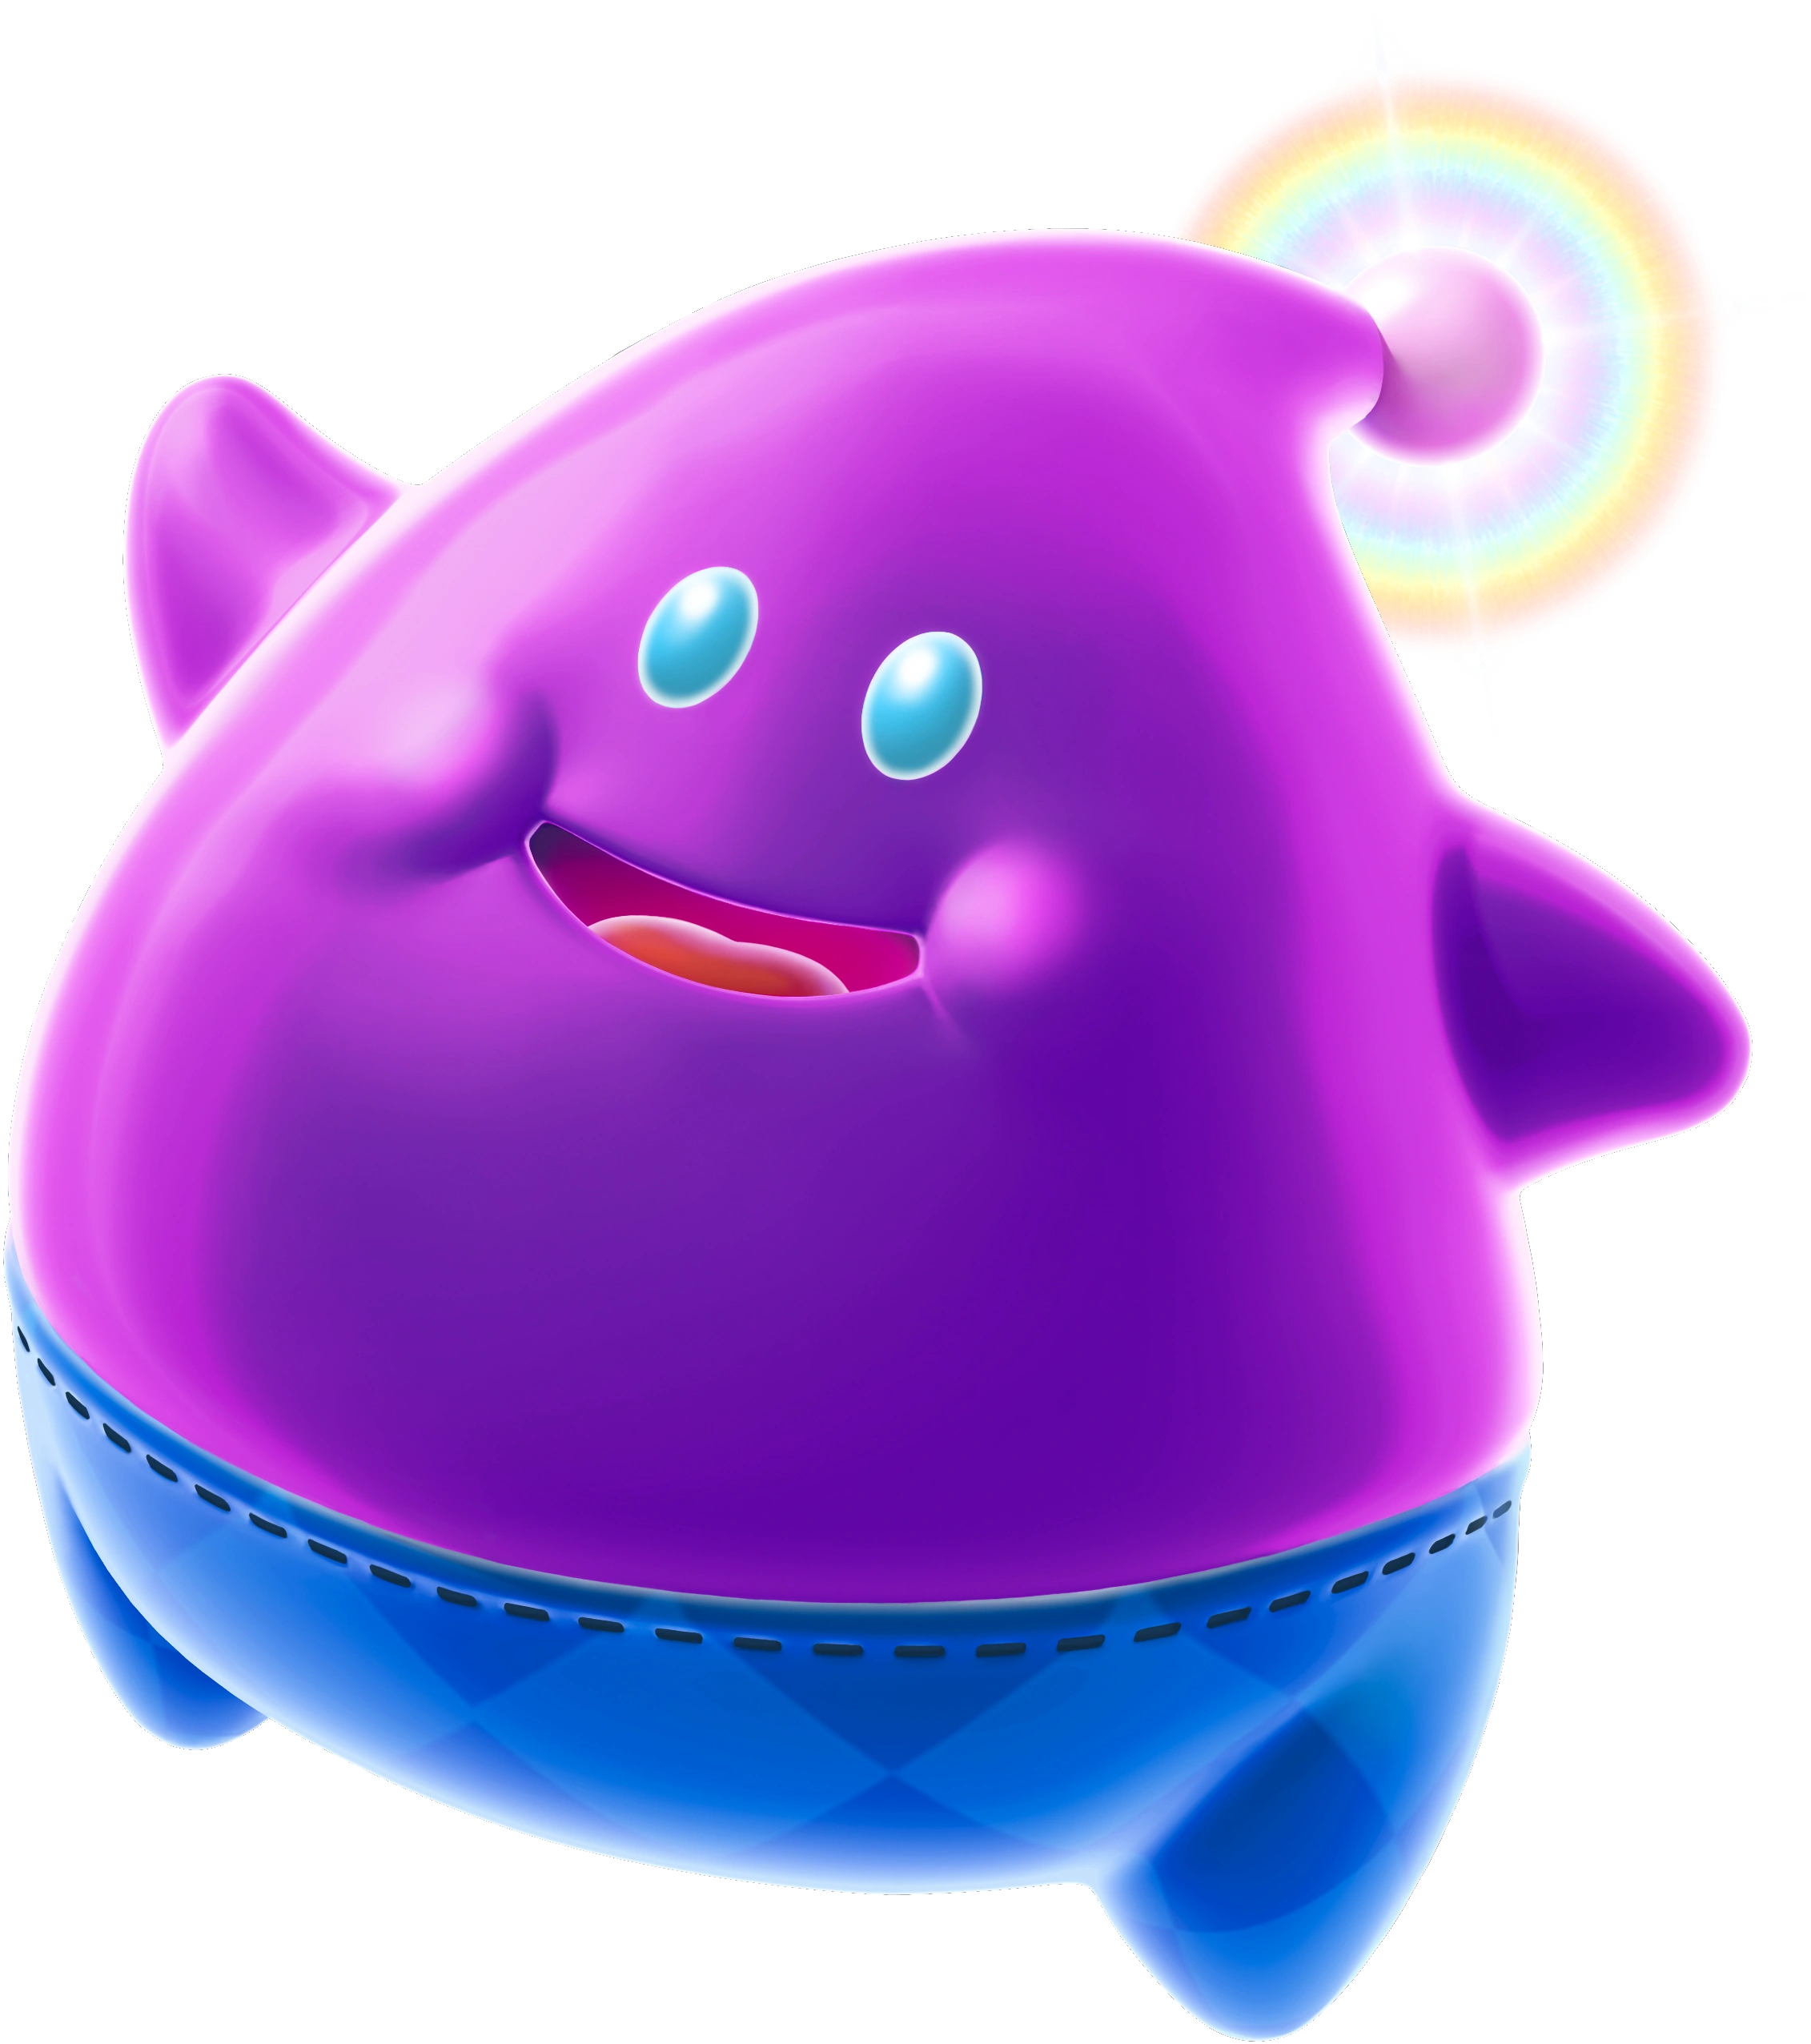
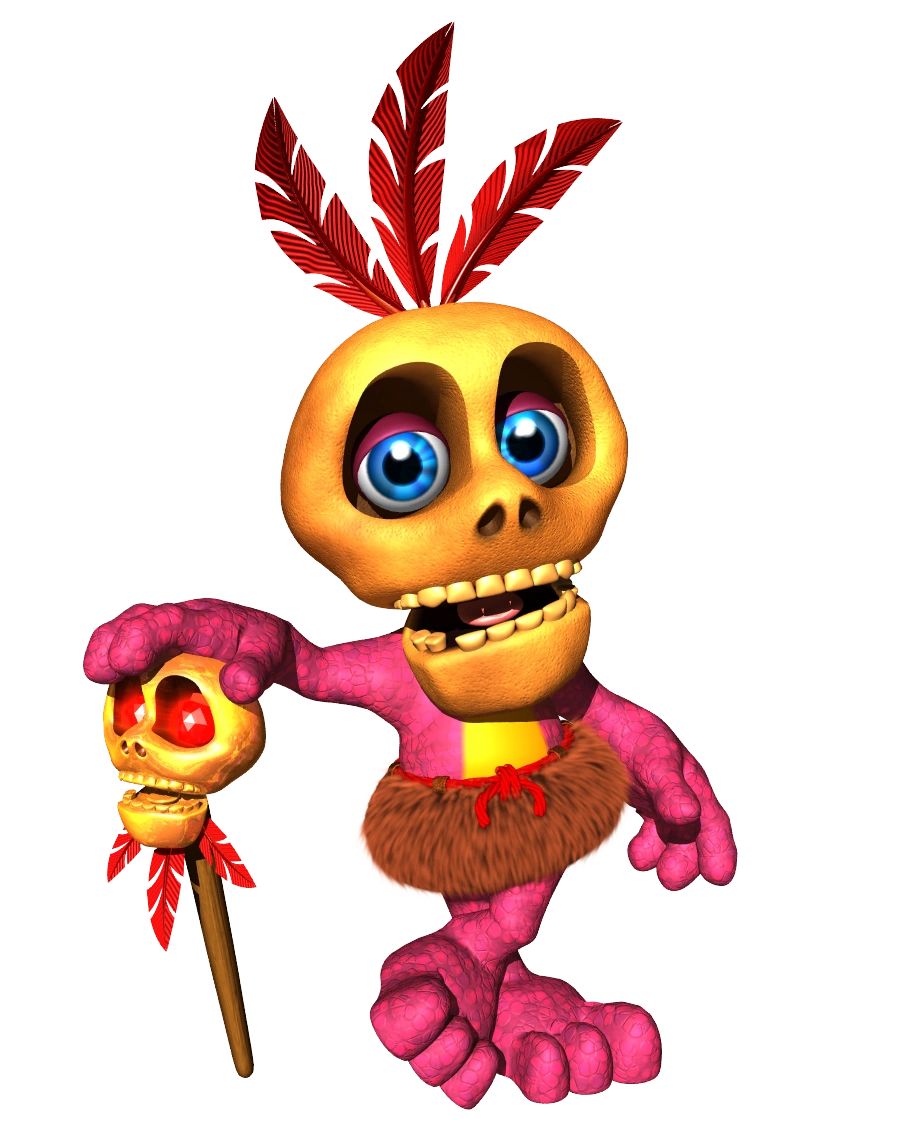
An Old Pal |
The joyful and big Luma Lubba appears again to act as a shopkeeper. A jolly fellow, Lubba is always open to strike up a conversation. The merch here is mostly centered around space, not only items from the Mario series. |
 A Dark Vortex? |
The event that takes place every 30 waves is a Black Hole opening on the opposite side of the planet to the GSB. The Black Hole will instant K.O you if you get close to it, so players are forced to stay close to the GSB for the 3 waves that the Black Hole's open. It strangely doesn't effect enemies. |
 Arowana Mall | |
| Arowana Mall is a huge spanning map which is practically a 2D replica of Arowana Mall from Splatoon. The GSB rests in the middle of the stage, risen up by a pillar that extends above the stage. It's mostly long with not many gimmicks, though there's bumps all around, including a large incline near where the enemies spawn. The enemies must climb up the tower, which acts as an obstacle of sorts. | |
What up, squiddo? |
Your vendor for this is none other than Crusty Sean in his parked Crust Bucket truck. He'll be sure to give you a warm welcome- he sells some good stat-boosting junk food as well. His specialty is Shwaffles- just ask the Inklings. |
 That's not rain! |
Every 15 waves, an Inkstorm will rage through the stage for an entire wave. It will drop pink and blue ink onto the fighting grounds. Getting hit by falling ink basically gives you the same effect as being hit by Inkling's splattershot, and splatters will be left on the ground. The splatters will remain on the ground for another couple waves, slowing you down, but the ink effect will luckily only last for a short time. |
 Witchyworld | |
| Witchyworld is a more contained map set in the theme park world of Banjo-Tooie. The Grand Smash Ball is caught in the middle of a downsized blue Circus Tent, with the Big Top. The fighters can also defend in the Bounce House, where enemies and players will bounce up and down on the area, and the other area, the Haunted Zone, is a rocky dark area which has a tendency to spawn scarier enemies. | |
 Eeukum Bokum! |
Mumbo returns in his hut to sell you items on this map. Not only can he give you useful items, but he can also buff you and transform you into different characters. Talk about a useful ally to have! |
 Inflatality!!! |
Every 15 waves, Mister Patch will fly in to terrorize the battlefield. The wave will not move on until Mr. Patch is defeated. Mr. Patch can summon a flying boxing glove to antagonize you, as well as toss beach balls on the stage. Mr. Patch isn't a hard kill, but due to his airborne-ness he might be difficult to defeat for characters like Little Mac who can't get very high in the air. |
Trivia[]
- While it is a sub-part of Ingenuity, it is not given the subpage treatment- it is being treated as a separate game by the author.