| Starting Characters
|
| Image
|
Series
|
Description
|
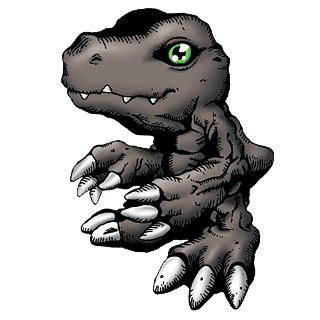
Agumon
|
|
One of Agumon's pallet swaps references Shoutmon, while another one references Veemon. |
Bandy Andy
|
|
Grim Death Burglars: Bandy Andy charges into the opponent, sending them backward. He then whistles, calling another Big Bandit and two Bandits. They jump the opponent, slapping and punching them. To finish the attack, Bandy Andy gets a dump truck and uses it to dump Coins on the opponent. He then tips over the dump truck and escapes as it falls on the opponent, exploding afterwards. The other Big Bandit and the two Bandits then flee.
Bandy Andy's pallet swaps make references to Bandits and Badge Bandits, enemies that also appear in Paper Mario: The Thousand-Year Door. Another pallet swap resembles the friendly Bandit NPCs in said game, as well as an unused Bandit enemy of the same color in Paper Mario. |
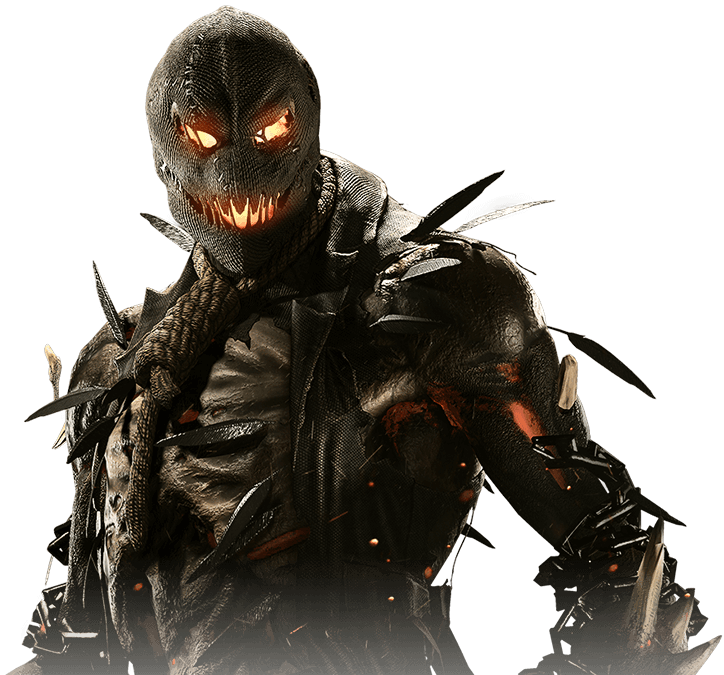
Bane
|
|
Bane Bomb: Bane performs a brutal powerbomb on his opponent. The Meter Burn version has Bane perform a leaping bodyslam for increased damage. Performed with Down, Back, Heavy.
Double Punch: Bane bounces his opponent with a hammer punch then follows up with a swinging uppercut. The Meter Burn adds a leaping power punch for extra damage. Performed with Back, Forward, Light.
Mercenary's Elbow: Bane quickly jumps up and slams his elbow on his opponent, knocking them down. The Meter Burn version adds a leaping brain-buster for increased damage. Performed with Back, Forward, Heavy.
Venom Uppercut: Bane uppercuts his opponent with both fists. The Meter Burn adds a midair piledriver for extra damage. Performed with Back, Forward, Medium.
Ring Slam: Bane grabs a jumping opponent and slams them into the ground. The Meter Burn version adds him stomping on the opponent while they're down for extra damage. Performed with Down, Back, Light.
Juggernaut Rush: Bane runs forward, grabs his opponent and slams them to the ground behind him. The Meter Burn version also has him jump and violently land on the opponent while they're down for extra damage. Performed with Forward, Forward, Heavy.
Body Press: Bane grabs his opponent and slams them onto the ground. The Meter Burn version replaces the slam into a backbreaker for increased damage. Performed with Down, Back, Forward, Light.
Raging Charge: Bane lowers his head and charges at his opponent, bowling them over. The Meter Burn version sees Bane follow up with a leaping elbow drop on his reeling enemy. Performed with Down, Back, Light.
Venom Boost: Bane can dose himself with one, two, or three levels of Venom (even while attacking), increasing his overall damage per dose and adding armor to his specials. When the buff wears off, Bane will become weakened. While weakened, Bane will inflict less damage, take more damage, and will move at a slower speed. This weakness is intensified based on the amount of Venom used.
Vengeance of Bane: Bane stamps his foot, causing an earthquake that launches his opponent into the air. He leaps after them and hits them, headbutts them and slams his knee into their face before finishing them off with an earth-shattering brain-buster.
All three of Bane's alternate costumes make reference to some of his gear in Injustice 2, specifically his Luchador, Oppressor, and Scourge of Santa Prisca costumes. |
Blue
|
|
All three of Blue's pallet swaps make references to other characters in Blue's Clues, specifically Megenta, Green Puppy, and Orange Kitty. |
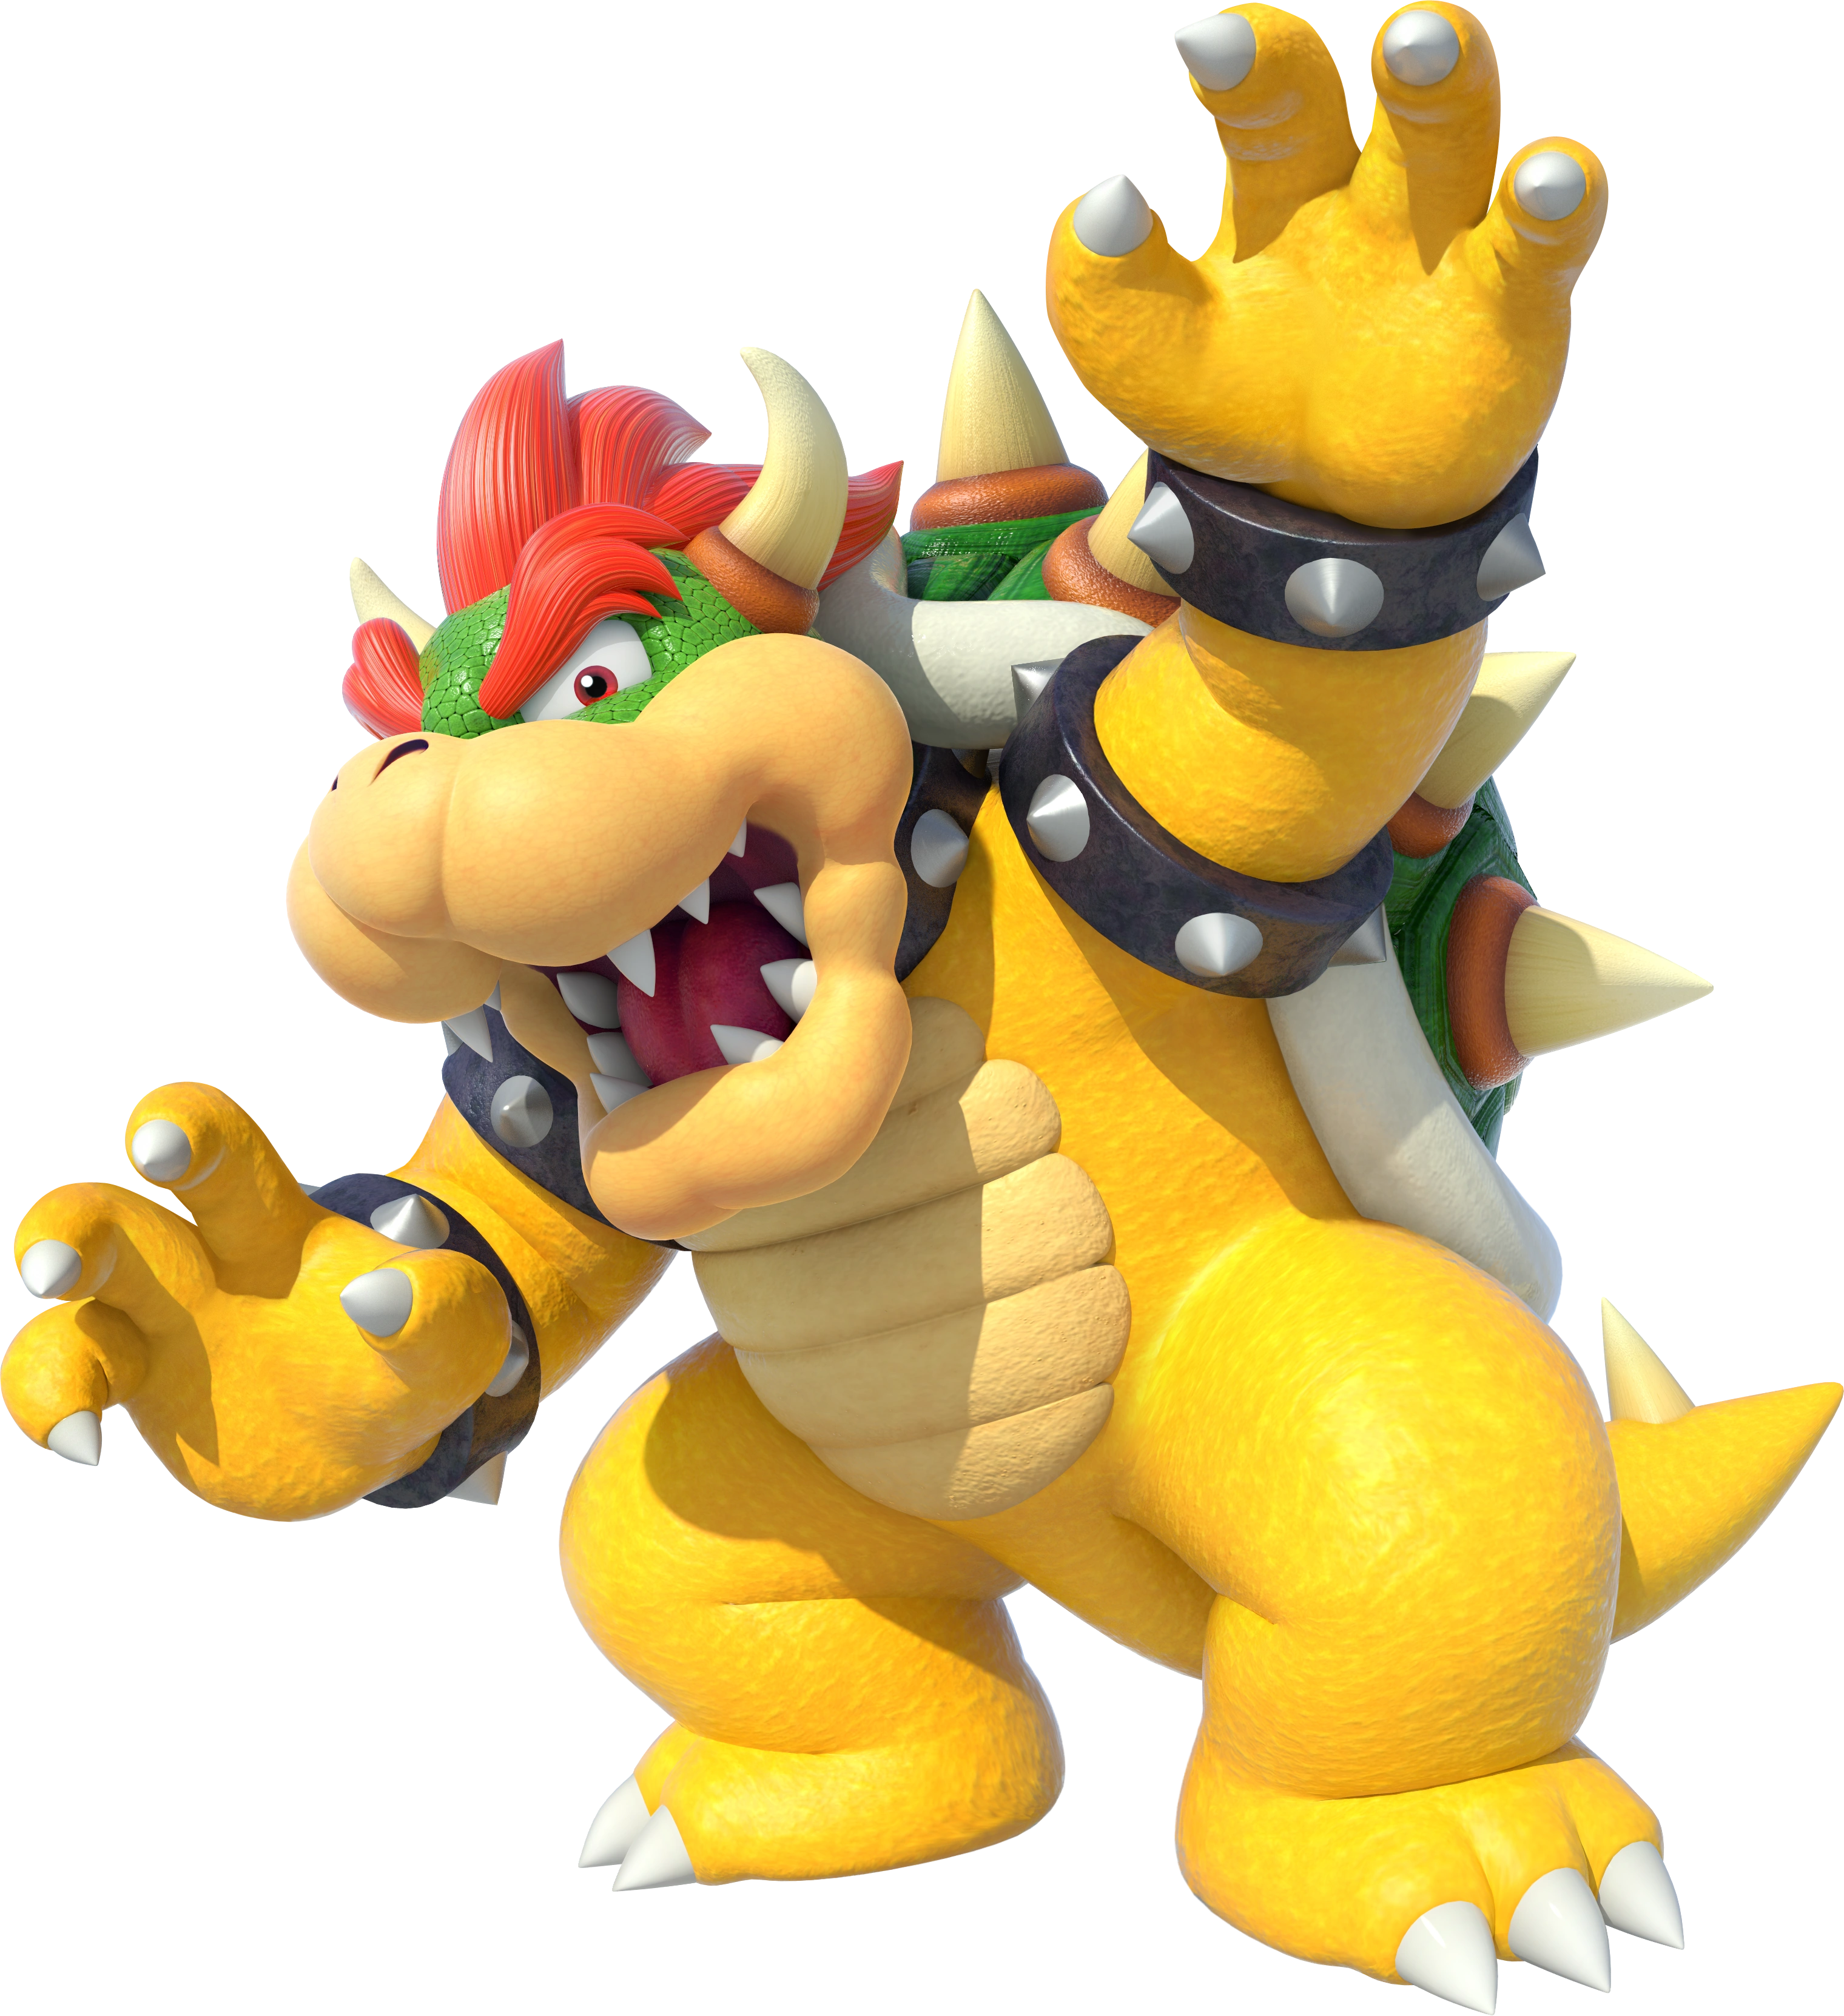
Bowser
|
|

|
|
Biff:
Bowser is the king of Koopas, and the arch-enemy of Mario. He has led his minions on many raids on the Mushroom Kingdom to kidnap Princess Peach. No one really knows why he does it, but he apparently has a crush on her. You're gonna regret it if you think you can just go easy on him; Bowser is strong! He's able to level an entire building, and his signature fire breath can burn you 'till you're charred!
|
Fire Breath: Bowser shoots a fireball, that travels forward and explodes on impact. The Meter Burn version sees Bowser breathing a stream of fire that deals more damage. Performed with Forward, Down, Heavy.
Koopa Klaw: Bowser slashes his claws forward, damaging the opponent. The Meter Burn version is a command grab instead, which allows him to bite the opponent for extra damage and either throw them or perform a belly-to-belly body slam. performed with Forward, Forward, Medium.
Whirling Fortress: Bowser gets into his shell and begins spinning, damaging opponents. The Meter Burn variant adds an upwards claw swipe for extra damage. Performed with Down, Back, Medium
Bob-omb: Bowser roars, causing Bob-ombs to fall down and hit the opponent. The Meter Burn version summons King Bob-omb instead of regular Bob-ombs, which deals much more damage. Performed with Down, Down, Light.
Koopa Punch: Bowser violently throws a backhanded punch, sending opponent backward. The Meter Burn version has Bowser jump toward the opponent and follow with a claw swipe for additional damage. Performed with Forward, Down, Light.
Bowser Bomb: Bowser jumps upward and comes crashing downward, damaging any opponents below him when he lands. The Meter Burn version adds an earthquake which damages any and all opponents on the ground when he lands. Performed with Down, Back, Heavy.
Koopa Clown Car: Bowser snaps his fingers as the Koopa Clown Car appears, acting as an additional platform for Bowser to stand on. The Meter Burn version has the Koopa Clown Car moving back and forth as well. Performed with Down, Up.
Bowser Roar: Bowser roars violently, causing nearby opponents to freeze for a few seconds in fear. The Meter Burn version causes the attack to be affected stage-wide. Performed with Down, Down, Forward, Light.
Giga Bowser: When Bowser either attacks opponents or takes damage, his Character Trait meter will fill. Once filled, Bowser can transform into Giga Bowser, where his attacks are much stronger and have more range. Many of them also have additional effects, such as freezing or burining opponents. After awhile, Bowser will revert to his regular state.
Koopa King: Bowser breathes a fireball, which knocks opponents down. Bowser then walks forward and picks up the opponent, and swings them around, slamming them into the ground repeatedly. Bowser then takes a bite out of the opponent and throws the upward. Bowser follows the and gets on top of them, using his Bowser Bomb technique to crush them into the ground.
Credit to User:Mirai Moon for making these alts.Two of Bowser's pallet swaps resemble alternate costumes he can use in Super Smash Bros. for Nintendo 3DS / Wii U. A third one resembles early artowrk of Bowser from Super Mario Bros. |
Byte & Barq
|
|
|
Captain Goomba
|
|
Bowser's Minions: Captain Goomba headbutts the opponent, knocking them over. He then calls "ATTACK!" summoning several Mario enemies such as Goombas, Koopa Troopas, Lakitus, and Pokeys. As they ram into the opponent and attack, a Big Tail Goomba finishes the job by flying upward and crushing the opponent with his weight. All the enemies then flee.
Two of Captain Goomba's pallet swaps resemble the Mad Goombas and Sad Goombas in Super Princess Peach. The third pallet swap resembles the unused "Calm Goomba" in said game. |
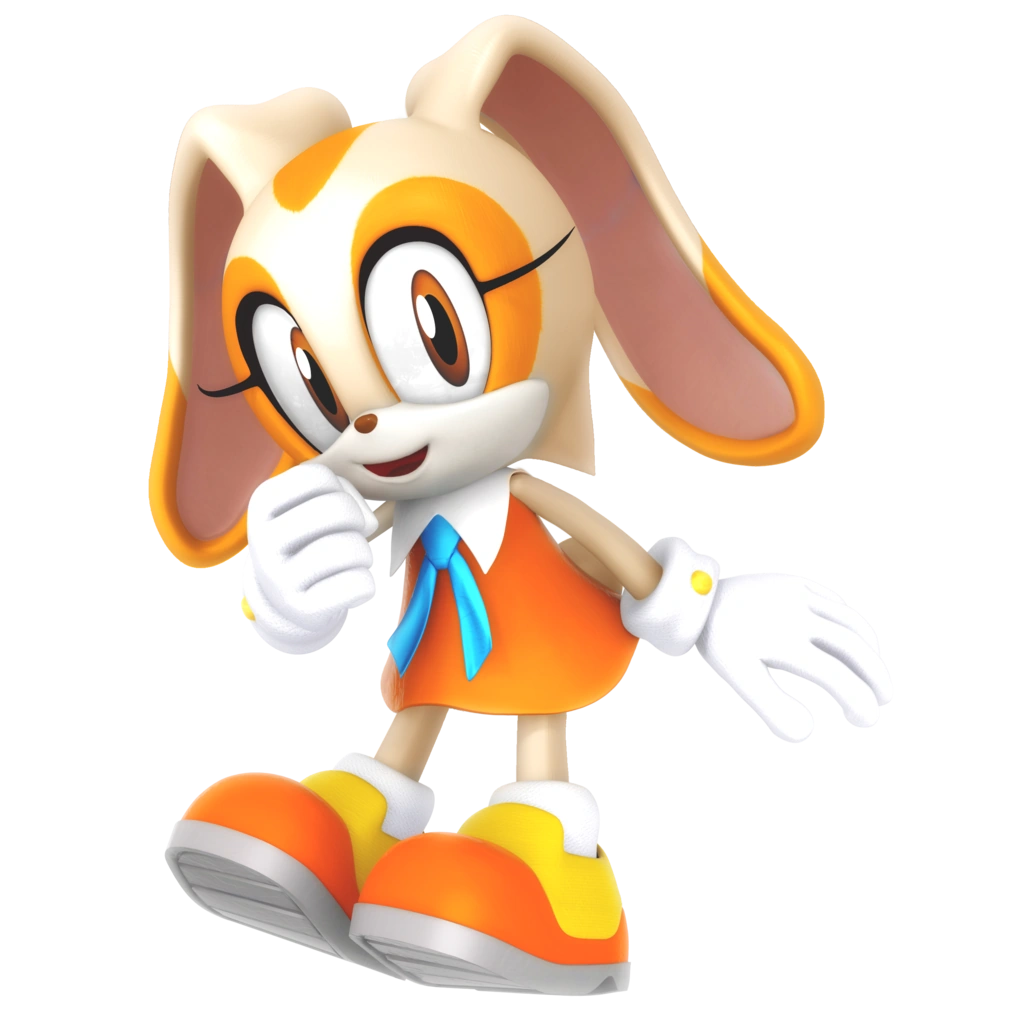
Cream
|
|
One of Cream's pallet swaps resembles Vanilla the Rabbit, Cream's mother. |
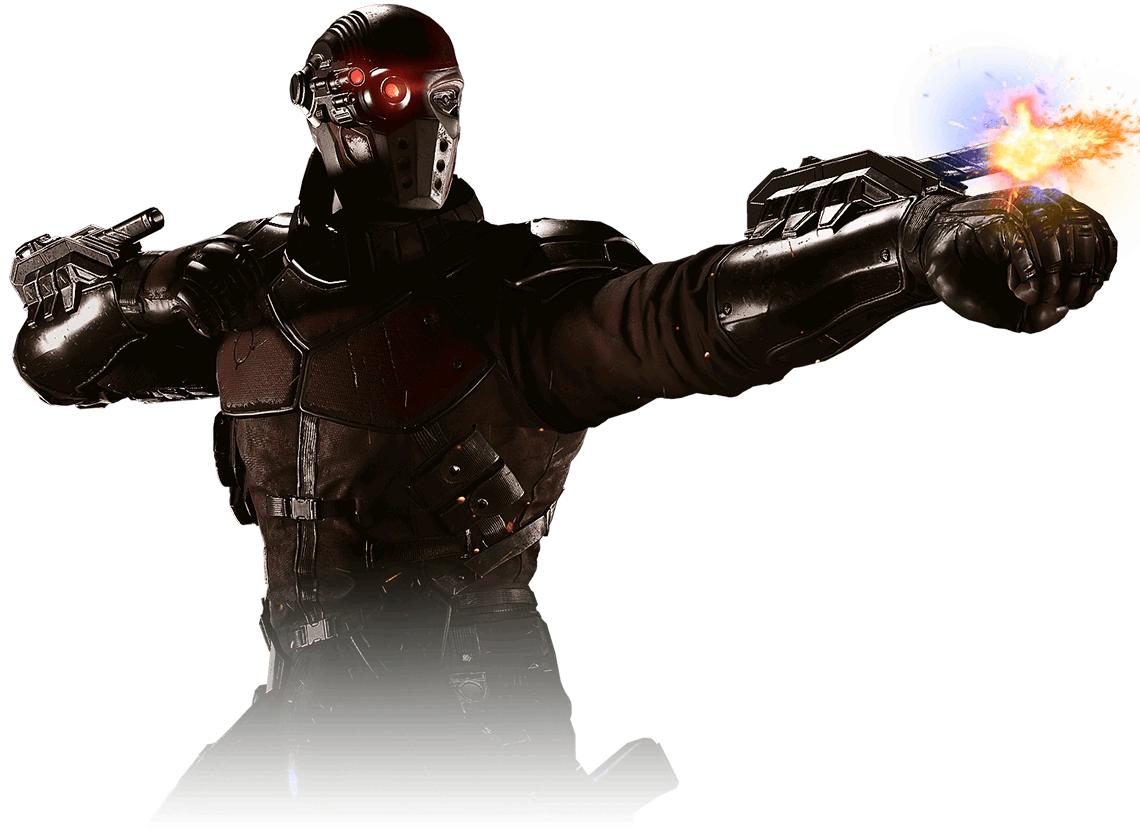
Deadshot
|
|
Wrist Cannon: Deadshot fires a small, stage-wide bullet from his wrist cannon. The Meter Burn variant has Deadshot fire four bullets in rapid succession. This variant of the move also allows him to move forward or backward while firing shots. Performed with Back, Forward, Light.
Bullet Barrage: Deadshot fires five bullets from his wrist cannons in rapid succession, alternating between them. The Meter Burn variant sees him firing 12 bullets instead. Performed with Down, Back, Medium.
Rifle Shot: Deadshot pulls out his rifle and shoots. This deals significantly more damage than his wrist cannon shots, but have more lag. The Meter Burn version had him fire eight bullets from his rifle. Performed with Down, Forward, Medium.
Trick Shot: Deadshot fires a bullet from his wrist cannon aimed at the ground, which ricochets and flies upward. Can be angled as well. The Meter Burn version has Deadshot fire three bullets in rapid succession. Performed with Down, Forward, Light.
Assassin Knee: Deadshot advances forward with a knee strike. The Meter Burn variant adds a frontflip kick for extra damage. Performed with Back, Forward, Heavy.
Rocket Boost: Deadshot takes out a rocket launcher and fires it at the ground, granting him some good horizontal distance and both damaging opponents in the blast and opponents in the way as he moves forward. However, he will take recoil damage. The Meter Burn version takes him farther, at the cost of more damage. Performed with Down, Back, Heavy.
Rapidfire: Deadshot takes out his rifle and fires three bullets in rapid succession. The Meter Burn version has him fire eight bullets instead. Performed with Down, Down, Back, Medium.
Reload: Deadshot adds two bullets to his rifle, allowing his next attack involving the rifle to fire additional bullets. The Meter Burn version has Deadshot load in six bullets instead. Performed with Back, Down, Forward, Light.
Living Weapon: Deadshot's Character Trait involves him making adjustments to his wrist guns for them to use more effective bullets. He can scroll through three kinds of bullets; Incendiary Bullets which set the opponent aflame and deal more damage, Explosive Bullets which explode on impact and deal more knockback, and Poison Bullets that deal less damage than normal, but drain the victim's Omega Meter.
Never Miss: Deadshot shoots the opponent with his rifle, causing them to real back. He then throws the rifle into the air as he proceeds to punch, stab, and shoot the victim. The rifle them lands in Deadshot's hands, which he uses to shoot the opponent in the head behind his back, finishing the attack. |
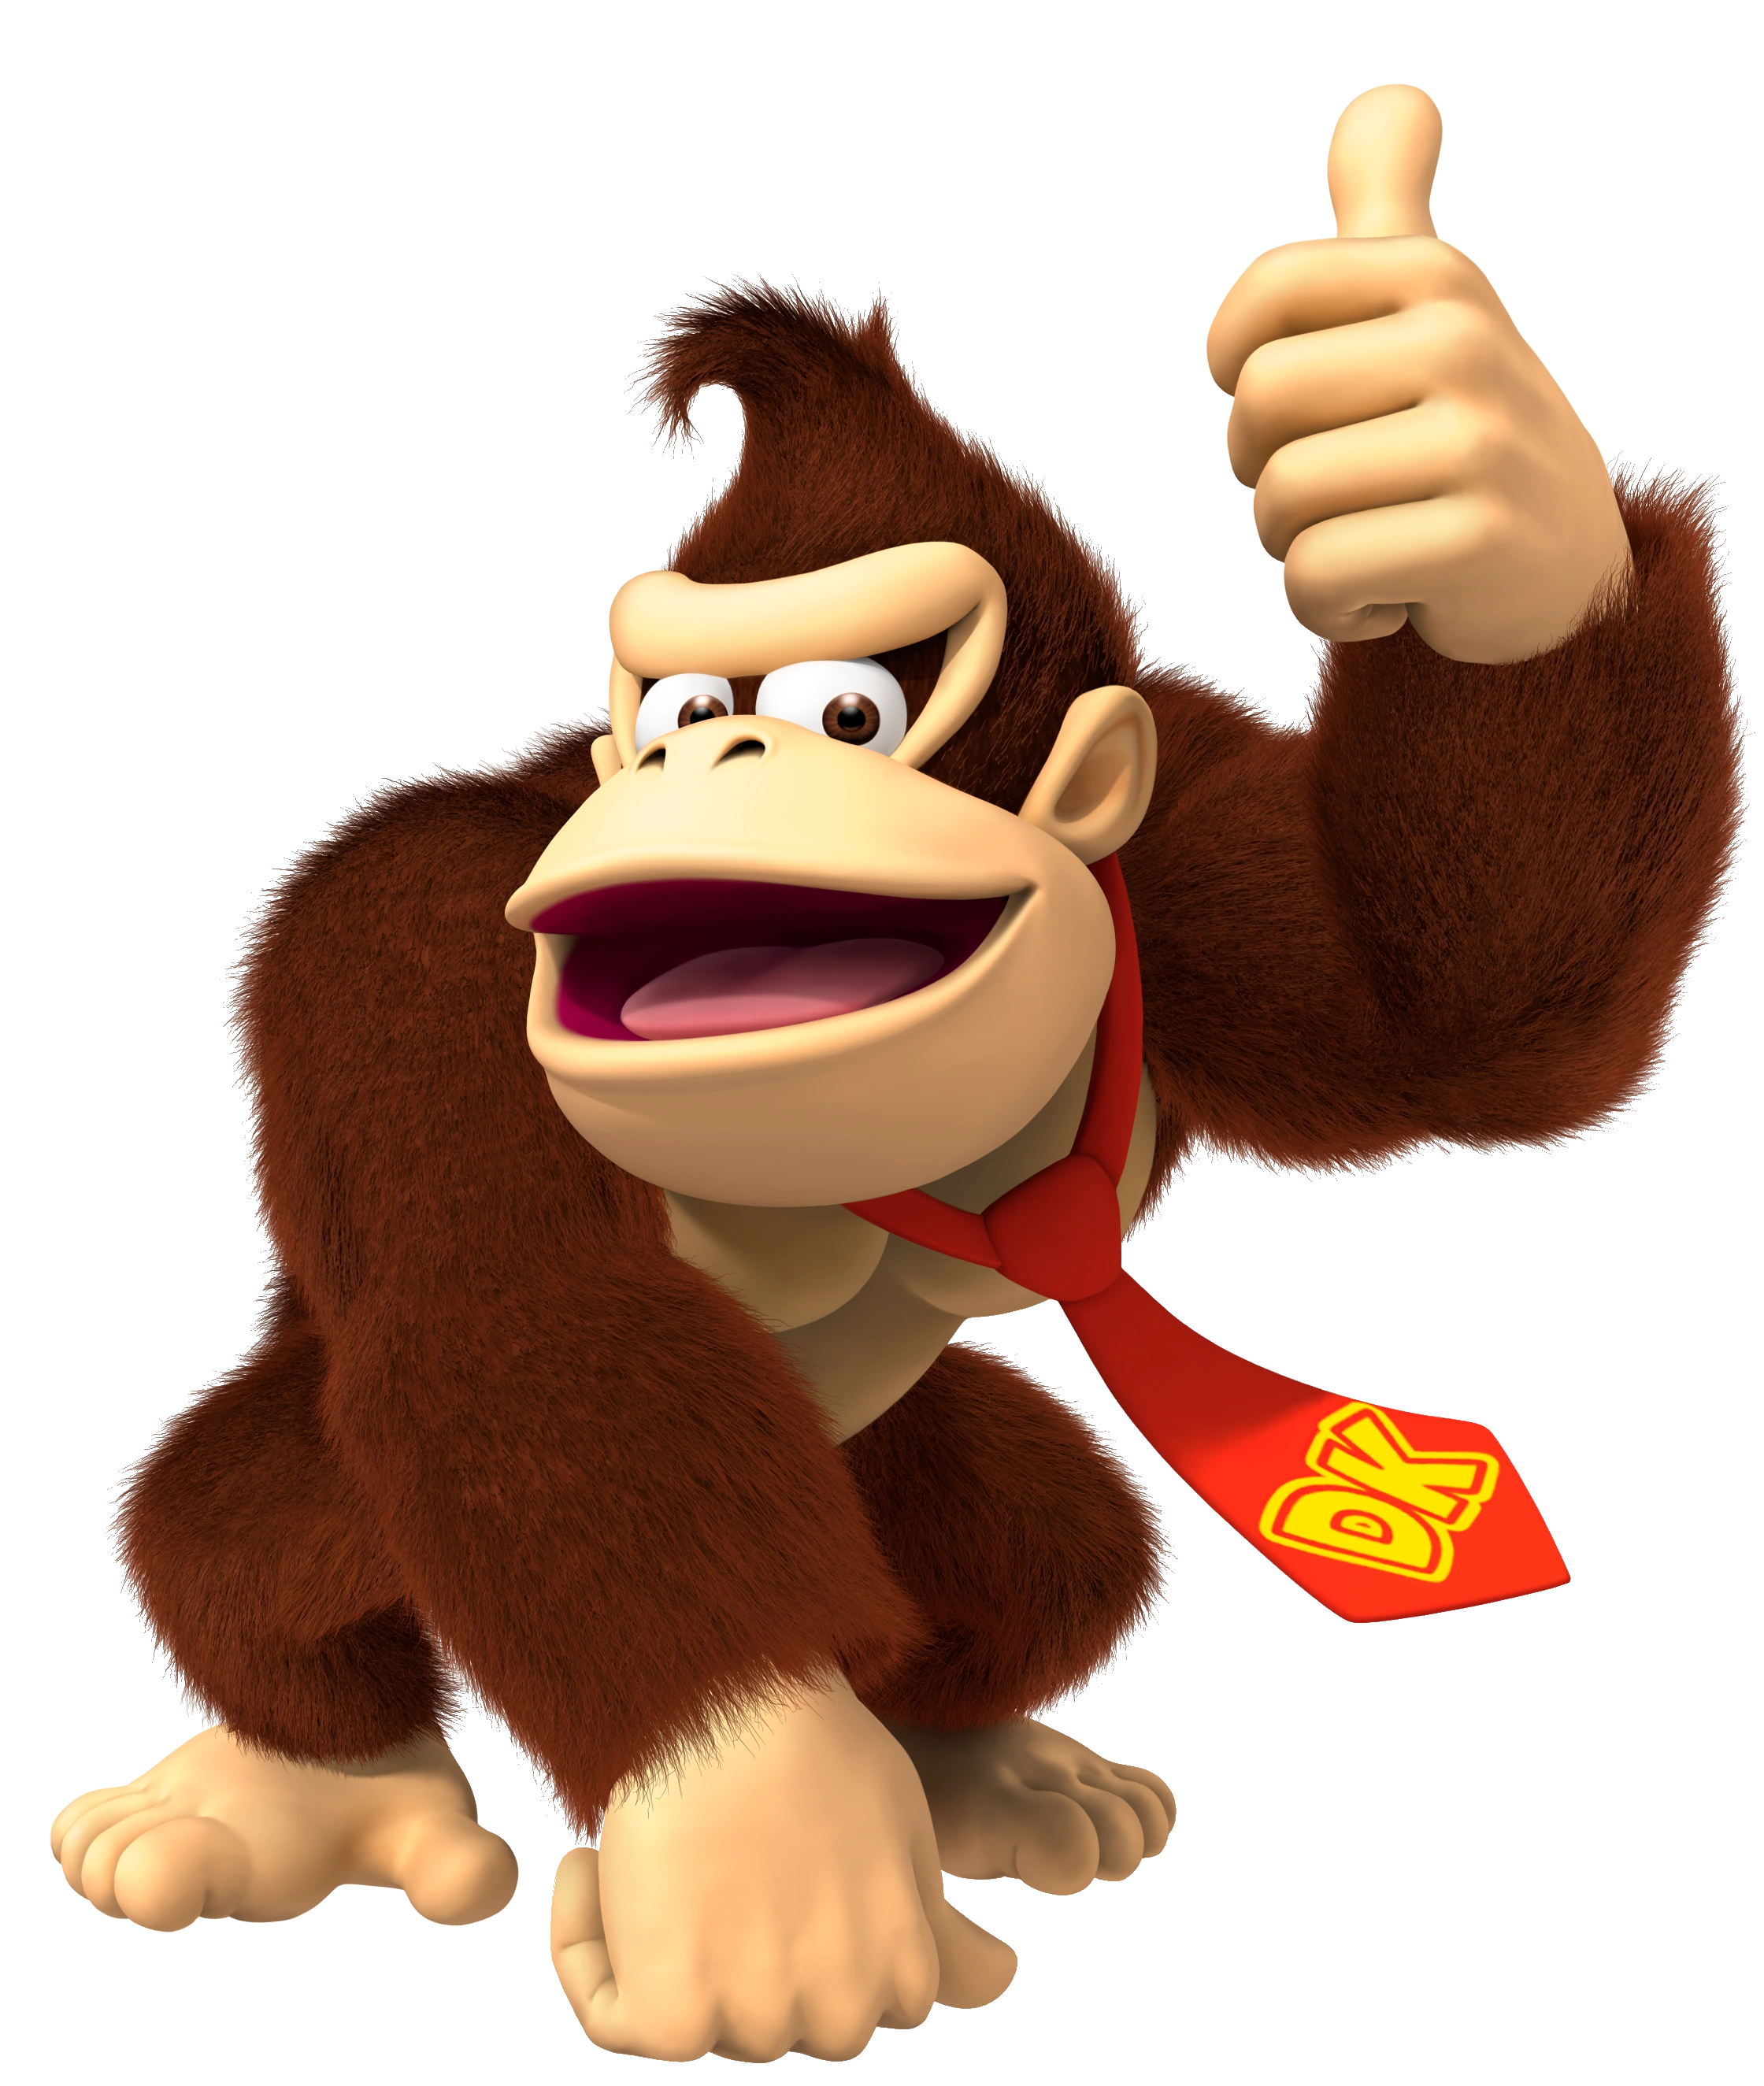
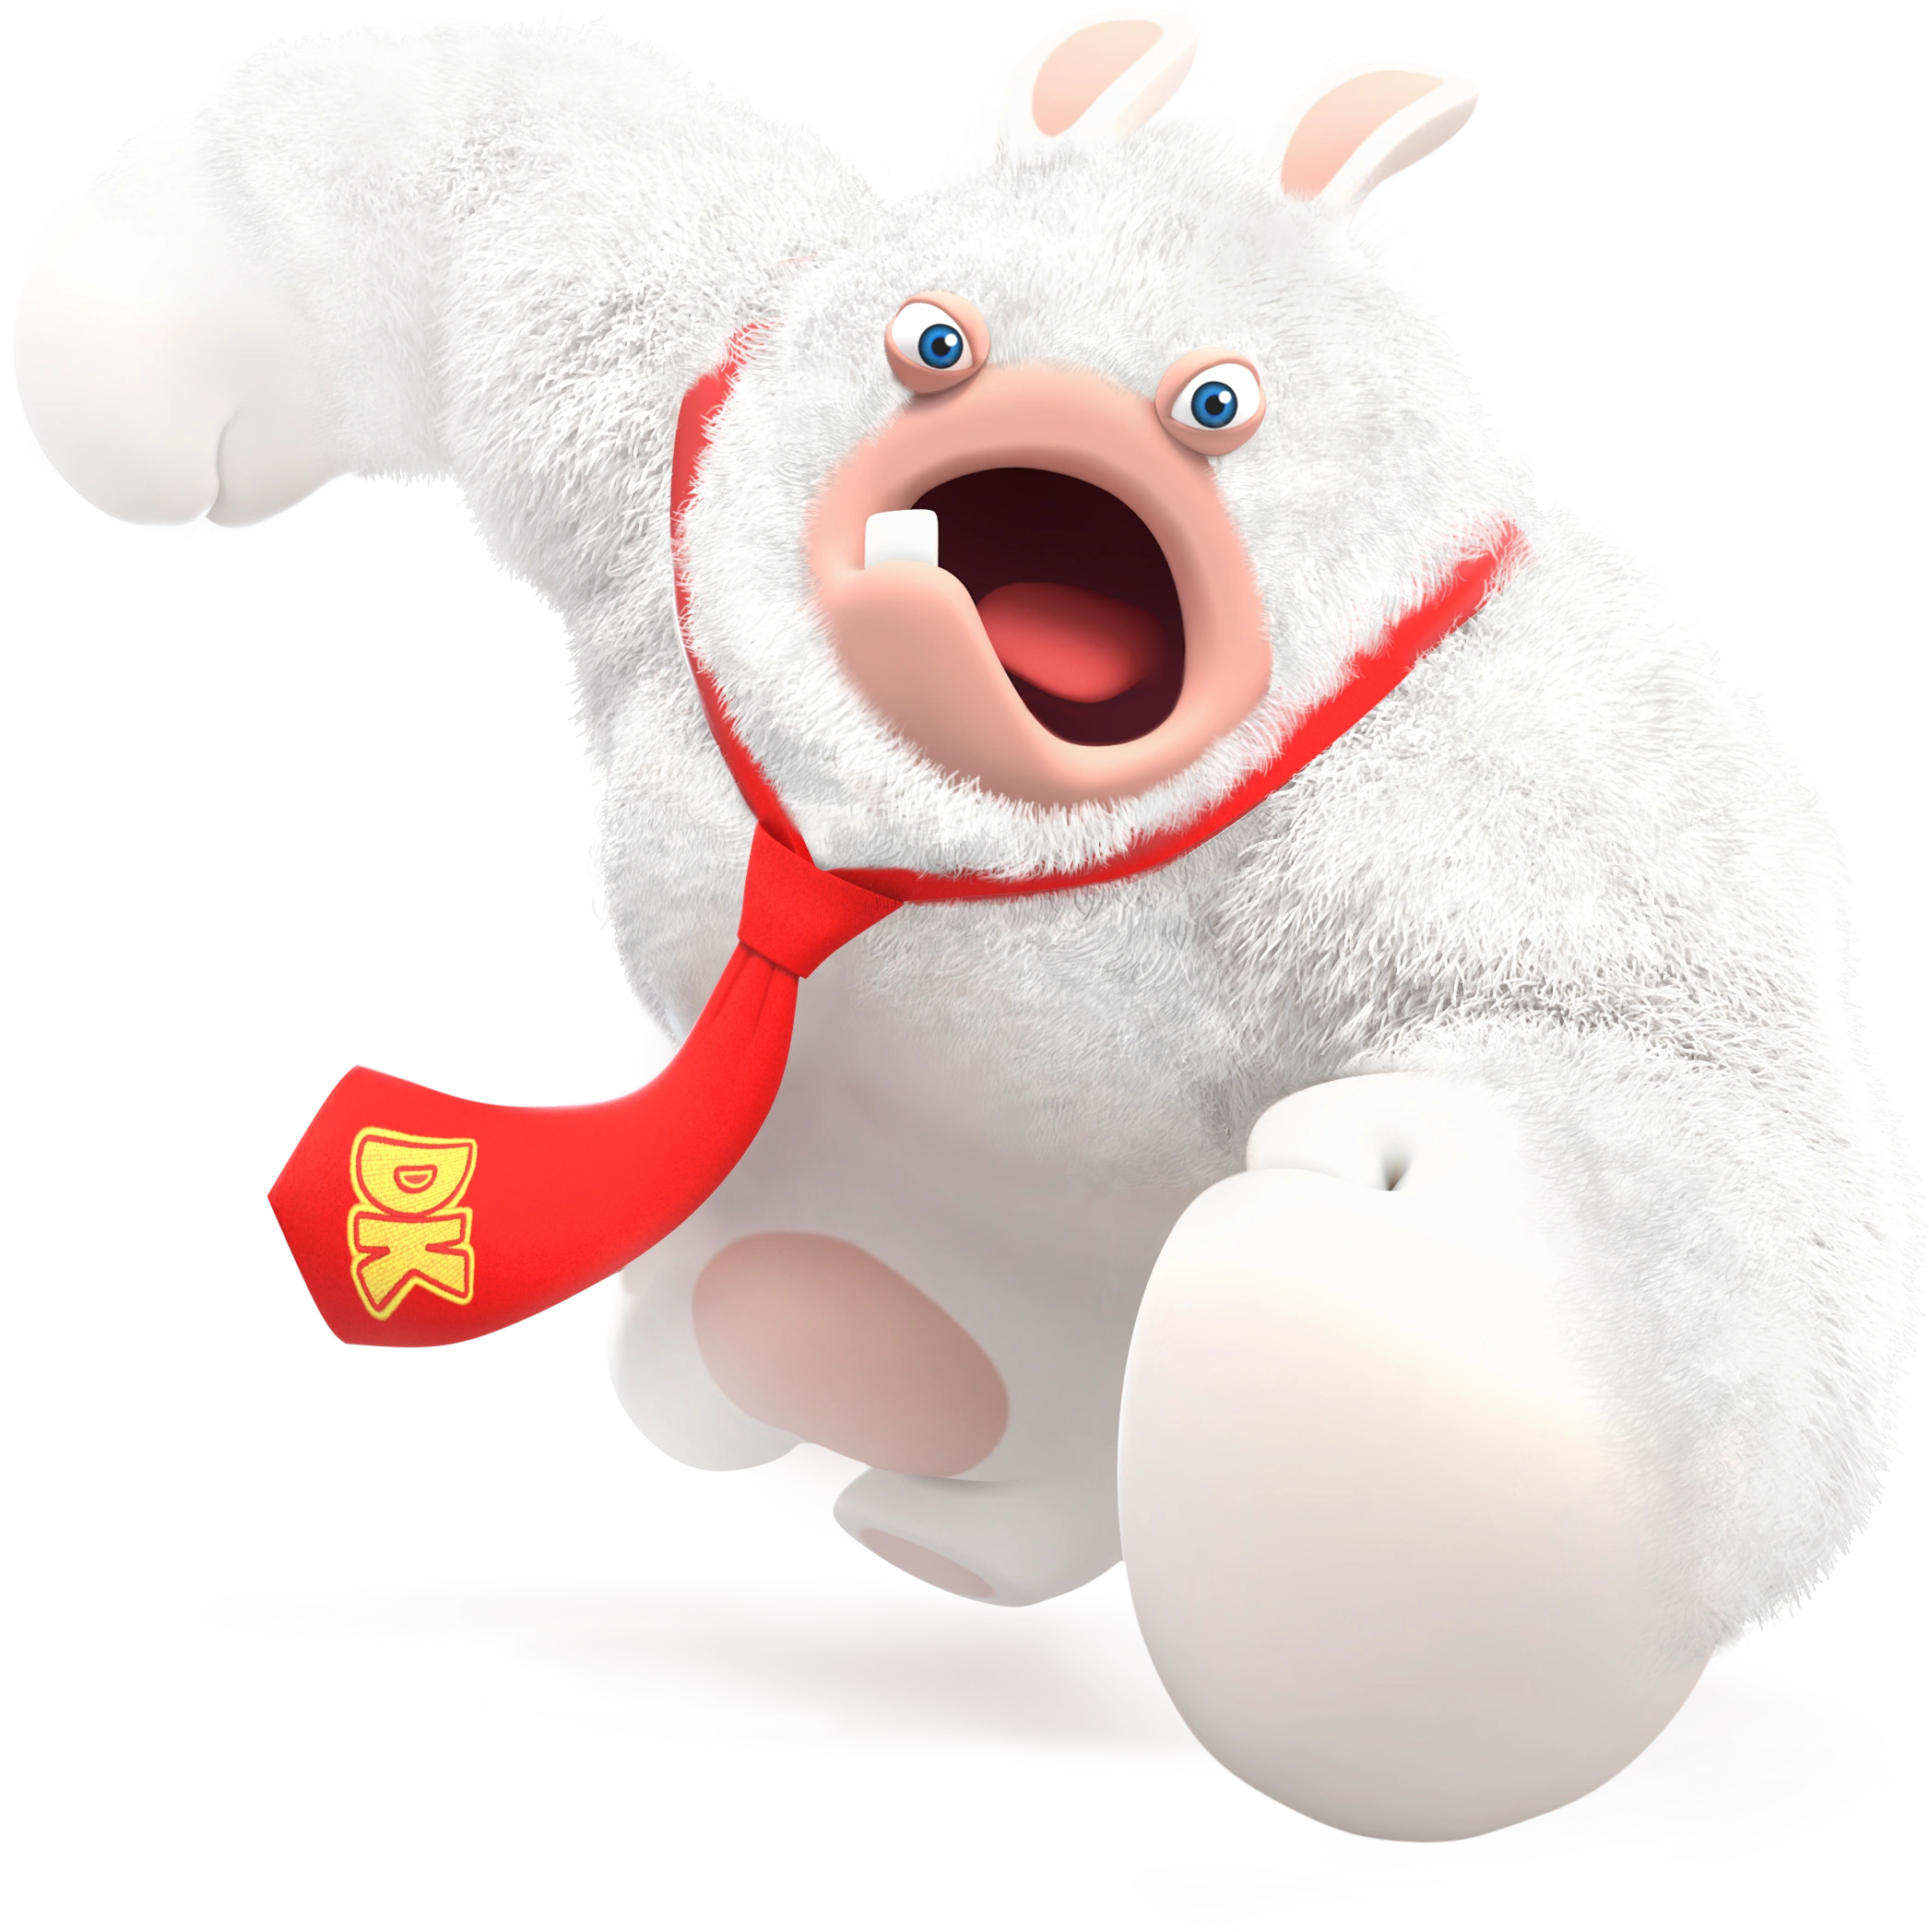
Donkey Kong
|
|
DK Barrel: Donkey Kong takes out a DK Barrel and slams it downward, breaking it. It can trap an opponent if it successfully hits. Trapped opponents will need to button-mash in order to escape. The Meter Burn version has Donkey Kong pick up the DK Barrel and throw it across the stage to further increase distance between him and the opponent. Performed with Down, Right, Medium.
Coconut Launcher: Donkey Kong takes out his Coconut Launcher and fires a large coconut forward. The Meter Burn version has the coconut explode for extra damage. Performed with Forward, Down, Light.
Ground Slap: Donkey Kong slaps the ground with his hands, causing a stage-wide earthquake that damages any ground-bound opponents. The Meter Burn version has an added shockwave that deals extra damage to opponents near Donkey Kong. Performed with Down, Back, Heavy.
Bouncy Tire: Donkey Kong jumps upward as a Tire appears below him. He lands on it and jumps upward, crashing onto opponents below for damage. The Meter Burn version has Donkey Kong use a mobile Tire instead, which can be used a few more times before disappearing and even be pushed around. Performed with Down, Down, Forward, Medium.
King of Swing: A vine appears as Donkey Kong grabs onto it. He swings forward and kicks opponents as he moves, jumping off afterwards. The Meter Burn variant sees a chain being summoned instead, which can damage opponents on its own if Donkey Kong misses. Performed with Forward, Backward, Heavy.
Barrel Cannon: Donkey Kong enters a Barrel Cannon, which will move up and down for a short time. A button press will have the Barrel Cannon shoot Donkey Kong forward at the opponent, dealing damage. The Meter Burn version has the Barrel Cannon launch him immediately. Performed with Forward, Down, Down, Medium.
Steel Keg: Donkey Kong grabs a Steel Keg and throws it forward, slamming into opponents as it slides across the stage. The Meter Burn version has Donkey Kong throw a TNT Barrel instead, which explodes on impact and deals much more damage. Performed with Down, Down, Heavy.
Oil Drum: Donkey Kong grabs an Oil Drum and throws it on the ground in front of him, causing a pile of flames to appear on the stage that constantly burn opponents if stepped on. The Meter Burn variant releases two Fireballs as opposed to flames, which move around the stage before disappearing. Performed with Down, Back, Down, Medium.
Banana Hoard: A large pile of bananas fall in front of Donkey Kong, who begins eating them up. As he eats, Donkey Kong will restore some of his health - eating the entire banana bunch can fill up an entire bar of health. If Donkey Kong is attacked enough, the bananas will disappear.
Monkey Business: Donkey Kong slaps the ground, sending the opponent upward. He then catches the opponent and slams them into the ground several times before throwing them back into the air. He then winds up and throws a powerful punch just before the land on the ground, sending them farther away.
One of Donkey Kong's pallet swaps resemble an alternate costume in Donkey Kong 64, and another resembles an alternate costume in DK: King of Swing. A third pallet swap is a reference to the meme "Dankey Kang". |
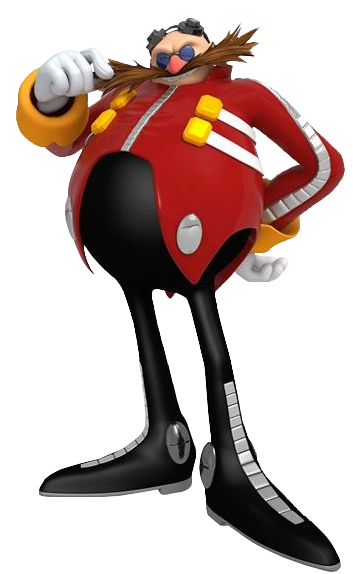
Dr. Eggman
|
|
Egg Mobile: Dr. Eggman is able to summon one of his various machines to attack the opponent, depending on how many times the Character Trait button is pressed when the meter is fully charged. After one press, Dr. Eggman can use Egg Mobile-D, where he summons the Egg Mobile-D to move through the area, hitting the opponent with its spinning drill. After two presses, he uses Egg Mobile-H, where he summons the Egg Mobile-H to fly forward and slam the opponent with its ball. After three presses he uses Catcher Eggman, where he calls the Catcher Eggman that flies across the screen as it drops spiked balls downward. Four presses allows Dr. Eggman to use Freeze-O-Matic, where he calls his Freeze-O-Matic to fly to the center of the screen and blow icy wind, gradually damaging opponents. Finally, after five presses Dr. Eggman can use Mean Bean Machine, where he calls two machines that spew blobs that drop downward, damaging opponents they hit.
Egg Empire: Dr. Eggman throws a bomb forward, which explodes and pushes opponents backward. He then calls his Egg Mobile-H and hops into it, using the spinning ball to slam opponents with it a few times. The Egg Mobile-H then converts itself to Big Arm, which grabs the opponent, shakes them, and slams them into the ground. Afterwards, the Death Egg Robot rises from the ground. Dr. Eggman then pilots the Death Egg Robot as it jumps upward and lands on the opponent, crushing them. The Death Egg Robot exits as Dr. Eggman reappears. |
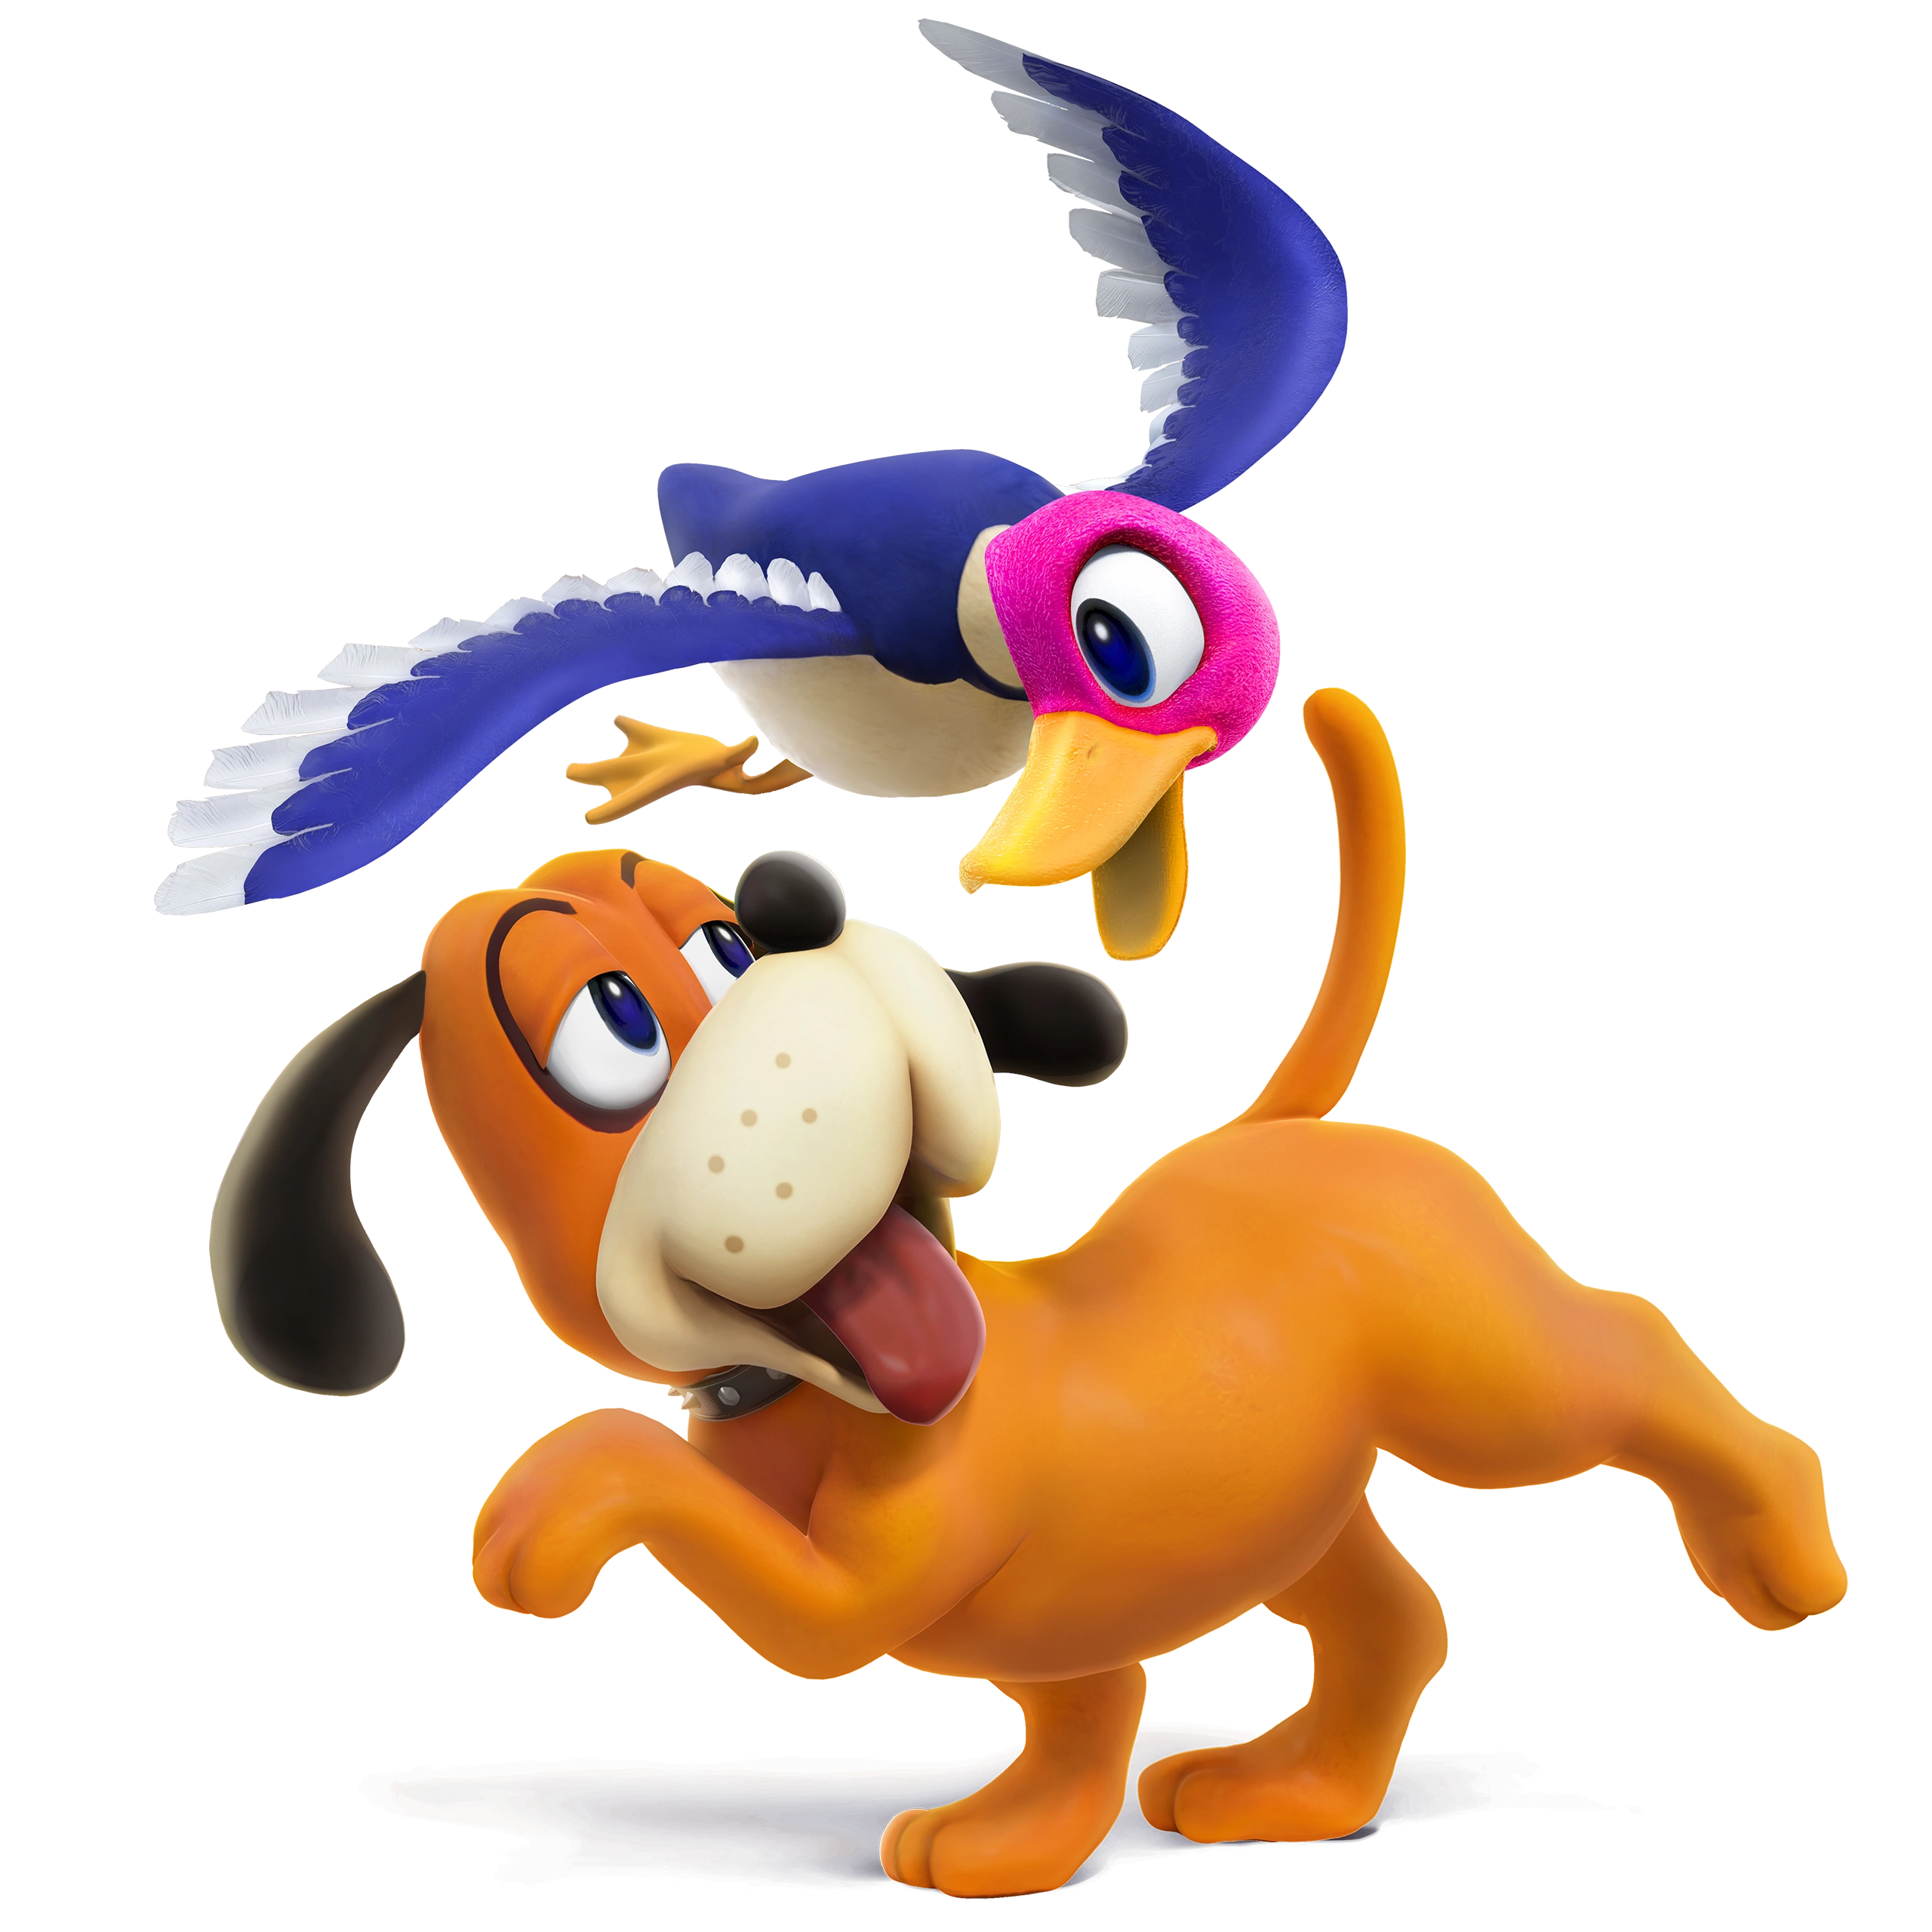
Duck Hunt
|
|
Gumshoe: The dog throws a gumshoe from Hongan's Alley, which explodes and damages opponents. The Meter Burn variant has the dog throw a can from Hogan's Alley instead, which deals more damage and has a larger blast radium. Performed with Forward, Down, Medium.
Clay Shooting: The dog throws a clay pigeon across the screen, damaging opponents it hits. The Meter Burn variant has the clay pigeon shot by an unseen sharpshooter with an NES Zapper. Performed with Back, Forward, Light.
Hogan's Alley: The dog places a cardboard cutout of a thief from Hogan's Alley on the stage, which disappears shortly after. If the opponents walks behind it, an unseen sharpshooter shoots the cardboard cutout with the NES Zapper, damaging the opponent as well. The Meter Burn version places a character from Wild Gunman instead, which shoots the opponent before walking away. Performed with Forward, Forward, Light.
Roll Over Uppercut: The dog rolls forward. If he hits an opponent, he and the duck together perform an uppercut, damaging the opponent. The Meter Burn version launches the opponent farther back. Performed with Forward, Down, Heavy.
NES Zapper: The dog and duck both take out NES Zappers and take turns shooting bullets, shooting three times in total. The Meter Burn variant sees them shooting eight times in total. Performed with Down, Down, Back, Heavy.
Shoot the Dog!: An unseen sharpshooter shoots the dog with an NES Zapper, sending him backward. While it does deal significant damage to a nearby opponent, it does deal recoil damage. The Meter Burn version makes the explosion bigger, damaging both the opponent and Duck Hunt more. Performed with Down, Back, Forward, Heavy.
The Hunt: An unseen sharpshooter shoots three ducks above the screen with an NES Zapper, causing them to fall down and damage the opponent. The Meter Burn version uses five ducks instead, making the attack harder to dodge. Performed with Down, Down, Light.
Tall Grass: A bunch of tall grass from Duck Hunt grows on the stage for a short time. Duck Hunt seemingly uses this to teleport behind the opponent as the grass disappears. Performed with Down, Up.
Hunting Season: The dog summons a swarm of ducks that fly through the screen, heavily damaging opponents as they fly by. Three types can be summoned; normal blue ducks deal regular damage, red ducks will drain the opponent's Omega Meter, and green ducks will deal a small amount of both.
NES Zapper Posse: The dog rams into the opponent, sending them backward. They then summon several 8-bit ducks, which take them to a gun range, where several Wild Gunman fire at them as cans from Hogan's Alley fall and explode on them. The dog, holding an NES Zapper, then appears to shoot the opponent multiple times, as the duck flies by and drops a large, explosive can on them to finish the attack. The 8-bit ducks reappear to take them back to the stage.
All three of Duck Hunt's pallet swaps resemble alternate costumes they can use in Super Smash Bros. for Nintendo 3DS / Wii U. |
Everest
|
|
|
|
Biff:
Everest is one of the members of the PAW Patrol, and boy is she cute! This husky used to live in the South Pole until Jake became her caretaker and took her to Adventure Bay. Even before becoming a member, she saved penguins and walruses in the arctic on several occasions. She's armed with a pup pack that gives her various gadgets, such as grappling hooks and a snowball shooter that will certainly put you on ice!
|
Snowball: Everest uses her snowball shooter to fling a snowball in an arc, damaging an opponent it hits. The Meter Burn variant launches the snowball faster, and in an even wider arc. Performed with Down, Back, Medium.
Icicle: Everest uses her snowball shooter to fire a snowball above the screen. After this, an icicle will fall on the opponent, damaging them. The Meter Burn variant causes a block of ice to fall instead of an icicle, which blocks off opponents. Performed with Back, Back, Light.
Ice Wall: Everest uses her snowball shooter to create a wall of ice, blocking projectiles and damaging nearby opponents. The Meter Burn version sees Everest kicking the ice wall, sending to forward and damaging the opponent. Performed with Down, Forward, Medium.
Snowboard: Everest slides forward on her snowboard, creating ice as she moves. The Meter Burn variant makes the ice in her wake form into spikes, which damage the opponent when stepped on. Performed with Back, Forward, Heavy.
Grappling Hook: Everest launches her grappling hook forward, which latches onto the opponent. From there, she can either drag the opponent towards her or drag herself towards the opponent, kicking them away. The Meter Burn version uses a grappling hook covered in ice, which freezes opponents solid instead of catching them. Performed with Forward, Forward, Down, Medium.
Freeze!: Everest uses her snowball shooter to fire a snowball at the ground, damaging opponents. The Meter Burn variant has the snowball cover a portion of the ground in ice, which will freeze the opponent when stepped on. Performed with Down, Down, Light.
Permafrost: Everest uses her snowball shooter to generate some cool air in front of her, creating a small blue field in front of her. Opponents in this field are slowed down significantly, and will eventually freeze if they stay for too long. The Meter Burn version has the opponents take gradual damage in the field, in addition to having the field bigger. Performed with Back, Down, Back, Heavy.
Icy Armor: Everest uses her snowball shooter to fire a snowball upward which lands on her, covering her in ice for a short time. In this state, she will take less damage. The Meter Burn version gives the armor ice spikes that stick out, which gradually damage the opponent when Everest is touching them in the armor. Performed with Down, Forward, Down, Medium.
Absolute Zero: When Everest's character trait is used, she tinkers with her snowball shooter a little, making it stronger for a short time. In this state, any attacks involving the snowball shooter will deal significantly more damage, freeze opponents longer, and even damage them gradually once unfrozen.
Cold Day: Everest fires a snowball at the opponent, stunning them. She then uses her ice blower to create a slide of ice, which spirals around the opponent. She then gets on this slide and rides it upward with her snowboard, firing snowballs at the opponent. Everest finishes the attack by jumping off the slide at its peak and creating a large snowball, crushing the opponent with it.
In all three of her pallet swaps, Everest's outfit resembles the color scheme of that of other members of the PAW Patrol, specifically Tracker, Zuma, and Rocky. |
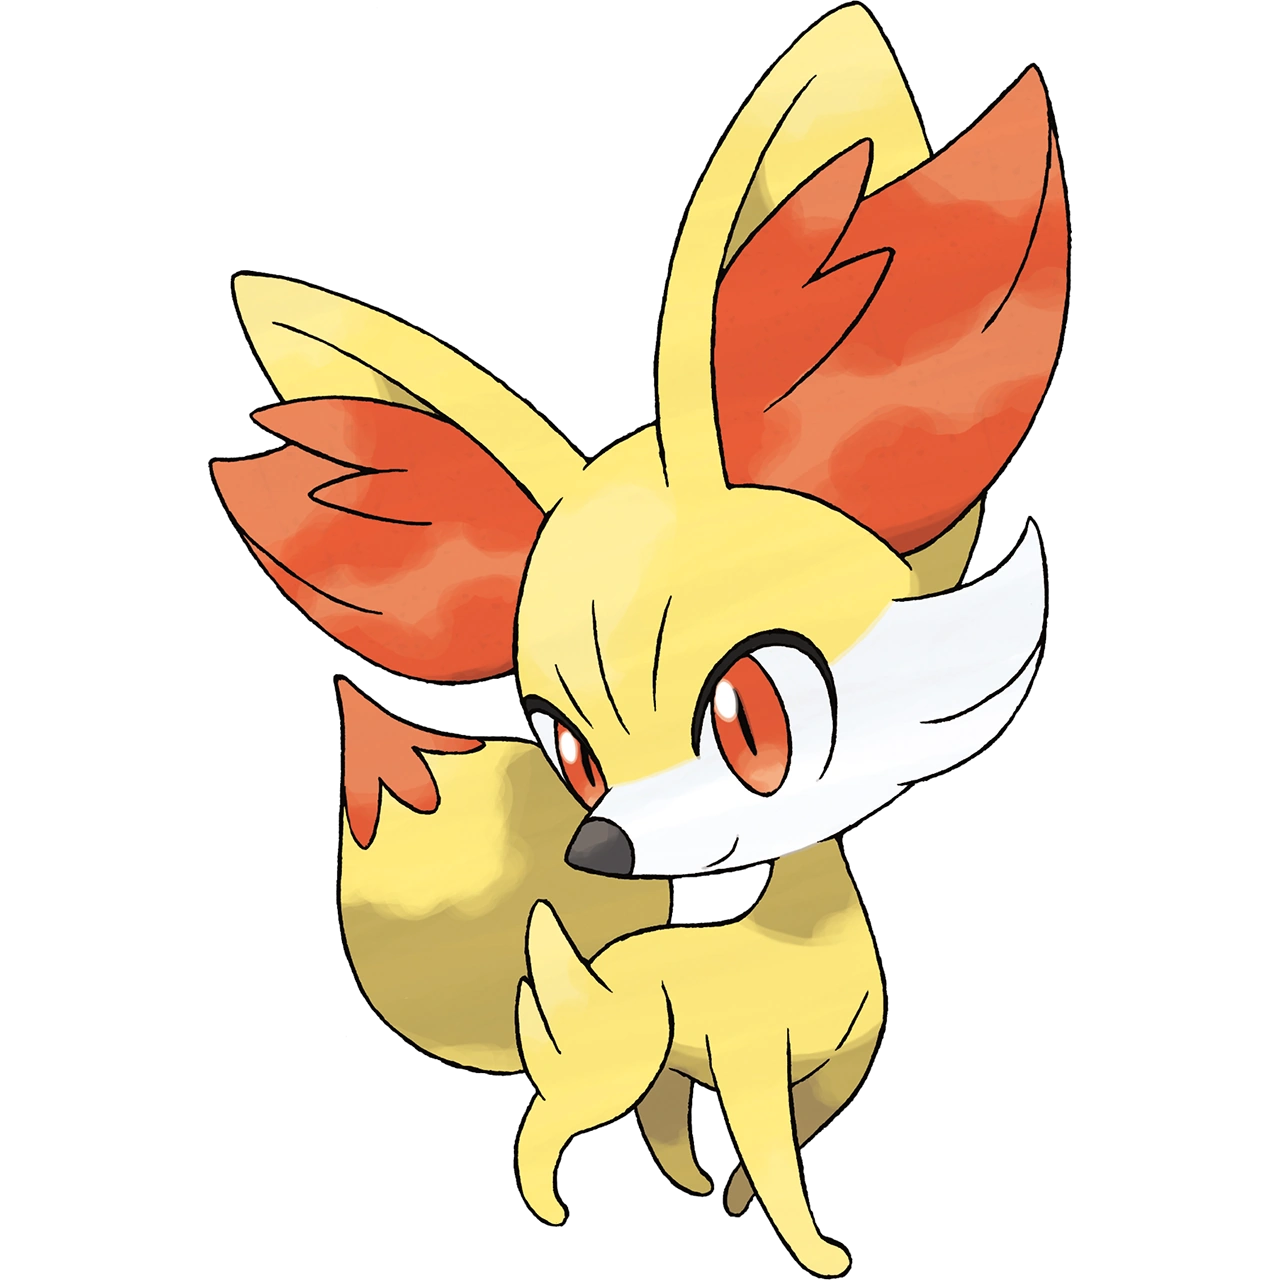
Fennekin
|
|
One of Fennekin's pallet swaps resembles its shiny coloration. |
Fera
|
|
Shield Rush: Fera charges forward with her shield, knocking the opponent back. She then proceeds to hit them with her spear multiple times, finishing off the combo by swinging the spear in a way that sends them upward. Just as they are about to land on the ground, Fera catches them with her shield, slamming them into the ground afterwards.
Fera's pallet swaps make references to Lucius, Raune, and Widi, playable heroes in Heroforce. |
Fluttershy
|
|
Kindness: Fluttershy lightly kicks the opponent, knocking them over. She then whistles, calling upon several animals such as bears, rabbits, and lizards to attack the opponent. To finish, Fluttershy has birds carry her above the opponent, where she is dropped to land on the opponent with all four hooves. The animals then flee.
One of Fluttershy's pallet swaps resembles Flutterbat, the form Fluttershy assumes when her DNA is combined with a fruit bat's. Another pallet swap is a reference to Pinkie Pie. |
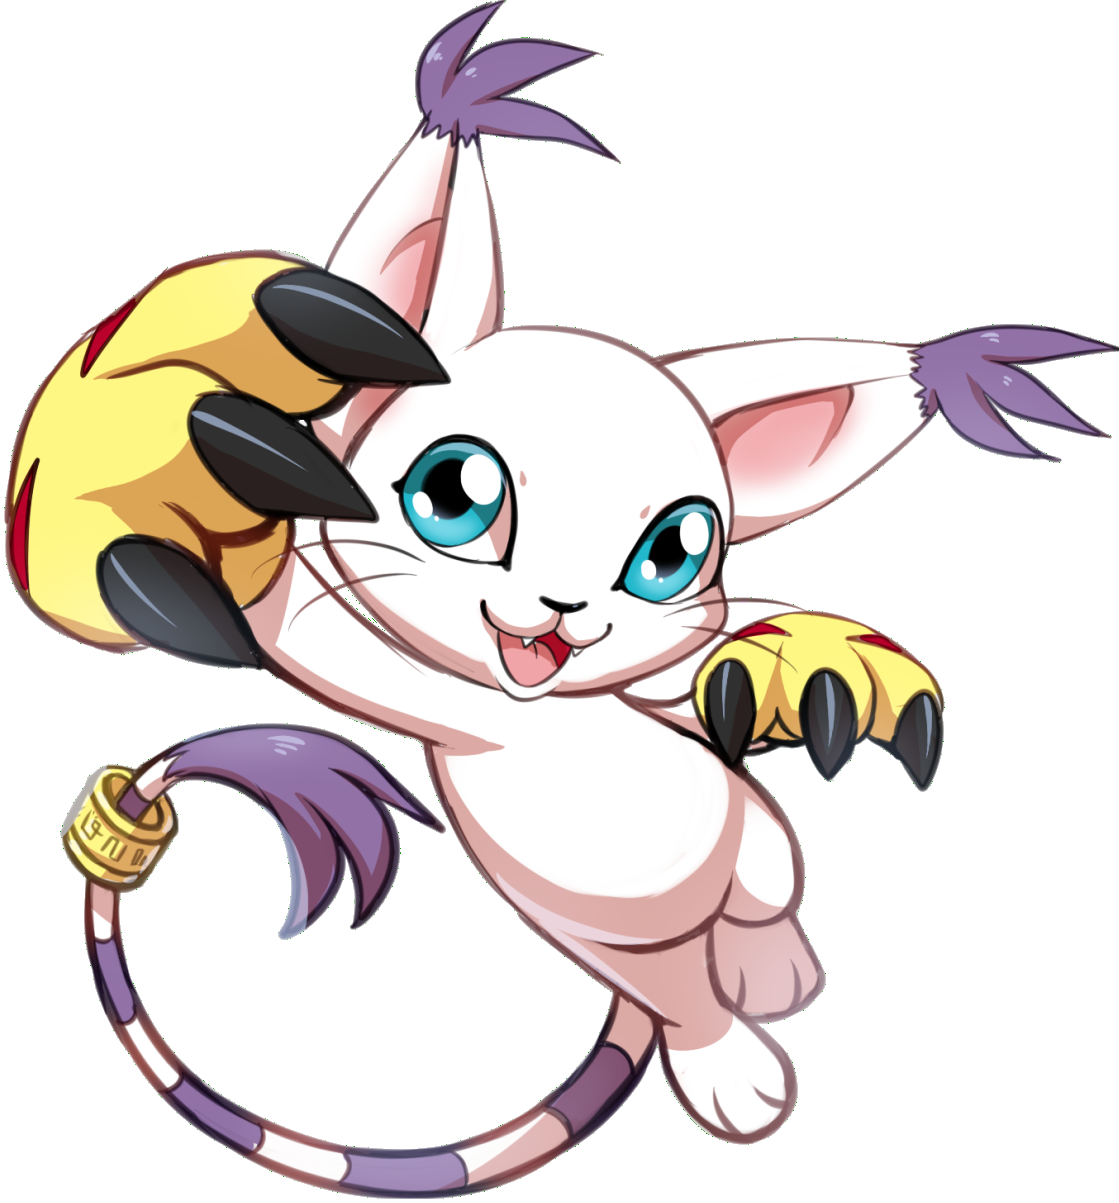
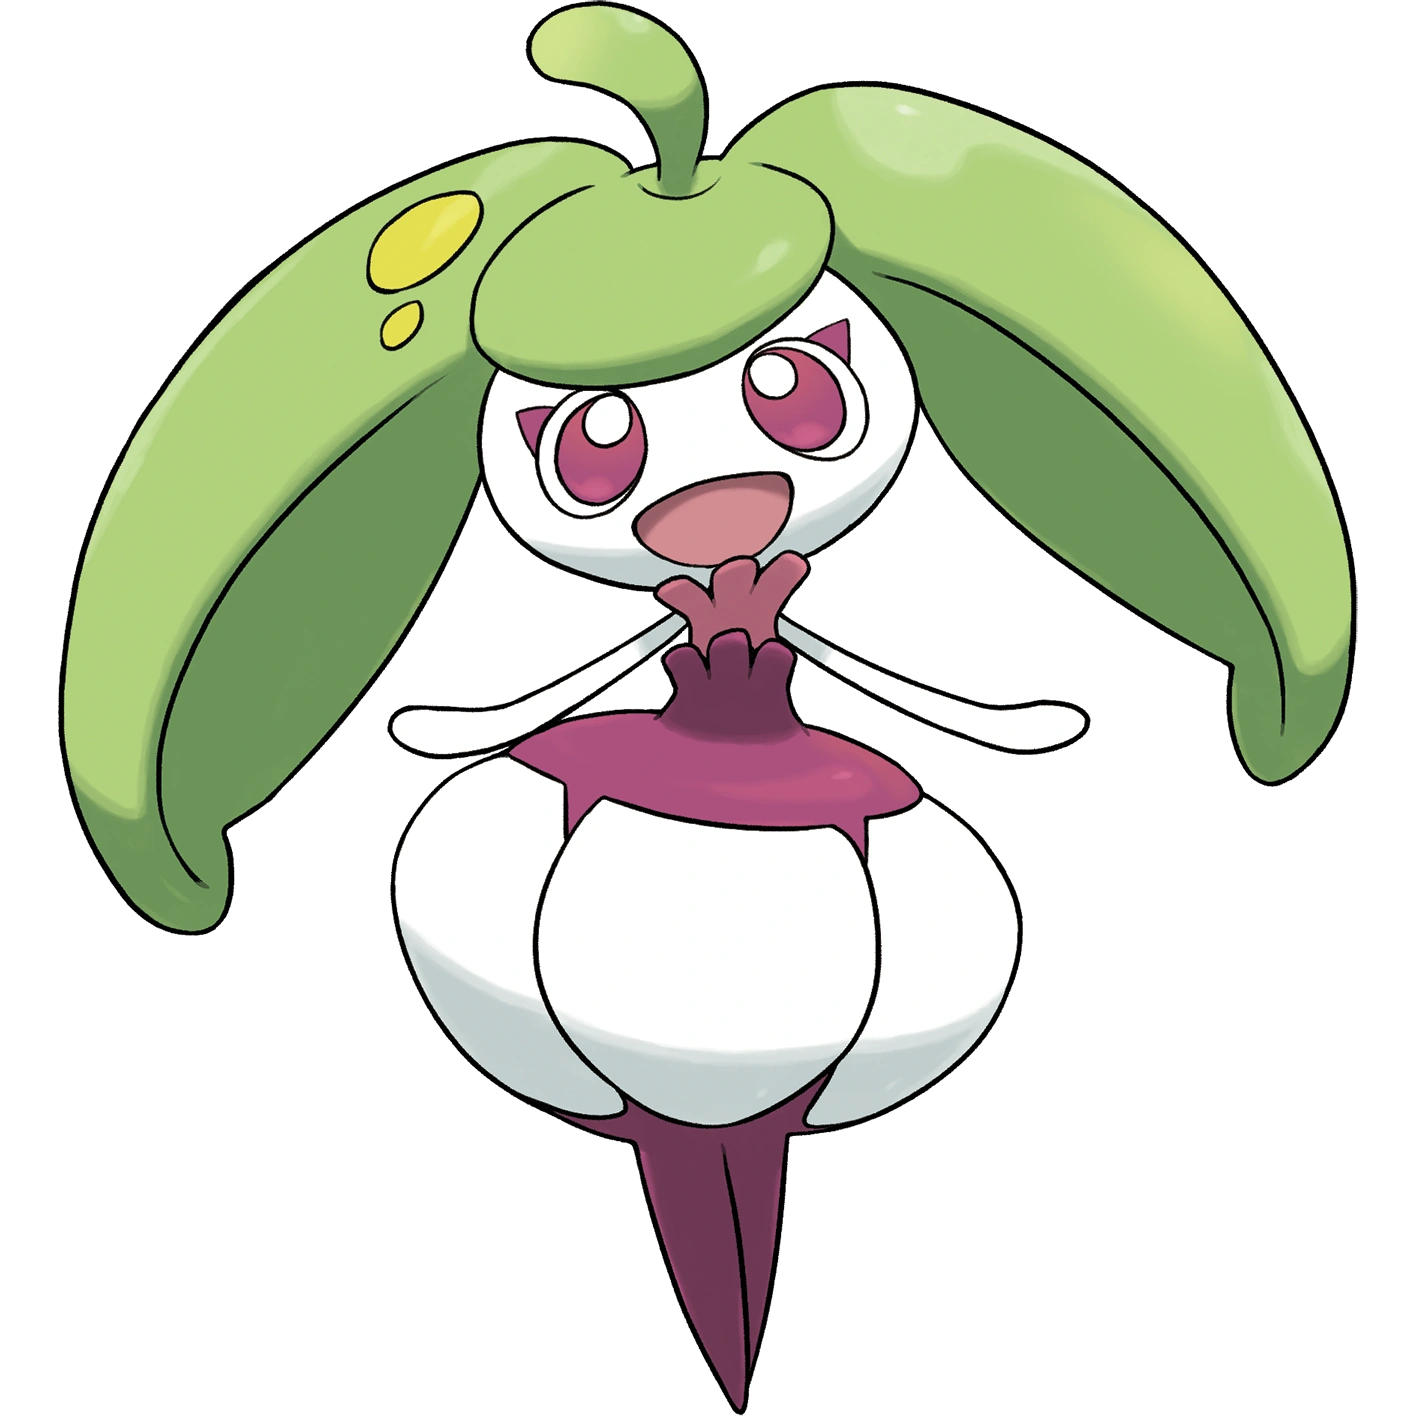
Gatomon
|
|
|
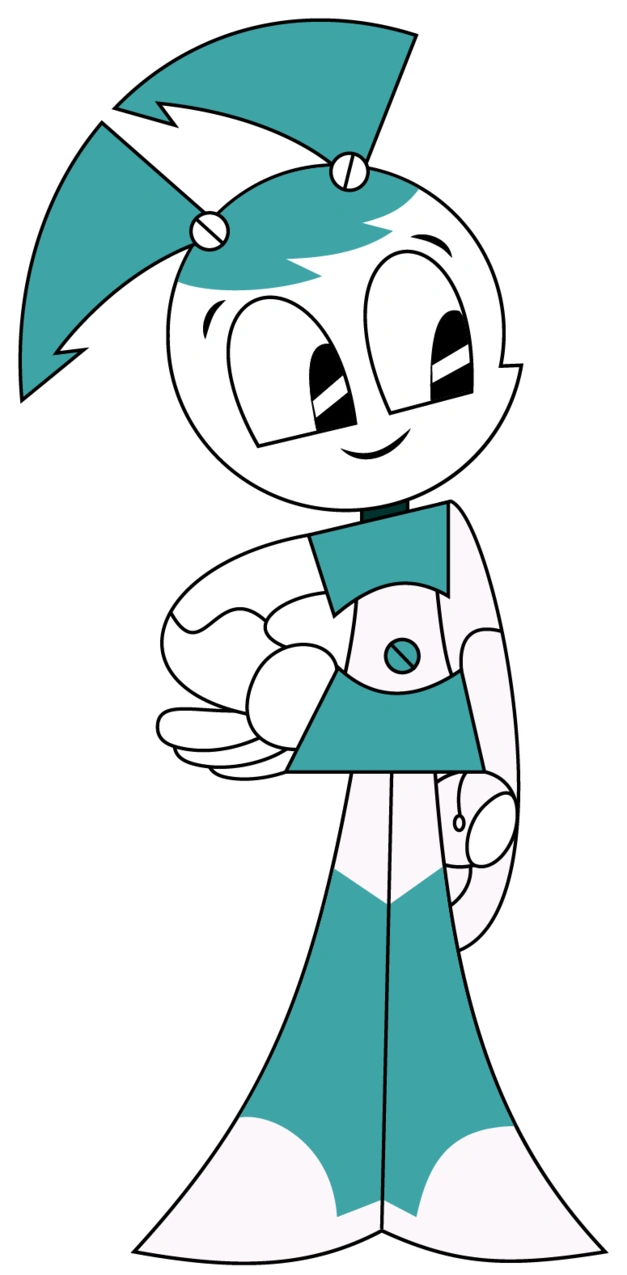
Jenny Wakeman
|
|
|
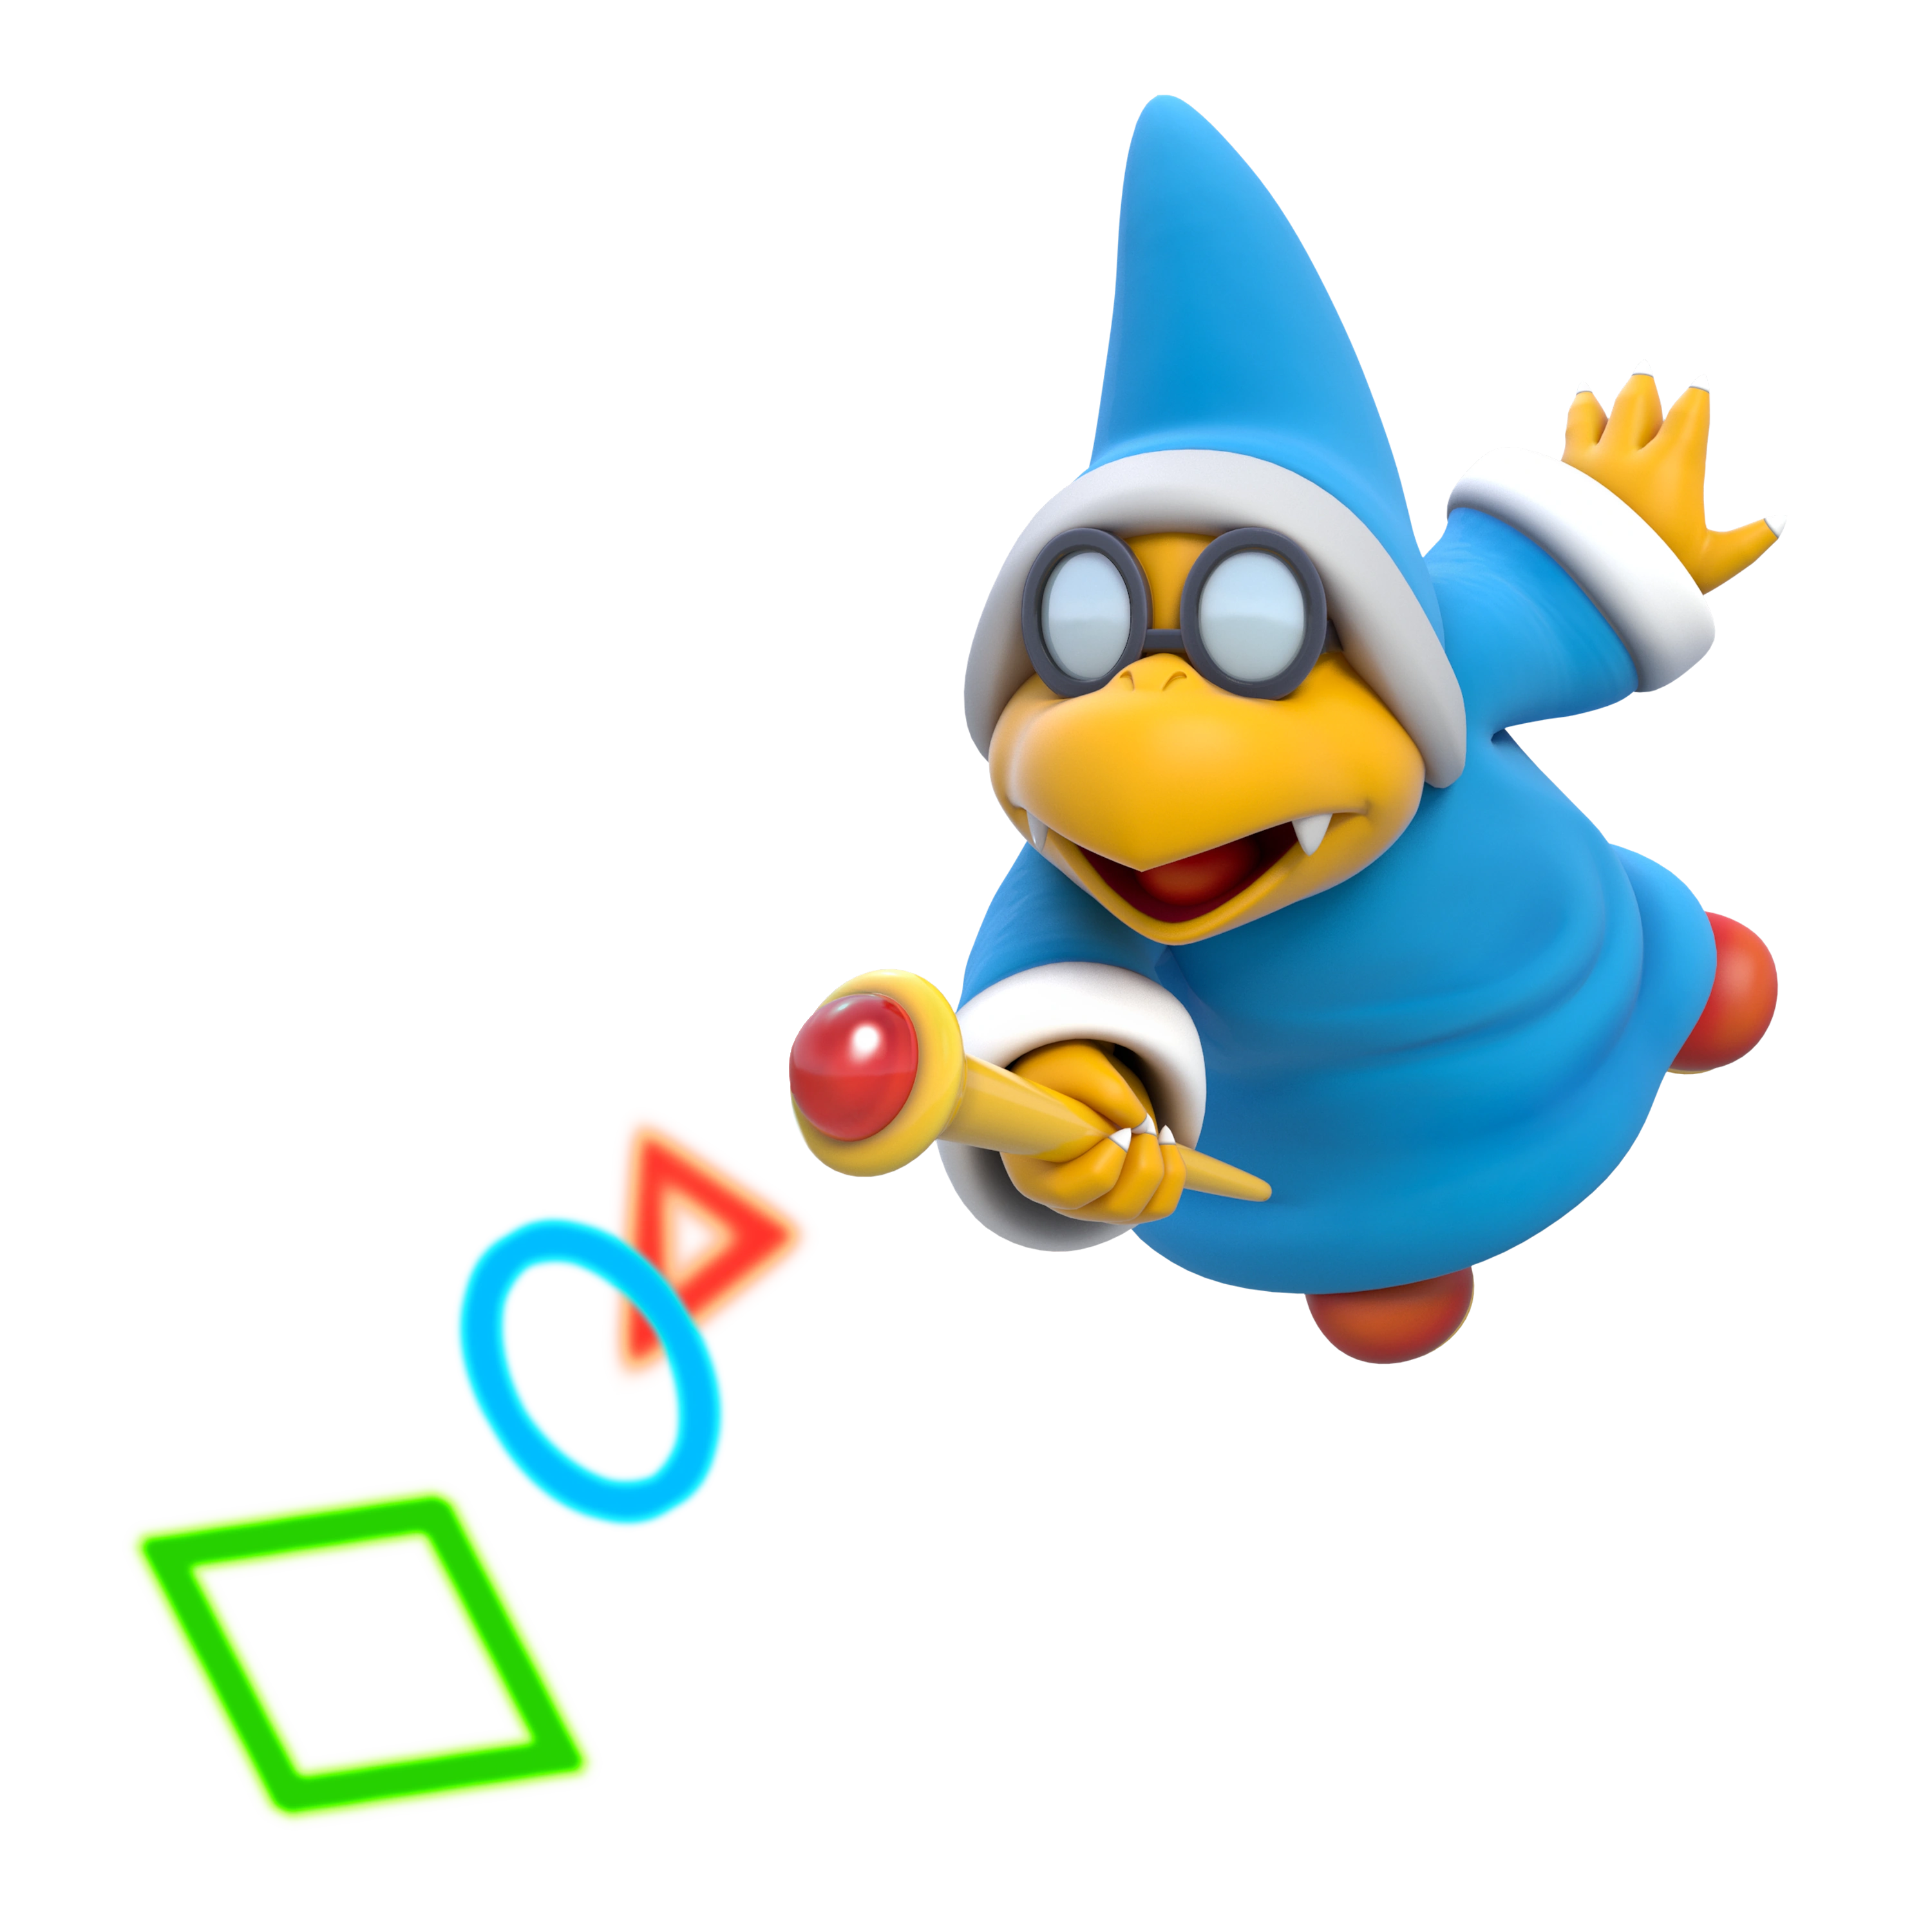
Kamek
|
|
All three of Kamek's pallet swaps are based off of the various colors of Magikoopas, specifically Red, Green, and Yellow Magikoopas. |
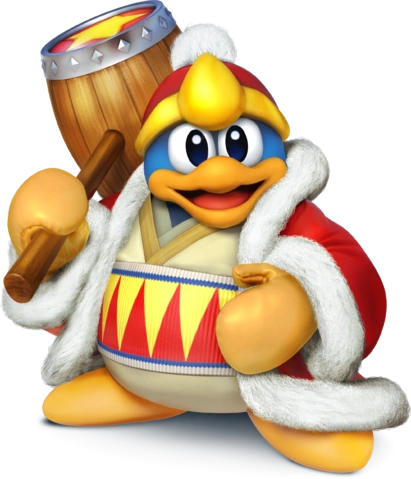
King Dedede
|
|
All three of King Dedede's pallet swaps resemble alternate costumes he can use in Super Smash Bros. for Nintendo 3DS / Wii U. |
King Julien
|
|
I Like to Move It!: King Julien summons Mort and Maurice who place a boombox behind the stage, and the three begin dancing to "I Like to Move It!" As King Julien dances, his attack power will increase for a short time. He can be interrupted while dancing however. If he manages to dance through the whole song without interruptions, his attacks will more than triple in strength. |
King K
|
|
Shell Machines of Doom: King K spins in his shell, knocking the opponent over. He then whistles, summoning another KP Koopa and a KP Paratroopa (depending on the pallet swap used, the summoned allies can also be a Koopa Troopa and Paratroopa, a Shady Koopa and Shady Paratroopa, or a Dark Koopa and Dark Paratroopa). The KP Paratroopa holds the opponent above ground as the two KP Koopas ram into them with their shells. The KP Paratroopa then drops the opponent, as all three slam into them with their shells. The other KP Koopa and KP Paratroopa then flee.
King K's pallet swaps change his colors to resemble those of Koopa Troopas, Shady Koopas, and Dark Koopas, enemies that also appear in Paper Mario: The Thousand-Year Door. In addition, the Shady Koopa pallet swap also resembles Shellshock, another Glitz Pit fighter Mario can talk to in said game. |
Knuckles
|
|
|
Kowalski
|
|
|
LarryBoy
|
|
|
|
Biff:
Who do you call when Bumblyburg's in trouble?
Who's got the suit with super-suction ears?
There's no reason to panic, 'cause this guy's manic, and you know he'll save the day!
You need a hand? He's right there on the double!
Hey, hey, he's on the way!
Purple and yellow, he's one super fellow!
Sorry, I just love that song!
|
Two of LarryBoy's pallet swaps make references to other superheroes that appear in The League of Incredible Vegetables; specifically Ricochet (Junior Asparagus) and Thingamabob (Bob the Tomato). |
LEGO Darth Vader
|
|
|
Marie
|
|
Two of Marie's pallet swap resemble her brothers Toulouse and Berlioz, while a third pallet swap resembles Cat Mario. Her orange pallet swap also resembles Thomas O'malley and Oliver from Oliver and Company. |
Master Crash
|
|
Big Bomb Boomers: Master Crash charges into the opponent, knocking them into the air. Master Crash then whistles to call upon three other Bob-ombs. They take turns knocking the opponent around, before one of them knocks them upward. The four then huddle together as the opponent falls on top of them, exploding simultaneously as they land. The other three Bob-ombs then flee.
Two of Master Crash's pallet swaps are references to Bulky Bob-ombs and Bob-ulks, enemies that appear alongside Bob-ombs in Paper Mario: The Thousand-Year Door. His third alt also resembles the "Hyper Bob-omb", an enemy made for said game that was scrapped during development. In addition, Master Crash's pink pallet swap also resembles the "Ultra Bob-omb", another cut enemy. |
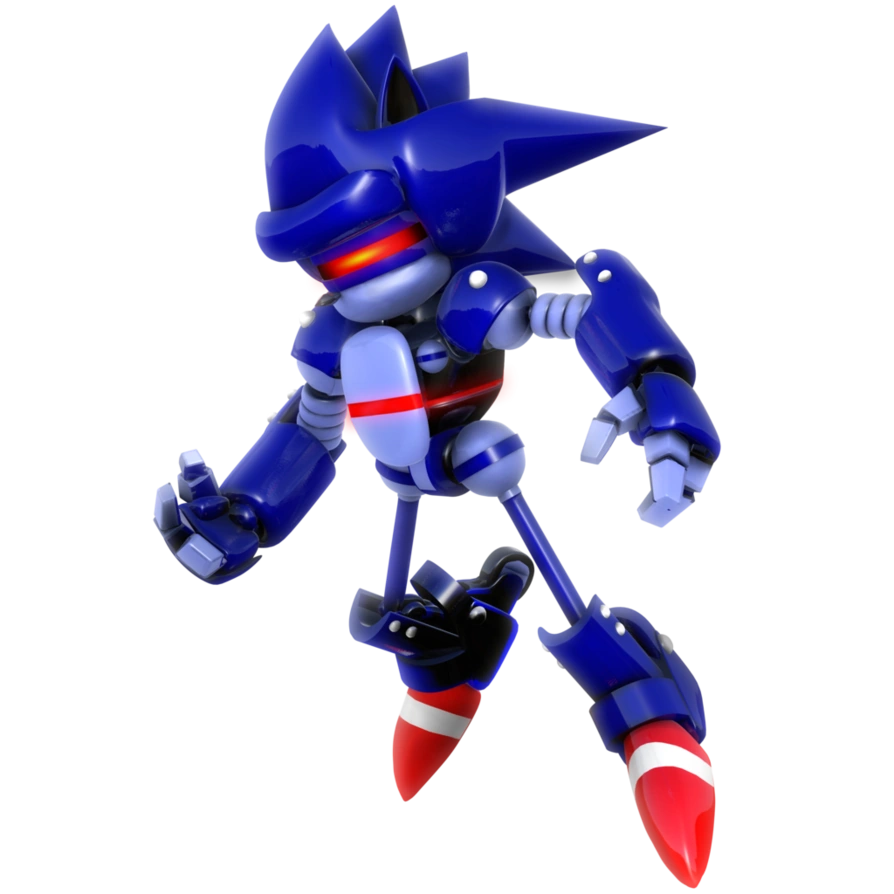
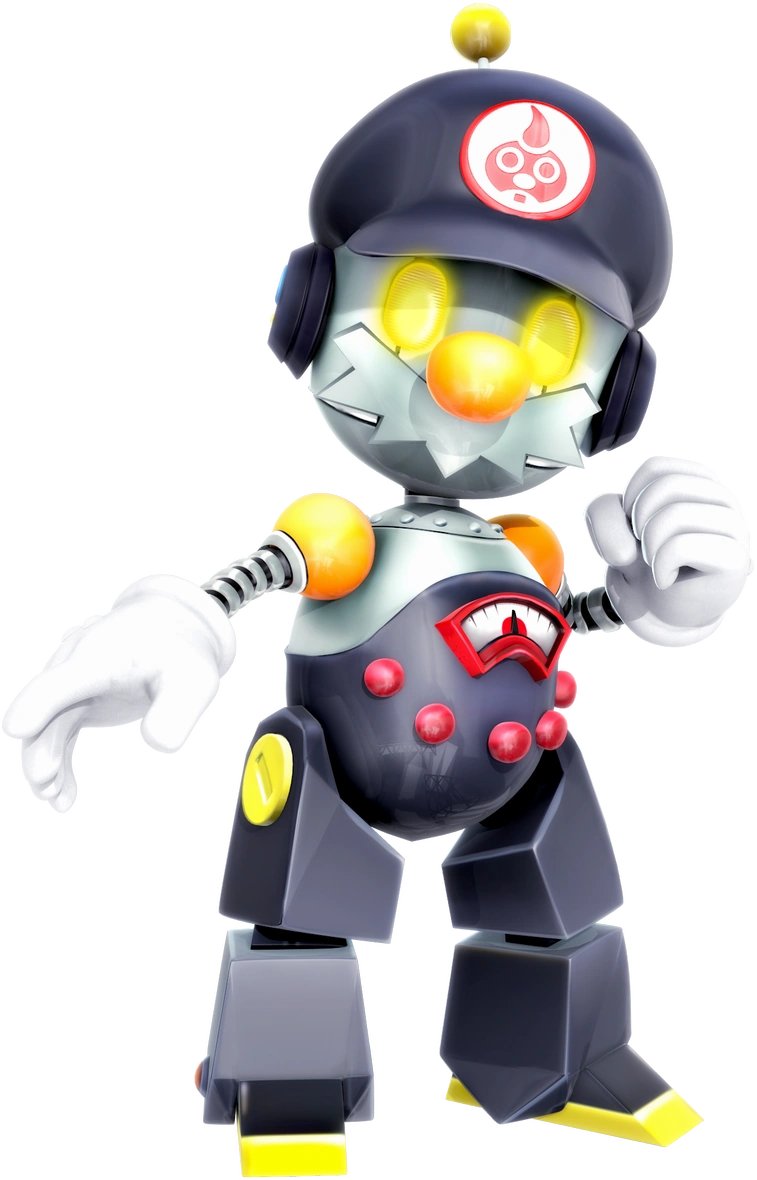
Mecha Sonic
|
|
|
|
Biff:
Sonic here is a hedgehog. He's the fastest thing alive and... wait, that's not Sonic. It's Mecha Sonic! He's a robot clone of Sonic built by Dr. Eggman, who faces off with Sonic and the gang in Sky Sanctuary Zone. At one point he even absorbed the Master Emerald's power to become Super Mecha Sonic! It seemed like he was destroyed, but it looks like he's back with a vengeance! You also better be on the lookout for when he's taking energy from the Master Emerald, because if he reaches full power... you'll be boarding the pain train...
|
Ground Slide: Mecha Sonic grinds across the ground while in a crouching position, knocking opponents backward. The Meter Burn variant has Mecha Sonic following the attack with a reverse midair dropkick. Performed with Right, Right, Light.
Spin Dash: Mecha Sonic rolls into a ball and spins forward, hitting opponents. The Meter Burn variant sees Mecha Sonic following with an attack similar to Sonic's Sonic Eagle from Sonic Battle. Performed with Down, Down, Down, Medium.
Energy Shot: Mecha Sonic fires a red ball of energy from his red core, which flies forward and hits opponents. When using the Meter Burn version, the ball of energy is slower, but locks on and targets on the opponent. Performed with Back, Forward, Light.
Energy Surge: Mecha Sonic releases electric energy that surrounds himself from his red core, damaging any nearby opponents and launching them. The Meter Burn version gives the attack a wider range and knocks opponents back more. Performed with Down, Down, Heavy.
Float: Mecha Sonic has the ability to float in midair for a short time after jumping by holding Up. While floating, Mecha Sonic can move back and forth, as well as use aerial attacks.
Energy Ray: Mecha Sonic jumps upward and floats forward, shooting a ray of electric energy downward from his red core. The Meter Burn version sees Mecha Sonic firing three energy rays, albeit each being weaker. Performed with Down, Back, Light.
Rocket Boost: Mecha Sonic uses his rocket thrusters to boost forward, kicking opponents when he hits them. The attack can be performed in midair too, though if used while using Float the floating will automatically end. The Meter Burn variant sees Mecha Sonic using a shoulder bash instead, knocking opponents forward. Performed with Forward, Forward, Heavy.
Warp: Mecha Sonic warps behind the opponent. Performed with Down, Up.
Super Mecha Sonic: Unique to Mecha Sonic, the Master Emerald is found on his side of the match. By pressing the Character Trait button when in front of it, Mecha Sonic will hop on top of the emerald and begin absorbing its power, filling a yellow meter. Though Mecha Sonic can be attacked in this state due to being left vulnerable, another press of the Character Trait button will cancel the process, at the cost of the meter slowly draining over time. Should Mecha Sonic be able to fully charge the meter, he will become Super Mecha Sonic. In this state, he is much faster, he is much more resistant to damage, and his attacks are stronger. As Super Mecha Sonic, the yellow meter will slowly drain. Once empty, he will revert to his regular state, and must regain energy from the Master Emerald to become Super Mecha Sonic again.
Doomsday Mech: Mecha Sonic blasts the opponent with a beam of energy, knocking them backward. He then hops on the Master Emerald and absorbs its energy into his red core, allowing him to become Super Mecha Sonic. He then charges at the opponent and kicks them into the sky, proceeding to deliver several punches and kicks. He then knocks them downward and fires a massive energy beam at them, dealing heavy damage. Mecha Sonic then returns and reverts to his normal state.
One of Mecha Sonic's pallet swaps references the "Mecha Sonic" that appears in Sonic the Hedgehog 2, as well as Silver Sonic who appears in the 8-bit version of Sonic the Hedgehog 2 and Sonic Mania. A second pallet swap resembles Zonik from the Sonic v. Zonik adventure gamebook, as well as Scourge the Hedgehog from the Sonic Archie comics. |
Metal Espio
|
I Honestly Don't Care
|
One of Metal Espio's pallet swaps resembles the colors of Espio, while the other two pallet swaps resemble Metal Mario and Pink Gold Peach from the Mario series. |
Mike Wazowski
|
|
Scare Canister: Mike Wazowski takes out a Scare Canister. The button can be held as Mike shakes it, which can do three different attacks depending on the charge of the attack. With no charge, Mike Wazowski uses Scare Blast, where he untwists the top and lets out scream energy to blast nearby opponents backward. At medium charge, he uses Scare Rocket, where he untwists the top and lets the Scare Canister fly forward, functioning as a projectile. Finally, at full charge Mike will use Scaresplosion, where he untwists the top off and lets out a stage-wide blast of scream energy. |
Mr. Game & Watch
|
|
Game & Watch Forever: Mr. Game & Watch uses Judge to hit the opponent with a "9", sending them into the air. They crash into a Game & Watch system, where several NPCs from Fire, Chef, Parachute, Oil Panic, and more team up to attack the opponent. The attack finishes as the Octopus from Octopus falls onto the opponent, crashing them and sending them back to the stage.
All three of Mr. Game & Watch's pallet swaps resemble the alternate costumes he can use in Super Smash Bros. Melee. |
Munchers
|
|
|
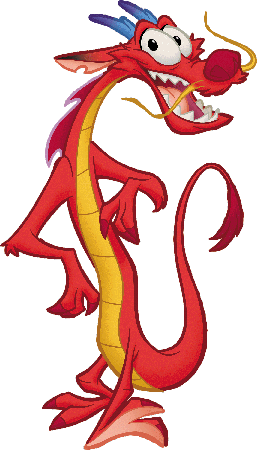
Mushu
|
|
One of Mushu's pallet swaps resembles his sidekick Cri-Kee, and another one resembles the color of Mulan's outfit. |
Otis
|
|
|
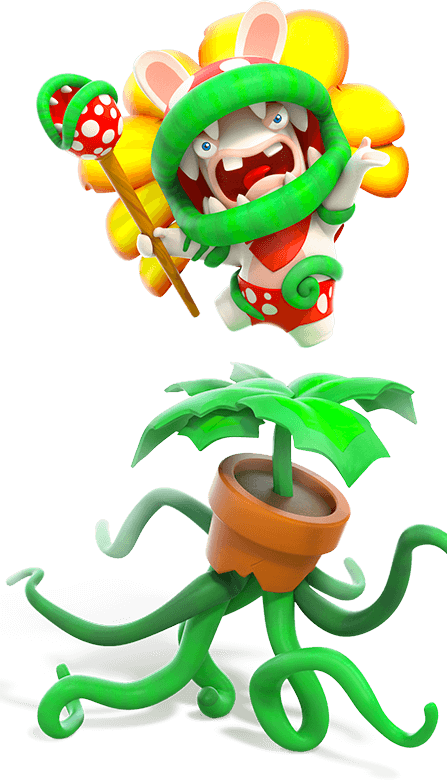
Pirabbid Plant
|
|
One of Pirabbid Plant's pallet swaps somewhat resembles the color scheme of Poison Ivy, a character in the DC Comics universe. |
President Rabbids
|
|
|
|
Biff:
These two Rabbids decided to cosplay as US presidents Barack Obama and George W. Bush... I don't know why they wanted to, but it seems to work out for them. The one dressed as Bush holds a large pedestal that he swings around, while the one dressed as Obama balanced on top of it and handles most of the attacking. They seem to work fairly well together, but don't you think the Bush Rabbid is getting tired of all that weight?
|
Presidential Election: The George W. Bush Rabbid swings the pedestal at the opponent, putting them on a screen behind two Rabbids dressed as Donald Trump and Hillary Clinton. Two bars tallying the votes then appear on the screen, which squish the opponent in the center. The red bar goes slightly farther, cracking the opponent's bones. Suddenly, a third Rabbid dressed as John F. Kennedy drives a car with three more Rabbids dressed as George Washington, John Adams, and Abraham Lincoln through the nearby window and into the screen, sending the opponent back to the stage. |
Private
|
|
|
Quetz
|
|
Megalovania: Quetz covers herself in blue aura and kicks the opponent, and then grabs them with her talons as she flies high into the air. Above the clouds, she slaps them with her wings and hits them with several Harpy Shots. Quetz then lets the opponent fall on the ground, as she lands on them shortly after. |
Rabbid Kong
|
|
|
Rabbid Peach
|
|
|
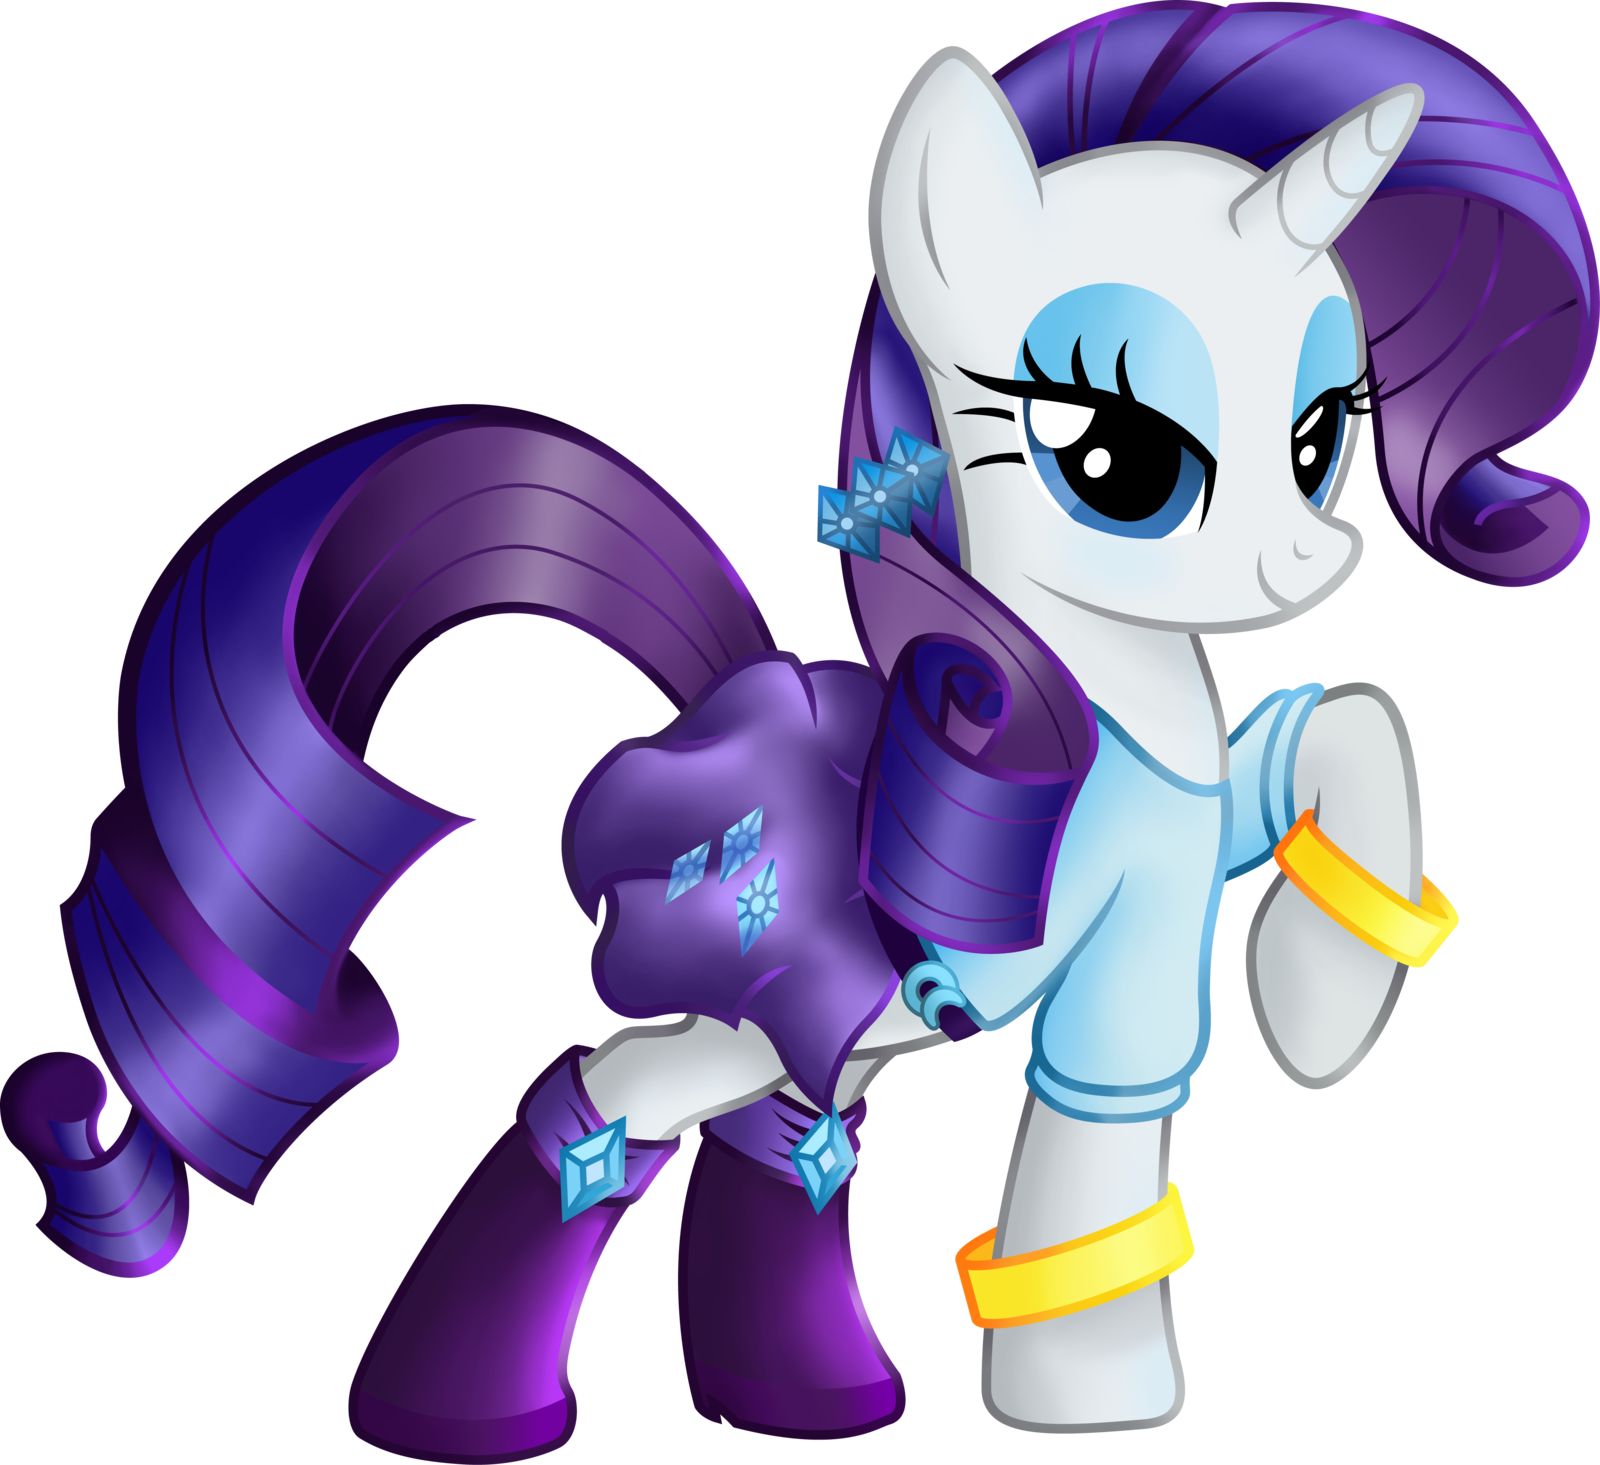
Rarity
|
|
Generosity: Rarity uses her unicorn magic to summon a gem under the opponent, knocking them into the air. She then sends several gems into the airborne opponent, slashing through them. Rarity finishes the attack by levitating a much larger gem over the opponent, crushing them into the ground with it.
One of Rarity's pallet swaps vaguely resembles Cherry Jubilee, while another one slightly resembles Lyra Heartstrings. |
Raven
|
|
Empty Void: Raven summons a barrier of dark magic in front of herself, which absorbs any projectile sent at her. The Meter Burn version has Raven reflect the projectile back at her opponent. Performed with Down, Back, Light.
Soul Crush: Raven summons dark magic around her hands and telekinetically contorts her opponent into a painful ball. The Meter Burn version causes an explosion of dark magic at the end of the attack. Performed with Down, Forward, Medium.
Singularity: Using her telekinesis, Raven lifts her enemy into the air before slamming them back down to the ground. The Meter Burn version causes her opponent to bounce. Performed with Down, Back, Medium.
Shadow Raven: Raven fires a dark ball of magic at her opponent. The Meter Burn version makes the ball deal more damage. Performed with Down, Down, Down, Heavy.
Demon's Breath: Raven breathes fire on the opponent. The Meter Burn variant has her spit a large fireball instead. Performed with Back, Forward, Down, Light.
Demon's Play: Raven creates a portal, which drags in nearby opponents. If successful, Raven opens up another portal where the opponent comes out and hits the ground. In the Meter Burn variation, Ravne follows up with a punching attack. Performed with Forward, Forward, Medium.
Hell's Wrath: Raven charged up for a powerful blast of energy around her, heavily damaging opponents nearby. The Meter Burn version stops opponents for a short time instead, leaving Raven able to attack.
Lady Legasus: Raven covers herself in a purple cloud, emerging as Lady Legasus. In this form, she slams opponents in between her legs multiple times, turning back into her regular state afterwards. The Meter Burn version adds a kick, knocking opponents back. Performed with Forward, Back, Heavy.
Event Horizon: Only available in her Demon Stance, Raven draws her opponent towards her with telekinesis before shoving them back with a palm thrust empowered by magic. The Meter Burn version has Raven summon a claw of dark magic to grasp her opponent's face, leaving them momentarily vulnerable. Performed with Down, Back, Medium.
Dark Transmission: Only available in her Demon Stance, Raven teleports in the image of a flock of ravens, reappearing in front of or behind her opponent. Can be done in the air. Performed with Down, Up.
Negative Mass: Only available in her Demon Stance, Raven conjures a beam of dark magic from under her opponent. Can be done from mid, to far and close ranges. The Meter Burn version causes a demon to rise out of the ground to uppercut her opponent after the beam hits them. Performed with Down, Forward, Forward, Light.
Demon's Stance: Demon Stance allows Raven to manifest the power of her Soul-Self, which is an ability that unlocks additional Special Moves for a limited amount of time. This happens when she utters the word "Azarath".
Deadly Sin: Raven teleports her opponent to a dark dimension where she summons three demons to attack her enemy. She then summons Trigon to attack by shooting burning rays from his eyes which takes the fight back to the original arena that the player started on.
All three of Raven's pallet swaps resemble the colors of her emoticlones; specifically Rage, Smart, and Timid. |
Rico
|
|
Dynamite: Rico chokes up a stick of dynamite and throws it forward, which explode on contact. The Meter Burn variant has Rico throw a larger stick of dynamite that deals more damage. Performed with Forward, Forward, Light.
Hammer: Rico chokes up a hammer, which he swings downward, crushing opponents in front of him. The Meter Burn version has Rico slam the hammer on the opponents several more times. Performed with Down, Down, Light.
Darts: Rico chokes up three dart, which fly forward. The Meter Burn version has Rico choke up six darts instead. Performed with Back, Forward, Medium.
Ultra-Hand: Rico chokes up an ultra-hand and a boxing glove. He uses the ultra-hand to grab opponents from afar, as uses the boxing glove to deliver a painful uppercut. The Meter Burn variant sees Rico combining the ultra-hand and boxing glove, using it as a long-range punching tool. Performed with Down, Back, Medium.
Bomb: Rico chokes up a large bomb, which he rolls across the ground, exploding on impact. The Meter Burn version has Rico throw the bomb instead, making it harder to dodge. Performed with Back, Back, Medium.
Spiked Ball: Rico chokes up a spiked ball, which bounces across the ground. The Meter Burn variant has Rico choke up a spiked mine instead, which explodes on impact for extra damage. Performed with Down, Forward, Down, Heavy.
Ms. Perky: Rico cokes up Miss Perky, whom he tangos with for a bit. As Rico dances, he will damage opponents. The Meter Burn variant sees Rico dancing with Ms. Perky for longer, and dealing more damage while dancing. Performed with Down, Back, Light.
Crowbar: Rico chokes up a crowbar, which he uses to smack opponents with. The Meter Burn variant sees Rico using a larger crowbar, dealing more damage. Performed with Forward, Forward, Heavy.
Timed Dynamite: Rico cokes up a timed bomb and places it on the stage. It will explode after seven seconds, dealing severe damage to opponents in the blast radius. Rico, as well as the opponents, can attack the timed bomb to push it away too.
Operation: Nuke Them All!: Rico slides forward, knocking the opponent over. He then coughs up a see saw, and jumps upward. The opponent and Rico fall on one end, while Rico chokes up a boulder to land on the other, sending them upward. Rico gets above the opponent and manages to cough up a large missile, which sends the opponent to the ground, crushing and then exploding on the opponent. |
Robo-Mario
|
|
|
|
Biff:
Robo-Mario was a robotic clone of Mario made by Professor E. Gadd, made to race against an opponent to provide an unmatched challenge. However, he seems to have gone haywire and create a mind of its own, fighting every single opponent he comes across. Robo-Mario has weapons that are modeled after Mario's power-ups. For example, he can convert his arms into flamethrowers or use yellow rocket boosters to fly around.
|
|
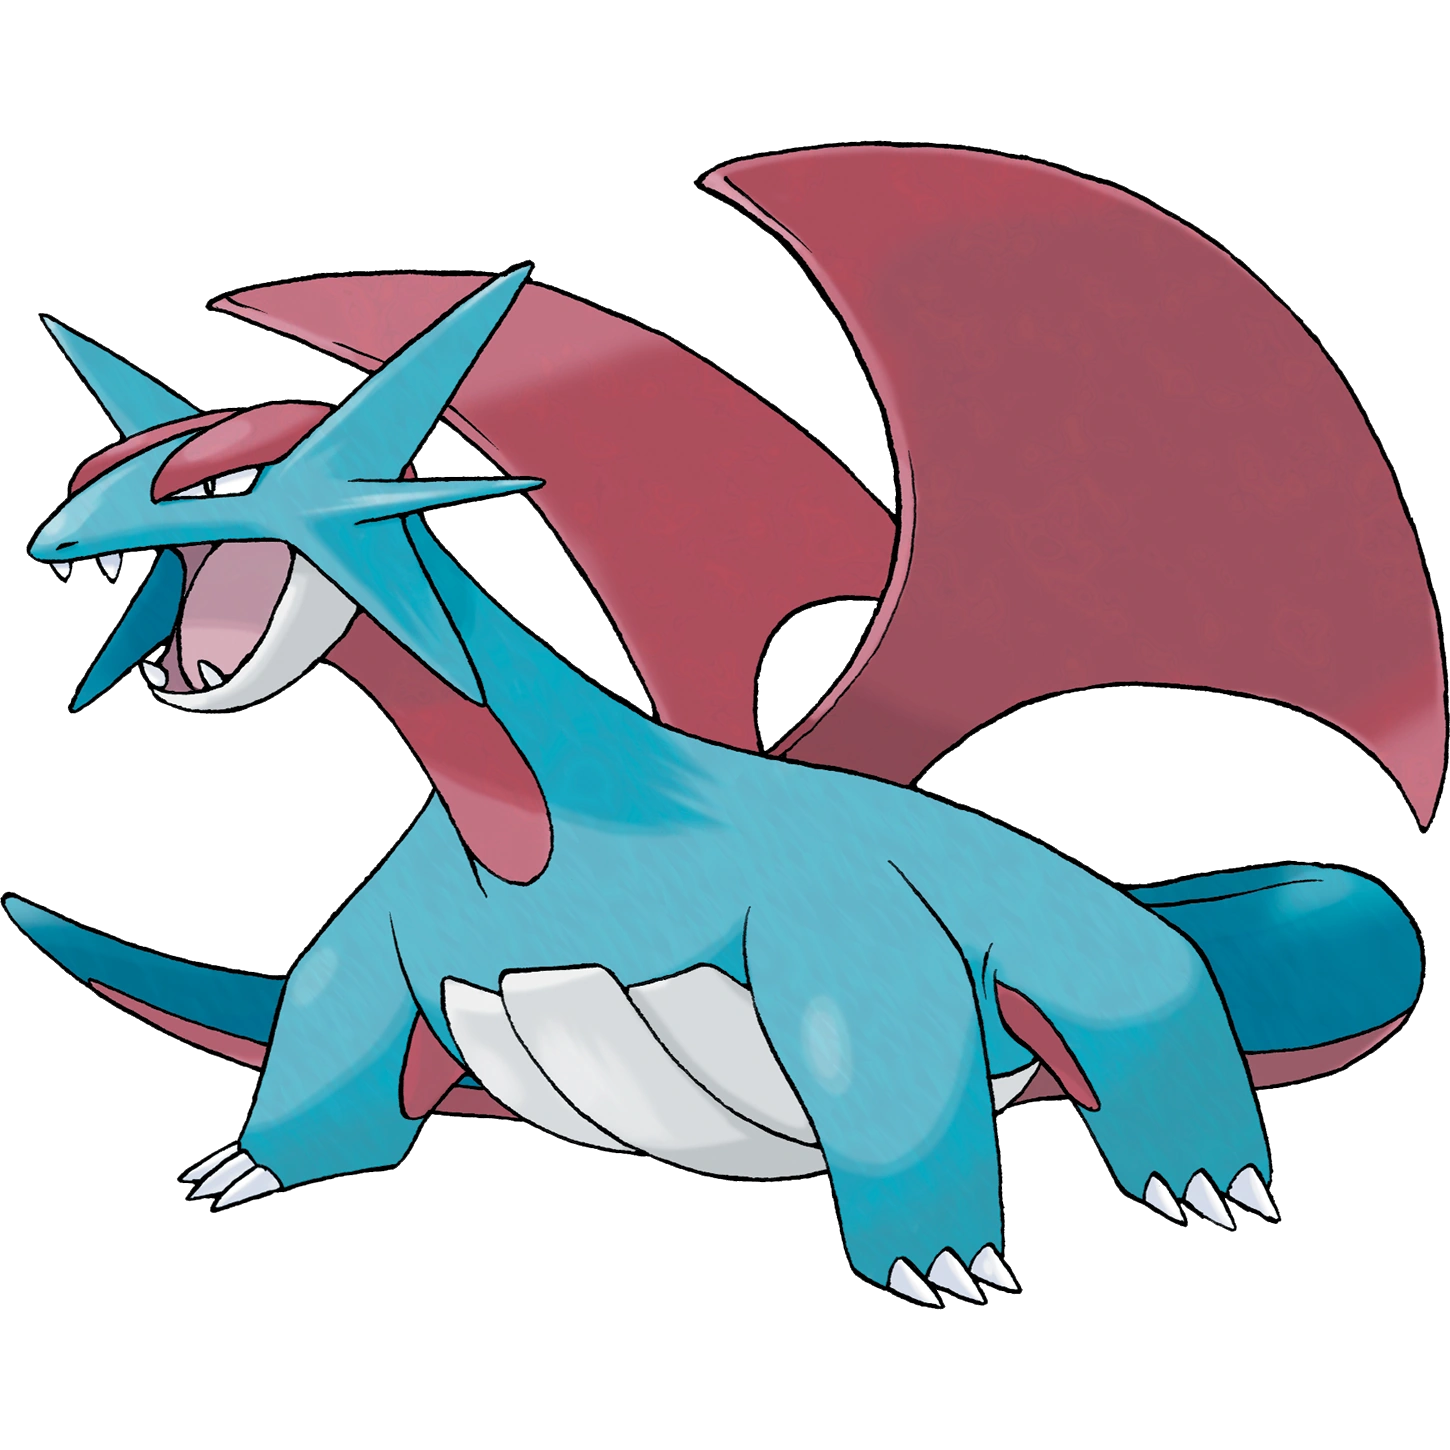
Salamence
|
|
Rage: When Salamence's character trait is active, it will begin glowing orange. In this state, any time Salamence is attacked, its attacks will get stronger. This will charge Salamence's unique "Rage Meter", as only attacks when in Rage will fill this meter. When the Rage Meter is filled, Salamence is able to use Dragon Claw, a powerful claw slash that deals severe damage. It is rather difficult to hit with however.
Mega Salamence: Salamence charges into the opponent, sending them to an arena styled after the Pokémon series. It then Mega Evolves into Mega Salamence. After this, Salamence flies over the opponent and uses Flamethrower to scorch them. It finished the attack with Zen Headbutt, sending the opponent back to the stage where Salamence reverts to its normal form.
One of Salamence's pallet swaps resembles its shiny coloration. Another pallet swap resembles the coloration of Haxoras. |
Sally & Snoopy
|
|
Ice Skating: Snoopy charges into the opponent, knocking them over. Sally them whistles, telling Snoopy to "get her sweet baboo". Snoopy complies, running off-screen and returning with Linus' blanket in his mouth, dragging Linus himself with him. Sally quickly puts on ice skates and grabs onto both Linus and the opponent as Snoopy takes them to an ice rink, where Sally slams the opponent into various trees and rocks to damage them. Snoopy takes them back to the stage as he throws them upward. The opponent falls to the ground as Linus lands on them, rebounding away from the stage. Sally lands on the opponent too, feetfirst.
One of Sally & Snoopy's pallet swaps has sally wear her pink dress from most of her appearances outside the televised shows of the Peanuts series. Her other two pallet swaps are references to Lucy and Peppermint Patty. |
Scarecrow
|
|
Death Spin: Scarecrow lifts his chain up high in the air and spins it around, akin to a helicopter, attacking the opponent. He can either move forwards or backwards during this move. The Meter Burn variation has Scarecrow slam his sickle down, bouncing the opponent upwards for an extension of combos. Performed with Down, Back, Light.
Scythe Grab: Scarecrow launches his sickle towards the opponent, grabbing them by the stomach then pulling them forcefully. The Meter Burn variation shows Scarecrow pulling his opponents closer with the sickle, grabs them by the neck, then blasts out green energy from his mouth. Performed with Back, Forward, Light.
Toxin Breath: Scarecrow fires out a blast of energy from his mouth towards the opponent, damaging them. The Meter Burn version sees Scarecrow firing a bigger blast that deals more damage. Performed with Back, Forward, Medium.
Fear-Ferno: Scarecrow uses his fear powers, summoning a wave of it from the ground to upwards. The Meter Burn variation has Scarecrow moving forward and summoning two waves. Performed with Down, Back, Medium.
Hallucinations: A second Scarecrow appears behind the opponent, who attacks with his Sickle and disappears shortly after. The Meter Burn version has both Scarecrows attack with their Sickles for extra damage. Performed with Forward, Back, Down, Heavy.
Fear Toxin: Scarecrow fires off a gigantic blast of energy from his hands, knocking the opponent away. It also does extra damage over-time after hitting it. The Meter Burn variation makes the blast larger and more damaging, but slower. Performed with Down, Back, Heavy.
Schizophrenia: Scarecrow grabs the opponent, then all of a sudden he teleports in front of them, as two versions of him (his Fear Toxin and regular form) grab his opponent's limbs. They then pull the limbs, snapping the bones, as the regular form of Scarecrow vanishes. Performed with Down, Back, Forward, Heavy.
Panic-Port: Scarecrow sinks into the ground, vanishing into a portal, to which he then reappears behind the opponent. Performed with Down, Up.
Inner Fear: Instead of a character trait meter, Scarecrow has a "Fear Meter". When the Character Trait button is pressed, Scarecrow will charge him up with Fear Toxin. In this state, when Scarecrow lays attacks from Fear Toxin-related attacks, the Fear Meter will begin filling up. He can also deal light damage to opponents just by standing near them. Once the meter fills up, Scarecrow is able to use Traumatize, a full screen move in which Scarecrow stomps the ground, sending a shockwave of energy that stuns the opponent.
Death Bed: Scarecrow uses his sickle to rip open a hole in the environment, as crows come out to signal the coming of an even bigger chain coming from inside the rip. The opponent is then pulled into a graveyard, where a gigantic Scarecrow drags the opponent with the chain, smashing and pounding them. The move eventually ends with Scarecrow smashing the opponent through a grave with the opponent's name written on it.
Two of Scarecrow's pallet swaps slightly resemble his gear he can use in Injustice 2, specifically his The Jitters and Living Nightmare costumes. |
Skipper
|
|
Shurikens: Skipper throws three shurikens forward. The Meter Burn variant has him throw five shirikens instead. Performed with Forward, Down, Heavy.
Slide: Skipper slides forward on his stomach. The Meter Burn variant has him follow up with an aerial kick. Performed with Forward, Forward, Light.
Salmon Slap: Skipper swings a salmon forward, dealing damage to nearby opponents. The Meter Burn variant sees Skipper slap the opponent several times with the salmon. Performed with Back, Back, Light.
Sushi Bomb: Skipper throws three sushi-like bombs in different arcs, which explode on impact. The Meter Burn version has Skipper throwing a large sushi bomb instead. Performed with Down, Back, Medium.
Ice Cubes: Skipper slides some ice cubes across the ground, which causes opponents to slip. The Meter Burn variant has Skipper using dry ice cubes instead, which damage opponents. Performed with Forward, Down, Down, Medium.
Soda Jetpack: Skipper puts on a soda bottle modeled like a jetpack and shakes it, allowing him to boost forward and hit opponents. The Meter Burn version has him grab opponents instead, slapping them with a fish before throwing them back on the ground. Performed with Down, Back, Back, Light.
Penguin Uppercut: Skipper slides forward before delivering a massive uppercut to opponents. The Meter Burn variant adds a beak peck at the peak of the jump. Performed with Down, Forward, Light.
Big Bass: Skipper takes out a large bass and swings it at the ground, heavily damaging opponents. The Meter Burn version adds an earthquake which deals additional damage to any opponents on the ground. Performed with Down, Down, Heavy.
Fish Mines: Skipper throws up to three fish mines that can attach to the ground or opponent, exploding shortly afterwards. The amount of fish mines he can throw is dependent on how much the Character Trait meter is charged.
Operation: Air Strike: Skipper slides forward, tripping over the opponent. He then whistles, causing a penguin-like plane to fly above the stage. It drops two large, fish-like bombs onto the opponent, which explode. Skipper then jumps upward as the opponent is blasted away and finishes the attack with a strong kick. |
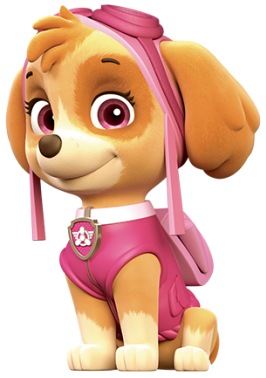
Skye
|
|
|
|
Biff:
Awww... cockapoos are my favorite dogs! Skye is one of the members of the PAW Patrol, and as her name suggests, she's best suited for the skies! Her pack can grant her wings, allowing her to take to the air. She's also pretty competitive against other pups in Pup Pup Boogie... which actually sounds fun. Think maybe we can have that as part of the next ARMS tournament?
|
In all three of her pallet swaps, Skye's outfit resembles the color scheme of that of other members of the PAW Patrol, specifically Chase, Rubble, and Marshall. |
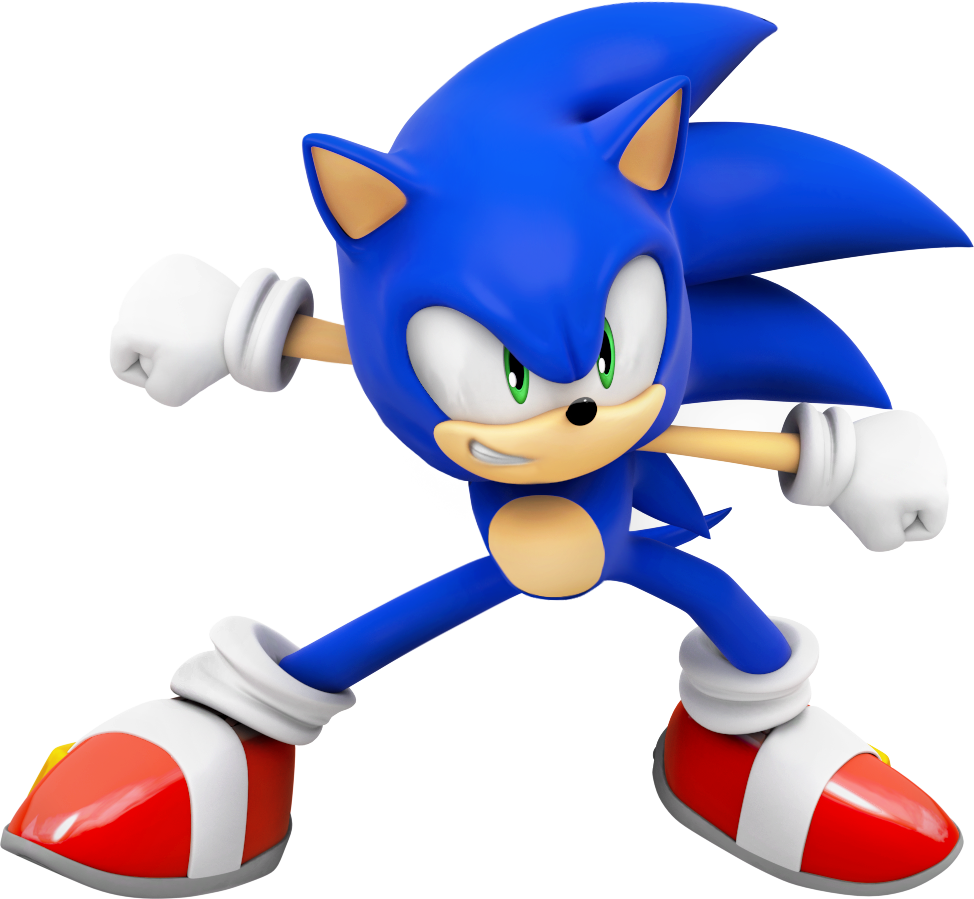
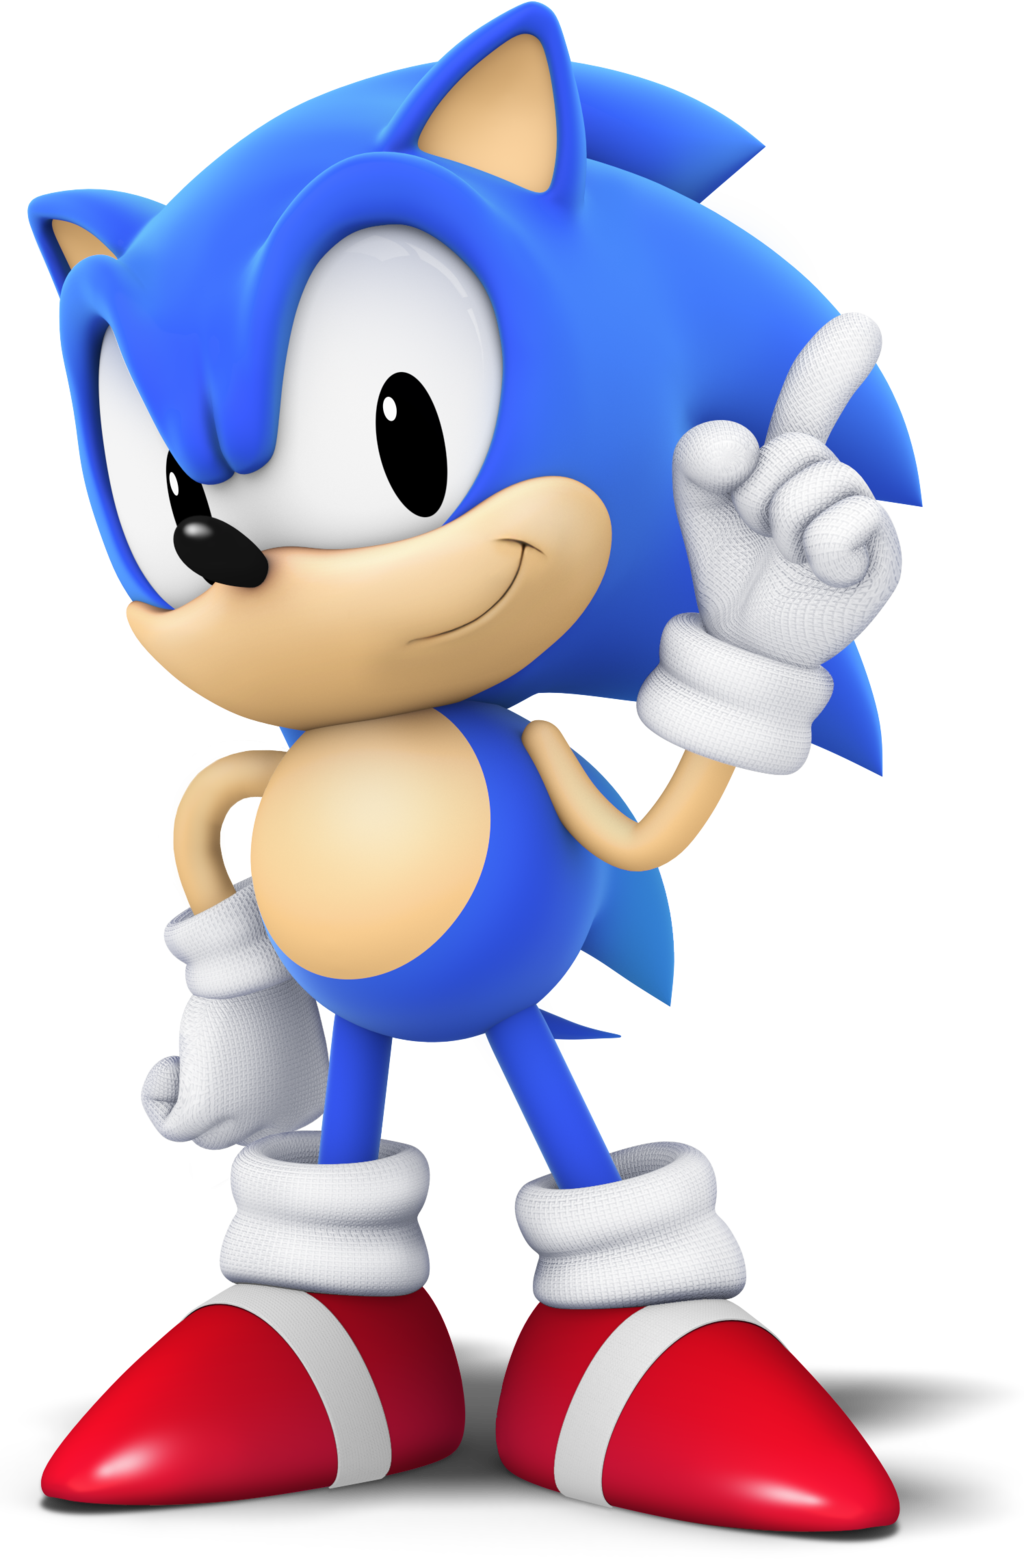
Sonic
|
|
Sonic Speed: When Sonic Speed is used, the opponent will be slowed down significantly as the screen gets a blue tint, which will allow Sonic to move significantly faster and attack more easily. In order to use it a meter must be charged, which will be drained when this move is used.
Two of Sonic's pallet swaps resemble Mighty the Armadillo and Jet the Hawk. A third pallet swap resemble's Sonic's Super form. |
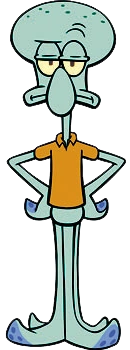
Squidward Tentacles
|
|
One of Squidward Tentacles' pallet swaps resembles his color scheme when there is no water around in the episode Reef Blower, while another resembles his color scheme after choking on a fork in Naughty Nautical Neighbors. A third pallet swap changes his shirt's color to resemble that of Squilliam Fancyson. |
Starfire
|
|
|
Steenee
|
|
One of Steenee's pallet swaps resembles its shiny coloration. |
Strika
|
|
Analyzer Shot: Strika fires a blast of energy from her hand which travels forward and, when it hits an opponent, it will allow her to copy their Character Trait. However, the trait is somewhat altered in some cases; for example, using Analyzer Shot to claim Super Sayin' R.O.B.'s Heat Ray character trait makes two Strika-themed sentries appear to fire the rays. Holding the Character Trait button will alternatively have her fire the Analyzer Shot without copying another characters' trait.
All three of Strika's pallet swaps resemble ones she can use in Streak. |
Sub-Zero
|
|
Ice Ball: Sub-Zero throws a ball of ice forward, which damages the opponent. The Meter Burn variant sees Sub-Zero throwing a larger ice ball, which destroys incoming projectiles and freezes the opponent on contact. Performed with Forward, Forward, Medium.
Ice Slide: Sub-Zero slides forward as he creates an ice trail in his path, knocking opponents behind him. The Meter Burn version adds an ice blast that Sun-Zero throws, knocking the opponent back farther. Performed with Down, Forward, Light.
Ice Burst: Sub-Zero punches the ground, causing chunks of ice to fly across the area and damage nearby opponents. The Meter Burn version adds a shoulder bash that adds damage and makes the attack safer to use from a farther distance. Performed with Back, Down, Down, Light.
Ice Hammer: Sub-Zero jumps upward and creates a hammer made of ice, slamming it downward towards the ground to hit opponents below. The Meter Burn version adds an extra swing when Sub-Zero, dealing more damage. Performed with Forward, Down, Heavy.
Ice Stabs: Sub-Zero grabs the opponent and creates two daggers made of ice, stabbing them with it before blasting them away with an ice attack. The Meter Burn version sees the ice attack at the end freeze the opponent instead of launching them. Performed with Down, Down, Back, Medium.
Klone Slide: Sub-Zero creates an ice clone of himself and pushes it forward, damaging opponents that hit it. The Meter Burn version sends the clone stage-wide. Performed with Forward, Forward, Down, Heavy.
Icy Ground: Sub-Zero covers the ground in front of him with ice, causing opponents that step on it to trip. When using the Meter Burn version, the icy terrain will freeze the opponent instead. Performed with Down, Back, Down, Medium.
Ice Teleport: Sub-Zero uses his ice powers to teleport around the stage, either going backward or behind the opponent. Performed with Down, Up.
Ice Klone: Sub-Zero jumps back as he creates an ice clone of himself. If the Character Trait button is pressed twice, he will create two clones. If an opponent touches these clones, they will freeze in place. Sub-Zero is also able to throw these clones at opponents to damage them, as well as smash them to have the ice chunks hit opponents up-close.
Cold Shoulder: Sub-Zero punches the ground, causing ice spikes to appear from the ground and launch the opponent upward. He quickly slides behind the opponent and freezes them with a laser-like ice blast. He then creates a hammer made of ice and slams the opponent backward. Then, he teleports in front of the opponent and launches several ice spikes, which freeze them. Sub-Zero finishes the attack by grabbing the now-frozen opponent and slams them into the ground, unfreezing them.
Two of Sub-Zero's pallet swaps make references to characters in Mortal Kombat, specifically Scorpion and Selena. |
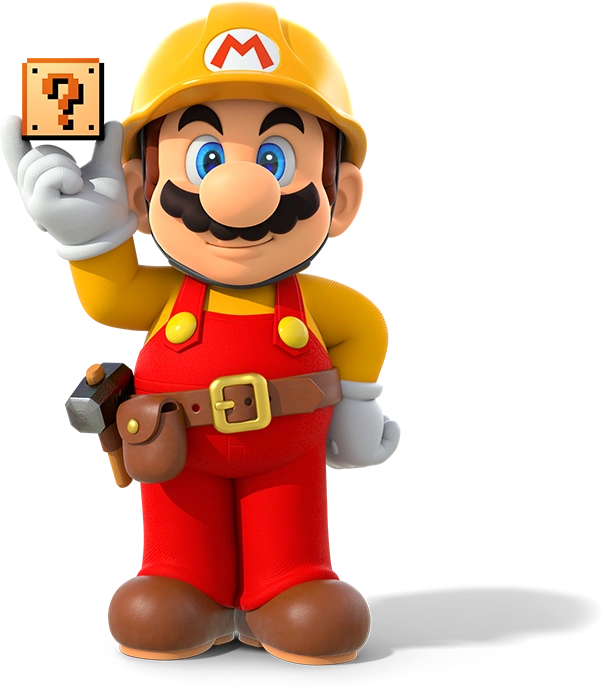
Super Mario Maker
|
|
Goomba: Super Mario Maker takes out his Wii U GamrPad and uses it to place a Goomba on the stage. It will move forward slowly, damaging an opponent it hits. It can, however, disappear if an opponent jumps on it. The Meter Burn version has Super Mario Maker place a Paragoomba instead, which jumps around and his harder to dodge. Performed with Down, Forward, Light.
Spin Jump: Super Mario Maker performs the Spin Jump ability from Super Mario World, hopping on an opponent and jumping off of them. The Meter Burn version has him continually spinning on the opponent when he lands for extra damage. Performed with Forward, Back, Light.
Grinder: Super Mario Maker takes out his Wii U GamePad and uses it to place a Grinder on the stage. It will move forward rather quickly, damaging opponents it hits. The Meter Burn variant makes the Grinder bigger, making it harder to dodge. Performed with Forward, Down, Medium.
Thwomp: Super Mario Maker takes out his Wii U GamePad and uses it to place a Thwomp on the stage. It will appear from above, and crush any opponents below it. The Meter Burn version adds an earthquake when the Thwomp lands, bouncing opponents on the ground upward. Performed with Back, Down, Back, Medium.
Bowser's Ax: Super Mario Maker jumps forward and swings the Ax found at the end of castle levels in Super Mario Maker, damaging any opponents that hit it. The Meter Burn variant sees Super Mario Maker spinning around with the ax on the ground instead. Performed with Forward, Forward, Heavy.
Wiggler: Super Mario Maker takes out his Wii U GamePad and uses it to place a Wiggler on the stage. It will run from one side of the stage to the other, damaging the opponent. The Meter Burn version makes the Wiggler angry, making it move faster. Performed with Forward, Down, Forward, Heavy.
Spike Top: Super Mario Maker takes out his Wii U GamePad and uses it to place a Spike Top on the stage. When placed, it will begin oving on the stage, as well as climbing across the sides and top of the screen, damaging opponents anytime they hit them. The Meter Burn variant sees Super Mario Maker use a blue Spike Top, which moves faster.
Yoshi Egg: Super Mario Maker uses his Wii U GamePad to place a Yoshi Egg on the stage. It will hatch, making a Yoshi appear who will run across the stage, damaging opponents. The Meter Burn variant uses a larger Yoshi Egg, which makes two Yoshis appear that run in different directions. Performed with Down, Down, Back, Heavy.
Super Star: Super Mario Maker uses his Wii U GamePad to place a Super Star near him, which he grabs. In this state, he is much more resistant to damage. This buff wears off over time however.
Kaizo Level: Super Mario Maker projects a beam from his Wii U GamePad, dragging opponents into it. This takes the opponent to a level styled after Super Mario Bros. (depending on the pallet swap used it can also be styled after Super Mario Bros. 3, Super Mario World, or New Super Mario Bros. U), where Super Mario Maker will place several Mario-styled objects such as Grinders, Bullet Bills, and Lava Bubbles to harm them. He finishes off the attack by placing a Thwomp, then giving it a Super Mushroom to turn it into a Big Thwomp, which crushes the opponent. They fall through the ground and back onto the stage.
One of Super Mario Maker's pallet swaps resembles Mario's regular colors, while another one resembles Mario's appearance on the boxart of the NES release of Donkey Kong. This alt also resembles the avatar of somewhat infamous YouTube machinist SMG4. |
Super Syain Knight
|
|
|
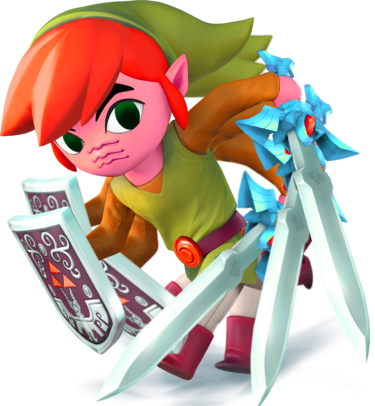
Super Syain Toon Link
|
|
|
Super Syain Pichu
|
|
|
Super Syain R.O.B.
|
|
Robo Beam: Super Sayin R.O.B. fires a beam from his eyes that travels stage-wide and damages opponents. The Meter Burn variant sees Super Sayin R.O.B. use all three of his heads to fire a combined beam for more damage. Performed with Down, Down, Weak.
Missile: Super Sayin R.O.B. fires a missile from one of his heads, which seeks out opponents. The Meter Burn variant fires a faster, more damaging missile that loses the homing ability. Performed with Down, Forward, Medium.
Power Surge: Super Sayin R.O.B. creates an energy field around himself that temporarily stuns opponents. The Meter Burn version damages and knocks opponents away instead of stunning them. Performed with Forward, Down, Medium.
Gyro Cannon: One of Super Sayin R.O.B.'s extra heads fires a spinning top, which moves forward after it lands and damages opponents. The Meter Burn version of the attack has Super Sayin R.O.B. use both of his extra heads to fire two tops simultaneously. Performed with Back, Down, Medium.
Robo Piledriver: Super Sayin R.O.B. charges forward and grabs an opponent, and performing a piledriver to severely damage them. The Meter Burn version sees Super Sayin R.O.B.'s spare heads fire beams at the victim before the piledriver. Performed with Back, Forward, Heavy.
Arm Rotor: Super Sayin R.O.B. spins his three arms multiple times, rapidly damaging opponents. He is able to move forward or backward while using this attack. The Meter Burn version sees him ending the attack with an energy-charged surge for more damage. Performed with Down, Down, Heavy.
Turret: Super Sayin R.O.B. takes off one of his spare heads and throws it forward. When it lands on the ground, it converts itself into a turret as another head takes its place. Only one turret can be on-screen at once. It will begin firing small beams that deal minimal damage, disappearing shortly after. The Meter Burn version sees Super Sayin R.O.B.'s turret fire beams for a longer period of time. Performed with Back, Down, Heavy.
Robo Burner: Super Sayin R.O.B. charges forward by blasting flames from his base, damaging opponents he hits. The Meter Burn version has the two extra heads fire short-ranged beams for more damage. Performed with Forward, Forward, Light.
Heat Rays: When Super Sayin R.O.B. activates his character trait, his two extra heads begin firing a pair of single, solid, stage-wide beams, which aim wherever he is facing. Though the beams deal no knockback, they will constantly damage the opponent as long as they are in the beam. The heads will stop firing the beam after a short time.
Overdrive: Super Sayin R.O.B. fires a single beam, which stuns the opponent. He then summons three extra heads, which implant themselves across his body. They begin firing beams at they opponent until they all fire a single, combined beam that deals massive damage. Super Sayin R.O.B. finishes the attack with a missile that explodes, knocking the opponent over. |
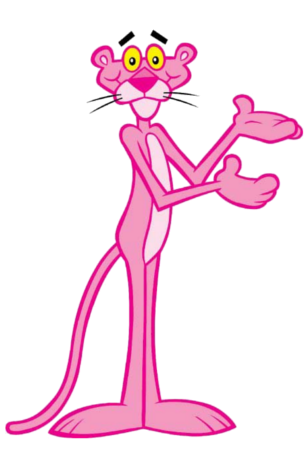
The Pink Panther
|
|
One of The Pink Panther's pallet swaps resembles Bagheera, a character from Diesney's The Jungle Book. Another pallet swap resembles Tom from the Tom & Jerry series. |
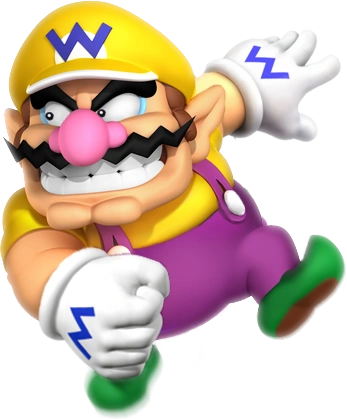
Wario
|
|
|
|
Biff:
Wario is Mario's arch-rival, and a pretty big thorn in his side. He's known for his really poor hygiene, as well as his love of gold. He'll do literally anything for a quick buck, be it stealing or going off on an adventure. He's recently been going on his own journeys, often crossing paths with Mario in the process. He has strength that is near-unmatched, and you better hope you're not on the receiving end of his Wario Waft...
|
|
Wart
|
|
|
|
Biff:
Wait, isn't Wart in Subcon, the land of dreams? How in the world did he manage to make it here? Anyway, when he and the 8 Bit Club (that's really what he calls his army) attacked Subcon, Mario and co. set out to stop him. He has a few weird attacks he uses in battle, ranging from taking out a Snifit and firing bullets to... spitting bubbles out of his mouth? That just sounds creepy...
|
|
Weird Mario
|
|
Two of Weird Mario's pallet swaps resemble the color of Mario's sprites in Super Mario Bros. 3 and Super Mario World. Meanwhile, a third pallet swap resembles Luigi's sprite in Super Mario Bros. |
Xzal
|
|
|
Yoshi
|
|
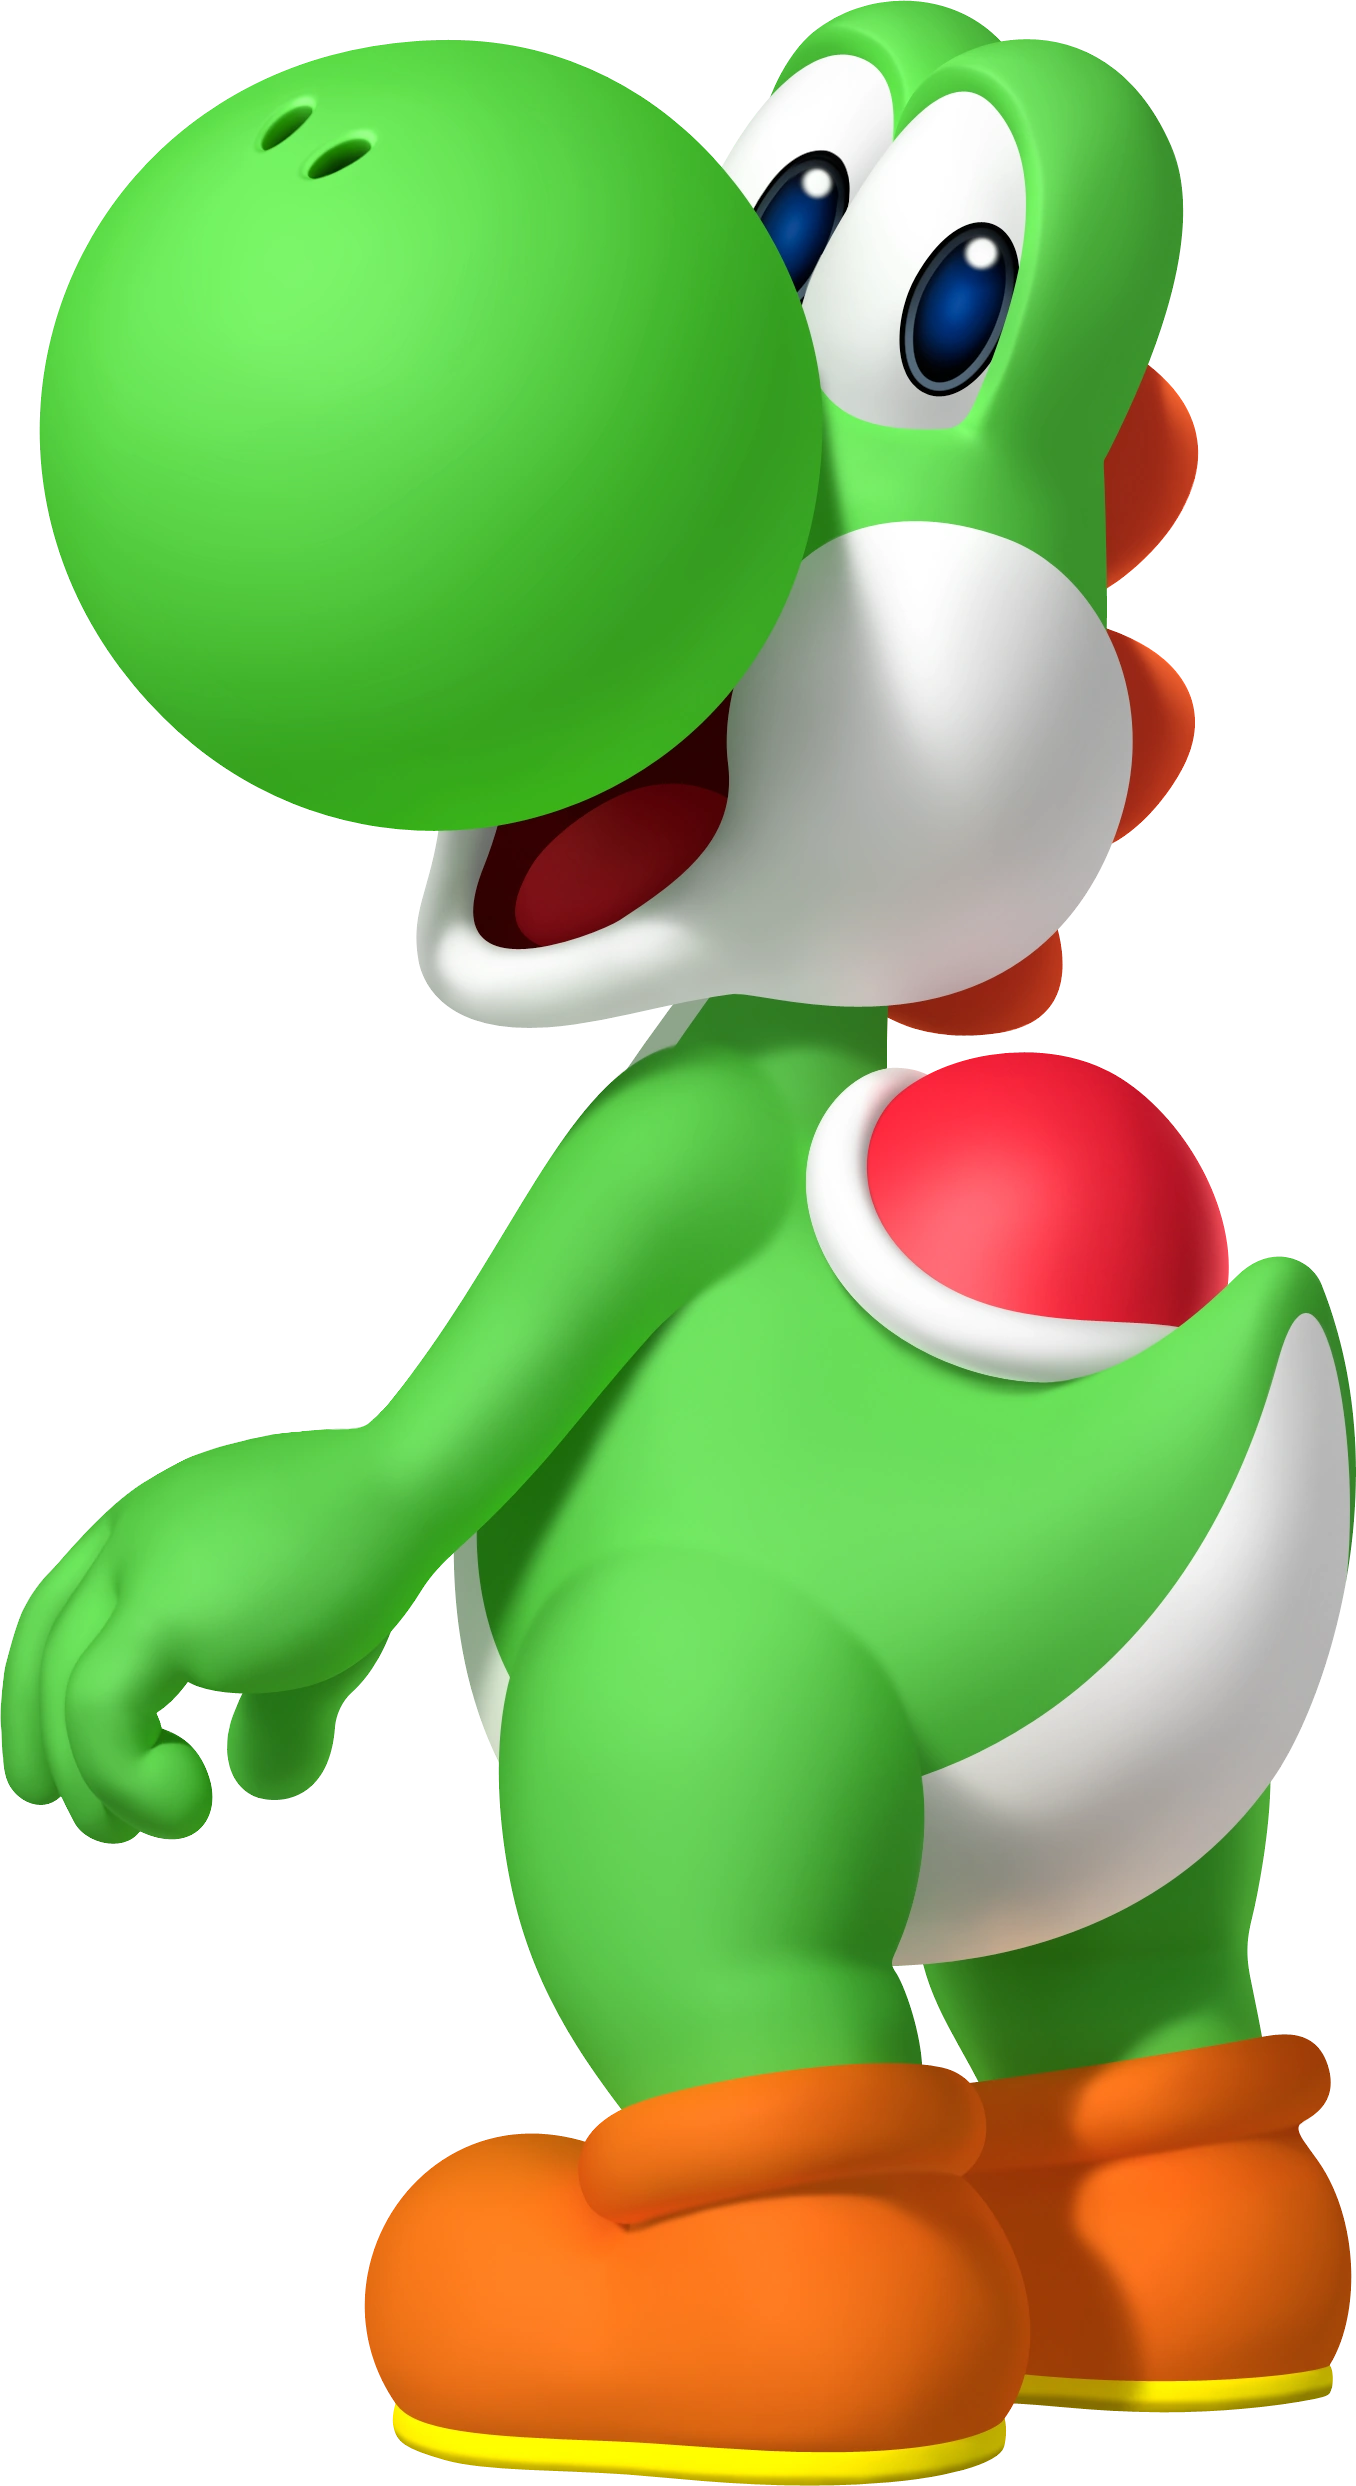
All three of Yoshi's pallet swaps are based off of the various colors of the Yoshi species; specifically Red, Black, and White Yoshis. |
| Premier Skins
|
| Image
|
Base Character
|
Description
|
BlackAgumon
|
Agumon
|
One of BlackAgumon's pallet swaps references SnowAgumon. A second pallet swap references official artwork and sprites of Agumon that are more yellow than orange. |
ToyAgumon
|
|
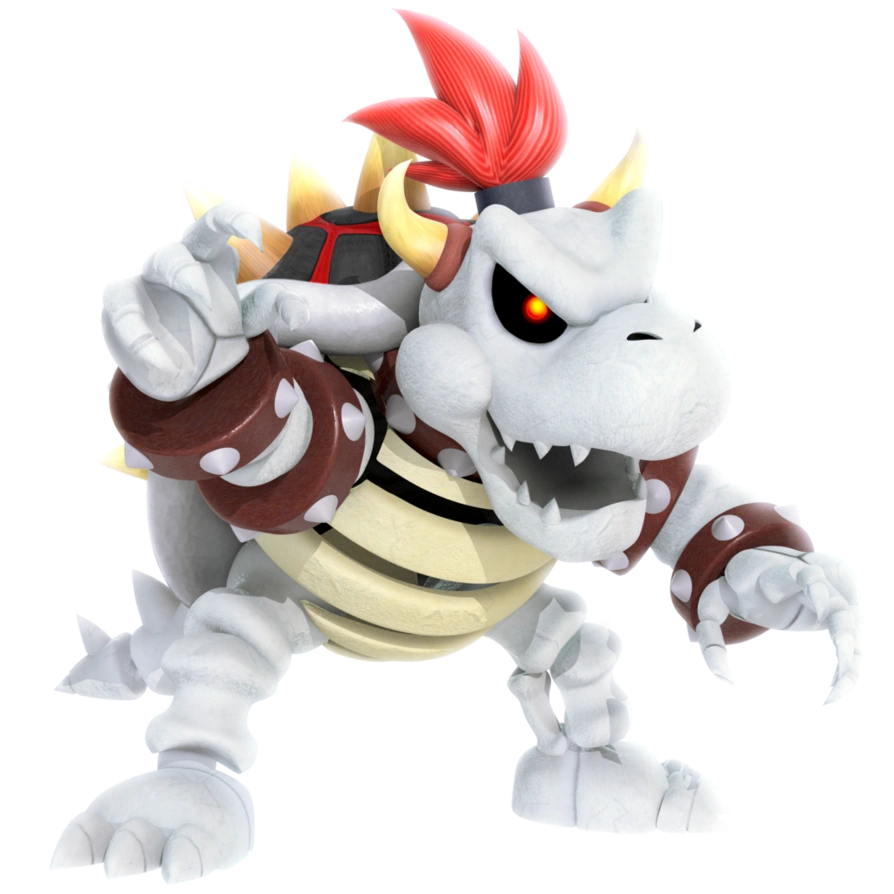
Dry Bowser
|
Bowser
|
One of Dry Bowser's pallet swaps resembles the Dark Bones' appearance from Mario Superstar Baseball onward, while another resembles the Red Bones. A third pallet swap resembles "Blue Bowser" from Super Mario Bros.: The Lost Levels. |
Eggman Nega
|
Dr. Eggman
|
|
BlackGatomon
|
Gatomon
|
|
Mikemon
|
|
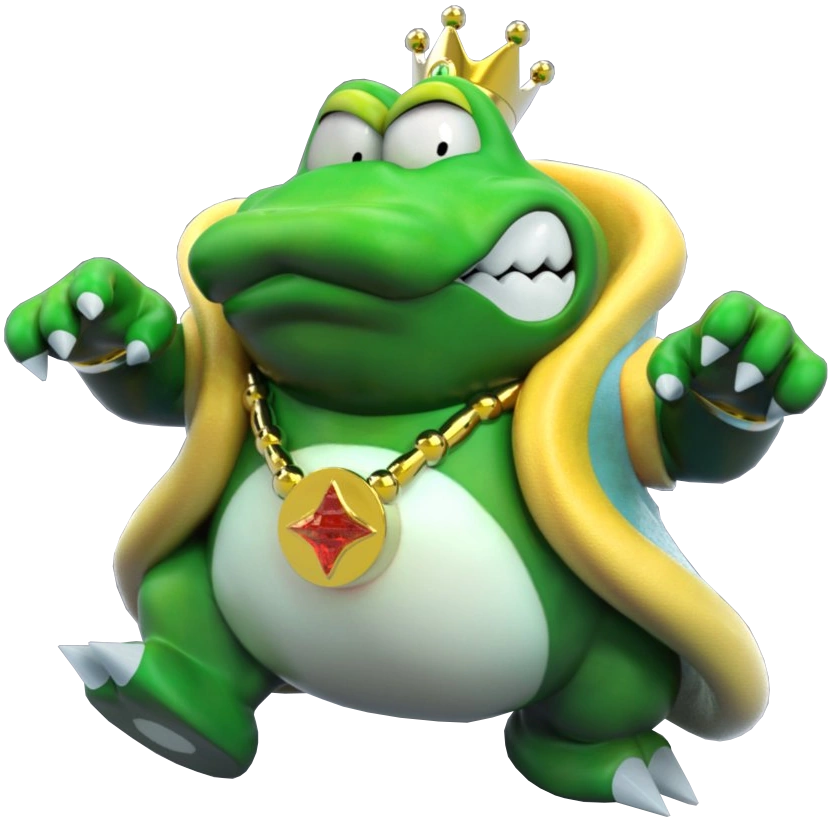
The Koopinator
|
King K
|
|
|
Biff:
This is the Koopinator, one of the highest-ranking participants in the Glitz Pit. Also known as the Razor Blade Brigadier, he's got a pretty stern air about him. Though he may look tough, he fights with honor. It's like those red eyes are there to warn you about how tough he is... or maybe he just doesn't get enough sleep.
|
One of The Koopinator's pallet swaps resembles the appearance of Koopatrols, enemies that appear alongside Dark Koopatrols in Paper Mario: The Thousand-Year Door. |
Oliver
|
Marie
|
|
Classic Sonic
|
Sonic
|
One of Classic Sonic's pallet swaps resembles his Super form, and another alt resembles his colors in the bootleg game Sonic 3D Blast 5. A third one both resemble's Sonic's colors in the bootleg game Sonic Adventure 7 and the creepypasta Sonic.EXE. |
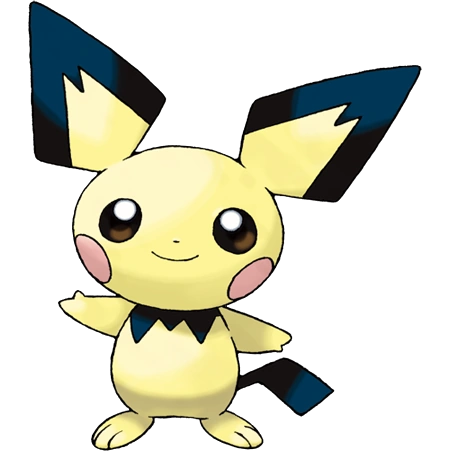
Pichu
|
Super Sayin Pichu
|
One of Pichu's pallet swaps resembles Raichu's coloration, while another one resembles Pikachu's. This pallet swap also resembles its shiny coloration. |
R.O.B.
|
Super Sayin R.O.B.
|
|
")
")
")

")
")
")

")
")
")

")
")
")
")
")
")
")
")
")
")
")
")
")
")
")
")
")
")
")
")
")

")
")
")
")
")
")

")
")
")

")
")
")
")
")
")
")
")
")
")
")
")


")
")
")


")
")
")

")
")
")
")
")
")
")
")
")

")
")
")
")
")
")
")
")
")

")
")
")


")
")
")

")
")
")

")
")
")

")
")
")

")
")
")
")
")
")

")
")
")
")
")
")
")
")
")

")
")
")

")
")
")

")
")
")
")
")
")


")
")
")
")
")
")

")
")
")
")
")
")
")
")
")


")
")
")

")
")
")
")
")
")
")
")
")
")
")
")
")
")
")
")
")
")
")
")
")
")
")
")