| This page is under construction. Please excuse its informal appearance while it is being worked on. We hope to complete it as soon as possible! |
| This is an article made by TheProjectXZoneFan1997 Please do not edit unless i give you permission, which you can ask via this article's comments. In case you're an admin and want to correct some errors made by the author itself, go ahead. Otherwise, keep your hands off of my work, thanks. |
| Super Smash Bros. REBOOT | ||||
| ||||
| Developer(s) | Nintendo Sora Ltd. Hal Laboratory Bandai Namco Cygames Capcom Sega Konami SNK Square Enix Arc System Works Koei Tecmo Microsoft Monolith Soft Activision Ubisoft Taito Future Club Yacht Club Games Wayforward StudioMDHR Toby Fox Scott Cawthon Basically, Games! Team Salvato Joey Drew Studios Inc. Rooster Teeth Games | |||
| Publisher(s) | Nintendo Sora Ltd. Hal Laboratory | |||
| Platform(s) | Any future Nintendo Console | |||
| Genre(s) | Fighting | |||
| Mode(s) | 1-8 Players (local & online) | |||
| Age Rating(s) | ESRB: T for Teen PEGI 12 | |||

Super Smash Bros. is a crossover game created and directed by TheProjectXZoneFan1997, the game itself is a reboot to the franchise.
Gameplay[]
The gameplay is still the same from the previous games.
Game Modes[]
- Shadows of Smash (aka Adventure) (See also Super Smash Bros. REBOOT/Shadows of Smash Mode)
- Story
- Boss Rush
- Smash
- Squad Strike
- Tourney
- Special Smash
- Smashdown
- Games & More
- Mob Smash
- Challenger's Approach
- Smash Run
- Classic Mode (See also Super Smash Bros. REBOOT/List of Classic Mode Battles)
- Training
- Online
- Quickplay
- Battle Arenas
- Shop
- Trophy Shop
- Spirit Shop
Characters[]

Playable[]
![]()
![]()
![]()
![]()
![]()
![]()
![]()
![]()
![]()
![]()
![]()
![]()
![]()
![]()
![]()
![]()
![]()
![]()
![]()
![]()
![]()
![]()
![]()
![]()
![]()
![]()
![]()
![]()
![]()
![]()
![]()
![]()
![]()
![]()
![]()
![]()
![]()
![]()
![]()
![]()
![]()
![]()
![]()
![]()
![]()
![]()
![]()
![]()
![]()
![]()
![]()
![]()
![]()
![]()
![]()
![]()
![]()
![]()
![]()
![]()
![]()
![]()
![]()
![]()
![]()
![]()
![]()
![]()
![]()
![]()
![]()
![]()
![]()
![]()
![]()
![]()
![]()
![]()
![]()
![]()
![]()
![]()
![]()
![]()
![]()
![]()
![]()
![]()
![]()
![]()
![]()
![]()
![]()
![]()
![]()
![]()
![]()
![]()
![]()
![]()
![]()
![]()
![]()
![]()
![]()
![]()
![]()
![]()
![]()
![]()
![]()
![]()
![]()
![]()
![]()
![]()
![]()
![]()
![]()
![]()
![]()
![]()
![]()
![]()
![]()
![]()
![]()
![]()
![]()
![]()
![]()
![]()
![]()
![]()
![]()
![]()
![]()
![]()
![]()
![]()
![]()
![]()
![]()
![]()
![]()
![]()
![]()
![]()
![]()
![]()
![]()
![]()
![]()
![]()
![]()
![]()
![]()
![]()
![]()
![]()
![]()
![]()
![]()
![]()
![]()
![]()
![]()
![]()
![]()
![]()
![]()
![]()
![]()
![]()
![]()
![]()
![]()
![]()
![]()
![]()
![]()
![]()
![]()
![]()
![]()
![]()
![]()
![]()
![]()
![]()
![]()
![]()
![]()
![]()
![]()
![]()
![]()
![]()
![]()
![]()
![]()
![]()
![]()
![]()
![]()
![]()
![]()
![]()
![]()
![]()
![]()
![]()
![]()
![]()
![]()
![]()
![]()
![]()
![]()
![]()
![]()
![]()
![]()
![]()
![]()
![]()
![]()
![]()
![]()
![]()
![]()
![]()
![]()
![]()
![]()
![]()
![]()
![]()
![]()
![]()
![]()
![]()
![]()
![]()
![]()
![]()
![]()
![]()
![]()
![]()
![]()
![]()
![]()
![]()
![]()
![]()
![]()
![]()
![]()
![]()
![]()
![]()
![]()
![]()
![]()
![]()
![]()
![]()
![]()
![]()
![]()
![]()
![]()
![]()
![]()
![]()
![]()
![]()
![]()
![]()
![]()
![]()
![]()
![]()
![]()
![]()
![]()
![]()
![]()
![]()
![]()
![]()
![]()
![]()
![]()
![]()
![]()
![]()
![]()
![]()
![]()
![]()
![]()
![]()
![]()
![]()
![]()
![]()
![]()
![]()
![]()
![]()
![]()
![]()
![]()
![]()
![]()
![]()
![]()
![]()
![]()
![]()
![]()
![]()
![]()
![]()
![]()
![]()
![]()
![]()
![]()
![]()
![]()
![]()
Alternate Characters[]
")
")
")
")
")
")
")
")
")
_-_Solo.png "PokemonTrainer SSBUltimate (Female) - Solo.png (7.23 MB)")
")
")
")
")
")
")
")
.png "Robin SSBUltimate (Female).png (5.24 MB)")
.png "Corrin SSBUltimate (Female).png (4.73 MB)")
")
")
")
")
")
")
.png "Djeeta (GBF).png (177 KB)")
")
")
")
")
.png "Sakura Shinguji (Project X Zone).png (224 KB)")
Assist Trophies[]
| Character | Series | Description |
|---|---|---|
 Waluigi |
Waluigi repeatedly stomps players into the ground. This onslaught is followed by either a strong kick or a strike from his tennis racket. | |
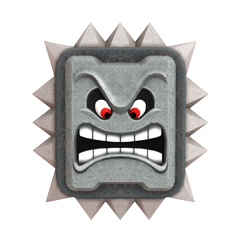 Thwomp |
Hovers high up the stage, remaining still. If any opponent walks underneath it, it drops down to attack it, then moves back up. It won't attack again until it returns to its original position. | |
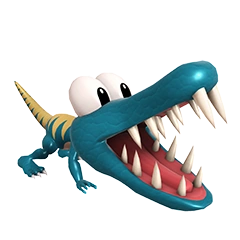
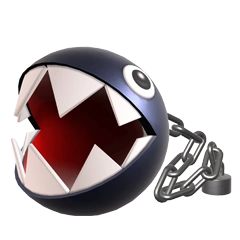 Chain Chomp |
Bounces around before targeting an opponent and attacking them by lunging and biting them. Head can also damage opponents while bouncing. | |
 Flies & Hand |
A hand holding a fly swatter moves around to swat the flies buzzing around the screen, damaging any enemy that gets in the way of its swatting. | |
 Hammer Bro. |
Throws hammers at opponents. | |
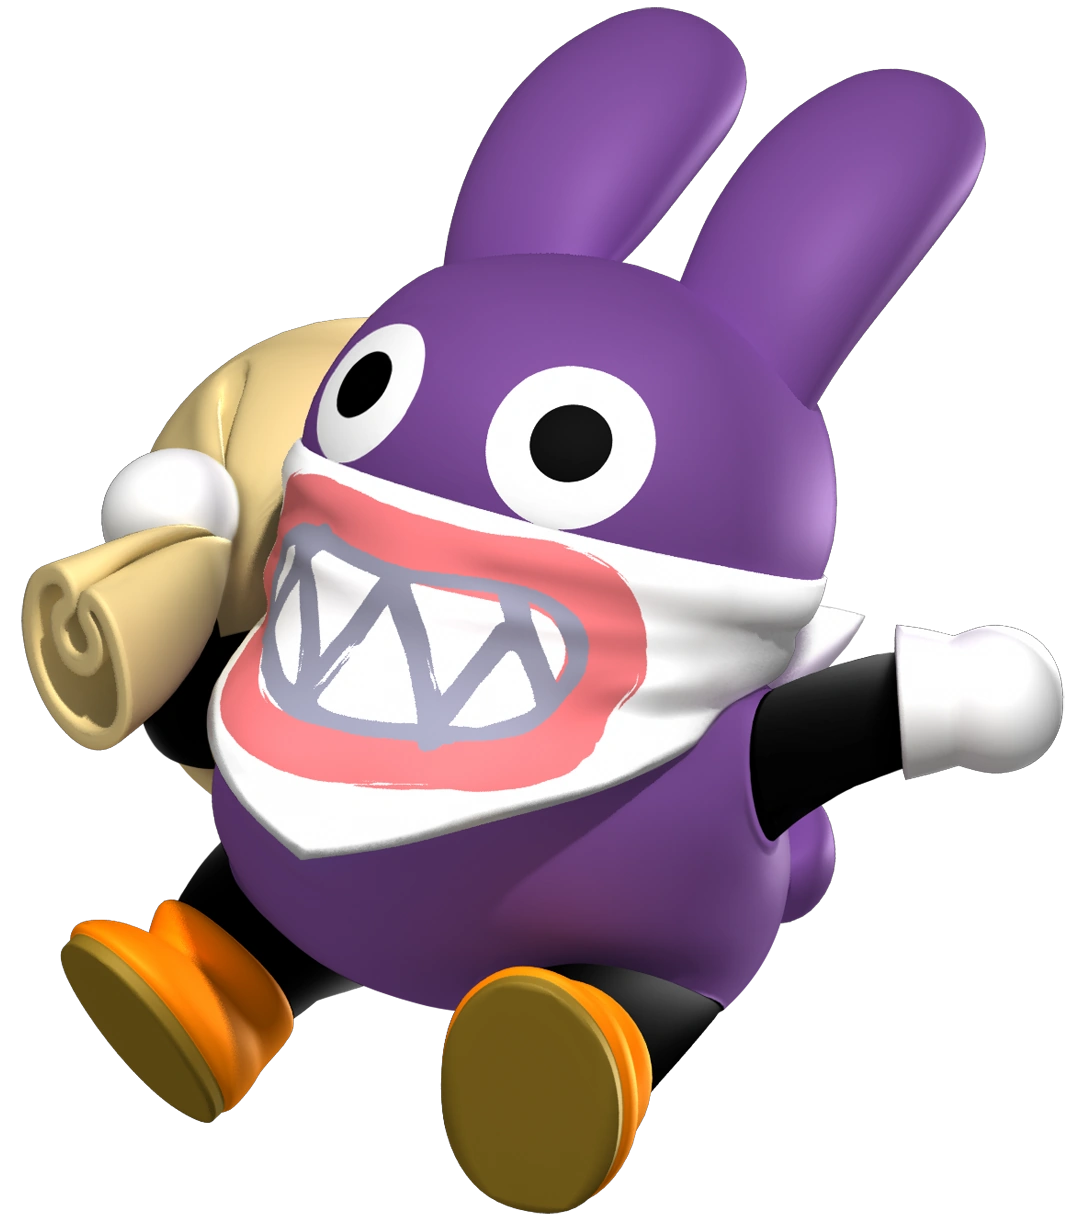 Nabbit |
He chases fighters, trying to catch them with his bag, once a fighter is caught, he attempts to blast off in a trail of smoke towards the upper blast line, much like the Beetle and Boss Galaga items. | |
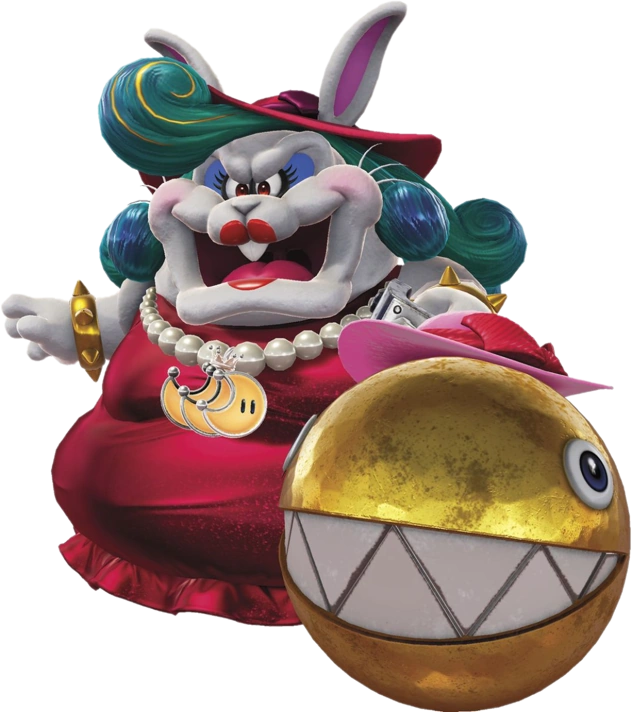 Madame Broode |
Attacks fighters via Chain Chompikins. | |
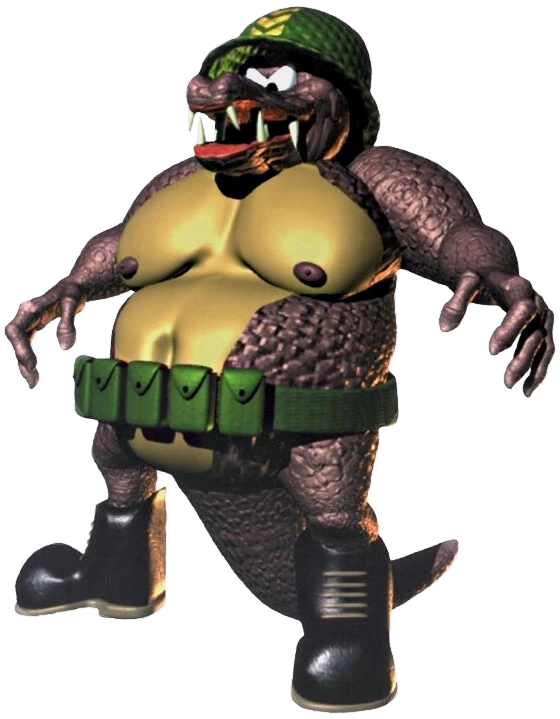
 Klaptrap |
Lunges across the screen and latches onto foes before launching them. | |
 Klump |
Shoots cannon balls at any direction. | |
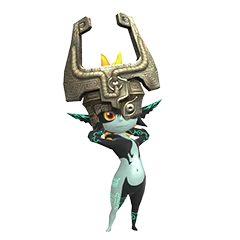 Midna |
Grabs opponents and throws them, while dealing darkness damage. | |
 Skull Kid |
Uses one of three disruptions: flipping the stage upside down, reversing all players' controls, or making all fighters invisible. | |
 Tingle |
Tingle randomly enacts one of a variety of strange effects. It also takes longer for more Assist Trophies to spawn after his appearance than any other character.
| |
 The Moon |
Crashes into the stage, dealing massive damage with a very large area of impact. | |
 Garo |
Attacks nearby opponets using his sharp swords. | |
 Agitha |
Summons bugs to attack opponents, the bugs can reach fighters no matter the direction they are and attack them with minor damage, she finishes with a fatal blow from her parasol. | |
 Zant |
Summons a Shadow Beast that attacks opponents at any direction. | |
 Yuga |
Creates two copies of himself to cast a powerful spell at the opponents. | |
 Metroid |
Latches onto players and hits them repeatedly. Can be attacked and shaken off temporarily. Can only be KO'd if frozen. | |
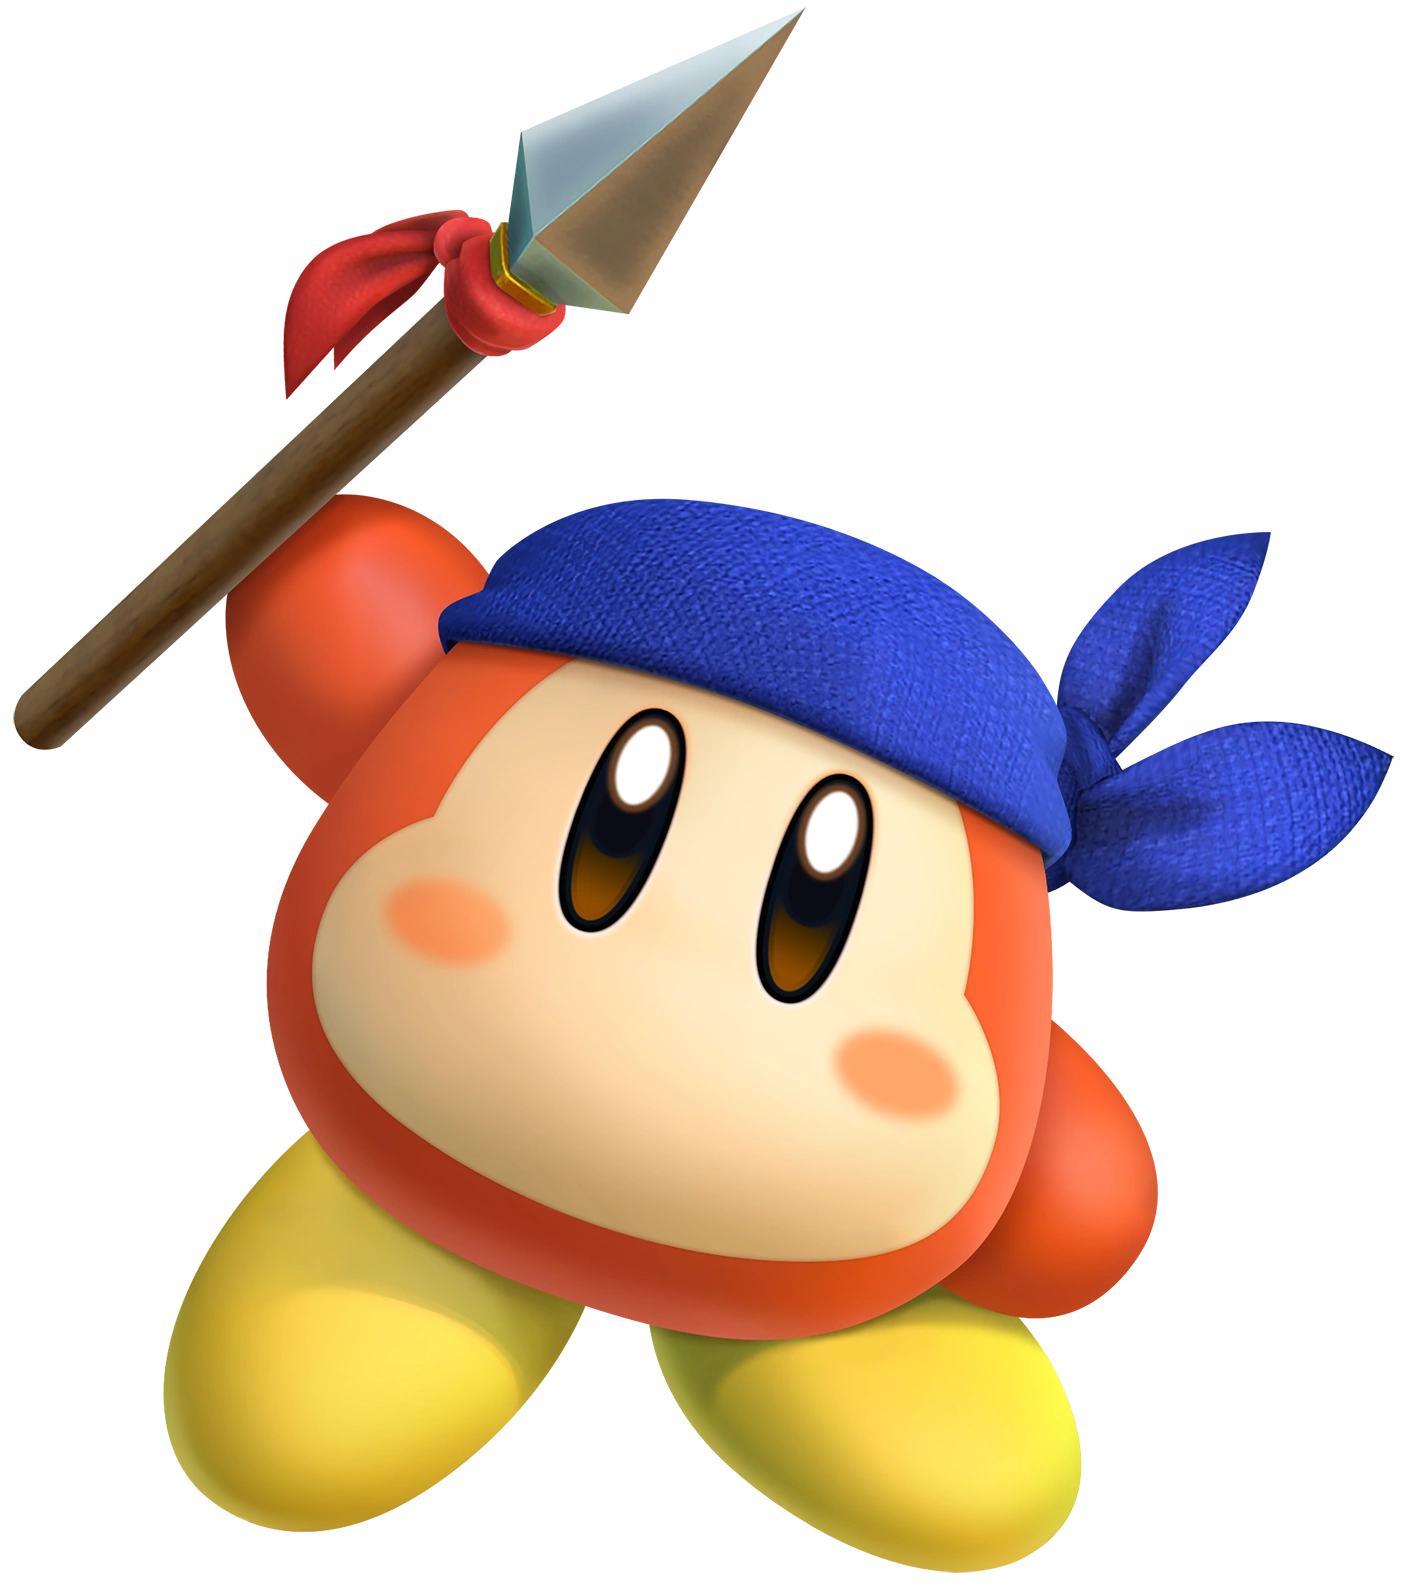 Bandana Waddle Dee |
He thrusts his spear at any direction, finishing with a giant tornado made by his Waddle Copter attack. | |
 Knuckle Joe |
Knuckle Joe delivers a series of Vulcan Jabs to his opponents and finishes with either a Smash Punch or an uppercut attack named Rising Break. It is an OHKO if all hitboxes land. | |
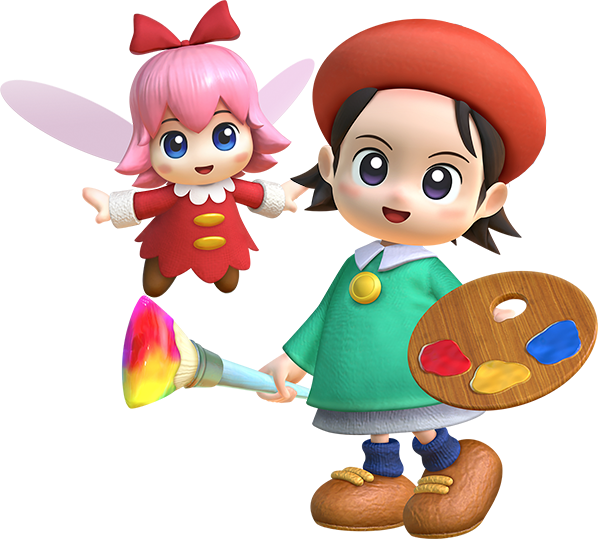 Adeleine and Ribbon |
Adeleine charges forward while rapidly swiping her brush, if she hits an enemy, she gets pushed back a bit. | |
 Chef Kawasaki |
Captures players using his telescopic ladle and cooks them in a boiling pot, which produces food similar to Kirby's Final Smash in Brawl. If he fails to catch anyone in his ladle, he may throw plates or attempt to use his ladle again. | |
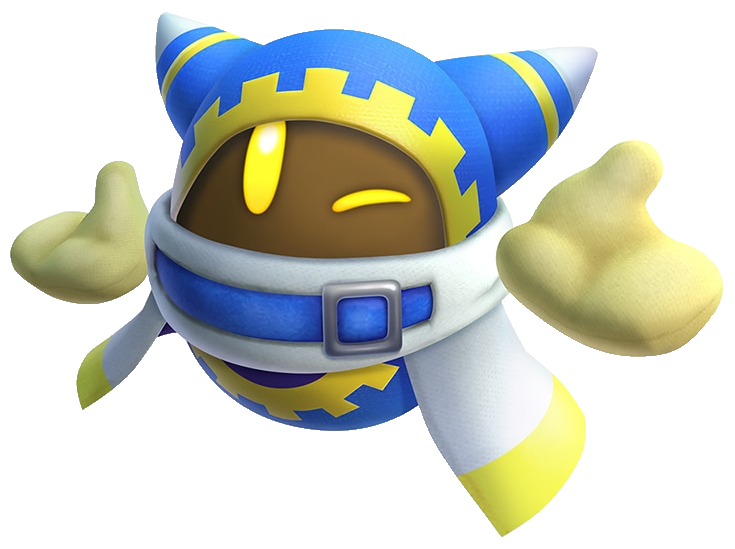 Magolor |
Magolor releases a sphere of energy that launches forward, homing in on nearby opponents as it flies. If no fighters are nearby, it is launched at a random angle. | |
 Nightmare |
Obscures the stage and fighters in darkness. | |
 Magnus |
Leaps around and swings the Magnus Club. He flinches if he's attacked and can be KO'd if he takes enough damage. | |
 Tiki |
Transforms into a dragon, attacking with large flame breaths from the air. | |
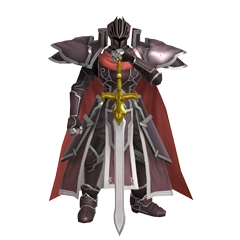 Black Knight |
Walks around the stage slowly, attacking any nearby opponents with his sword Alondite. Appears to be very resistant to attacks. | |
 Andross |
Spits out projectiles at players. | |
 Squid Sisters |
They perform a concert and, as the camera zooms in on them, the blast lines are brought closer, so that whoever is left outside the camera will be KOed. | |
 Dr. Coyle |
Levitates around and attacks with extended punches. She later disappears to reappear and use her temporal extra ARM to finish fighters off. | |
 Tom Nook |
Catch opponents and builds a house that explodes shortly after in a similar fashion to Villager and Isabelle's Final Smash. | |
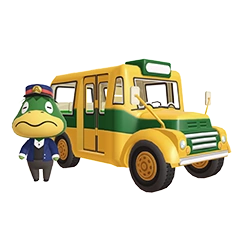 Kapp'n |
Drives a bus across the screen. Any fighter he contacts will be trapped, dragging them off-screen. | |
 Riki |
He uses several different arts from Xenoblade Chronicles, including Happy Happy, Bedtime, You Can Do It, Roly-Poly, Freezinate, and Yoink. | |
 Xord |
He will attack fighters by using his large hammer. | |
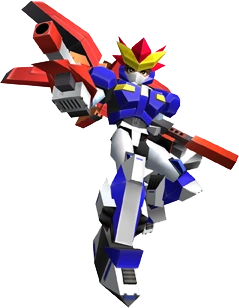
 KOS-MOS |
KOS-MOS uses her X-Buster and D-Tooth to attack fighters. | |
 Mia |
Uses powerful Ply Psynergy attacks. | |
 Samurai Goroh |
Samurai Goroh slashes his swords while chasing opponents. | |
 Jeff Andonuts |
Shoots rockets from his Multi Bottle Rocket 5 at his opponents. | |
 Starman |
Teleports about the stage, shooting PK Beam out of its head at opponents. If defeated, the "SMAAASH!" effect from Earthbound is seen. | |
 Burrowing Snagret |
Emerges from the ground and wildly pecks at opponents, then hides underground before reappearing at another location. | |
 Ghosts |
Blinky, Pinky, Inky, and Clyde make their way around the stage, moving as if in a maze while damaging and pushing opponents around. | |
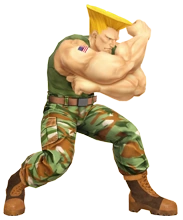 Guile |
Crouches in place, throwing Sonic Booms and blocking any physical attacks that hit him. Intercepts nearby enemies with his signature Flash Kick move. | |
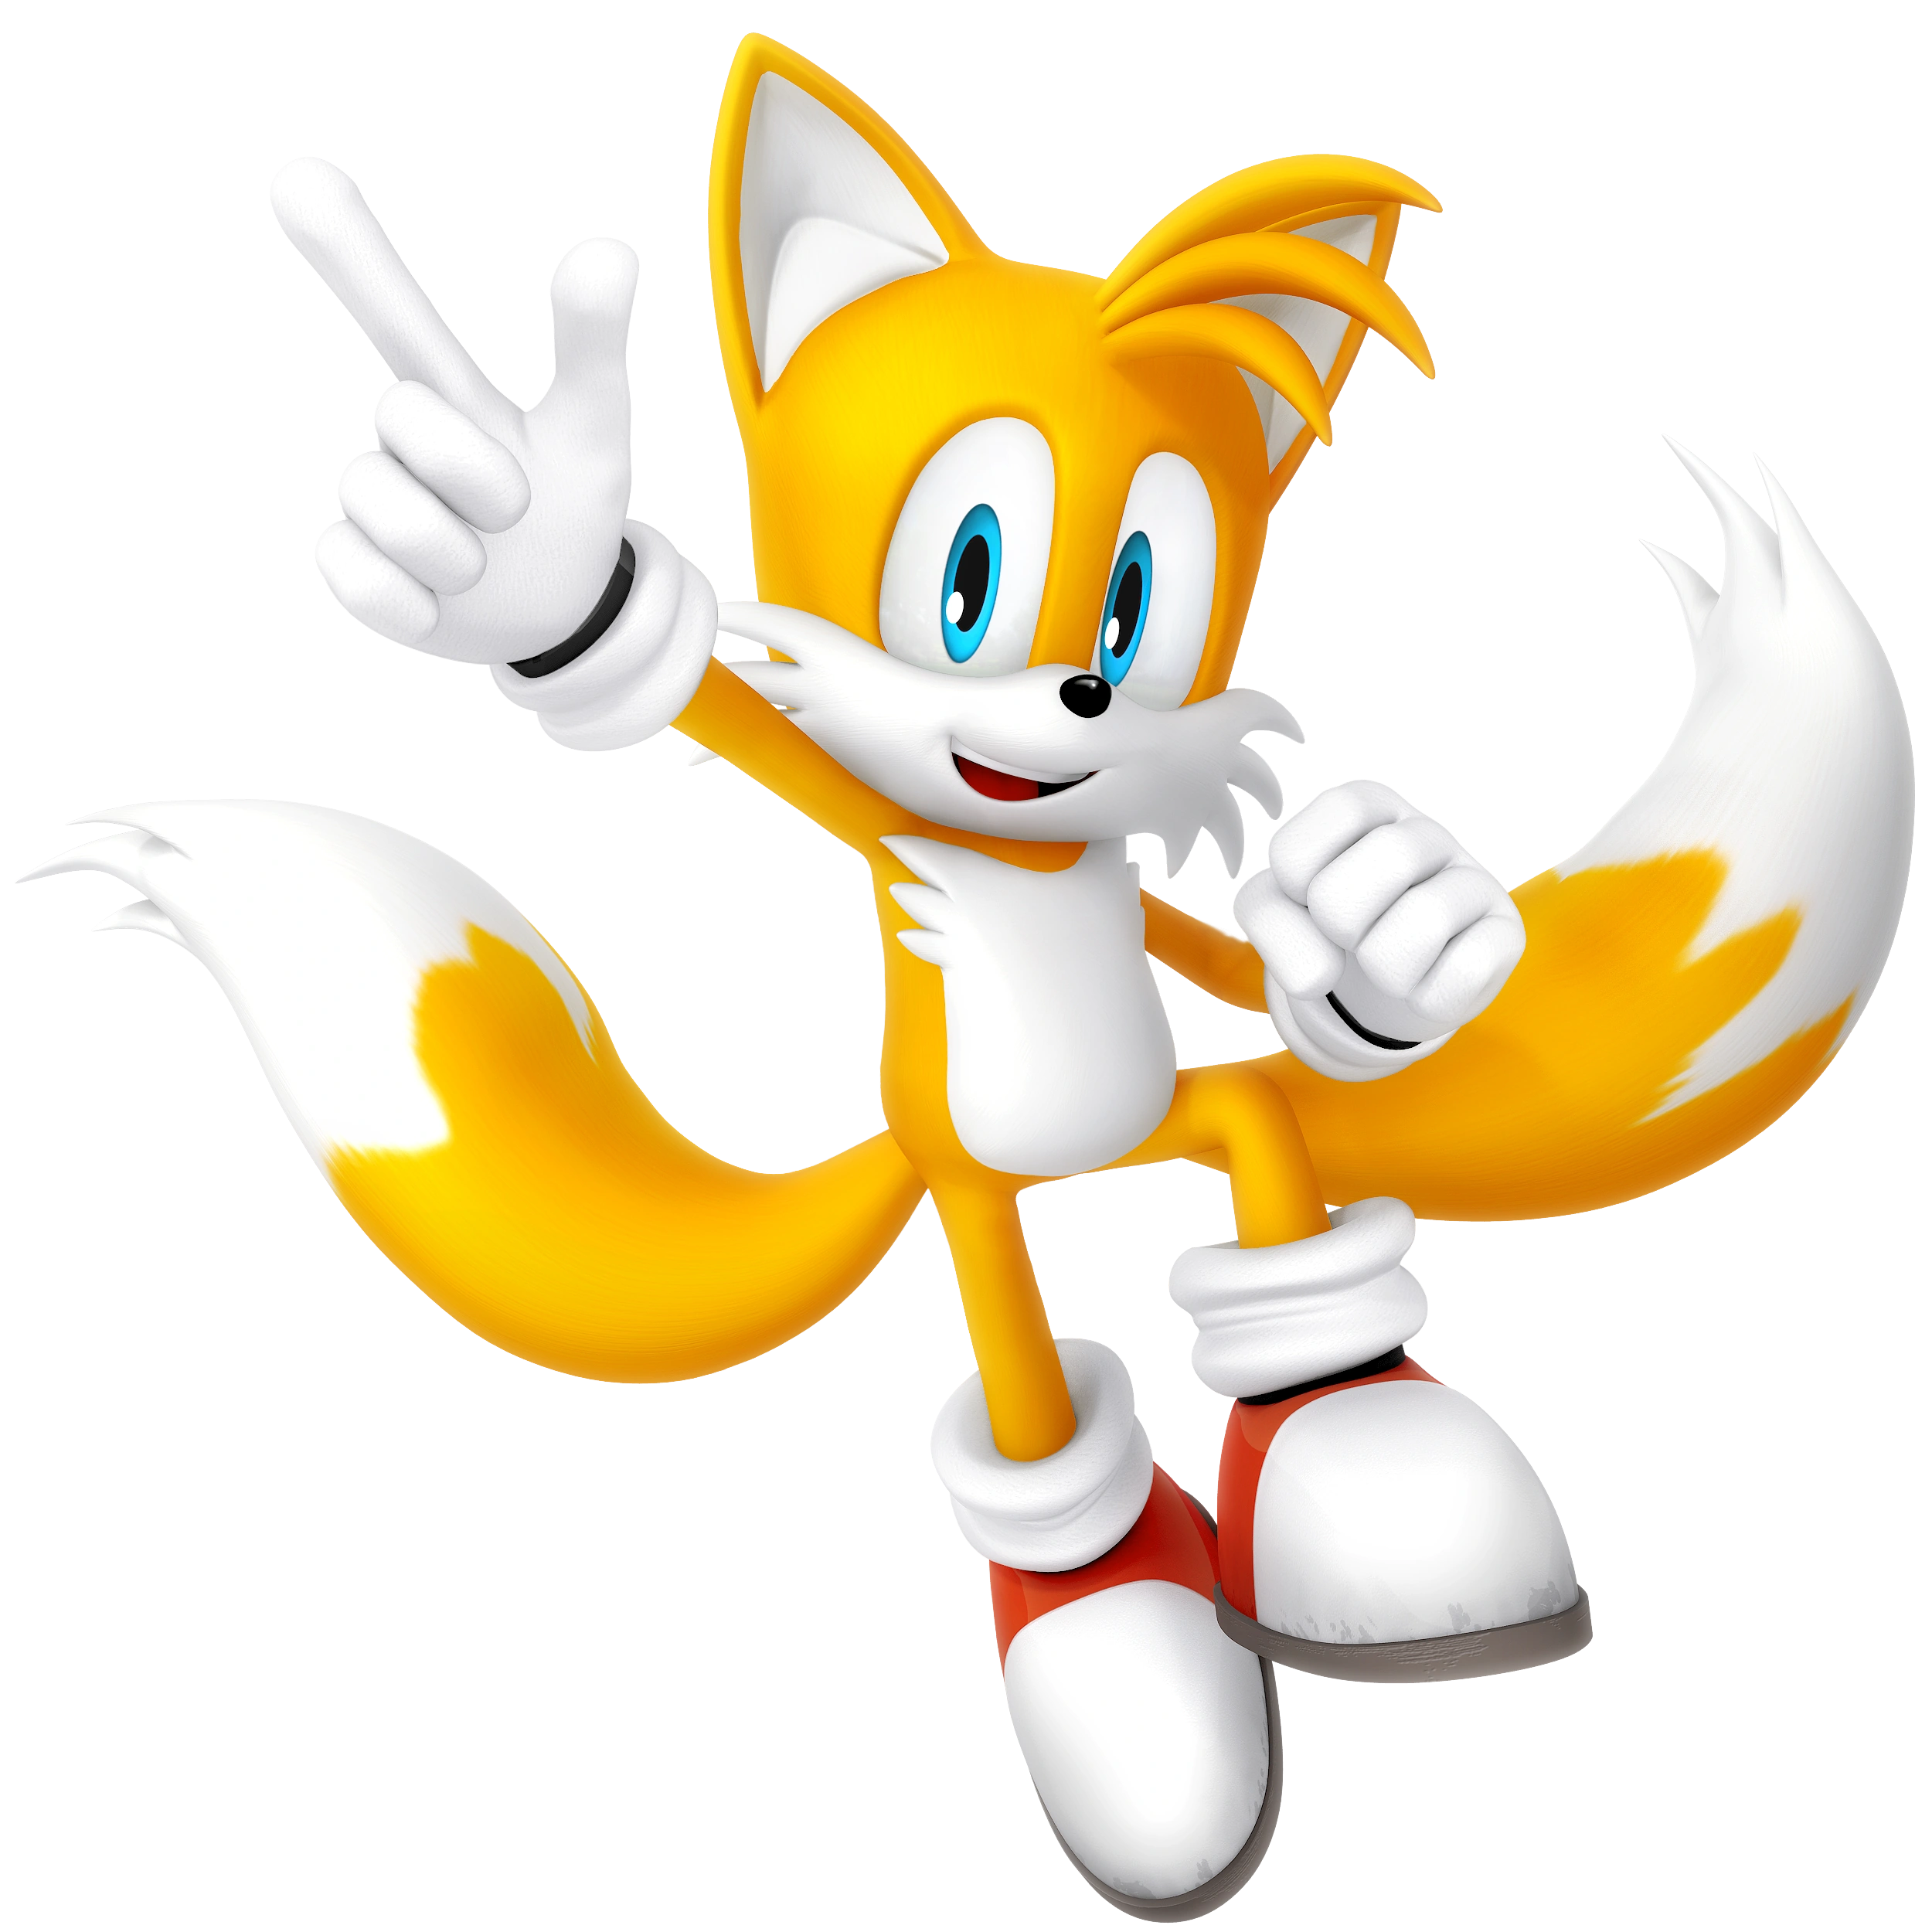 Miles "Tails" Prower |
Flies around and uses his Energy Ball at any direction. | |
 Knuckles the Echidna |
Burrows underground before emerging with a rising uppercut. Can attack with a combination of punches, or strike using a homing attack similar to Sonic's. | |
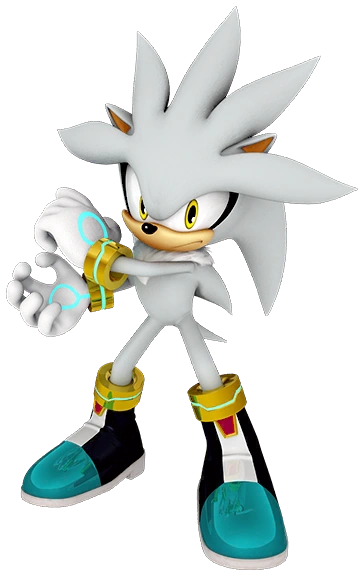 Silver the Hedgehog |
Uses his psychokinesis to levitate random objects and throw it to enemy fighters. | |
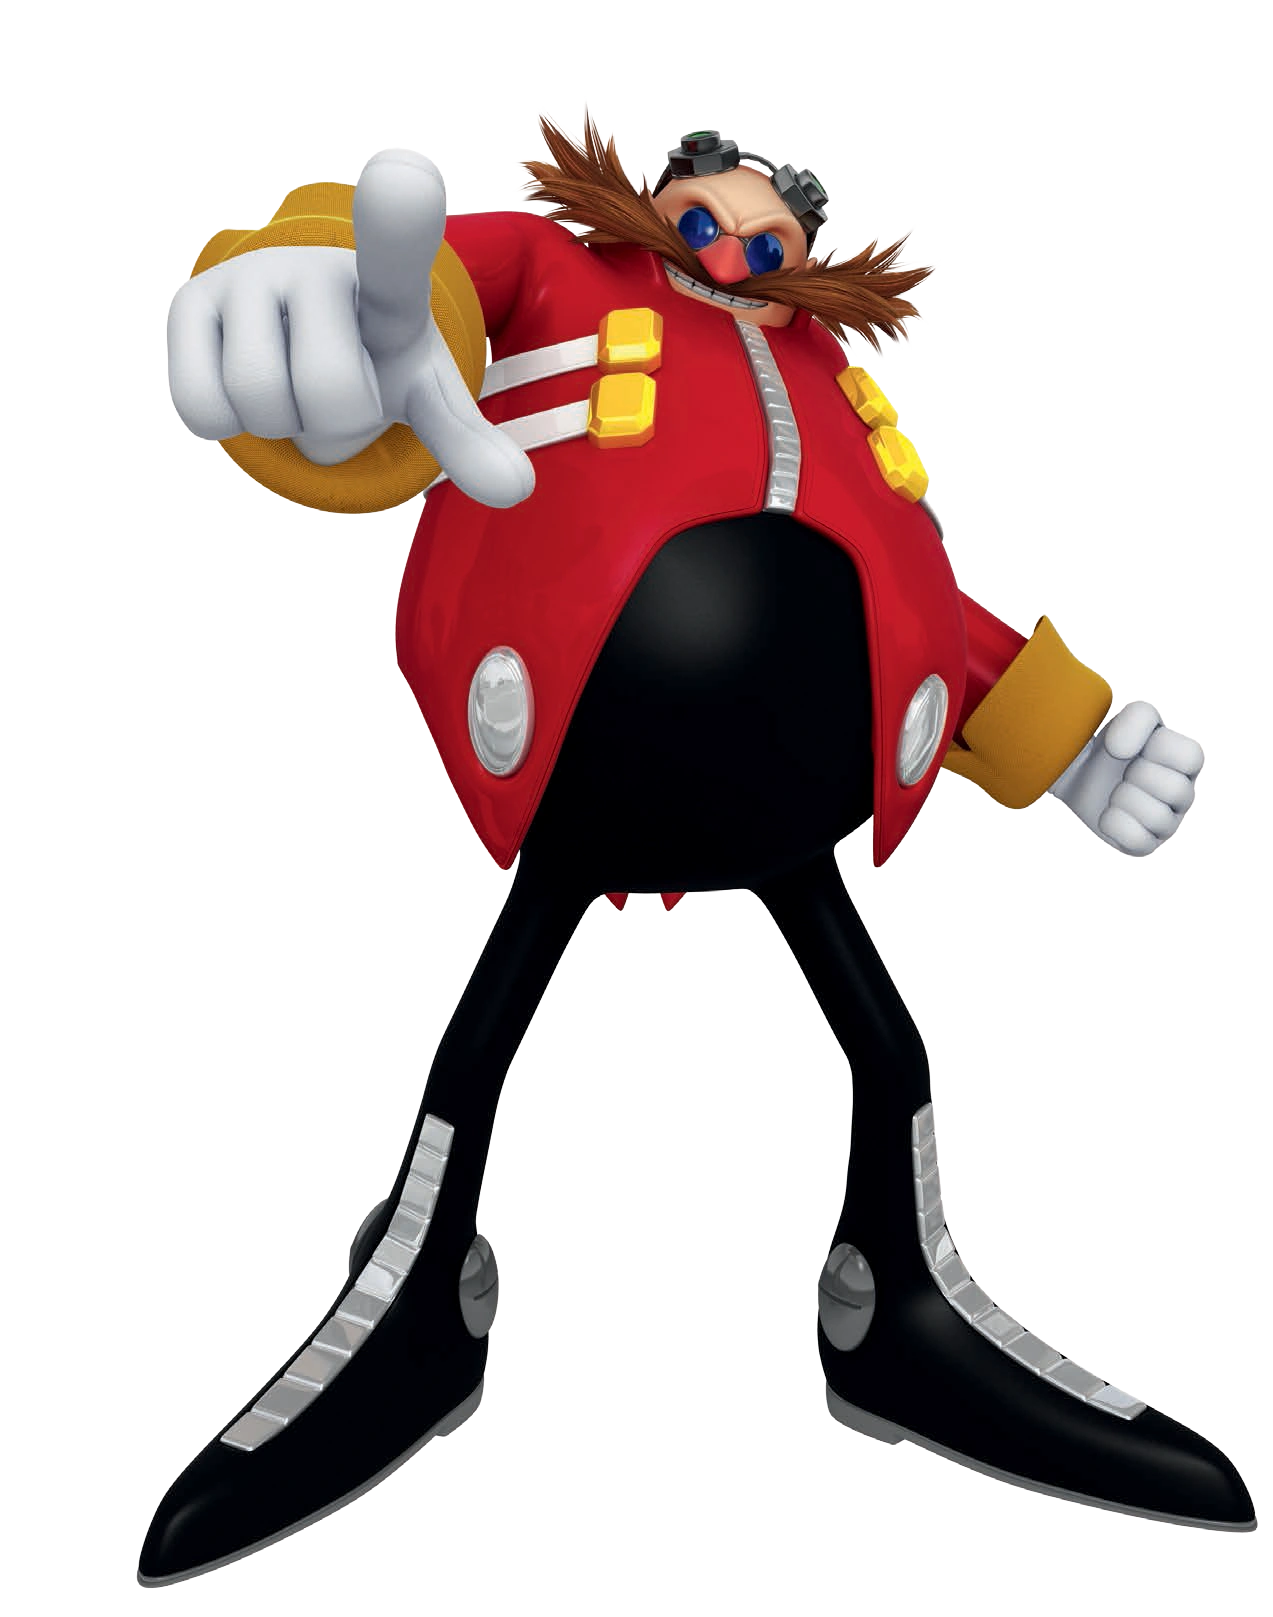 Doctor Eggman |
Rides his Egg Mobile-H, damaging opponents that crashes with the wrecking ball. | |
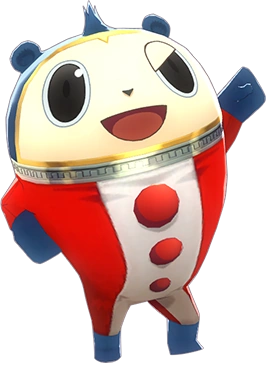 Teddie |

|
Summons his Persona, Kintoki-Douji, to throw a giant missile that crashes with the first fighter who touches it. |
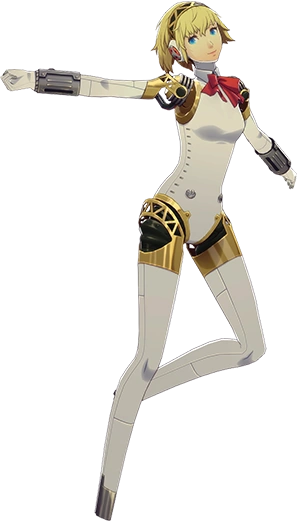 Aigis |

|
Aigis will start using Pandora Missile Launcher to blast missiles to opponents, she will then summon her Persona, Pallas Athena, to use her Goddess Shield attack. When KO'ed, she will scream "My armor!". |
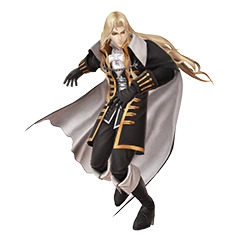 Alucard |
Wields his blade, Crissaegrim. He can also transform into a bat and fly to another portion of the stage. | |
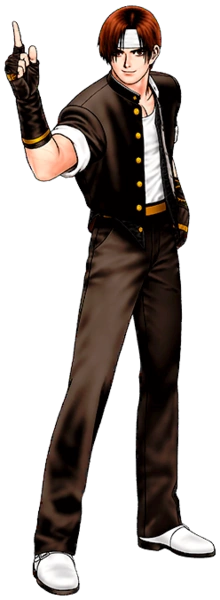 Kyo Kusanagi |
Kyo will start using his 108 Shiki: Yami Barai attack, then, he will use his 100 Shiki: Oniyaki attack to finally use his Mu Shiki attack. | |
 Haohmaru |

|
He will use Ougi Senpuu Retsuzan, then he rushes to use his Ougi Kogetsuzan at nearby fighters. |
 Mars People |
Contacts a Mini-Ufo who appears and shoot ring beams at fighters below. | |
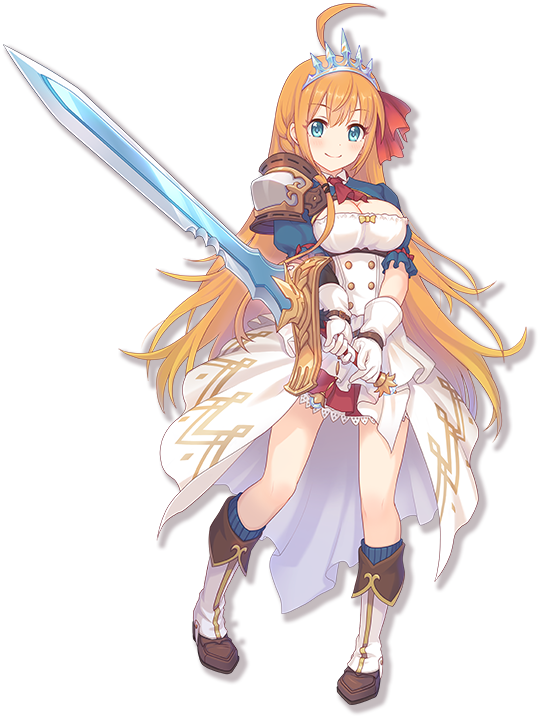
 Katalina Aryze |
|
Will attack opponents using her rapier, finishing with a powerful Realm of Ice attack. |
 Akira Yuki |
Runs around and attacks with various martial arts moves. | |
 Arcade Bunny |
Operates a giant claw machine in order to grab opponents. | |
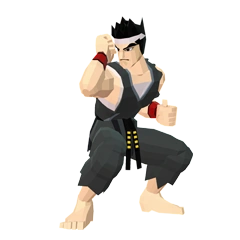
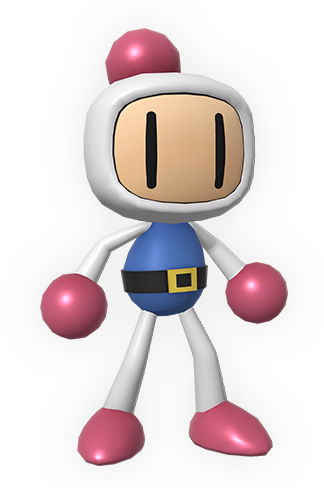 Bomberman |
Drop bombs which create an cross shaped explosion similar to an X Bomb. It is possible for him to be affected by his own bombs. | |
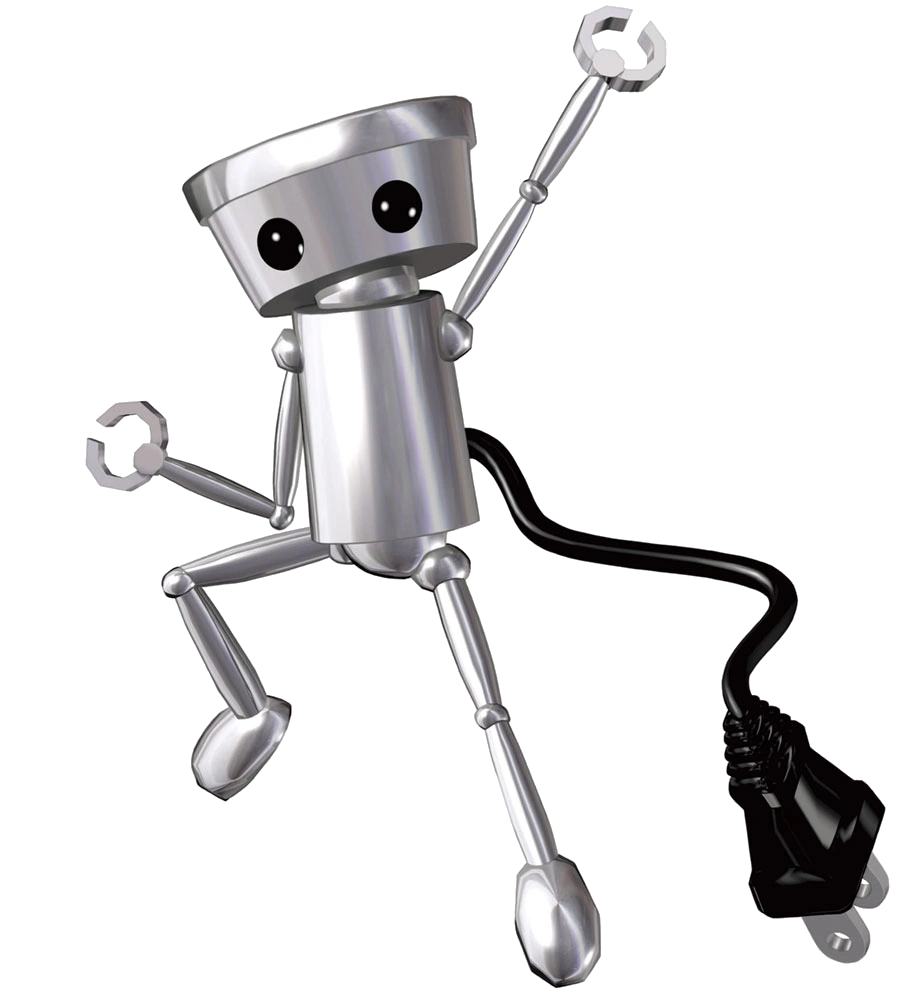 Chibi-Robo |
Attacks opponents using his plug. | |
 Chorus Kids |
The Chorus Kids will sing from left to right, finishing with a "Together Now!". The third Chorus Kid will give more damage than the others two. | |
 Color TV-Game 15 |
Two paddles on the sides of the stage bounce a ball back and forth, with the ball damaging players. | |
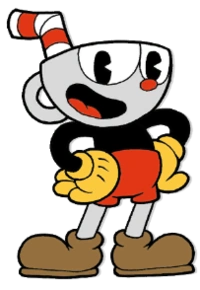 Cuphead |
Cuphead attacks using his Finger Bullets, he will dash to another direction to repeat the process one second time. | |
 Dillon |
Attacks opponents by rolling at them. After a couple times, he charges up a very powerful rolling attack that does large knockback. | |
 Dr. Kawashima |
Flings numbers onto the stage that can be attacked to knock them around. When they add up to 10 or more, they cause an explosion, with a sum of exactly 10 causing an explosion like a Smart Bomb. | |
 Dr. Wright |
Dr. Wright summons buildings from within the ground. Anyone other than the summoner who touches these buildings will receive damage. | |
 Filia |
Filia starts using Straight Razor, Chompadour and Hairball, Samson finishes the attack by using Tricobezoar, which sends fighters to fly far away. | |
 Jill & the Drill Dozer |
Jill attacks opponents with her drill. | |
 Nikki |
Doodles various obstacles on the stage. | |
 Nintendog |
A toy poodle blocks the screen. | |
 Pecorine |
Swings her sword and uses Princess Strike against her opponents. | |
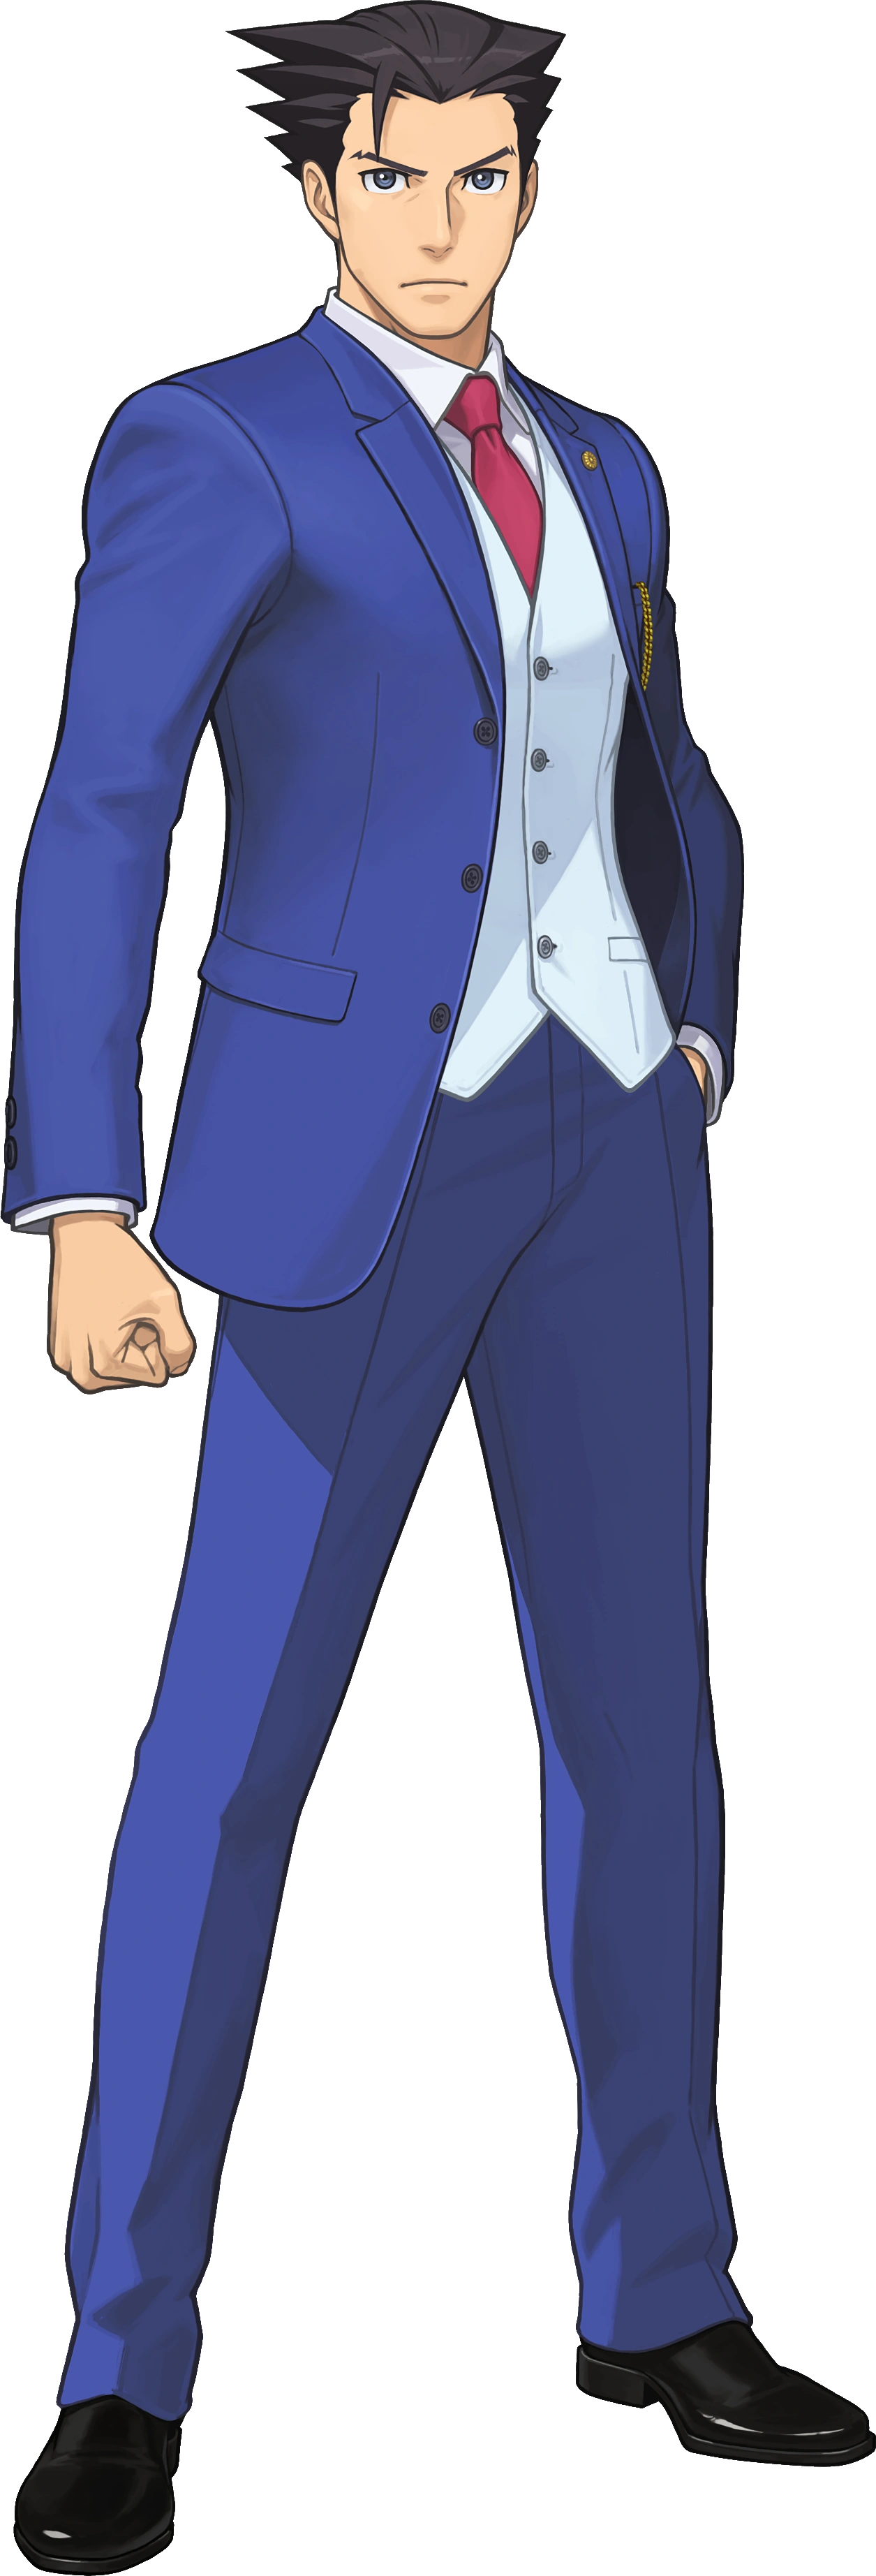 Phoenix Wright |
Shouts a powerful "Objection!". | |
 Ray Mk.III |
Ray Mk III flies around the stage shooting missiles and green energy bullets. | |
 Sablé Prince |
Turns into either a frog or a snake. Can only be KO'd in his human form. | |
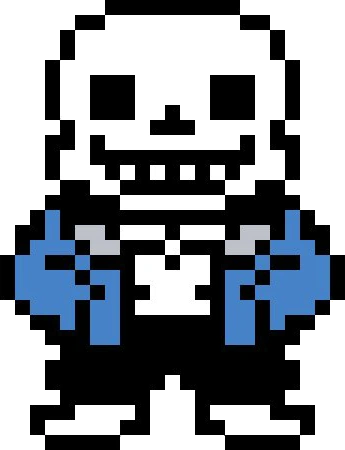 Sans |
Sans will shoot powerful blasts from his Gaster Blasters. | |
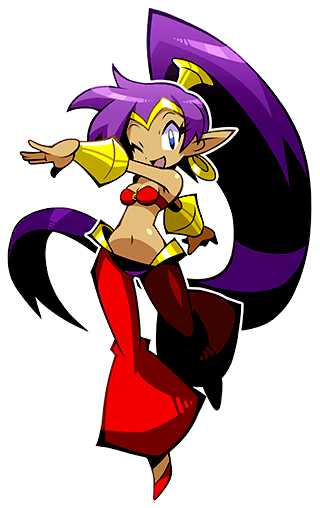 Shantae |
She will start to attack using her hair, then she will transform into either a monkey, a harpy or a elephant to finish her opponents off. | |
 Sheriff |
Sheriff walks around in the air, shooting at opponents with his pistol. | |
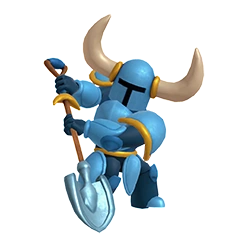 Shovel Knight |
Runs and jumps around, using his Shovel Drop to bounce off of obstacles. He also digs, which flings dirt at fighters, buries them, and can occasionally produce items. | |
 Starfy |
Wanders around and spin attacks opponents. | |
 Sukapon |
Moves around with his arms raised, launching heads at opponents (Tondeker), grabbing and tossing them (Sukapon Toss), or rolling forwards quickly to attack (Sukapon Roll). | |
 Takamaru |
Throws his pinwheel knife rooks at opponents and slashes them several times with his katana. | |
 Vince |
Draws large drawings of various objects, one following each opponent in the foreground, hiding them and slowly damaging them. The damage will be tripled if an opponent attacks. | |
 Yuri Kozukata |
Yuri gets out her Camera Obscura, a specialized camera to take photographs of spirits, and uses it to take pictures of the battle. This will stun opponents and poison them, leaving them vulnerable to attacks. |
Pokemons[]
Super Smash Bros. REBOOT/Pokémon
Spirits[]
Super Smash Bros. REBOOT/Spirits
Master Spirits[]
Gym[]
")
Exploration[]
")
")
")
")
")
Dojo[]
")
")
")
")
")
")
")
")
")
")
")
.png "Dyntos (Artwork).png (294 KB)")
")
")
")
")
")
")
")
")
")
")
")
Shop[]
")
")
")
")
")
Healing[]
")
Bosses[]
| Boss & Series | Description | Battle BGMs | |
|---|---|---|---|
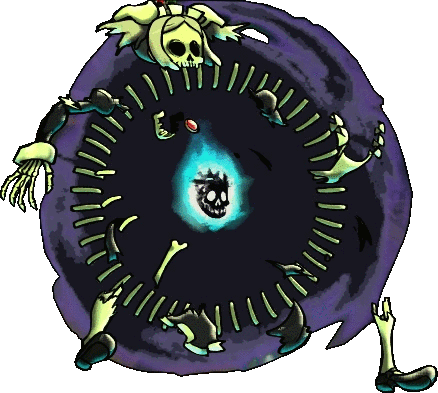
| The Shadow Empress is the main antagonist of this game, she is a dark being who attempts to cover all the worlds into darkness and destroy them. Many villains are on her side. |
| ||
| |||
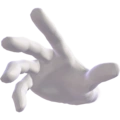 |
Master Hand is a hand-like entity who acts as the main recurring boss in the Super Smash Bros. universe. |
| |
| |||
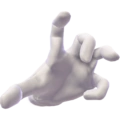 |
Crazy Hand is Master Hand's left hand counterpart. While Master Hand's movements are very smooth and calm, Crazy Hand moves in erratic ways. |
| |
| |||
 |
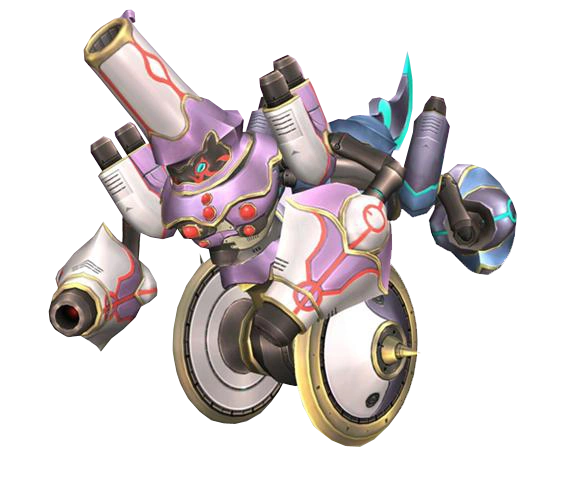
Galleom is a giant, purple robot/cyborg which has simian features, and is also capable of transforming into a jet propelled tank labelled as his "Tank Form". |
| |
| |||
 |
Duon is a robot-like creature formed by several Shadow Bugs that have gathered in a single, very powerful being. |
| |
| |||
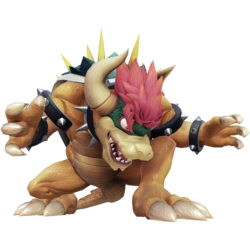
| Giga Bowser is the gargantuan and powered-up version of Bowser. This form of Bowser is original from the Smash series. |
| ||
| |||
 |
Ganon is the true form of Ganondorf, this form, like in Smash Ultimate, is based on his appearance in Ocarina of Time. |
| |
| |||
 |
Lusamine is the true main antagonist of Pokémon Sun and Moon. She is the president of the Aether Foundation and Lillie and Gladion's mother. |
| |
| |||
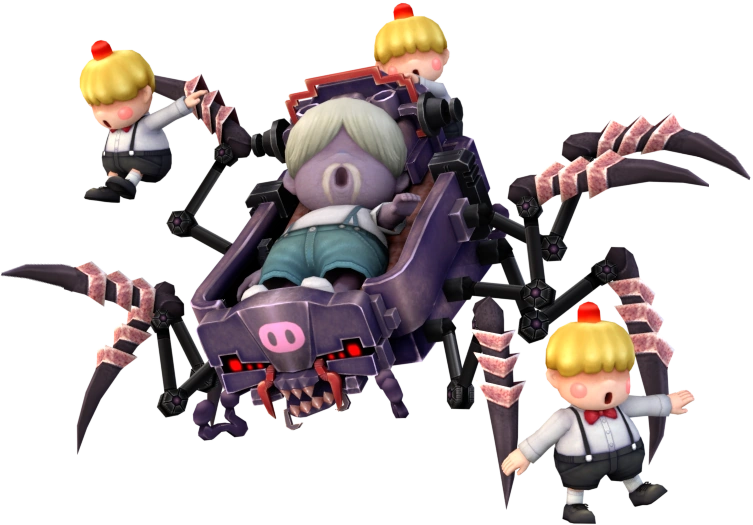
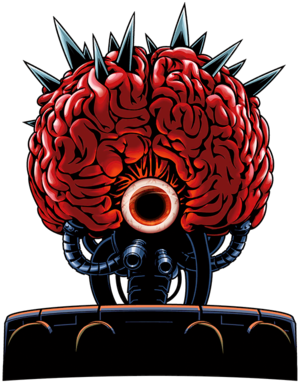
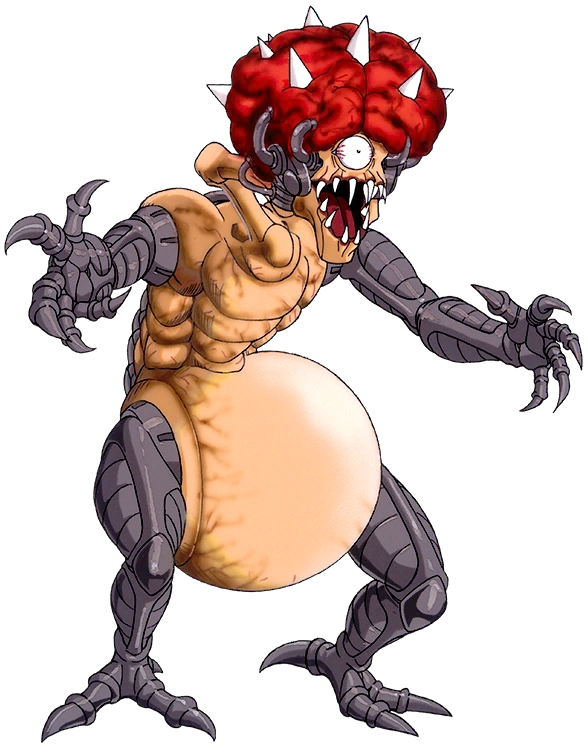
| Mother Brain is a recurring antagonist in the Metroid series, she is a major leader of the Space Pirates and one of Samus' arch-nemesis. |
| ||
| |||
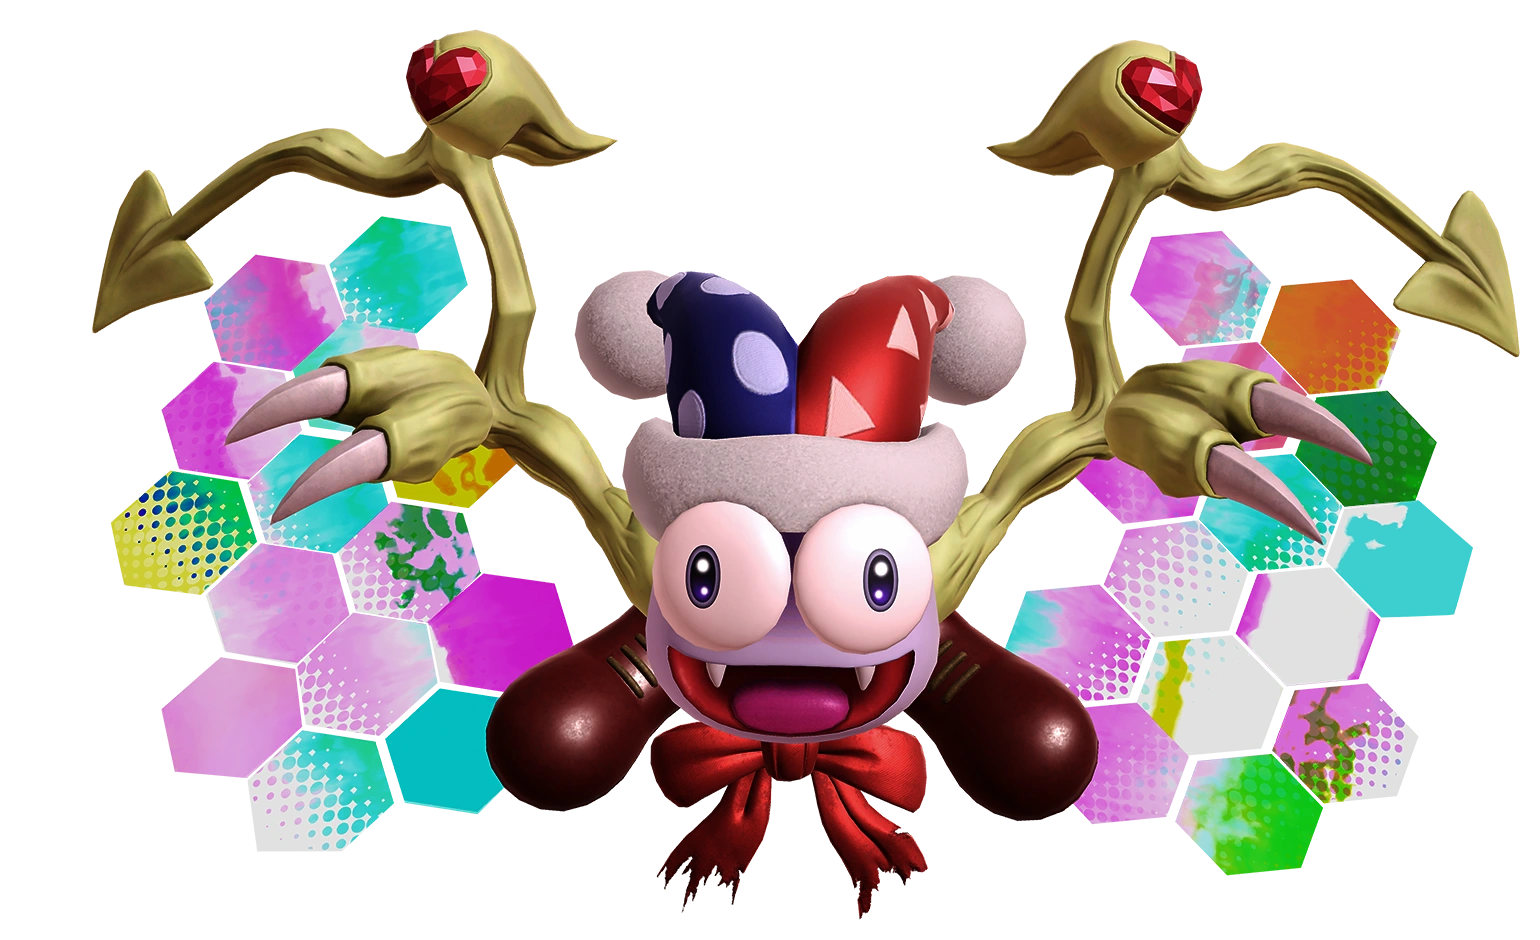 |
Marx is an antagonist from the Kirby series, like in Ultimate, Marx contains some moves he doesn't have in the Kirby series. |
| |
| |||
 |
Porky Minch is an antagonist in the 1st Earthbound game and the main antagonist of Earthbound 3, he retains his moveset from Brawl. |
| |
| |||
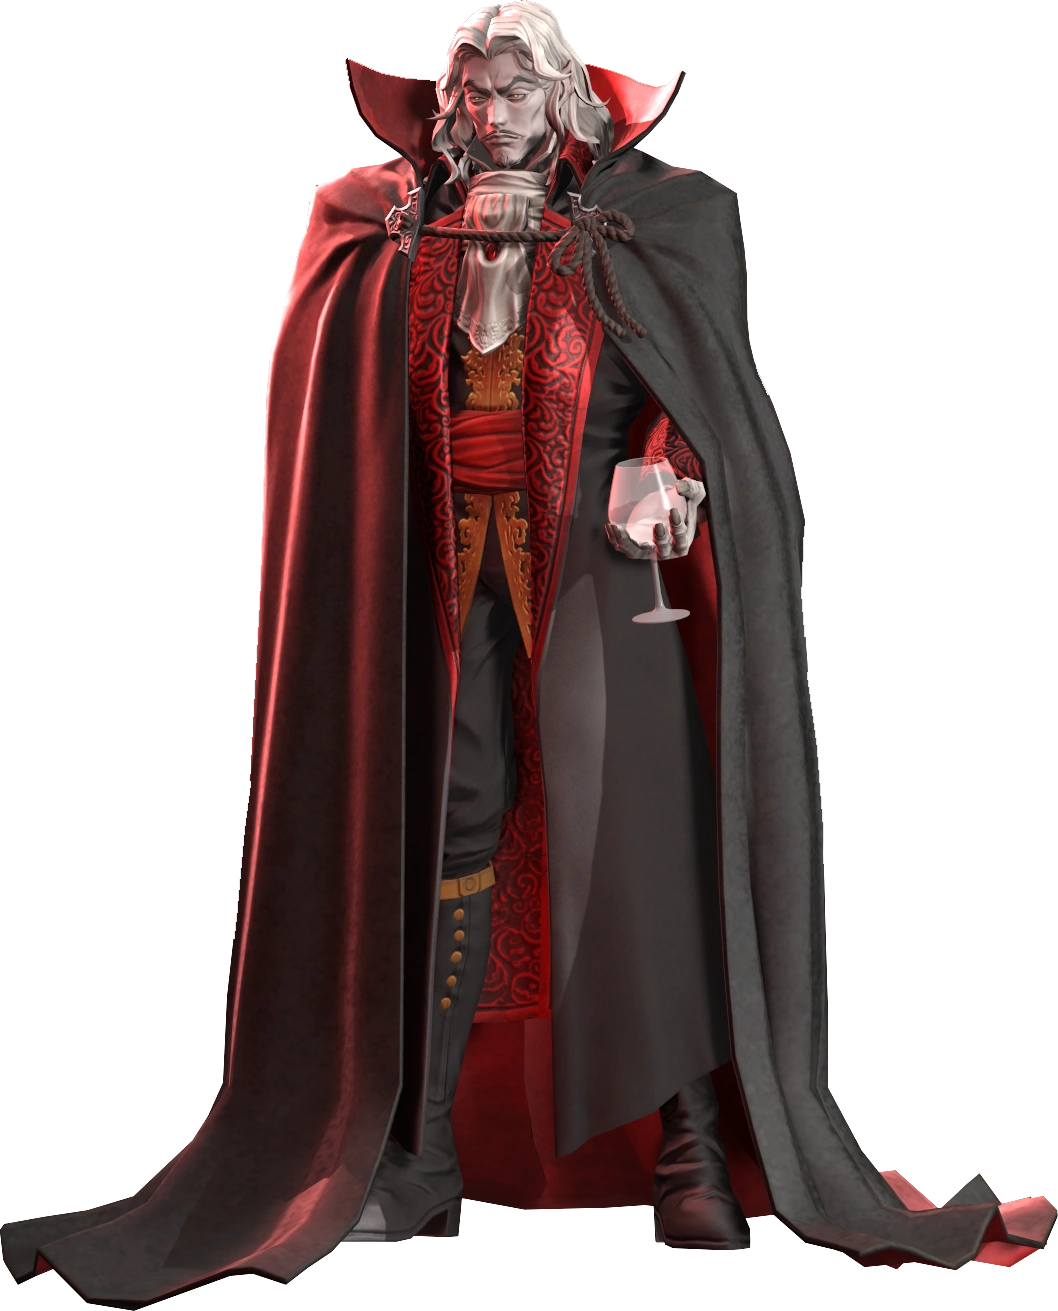
| Dracula Vlad Ţepeş is the main antagonist of the Castlevania series, an arch-nemesis of the Belmont Clan and the father of Alucard. His boss fight remains the same from Ultimate. |
| ||
| |||
| Proto Bahamut is one of the bosses from Granblue Fantasy, he fights in a similar fashion to his boss fight in Granblue Fantasy Versus. He also appears as part of Gran/Djeeta's Final Smash. |
| ||
| |||
| Bloody Marie is the main antagonist of Skullgirls, she is the current Skullgirl, a powerful female being that born as the result of the impure wishes made to the Skull Heart. |
| ||
| |||


Stage Bosses & Hazards[]
")
")
")
")
")
")
")
.png "Donkey Kong (Arcade).png (7 KB)")
.png "5-Volt (Angry).png (115 KB)")
")
")
")
")
")
")
")
")
")
.png "Whispy Woods (Play Nintendo).png (474 KB)")
")
")
")
")
")
")
")
")
")
")
")
")
.png "Ifrit (Final Fantasy Artwork).png (632 KB)")
")
")
")
")
")
")
Stages[]
- Battlefield
- Small Battlefield
- Big Battlefield
- Final Destination
- Peach's Castle (64) - Super Mario 64
- Mushroom Kingdom (SSB) - Super Mario Bros.
- Princess Peach's Castle - Super Mario 64
- Rainbow Cruise - Super Mario 64
- Mushroom Kingdom (SSBM) - Super Mario Bros.
- Mushroom Kingdom II - Super Mario Bros. 2 / Super Mario USA
- Delfino Plaza - Super Mario Sunshine
- Mushroomy Kingdom - Super Mario Bros.
- Figure-8 Circuit - Mario Kart DS
- Luigi's Mansion - Luigi's Mansion
- Mario Bros. - Mario Bros.
- 3D Land - Super Mario 3D Land
- Golden Plains - New Super Mario Bros. 2
- Rainbow Road - Mario Kart 7
- Paper Mario - Super Mario
- Mario Galaxy - Super Mario Galaxy
- Mushroom Kingdom U - New Super Mario Bros. U Deluxe
- Mario Circuit (SSB4) - Mario Kart 8 Deluxe
- Wrecking Crew
- Super Mario Maker
- New Donk City Hall - Super Mario Odyssey
- Flower Kingdom - Super Mario Bros. Wonder
- Super Happy Tree - Yoshi's Story
- Yoshi's Story - Yoshi's Story
- Yoshi's Island (SSBM) - Super Mario World
- Yoshi's Island (SSBB) - Super Mario World 2: Yoshi's Island
- Woolly World - Yoshi's Woolly World
- WarioWare, Inc. - WarioWare
- Gamer - Game & Wario
- Kongo Jungle - Donkey Kong Country
- Kongo Falls - Donkey Kong Country
- Jungle Japes - Donkey Kong 64
- Rumble Falls - Donkey Kong: Jungle Beat
- 75m - Donkey Kong
- Jungle Hijinxs - Donkey Kong Country Returns
- Boxing Ring - Punch Out!! Wii
- Flat Zone 3 - Game & Watch
- Flat Zone X - Game & Watch
- Hyrule Castle - The Legend of Zelda: Ocarina of Time
- Great Bay - The Legend of Zelda: Majora's Mask
- Temple - Zelda 2: The Adventure of Link
- Bridge of Eldin - The Legend of Zelda: Twilight Princess
- Pirate Ship - The Legend of Zelda: The Wind Waker
- Gerudo Valley - The Legend of Zelda: Ocarina of Time
- Spirit Train - The Legend of Zelda: Spirit Tracks
- Skyloft - The Legend of Zelda: Skyward Sword
- Great Plateau Tower - The Legend of Zelda: Breath of the Wild
- East Necluda - The Legend of Zelda: Tears of the Kingdom
- Saffron City - Pokémon Red and Blue
- Pokémon Stadium - Pokémon Stadium
- Pokémon Stadium 2 - Pokémon
- Spear Pillar - Pokémon Diamond and Pearl
- Unova Pokémon League - Pokémon Black and White
- Prism Tower - Pokémon X and Y
- Kalos Pokémon League - Pokémon X and Y
- Aether Paradise - Pokémon Sun and Moon
- Galar Pokémon League - Pokémon Sword and Shield
- Naranja Academy - Pokemon Scarlet and Violet
- Planet Zebes - Metroid
- Brinstar - Metroid
- Brinstar Depths - Metroid
- Frigate Orpheon - Metroid Prime
- Norfair - Metroid Zero Mission
- Pyrosphere - Metroid Other M
- Space Pirate Mother Ship - Metroid Zero Mission
- Planet ZDR - Metroid Dread
- Dream Land - Kirby Super Stars
- Fountain of Dreams - Kirby Super Star
- Green Greens - Kirby 64: The Crystal Shards
- Halberd - Kirby Super Star: Revenge of Meta Knight
- Dream Land GB - Kirby's Dream Land
- The Great Cave Offensive - Kirby Super Star Ultra
- Natural Plains - Kirby and the Forgotten Land
- Castle Siege - Fire Emblem
- Arena Ferox - Fire Emblem Awakening
- Coliseum - Fire Emblem
- Garreg Mach Monastery - Fire Emblem: Three Houses
- Firene - Fire Emblem Engage
- Skyworld - Kid Icarus
- Reset Bomb Forest - Kid Icarus Uprising
- Palutena's Temple - Kid Icarus Uprising
- Smashville - Animal Crossing
- Tortimer Island - Animal Crossing New Leaf
- Town and City - Animal Crossing: City Folk
- Moray Towers - Splatoon
- Salmonid Swim - Splatoon 2
- Alterna - Splatoon 3
- Sector Z - Star Fox 64
- Corneria - Star Fox Zero
- Venom - Star Fox 64
- Lylat Cruise - Star Fox Assault
- Orbital Gate Assault - Star Fox Assault
- Spring Stadium - ARMS
- Wii Fit Studio - Wii Fit
- Onett - Earthbound
- Fourside - Earthbound
- New Pork City - Earthbound 3
- Magicant - Earthbound Beginnings
- Mute City - F-Zero X
- Big Blue - F-Zero GX
- Port Town Aero Dive - F-Zero GX
- Mute City SNES - F-Zero
- Icicle Mountain - Ice Climber
- Summit - Ice Climber
- Distant Planet - Pikmin
- Garden of Hope - Pikmin 3
- Duck Hunt
- Ushimitsu High School - Famicom Detective Club
- Vale - Golden Sun
- Gaur Plain - Xenoblade Chronicles
- Cloud Sea of Alrest - Xenoblade Chronicles 2
- Cape Arcaphor - Xenoblade Chronicles 3
- Pac-Maze - PAC-MAN
- Pac-Land - PAC-MAN
- Mishima Dojo - Tekken 7
- Suzaku Castle - Street Fighter II
- Green Hill Zone - Sonic
- Windy Hill Zone - Sonic Lost World
- Mementos - Persona 5
- Dracula's Castle - Castlevania
- King of Fighters Stadium - Fatal Fury
- Ptolemaic Wars - Metal Slug 5
- Port Breeze Archipielago - Granblue Fantasy
- Tomodachi Life
- Balloon Fight
- Living Room - Nintendogs
- Find Mii - StreetPass Mii Plaza
- Darker Lord's Annex - Miitopia
- PictoChat 2
- Wuhu Island - Wii Sports Resort
- Pilotwings
- Miiverse
- Nintendo 3DS
- Nintendo Switch
- The Dream Forest - Rayman (DLC)
- Lars Canyon - Guilty Gear Strive (DLC)
- Wily Castle - Megaman 2 (DLC)
- Grand Imperial Theatre - Shin Sakura Wars (DLC)
- Spiral Mountain - Banjo Kazooie (DLC)
- Act 5 - Ninja Gaiden (DLC)
- Midgar - Final Fantasy VII (DLC)
- Mama's Kitchen - Cooking Mama (DLC)
- N. Sanity Beach - Crash Bandicoot (DLC)
Non-Selectable Stages[]
- Shadow Zone
- Hidden Base
- Hiddden Laboratory
- Bowser's Castle - New Super Mario Bros. U Deluxe
- Ganon's Castle Ruins - The Legend of Zelda: Ocarina of Time
- Ultra Space - Pokémon Sun and Moon
- Tourian - Super Metroid
- Milky Way Wishes - Kirby Super Star Ultra
- The Ruined Zoo - Earthbound
- Dracula's Throne Room - Castlevania
- Fremel Island - Granblue Fantasy
- Final Atrium - Skullgirls
Soundtrack[]
Super Smash Bros. REBOOT/Soundtrack
Gallery[]
")
")
")
Extras[]
- Super Smash Bros. REBOOT/Palutena's Guidance
- Super Smash Bros. REBOOT/Mii Costumes
- Super Smash Bros. REBOOT/Enhanceable Spirits
Trivia[]
- Following the tradition of adding a Joke character in the Smash series, the Koopa Troopa is the 5th Joke Character to join the roster after Mr.Game & Watch, R.O.B., Duck Hunt Duo and Piranha Plant respectively.
- Skullgirls is the first Indie franchise to become more than only being represented as Assist Trophies/Spirits with Bloody Marie being an alternate Final Boss in both the Classic Mode and Shadows of Smash Mode.