
Fighters · Supports · Bosses · DLC · Genesis · Species · Gallery
Zinfestation · Incubus Eyes · Story Expansions · Setting · Competitive · Cuisine
Playable Characters
These are all of the playable characters present in COLD❄BLOOD, each accompanied by a brief biography, a moveset, some alternate costumes, and some other miscellaneous info. Click on a character to be taken to their respective profile, and click the snowflake off to the side to return to the top.
Because of limits on FANDOM, not every moveset is on this page. For DLC characters, check out this page.
Default Characters
There are twenty-four default characters overall.
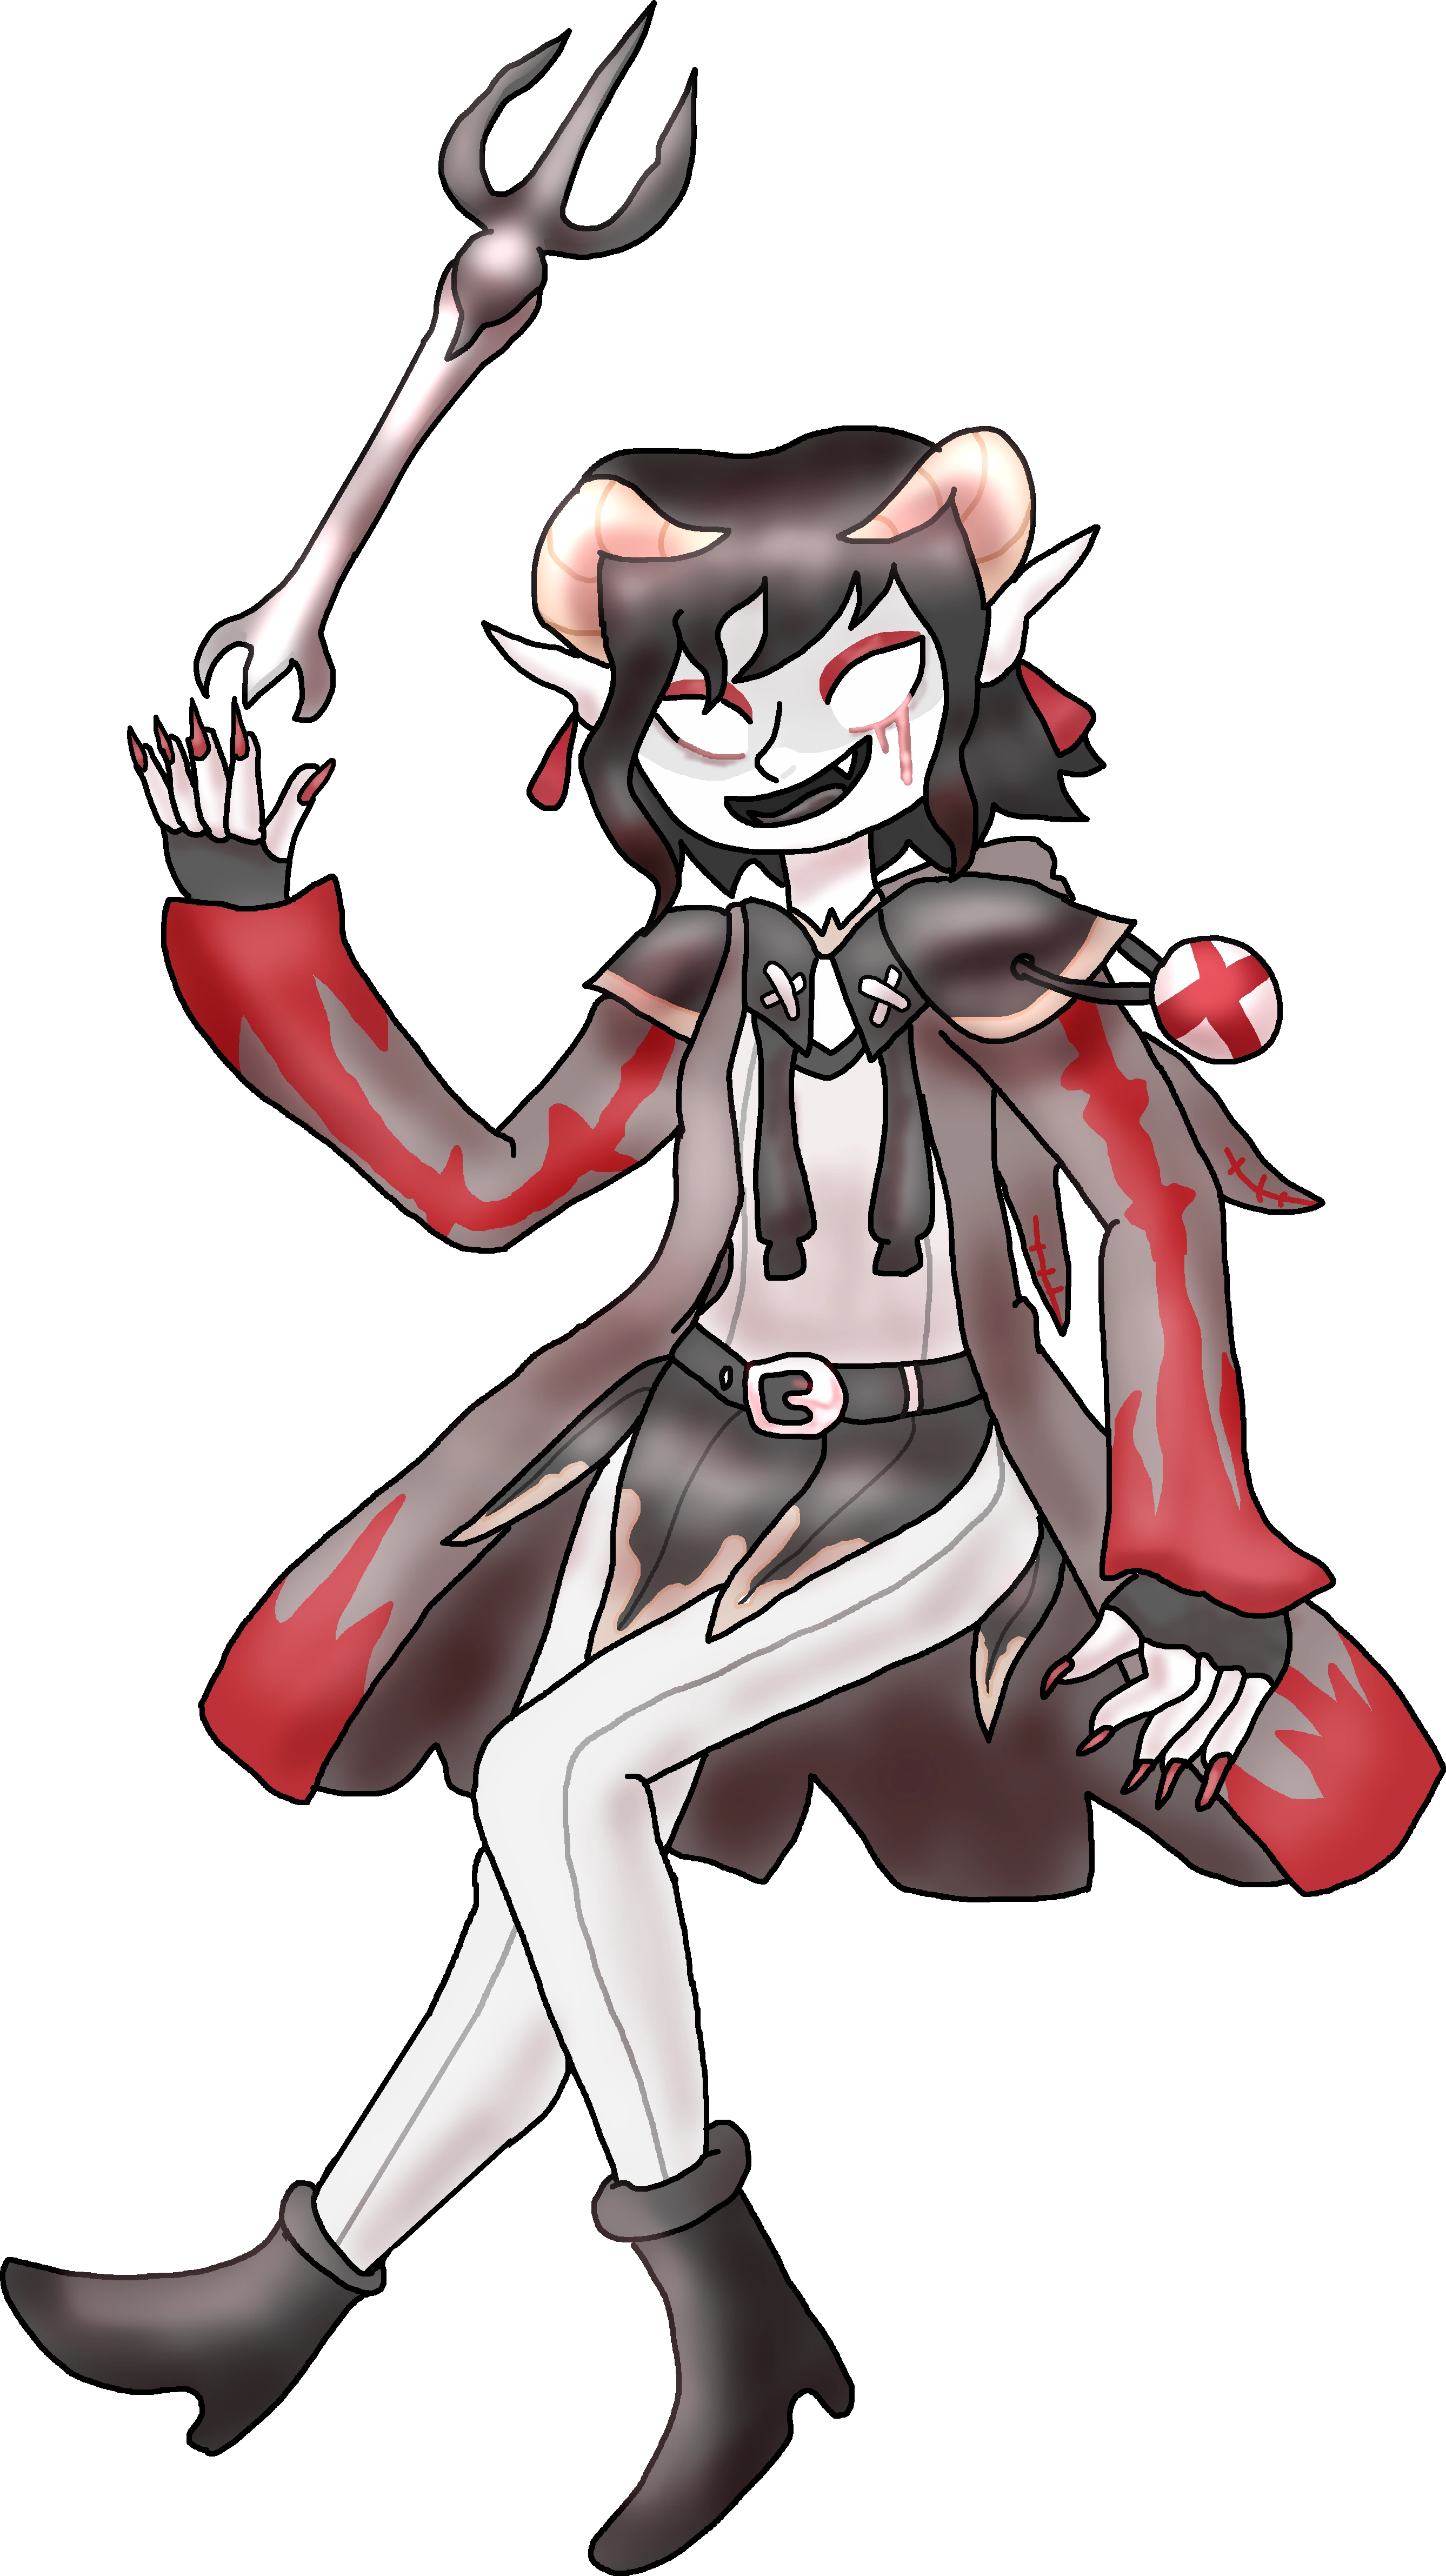
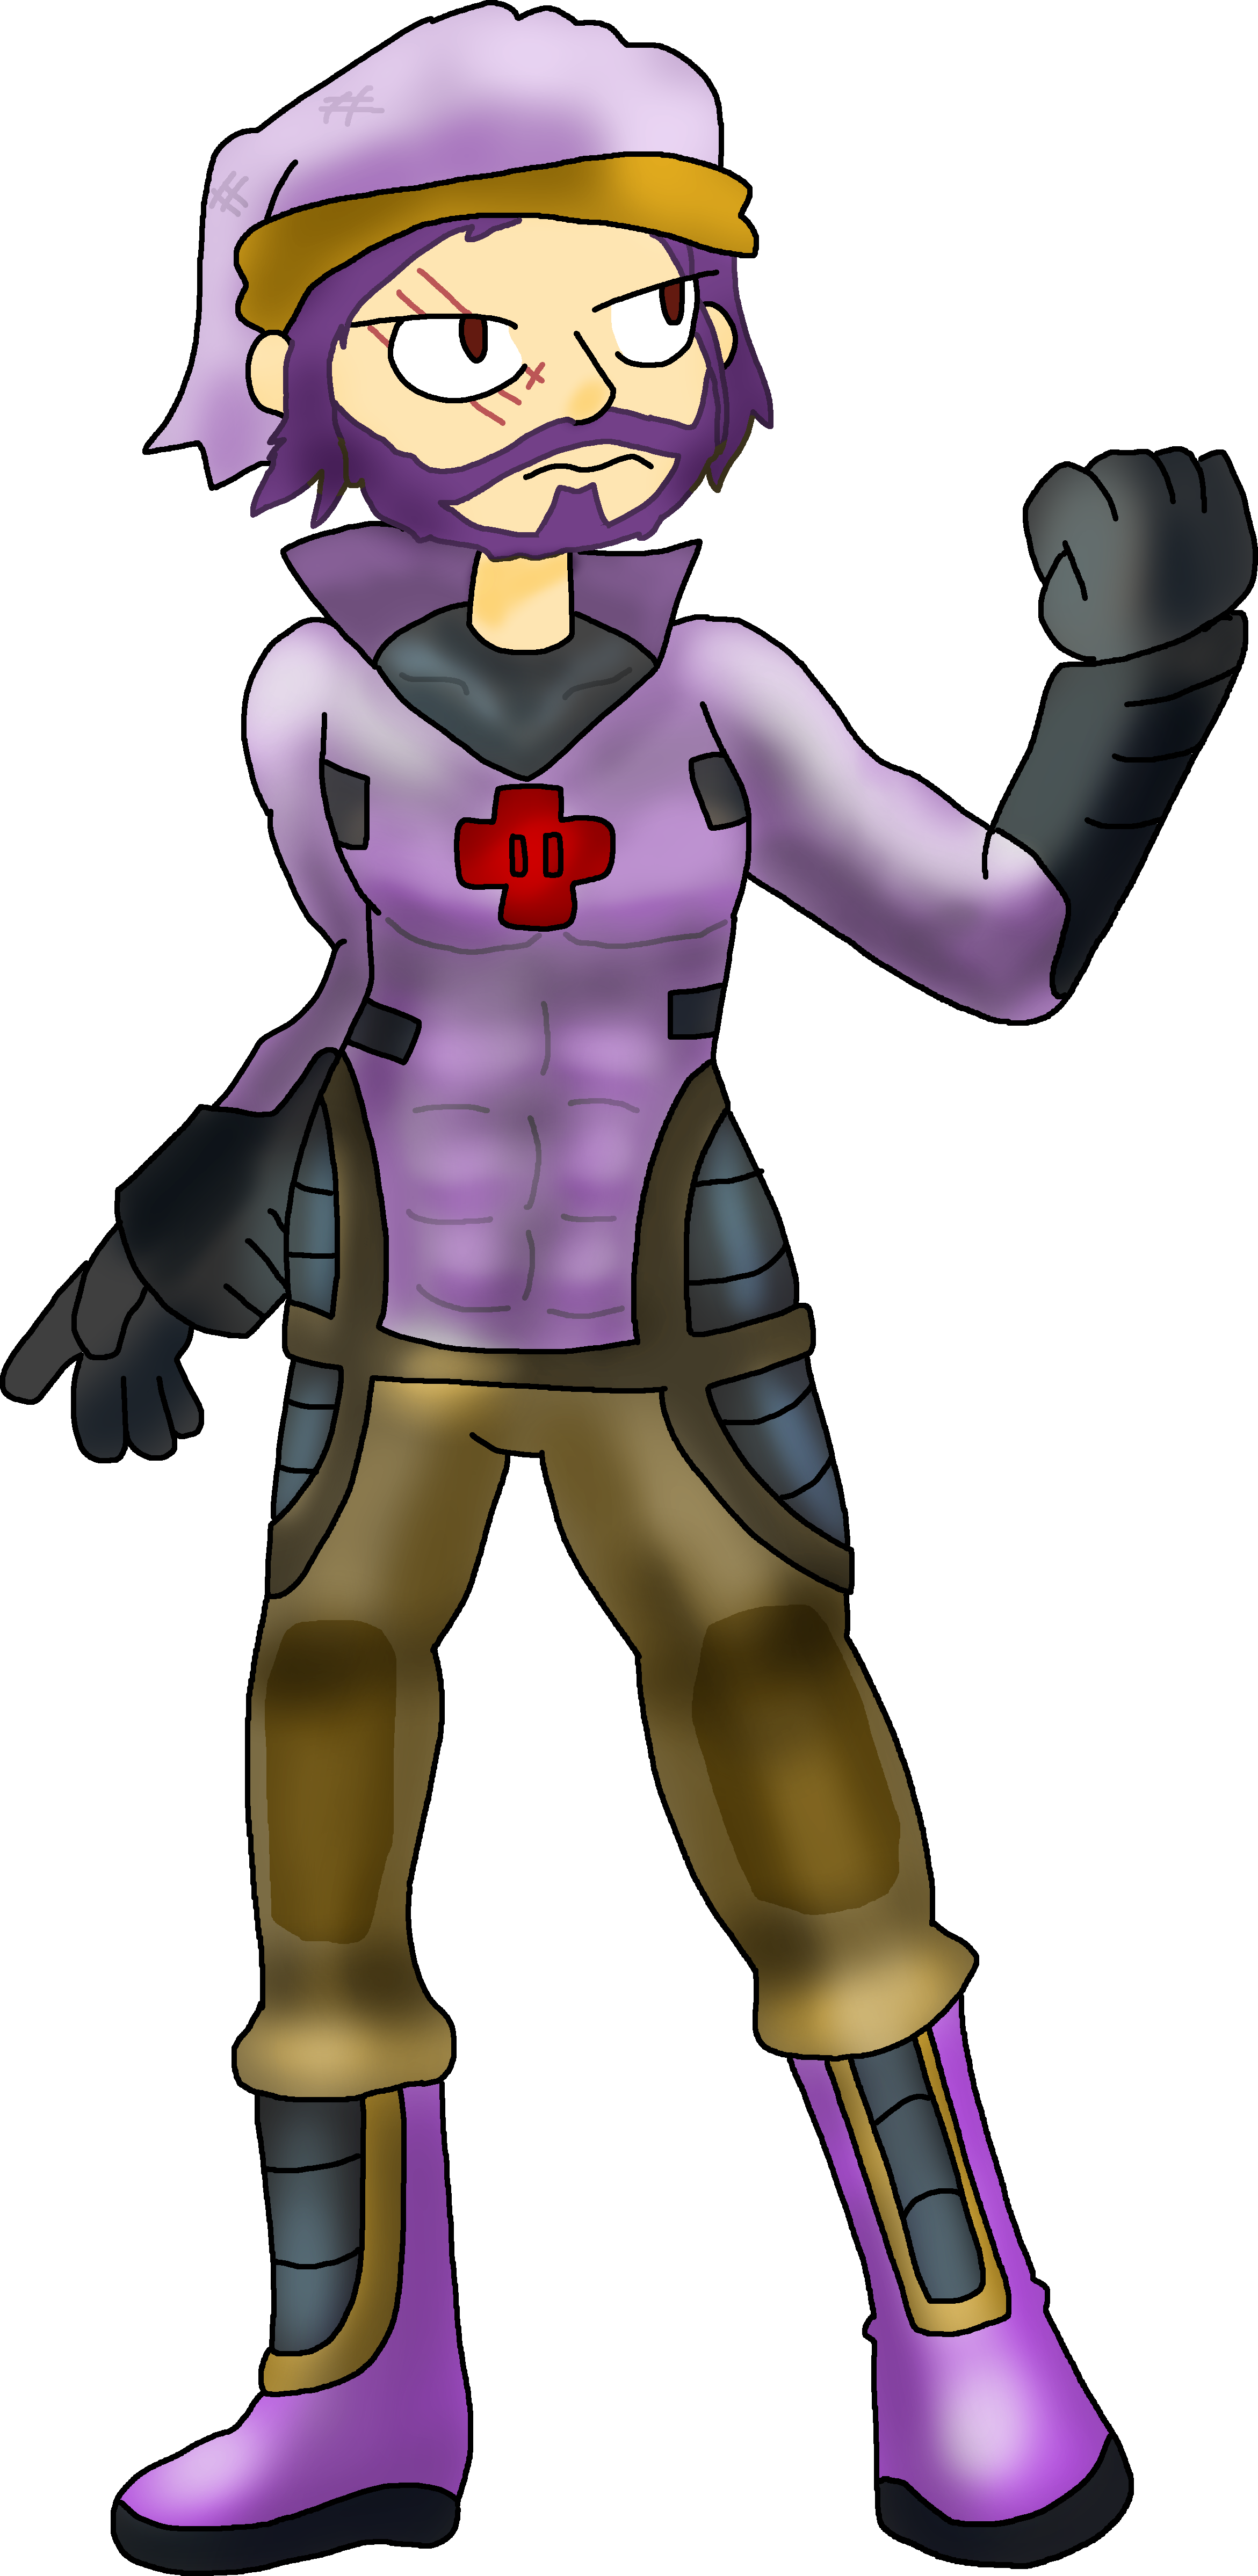
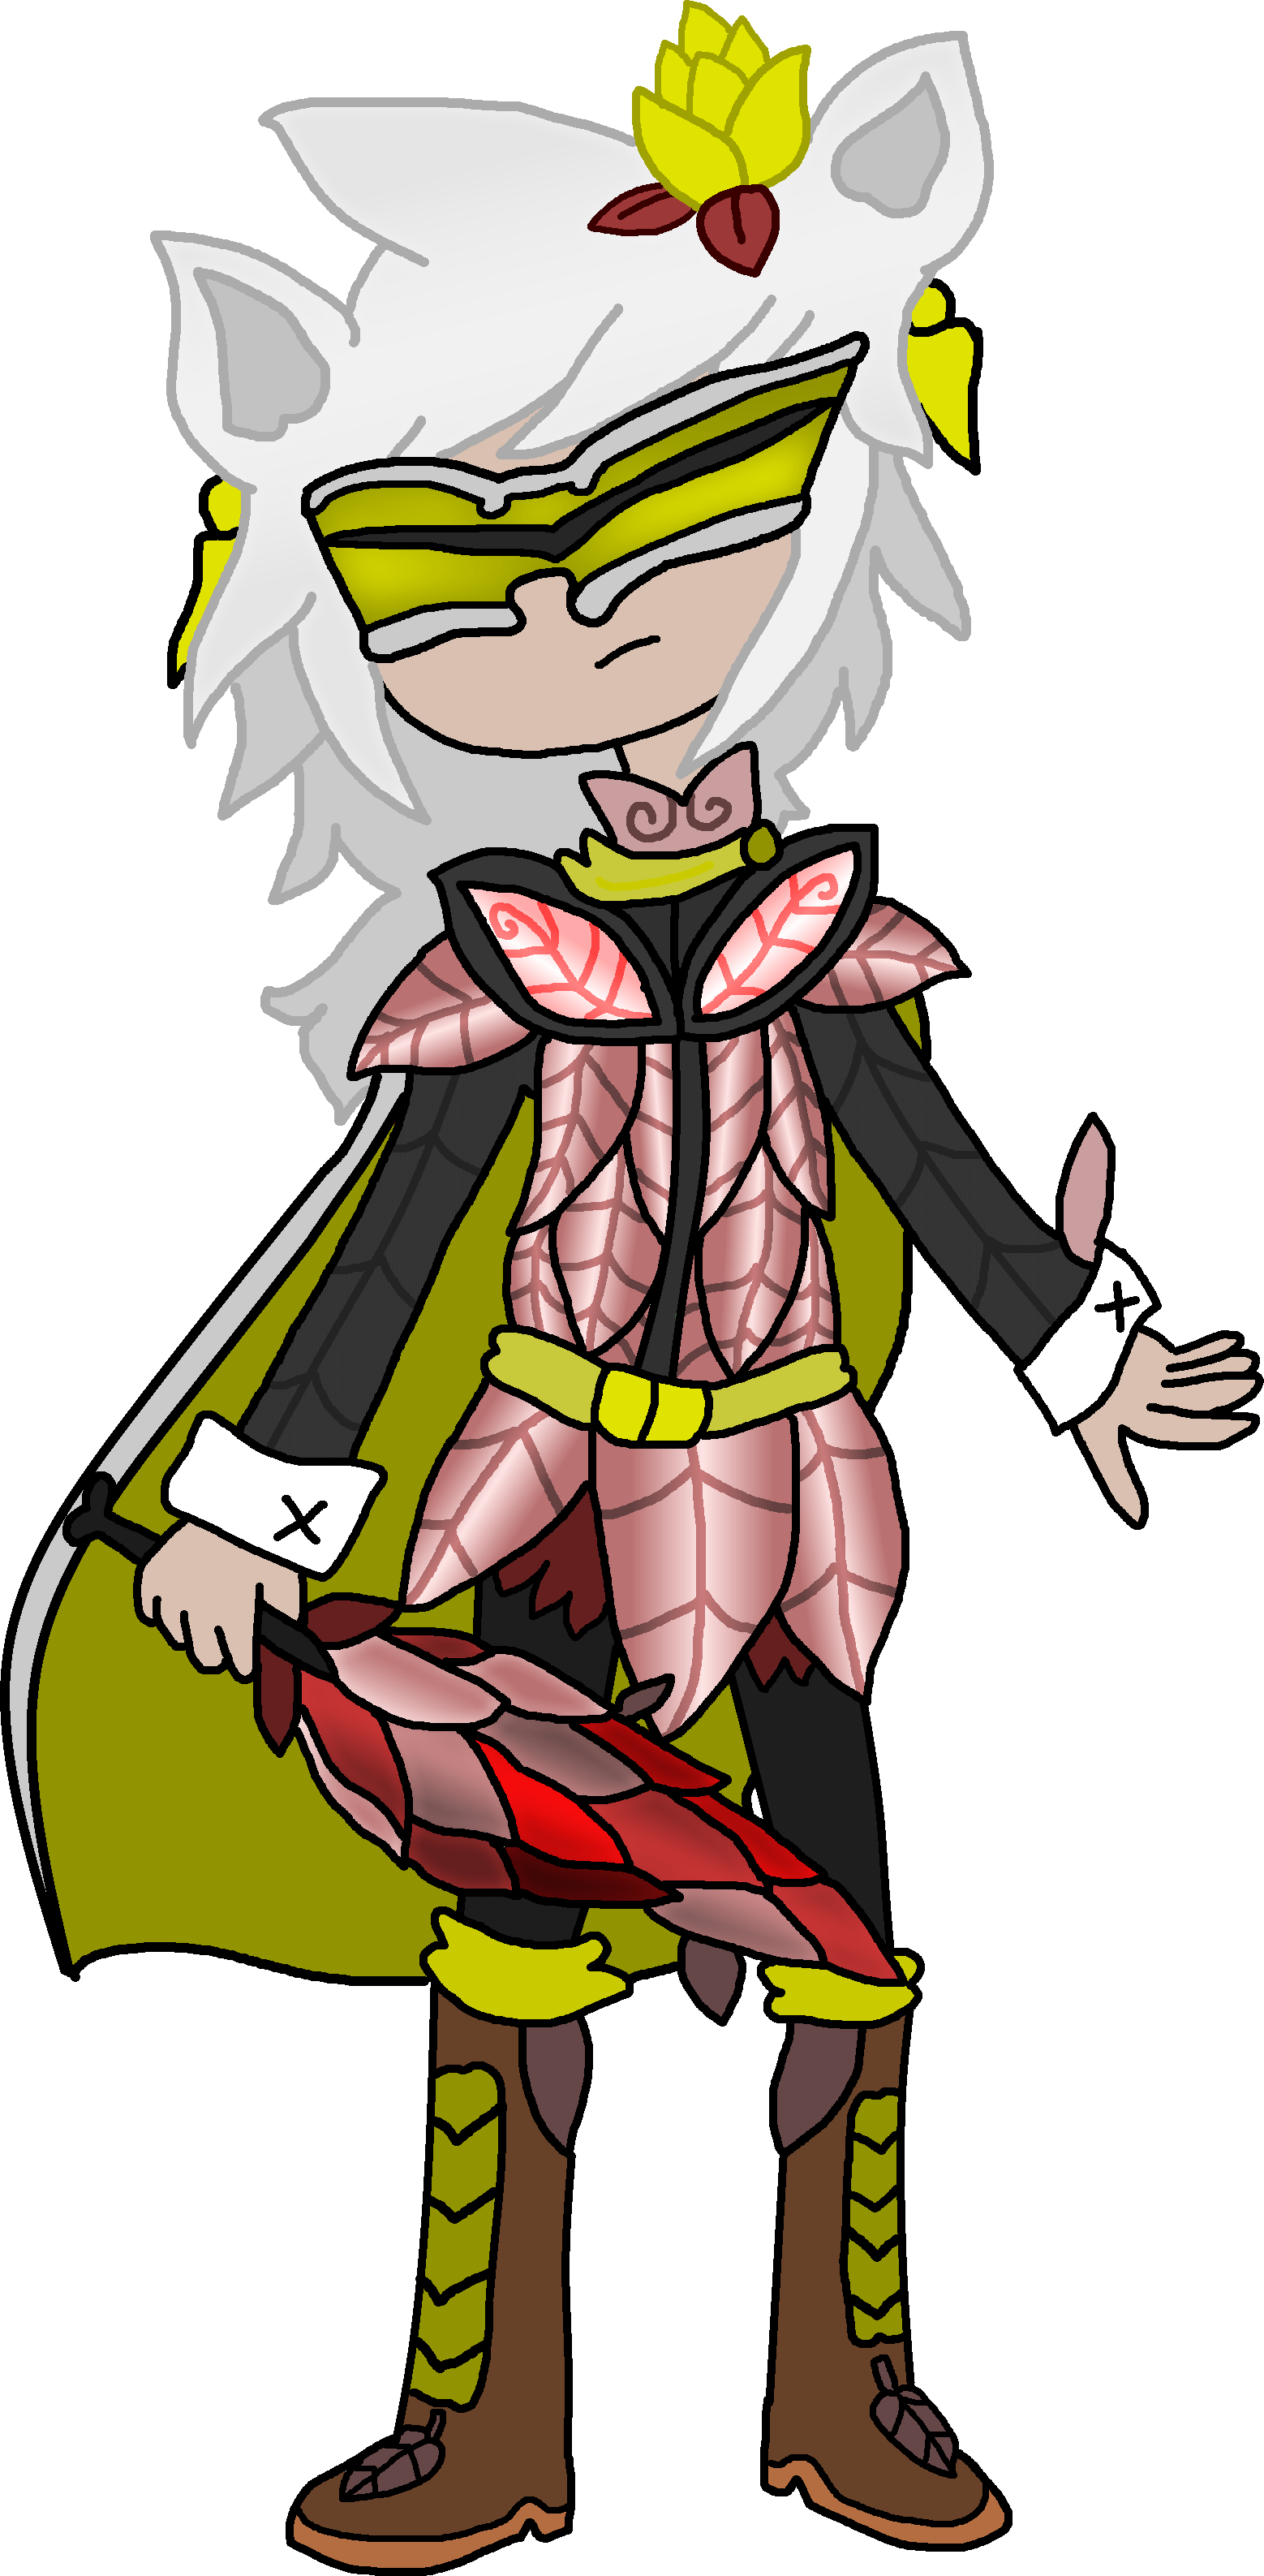
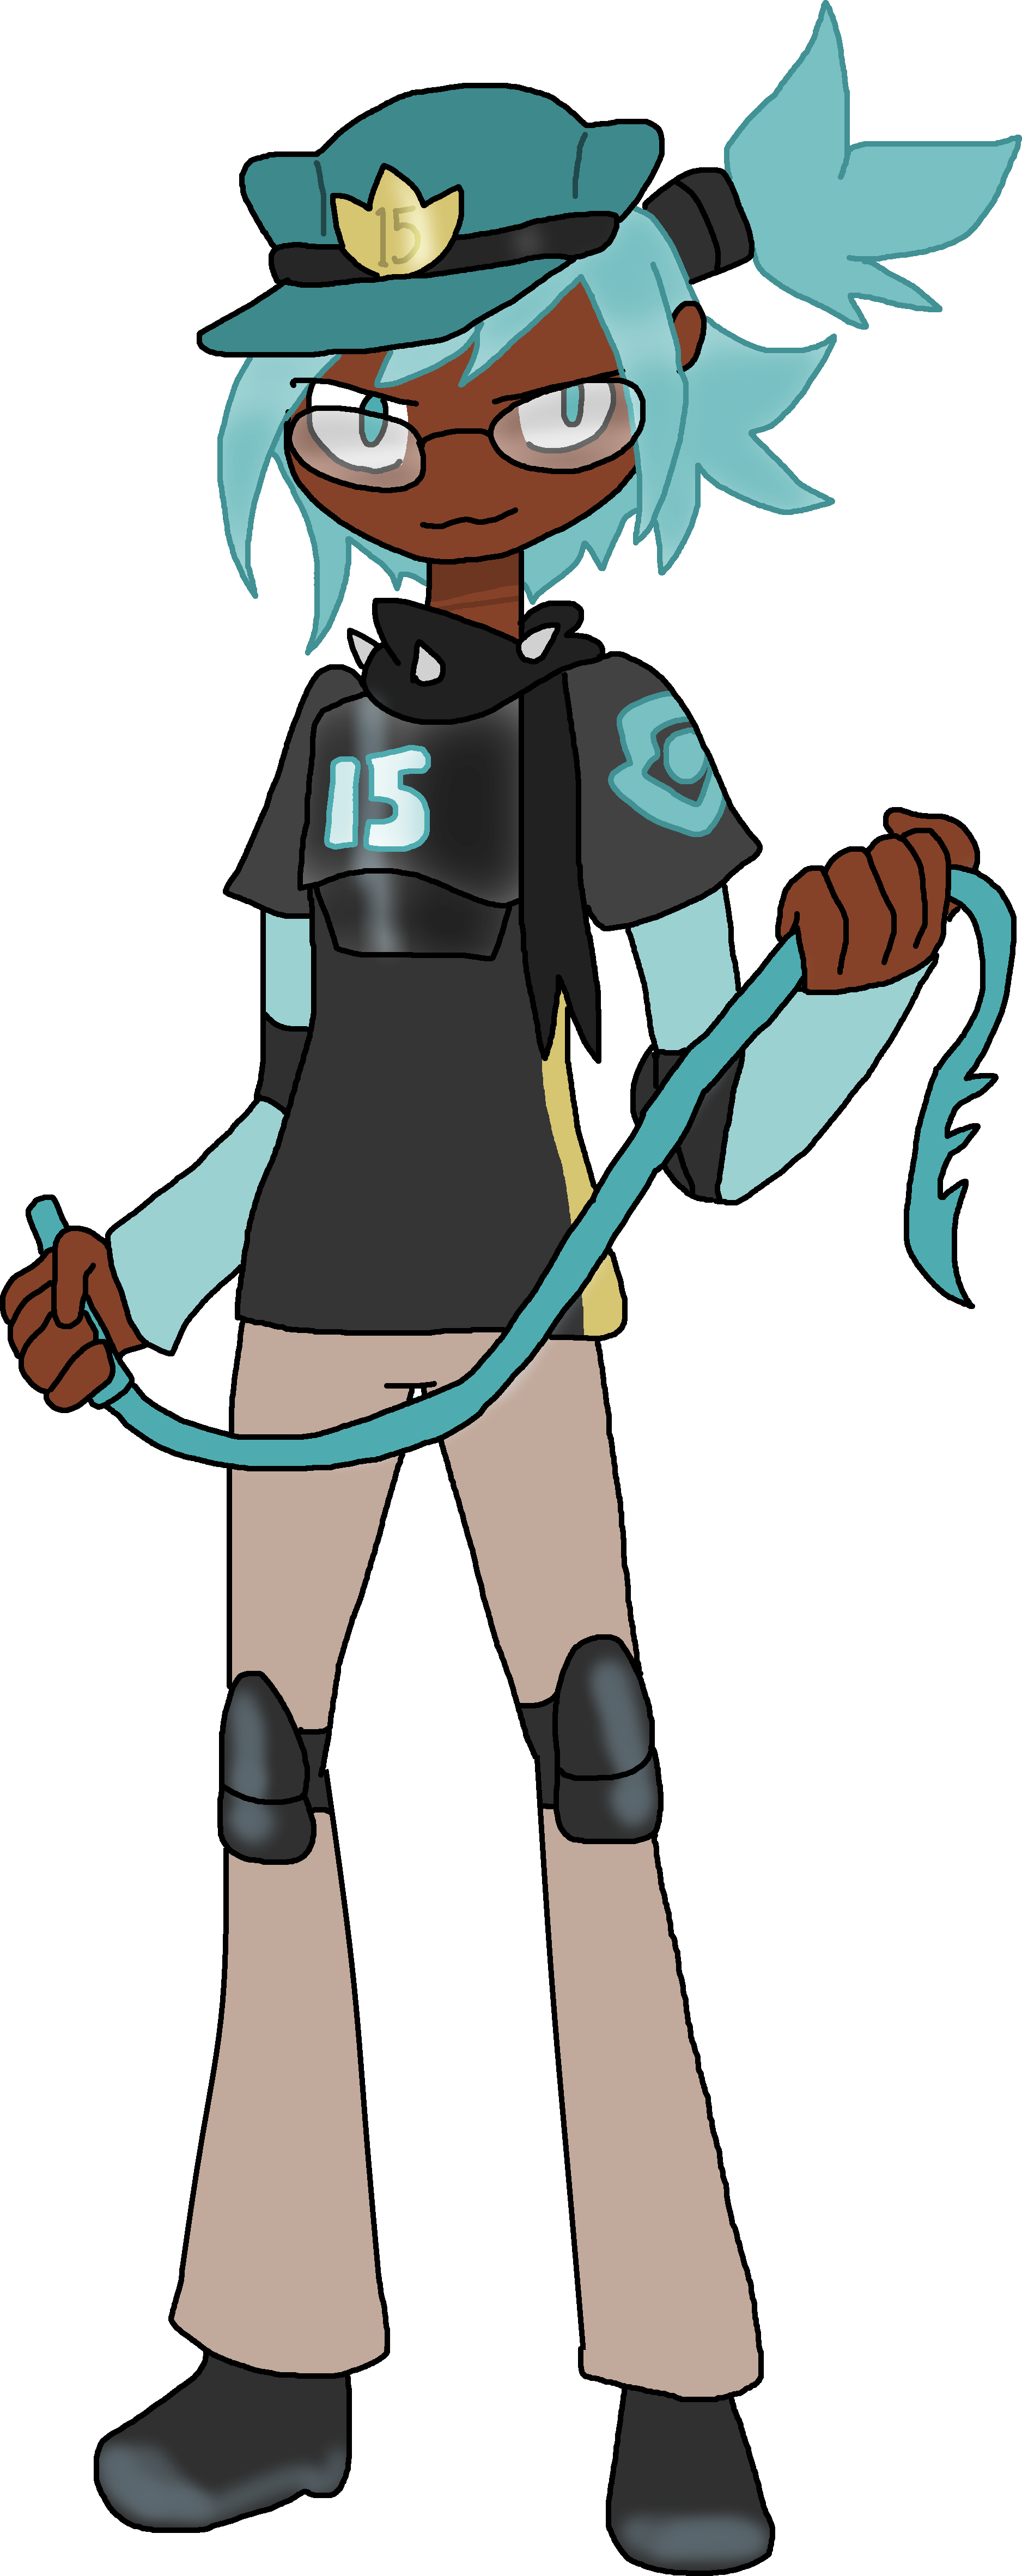
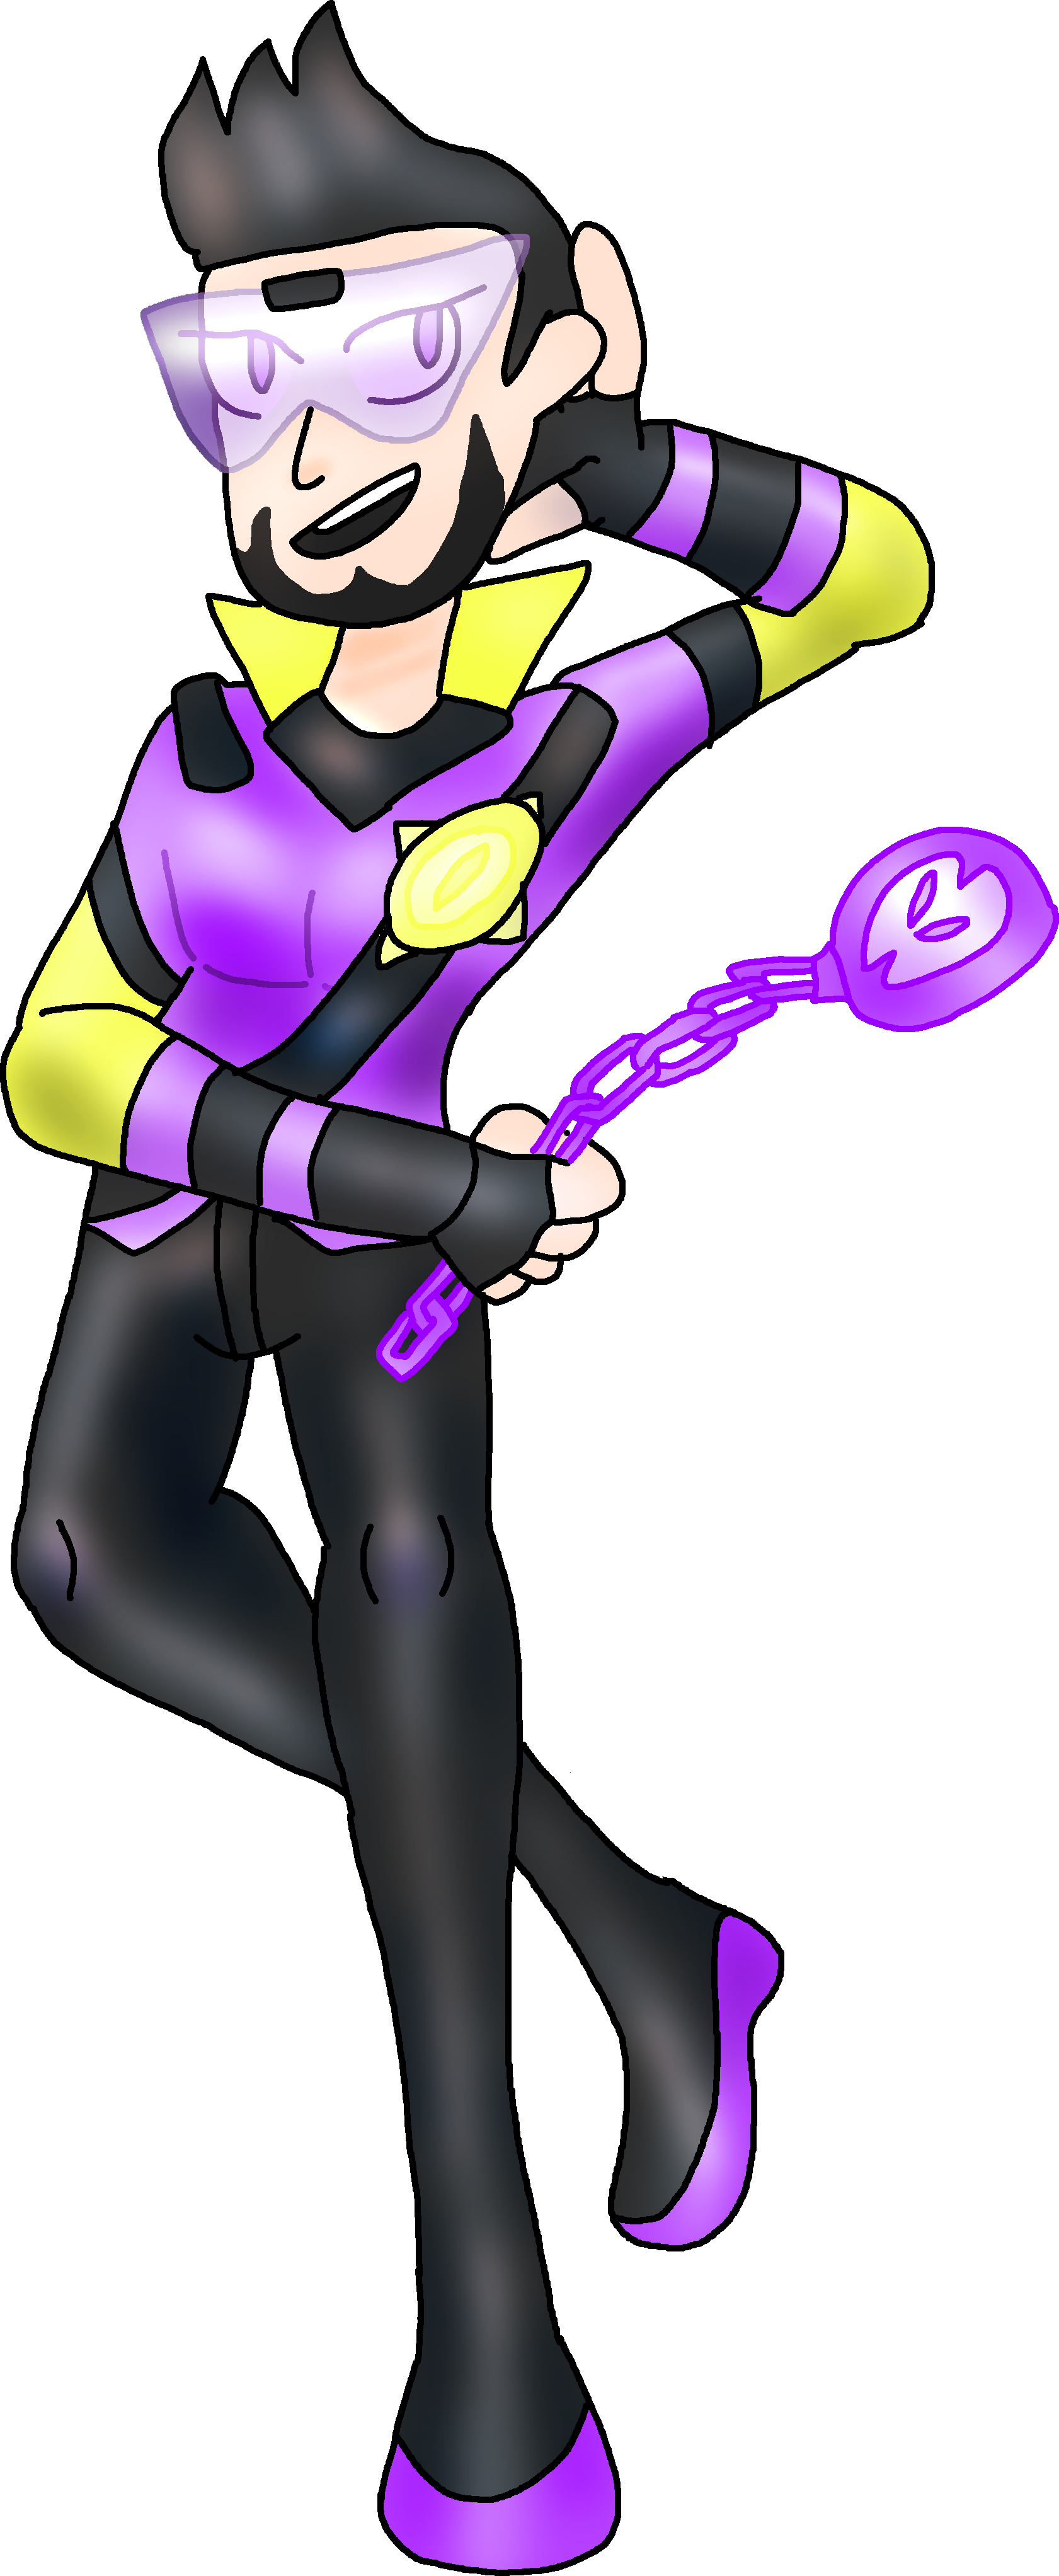
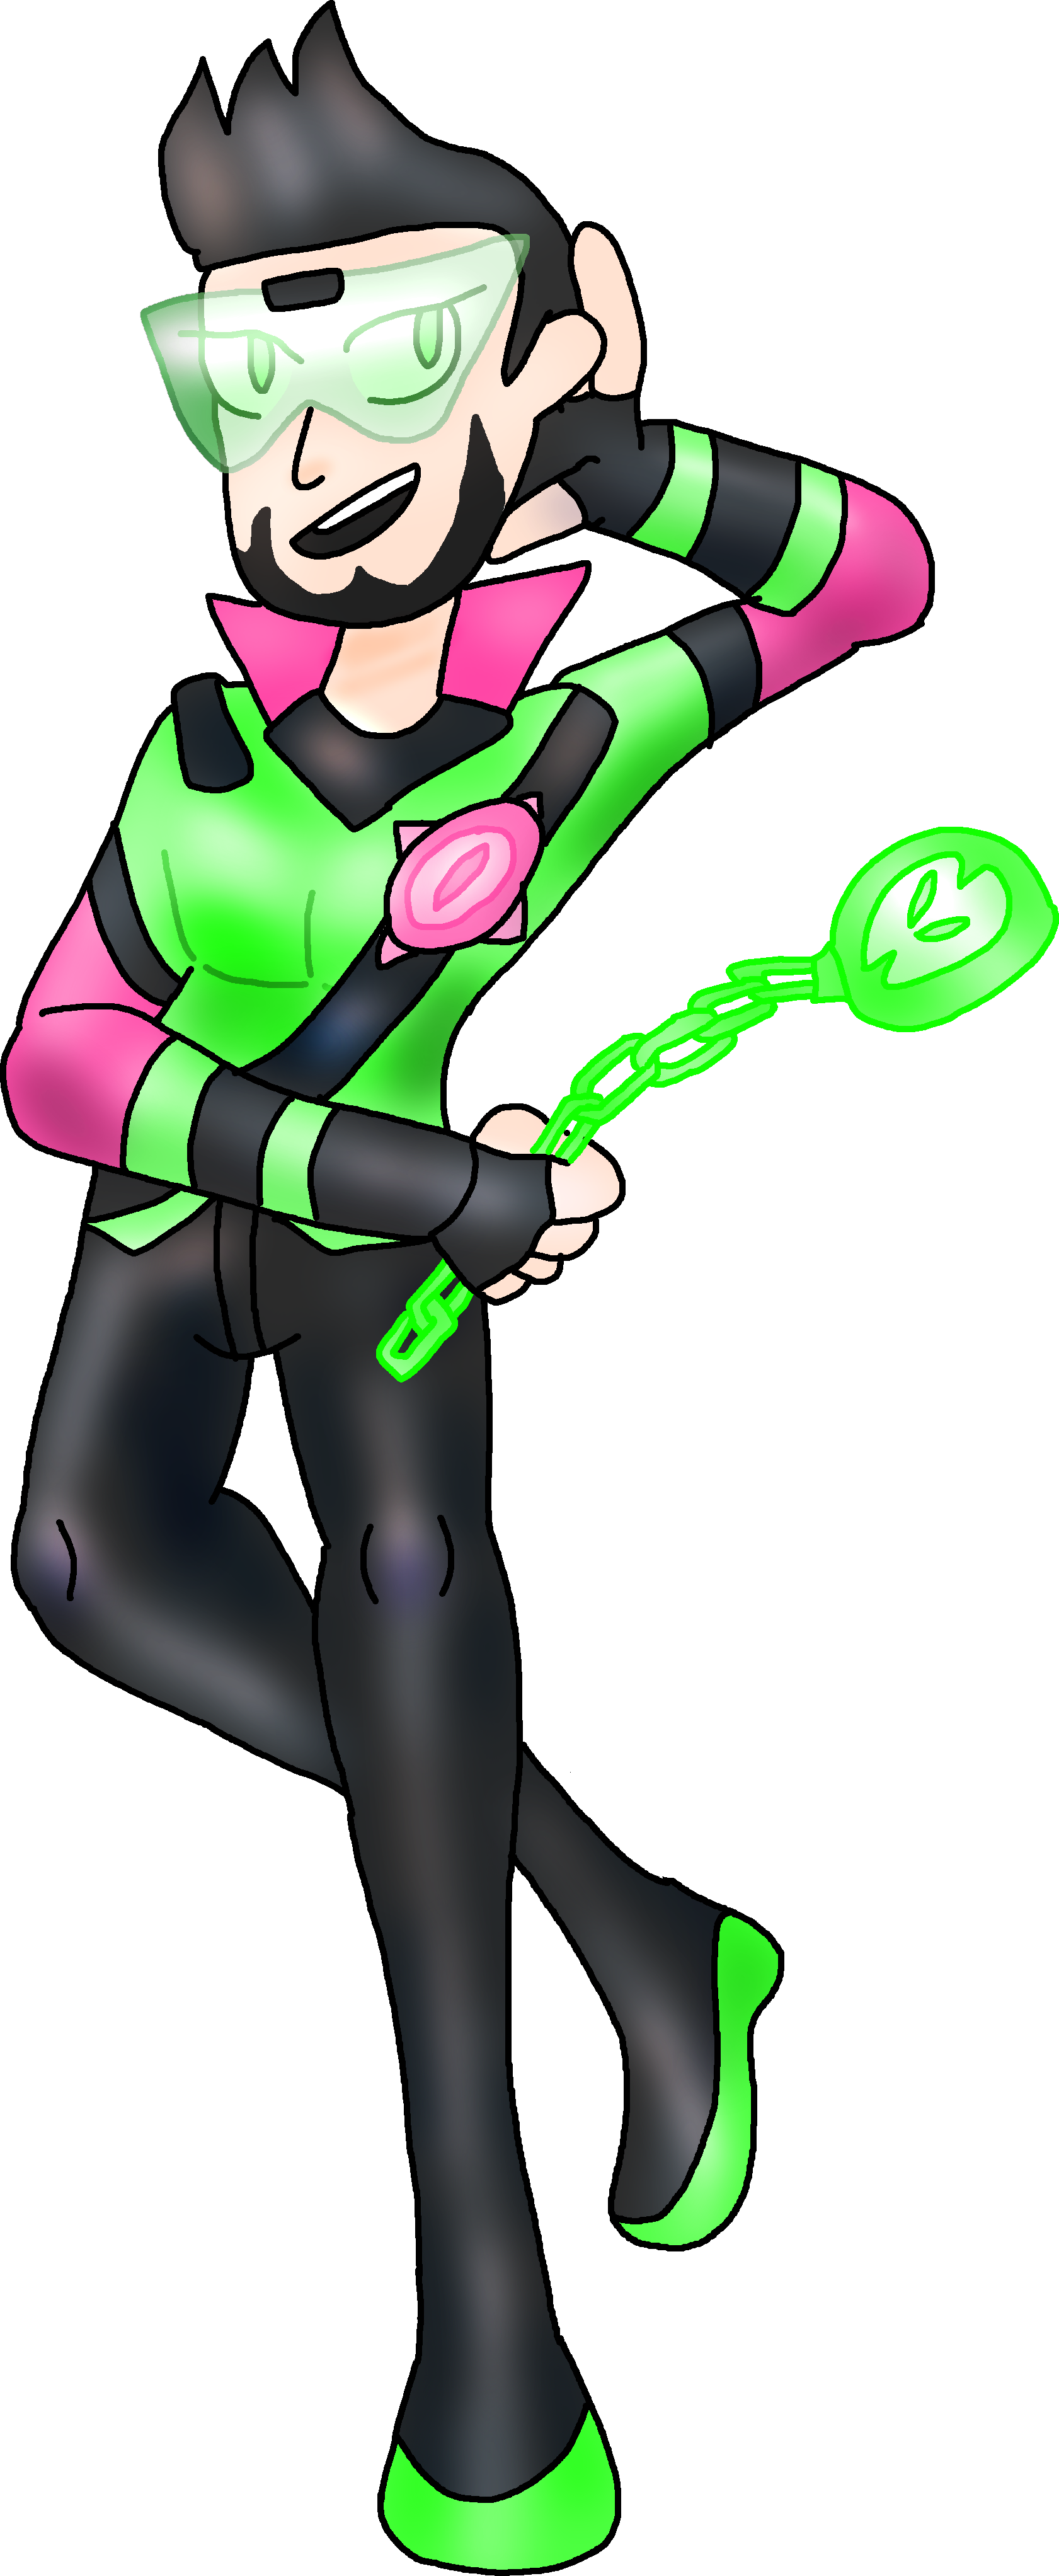
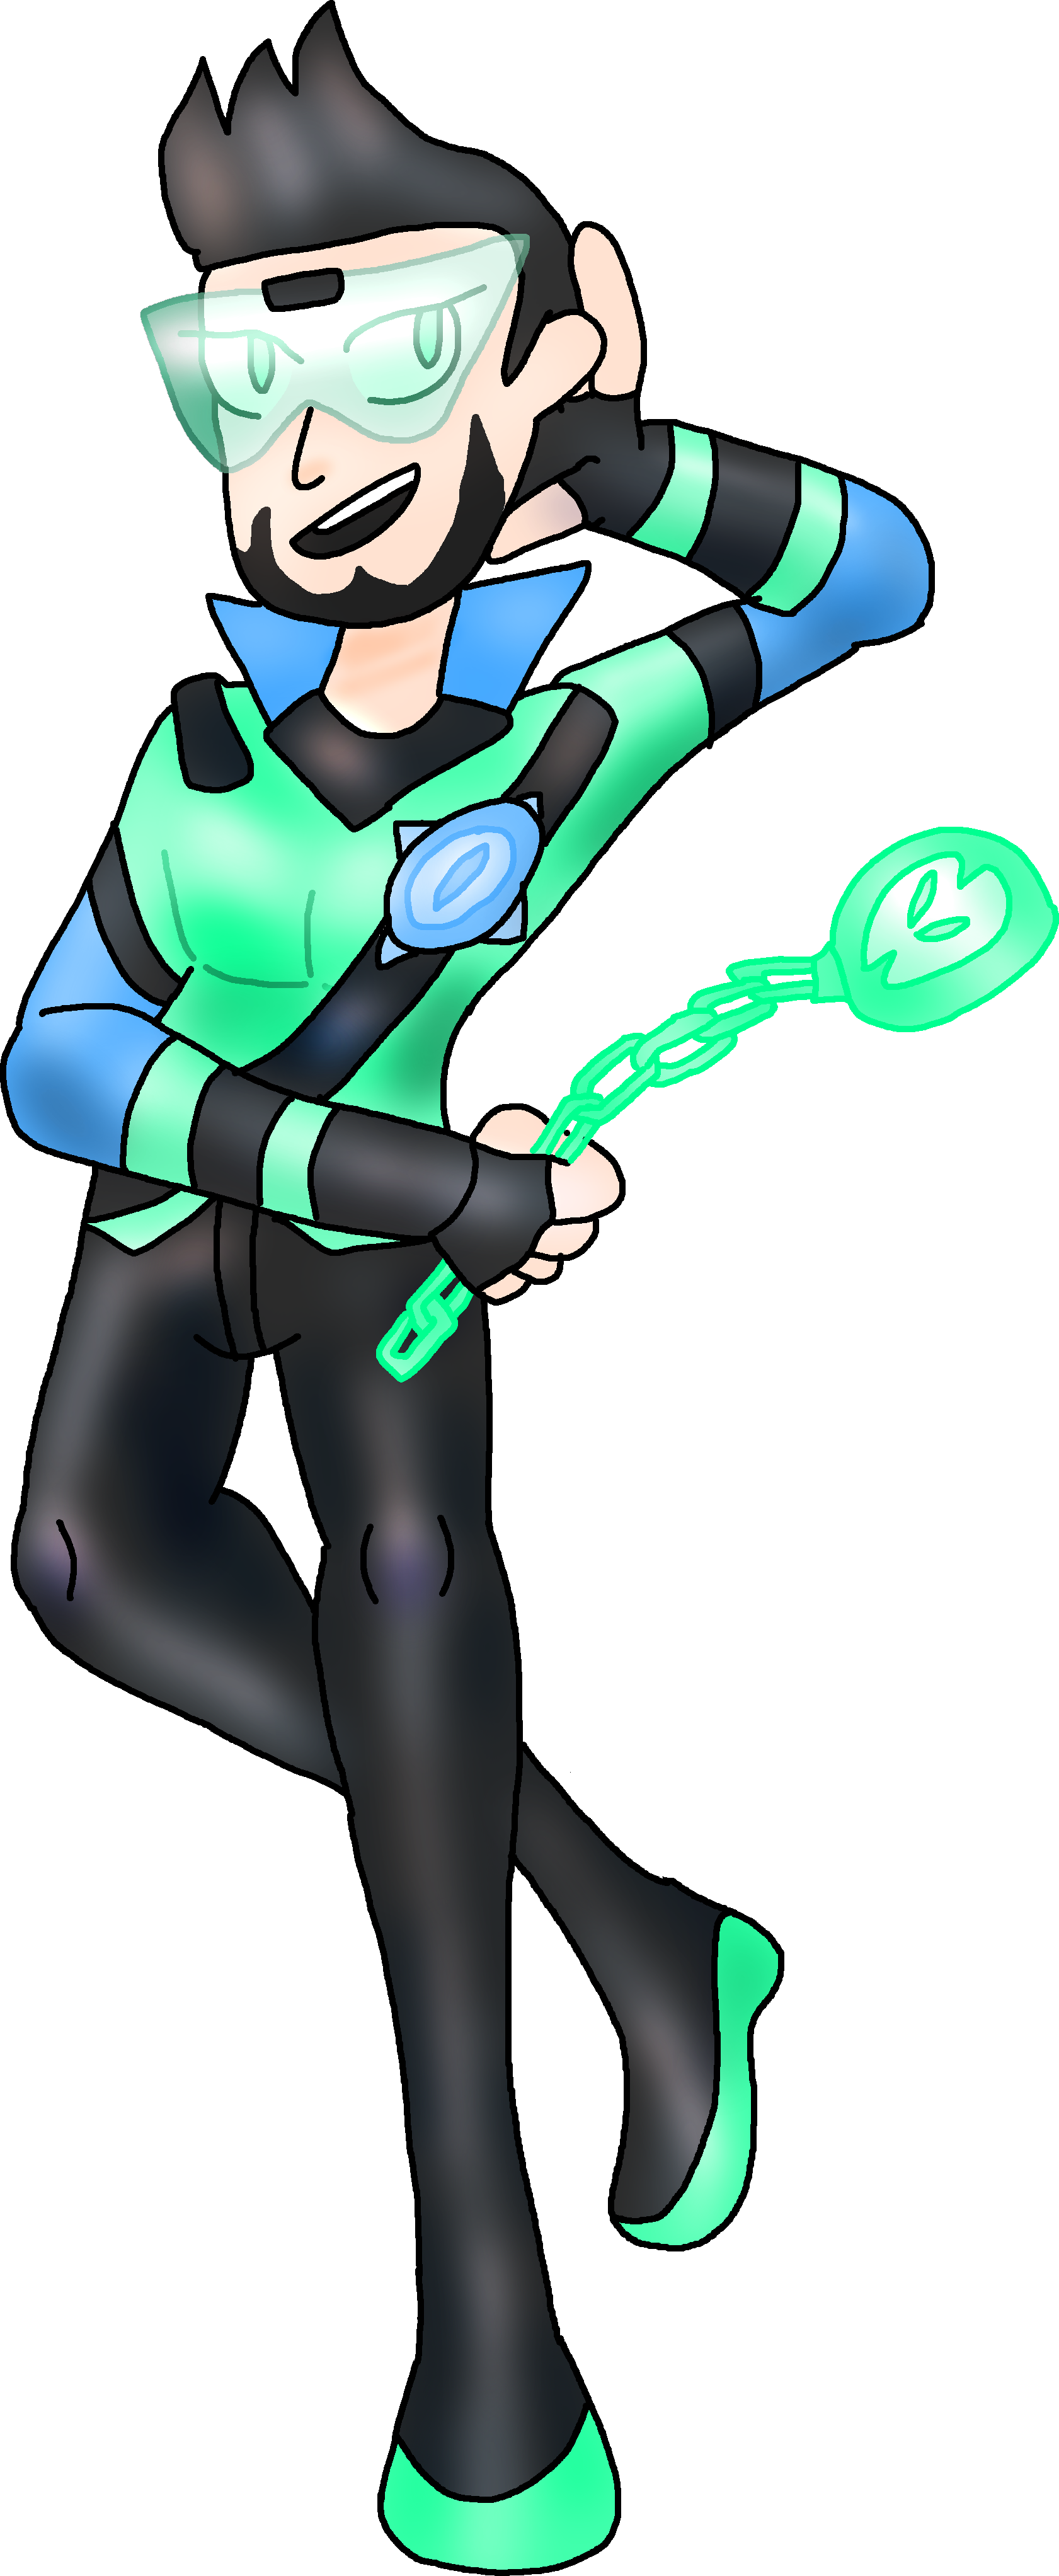
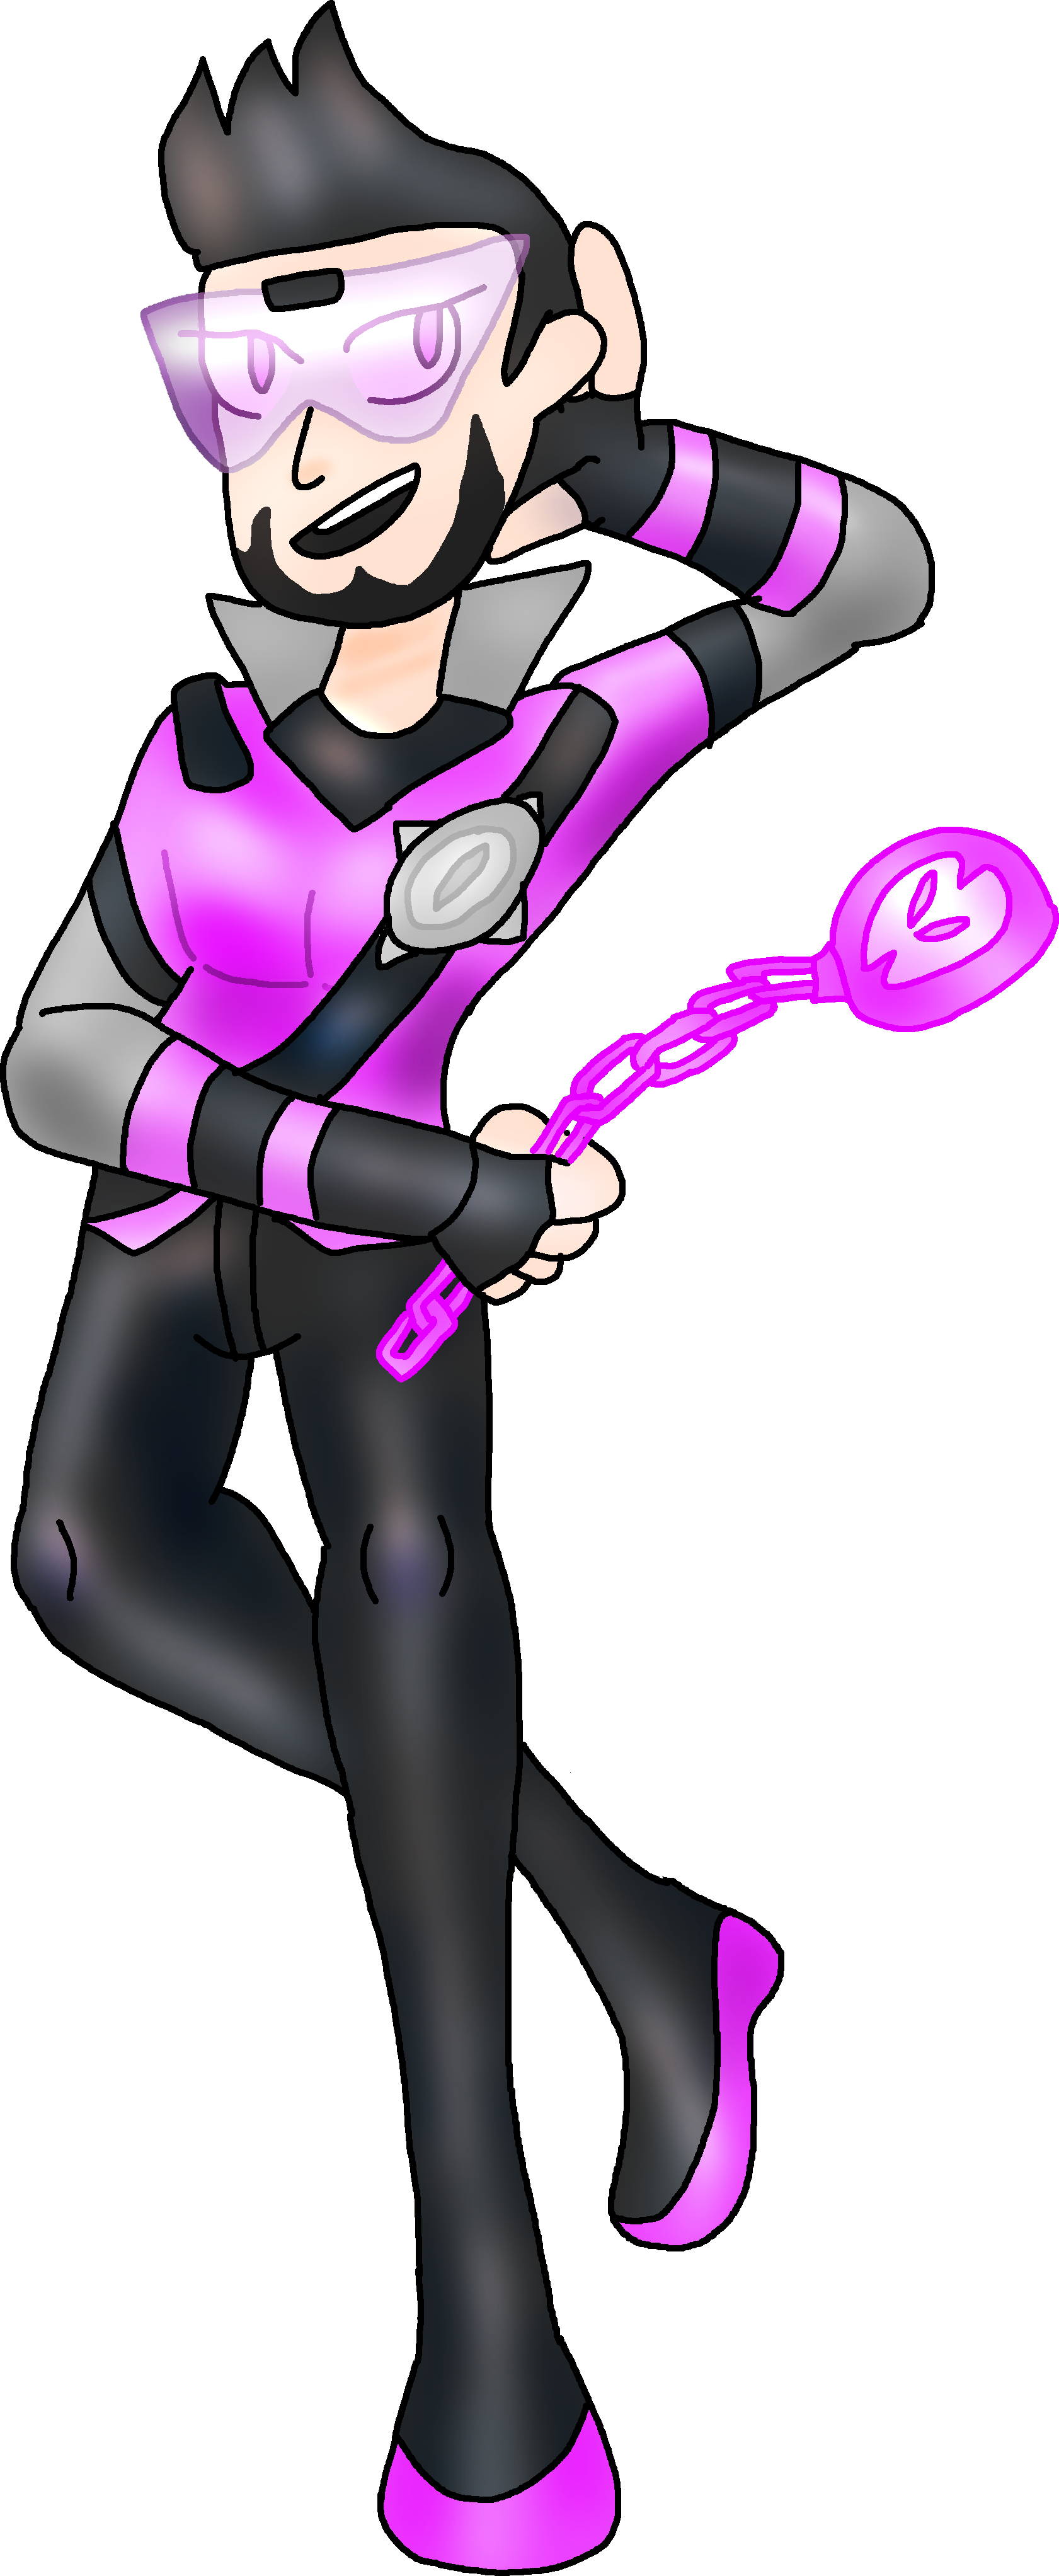
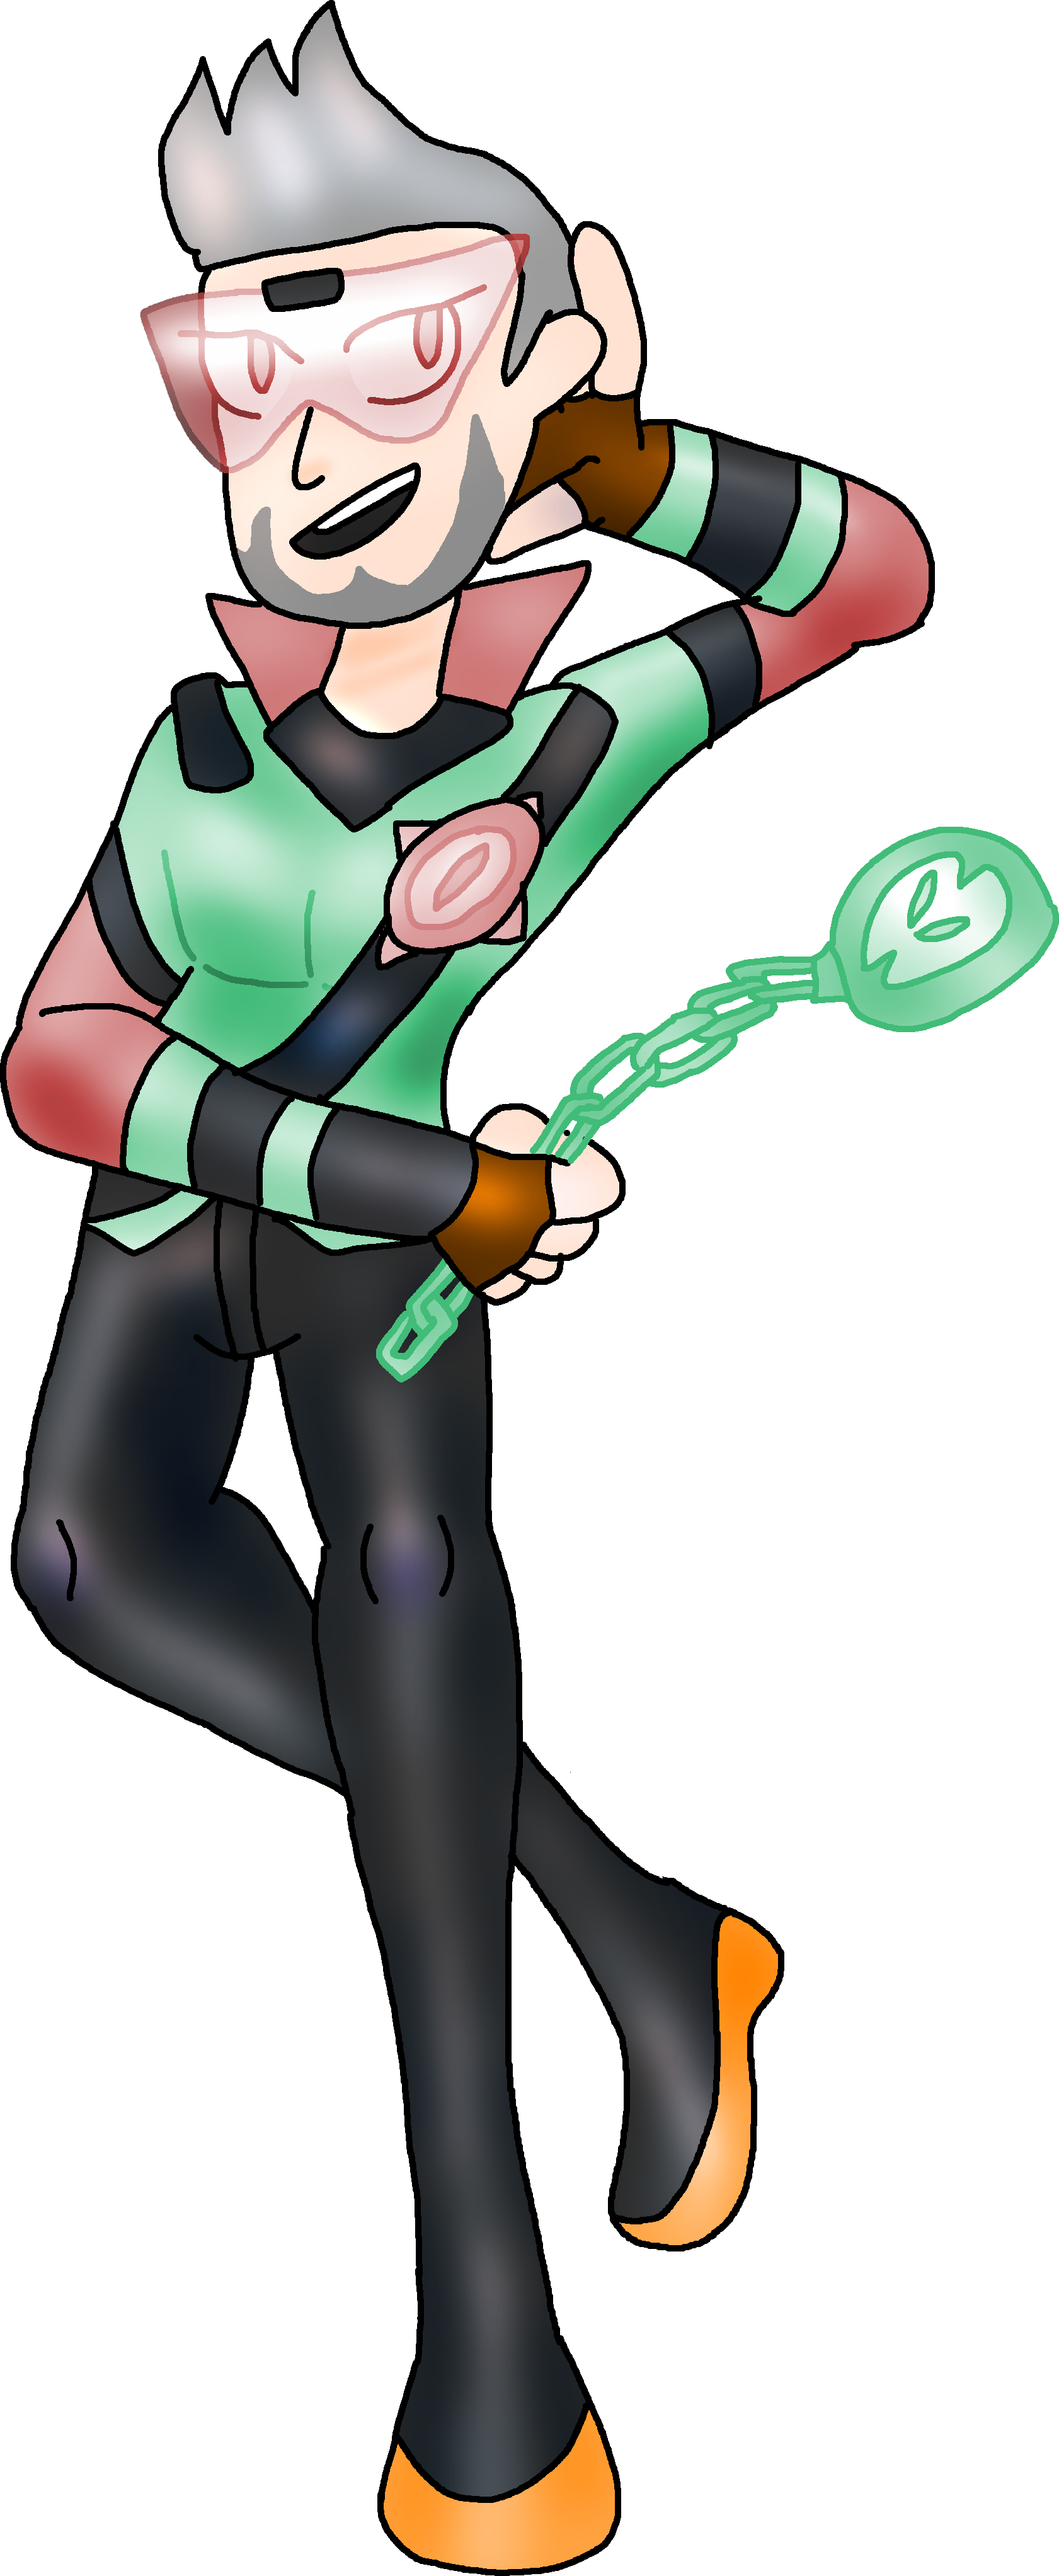
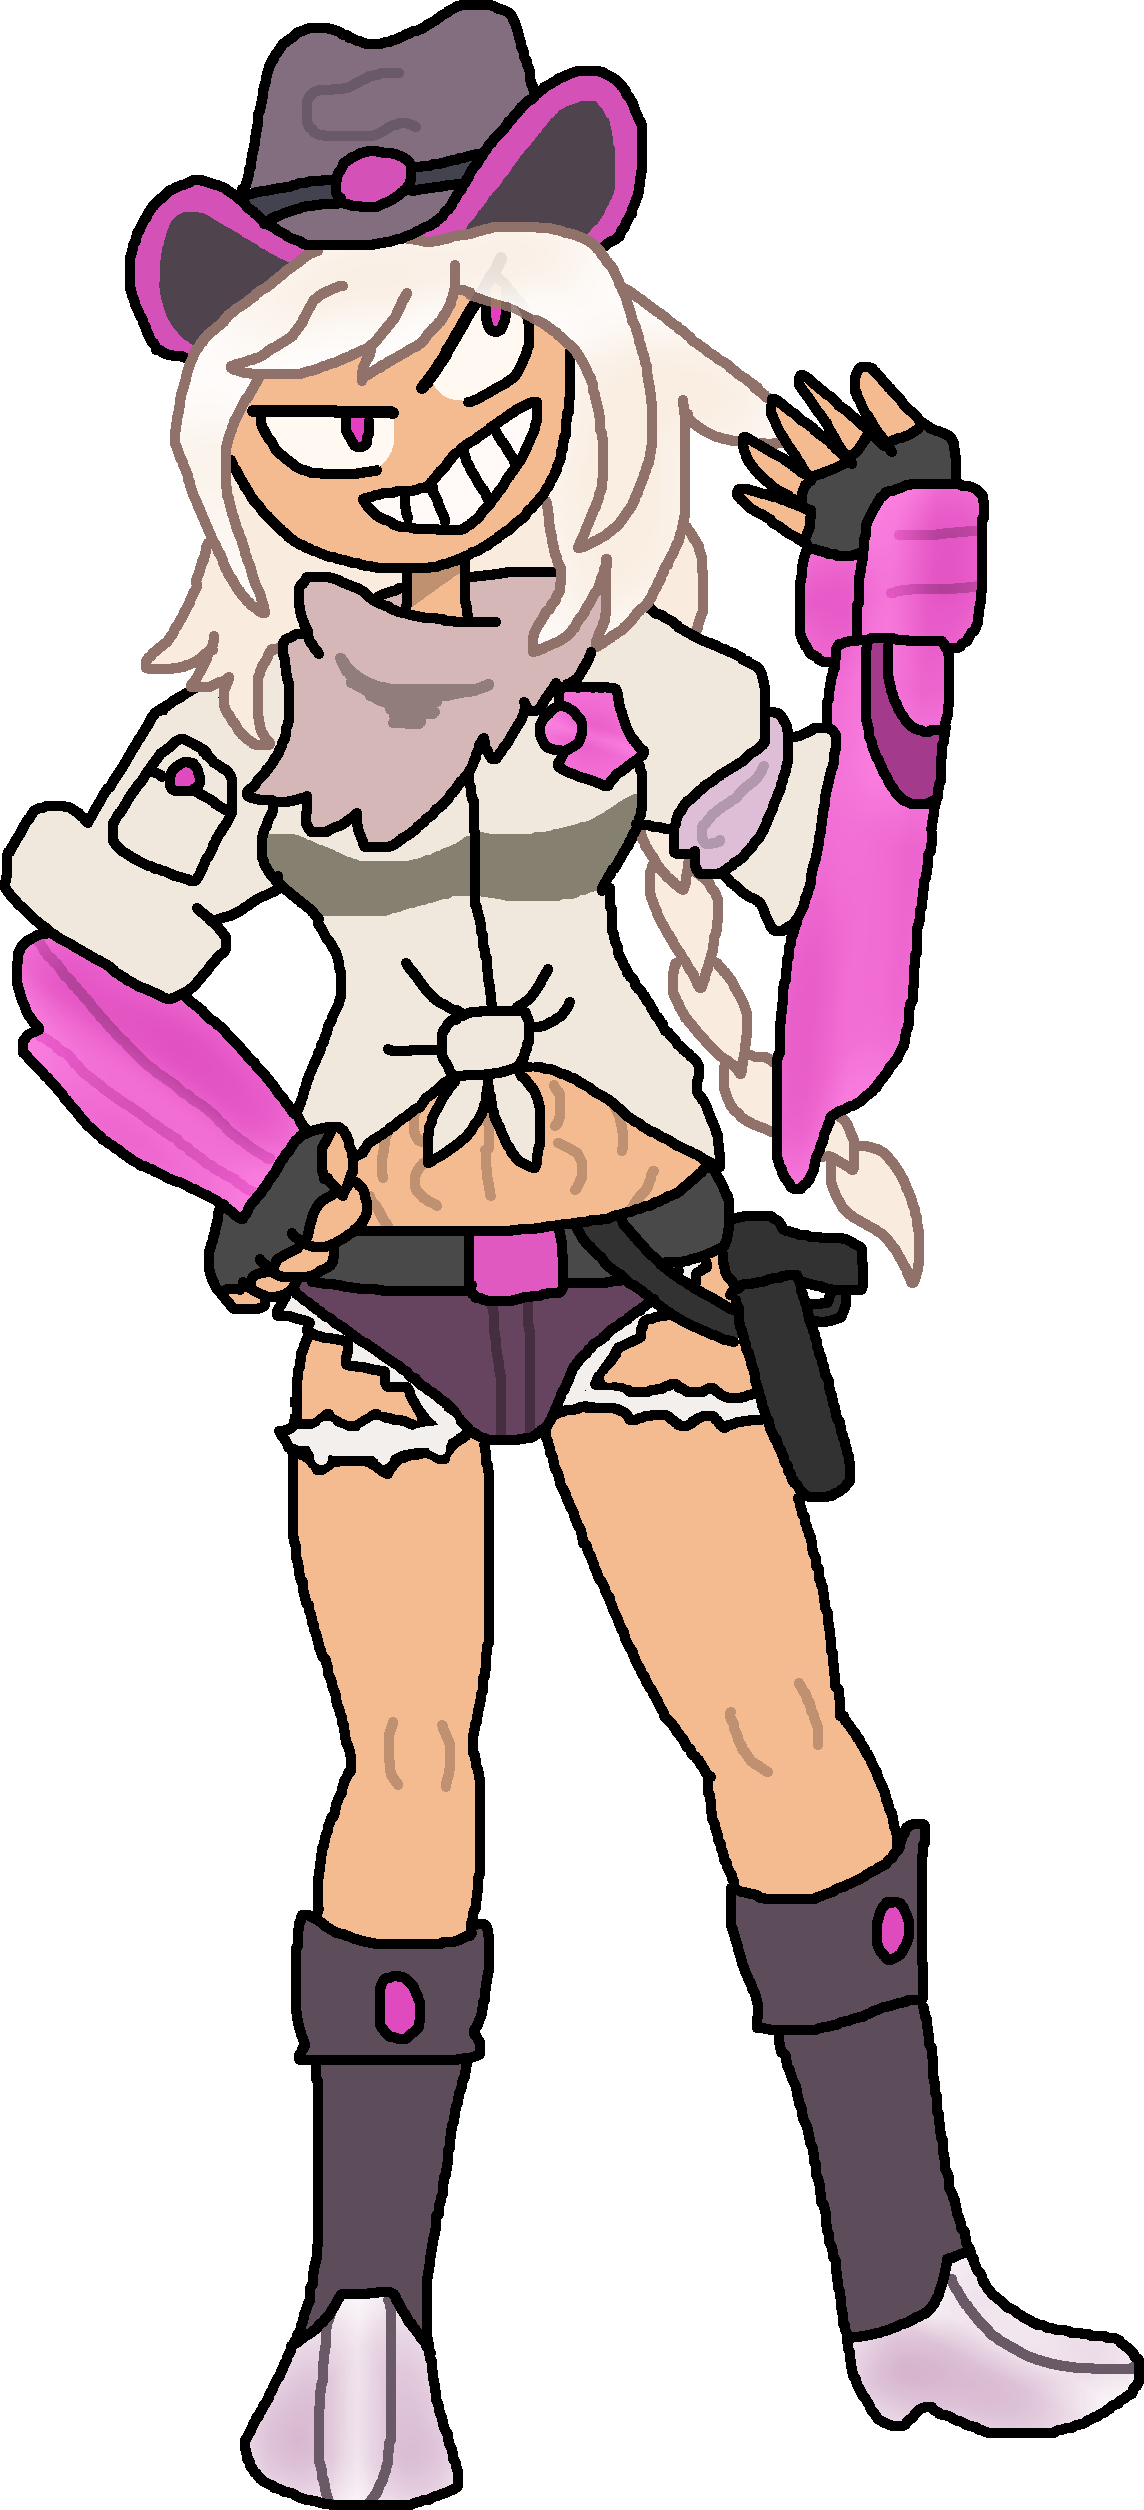
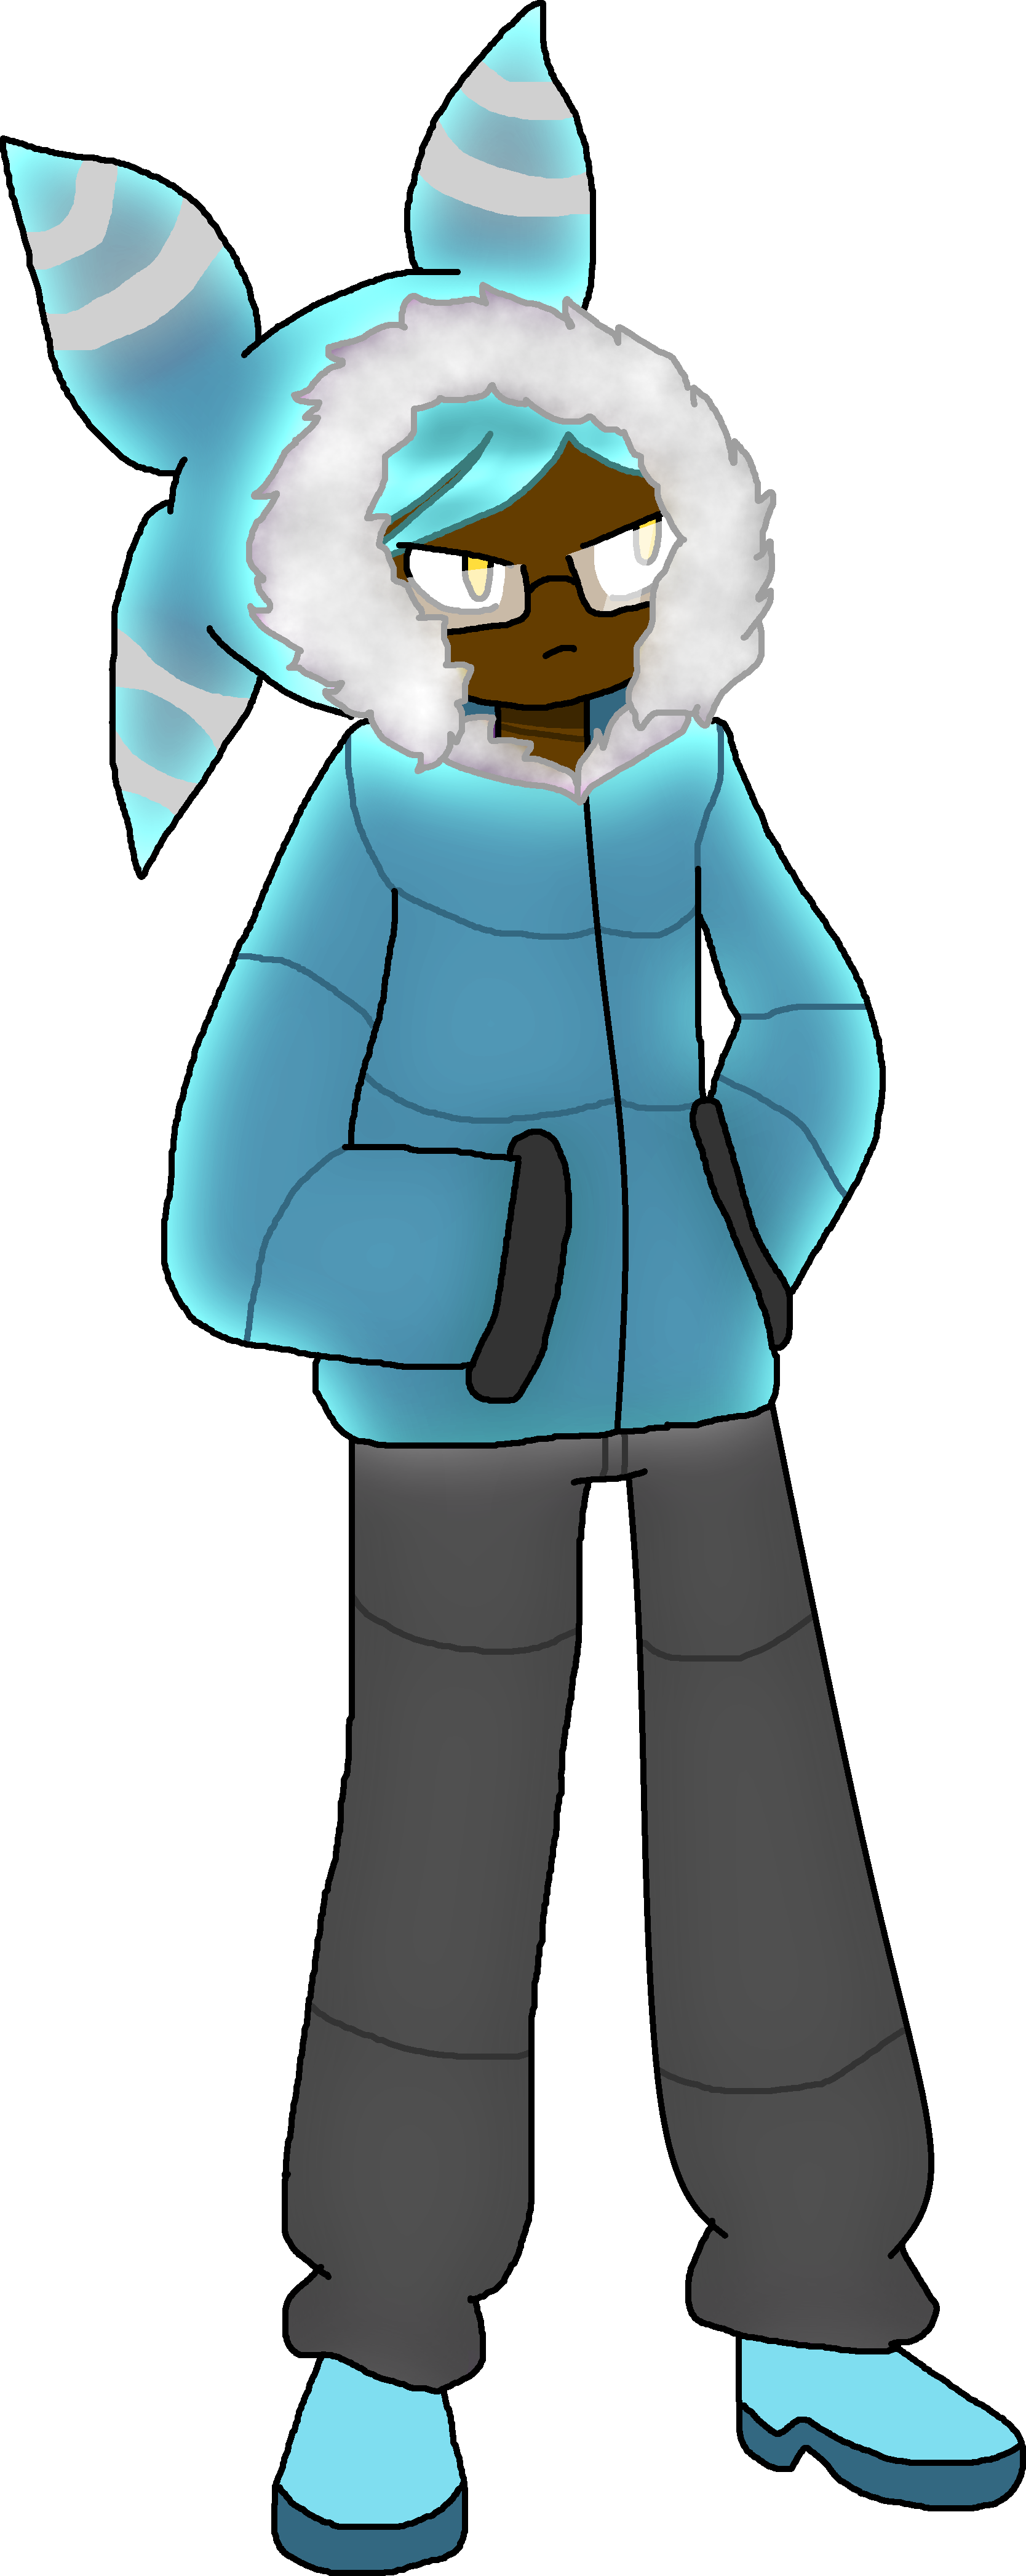
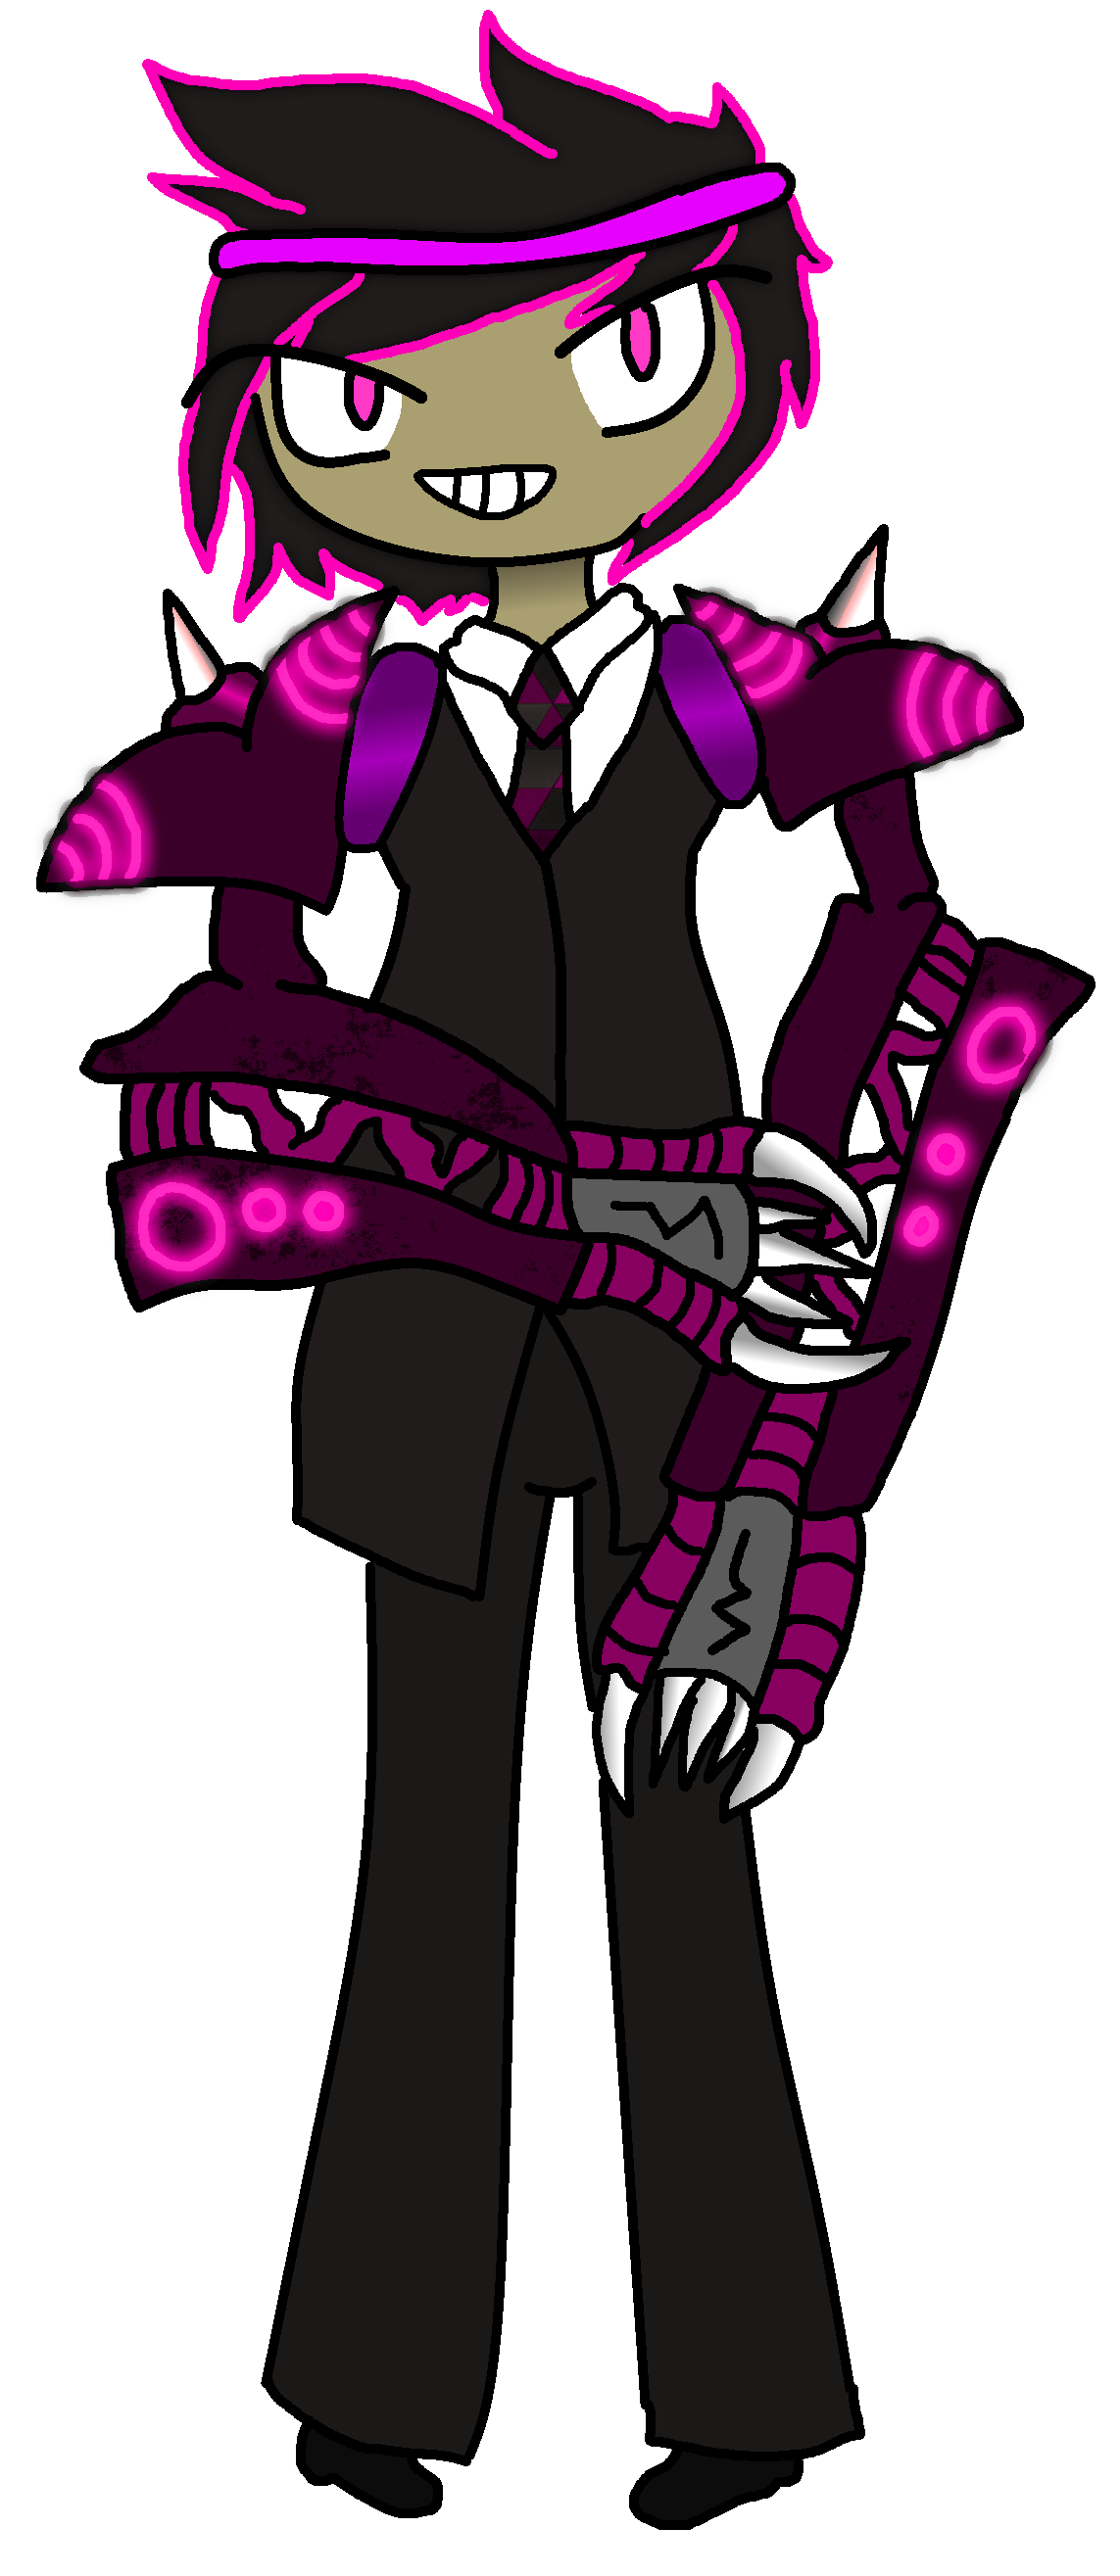
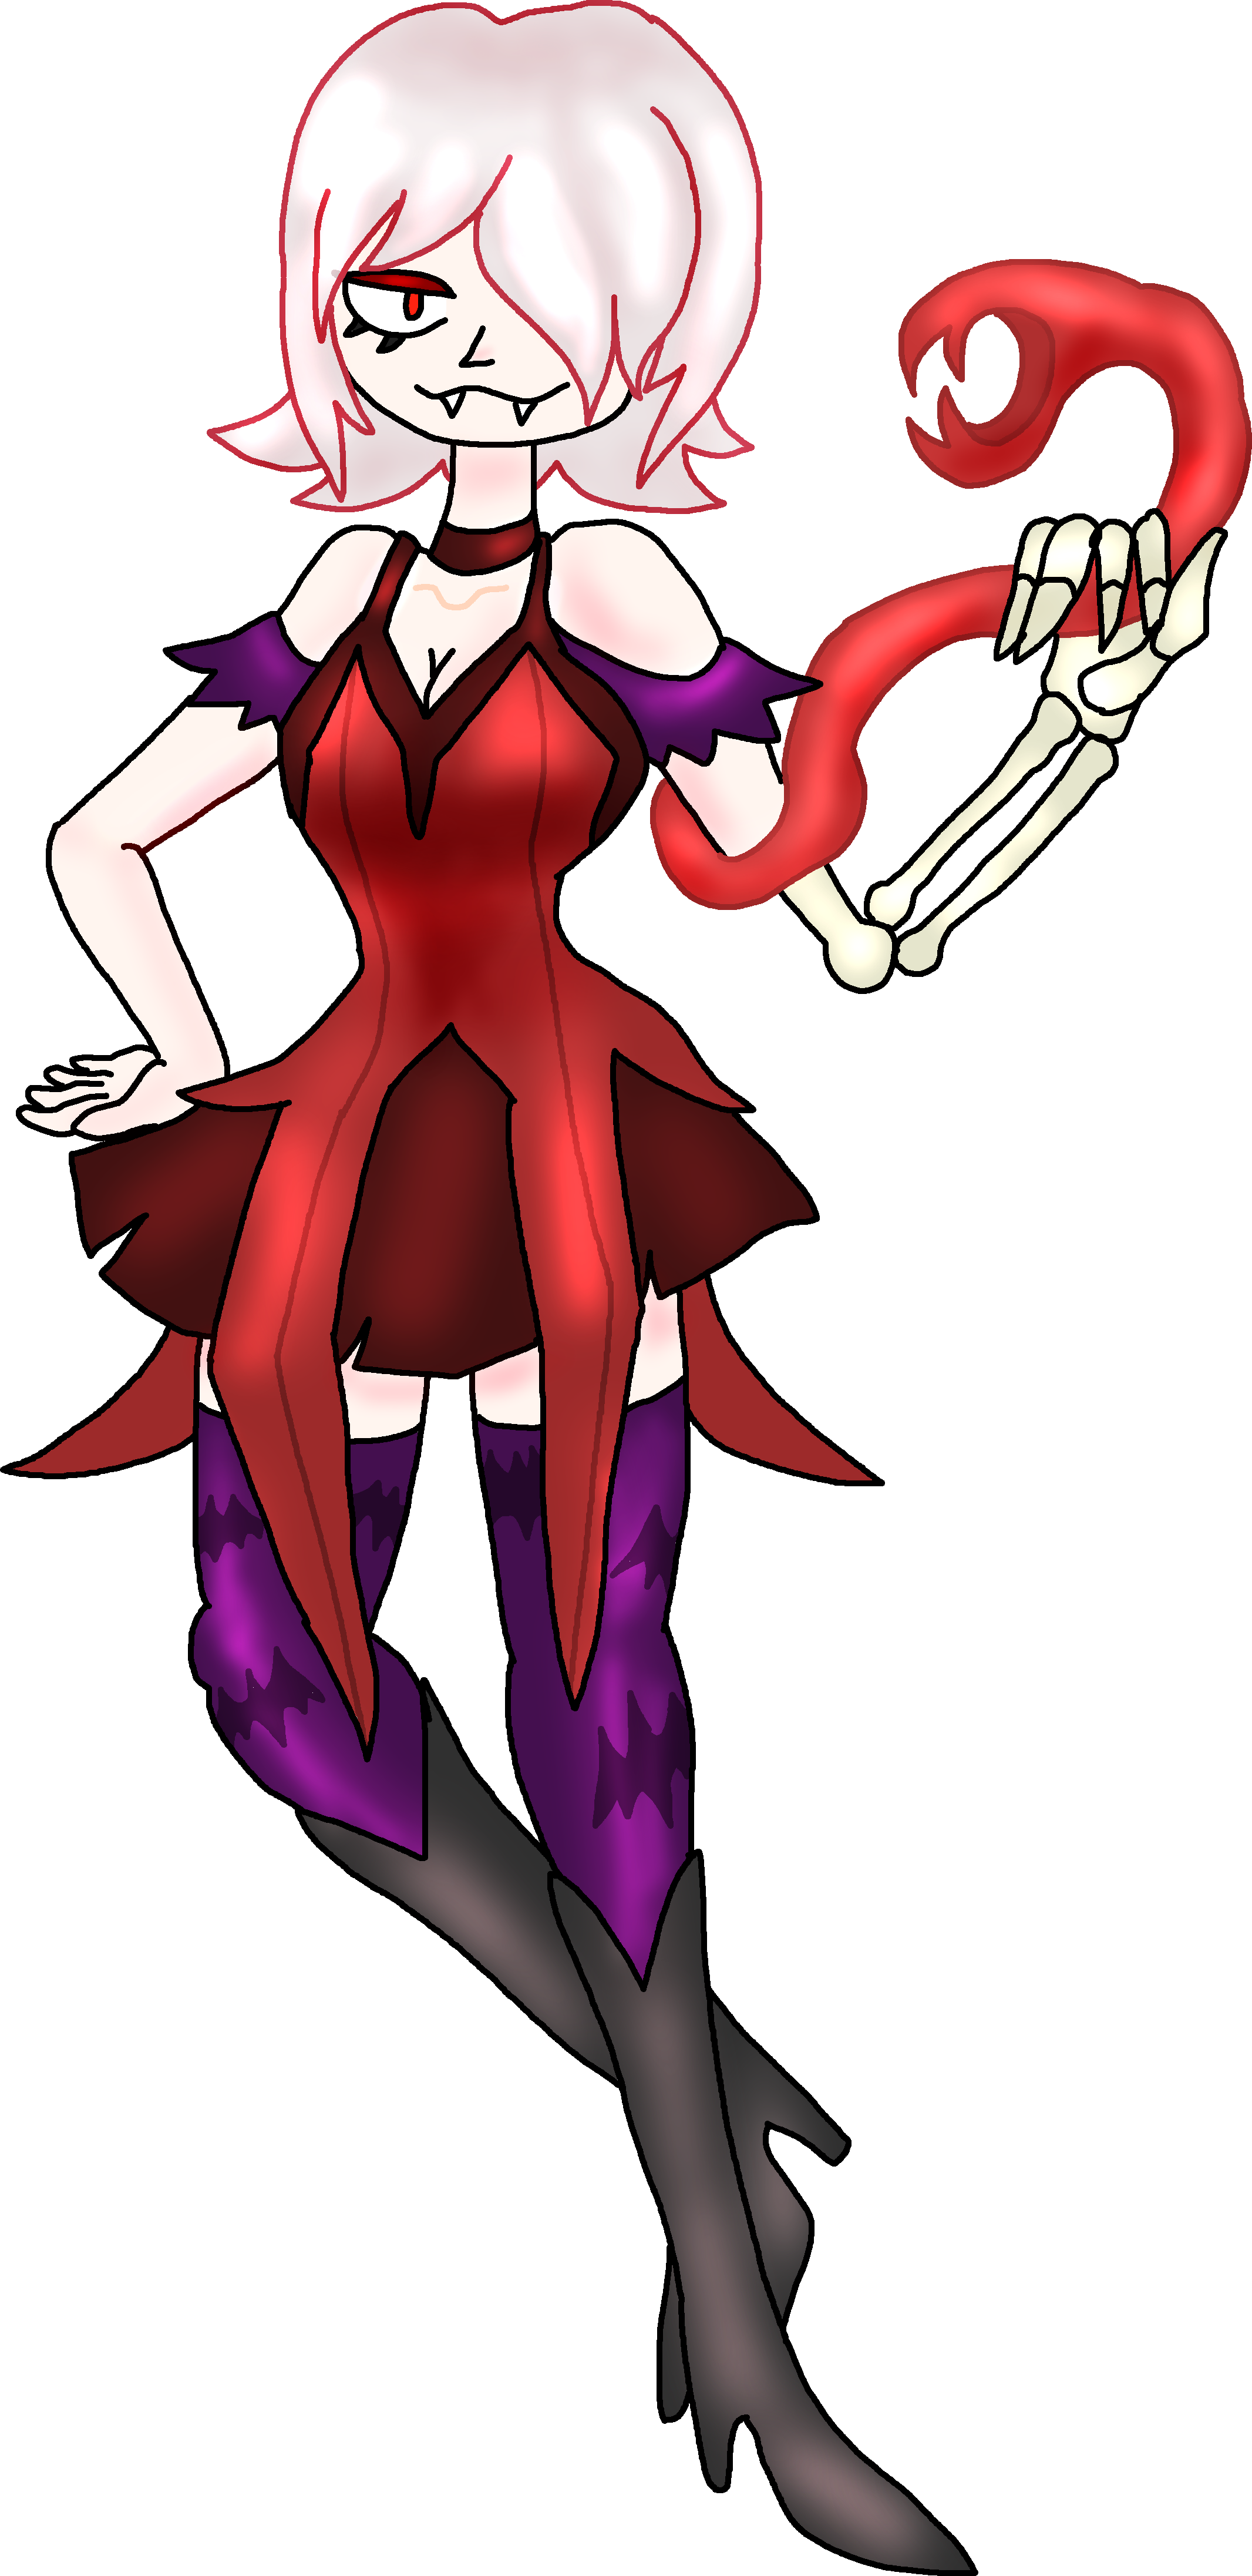
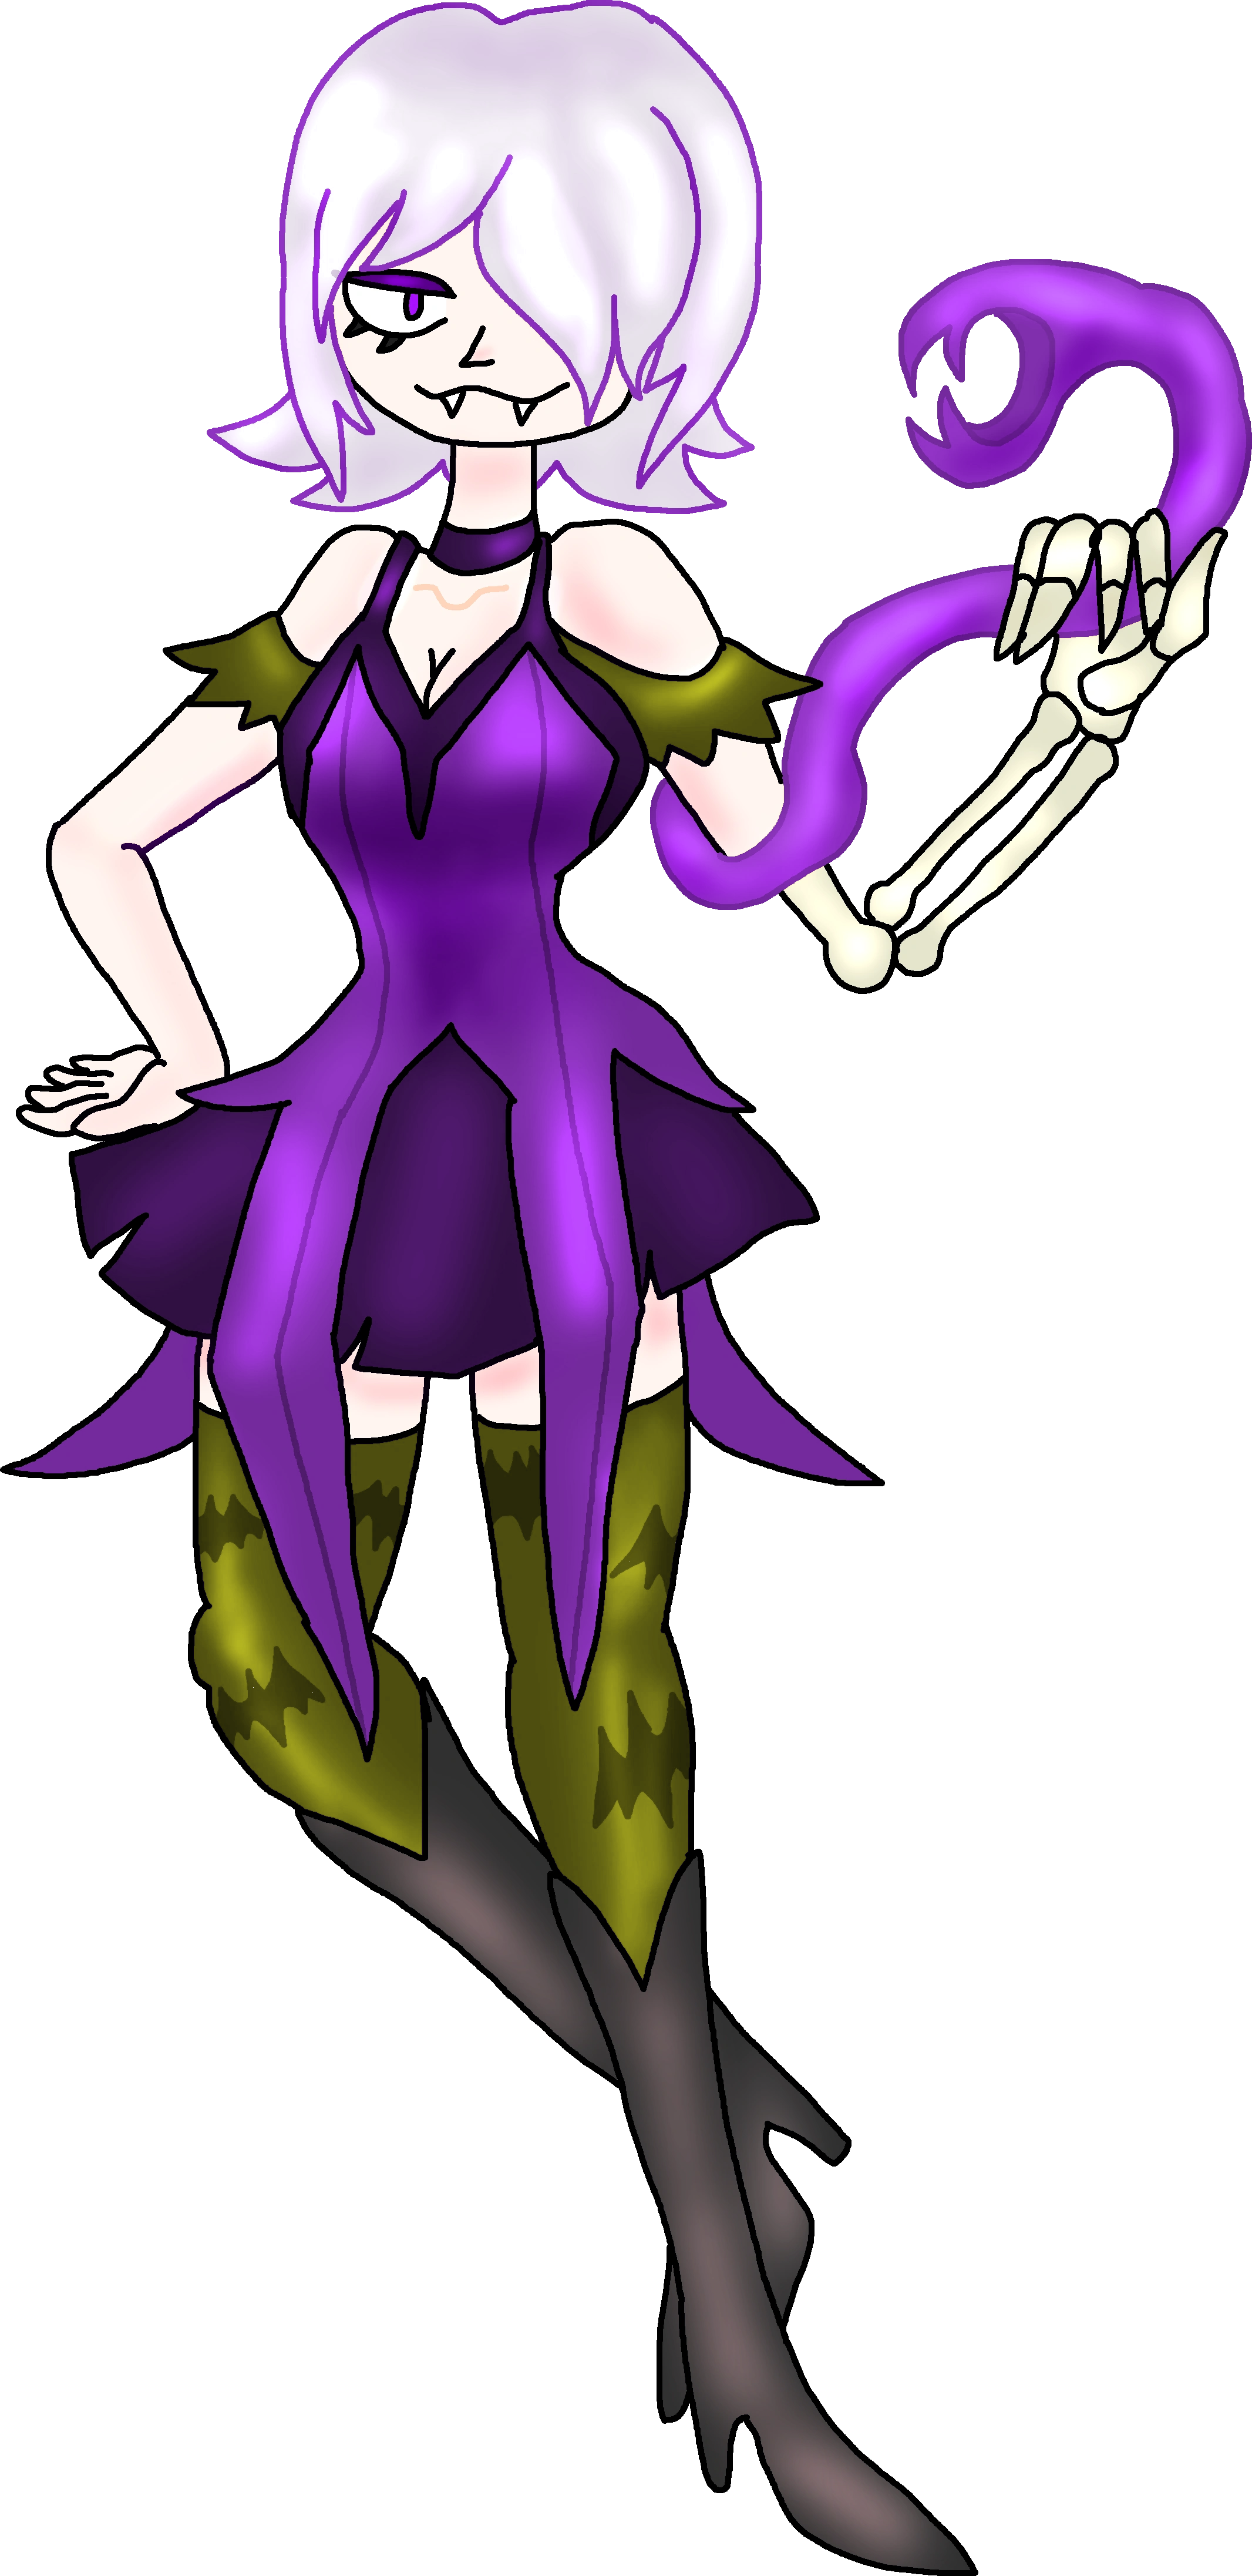
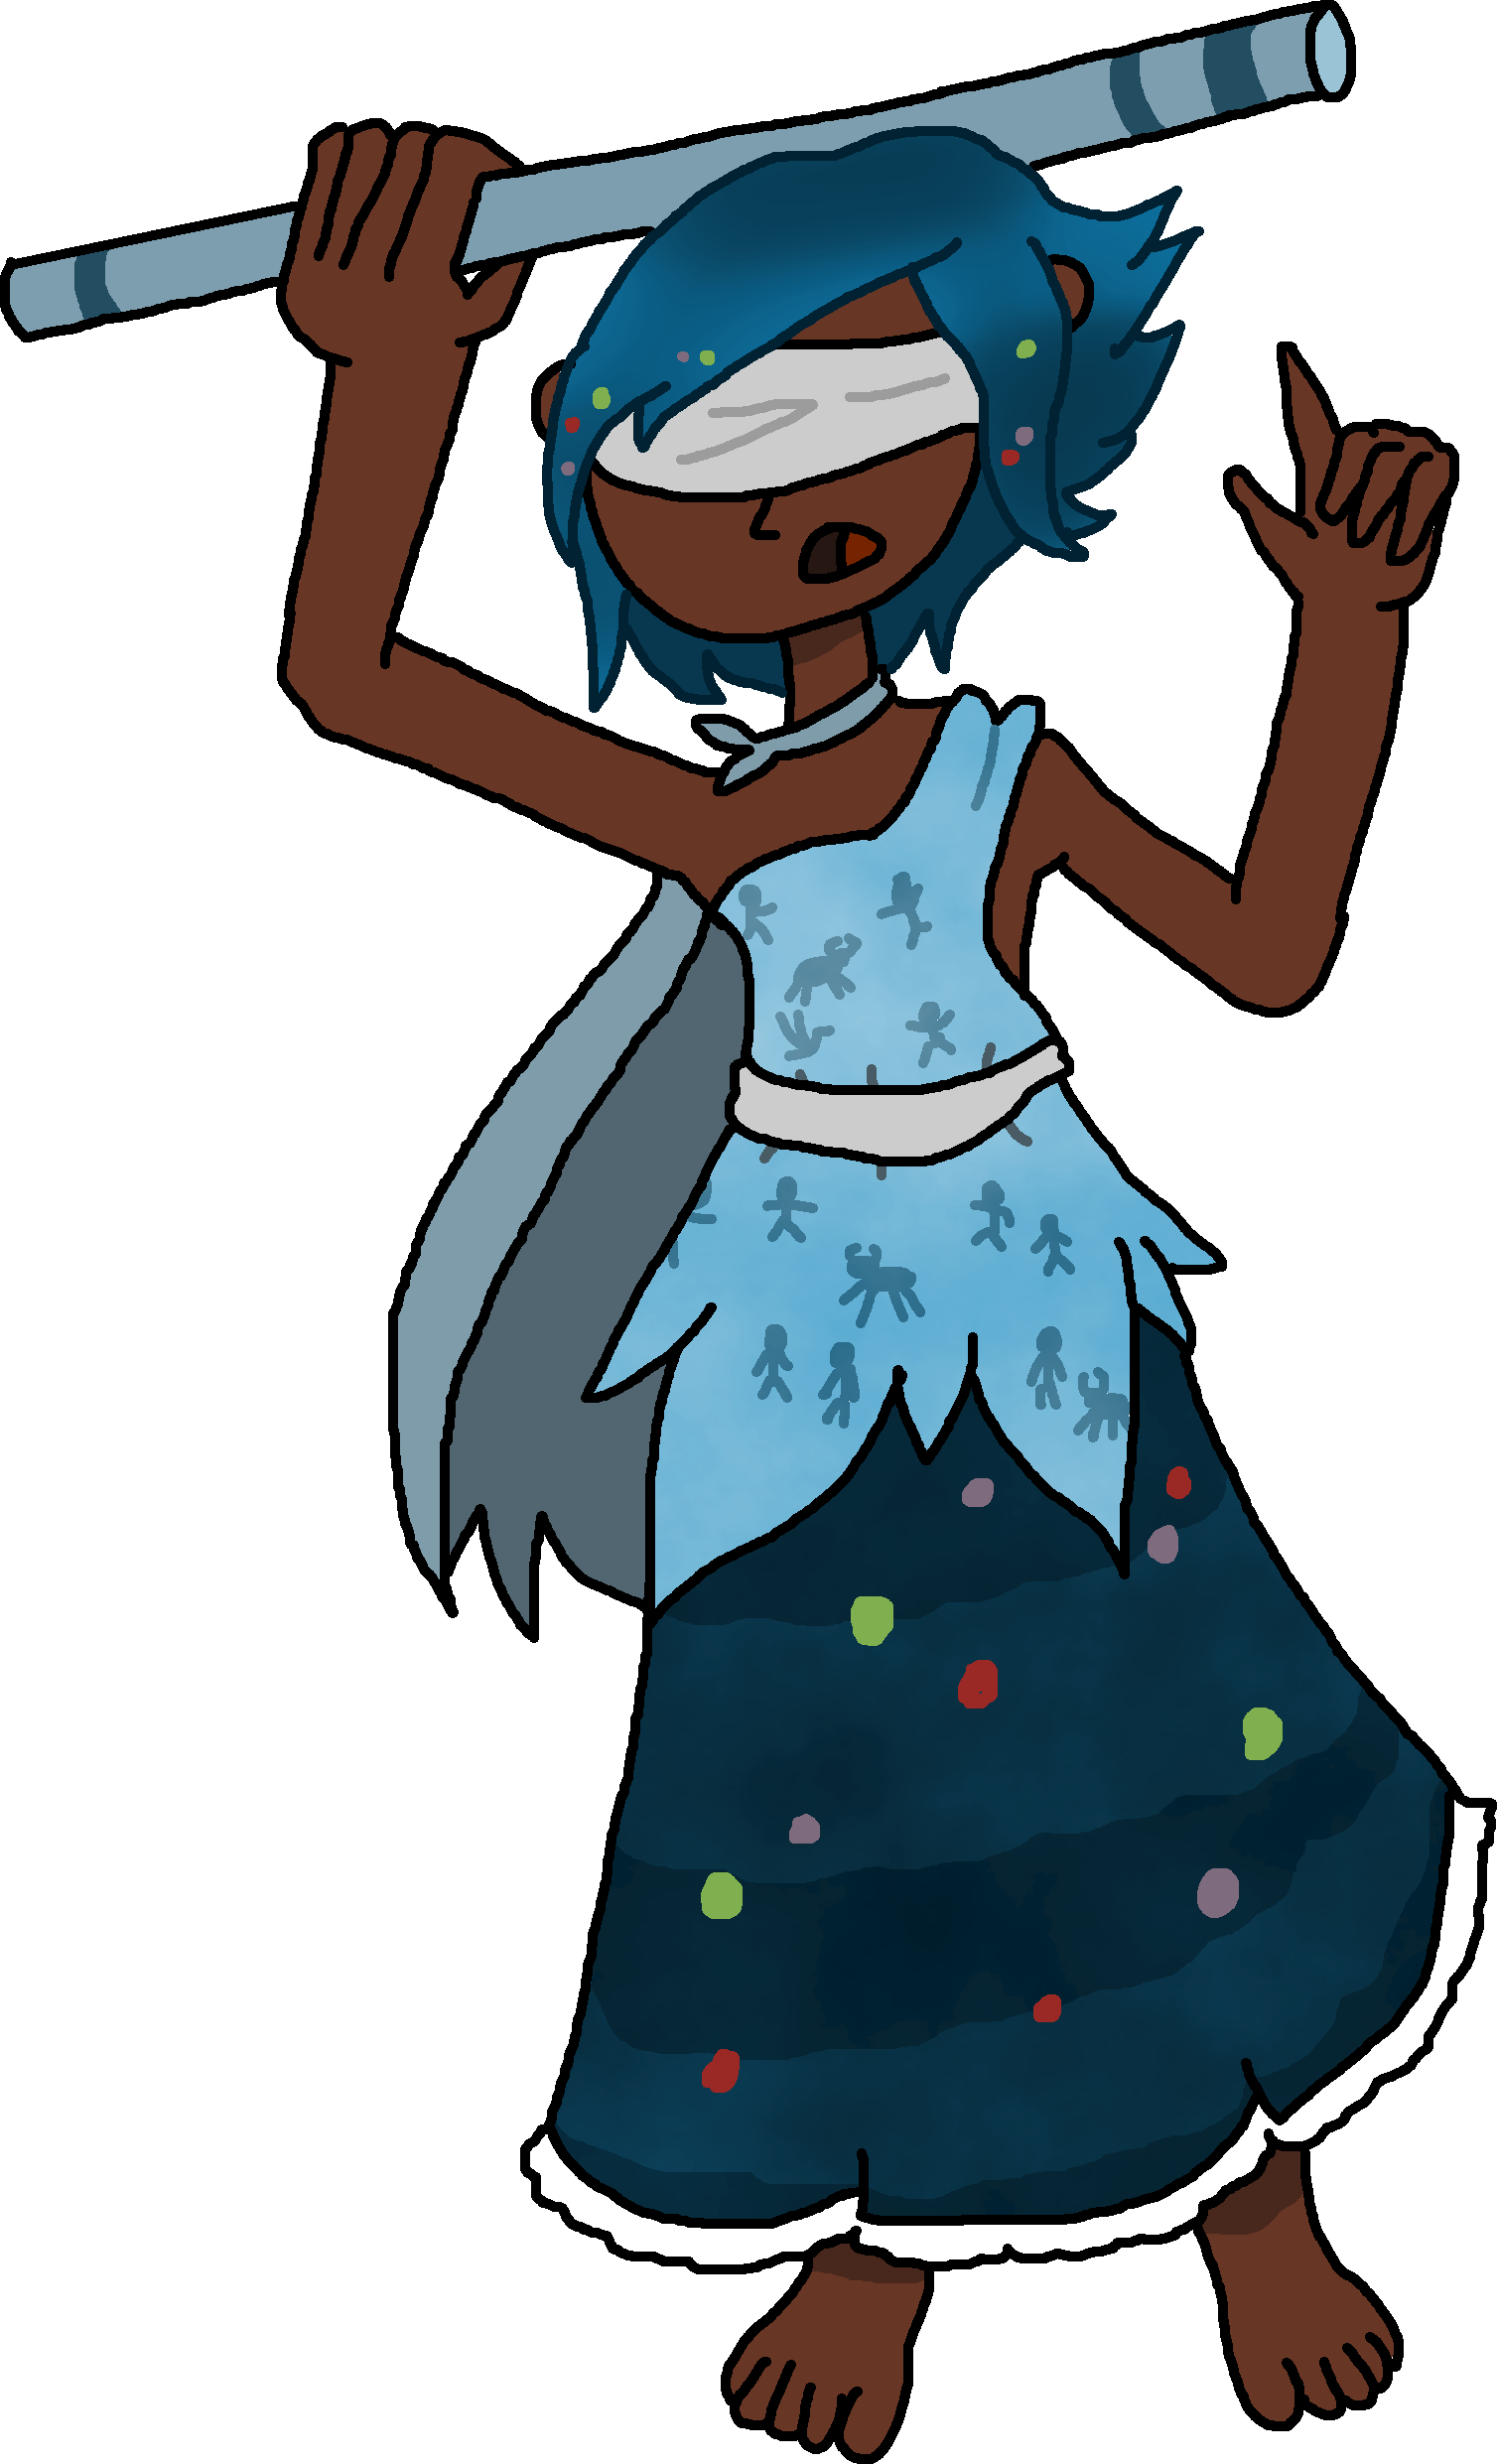
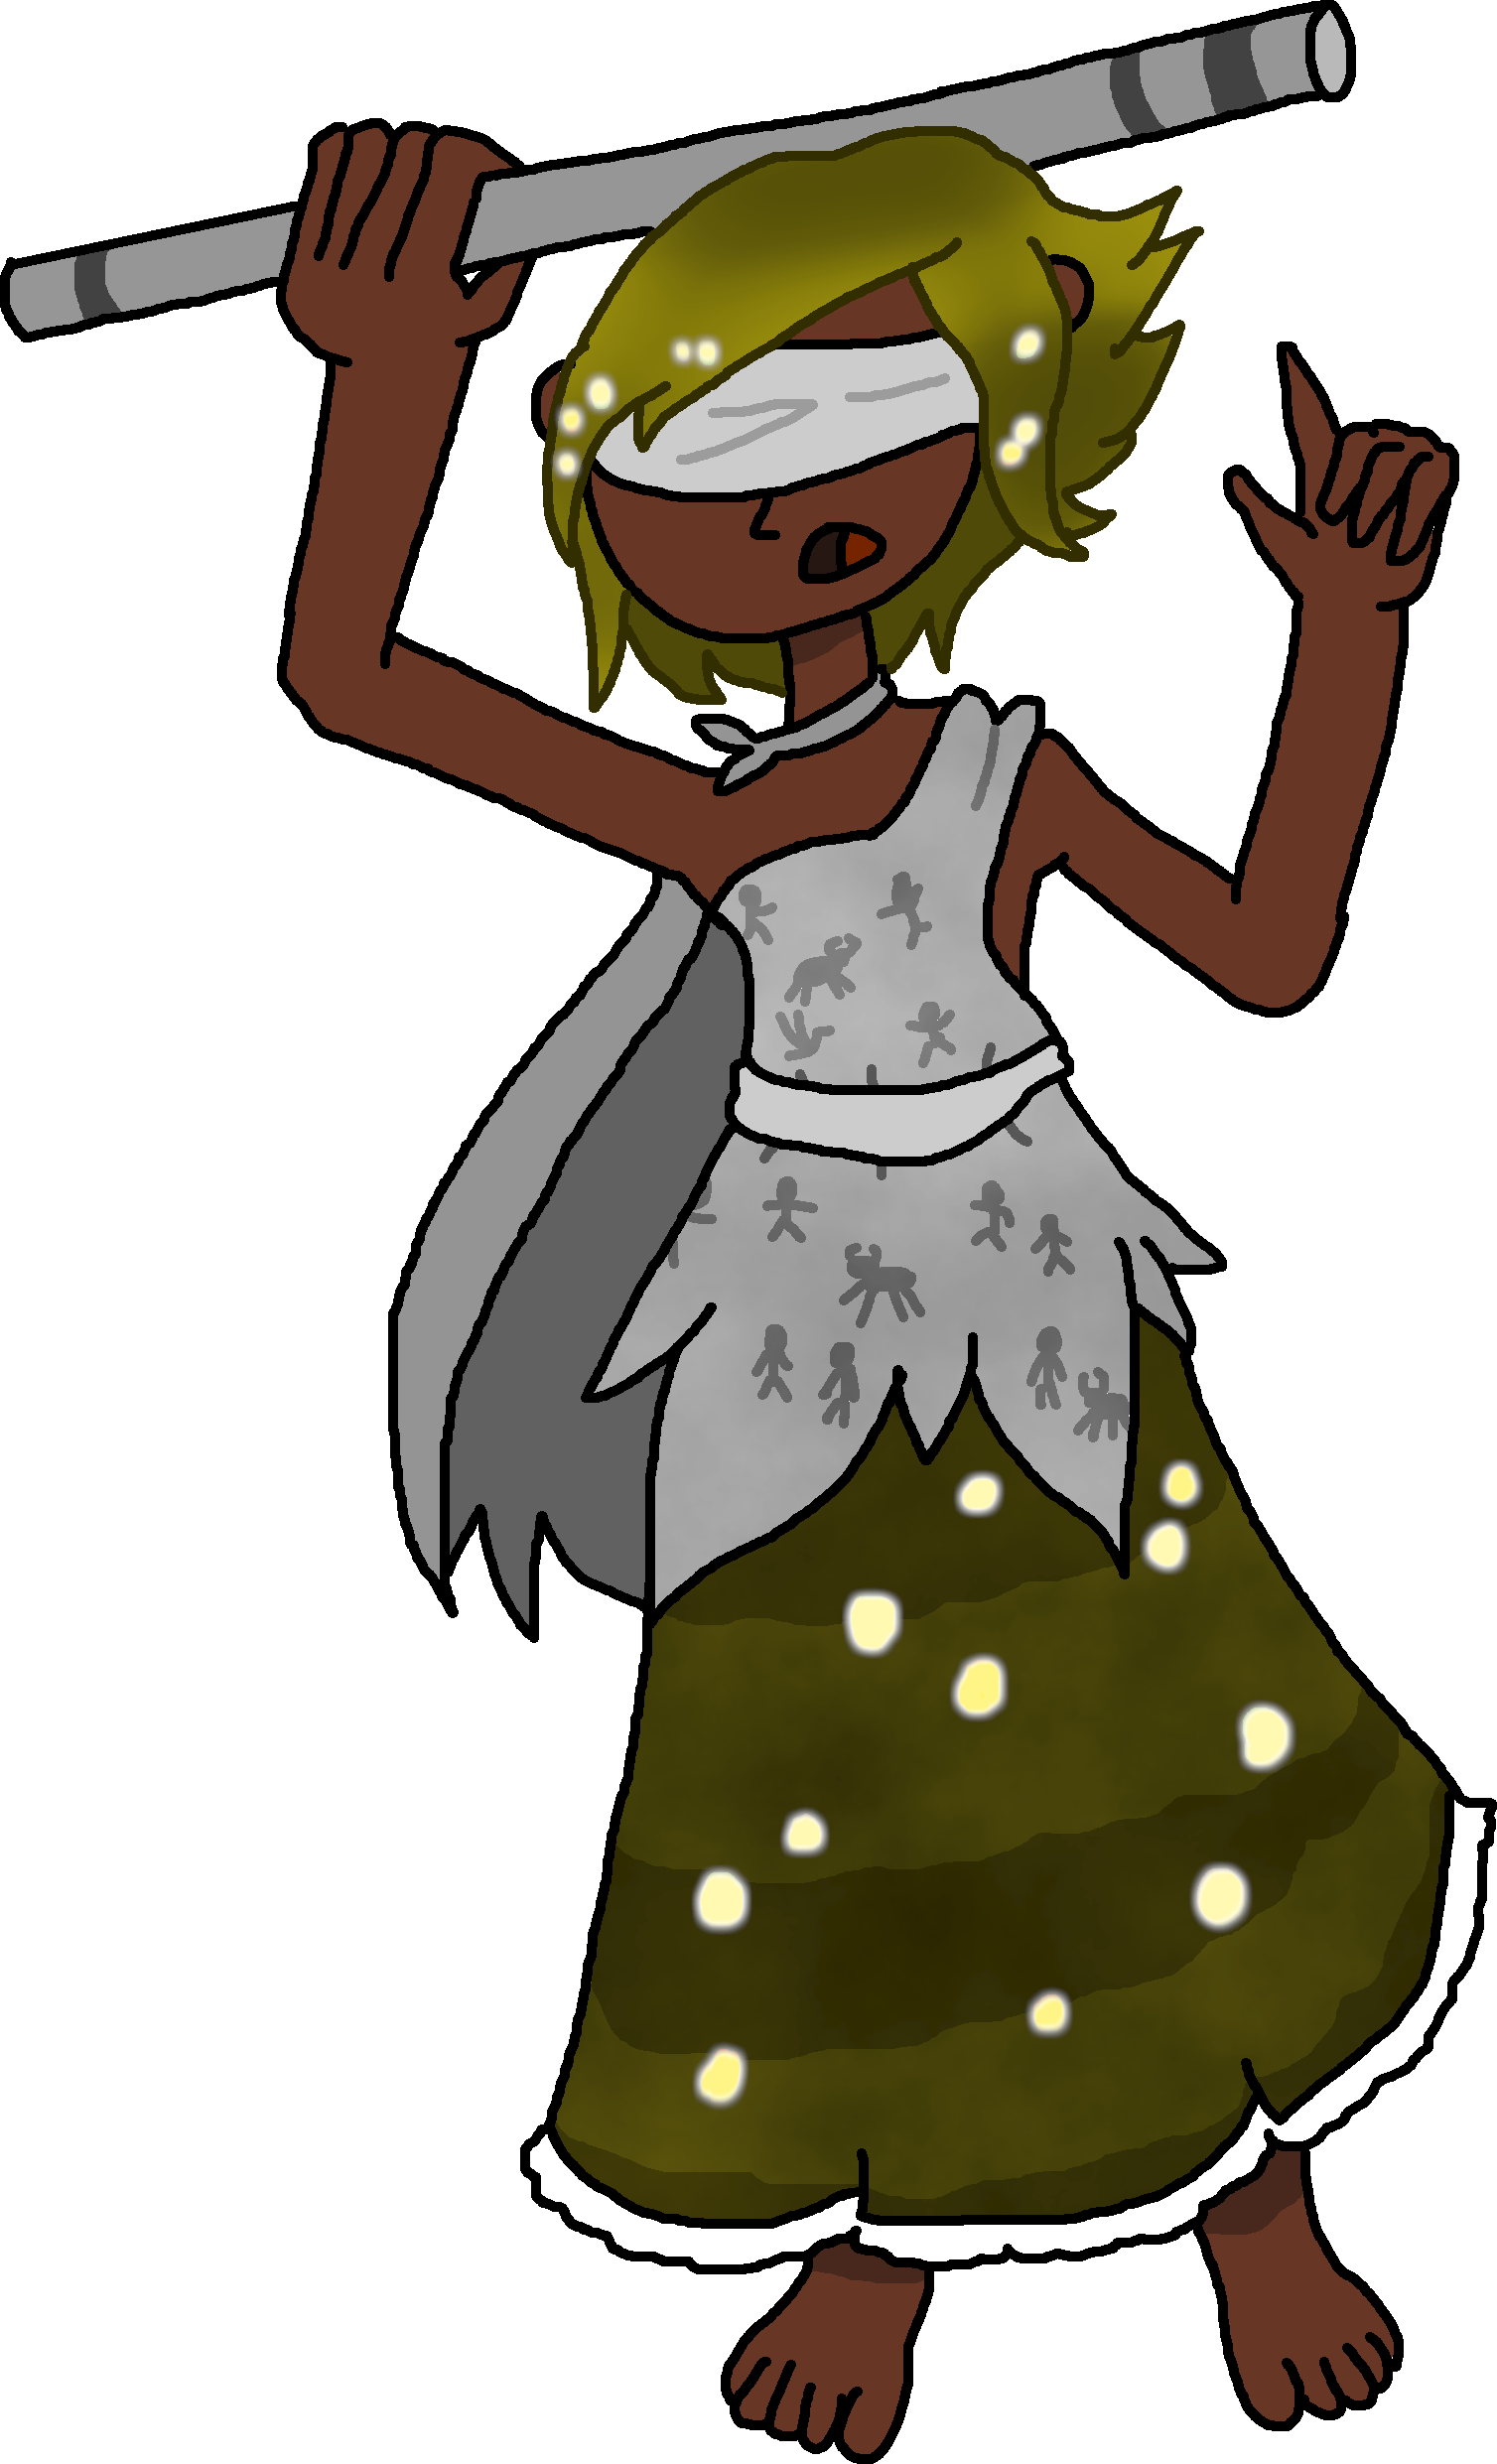
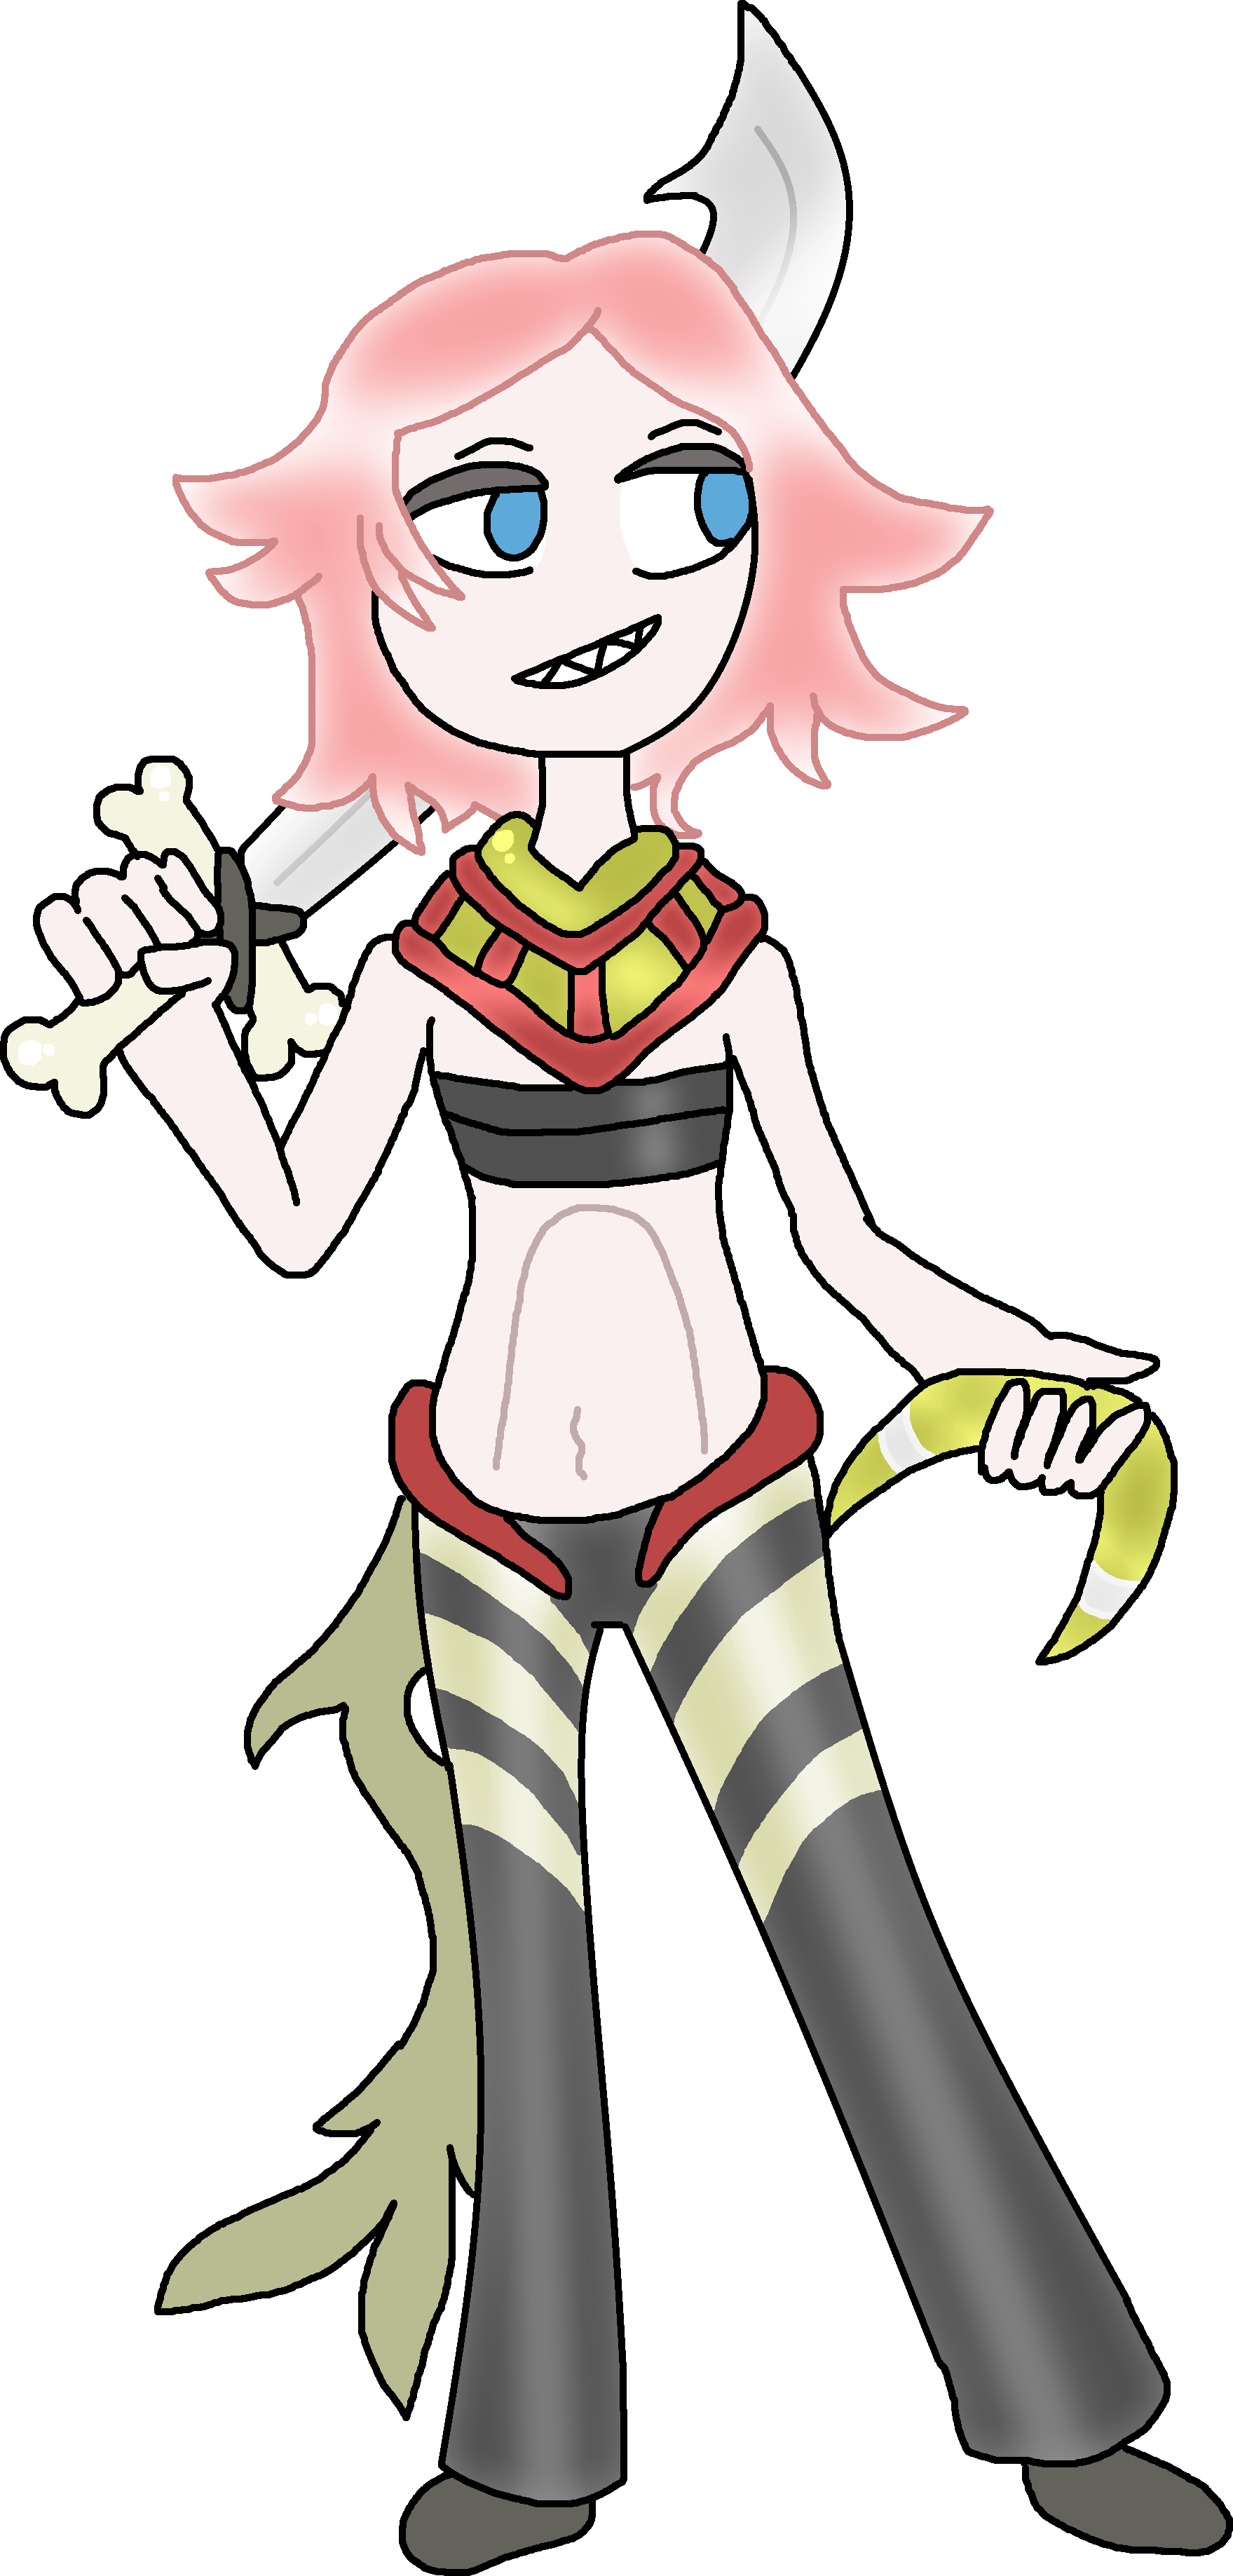
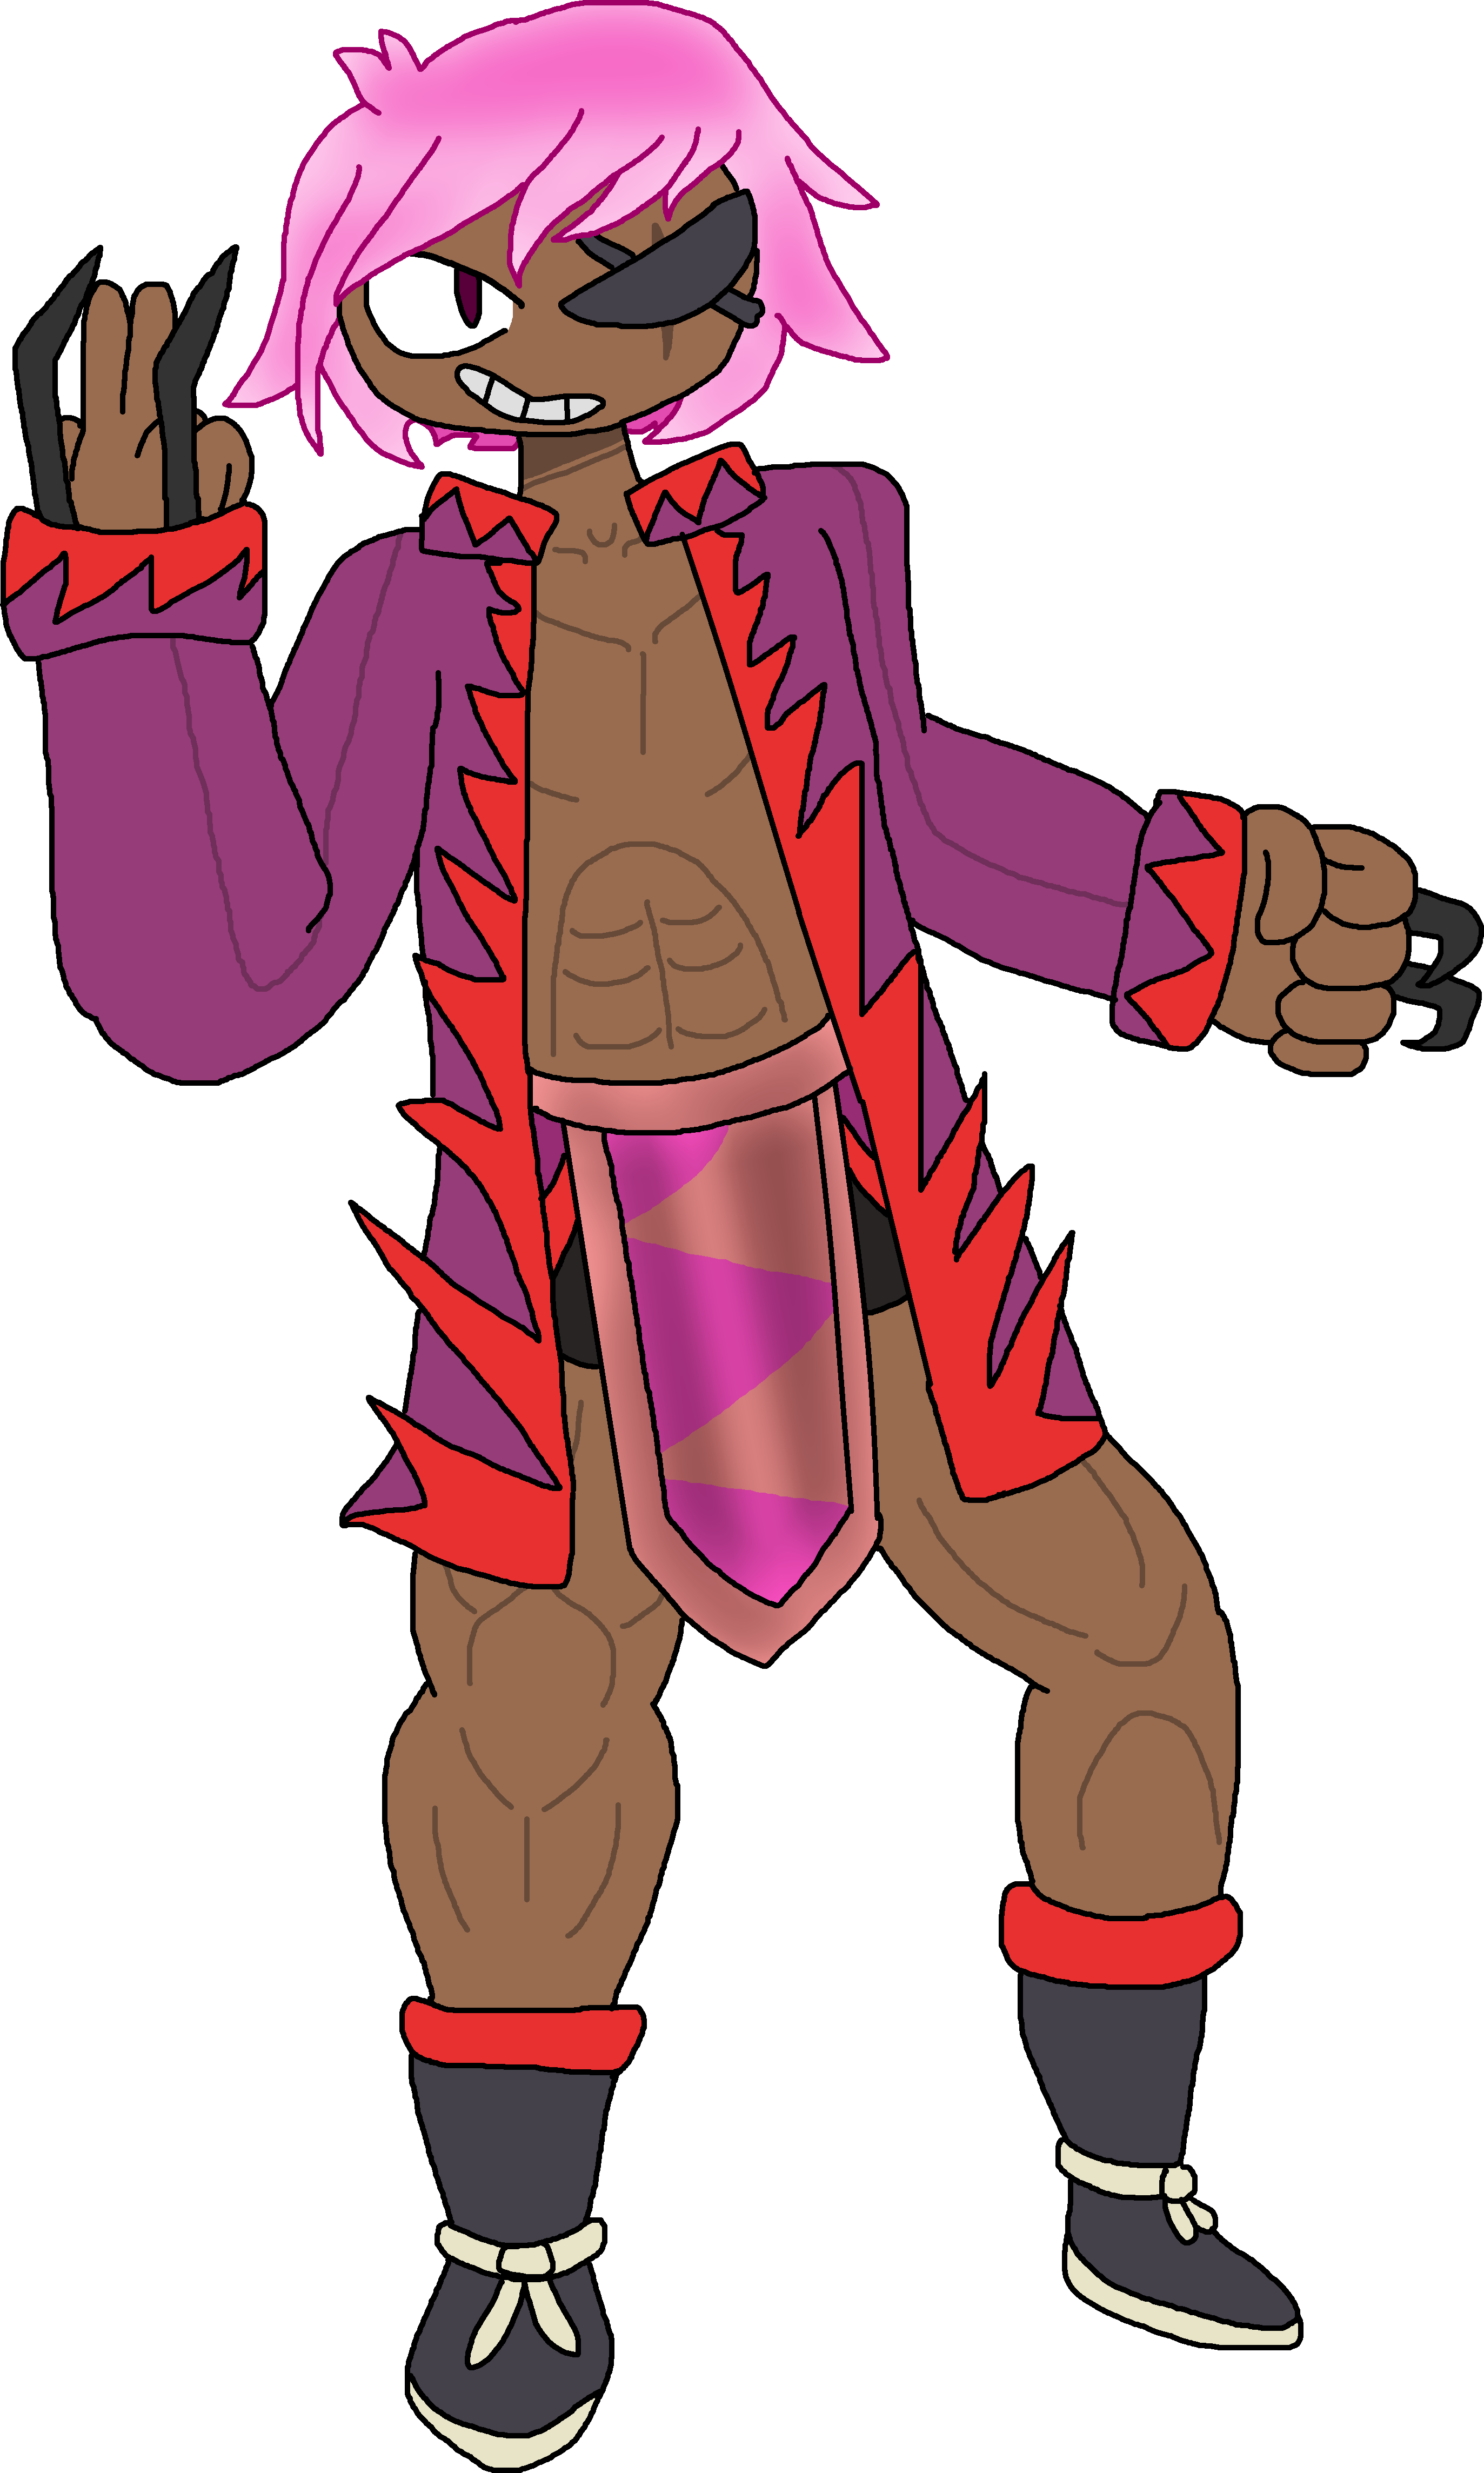
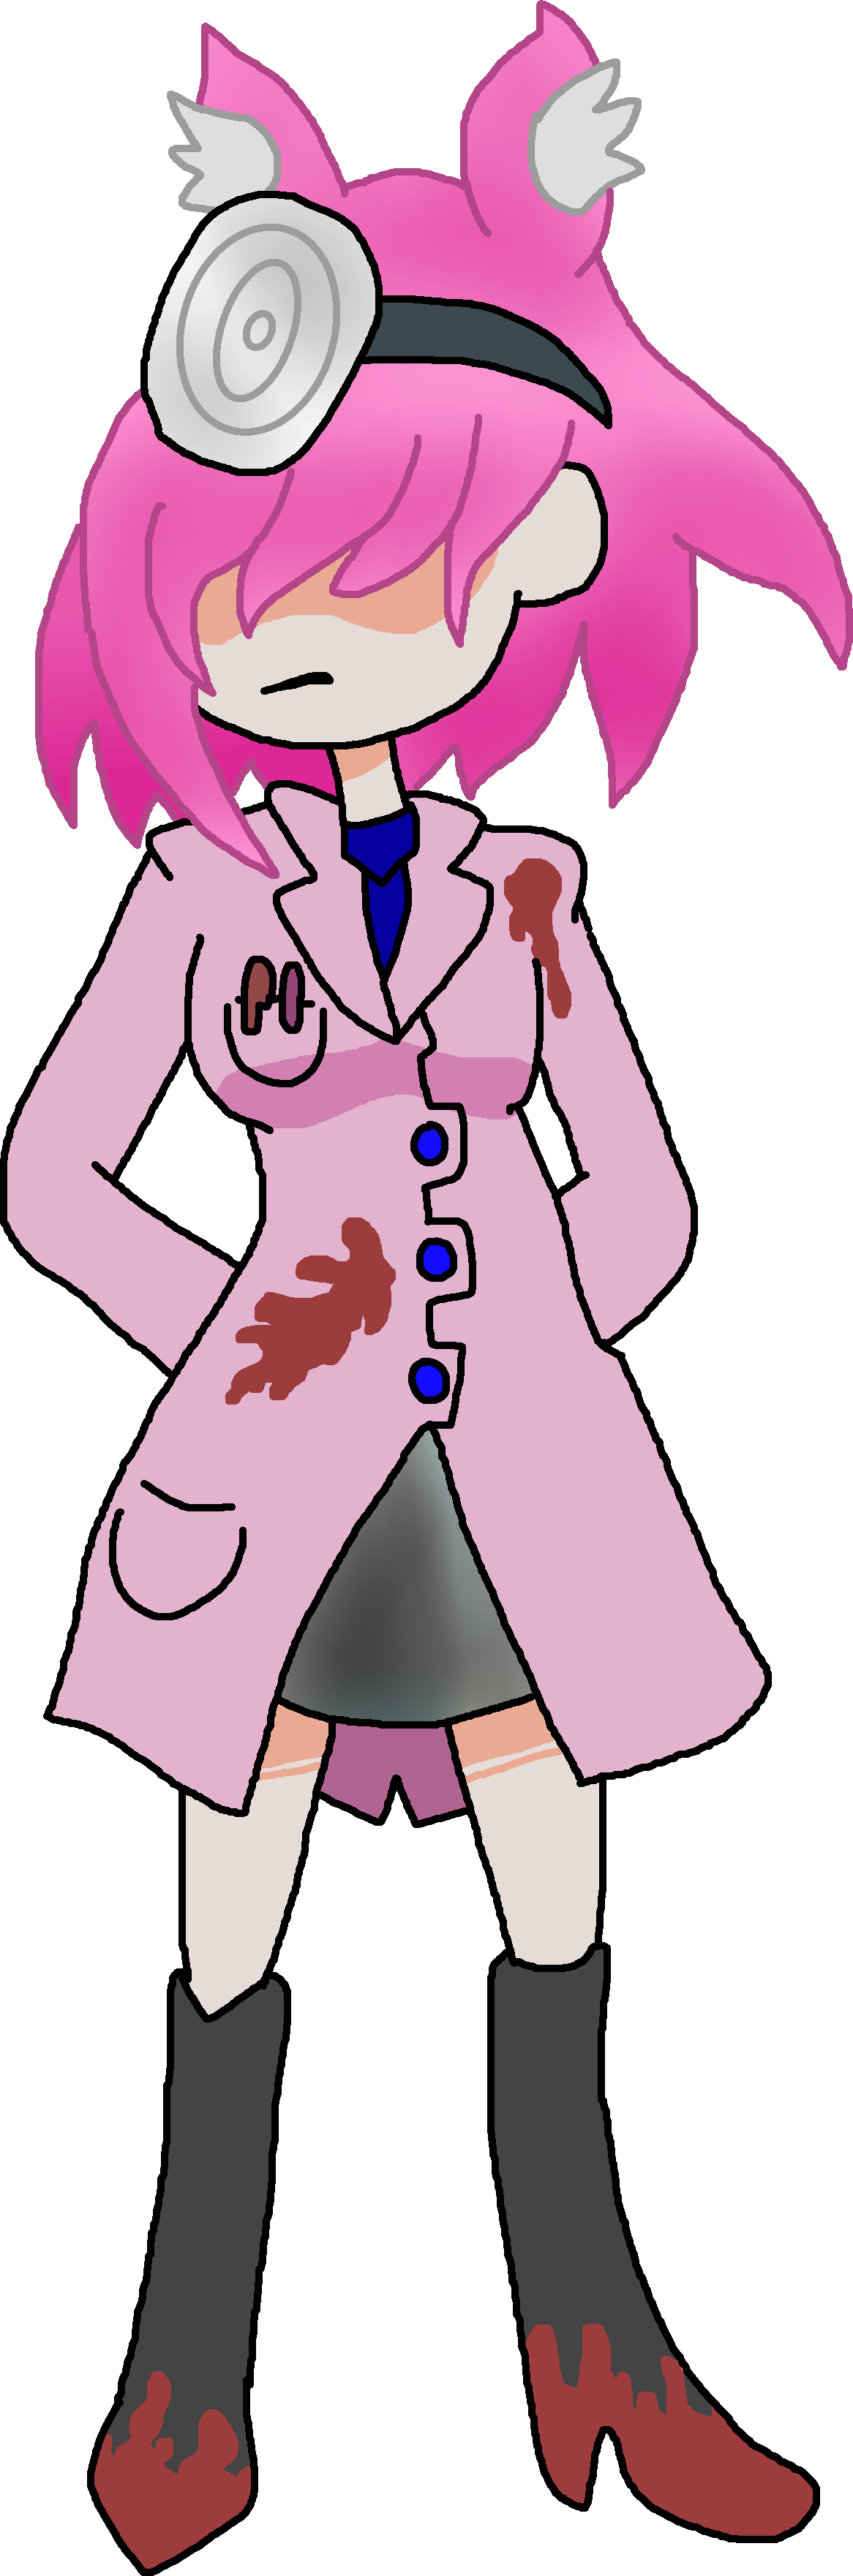
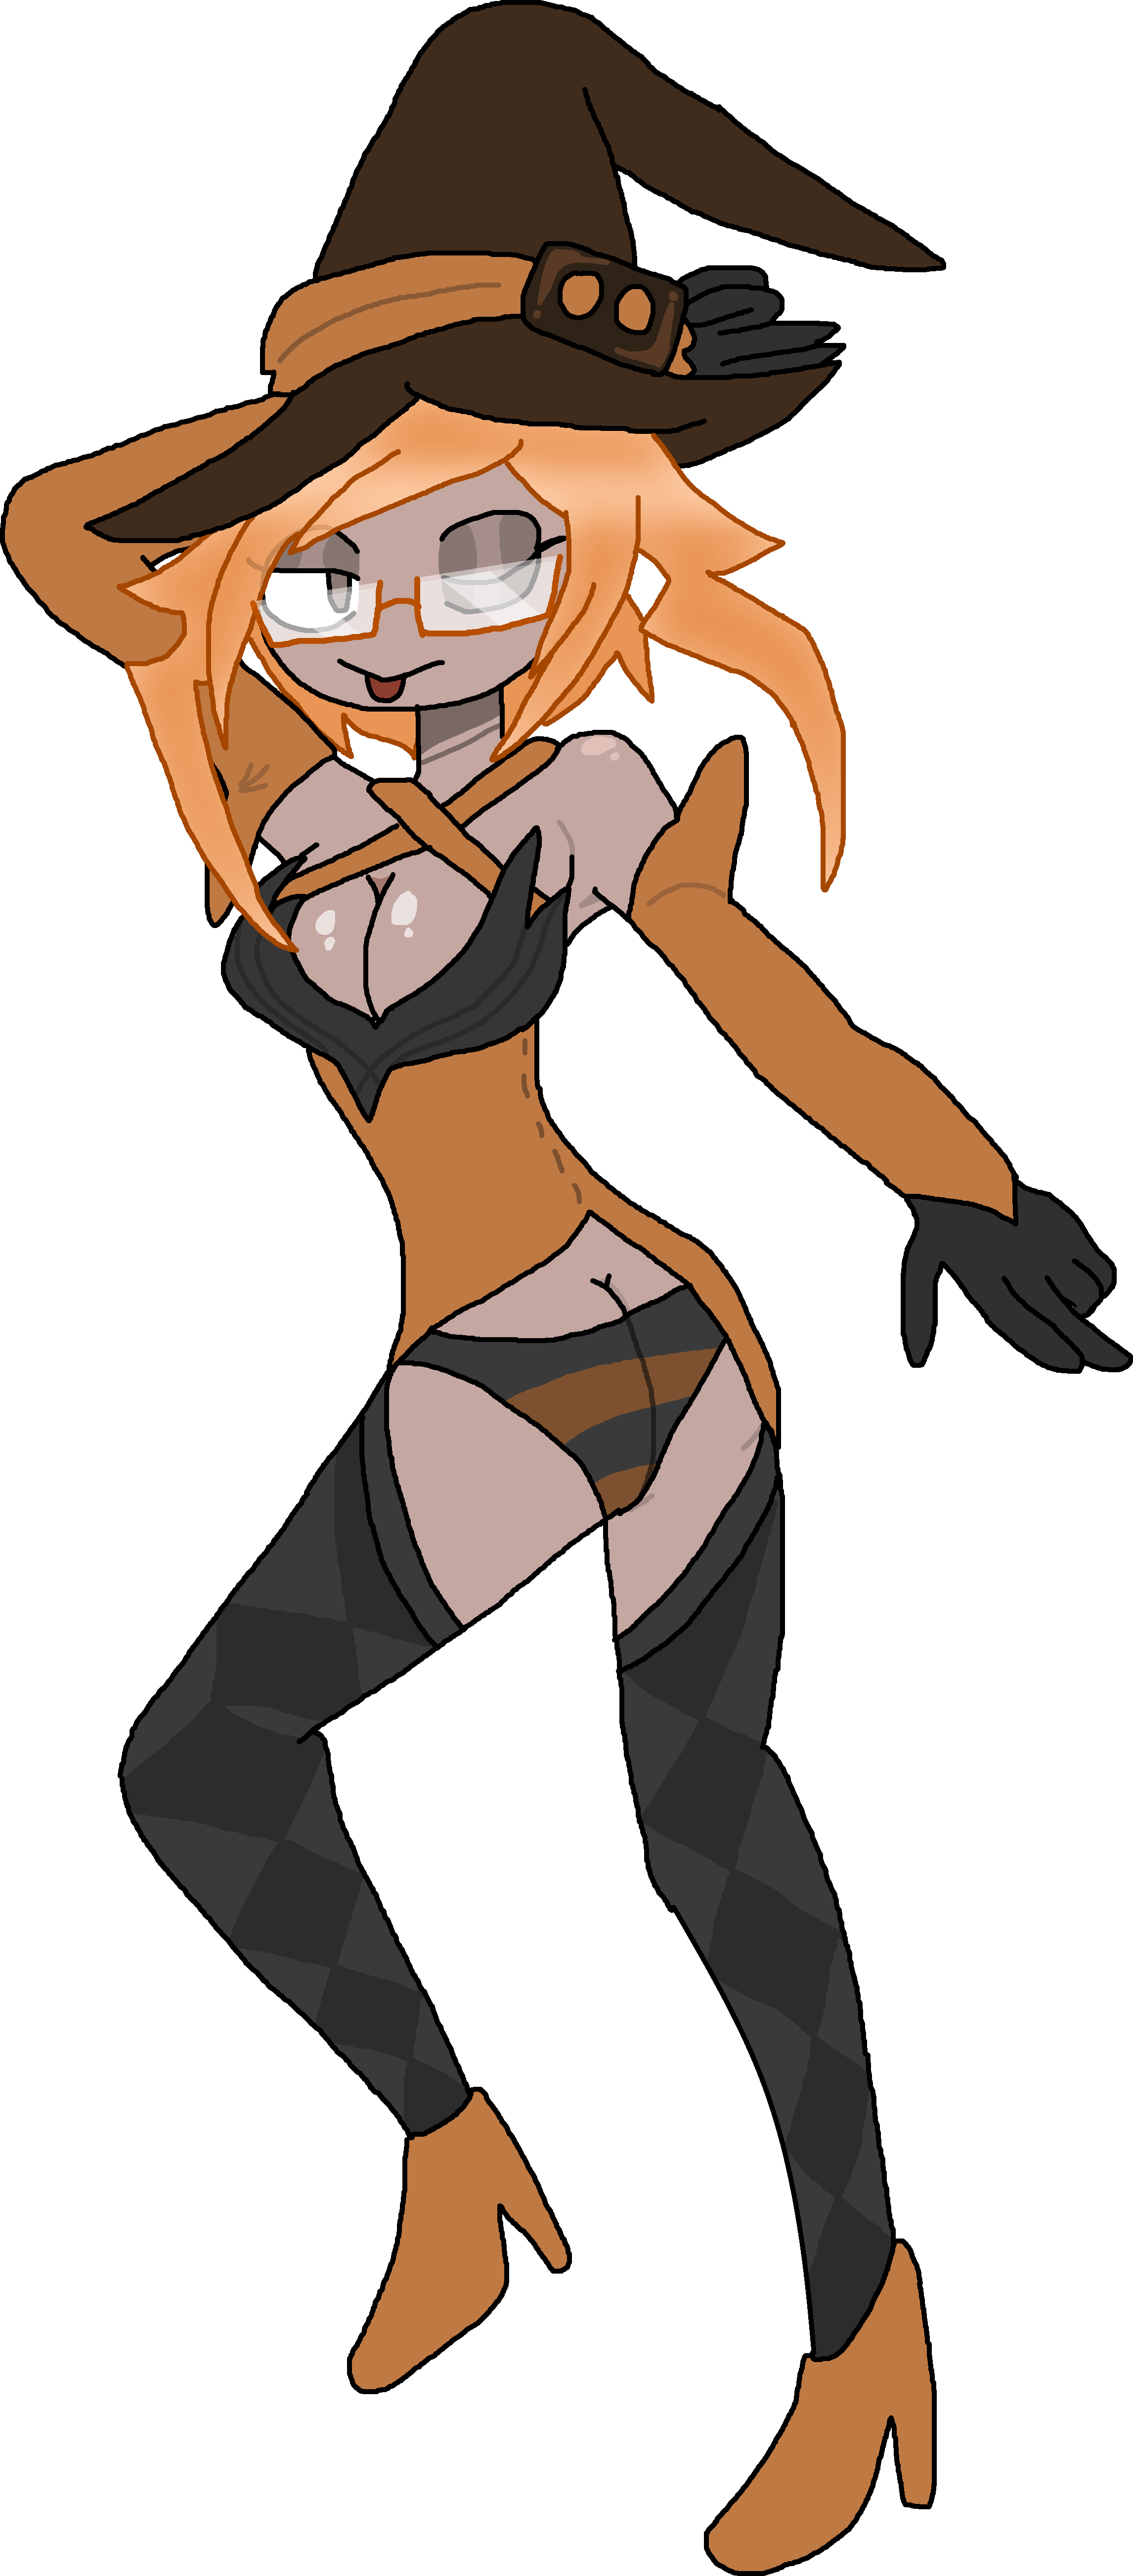
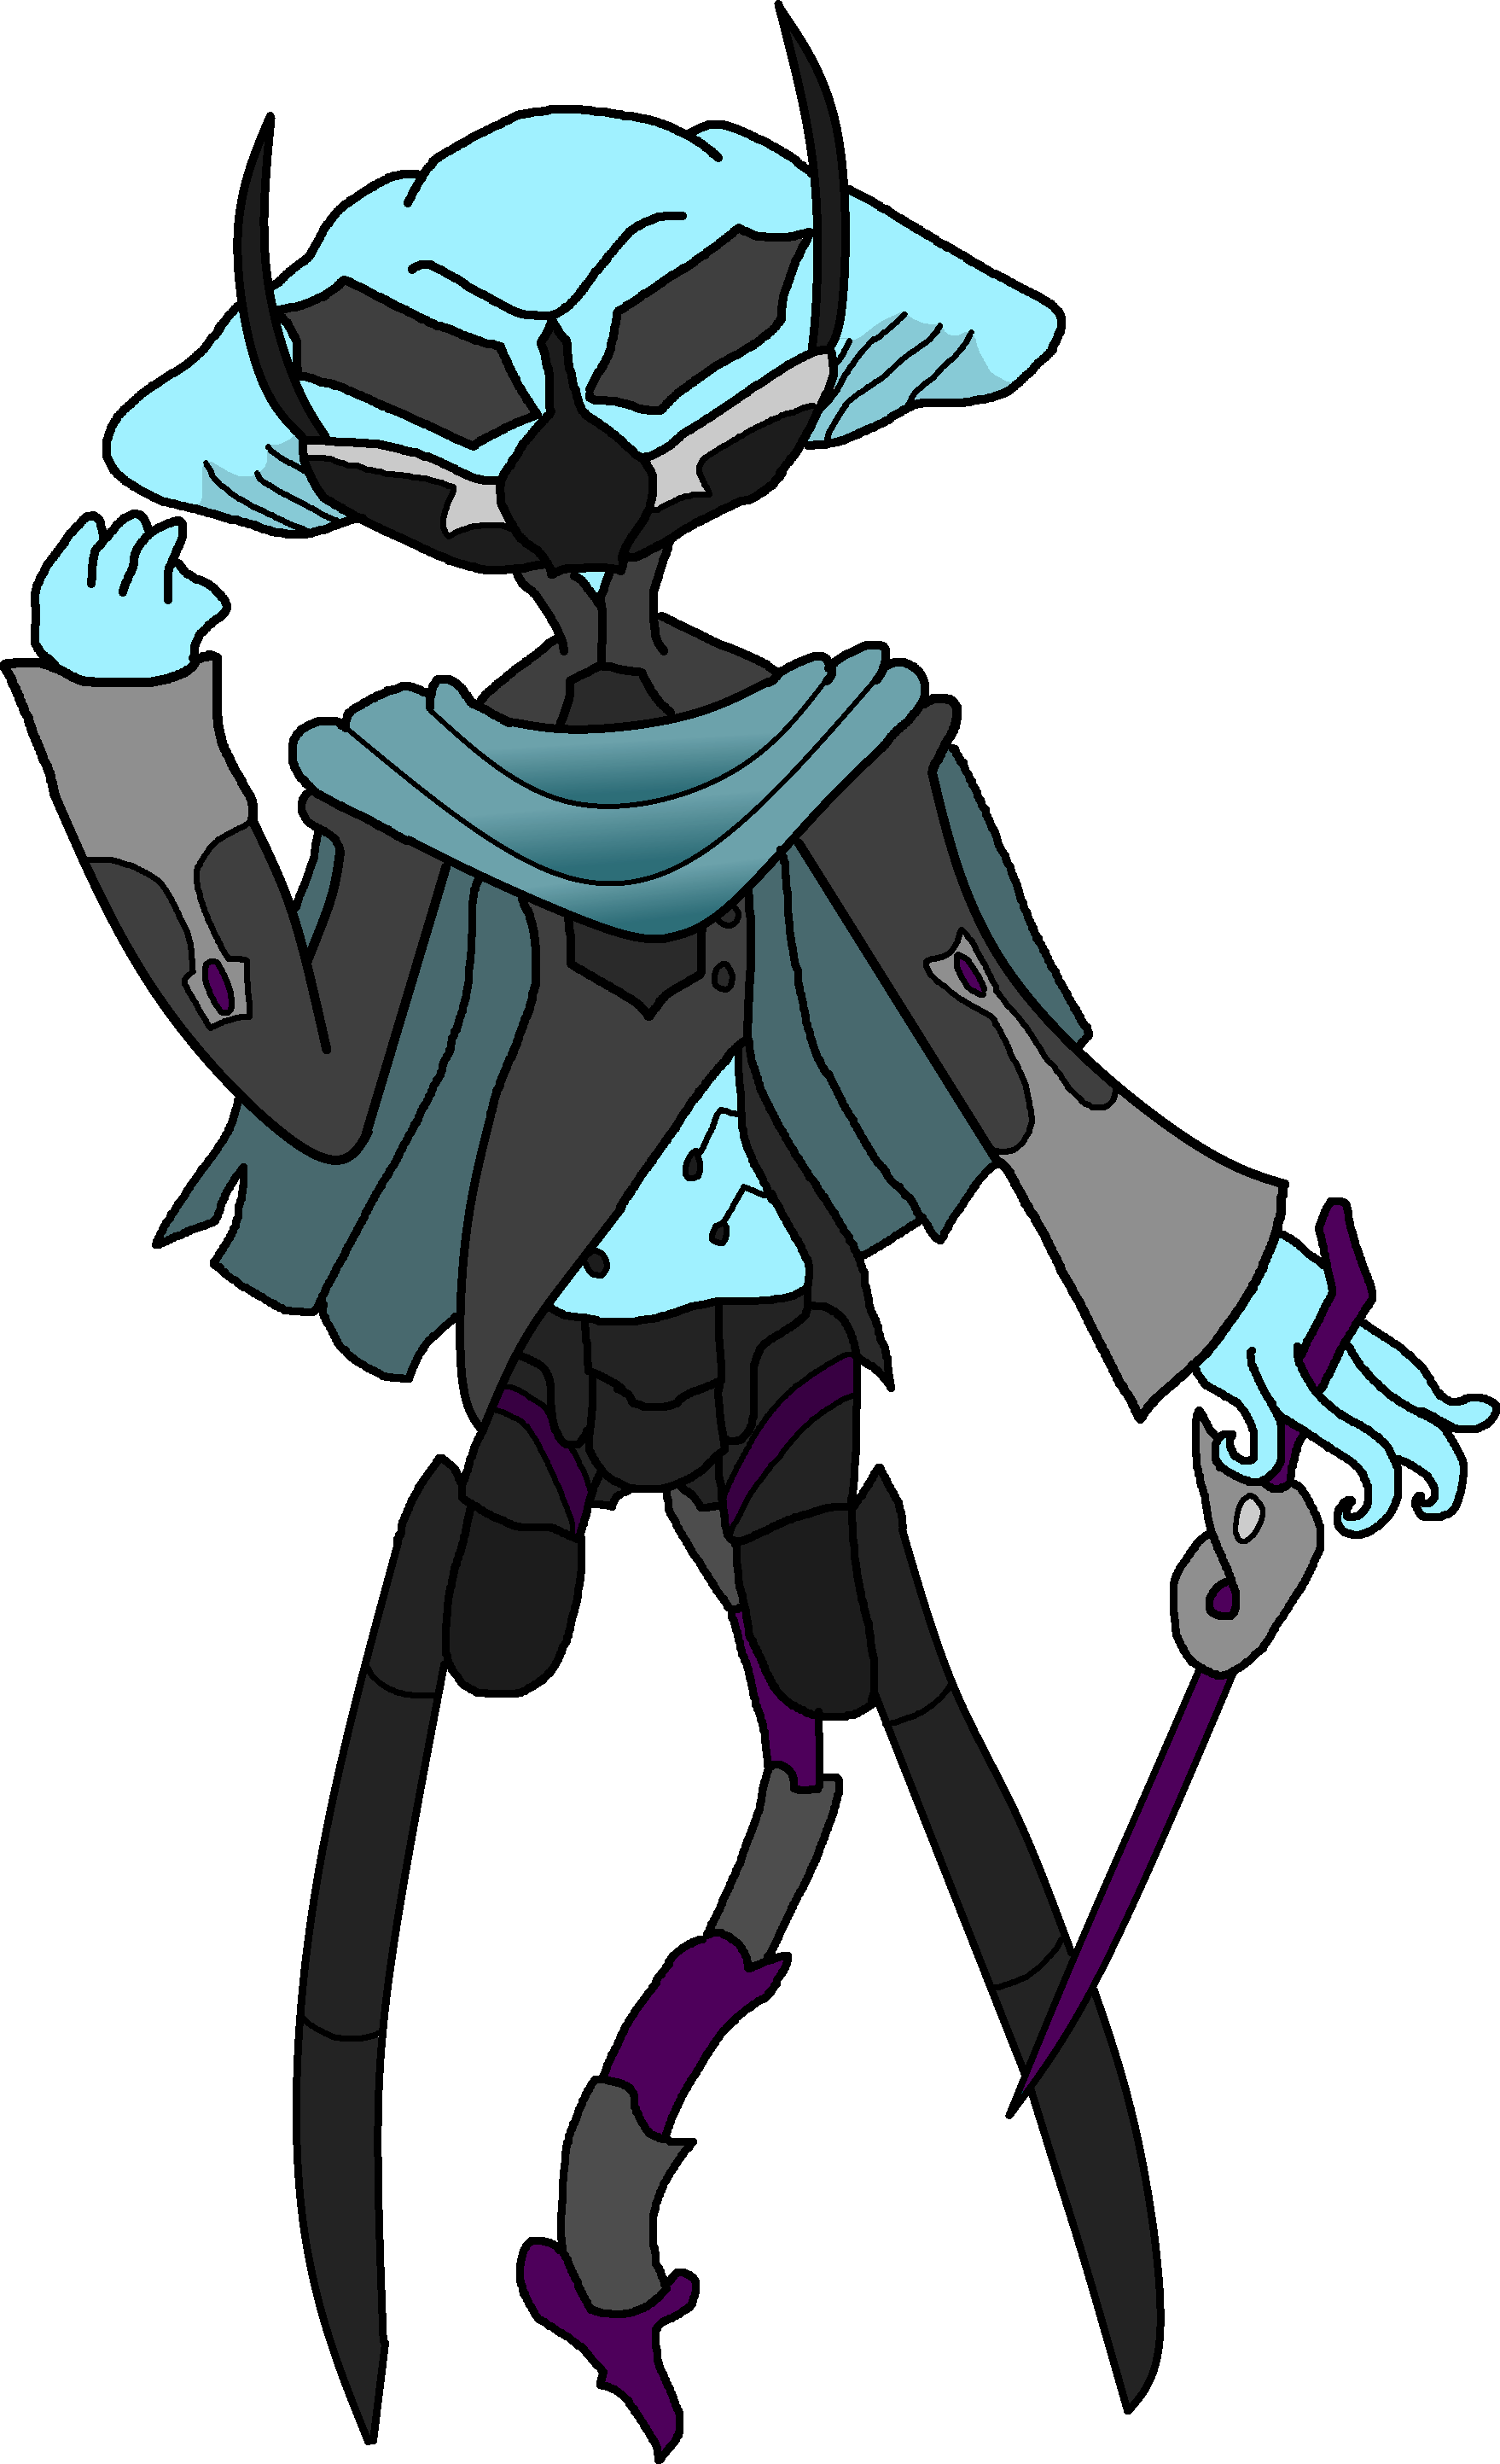
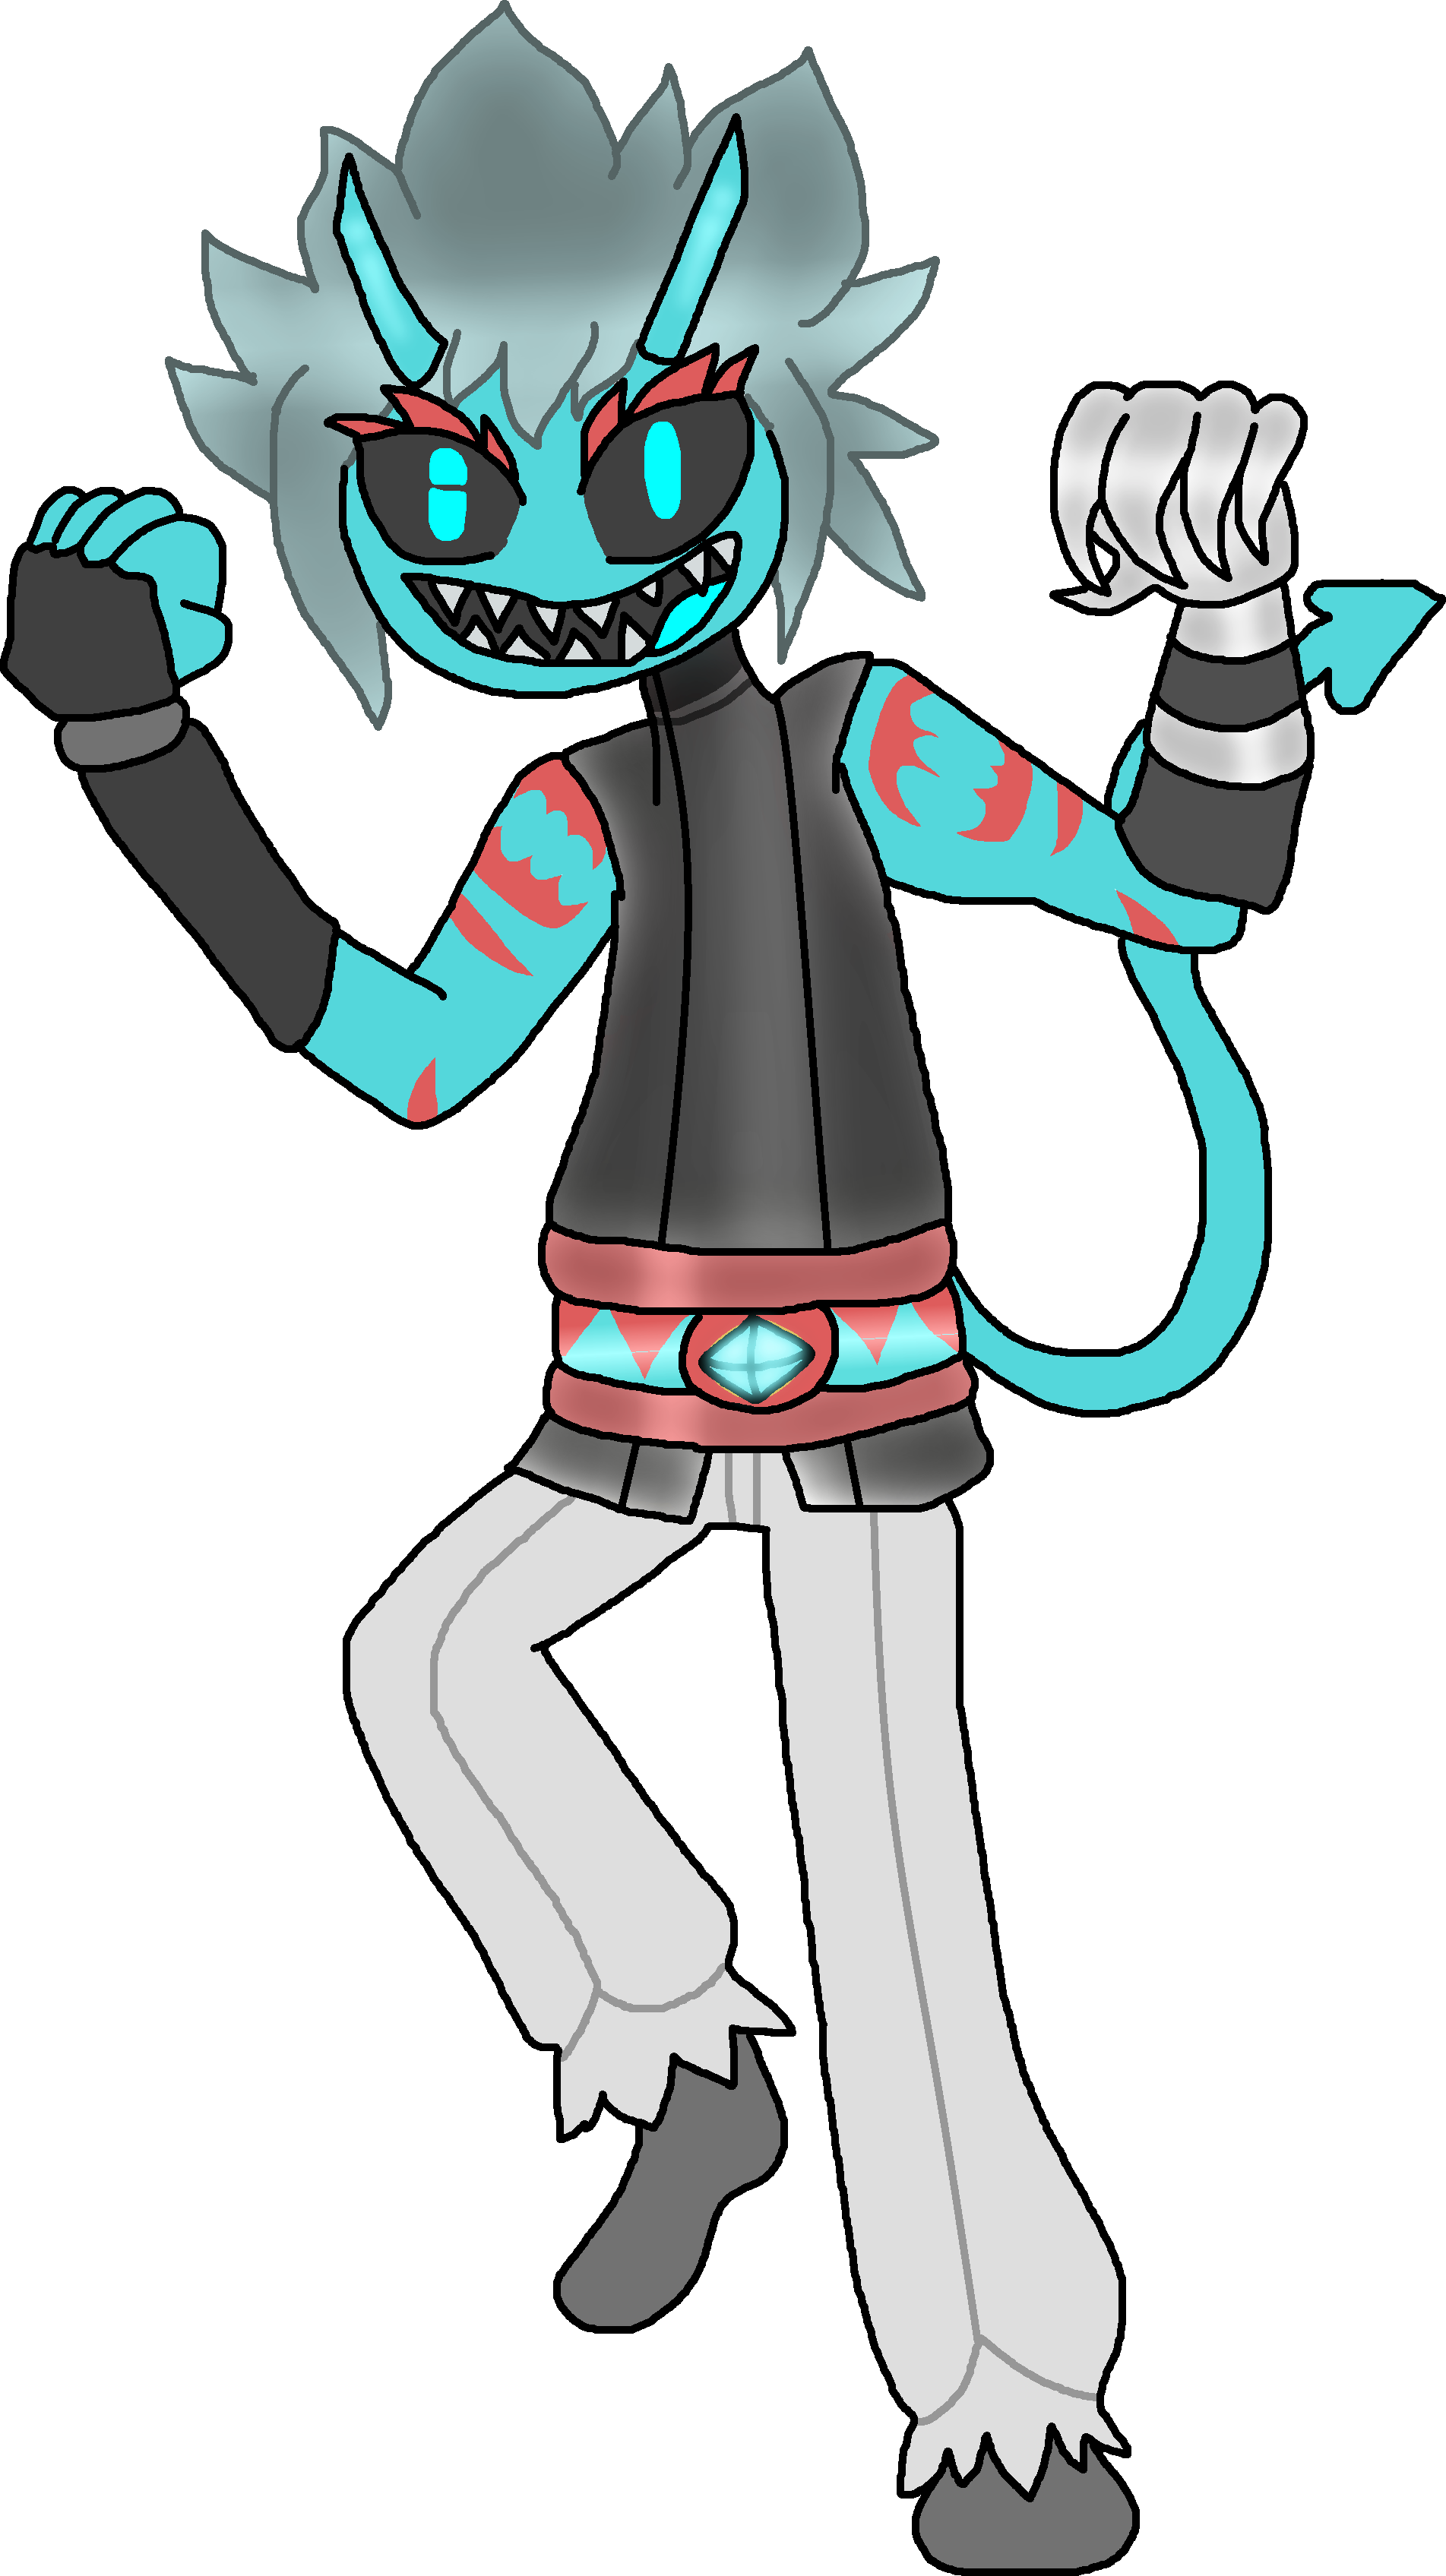
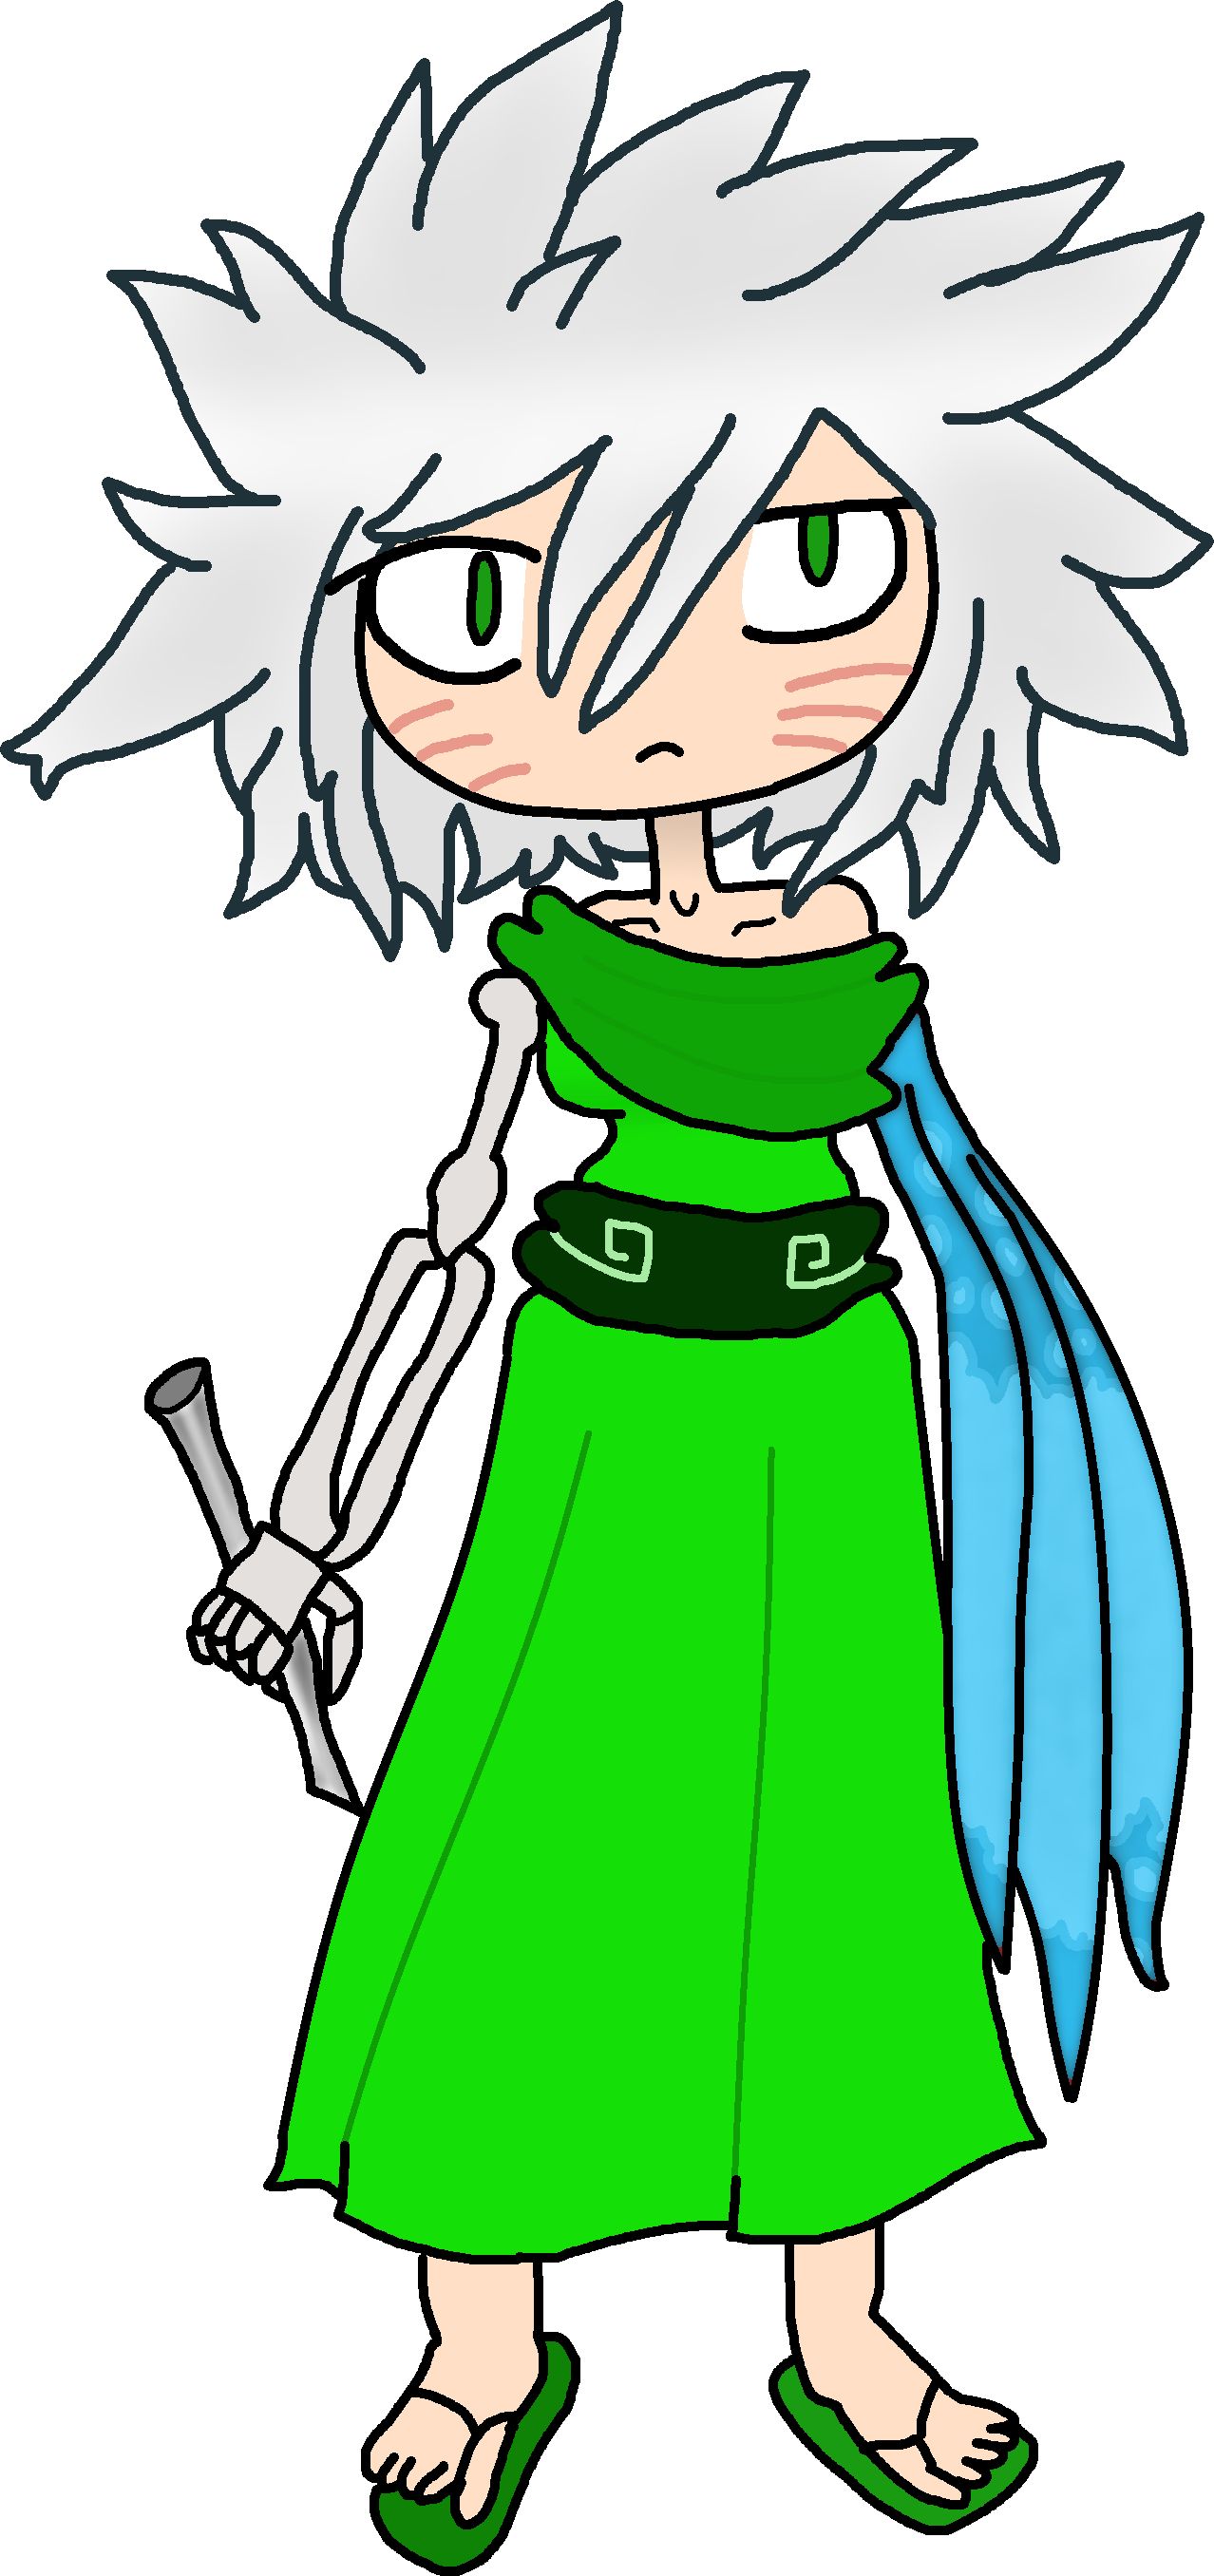
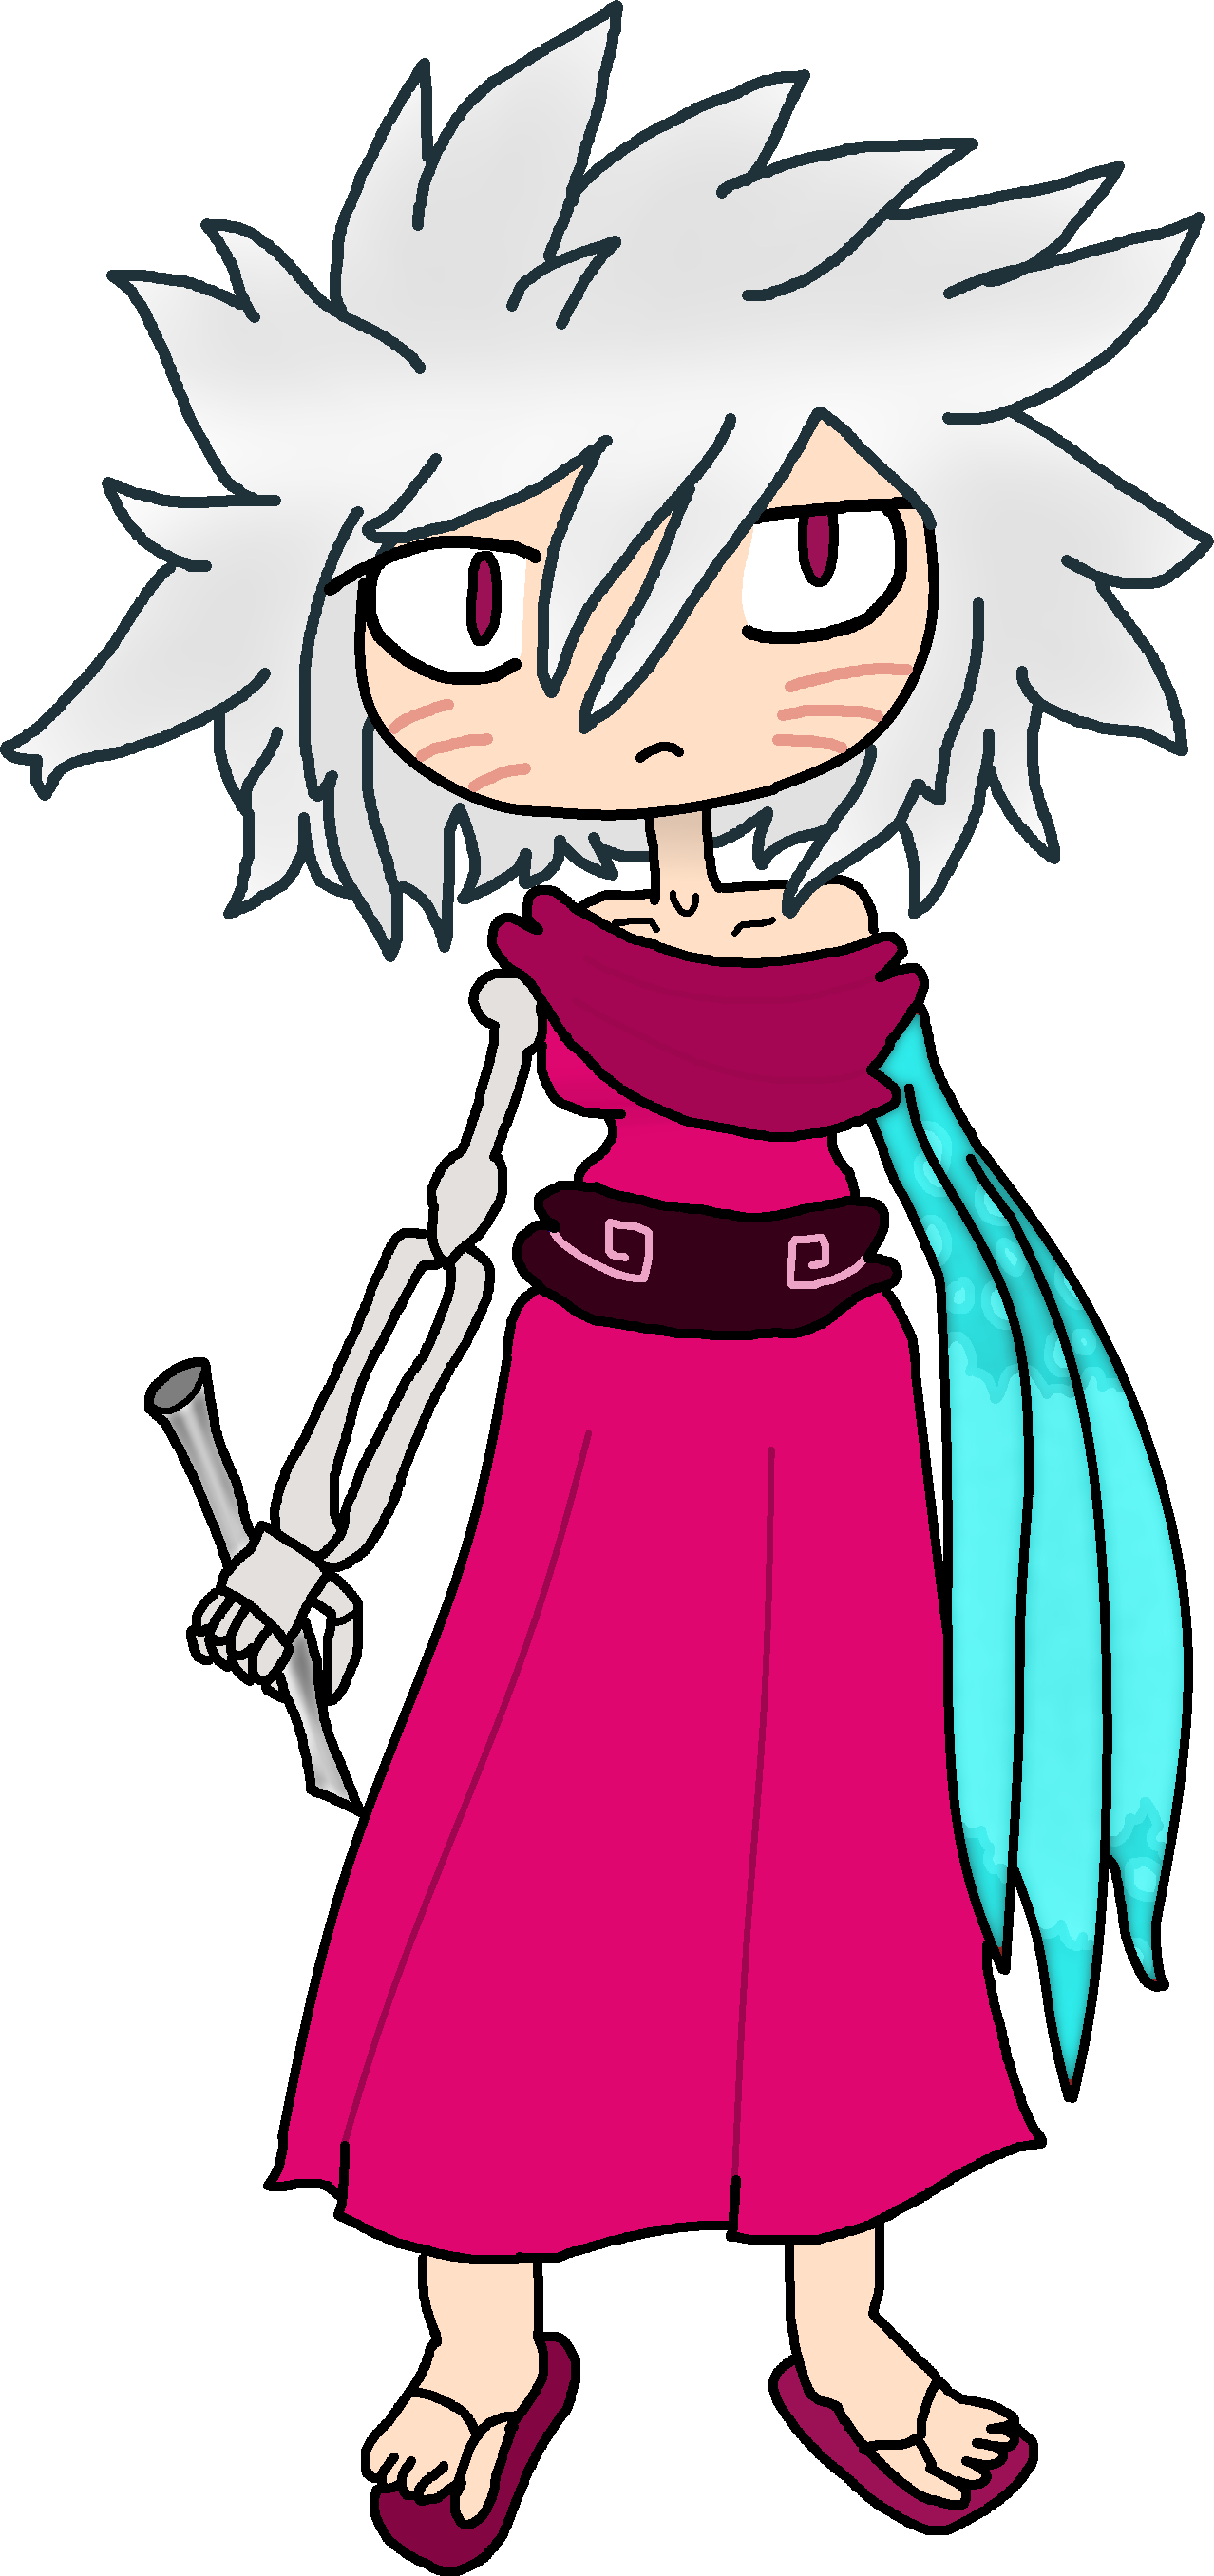
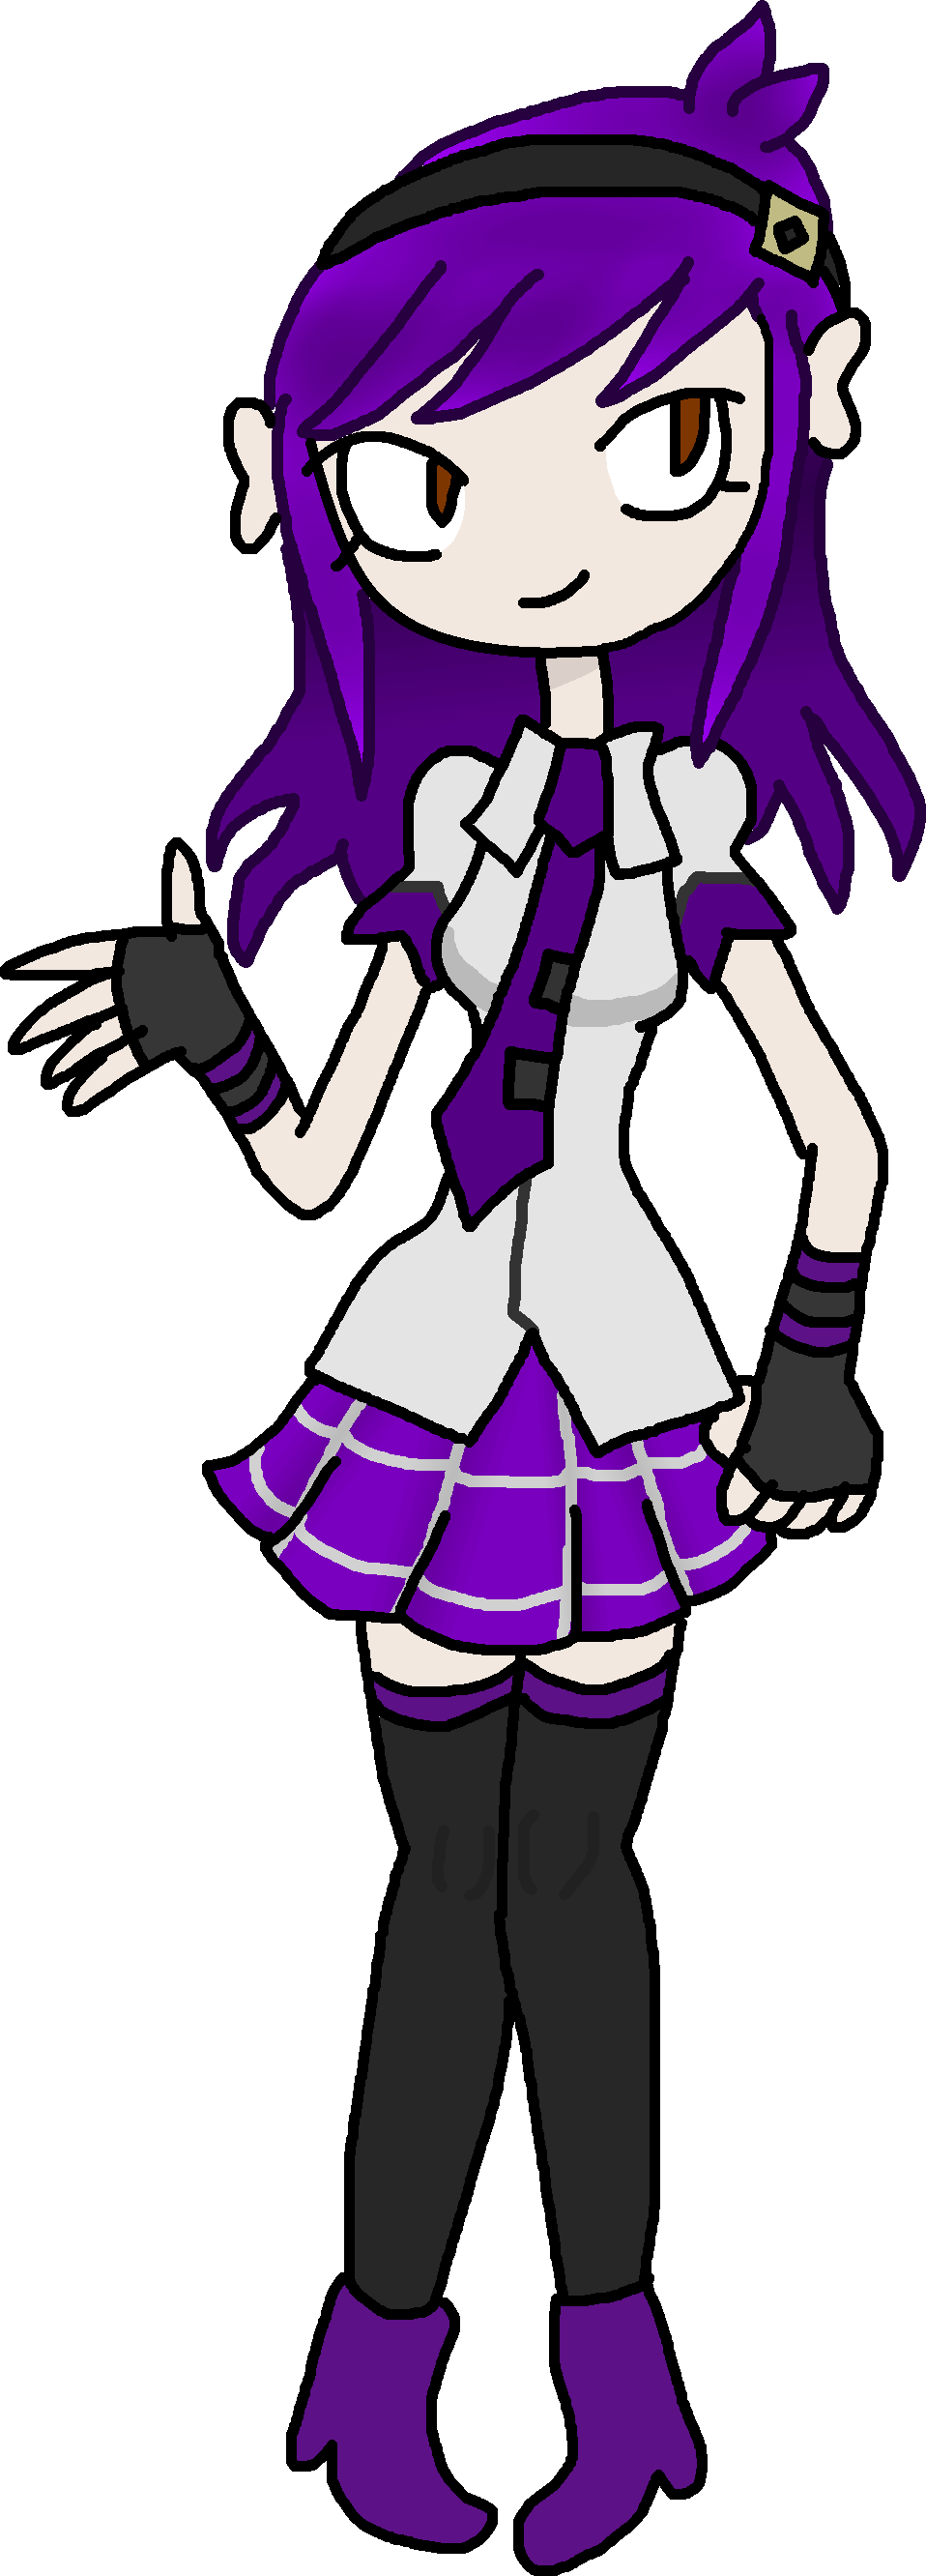
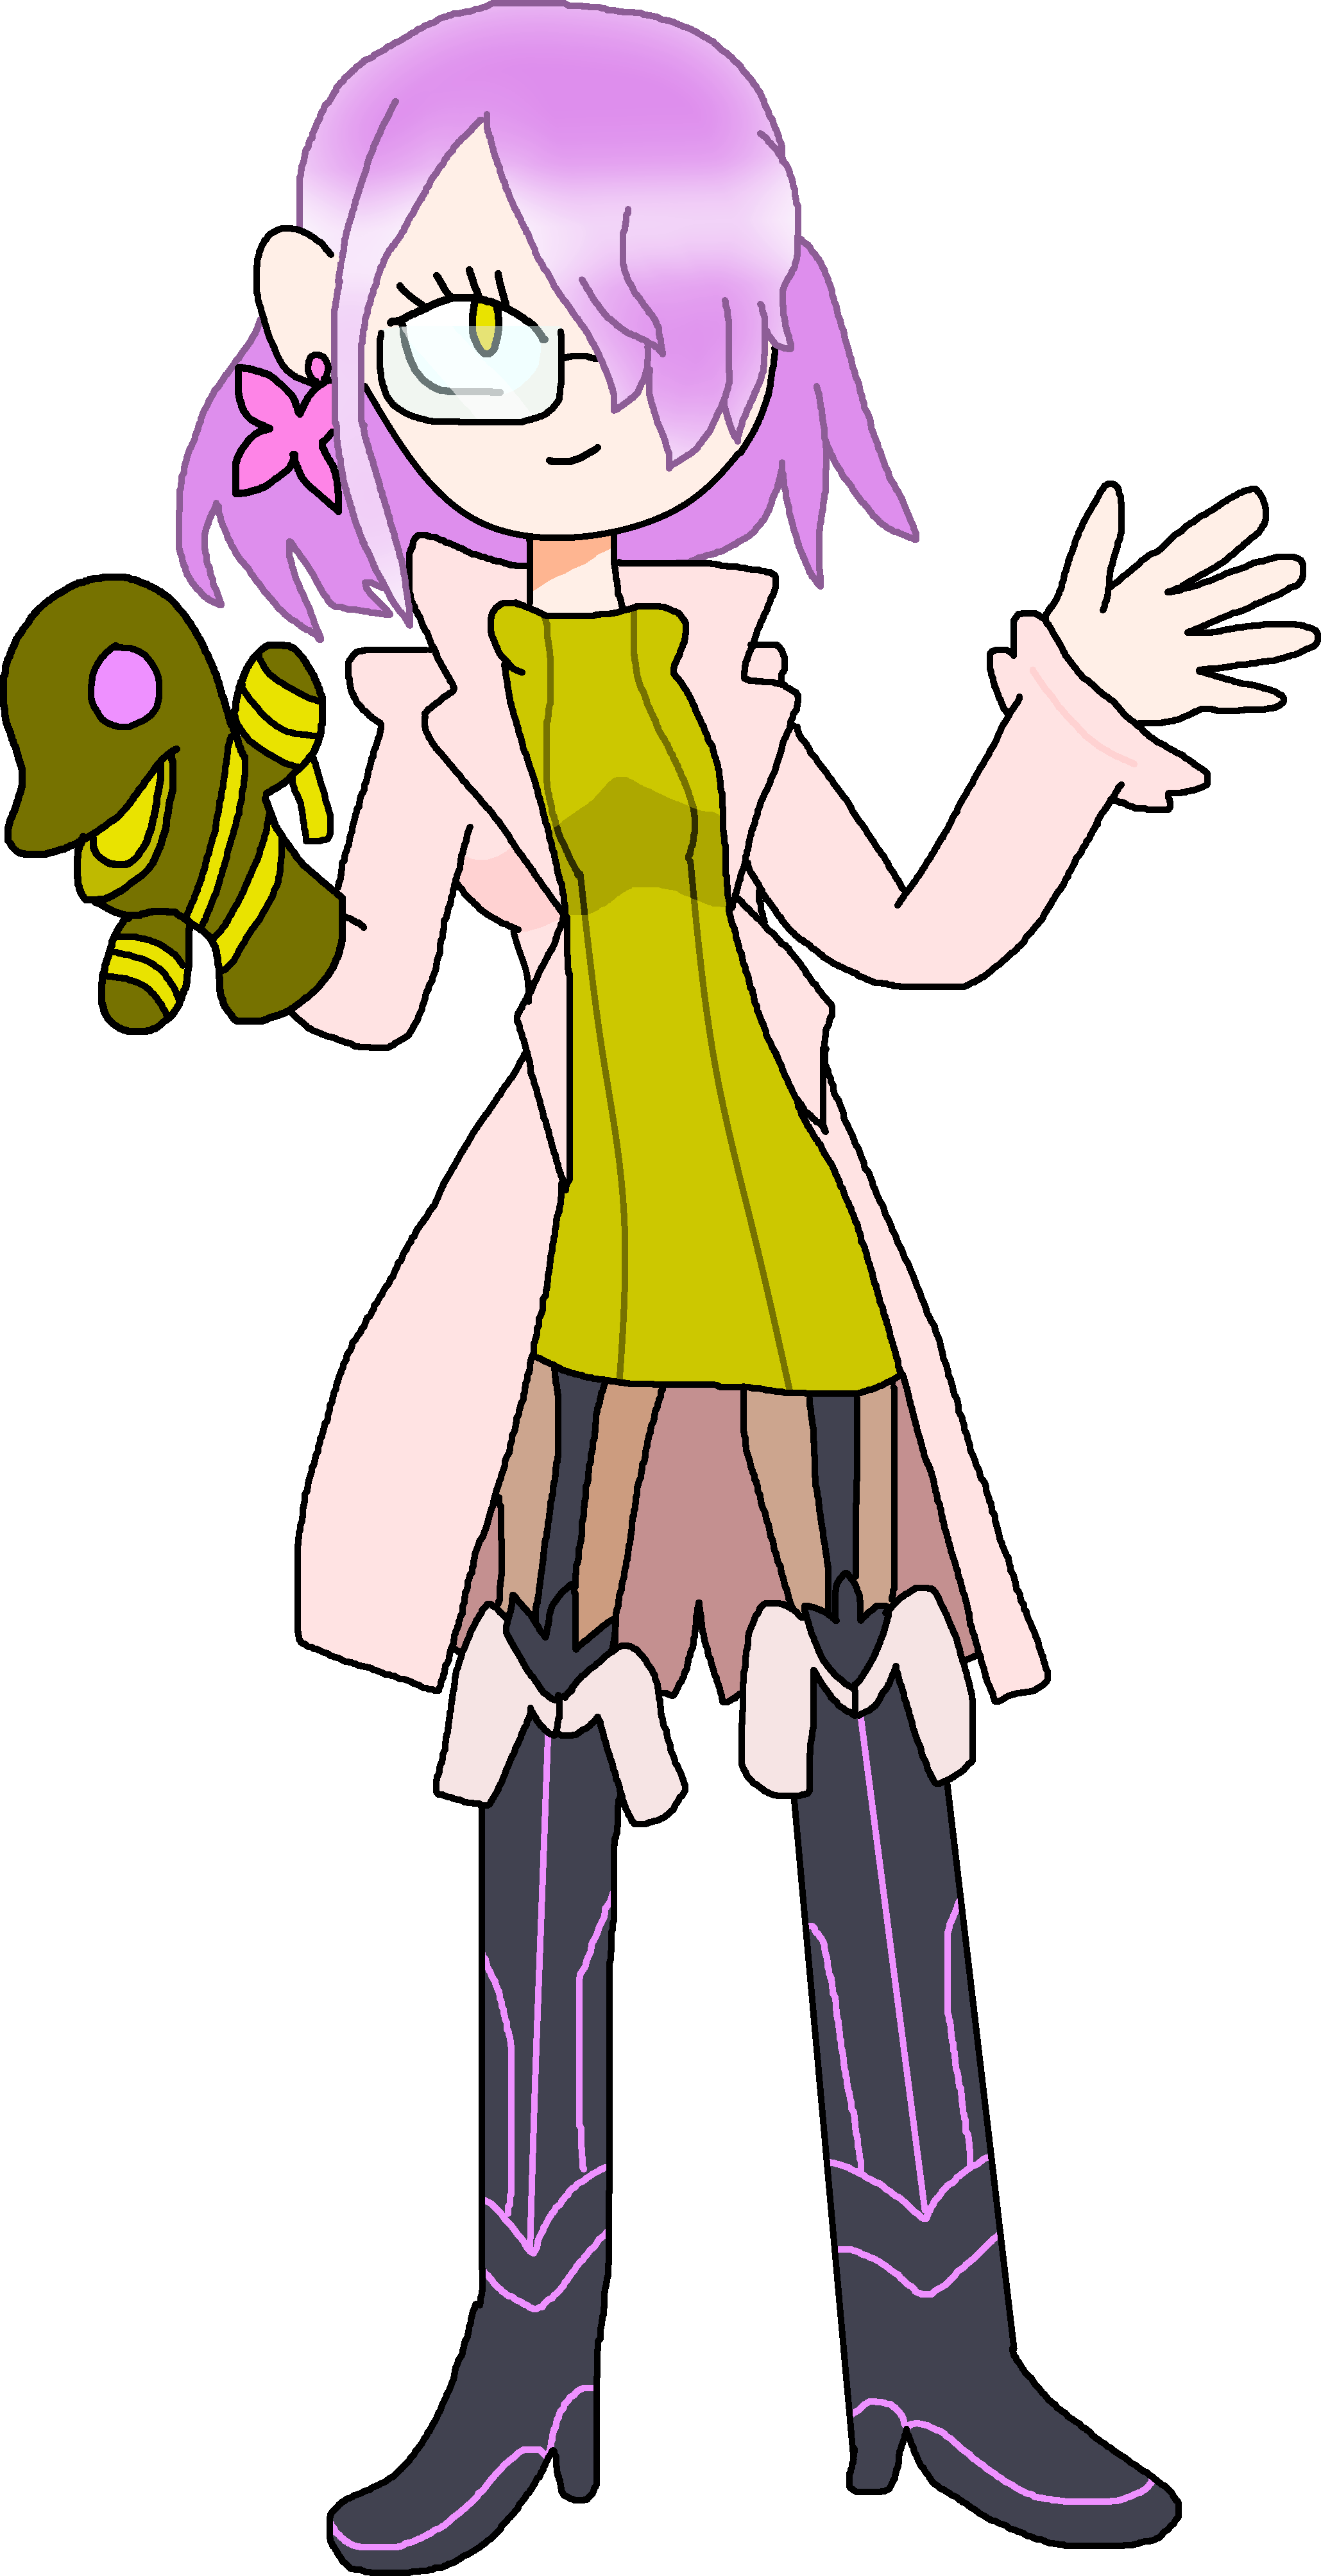
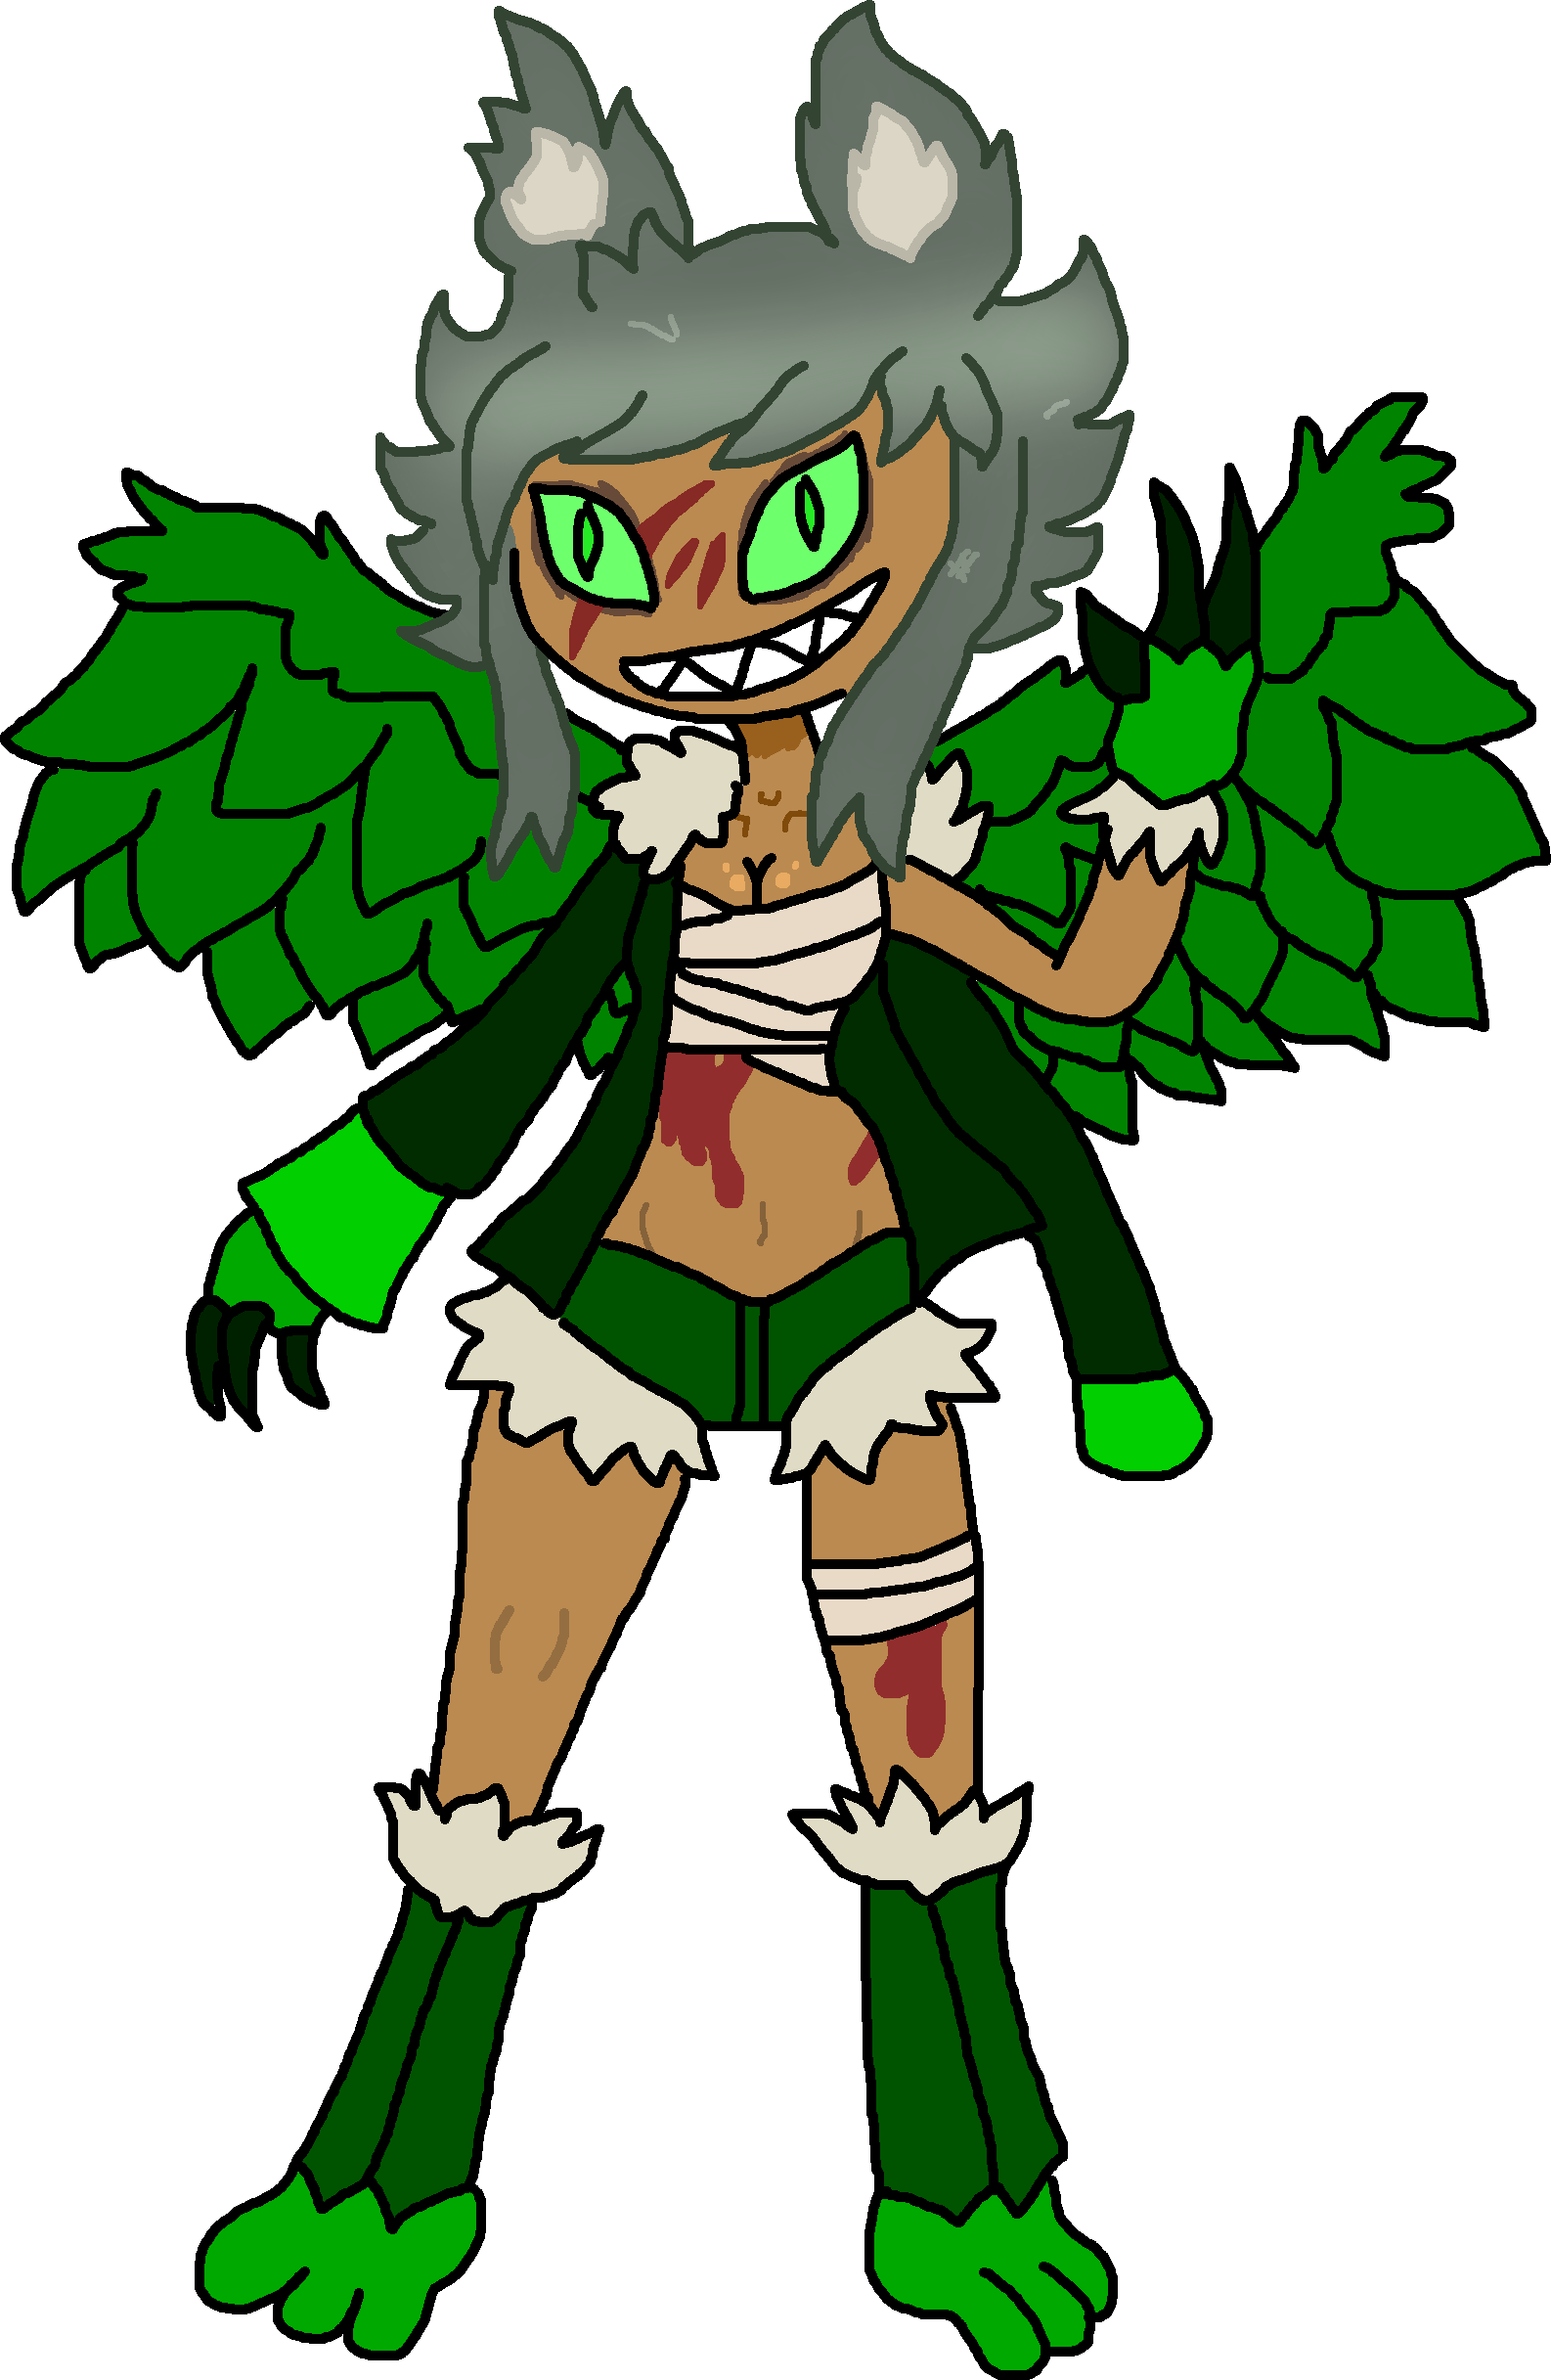
Silver
|
|
| Gameplay Details | ||||||
|
Silver is a lightweight character with a high hurtbox and floaty attributes, having good overall mobility on the ground and especially in the air, having a consistently strong arsenal of attacks in spite of already having great frame data. He's a dominating type of character that's always on the offense, chasing his foes down and beating them senseless with his versatile darkness-themed powers, juggling them or trapping them. Because of these attributes, he functions well as a pressure character, pressuring his foes to play safe and look for openings or he will easily exploit their weaknesses instead. With numerous projectiles on hand and the ability to reflect others' the way they came, Silver can be tricky to approach and excels at camping against the unskilled opposition. Finally, Silver is a perfect punisher, always having the tools necessary to crush the enemy down for their mistakes. Silver does suffer from some blatantly obvious weaknesses, however. His light weight, floaty attributes, and tall body frame all combined make it challenging for him to touch the ground again once he's left it, with characters from the bait and punish archetype able to dominate the floor and be ready to punish him when he comes down. His below-average weight also makes him pathetically easy to knock around, forcing him to continually restart his approach again and again. His below average stamina forces him to make the most careful approaches, or he'll soon find his face down on the mat before he knows it. Characters that come in to hit him and leave instantly are also very annoying for him, preventing him from reacting in time especially if they're faster than him. Lastly, when Silver takes damage, this damage "bleeds" over time and eats at his fragile build. Though Silver does have some glaring flaws, he is still an excellent character to dominate the stage with, and players that play carefully and watch out for their foes' parries will quickly come to master him. Worth noting is that if Silver takes minor damage, he will let out little cries of "Awwwww!" and "Ahhhhh...", only grunting and hissing if he takes particularly heavy hits.
Common Attacks Special Moves
Hyper Moves
Animations
        |
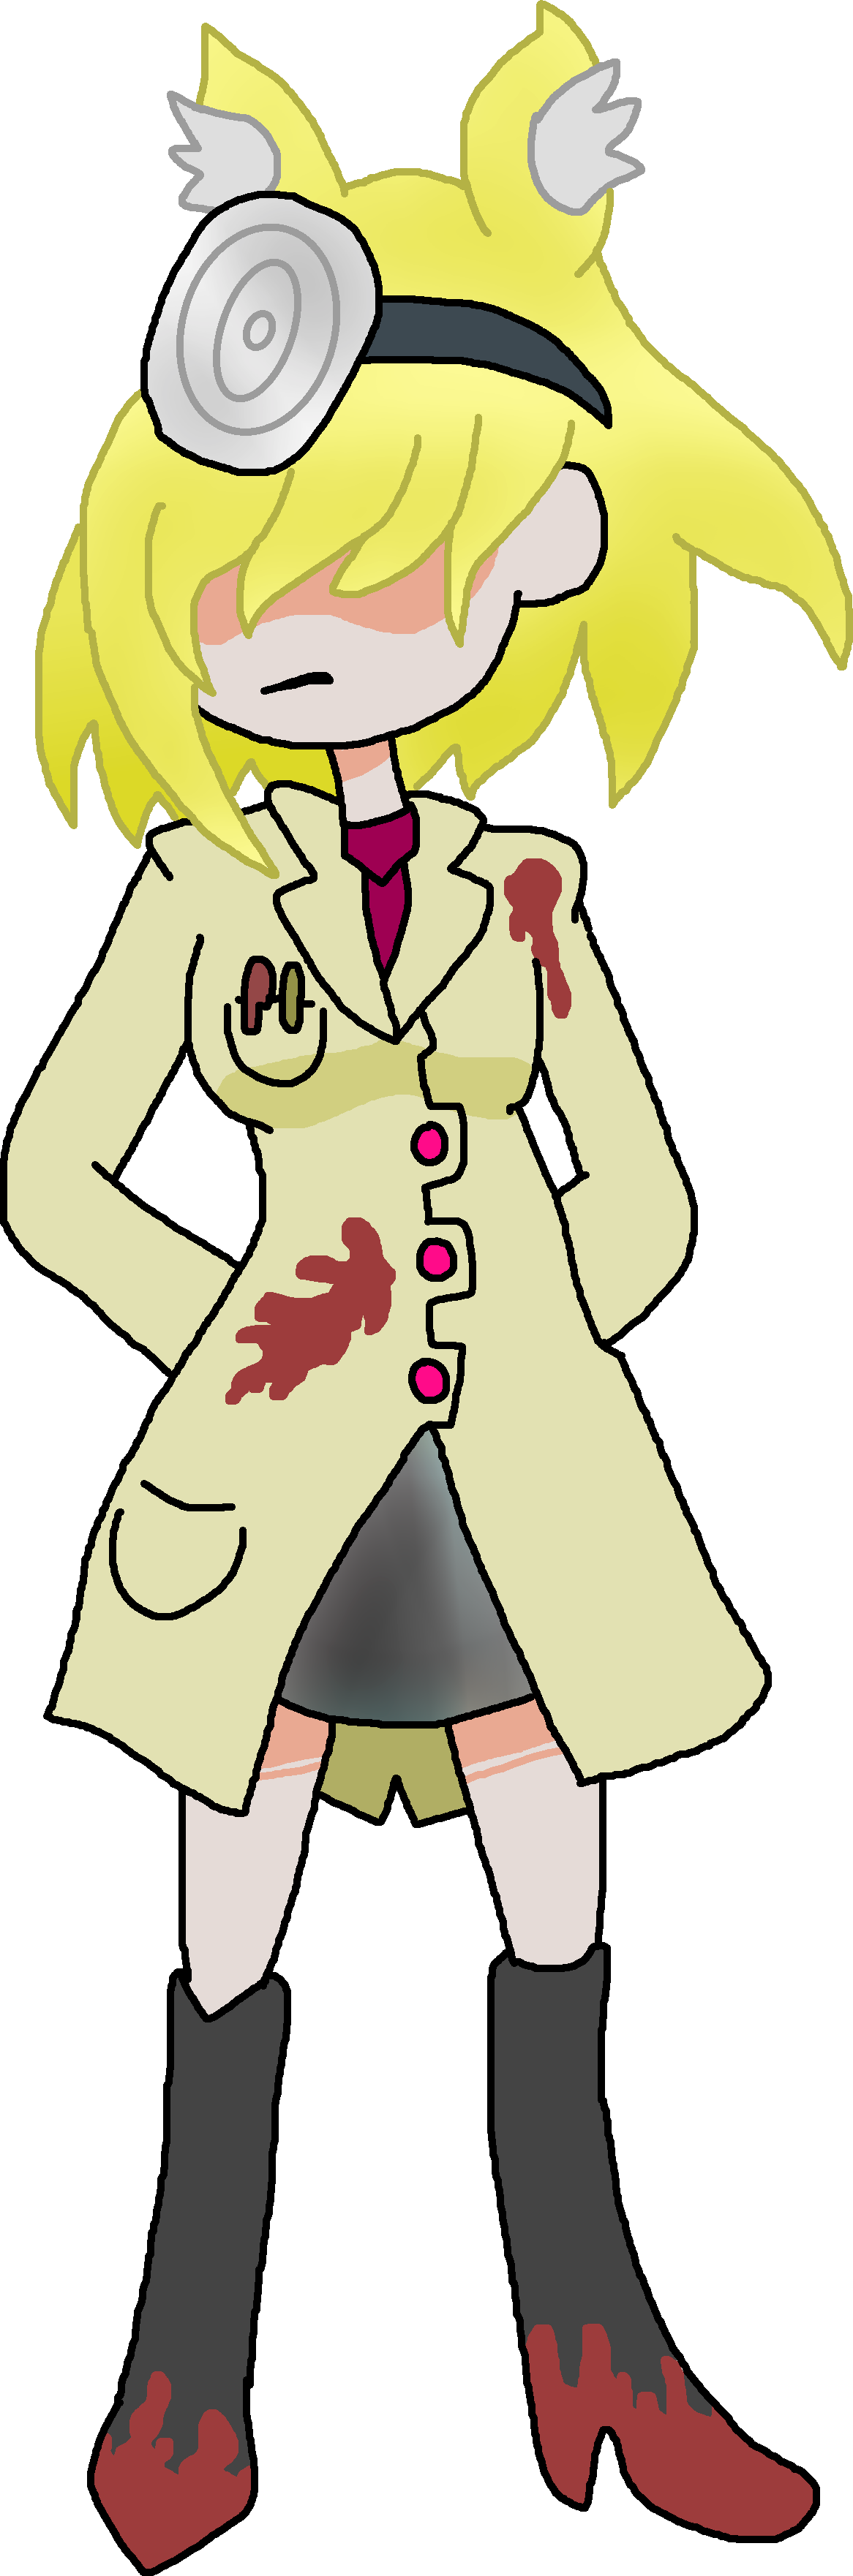
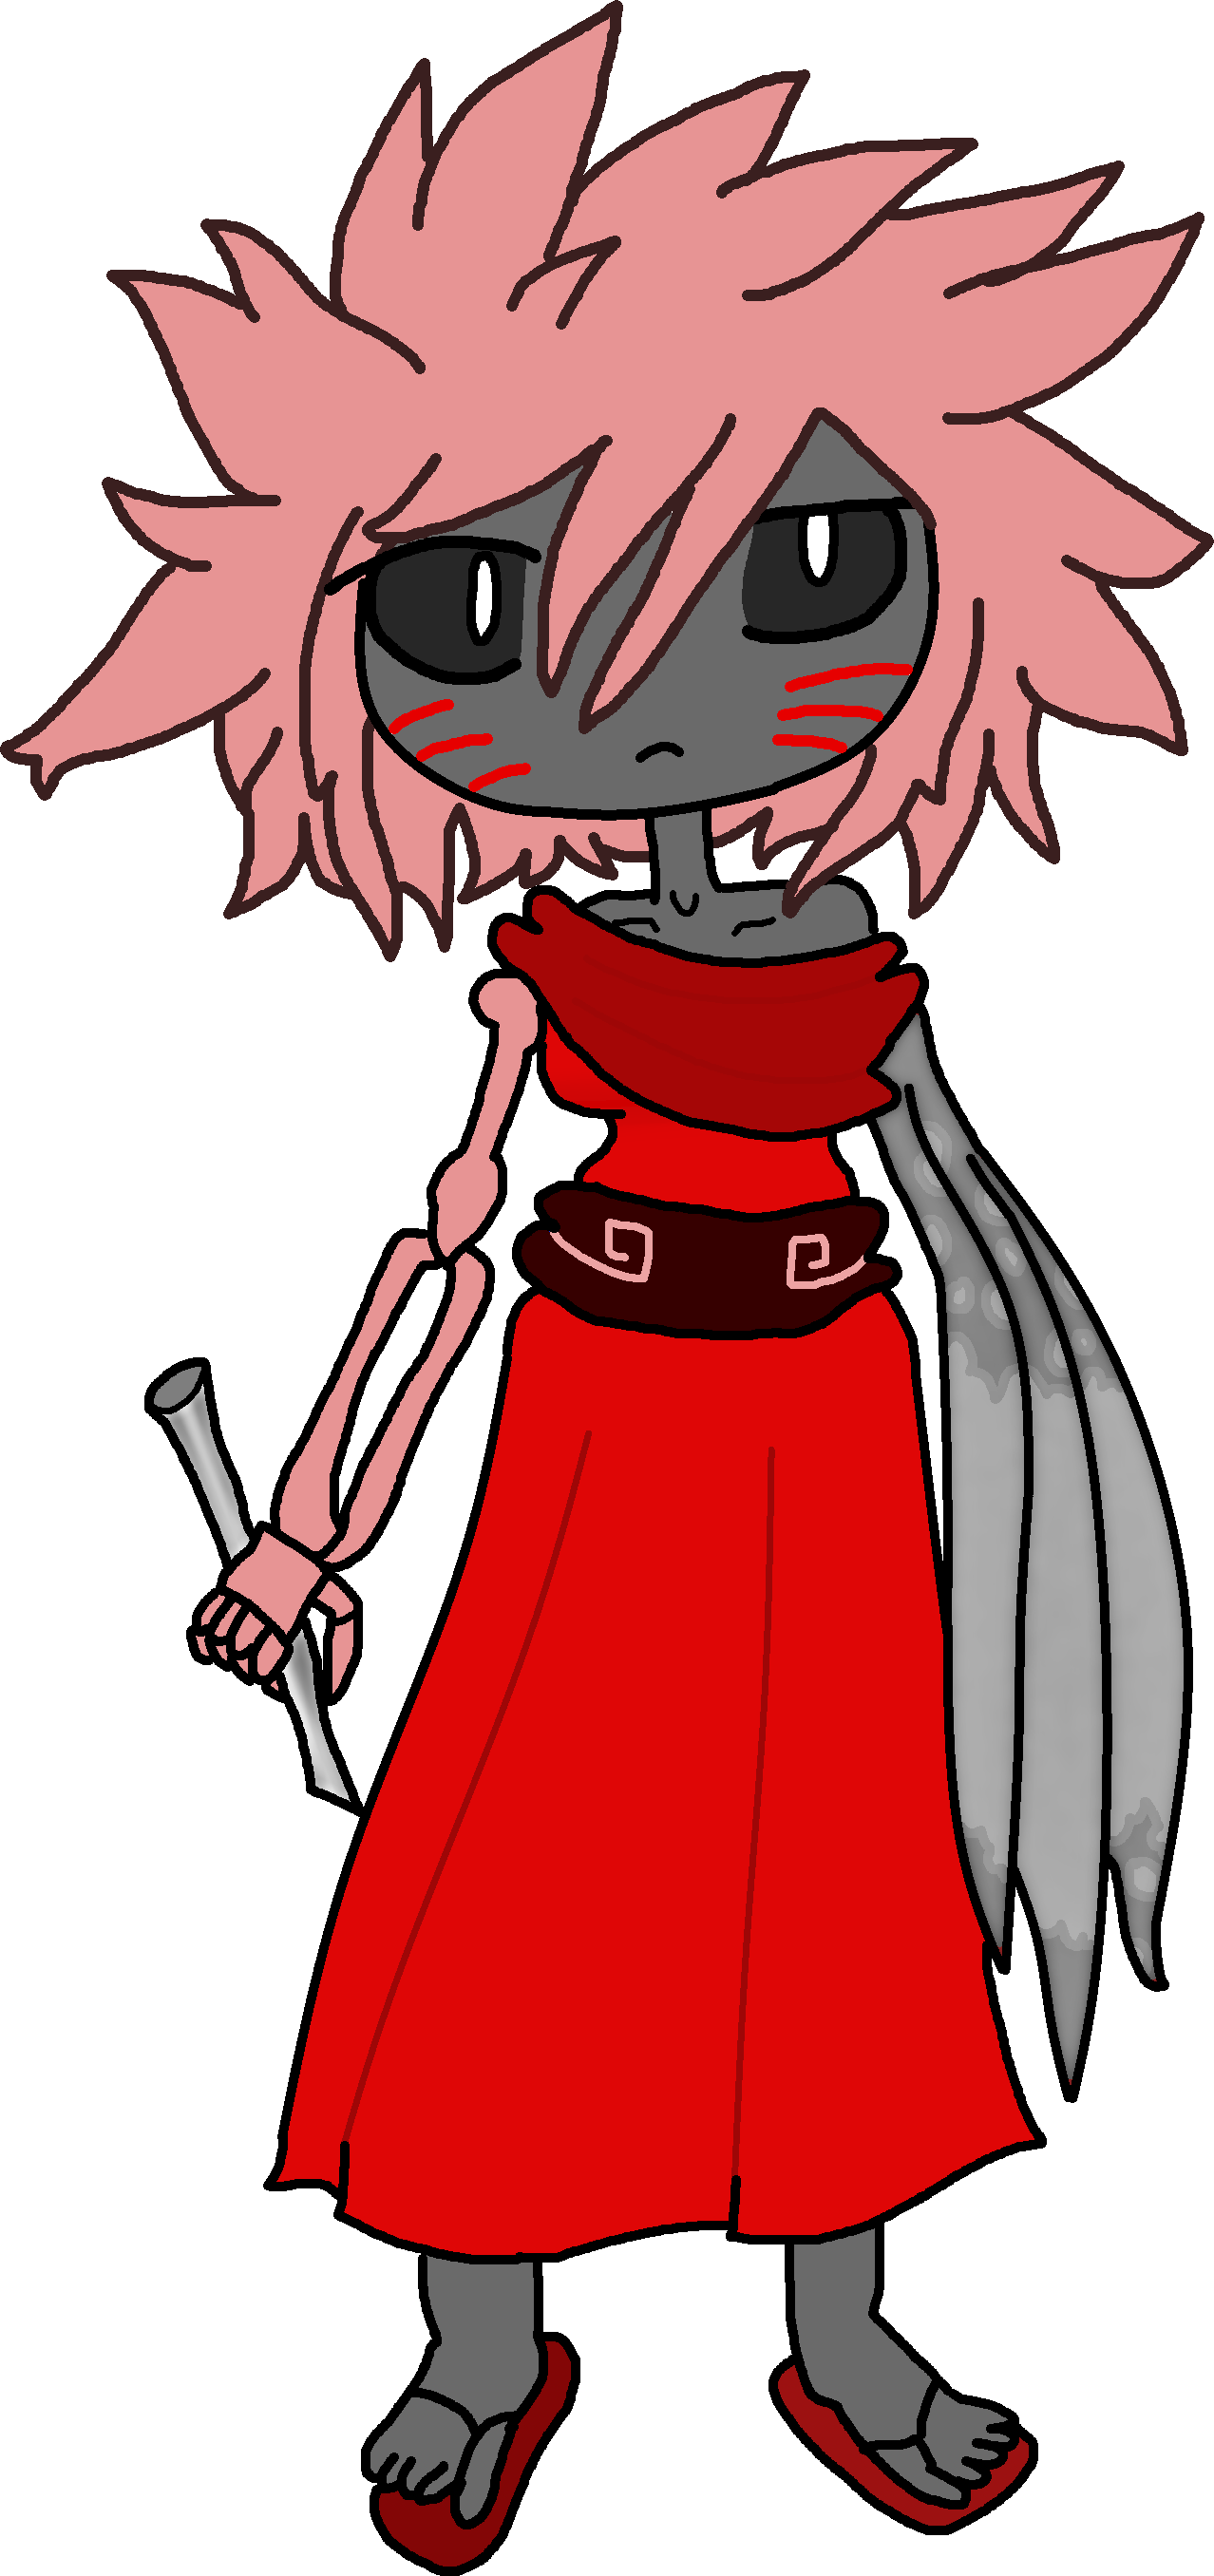
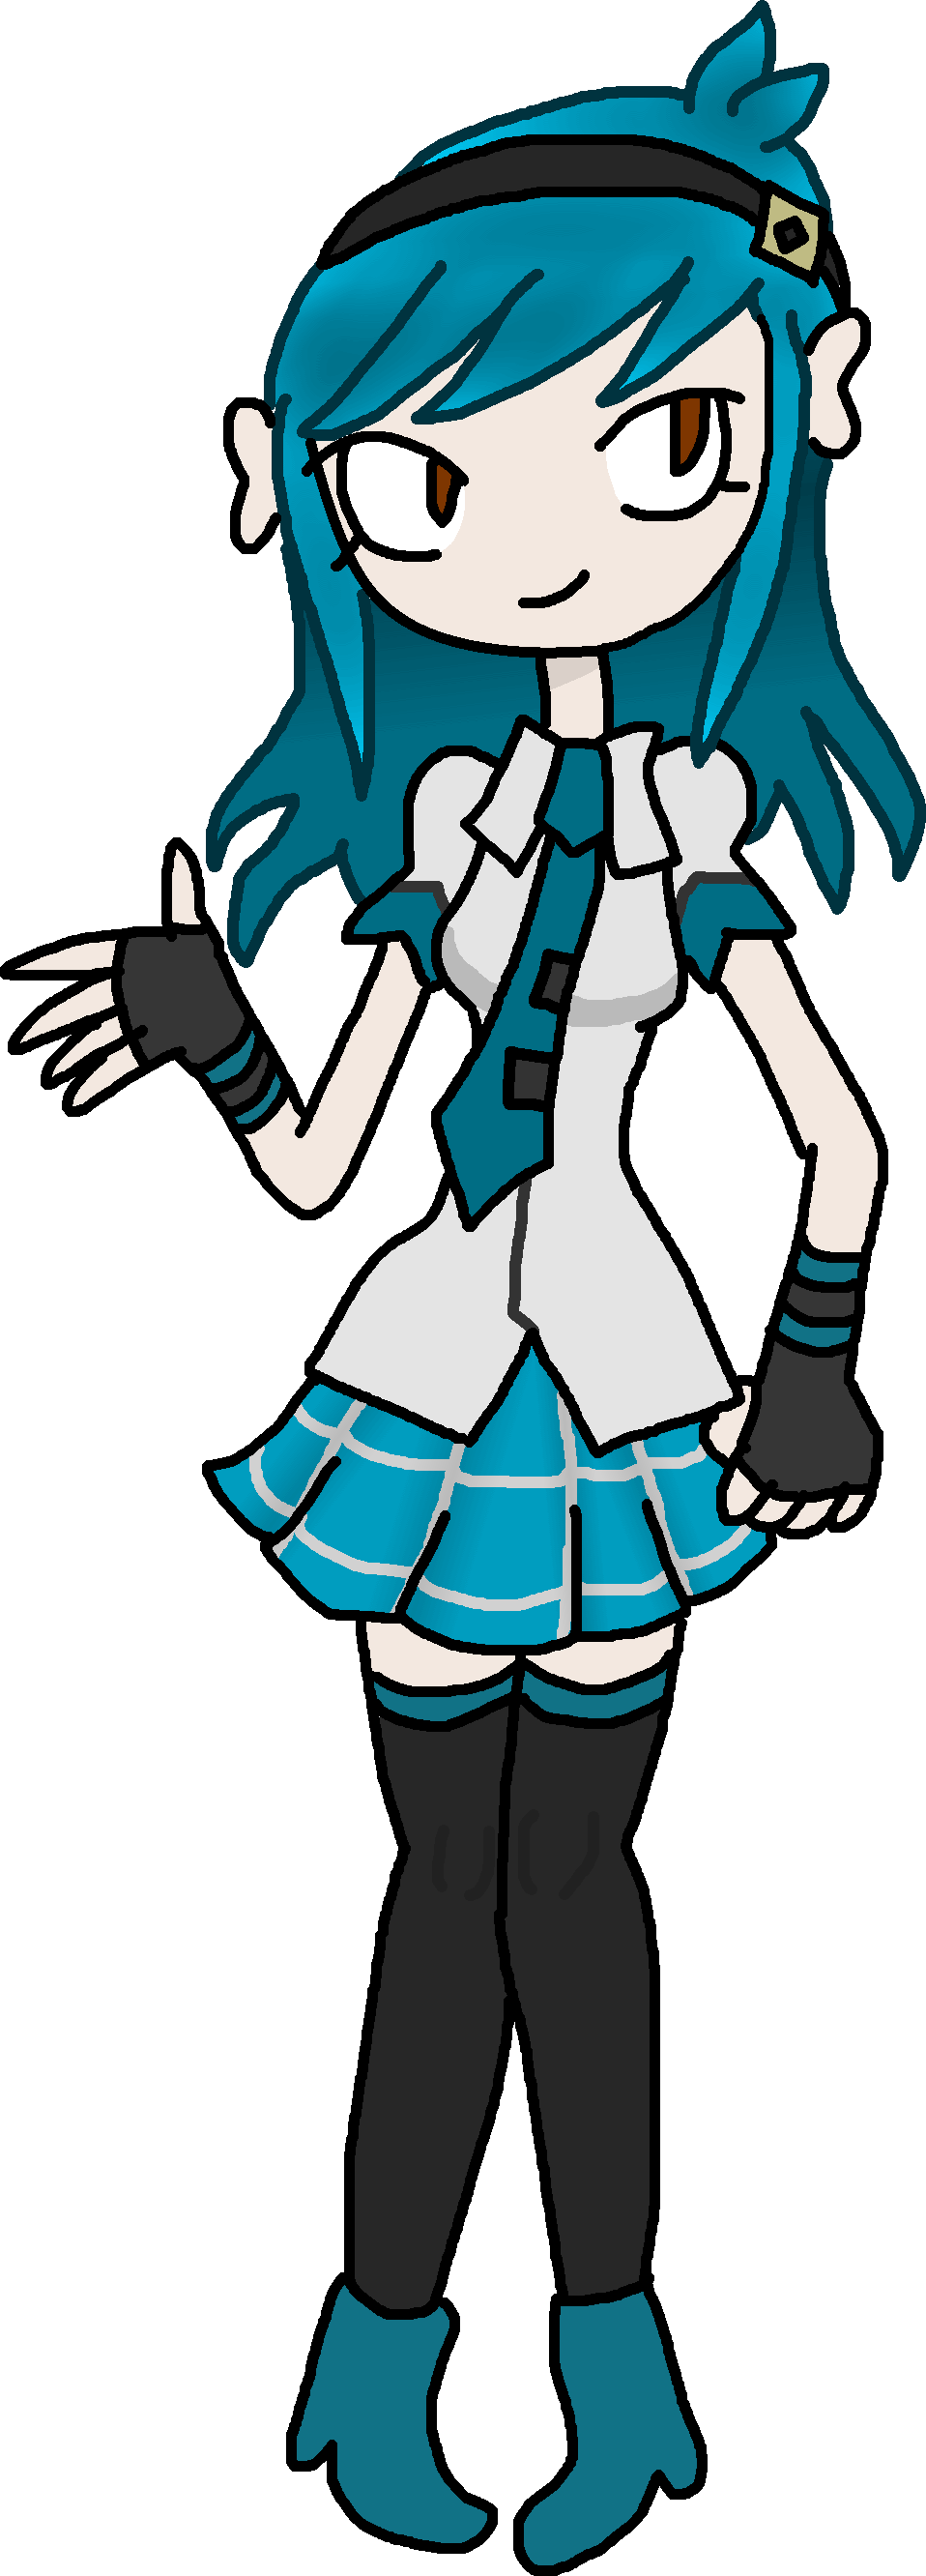
Valerie
|
|
| Gameplay Details | ||||||
|
Valerie's a middleweight character with average height and some high jumps, somewhat weighted down by her high gravity and falling speed but made up for by her excellent mobility. Valerie likes to zone her foes out, releasing her arsenal of tools and projectiles their way and coming in for the kill on occasion to swipe with her long-ranged melee weapons. She can also be a functional zone breaker, however, being capable of rushing down towards her opposition and pressuring them to stay out of their way, getting in whatever hits she can and disrupting them with her high speed combos, dominating the match. With minimal ending lag on her attacks, Valerie can easily wall down slower foes and force them to rely on bait and switch tactics. At the drop of a hat, Valerie can suddenly switch between being an offense-based character and a defense-based one, or vice versa. Though these are blessings to have for Valerie, she does come with some glaring flaws. Perhaps the most glaring is the fact that she lacks any true high-power attacks, forcing her to keep her foes trapped in long, consecutive combos if she wishes to do any meaningful damage to them. Her high gravity also presents a huge problem; should Valerie wind up falling below the stage, chances are she's done for as her recovery move is not very efficient for returning to the stage and her jumps have to be almost pixel-perfect. Her projectiles also have low priority and thus can be destroyed by almost any meaningfully strong, which can hamper the efficiency of her range if the player doesn't play their cards correctly. Lastly, Valerie is prone to being knocked around and being juggled, ironically making her a very easy character to land combos against. Overall, Valerie's a versatile character with an extremely good combo racking game, just without proper finishing attacks and without an efficient recovery. She must stay above solid ground at all times to secure victory.
Common Attacks Special Moves
Hyper Moves
Animations
        |
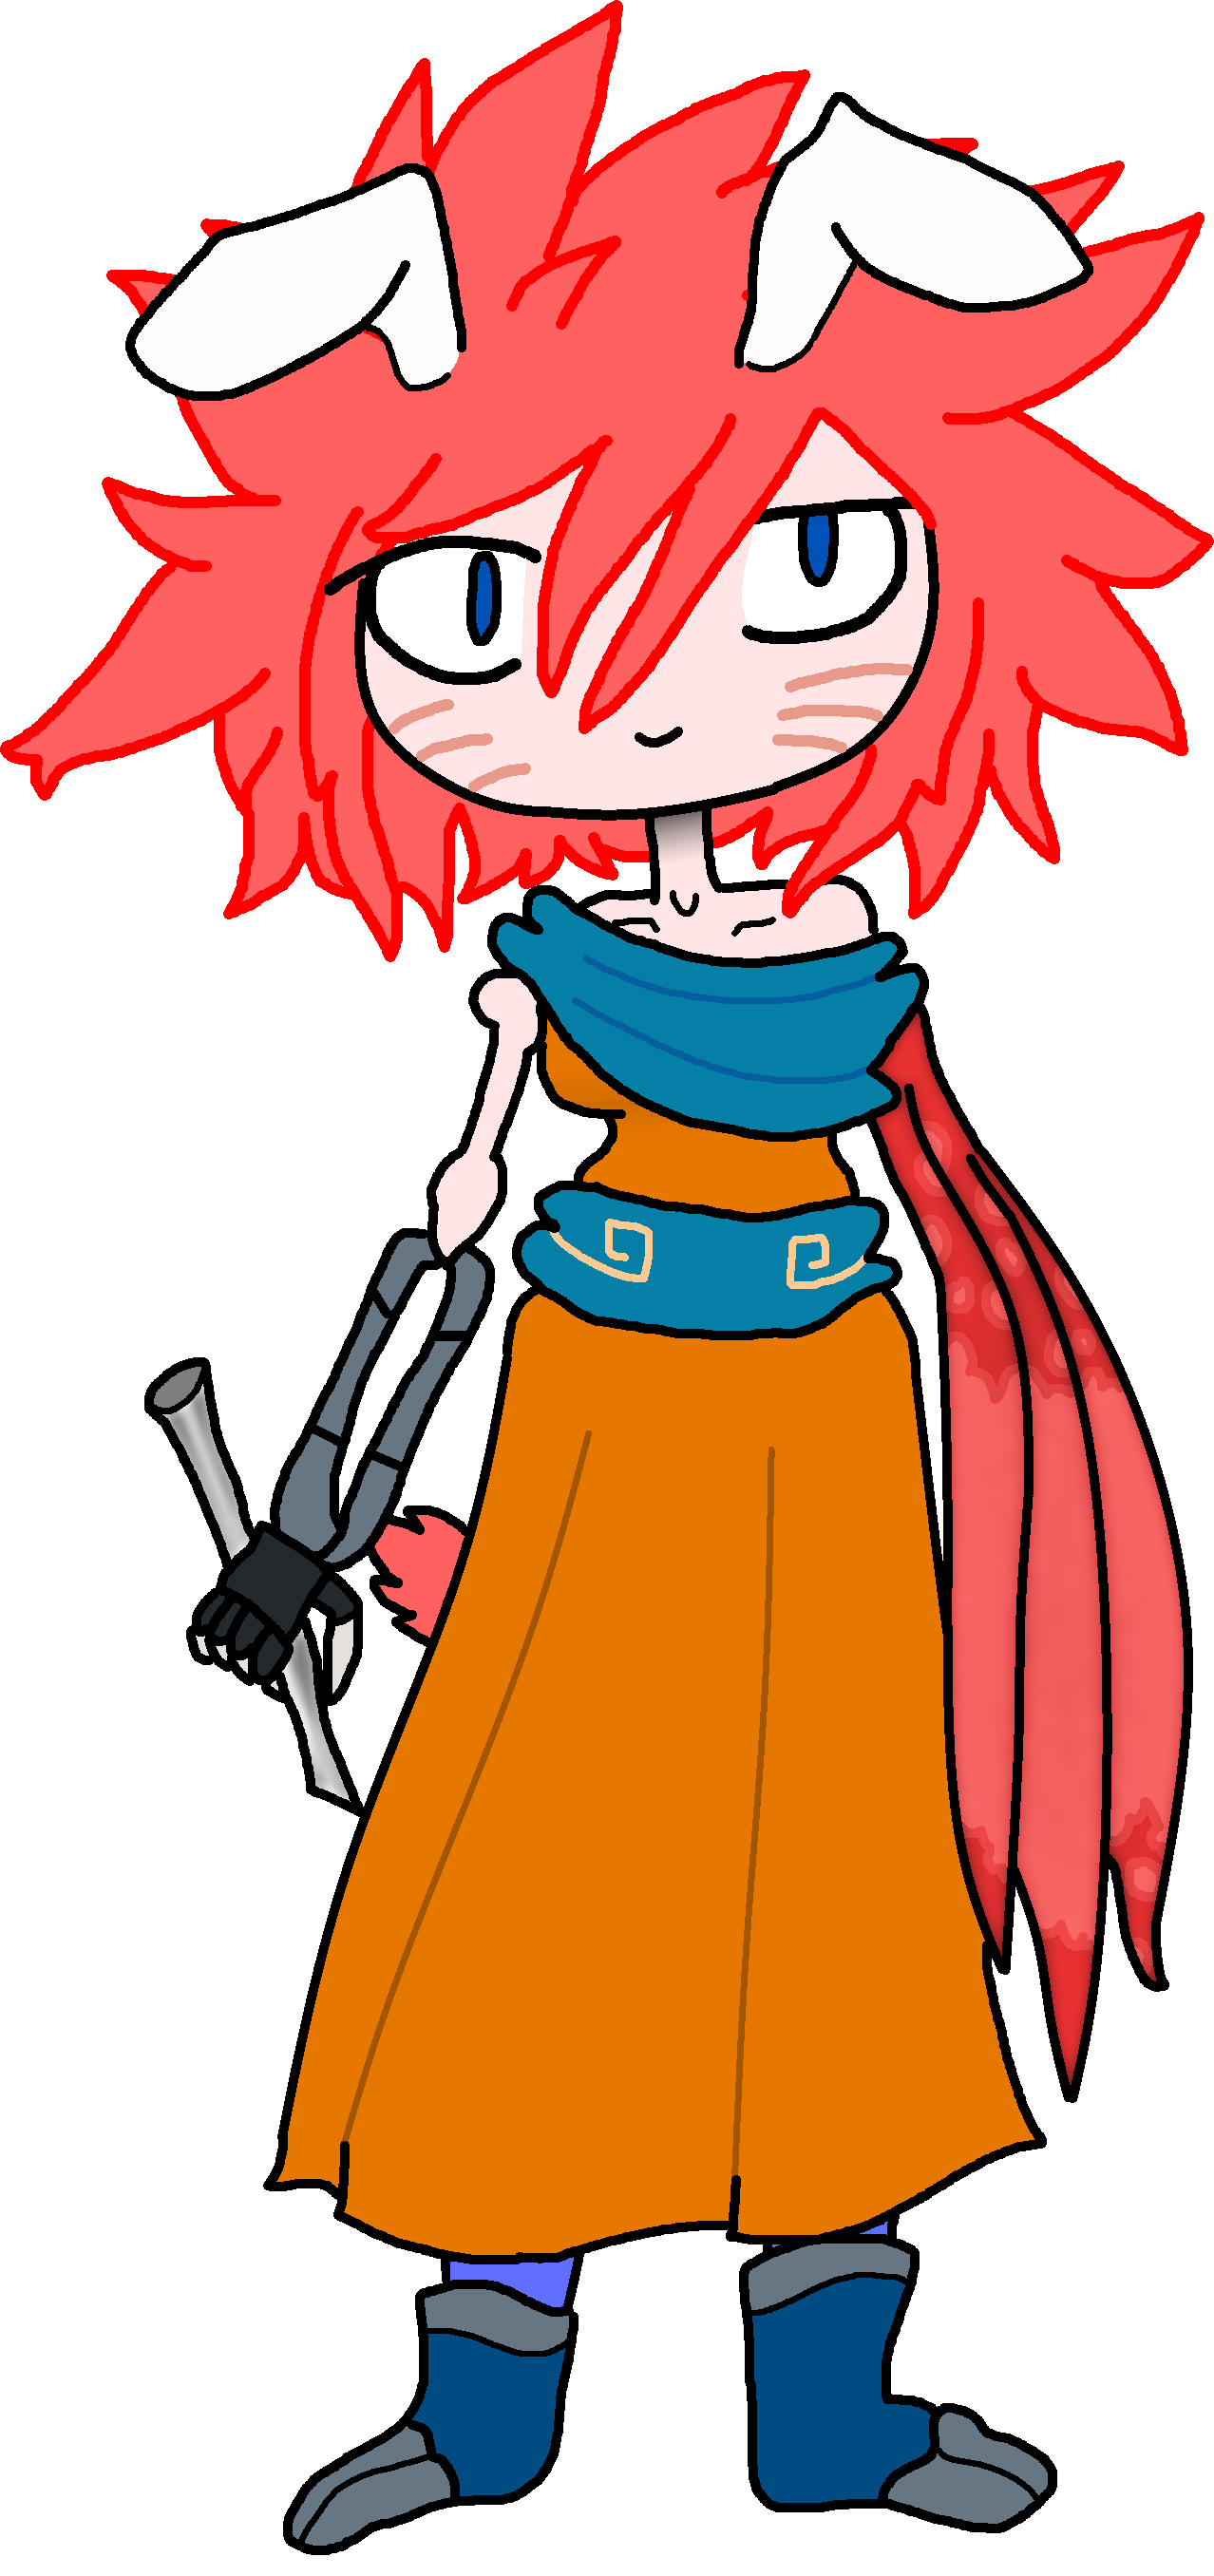
Scotch
|
|
| Gameplay Details | ||||||
|
Scotch is a heavyweight character with a tall hurtbox as well as heavy attributes, having sluggish mobility overall and having some heavy ending lag on his attacks but having power and range as his greatest assets. As a fighter, Scotch's style surrounds around the concept of him dominating and controlling the battlefield for himself, keeping his foes at bay with long-range attacks to prevent them from exploiting his weaknesses, making it challenging for them to properly approach him unless they specialize in zone breaking. Scotch's arsenal is exceptionally powerful, forcing his foes to take tons of damage ridiculously quick whether or not he's using his weapons or his arms to bring them down. If his foes come too close, he can grab onto them and suplex them into the ground, letting him dish out tons of damage to them at once. Finally, he does not flinch from others' attacks, being resilient towards them. However, Scotch does suffer from numerous weaknesses. It's worth noting he's one of the game's slowest characters, his pockets and clothes loaded with weaponry, which makes it easy to catch up to him. His weight also makes him rather easy to juggle in the air and chain numerous hits against. Agile characters can dodge his weapons if they correctly telegraph where they're going to land and go in for the kill to punish him, forcing Scotch to rely on bait and punish techniques. Rushdown and dominating characters particularly annoy him, as they can eliminate the utility of his weapons and force him to rely on his lower-range attacks. Because of his weight and weak jumps, it's also challenging for Scotch to use his aerials, as powerful and mighty as they are, making them situational at best. Though Scotch's heavy weight and sluggish speed can really get in the way of his effectiveness, he retains having one of the best projectile games in the game and can't flinch to any attack, letting him get his punches in.
Common Attacks Special Moves
Hyper Moves
Animations
        |
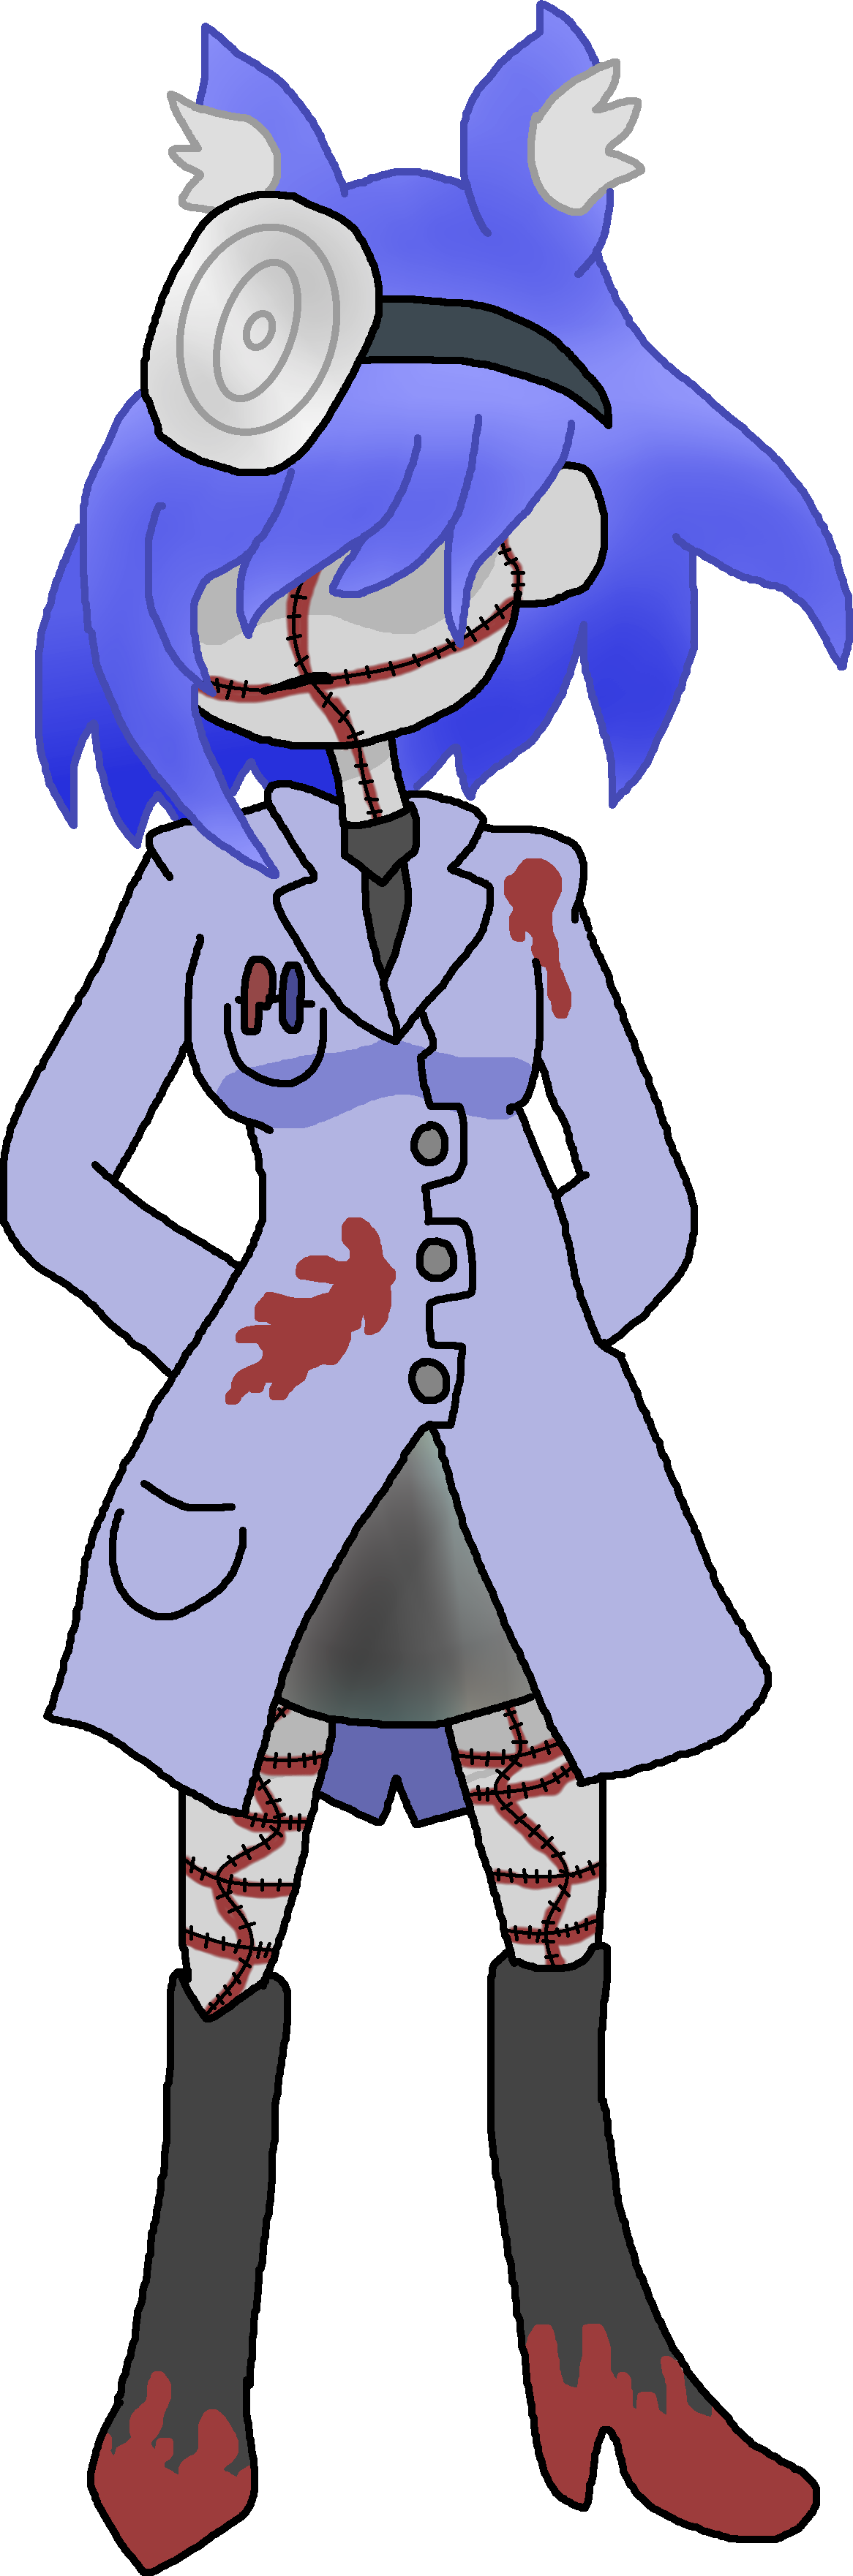
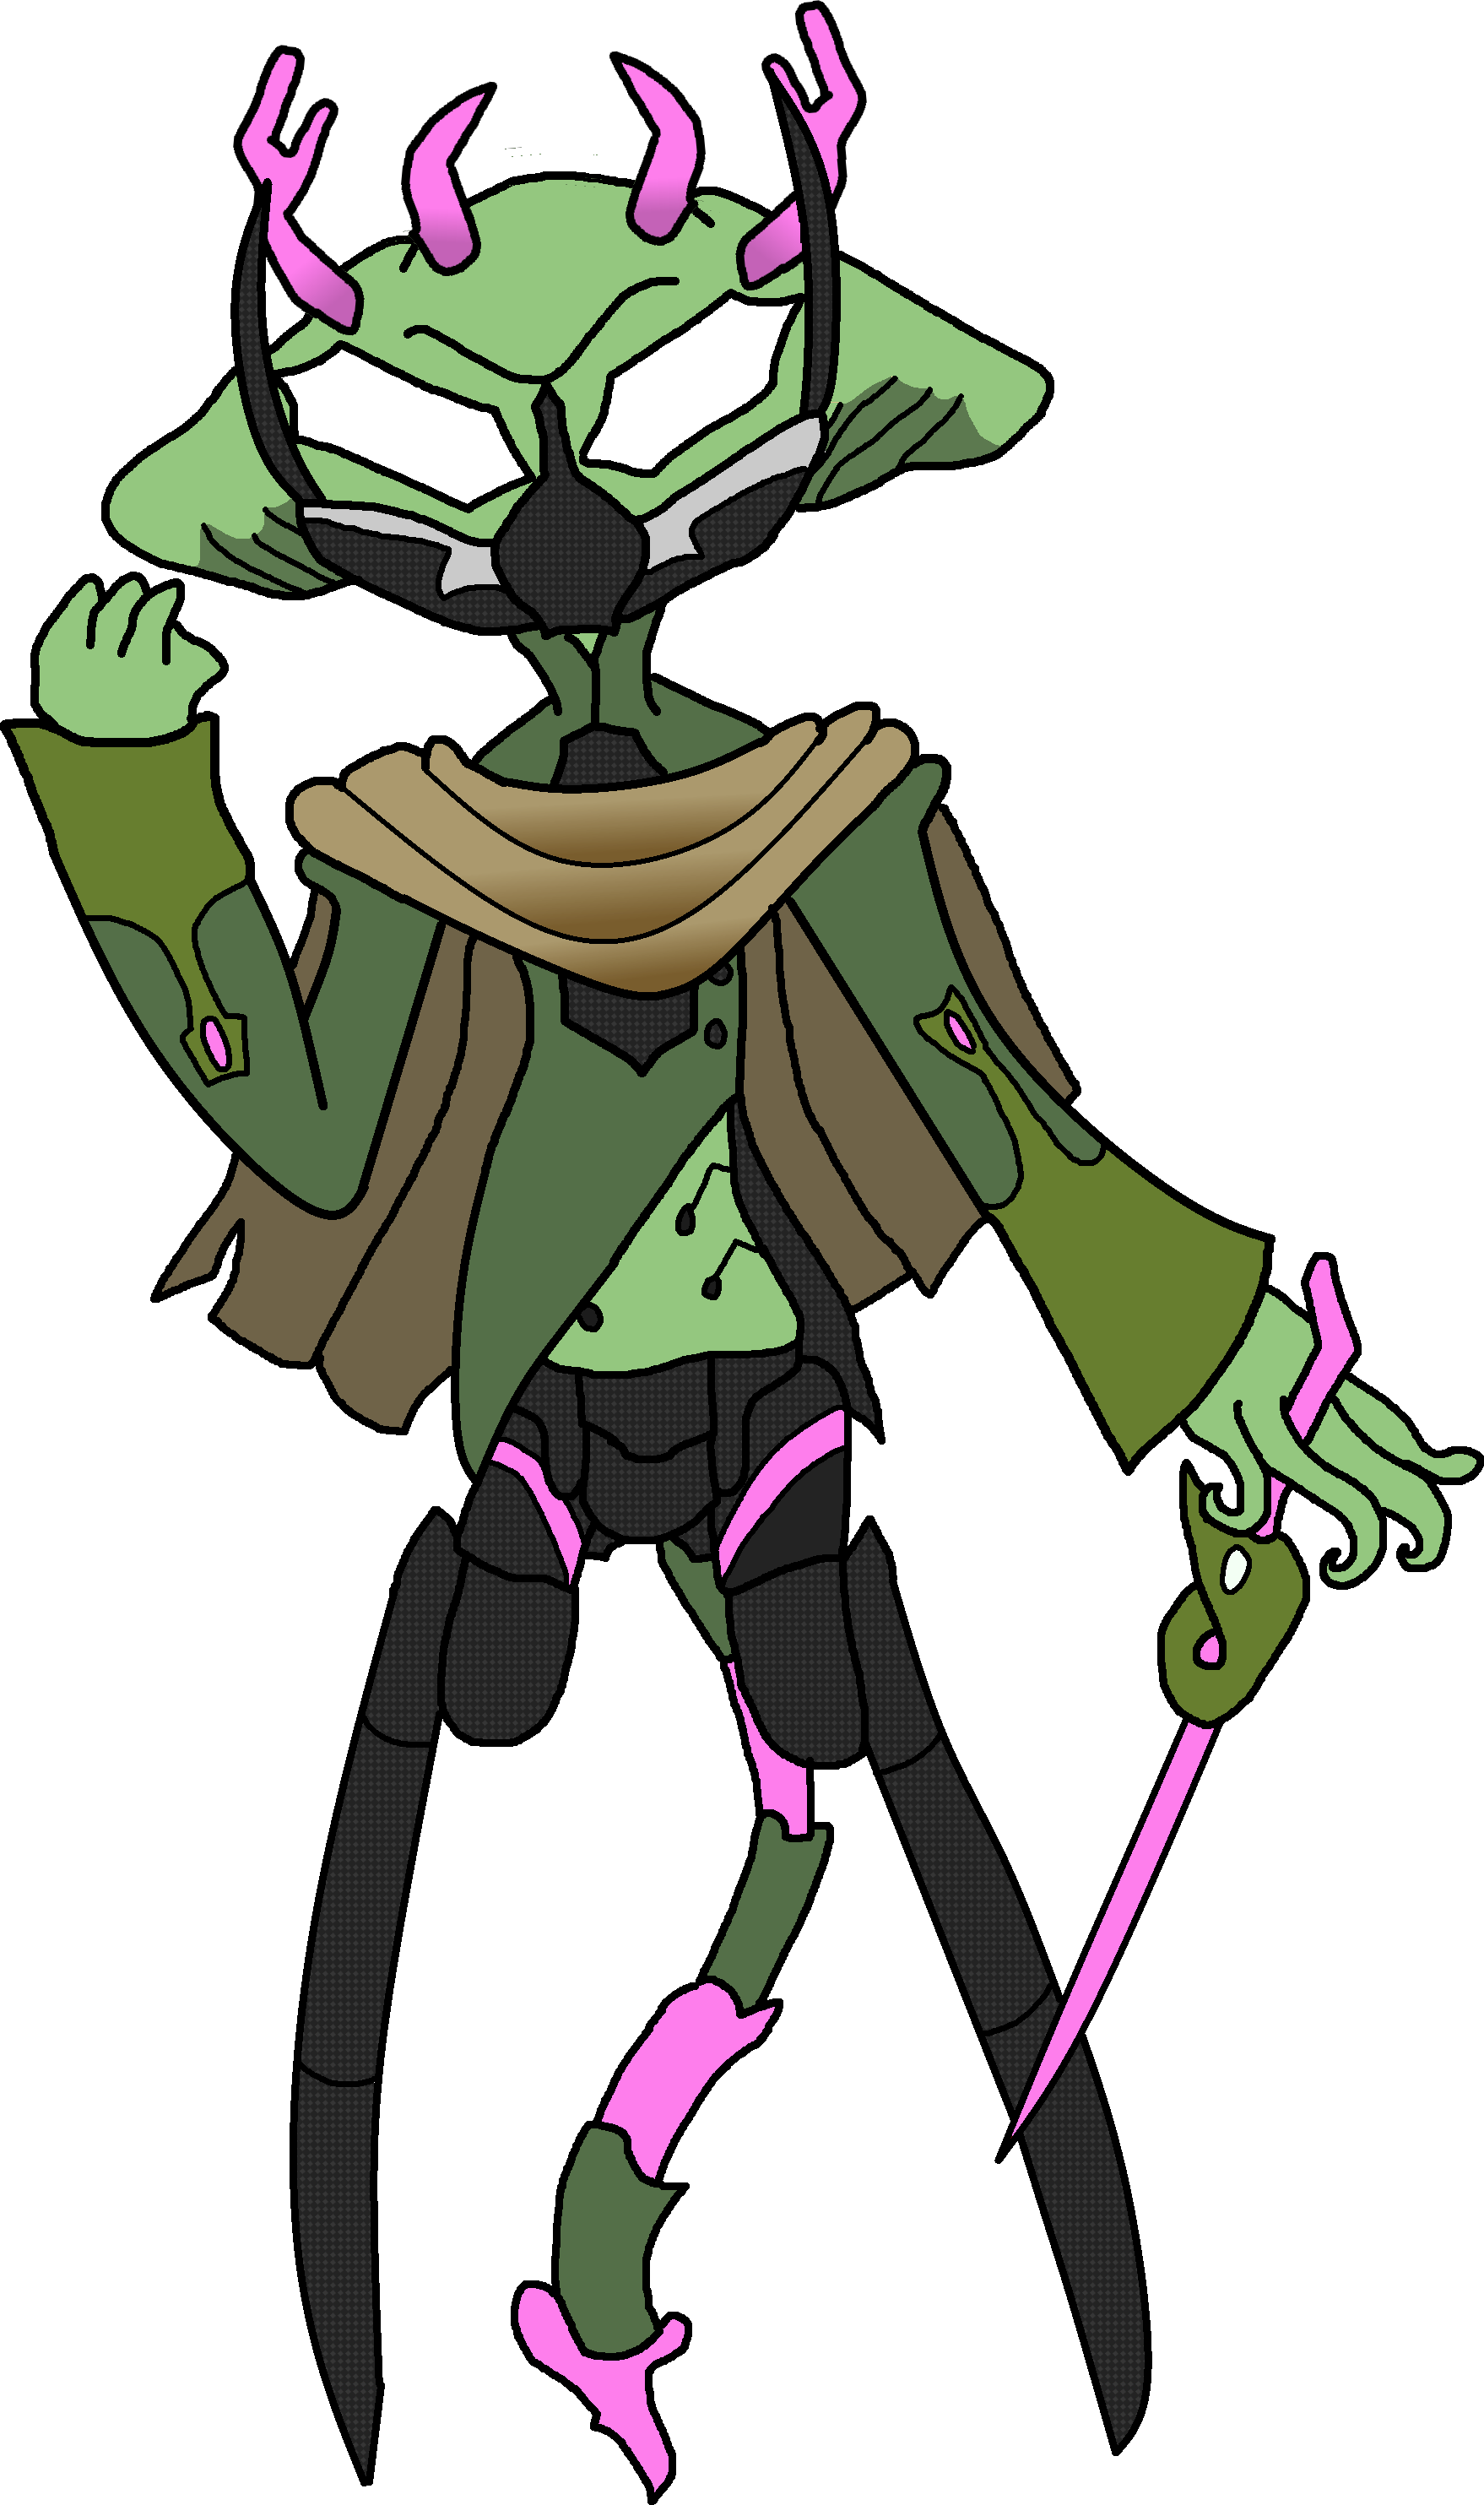
Syinara
|
|
| Gameplay Details | ||||||
|
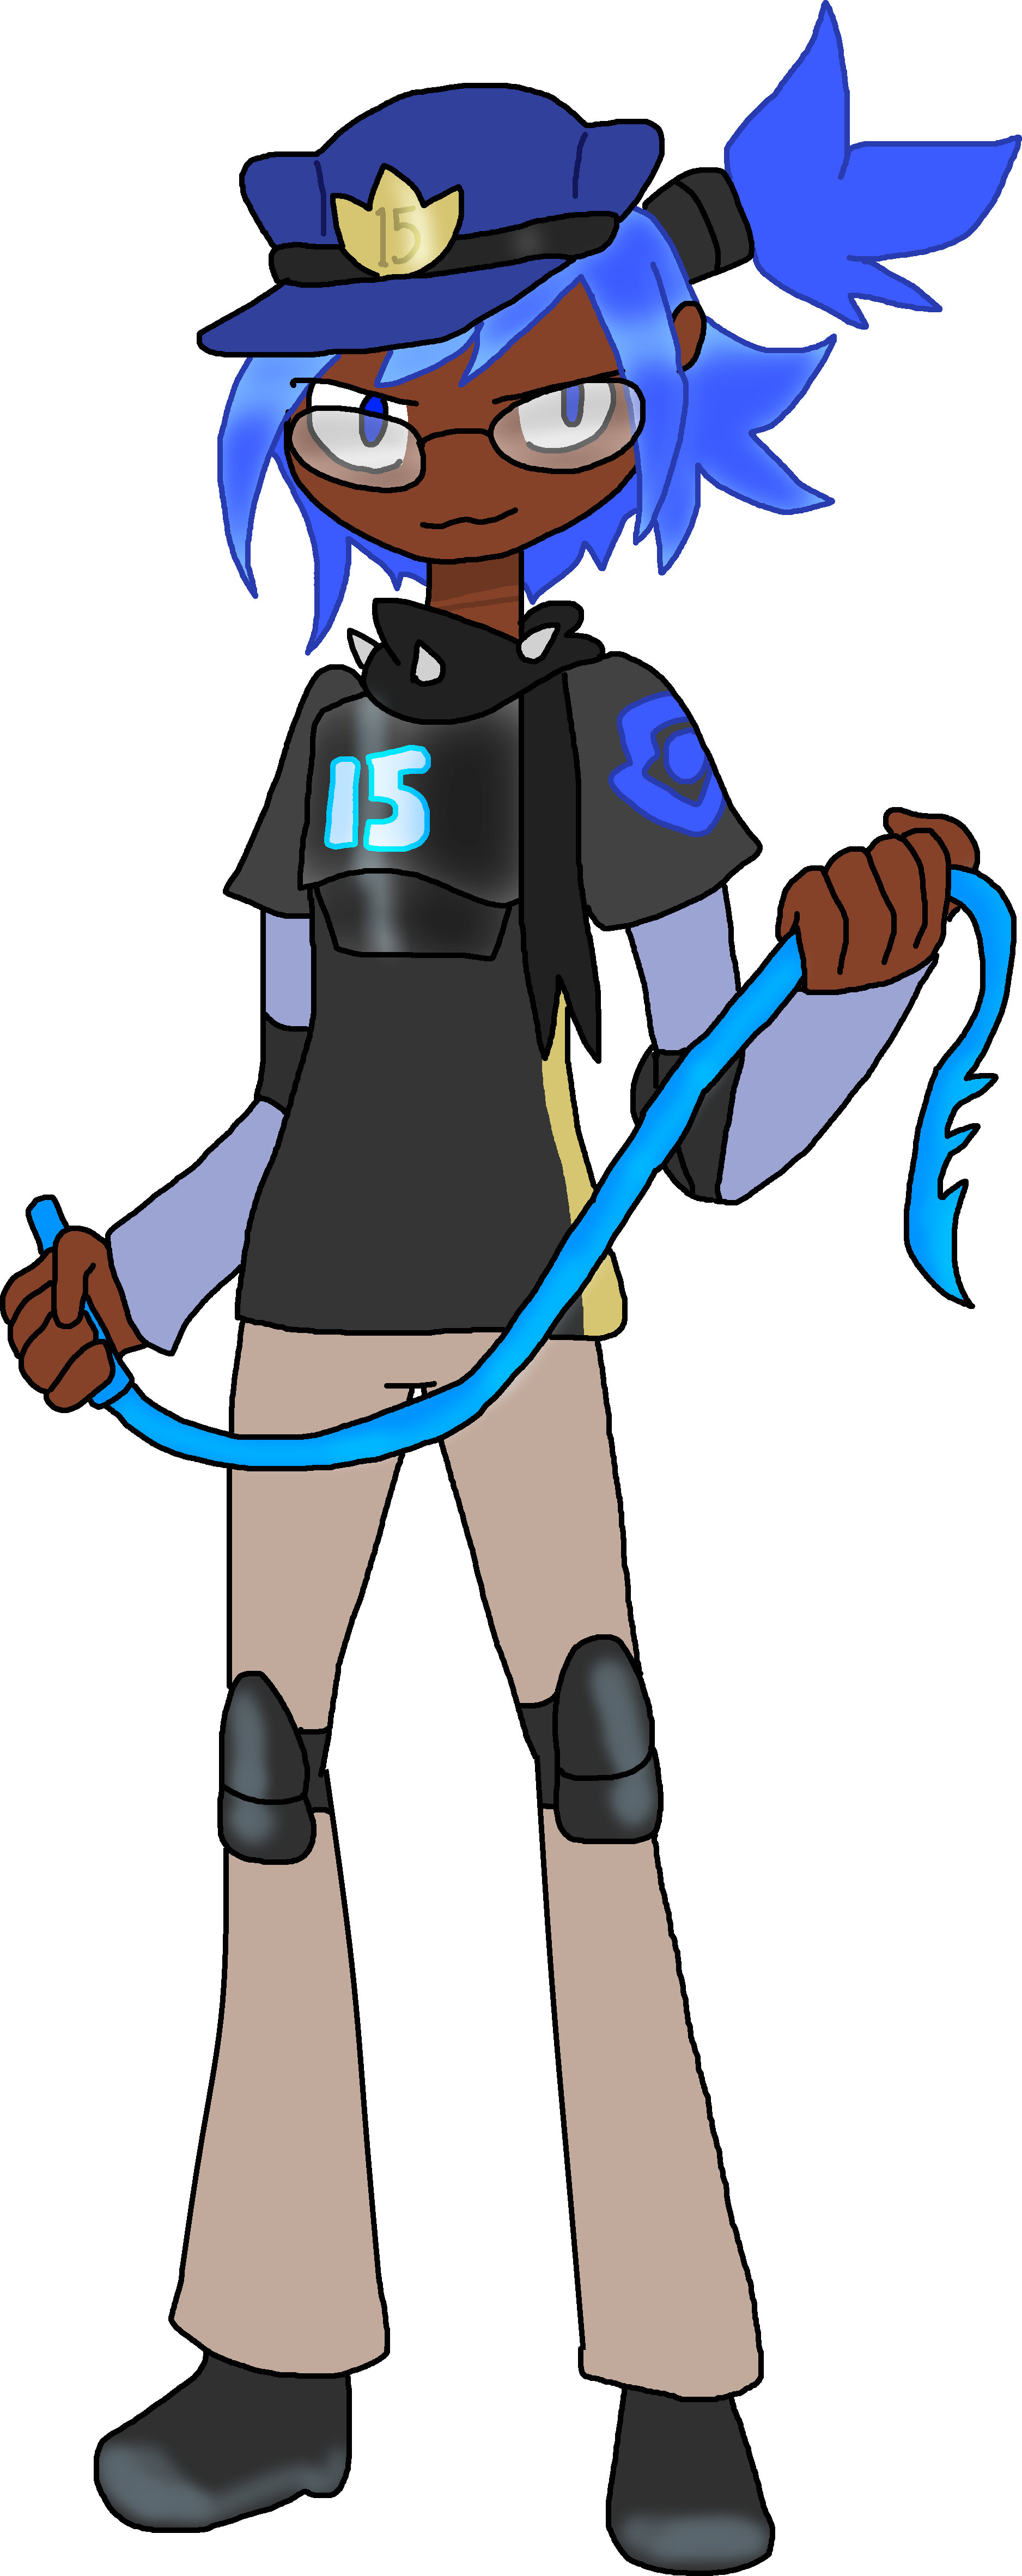
Syinara's a heavyweight fighter with and high falling speed and the game's second-shortest height, having average mobility overall and having slightly below-average power output. To make up for her cons, Syinara's got very impressive range via her vines, which stretch a long distance and have many hitboxes, including a consistently powerful sweetspot. Syinara is best described as a "bait and punish" type of character, patiently waiting for the perfect opportunity to strike like a Venus fly trap, before striking as soon as there's a weakness she can immediately exploit. Her efficient range means it's challenging to stay out of her attacking zone, and outright intimidating around the occasional bottomless pit. Her strategy is to wear her foes down, capturing them and throwing them repeatedly into the ground or into a wall to damage them or whipping them away from her body. Her whip also destroys low-priority projectiles. Our scarecrow friend's quite flawed in close combat, however. Though she boasts impressive range and strong sweetspots on her attacks, these don't mean anything particularly if the foe is too close to her, making it impossible to strike them with her whip and making her open to punishment. The vines' sweetspots are also tricky to land and don't provide excessive power output if they land, and thus don't properly compensate for how little damage the sourspots inflict onto her foes. Thanks to her fast falling speed, she suffers from a glaring vulnerability to chained attacks and can easily be juggled in the air, and can be knocked around a lot as well. Though her throws are very useful for quickly inflicting damage, they don't deal much besides her back throw, which itself cannot chain into other attacks because of how far it tosses her foe. Syinara requires a lot of skill and patience to learn for foes to overcome her glaring flaws, but if they can manage to master her moveset, they can dominate competitions without an issue with every sweetspot they land.
Common Attacks Special Moves
Hyper Moves
Animations
        |
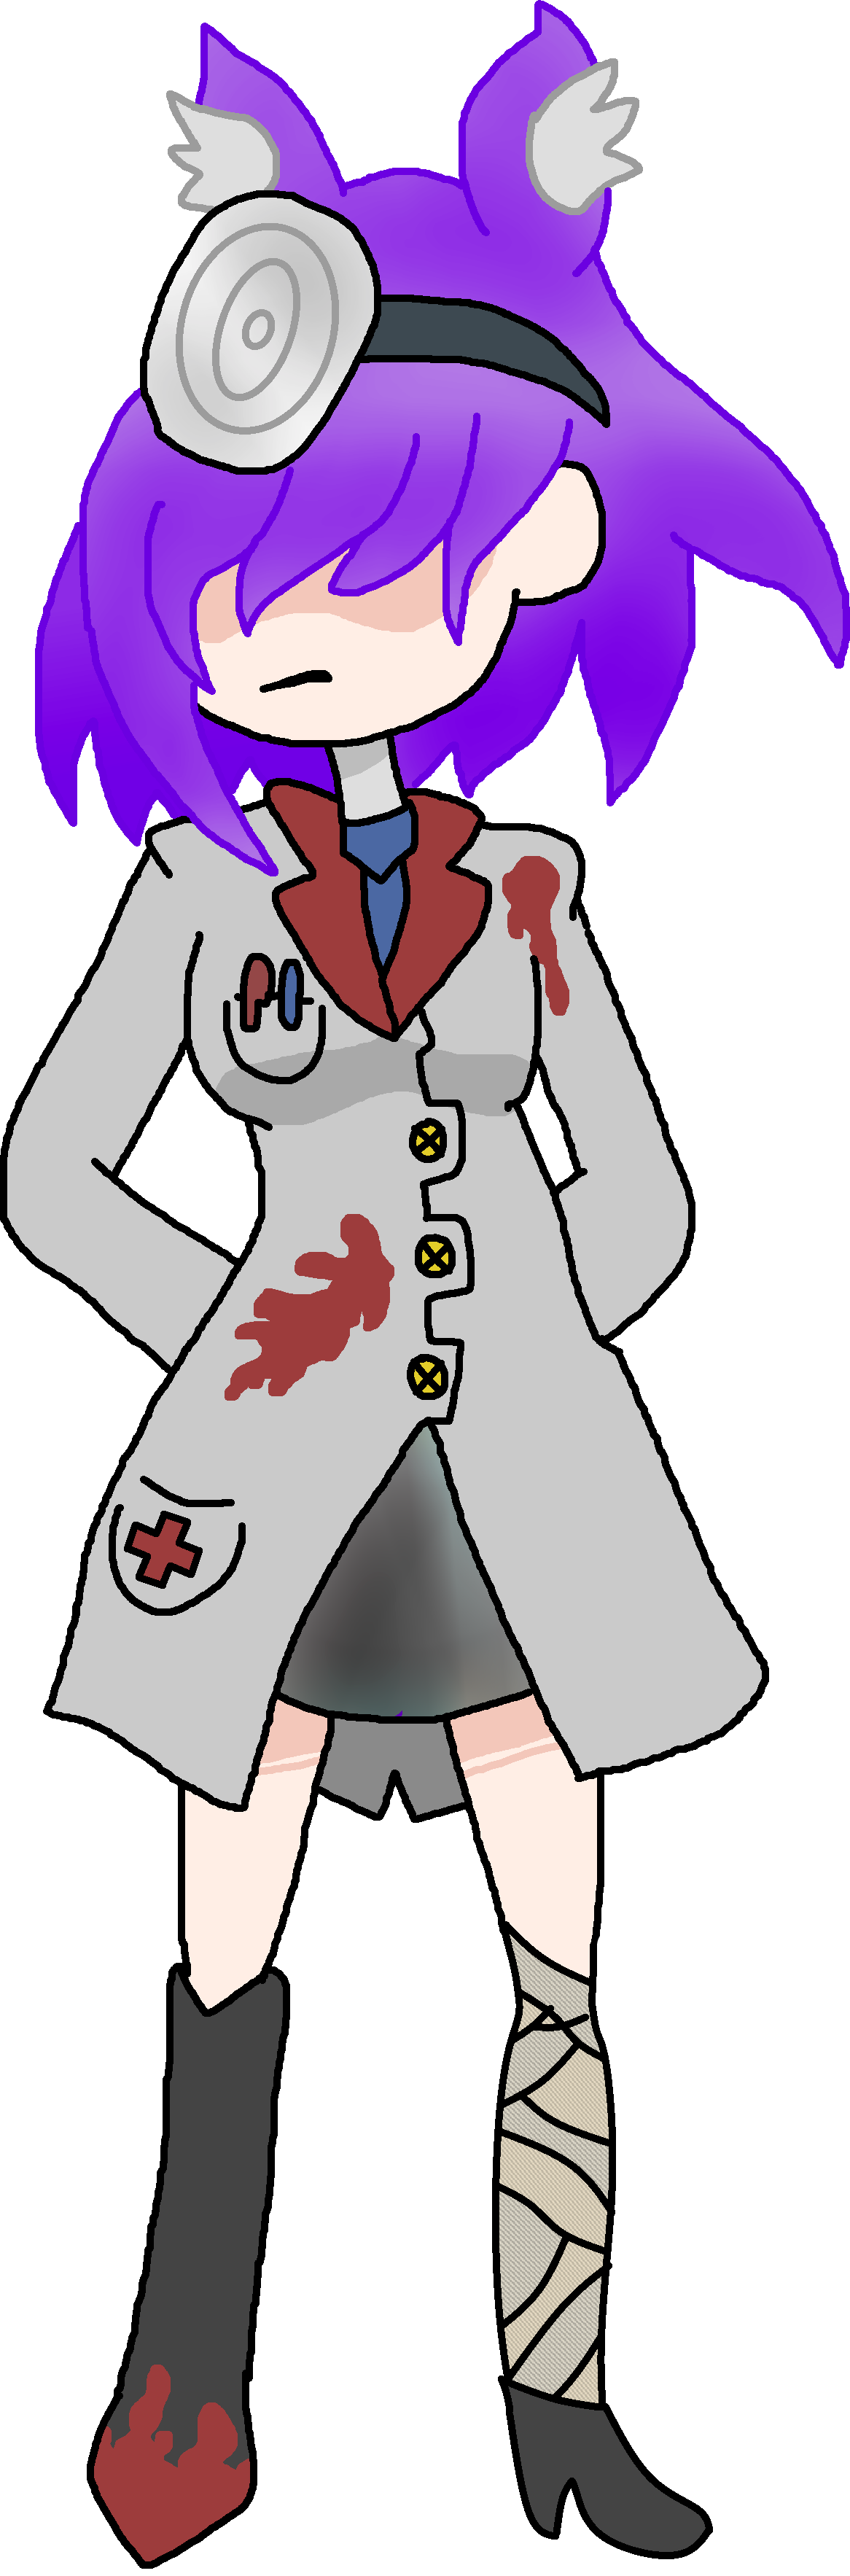
Pierce
|
|
| Gameplay Details | ||||||
|
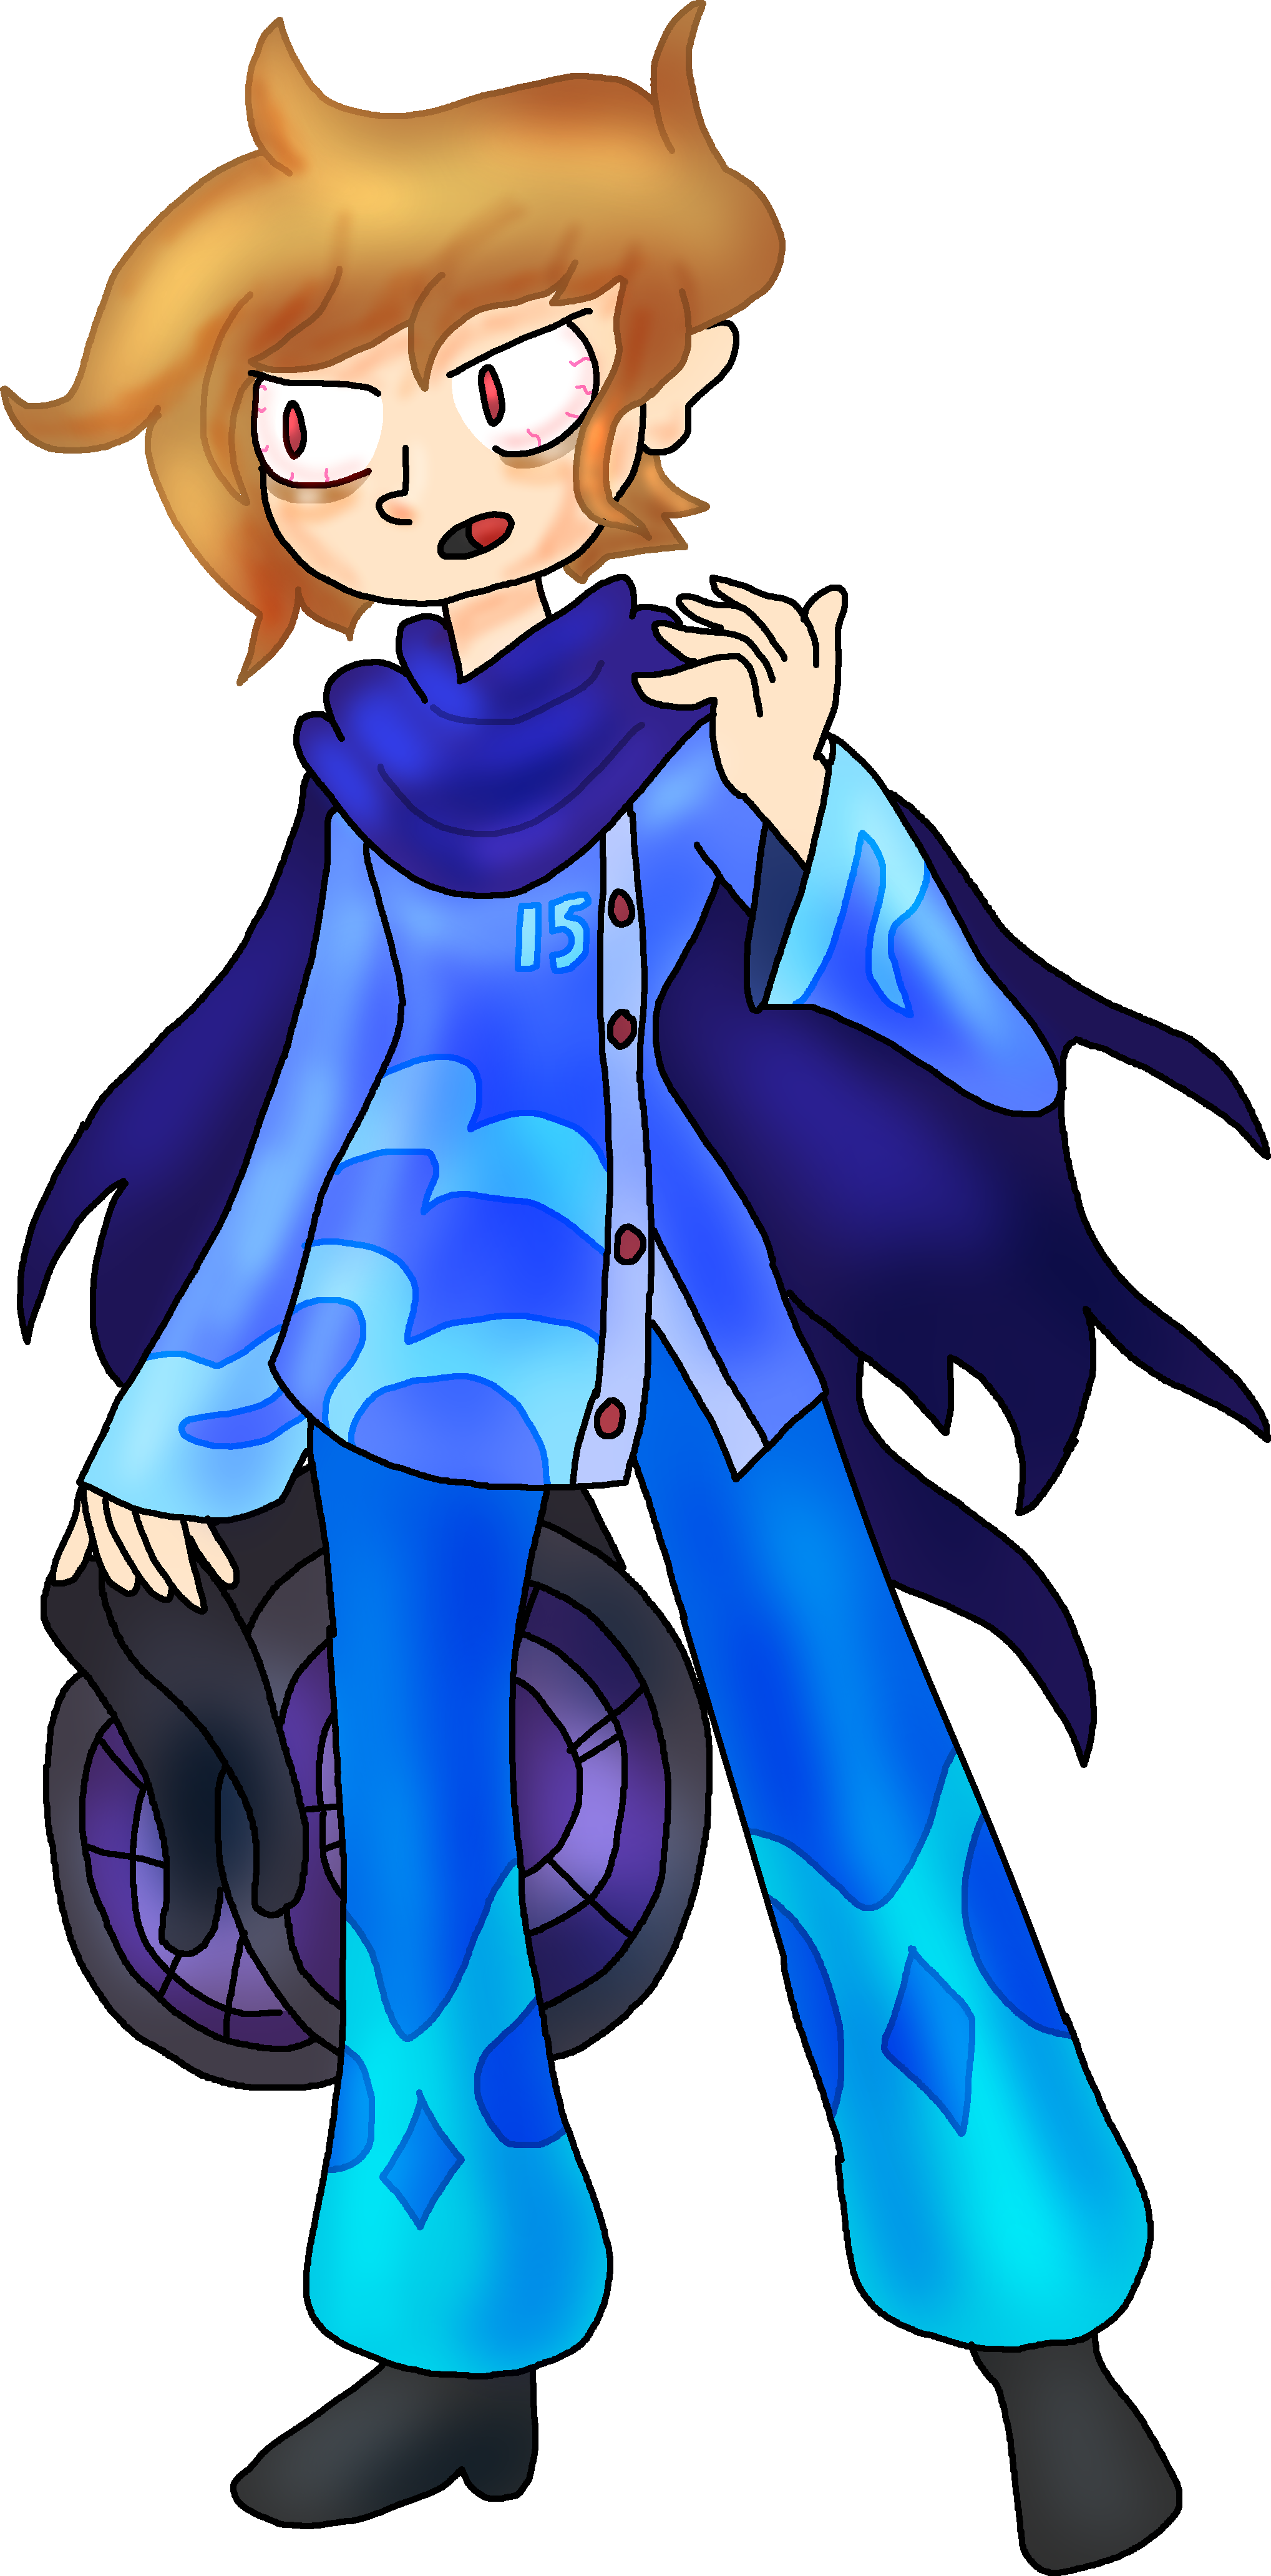
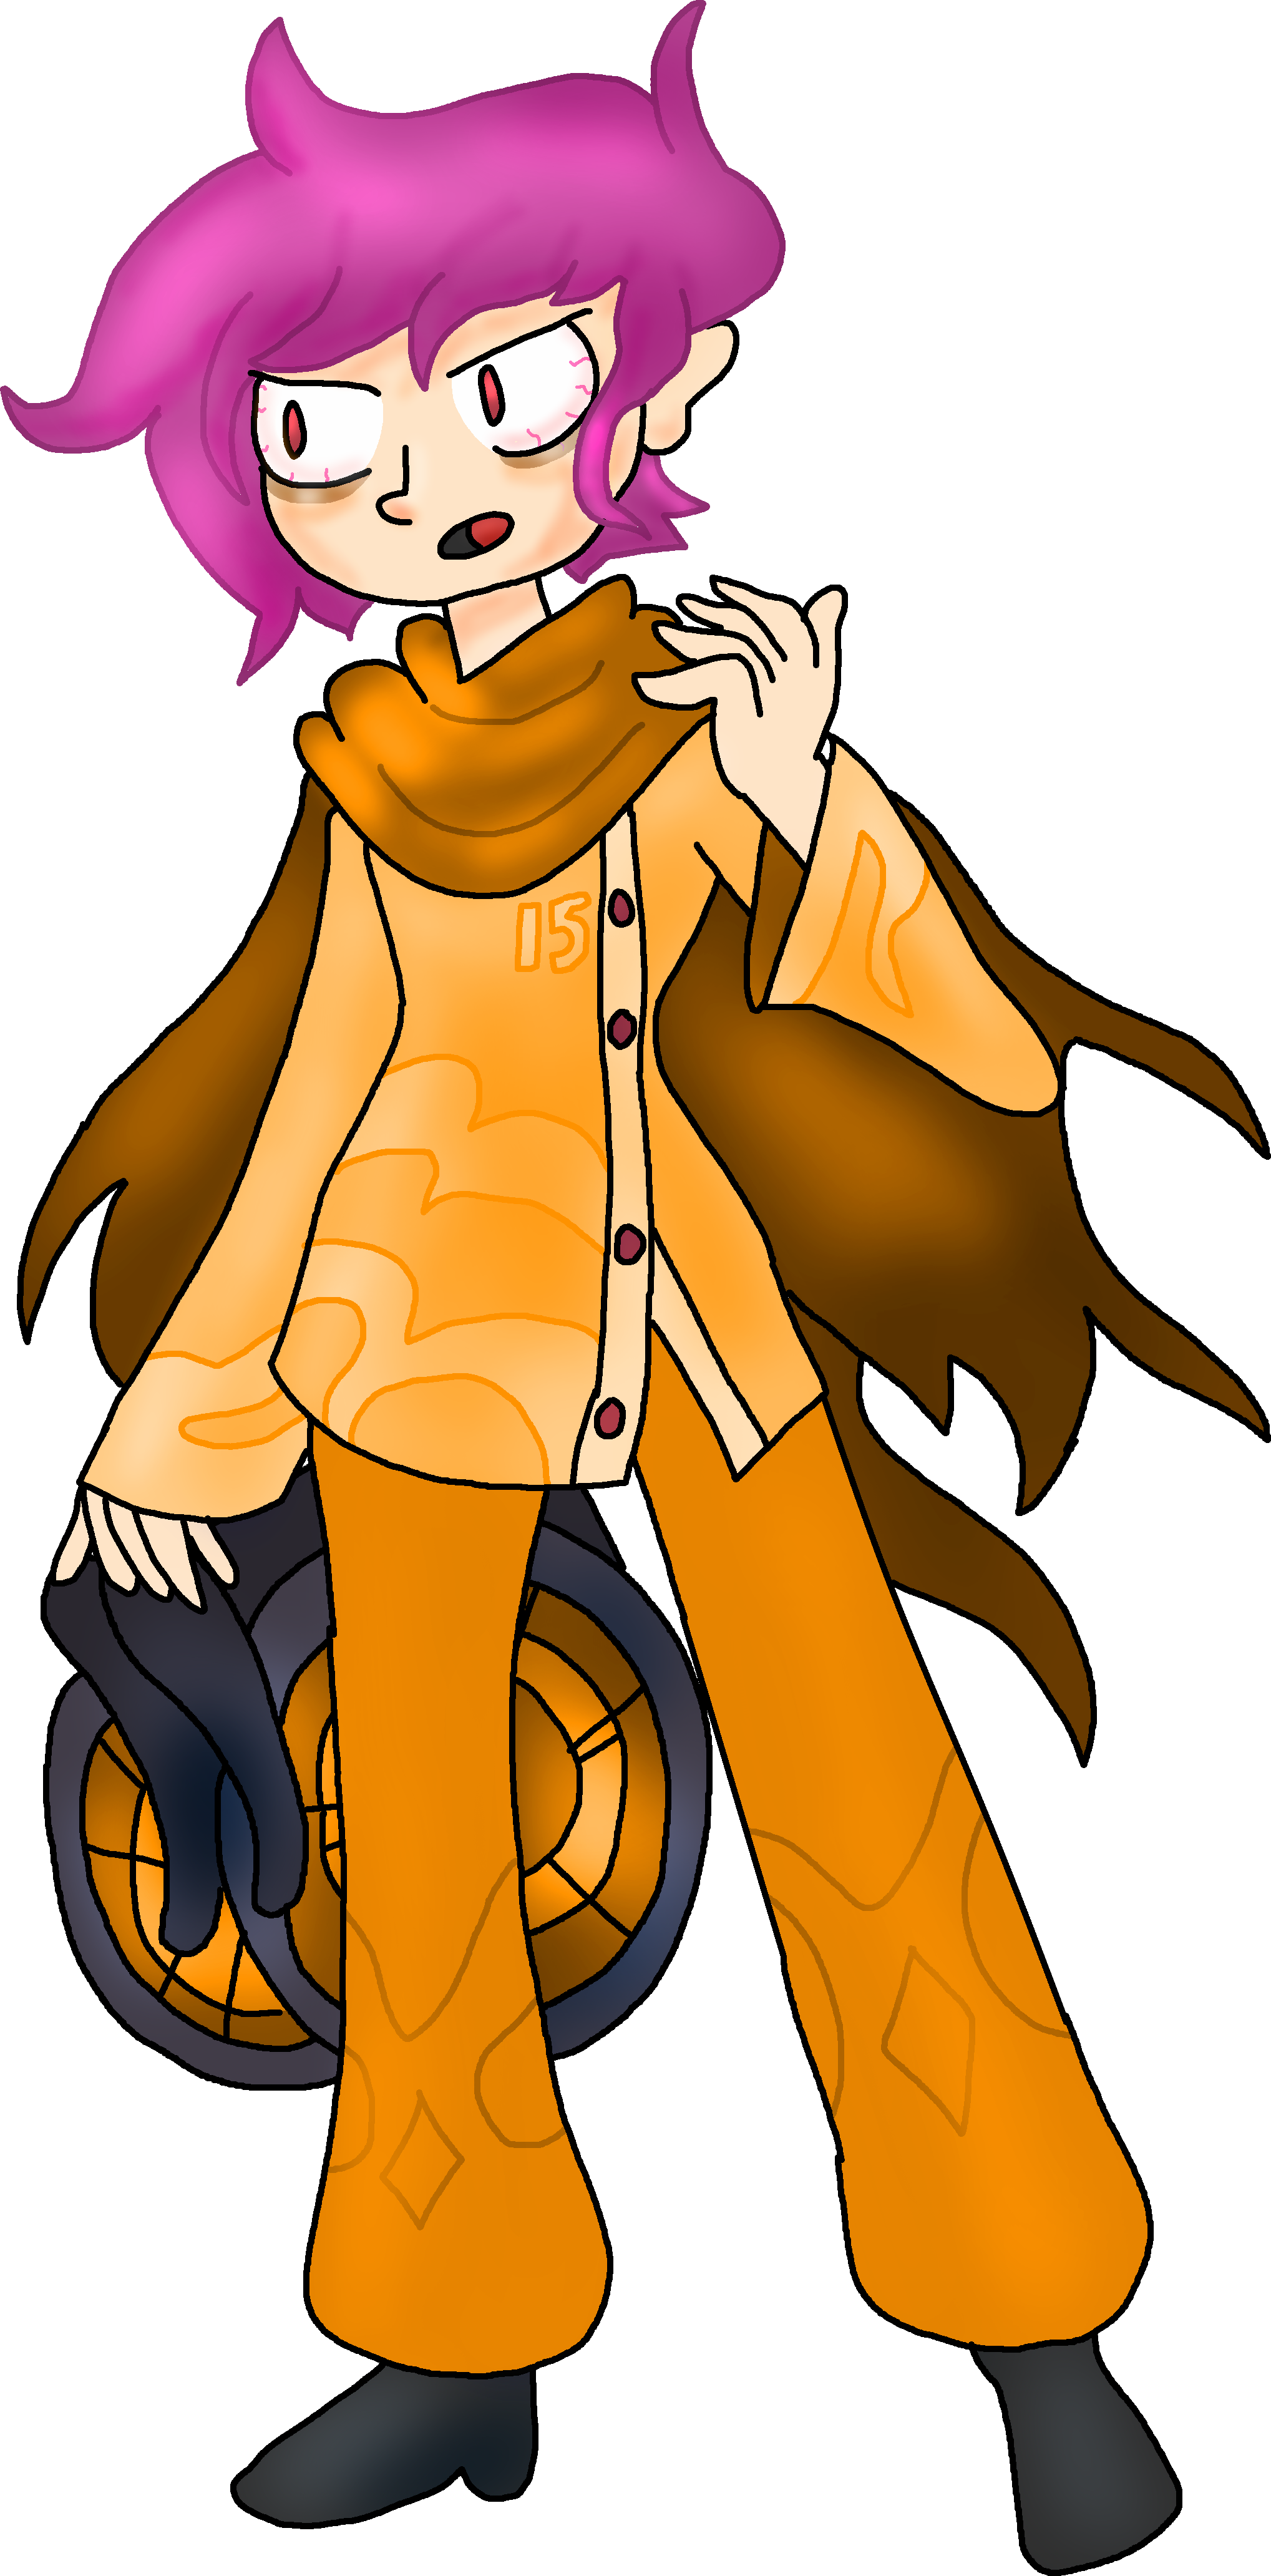
Pierce's a one-of-a-kind type of character, being an extreme lightweight with an average hurtbox and some ridiculously high jumps, all complicated further by his loftiness and high-tier speed. However, he has the lowest Stamina of anybody in COLD❄BLOOD, and can only take a few moderately powerful attacks before collapsing for good. To compensate, Pierce Hazel's wheelchair is armed with numerous weapons that make instantaneous melee attacks possible, and he has a dynamic that allows him to assume varying palettes that drastically change his attributes to suit various scenarios. Holding down the parry button and pressing in any one of seven directions will let Pierce assume a "sin" that will grant him two advantages and one disadvantage for ten seconds before it "breaks" for the rest of his stock. Outside of these gimmicks, Pierce is an immensely strong glass cannon with some very irritating Specials that can scrape his foes against the walls and some really strong close-range tools. Pierce's biggest flaw is his jaw-dropping Glass Joe defense; if the foe can finally approach him and beat the lights out of him with just one chain of moderately strong moves, he's down for the count. However, this is somewhat rounded out by the fact that it takes the longest for him to starve; he can live without food for an exceptionally long period of time. He also very much dislikes bait-and-punish characters as well as zone-breakers, as they can push through him and eliminate all of his health in just a few shots. That's where all his major cons end, however. One of the game's fastest characters thanks to the versatility of his wheelchair, you really do have to try and catch him first before you can get a few hits on him, and many of his attacks will safely cover him from all sides so to prevent any sneak attacks from happening on him. If you treat him too lightly, you might just be another meal for him to consume! Overall, Pierce is a very fragile character that requires lots of patience and skill to master, but in the right hands, he can do anything and there's nothing you can do about it except try to bait him into a trap. Easier said than done. Forms:
Common Attacks Special Moves
Hyper Moves
Animations
        |
Devina
|
|
| Gameplay Details | ||||||
|
Devina's a somewhat-middleweight character with below-average height, having moderate gravity and falling speed. She may have very low damage output across her moveset, but her good defense more than makes up for it. Devina's "Razor Knuckles" don't deal much damage at all yet knock her foes too far away for her to follow up with combos, forcing her to take initiative and play a hit-and-run game against her enemies. If the player chooses to hold their attack button when performing their jab, dash attack, light tilts, heavy tilts, and aerials, they will summon Black Eyes to perform the same move instead, dealing much more damage but leaving Devina vulnerable until the move's executed. This is a strategy that works well since it's very hard for her enemies to pressure Devina when she's almost always going to push them back. Devina's Neutral Special, the "Emergency Taser", is a very useful tool since it will always damage and paralyze her enemies and allow Devina to get in a free extra hit of any type. This pairing doesn't always work out in its own benefit, however. If Black Eyes' contributions don't count, Devina's moveset is thought to be the weakest overall in COLD❄BLOOD, given Devina's damage output is very low and it's practically impossible for her to chain attacks together. When she's trying to summon Black Eyes to get more power, she's putting herself in a vulnerable situation that can result in harsh punishment if she mistimes it. Her Specials, though good at what they're supposed to be used for, are not very versatile and do not cover up a lot of Devina's gaping flaws, meaning she has a lack of versatility across her moveset when she can't use her best friend. This forces Devina to play very defensively and make the best use of what she has. Fortunately, Black Eyes' Hyper moves are very rewarding to use and make up for the massive amount of damage Devina would miss out on dishing out otherwise. The player needs to be incredibly patient if they wish to master this dastardly duo. Though there's a lot of things the player needs to keep in mind when using Devina, she's more than capable of holding her own in the right hands. What might be a slow battle may turn into a quick victory, if one plays their hand right.
Common Attacks Special Moves
Hyper Moves
Animations
        |
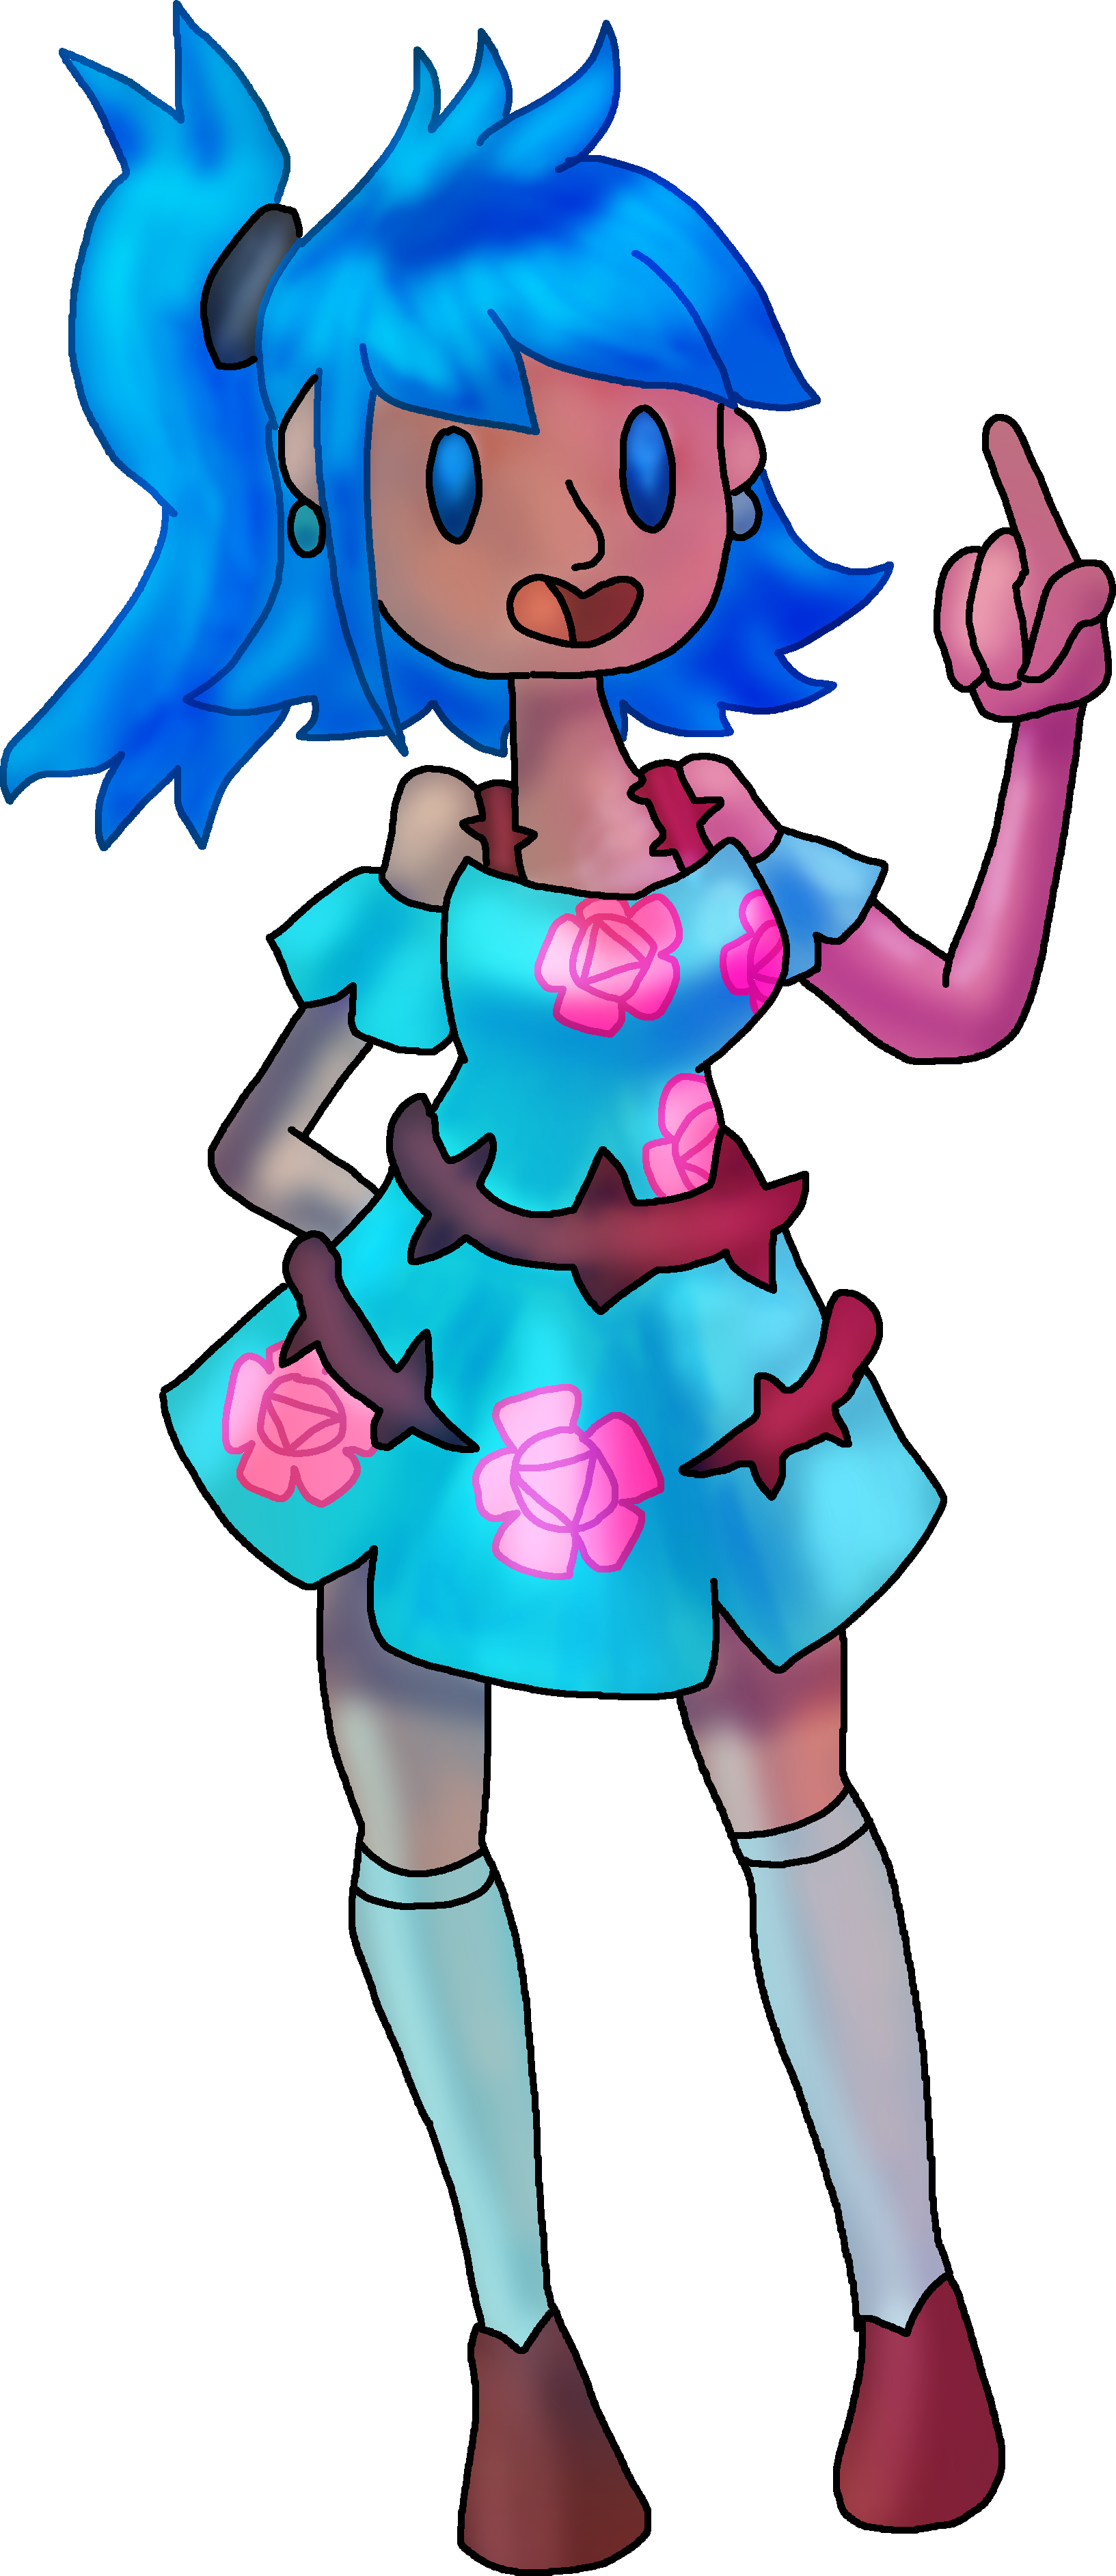
Crymsia
|
|
| Gameplay Details | ||||||
|
Crymsia's a middleweight character with somewhat below-average height and average jumps, being a balanced character with her moderate gravity and falling speed as well as average damage output and speed, giving her almost zero weaknesses when it comes down to mobility. She's an all-rounder character thus, boasting reliable heavily-damaging moves and having no big weaknesses that can be really exploited. She can function well in both offensive and defensive play, but her best function is to be a zoning character using the average reach of her Rose Ripper and her momentum-crushing special attacks. Crymsia must keep her distance from the foe and focus on wearing them down from afar, and then go in for the kill when they've tripped into some of her webbings or when they're in a position where they cannot possibly counter a prepared Crymsia player. Because of her "jack of all trades, master of none" status, Crymsia bears no significant strengths or weaknesses, making her a balanced character that isn't really too challenging to battle but not too easy to overcome, either. Crymsia's smaller strengths include the fact she has trapping tools that can bait her foes into getting stuck and that her moveset comes out consistently quickly, preventing her from having to deal with much startup or ending lag on her attacks. Her small weaknesses, however, include that she lacks a reliable projectile to attack far-off enemies and that her Rose Ripper doesn't have long range, preventing her from countering other weapon users quite as efficiently. But make the best use of her moveset, and Crymsia Rose can prove to be an annoying enemy to take down when she's in the right hands. Overall, Crymsia's an all-rounded fighter with all the tools she needs to survive; she just needs to overcome her minor hurdles and take advantage of her limited strengths.
Common Attacks Special Moves
Hyper Moves
Animations
        |
Zonas
|
|
| Gameplay Details | ||||||
|
Zonas is a middleweight character yet among the game's shortest characters, having some above-average gravity and falling speed while having excellent agility, giving him a unique feel when it comes down to the controls. Zonas' Aikido techniques do not hold much range, but have very respectable power and always put his foes in a disadvantageous position that allows him to frequently land hits against them. His moves also have great frame data, coming out very quickly and giving him an even greater advantage when keeping his great speed in mind. Zonas' specials have a lot of purpose; his Rapid-Fire Freezer halts his foes' momentum and destroys their approaches with its high priority, his Freezing Lock conversely allows him to approach an enemy himself rather reliably, and Glacial Wall destroys the hazards in front of him and allows him to dominate the stage. He's considered to be a zone-breaker character, and fits well within the archetype. Our zero-to-hero demon has some issues that need to be noted, however. Few of Zonas' moves, for starters, can deal much damage and requires him to rely on his combos to dish out the most against his enemies. Though his moves are once again respectfully powerful for their range, it doesn't change the fact that his neutral moveset doesn't cover much range, making it incredibly risky for him to challenge foes with greater range than him. He also has a miserably short grab, and his usual throws aren't good because they neither damage the foes much nor knock them away far enough for him to be 100% safe from possible follow-up attacks. In spite of his strong Neutral Special allowing him to disrupt approaches, aerial foes are generally safe from the impact of the weapon and can simply leap towards him to damage him, usually making him lose the neutral game to them if he's not careful enough. Zonas is a very capable character that can fulfill a number of roles, having mix-up strategies and the ability to rushdown his enemies as well as bait and punish them, but his weaknesses can be abused by a number of characters from varying archetypes, making him versatile in his strengths and weaknesses.
Common Attacks Special Moves
Hyper Moves
Animations
        |
Oyster
|
|
| Gameplay Details | ||||||
|
Oyster happens to be the game's second-shortest and second-lightest boxer, having high floaty jumps and very low gravity, making her one of the game's strongest air fighters. However, this only applies to when she's left without her enormous protective shell, which conversely makes her the game's heaviest and tallest fighter. She's extremely defensive when within this shell, which reflects projectiles and can take an enormous beating from physical attacks before finally cracking open. Inside the shell, Oyster can freely heal and retaliate against enemy attacks through usage of her Seashell Turret, allowing her to protect her shell while she slowly heals. When Oyster's broken out of her shell, she can make use of her powerful frame data and beat her foes up with her surprisingly strong aerial chains and her numerous projectiles before she's able to get the room necessary to restore her shell back to full health. Oyster has her weaknesses, though, regardless of whether she's in her shell or not. Though she will always auto-heal when she's in her shell, she's extremely sluggish and has limited offense, and her weight makes it impossible for her to jump for as long as she's in this defensive form. Oyster can enter and exit this shell at will to overcome this weakness, but she always requires a full second to take the shell on or off, leaving her vulnerable if incorrectly timed. Without her shell, Oyster's extremely frail and easy to push around, and is the most prone to being flung all the way across the stage, especially if she's up against the likes of Hector or Zodiez. Her projectiles don't have high priority and are easily demolished by other ones that come forth, even though they can be highly damaging if they do land, and most of her physical attacks don't deal much damage in exchange for being incredibly easy to chain together. She also has low Stamina and can't go long without food. Overall, the player has to master Oyster being in and out of her shell and take advantage of what both forms have to offer, while keeping in mind their weaknesses and going in and out of them at the right times.
Common Attacks Special Moves
Hyper Moves
Animations
        |
Minute
|
|
| Gameplay Details | ||||||
|
With balanced attributes all around, Minute is best recognized as an all-rounder type of character, being a middleweight character with average height and average stats, giving him no big strengths but no big weaknesses, which counter-balance each other. Minute's attacks have decent strength and are appropriate for his average range and frame data, and usually can be chained into each other well. Though he may appear to be a mediocre character at first, the player can do the Smoothie Slurp to boost Minute's unique mechanic; the Sugar Meter. Every attack Minute performs when he has some Sugar will drain at the meter slightly, but they'll have greater range, speed, and power overall and make him more ruthless to face against in combat. He can also spend this meter to reverse the damage he's taken, control what he does with countered enemy attacks, and recover a safe distance. The Sugar Meter is a separate entity from the HyperDrive meter, meaning that he can use both in combination. Minute does not have many major weaknesses because of his all-rounder character status, thus he's one of the safest characters to use and learn in the game. However, those that wish to go out and master Minute will have to learn to conserve both their Sugar and HyperDrive simultaneously and learn when to make the best use of either. Conserving the Sugar Meter especially is important, as Minute needs to have some Sugar in order to execute his Neutral, Forward, and Recovery Specials/Hypers. If the player runs out of sugar or doesn't have a sufficient amount, Minute's neutral game and ability to approach foes is drastically weakened, including making his frame data considerably worse. Overall, Minute's a solid character if you can get the hang of his complex mechanics involving using and conserving the Sugar Meter, but if you cannot, he'll be a mediocre character at best and a middling weakling at worst.
Common Attacks Special Moves
Hyper Moves
Animations
        |
Whiskey
|
|
| Gameplay Details | ||||||
|
Whiskey is a heavyweight boxer with above-average height, having moderate gravity and falling speed but surprisingly high agility. She is a character with a load of Stamina and one that's really hard to starve out, giving her an immense amount of bulk that's notoriously hard to break down. Whiskey's a trapper type of fighter, playing defensively and keeping away from her enemies until she can lure them into her range, pressuring the foe as she does. Unlike many other fighters in the game, she can strike other players even when she's facing away from them and can excel in multi-tasking, stringing together combos using her bait traps and skull-cracking moves. She has to capitalize on her mindgame potential and force her enemies into her traps- if she is consistently successful with this, she will be able to dish out heavy damage against them, especially if she can grab them over and over again. Her main weapon, the Cactus Gloves, give her an absurd amount of range. Though boasting a tremendous load of strengths, Whiskey isn't without her weaknesses. As one of the game's heaviest characters, Whiskey's very vulnerable to getting caught in long chains of attacks, having a hard time escaping her foe's grasp on her own. Though she has tremendous agility and almost unrivaled strength, many of her attacks have multiple frames of ending lag following their execution, rendering her easy to punish. She also has very poor air-to-ground transitioning; she's susceptible to juggling and damage racking and her large hurtbox doesn't help matters whatsoever. Whiskey is not fond of characters with rushdown strategies or camping abilities, as they can limit her approach and her gloves don't have the priority necessary to ignore them. Lastly, her special moves are very situational and rarely have any use outside of their intended function, limiting her versatility. Overall, Whiskey is an effective bait-and-punish type of fighter and benefits severely from her strong range, high speed and extreme power, but must be wary of her enormous flaws and try to work around them.
Common Attacks Special Moves
Hyper Moves
Animations
        |
Azrail
|
|
| Gameplay Details | ||||||
|
Azrail's a heavyweight character that stands as among the game's tallest characters, subject to moderate gravity and falling speed but weighed down significantly by his very sluggish mobility. Azrail is a dynamic character that functions quite differently from the rest, relying on combating his opponents from a distance with his many machines and gadgets. His main weapon, the Battle Sentry, is the key element of his moveset, capable of performing light and heavy tilts alike at the player's command. His flies, summoned from his Recovery Special, compose Azrail's aerials. If he jumps in the air and attempts to perform any of his attacks, he will make a gesture with his hands that will instruct the mechanical flies on how to attack. With his stat-lowering Haze Generator and chargeable laser jab, Azrail can be very challenging to approach thanks to how well he can camp out against his foes and how much of the stage he can control at once. If the player masters how to use their weapons, they can spend points on upgrading any of his mechs. That said, Azrail's moveset comes with some gaping flaws. All of his machines can be damaged and eventually destroyed; though they'll make harmful self-destruct explosions upon their defeat, clearing out any of Azrail's machines will allow the foe to come closer and closer. Azrail can only have three Battle Sentries out at once and can have a maximum of twelve robotic flies out (he sends out four at a time), and he has to wait 12 and 6 seconds respectively to throw out the next batch of their kind. He can only build up to twelve Battle Sentries and eighty robotic flies per stock, too; once he's out of his materials, he's rather helpless. To remedy this issue, Azrail can fortunately use his Neutral Special as not just a boomerang attack with his wrench, but he can also repair his machines and restore them back to full health. If the player's able to cause enough damage with their mechs, they can spend a third of the HyperDrive meter on re-earning materials to build these mechs with. Azrail is a unique character that stands from the rest, relying on his machines almost entirely to put down his enemies, attempting to break them apart through his weaponry's sheer force. If all his machines are destroyed, and he doesn't have Stylish Points to spend on getting new materials, he's completely defenseless and vulnerable to a KO.
Common Attacks Special Moves
Hyper Moves
Animations
        |
Shredder
|
|
| Gameplay Details | ||||||
|
Shredder is a heavyweight character with way above-average height, boasting moderate gravity and falling speed yet excellent mobility. Shredder has the unique niche of being able to use his rocket shoes to hover slowly down to the ground after jumping, giving him guaranteed domination over the air if he can win the neutral game. With his above-average range with the reach of his invincible High-Voltage Arms, and with the knowledge that the majority of his moves have extremely powerful sweetspots and strike foes numerous times, Shredder is terrifying to approach because he can very easily punish his foes' mistakes. He also boasts stage-controlling projectiles and a Special Move ("Assassin's Greed") that allows him to deal extreme damage if he can hit the backs of his foes. Shredder excels at pressuring his foes with his erratic, unpredictable behavior and having the tools to damage fighters of any archetype. He can additionally mix up his moves over and over and become a major hassle. Shredder's no perfect fighter, nor is anyone else in the game. Shredder's moveset is almost completely centered around the concept of precision; most of his moves only deal immense damage if he can land the sweetspot of his moves and continually hit his foes with it, which is almost next-to-impossible if the foe's ready to predict his next move and move out of the way. Though his moves come out reliably fast, any miss Shredder makes will cause him to feel fatigue and disappointment, rendering him easy to punish for even just simple mistakes. He also suffers from having one of the game's worst recovery moves, which makes it very challenging for him to return to the stage even though the move comes with high power output. Lastly, Shredder's incredibly easy to juggle in the air and chain attacks against, because of his above-average hurtbox and moderate gravity, aiding how easy it is to punish him. To master Shredder, you need to get a good grasp on how to hit foes with all the active frames of his attacks, especially if you want to deal the most damage and hit foes with mostly the sweetspots of his moves. Otherwise, he will clearly struggle and you will feel his pain.
Common Attacks Special Moves
Hyper Moves
Animations
        |
Oshelia
|
|
| Gameplay Details | ||||||
|
Oshelia is an average-height lightweight fighter, having some of the best frame data in the game atop of alright power output and a good sense of speed. Oshelia holds a powerful pressuring game with her close-range combat, having the capabilities to exploit opponent openings and weaknesses and punish them with her highly damaging combos, leaving no room for them to react. Her specials also allow her to push around enemies quickly while moving around quickly simultaneously, allowing her to dominate and control the battlefield if the foes aren't fast enough to punish her mistakes or block her approach. Oshelia players can exploit their foes' exact hitboxes and the sweetspots on their attacks, allowing them to take advantage of any situation if they pay close enough attention using her Crouch Special. Finally, Oshelia has a super-flexible recovery and a lack of attacks that leave her with high ending lag, meaning that her mistakes are less focused on mixing and more about not taking advantage of the situation at hand. This doesn't mean Oshelia is outright flawless, however. Oshelia lacks any high-power attacks, preventing her from dealing good chunks of damage towards any enemy and making it difficult for her to push her enemies back. If her foes don't flinch, they can aptly punish her with a single blow, taking advantage of her poor Stamina and pushing her a considerable distance back, forcing her to find a new approach. Her special moves are noticeably straightforward as well, and only two of them actually deal any damage, with her other two moves having niche purposes that only work in a handful of scenarios. This means that Oshelia's moveset is somewhat limited when it comes to her specials, and besides her Forward Special, they don't chain well into the rest of her moveset. Finally, Oshelia's range may not be terrible, but it's not impressive either, and as such it happens to be subpar and below most of the cast's. Overall, Oshelia's a speedy character that can pressure her enemies at will and discover and exploit their weaknesses rather well, but she has a hard time pushing enemies off and her poor defenses mean that she cannot afford to be punished at any point during battle.
Common Attacks Special Moves
Hyper Moves
Animations
        |
Clair
|
|
| Gameplay Details | ||||||
|
Clair is a floaty middleweight character boasting strong mobility overall and ridiculously strong aerial speed. While not being as technically advanced as her partner when it comes to her powerset, Clair's got a significantly stronger defensive game, and has a much better time guarding herself from attacks. Clair excels with stage control, using her psychic powers to generate spiritual blocks that either guard herself or can be used as projectiles. Players that have the upper hand in battle can use Fortune Teller to give Clair boosts because of her good luck and track down enemies with decently powerful attacks, rewarding players that play fine. She can effectively keep her enemies at bay using her long range powerset, with her PSI-made batons giving her way above-average range and effectively pushing enemies back, allowing Clair to use her otherwise sluggish psychic abilities. However, Clair's got a small handful of problems she needs to deal with. Like Pierce, she's a lofty character with good speed- however, at the cost of being nowhere as fragile, she's not as strong nor as fast as him. This is a huge detriment to her moveset, as it means that she can't necessarily overwhelm her enemies with those attributes, which is a problem in a game that's full of reasonably speedy characters. Her PSI Batons also pose a problem; though they have some of the longest range out of any weapon in the game, they also grow weaker and become shorter as Clair takes more and more damage; Clair performs best when she's at full health and thus players that have been weakened may find it too late to make a reliable comeback once their health has fallen below 50%. Careless players will become much easier to beat up than careful ones, meaning a lot of strategizing is involved in playing Clair. Overall, Clair is a fine character with a good handful of advantages in the right player's hands, but careless players won't be able to enjoy her powerset since it requires Clair to concentrate mid-battle to be effective.
Common Attacks Special Moves
Hyper Moves
Animations
        |
Smartie
|
|
| Gameplay Details | ||||||
|
Smartie is a lightweight character with a medium hitbox and heavy gravity, having incredible mobility overall and being among the game's speediest characters, having decent range with her Ember Claws and great frame data. She's a "Keep Away" type of fighter, preferring to glide in and out of the opponent's space to land just a handful of attacks before pulling away. Her moves do not excel in damage, but she's an "annoying" type of character as she will keep her foes at bat without letting them act or retaliate. Smartie has a distinct advantage in always being able to win the neutral game when under the hands of a skilled player against an unprepared foe; she moves so absurdly quick that she can go in for the kill essentially whenever she wants. Her overwhelming speed also allows her to chain a number of her attacks together, capable of dealing massive damage if she can keep her streak going. All of her attacks have the unique "Lifesteal" effect, letting Smartie heal some of her HP after it's been lost. In spite of her incredible offensive presence, Smartie does suffer from numerous weaknesses and has perhaps the greatest assortment of them. First off, Smartie notably lacks any good killing moves and has trouble putting her foes down, mostly specializing at picking at their health rather than directly draining it. Nearly all of her moves are incapable of launching foes away from Smartie; while this helps with chaining attacks against her enemies, it keeps foes close to Smartie and frequently puts her in danger of getting smacked down. She is also among the game's lightest characters and has among the poorest defenses- this makes her very easy to launch, especially into walls, and makes her lose a considerable amount of Stamina. Lacking directly damaging projectiles for the most part, Smartie's forced more often than not to be lured into danger so she may strike her foes, which can be dangerous if the foe's prepared. No matter whether she's on the ground or in the air, against zoning/camping foes, or being challenged by a heavy hitter, Smartie's advantage in having the best top speed in COLD❄BLOOD makes her a character that's tough to stop once she gets going.
Common Attacks Special Moves
Hyper Moves
Animations
        |
Dusty
|
|
| Gameplay Details | ||||||
|
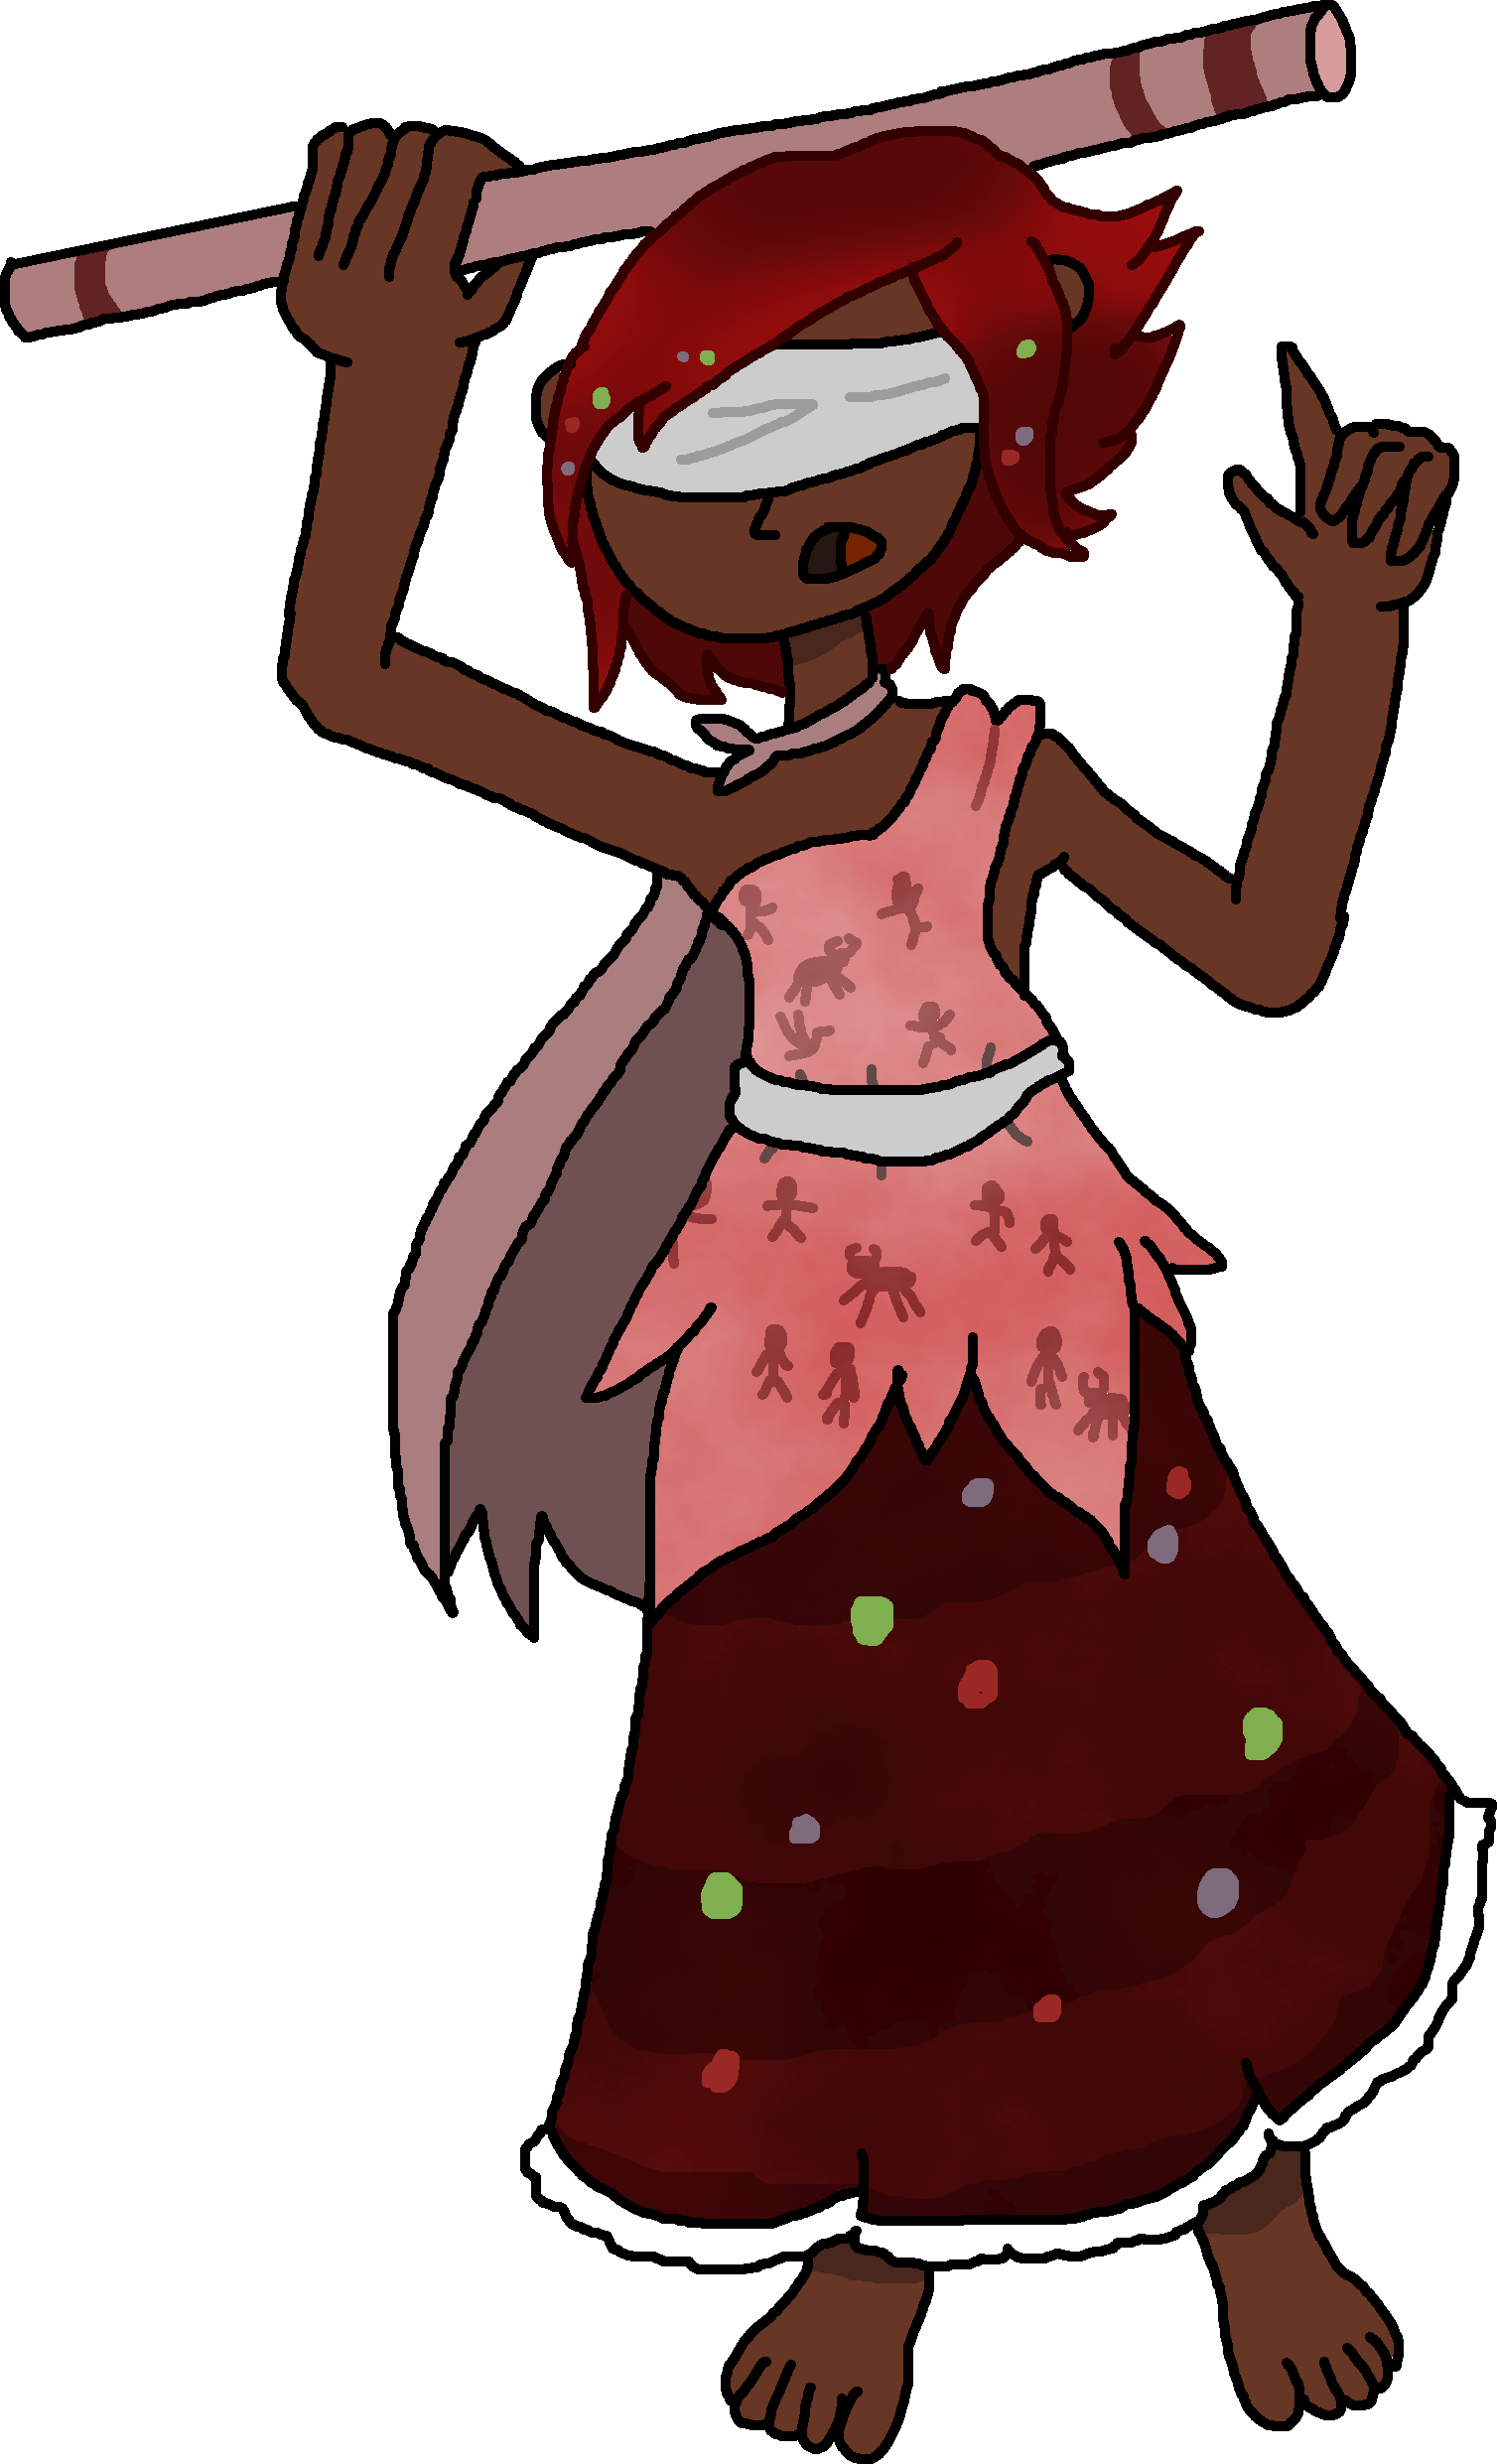
Dusty is a pseudo-heavyweight fighter that's a bit under the average fighter height threshold, having good mobility overall and having strong moves across his whole moveset. Dusty's weapon, the Sand Stick, has more range than a majority of the cast's weapons and grants Dusty an advantage by allowing him to poke at his foes with moderately-powered attacks and then make a safe retreat. As he's a glass cannon archetype, many of Dusty's attacks dish out high amounts of damage overall, and his generally good frame data allows him to string these moves together rather well. Several of Dusty's specials have incredible utility; Skull-Piercing Blows, for example, can ignore enemy parries and deal high damage, which helps Dusty's offensive game. With his Sandstorm Shield, Dusty will form a shield of debris that covers his sides- he can use the debris to defend himself, or thrust at it with his Sand Stick to launch them off like projectiles. Being a glass cannon, it should be little surprise that Dusty's defensive play is rather poor, as his Stamina is among the worst across the game's entire roster. He cannot take too many hits, or he'll be toast within seconds, requiring players to master his range level and use all his specials to their advantage. This is especially important as he has only decent mobility, allowing a good percentage of the cast to keep up with him and strike him however they see fit. Dusty does not have to rely on capitalizing others for making bad moves in order to win, because his Sand Stick gives him enough range to let him outright interrupt enemy assaults, but the player does need to precisely move him around so that enemies don't take advantage of his poor stamina. Lastly, Dusty lacks any projectiles outside of Sandstorm Shield, preventing him from reliably attacking foes at a distance. Dusty's a typical glass cannon- you have to manage his Stamina carefully and be careful to not his guard down, but once there's an opportunity to strike, you're rewarded with chances to use obscenely powerful attacks that can quickly end just about any match. As a side note, Dusty will always be facing towards his enemies, as he must smell their scent in order to battle them the way he does with his blindfold on.
Common Attacks Special Moves
Hyper Moves
Animations
        |
Manikin Man
|
|
| Gameplay Details | ||||||
|
Manikin Man is a heavyweight fighter that's surprisingly enough the shortest fighter in the game, being nearly a foot shorter than the game's second-shortest, Oyster. Though he's one of the game's slower characters and is noticeably lacking in his power output, Manikin Man's attacks all inflict poison status onto the enemy, causing them to rapidly lose Stamina for a few seconds after one of his attacks makes contact. It's also worth noting that many of Manikin Man's attacks can stretch out and cover an obscene amount of distance, giving him deadly amounts of range and making him very dangerous to approach. His fellow manikins, which follow him around in battle and throw their own punches whenever their master does, can be thrown to latch onto enemies and be used to lift him around the battlefield effortlessly. Manikin Man plays well defensively, as his manikins will each parry when he does and his Atomic Scarab and Radiant Breath give his enemies many reasons to keep their distance from him. Manikin Man does have his own flaws, however- his aforementioned sluggishness is his main weakness, rendering him too slow to counter much of COLD❄BLOOD's quick-footed fighters and having all his manikins vanquished will leave him wide open to all enemies' attacks. He also has his moveset design plagued with difficulty curves- one has to master how to guide his attacks in the right direction and keep a keen eye on his mischievous little manikins, atop of figuring out how to balance between poisoning his enemies and scampering away. If Manikin Man lacks any manikins, he won't have any recovery options and will lose one of his most important attacks, and he'll be incapable of using their Hyper variants as well as his ZONAL FEVER attack. Lastly, Manikin Man's range is a burden to work with; though rapidly attacking will increase his range because of his limbs branch off to make new ones, he will always have trouble reliably chaining these attacks together. Overall, Manikin Man is a character that's very tricky to handle, but with enough practice, he can be very deadly in the player's hands.
Common Attacks Special Moves
Hyper Moves
Animations
        |
Vizole
|
|
| Gameplay Details | ||||||
|
Vizole is a lightning-fast character with low weight and above-average height, being among the game's quickest and scariest characters. He is a precision-based fighter that strikes with a powerful sword boasting great range and a super-strong sweetspot, which not only comes out quickly but has high priority, destroying projectiles and effectively disabling various approach options for his foes. With his "bonemerangs", he doesn't even have to come close to the foe to dish out some damage, just capable of picking at them from a distance. It's worth noting that Vizole has powerful presence both on the ground and in the air, allowing him to dominate and get some serious momentum after winning the neutral game. All these strengths make Vizole particularly notorious to fight. Though he may boast all of these important strengths, Vizole is far from being an invincible threat. His sword's sourspots are his worst nightmare; landing the wrong part of his sword will deal almost minimal damage and push the foe back too far for him to use the sourspots to his advantage. He also has very low Stamina, a problem which is worsened by the fact that he gets stunned if he takes high damage, making it easy for heavyweight and high-power characters to dominate over him in battle. Though Vizole is a lightweight character, he has surprisingly poor jumps and very high gravity- while this reflects the underwater pressure that's been over him for most of his life, it hampers his aerial momentum and doesn't allow him to chain his air attacks well. Vizole's gameplay is based almost entirely around precision, and when it's not, it's focused around bait and punishment and finding the best approach. Vizole must find the best ways to take advantage of his prey, then strike when the moment comes so he may put them down for good.
Common Attacks Special Moves
Hyper Moves
Animations
        |
Hector
|
|
| Gameplay Details | ||||||
|
Hector is a towering heavyweight character, known for his very sluggish mobility overall and for the immense ending lag waiting at the end of his attacks. However, as a worthy trade-off, Hector's general power output is impressively immense and makes him the second-strongest fighter after Niki. He also has numerous stage-controlling mechanics and bait-and-switch tactics that make him remarkably tough to counter for even fast characters, and he additionally benefits from being unable to flinch from weak attacks as well as having invincibility frames on his arms. This makes him a very defensive character that gives him an incredible punishing game. On the bright side, he's actually hard to punish himself as weaker characters will hardly lay a scratch down on him, and he can't really be chained against with attacks all that well. With his good range and assortment of stage-controlling moves, it can be challenging to stop Hector once his momentum gets going. Hector does have his weaknesses, though. Because of his huge target size, he's remarkably easy to hit (especially in the head and torso), and his very poor speed makes it almost impossible for him to escape anyone's grasp. He also has very poor defense against projectiles and can't really do anything to prevent them from ganging up on him besides parrying. Even though his Forward Special "Hook, Line & Sinker" has a good chance of hitting airborne foes and speedy enemies in general, it isn't always guaranteed to land, and since it's his only means of discouraging these types of foes he can't hold off the pressure for long. He also has a mediocre recovery at best and has a joke of an aerial game, relying on him to use his punishing ground attacks and only use his aerials when he's been knocked high into the air, as they'll likely come out too late by the time he's back on the floor from a double jump. Overall, Hector is an immensely powerful character that relies on bait-and-punish tactics to win, and must keep his high-Stamina body guarded from all sides so he can tank in as many hits as he can like the bulky man he is.
Common Attacks Special Moves
Hyper Moves
Animations
        |
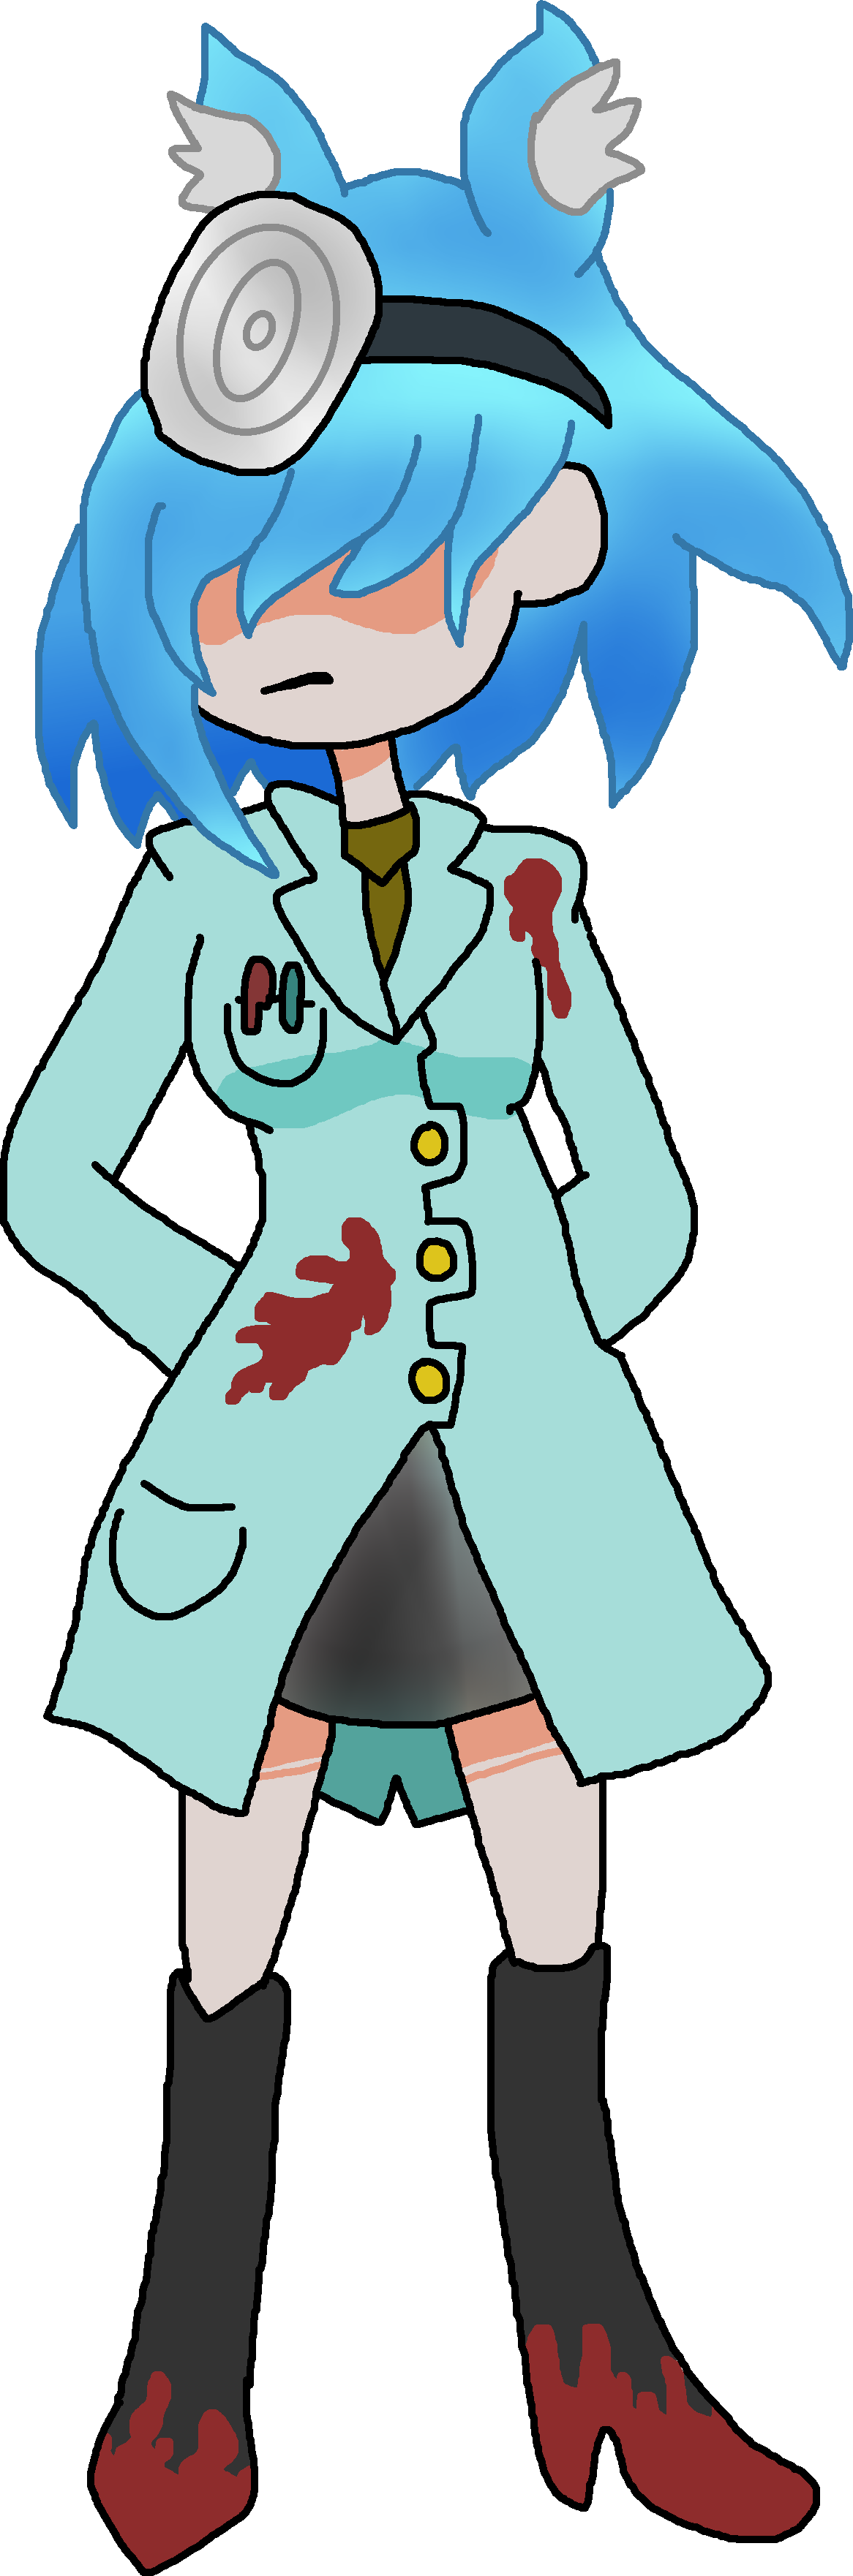
Noise
|
|
| Gameplay Details | ||||||
|
Noise's a lightweight character and among the game's shortest characters, having strong falling momentum and very solid jumps. Unusually, Noise has only average mobility yet has above-average damage output, making her one of the game's most unique characters to play. Noise's something of a rushdown-type of character, having long-ranged attacks using her surgical tools that come out reliably fast (thanks to her caffeinated personality) and can't necessarily be punished besides by parrying, as they will almost always have priority over her enemies' attacks. Noise excels at pressuring her enemies, poking her tools forward to intimidate them into staying back and rushing forwards when she can go in for the kill. Many of her attacks don't just deal a lot of damage- the player can have the attack button be held down so her moves last much longer, allowing her to repeatedly attack her enemies once the animation for their parry ends! This only holds true for her needle, drill, and retractor attacks. Noise's greatest flaw, however, lies in the fact that she is very difficult to learn, let alone master. With her unorthodox mix-up of traits, it can be very challenging to get a grip on how she plays, which is important as a lot of her smaller flaws can be very easily exploited if the player isn't watching out for themselves well enough. The player has to keep on their feet and accurately predict the enemy's next move, or else they'll get punished as Noise's only-average mobility makes it hard for her to make up for her errors. Predicting attacks and approaching at the right time with the right tools is an essential part of learning Noise's character, as she's so lightweight that she'll get knocked very far away if the foe hits her with a heavy attack to retaliate against her. When performing combos, Noise must try to not let the foe gain control of their character again so soon, and additionally keep things mixed up so she can get access to her Hypers ASAP. Noise requires an extreme amount of patience to learn, and there's a lot of kinks and elements to her strategy that need to be mastered so she may can be efficiently played as, but once the player's mastered all her techniques, they are almost guaranteed to win matches for as long as they can predict the foe.
Common Attacks Special Moves
Hyper Moves
Animations
        |
Arikan
|
|
| Gameplay Details | ||||||
|
Arikan is best described a middleweight character that's at the average height threshold, having below-average mobility and attacking strength but also being among the game's most gimmicky and versatile fighters, having a number of helpful spells for almost all circumstances. This dynamic fighter can use varying forms of magic to keep her foes down and out of the way, using hypno-beams to keep her foes paralyzed and using her magic hands to swap between whatever tomes she has available. She can use her broom to easily fly her way around the stage and attack from high up, never falling helplessly unless she's knocked off her broom. Arikan's basic attacks are made up of several light elemental attacks, which can strike a respectable distance away from her and prevent her foes from coming up too close to her. Her moves also have respectable speed, which makes it somewhat difficult to punish her overall. Arikan is plagued with numerous weaknesses, though, that the player has to keep aware of. Arikan's a somewhat sluggish character, which makes her somewhat easy to approach and begin stringing attacks against without warning, provided the witch cannot block them off first. Her specials are also somewhat sluggish to perform, meaning if they miss their target, she will be open to punishment. Though her broom provides her with strong acceleration in the air, she's forced to fall off of it if she gets hit even once, and it can be then taken by her enemies for them to ride- forcing them to be protective of their broom. Though Arikan is hard to punish when she's not using her specials, her moves deal little damage and thus she's reliant on her specials to make big dents in her enemies. Lastly, her elemental attacks are strong but don't have much ammo; once she runs out of tomes, she must wait for them to respawn. Arikan Chan requires the player to take advantage of all of her tools in order to succeed in combat, but once she's successful at blocking off enemies and laying out the full offense against her, she can absolutely become a force to be reckoned with.
Common Attacks Special Moves
Hyper Moves
Animations
        |
Xihuitl
|
|
| Gameplay Details | ||||||
|
Xihuitl is among COLD❄BLOOD's most unique characters, being a precision-based character that uses his rapier for both offense and mobility purposes, allowing him to very quickly switch directions and dash around and even build up momentum through "ground hopping". He also has very high offensive utility, having a really strong rapier that deals very extreme damage if he lands the tipper of it against his enemies, dishing out very high damage. Though his rapier swings appear to be very simple and generic, they come out strong and can be heavily abused given how the rapier gives Xihuitl some of the most flexible mobility inventiveness of any fight in the game. He can use Expel Shot to force his enemies back with a blood-shaped crescent that pushes foes back further and deals more damage the more damage his enemies have taken over the course of the match, and Rapier Root to instantaneously switch directions. Xihuitl's biggest weakness lies in just how pathetically weak the base of his rapier is, which is so ineffective that it can't even be useful for chaining many attacks against Xihuitl's enemies- it requires 20 base swings to match the power of one tipper swing. Besides that, he is a heavyweight and thus can easily get juggled in enemies' attacks and thrown around rather easily by nimble attackers. He also is required to search for food, as he has a strong appetite and needs to feast off of as much food as possible so he can continue surviving. Lastly, Xihuitl's rapier doesn't have too impressive of range, which makes it somewhat suffer against other melee weapons in COLD❄BLOOD. Other than these weaknesses, Xihuitl doesn't really have too much going against him, allowing him to function well as a pseudo-boss characters. Xihuitl has a very high learning curve, but if in the hands of the right player, Xihuitl can become a very annoying and unstoppable force that requires a lot and a lot of work to overcome.
Common Attacks Special Moves
Hyper Moves
Animations
        |
Kýrios
|
|
| Gameplay Details | ||||||
|
Though he's one of COLD❄BLOOD's tallest overall characters, Kýrios is actually a lightweight fighter with five lofty jumps and very low gravity. Kýrios has balanced damage output throughout his attacks and average speed both on the ground and through the air, giving him the utilities necessary to be a mix-up specialist. Kýrios possesses scythes he's conjured from his own blood for battle, which grow to be larger and more efficient with the more damage he's taken over the course of the battle. With his abundance of disjointed ranged tools in these scythes as well as access to parasitic bullets that can leech health from his enemies, Kýrios is an annoying fighter that has numerous ways of putting his foes down. With the efficiency and speed of his attacks, he has little trouble being strong on the ground or in the air, and can chain numerous moves against them at almost any time. Kýrios does suffer from his fair share of weaknesses, however. His worst con, and one that's entirely exclusive to him, is that his defenses worsen the more damage he takes throughout a match. This is because the blood he loses is used to conjure his weapons, which leaves him with less Stamina the more and more of it he loses. Because of how incredibly floaty and light he is, combined with his massive hurtbox, it's easy to fling him across rooms and battlefields and force him to work his way back up to the player. Players that are having trouble evading taking damage with Kýrios will notice that his Bloody Parasites won't be very effective at all, as he will be losing more than he gains. With his only average speed, it's rather easy for rushdown and dominating characters to catch up to him and put him in his place. Several of his attacks require precision to be landed when he's at full health, too. Though the lofty Kýrios does suffer from numerous weaknesses largely in part to his lightweight status meshing poorly with his huge body, he's very powerful in the right hands and can break through foes easily for as long as he's never thrown into a position where he has to be futilely defensive.
Common Attacks Special Moves
Hyper Moves
Animations
        |
Unlockable Characters
There are just as many unlockable characters overall.
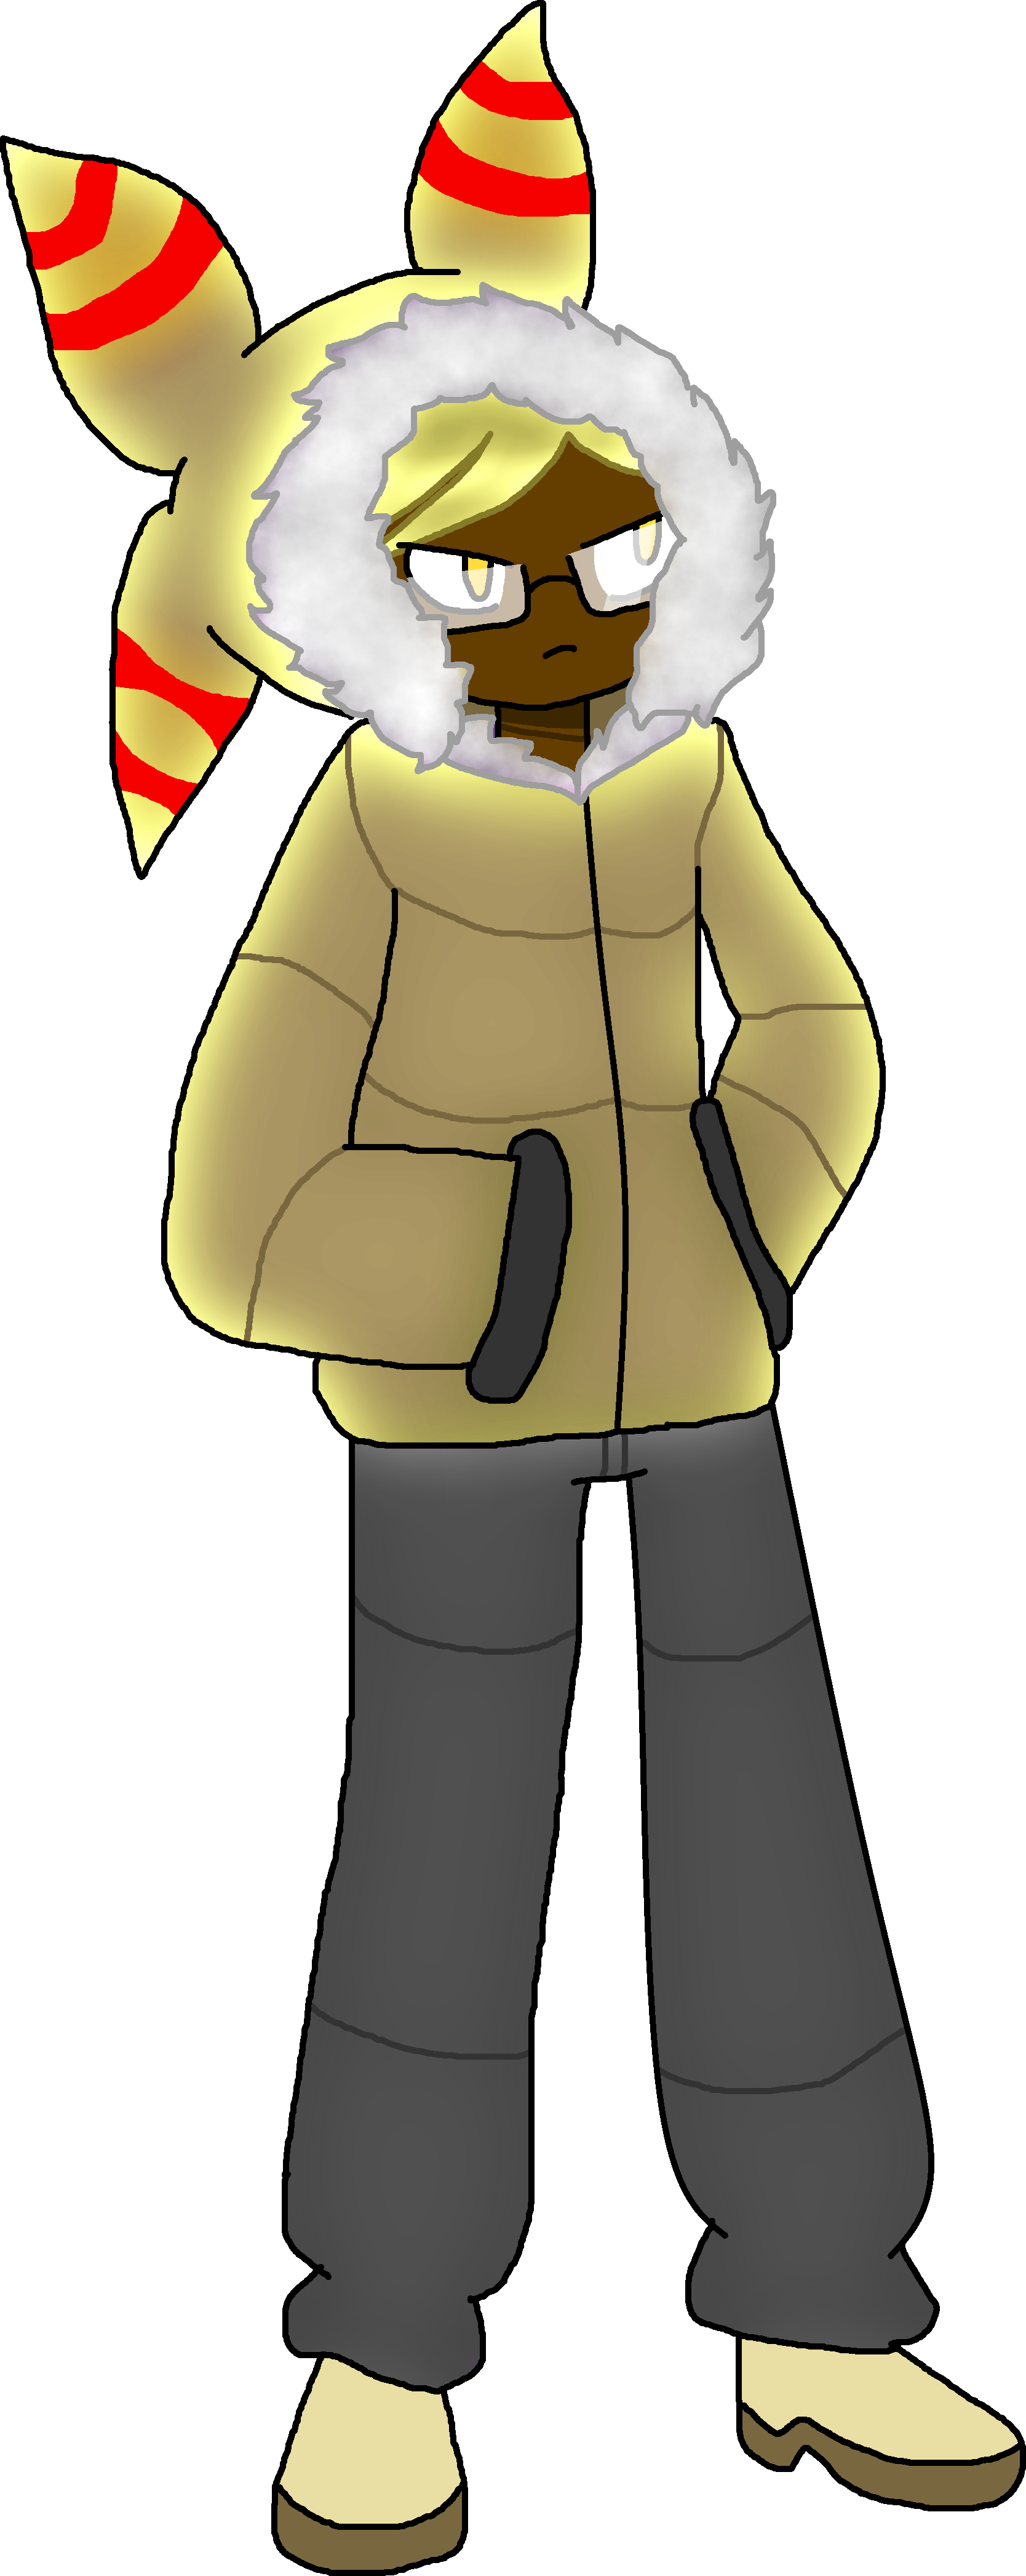
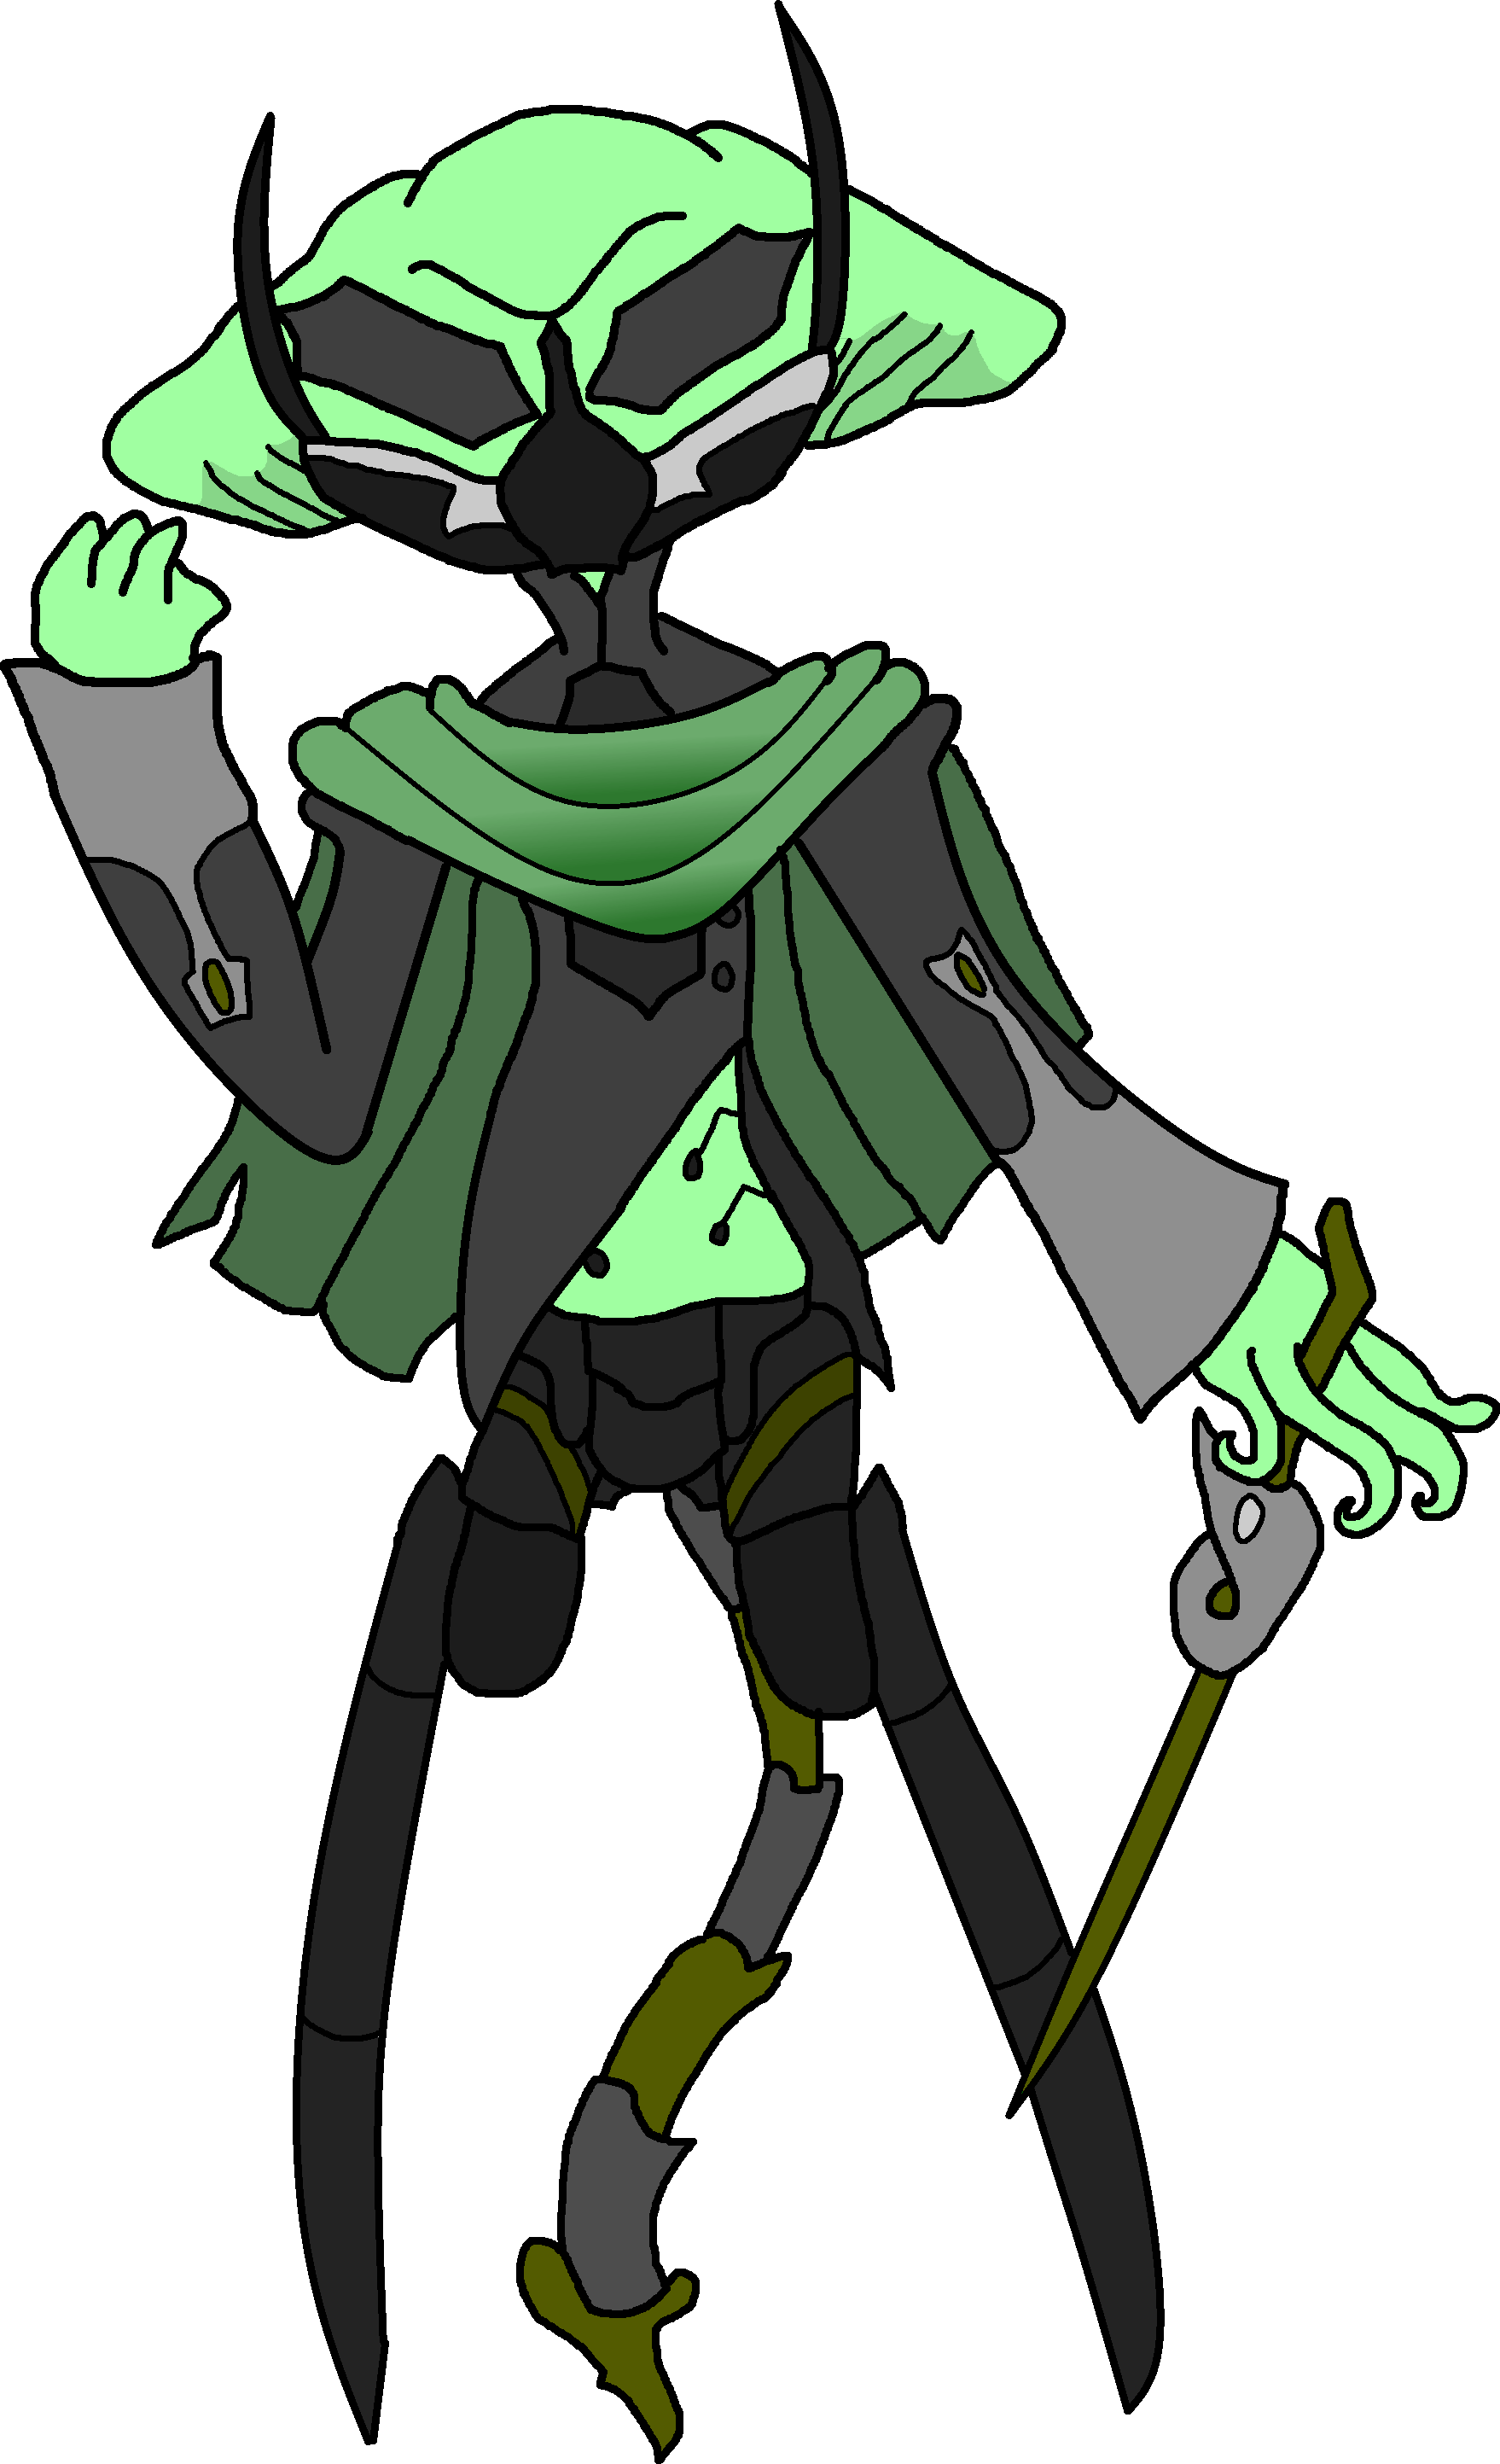
Agantuk
|
|
| Gameplay Details | ||||||
|
Agantuk is a semi-heavyweight character with above-average height for a fighter, having around-average speed and among the greatest power of any character in the whole game, functioning as a character categorized under the bait and punish archetype. Agantuk doesn't just boast strong projectiles that are difficult to recover from once they make direct contact with the enemy, he also boasts numerous hard-hitting physical attacks that are possible to chain together against heavier enemies. His job on the battlefield is to manipulate his enemies' behavior (baiting) before going in for the kill against them using his decent speed and almighty power (punishing). Exploiting his enemies and creating openings are a big part of learning to play Agantuk, who doesn't have the speed necessary to chase down half the roster, but patience and precision will reward players severely as he dishes out damage even harder than Whiskey if the player masters his powers to perfection. Agantuk is plagued by some big weaknesses, however. Though his projectiles have a lot of power and range, his physical attacks themselves suffer immensely from being some of the shortest-ranged attacks in the whole game. This is a huge disadvantage for him when fighting against foes like Vizole or Xihuitl, who very easily outrange him with their respective weapons. Though Agantuk's decent speed compliments his great power output, many characters can outspeed him and take advantage of his mediocre Stamina, and his faster-than-usual starvation means that finding and gobbling food is even more of a priority than it normally be for others. His frame data isn't the best overall, either, with numerous missed attacks giving his foes many opportunities to punish him- meaning that he can be ironically baited himself. Agantuk's a strong character with an amazing moveset to boot that possesses some severe power, but his meddling defenses and quickly draining hungry meter atop his other weaknesses can make him hard to manage.
Common Attacks Special Moves
Hyper Moves
Animations
        |
Junkhead
|
|
| Gameplay Details | ||||||
|
Junkhead is a middleweight fighter that plays very differently from the rest of the cast, standing out among the roster in dozens of ways. The aspect that's most notable about Junkhead is that he can split up his body and use his individual limbs as battering rams and projectiles, leaving the only vulnerable part of his body to be his chest. Junkhead can also swing around a mace; if the player taps the attack button soon after splitting Junkhead's mace-wielding limb off of him, he can make that disembodied limb swing the mace, giving him a superb amount of reach considering the many ways he can split up his body. He also directly splits himself in half (across the chest) for his parry move, blocking the necessity to make perfect parries, and can even toss his head around to smash fighters from a distance. Consider his high offense and high mobility and you have someone that's really difficult to fool around with. An insult to injury is that all his body parts minus his chest are invulnerable to flinching or stun, meaning enemies can't stop them as they come. Junkhead has considerable flaws in his defense game, though, being the game's worst character defensively- in ways, he's even worse off than Pierce is. For one, he is extremely ravenous and craves food often, meaning that he has to protect his very frail body often while scavanging for scraps. Though the only vulnerable part of him is his chest, every attack that's done to it is automatically a critical hit, meaning he can't afford to be reckless at all lest he be brought down by less than half a dozen attacks. Because of the way his mace works and the amount of ways he can split up his body, he is a very difficult character to get the hang of and an even tougher character to master. He also lacks methods he can use to heal himself with on his own whim, leaving him helpless if he's getting beaten up over and over, so he has to play it as safe as he possibly can. He's also easy to knock around in general. Though Junkhead has some obvious flaws as a fighter, he's got a lot of special functions and if you utilize him properly he really is a unique power player among COLD❄BLOOD's cast, and can quickly tear his enemies to shreds.
Common Attacks Special Moves
Hyper Moves
Animations
        |
Koffina
|
|
| Gameplay Details | ||||||
|
Koffina is a heavyweight fighter with a large hurtbox, being one of COLD❄BLOOD's largest fighters as well as one of its most defensive characters. Koffina is a character that's really tough to take down, with her coffin being completely invulnerable to attacks and serving as a weapon for her, with its hitbox being rather difficult and tricky to dodge in the attacks that use it. With her long-reach command grab in Mummify and her ability to self-heal, Koffina requires a lot of patience and strategy to beat as she can easily nullify her enemies' efforts to whittle her down to nothing. She's also got some really interesting attacks, with Sangie slapping Koffina's enemies with its long tentacles while Koffina swipes at her enemies with walking canes- Sangie's attacks may hurt harder, but Koffina keeps enemies off her back. Koffina also possesses an impressive recovery move for her weight, a long-distance projectile, and a crouch that allows her to duck low enough to avoid most jabs and grabs. Koffina is plagued with plenty of weaknesses, however, that can make survival for her pretty difficult. For one, Koffina is actually incredibly heavy and outweighs the whole cast, making her very easy to repeatedly attack especially as she can flinch like (nearly) everyone else. The only thing that cannot be directly attacked is her coffin, so all of Koffina's actual body is very vulnerable. She's also got mediocre offense and mobility, meaning she has to rely on overly-defensive tactics to survive in battle, especially considering how meddling her stamina is. Besides her Flamethrower attack, Koffina has rather mediocre range and her frame data is poor, meaning a lot of her moves come out either really early or really late and thus it's difficult for her to freely recover from mistimed attacks. Finally, she has rather poor jumps, meaning she lacks much of an aerial game (albeit her air moves are extremely strong). Koffina has many unique ways to attack her enemies, but she's really risky to use because of her high weight combined with her poor mobility and mediocre attacks, meaning the player has to rethink their strategy a lot when playing as Koffina if they wanna win with her. Her many pros make her worth playing in face of her cons, too.
Common Attacks Special Moves
Hyper Moves
Animations
        |
Munira
|
|
| Gameplay Details | ||||||
|
Munira is a semi-heavyweight character with below-average speed, even though she's among the game's shorter characters overall and happens to be a bit lofty with her jumps. Munira's fighter archetype is that of the Turtle- this high-Stamina fighter plays very defensively, wearing down her enemies from a distance using her Traffic Road and U-Turn Signs and using the very tips of her map legend attacks to deliver damage when she is allowed to get close. Her Pausing Chain move allows her to slow her enemies down and and get in the comfortable zone necessary for her to attack her enemies, and her Hyper Specials have a lot of important utility that can be tide-turners in the middle of a fight. She excels well with poking at her enemies and just generally being a nuisance, waiting for her enemies to try and adapt new strategies or otherwise charge at her in a blinding rage. Munira does have some weaknesses that she must keep in mind, however. She's among the game's slower characters, suffering immensely from her lack of mobility and her floatiness as it renders her very vulnerable to juggling, a weakness that will haunt her when she's against lighter and more nimble enemies. Her specials, though boasting a lot of unique utility for a fighter of her type, do not generally deal damage and she must rely on Traffic Road if she ever needs to make any long distance offensive attacks. As such, foes can easily heal and prepare attacks if they're out of her range, forcing Munira to try and prepare to use her Pausing Chain and U-Turn Sign moves at the right time- if she's faked out, it could very well be over for Munira. Though Munira's one of the surprisingly strong characters, her strength pales to the likes of numerous other heavyweights in the roster, such as Whiskey. Munira's a character with a lot of unique and fun utilities overall, and she can easily deal a lot of damage and piss her enemies off with her numerous approach-stopping attacks, but she's hard to learn and her mobility will prove to be the biggest challenge for the player to overcome.
Common Attacks Special Moves
Hyper Moves
Animations
        |
Millicent
|
|
| Gameplay Details | ||||||
|
Millicent is what's referred to as a "Balanced" character- this overly tall bombshell's got little big strengths but little big weaknesses, allowing her to find time to sink into a comfort zone at any given time during even the most serious of fights. Millicent has a little bit of everything, having somewhat above-average stats and a good number of attacks that can dish out a lot of damage, as well as numerous short and long range attacks that allow her to control her spacing well. She also boasts heavy-hitting projectiles and a number of hard-hitting tools at her disposal, and with her good speed, she's prepared for pretty much any situation in combat. It's worth noting that Millicent's weapon, the Soul Burner, continuously strengthens her for every single knockout she nets, allowing her to become ridiculously powerful if she's killed a bunch of foes in a row without dying beforehand. Millicent has her own share of weaknesses, however, to keep her in check with the rest of the game's cast. While she has no real checks when it comes down to stats, her biggest weakness is the fact that her Soul Burner weapon will eat at her HP for every attack she makes, meaning that every hit in combat really counts. The more she hits her moves at the start of a stock, the better, as her Soul Burner becomes less and less powerful with time- while her Stamina won't be eaten at as fast, she will lose her hard-hitting attacks and will be forced into finding food to regain this lost strength or adapting her strategy to use her weakened attacks for numerous chains of moves against her enemies. Because of her Stamina draining almost consistently as she attacks, it's somewhat easy for her enemies to straight up kill her with one attack throughout a whole match- provided she continues to miss enough with the Soul Burner. Overall, there's not much wrong with Millicent- she can prove to be a very soulless pseudo-boss and perhaps the game's most challenging one of them all, but her Soul Burner eating at her health is a huge problem and puts the player at a big risk if they don't play their cards well, or rather don't play her well.
Common Attacks Special Moves
Hyper Moves
Animations
        |
Zodiez
|
|
| Gameplay Details | ||||||
|
Zodiez is a heavyweight character with incredible bulk and an intimidatingly tall height, weighted down slightly by her high gravity and her immense falling speed, also being slow overall. However, she has some of the highest Stamina in the game as well as some of the best overall damage output, meaning a careful Zodiez player can last for a very long time with even just one stock remaining. Zodiez has some great range, with many of her moves' hitboxes emphasized by dark blue trails that represent her Inkura, and these moves always leave the foe to take poison damage when they make contact with the foe. Her ability to change her constellation sign will always leave her with one new weakness but always one good strength, and mastering the usage of her constellations will aid her in her footsies-like gameplay; she will be excelling at combat on the ground for her attacks have high priority and eliminate projectiles, making this luscious queen challenging to approach. Obviously, Zodiez's biggest flaw lies in her lack of reliable mobility; she doesn't move at a crawl, but many characters in the game easily outpace her and have a chance at chaining numerous attacks against her all at once. She risks being gimped and juggled at all times if she doesn't play carefully, and if the foe's not giving her a break, she'll have to rely on baiting techniques that may not work out well since her attacks rarely string together and can't hurt the foe quite enough to leave a serious mark on their chances of success. Zodiez's attacks are also strongest at point-blank range, which is where the Inkura begins to seep into her moves, and chances are if the foe's that close, then they'll be able to get some easy hits in on Zodiez. She also suffers from her overall complexity; she's a challenging character to learn and is very rarely used in tournaments therefore. Though Zodiez does have some very glaring flaws in her mobility, let it be consolation that the strength of her attacks as well as the poison damage they leave behind can very quickly wear down careless enemies.
Common Attacks Special Moves
Hyper Moves
Animations
        |
Sinicini
|
|
| Gameplay Details | ||||||
|
Sinicini is a middleweight character with average height and gravity, having good agility and frame data though not being a particularly strong character offensively or defensively. Though she's not an impressive fighter statistically, playing like an average human would against a roster full of strange and alienating characters, she has a very dangerous weapon that makes her very threatening to play against: her kitchen knife. It doesn't just have good range, it pierces enemy defenses and it pierces armor, and to top it all off every finishing touch has a chance of being a critical hit. She might not be too threatening at first glance, but she's a very tough character to approach thanks to that weapon and her good agility. She also has a bizarre toolkit in spite of her ordinary nature, using a lot of ordinary household appliances and tools as projectiles and being capable of picking them back up and reusing them, giving her lots and lots of room to play around with her enemies. As mentioned, Sinicini struggles offensively and defensively, with her attacks dealing mediocre damage at best and her combo game being surprisingly poor with the amount of distance her kitchen knife sends back her enemies. She also has a somewhat weakened parry that, while letting her negate most damage, still lets her take minor damage with each successful parry, weakening her defense game further. Though Sinicini's weapon lets her break down every enemy in the game to become easier for her to fight, weakening a massive chunk of the roster, she still struggles against high-stamina enemies like Whiskey and Jezebeth which can easily outlast her and take advantage of her inability to defend herself. Lastly, Sinicini can be really tricky to play, as her OCD makes her feel obligated to attack in odd-numbered strings of attacks. If you attack only twice in a row, Sinicini will twitch briefly, making her open to being hit. Sinicini has some major flaws as a fighter, and ultimately some of her attributes leave a lot to be desired, but she's a fighter that packs a lot of surprises that can unexpectedly change the flow of battle.
Common Attacks Special Moves
Hyper Moves
Animations
        |
Yama
|
|
| Gameplay Details | ||||||
|
Yama's a lightweight fighter with average height and overall strong mobility, giving her a lot of vital edges in battle- quick, nimble, and hard to trap. Yama has great frame data, meaning many of her moves come out quickly and chain together easily, which is excellent for her when you consider the fact her damage output and overall range are above-average. Like Noise, Yama excels at applying pressure to her enemies, especially with her Bandy specials and how deadly they can be against enemies that don't know their boundaries or Yama's boundaries for that matter. With just how powerful her kit of moves is and how much range they cover, Yama can absolutely dominate the scene and wipe it clean if she so wished to, with the assumption that the enemies don't know how to exploit her weaknesses. Yama doesn't have too many weaknesses, but by far the most important one is that she is very lacking in her defenses- any direct blow she takes can make her lose a lot of her Stamina, meaning she can go down in just a matter of hits. She also lacks ways to cover herself when she's using moves like Doctor Bandy and Voice Throw, she will be standing there in the open being vulnerable to attacks, letting enemies easily ambush her if she's not careful. There's also the fact that if she takes a hit, she will be forced to fly across the room, forcing her to restart her approach- this is especially a hindrance if she hits a wall, as this will make her lose even more Stamina. Lastly, her moveset lacks variety and ways to be mixed up, so she can be somewhat easy to predict. Yama's pros by far outweigh her cons, and she's much easier to toy around with than Noise- she can dish out a lot of damage in a short period of time. However, she can also take a lot of damage very quickly, so players using Yama need to keep a keen eye on her!
Common Attacks Special Moves
Hyper Moves
Animations
        |
Werine
|
|
| Gameplay Details | ||||||
|
Werine is a middleweight character with below-average height, having good mobility especially on the ground but excelling rather well in the air, having a moderate falling speed and numerous mid-air jumps to represent her dominating spirit. Without a doubt, Werine is one of the game's most efficient rushdown characters, having an excellent combo game with her super-speedy attacks and holding full domination over the aerial scene. Make just one mistake and Werine will quickly punish you for it, subjecting you to her long chains of attacks. Approaching Werine is also difficult, as she can easily swerve out of the way of others' attacks and retaliate almost immediately with whatever she pleases. Finally, Werine's version of the "HyperDrive" meter is unique; it is instead referred to as "Red Energy" and is colored crimson to match, and her Crouch Special can be used to charge it up. As her Red Energy builds, her neutral moveset continually gains more and more range, making her much tougher to punish. However, Werine does possess several faults as a fighter, her biggest issue being she's among the roster's frailest characters altogether. Just damaging Werine with a moderate-powered attack will still take a bite-sized chunk out of her health and will (usually) knock her back enough to prevent her from coming back for the kill. If Werine's Red Energy meter isn't at least a third of the way full, then her attacks will have somewhat pitiful range and not deal as much damage, making it significantly easier to approach her. Unlike with other characters, when Werine takes damage, this meter will actually slightly deplete and possibly disrupt the player's strategy, meaning taking risks with Werine is usually a no-go. Her lack of a projectile also really hurts her in the long run, as it means she can't counter zoning or camping characters very efficiently nor poke at foes from a distance. Werine's a strong character with equally strong speed, but the player has to be careful if they wish to assassinate to dominate, as Werine's numerous flaws can hold the player back if they let the foe take advantage of them.
Common Attacks Special Moves
Hyper Moves
Animations
        |
Chance
|
|
| Gameplay Details | ||||||
|
Chance Roulette isn't just one of the game's tallest fighters, he's also among the heaviest and among the slowest. He's best described as a "Zoner" type of character, focusing on controlling the battlefield aggressively through his numerous tools and projectiles and using powerful melee attacks to outrange his enemies. Though Chance has some mobility issues and isn't among the game's stronger fighters, he's excellent at wearing down his enemies from a distance and can pick at them from afar with his projectiles rather easily. Chance's defensive game is among the best in the game; not only can he take a lot of damage within his robotic suit, it also gives him a longer-lasting Parry that's much easier to use and way harder to punish against. He also has an unusually powerful recovery for a slower character and many of his moves give him dominant control over the battlefield, and none of them negatively impact him besides having enough lag to render him somewhat punishable. Chance's sluggishness and heaviness are two huge issues that drag him behind in battles occasionally. Both ailments make it ridiculously easy to catch up to him and juggle him up in the air, respectively. Though his frame data is somewhat better than his fellow heavyweight rivals', many of his attacks still have a detrimental amount of ending lag to them, and his only average power output means he has trouble dishing out damage as efficiently as anyone else in the game's roster. He also starves faster than numerous other characters in the roster, requiring him to continuously find more food to give more nutrition to his well-aging body. However, Chance's weaknesses are somewhat compensated for by his ultimate weapon, the mace-inspired Pinball-n-Chain. The huge ball attached to the weapon and how Chance swings it gives him a lot of defensive utility if used properly, and negates a lot of his weaknesses. Though Chance is plagued with numerous issues like any old man out there, he has a lot of really good utility with his basic weapon and his specials all give him a ridiculous amount of stage control.
Common Attacks Special Moves
Hyper Moves
Animations
        |
Frink
|
|
| Gameplay Details | ||||||
|
Frink is a perfectly all-rounded character when it comes to his statistics and is an average-height character in the middleweight class, making him the perfect middleground character. Frink fights making use of a varied set of projectiles and using his ability to easily control the whole stage within moments, keeping his foes at bay with his vast number of attacks at his immediate disposal. His lack of statistical weaknesses means that he's hard to punish, even if few of his traps and baits are at play, and forces his enemies to set up complicated strategies to let them to deal lots of damage to Frink at a time. This dynamic character benefits from the Delivery Timer mechanic that's exclusive to him; every ten seconds, a timer will beat down from 10 to 0. If Frink strikes his enemy with his Neutral Special as the timer reaches 0, he'll deal the most damage! The closer the timer is to 0, the stronger his attacks are. Frink does have a notable assortment of problems, however. These mostly center around his dynamic mechanic; if Frink strikes too early with Junk Crash, the timer will always reset back to 10, meaning he has to wait longer to land a hit that could possibly win him the match. However, the junk will always explode when the time expires, damaging Frink if he's near the projectile or is still holding it. Thus, the player is pressured to keep their space away from the foe and make the best judgment on when to attack with Junk Crash. Though Frink has above-average statistics all around, none of them reach top capacity, and thus foes experienced with one field can overwhelm Frink in that category and exploit his weaknesses. His range is also rather subpar, letting most characters outrange him with physical weapons and with their own projectiles, which have more priority than most of his moves do. Frink has good advantages all around and is mostly devoid of weaknesses, but his subpar range and the fact he has to continually toss out mail or else take damage can make him a bit of a pain in the ass to play. He also needs to keep his space and use his traps properly, or they can be used against him.
Common Attacks Special Moves
Hyper Moves
Animations
        |
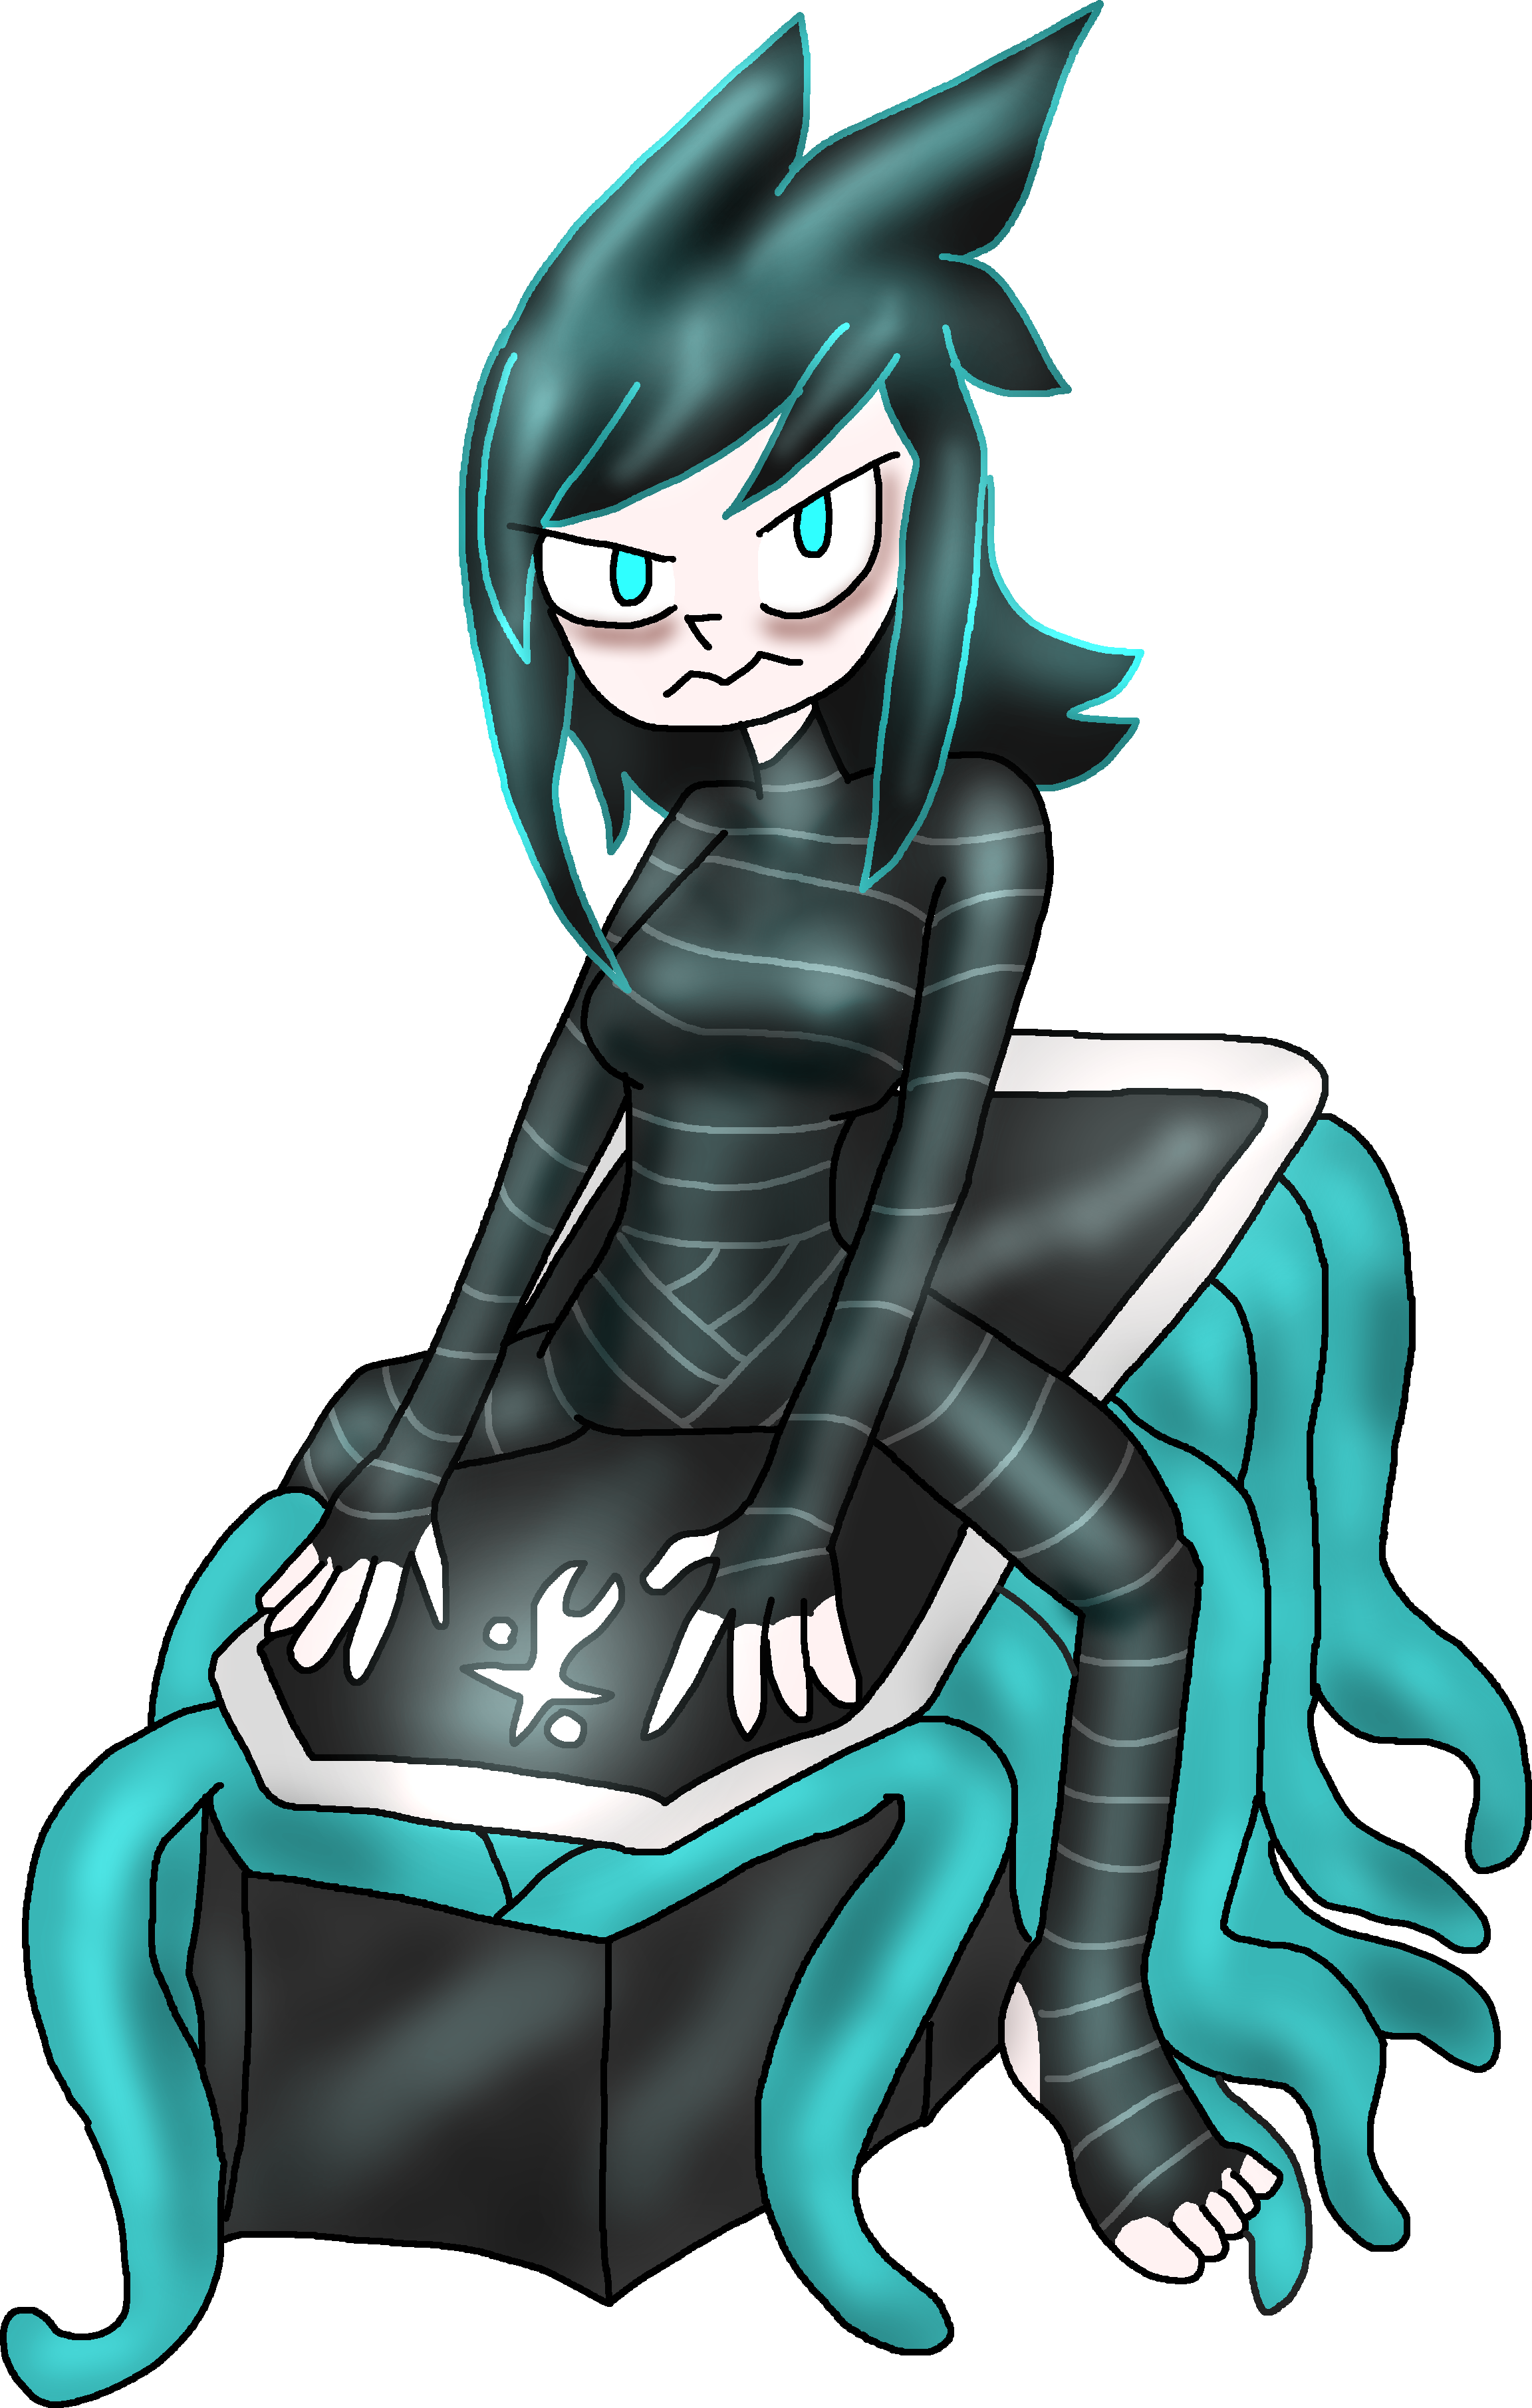
Dream Weaver
|
|
| Gameplay Details | ||||||
|
The Dream Weaver is a lanky lightweight fighter with the best frame data of any character overall and with exceptionally strong range via his Weaver's Brush. His specialty is to place his enemies to sleep, which he can easily do through clever uses of his Sleepy Slash and G'Night Kiss moves- by sucking up his enemies' dreams, he can fill up his Dream Meter, which he can drain to become an unstoppable monster for what could be the worst 20 seconds of anyone's life! Or he can send them into a deep slumber and sap out their health by devouring their dream... as his Dream Meter fills up over the course of the match, he slowly becomes more and more powerful, with his mediocre stats continually building up and making him a more than capable fighter that can really make the battlefield his own if he so wished to. Once he gets started, he is very difficult to stop, and he should not be underestimated. However, the Dream Weaver does have some weaknesses that he needs to be aware of at the start of any match- he starts out with unusually mediocre offensive and defensive stats, making it hard for him to both make scratches at or take scratches from his enemies. He also needs very strong management of his sleeping tools, as if he doesn't get his Dream Meter filled up over the course of the match, he will be having these mediocre stats through the whole match and he won't be able to get anywhere at all. He will also be having his Dream Meter drained slowly over the course of the whole match, so he must be consistently bringing his enemies to sleep and balancing whenever to use Nightmare or Unreal Power against them as opposed to his life-saving Dream Sucker. Finally, his last weakness is that playing as him can apply a lot of pressure on the player- it's so easy to be cocky and then get crushed like a cockroach! The Dream Weaver is a truly interesting fighter based around the concept of sleep, but to make good use of that sleeping power, you need to keep your eyes on everything and everyone at all times and make sure you're keeping yourself in the game... you can't afford to sleep on the job!
Common Attacks Special Moves
Hyper Moves
Animations
     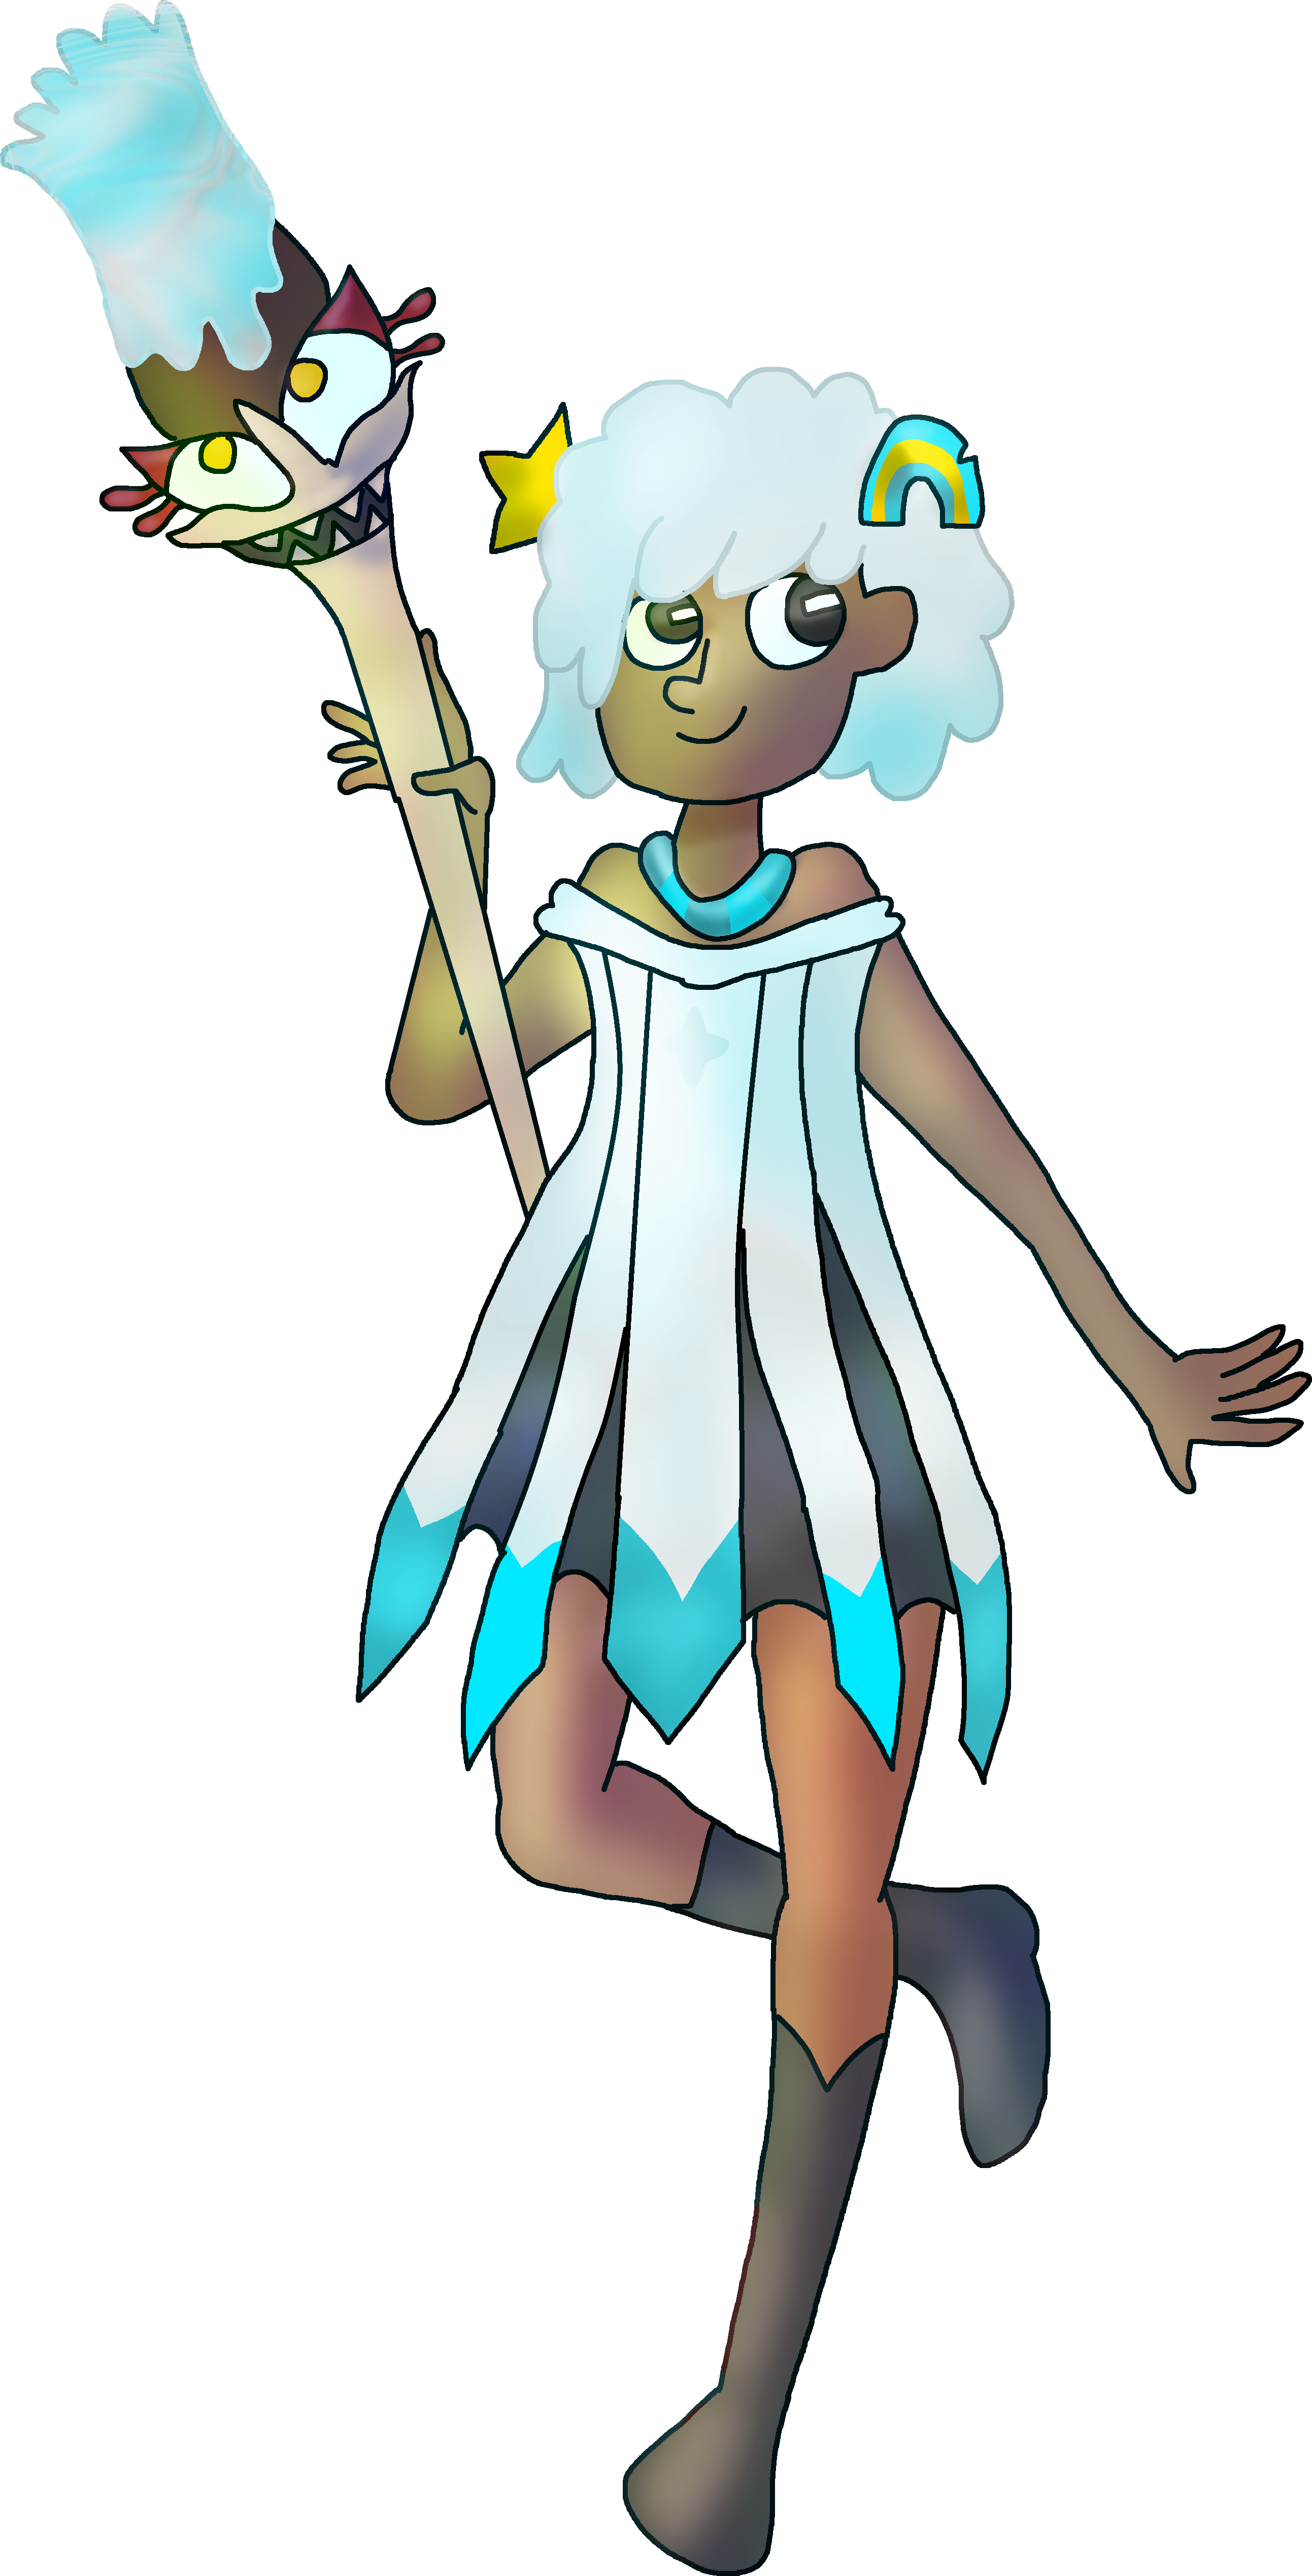 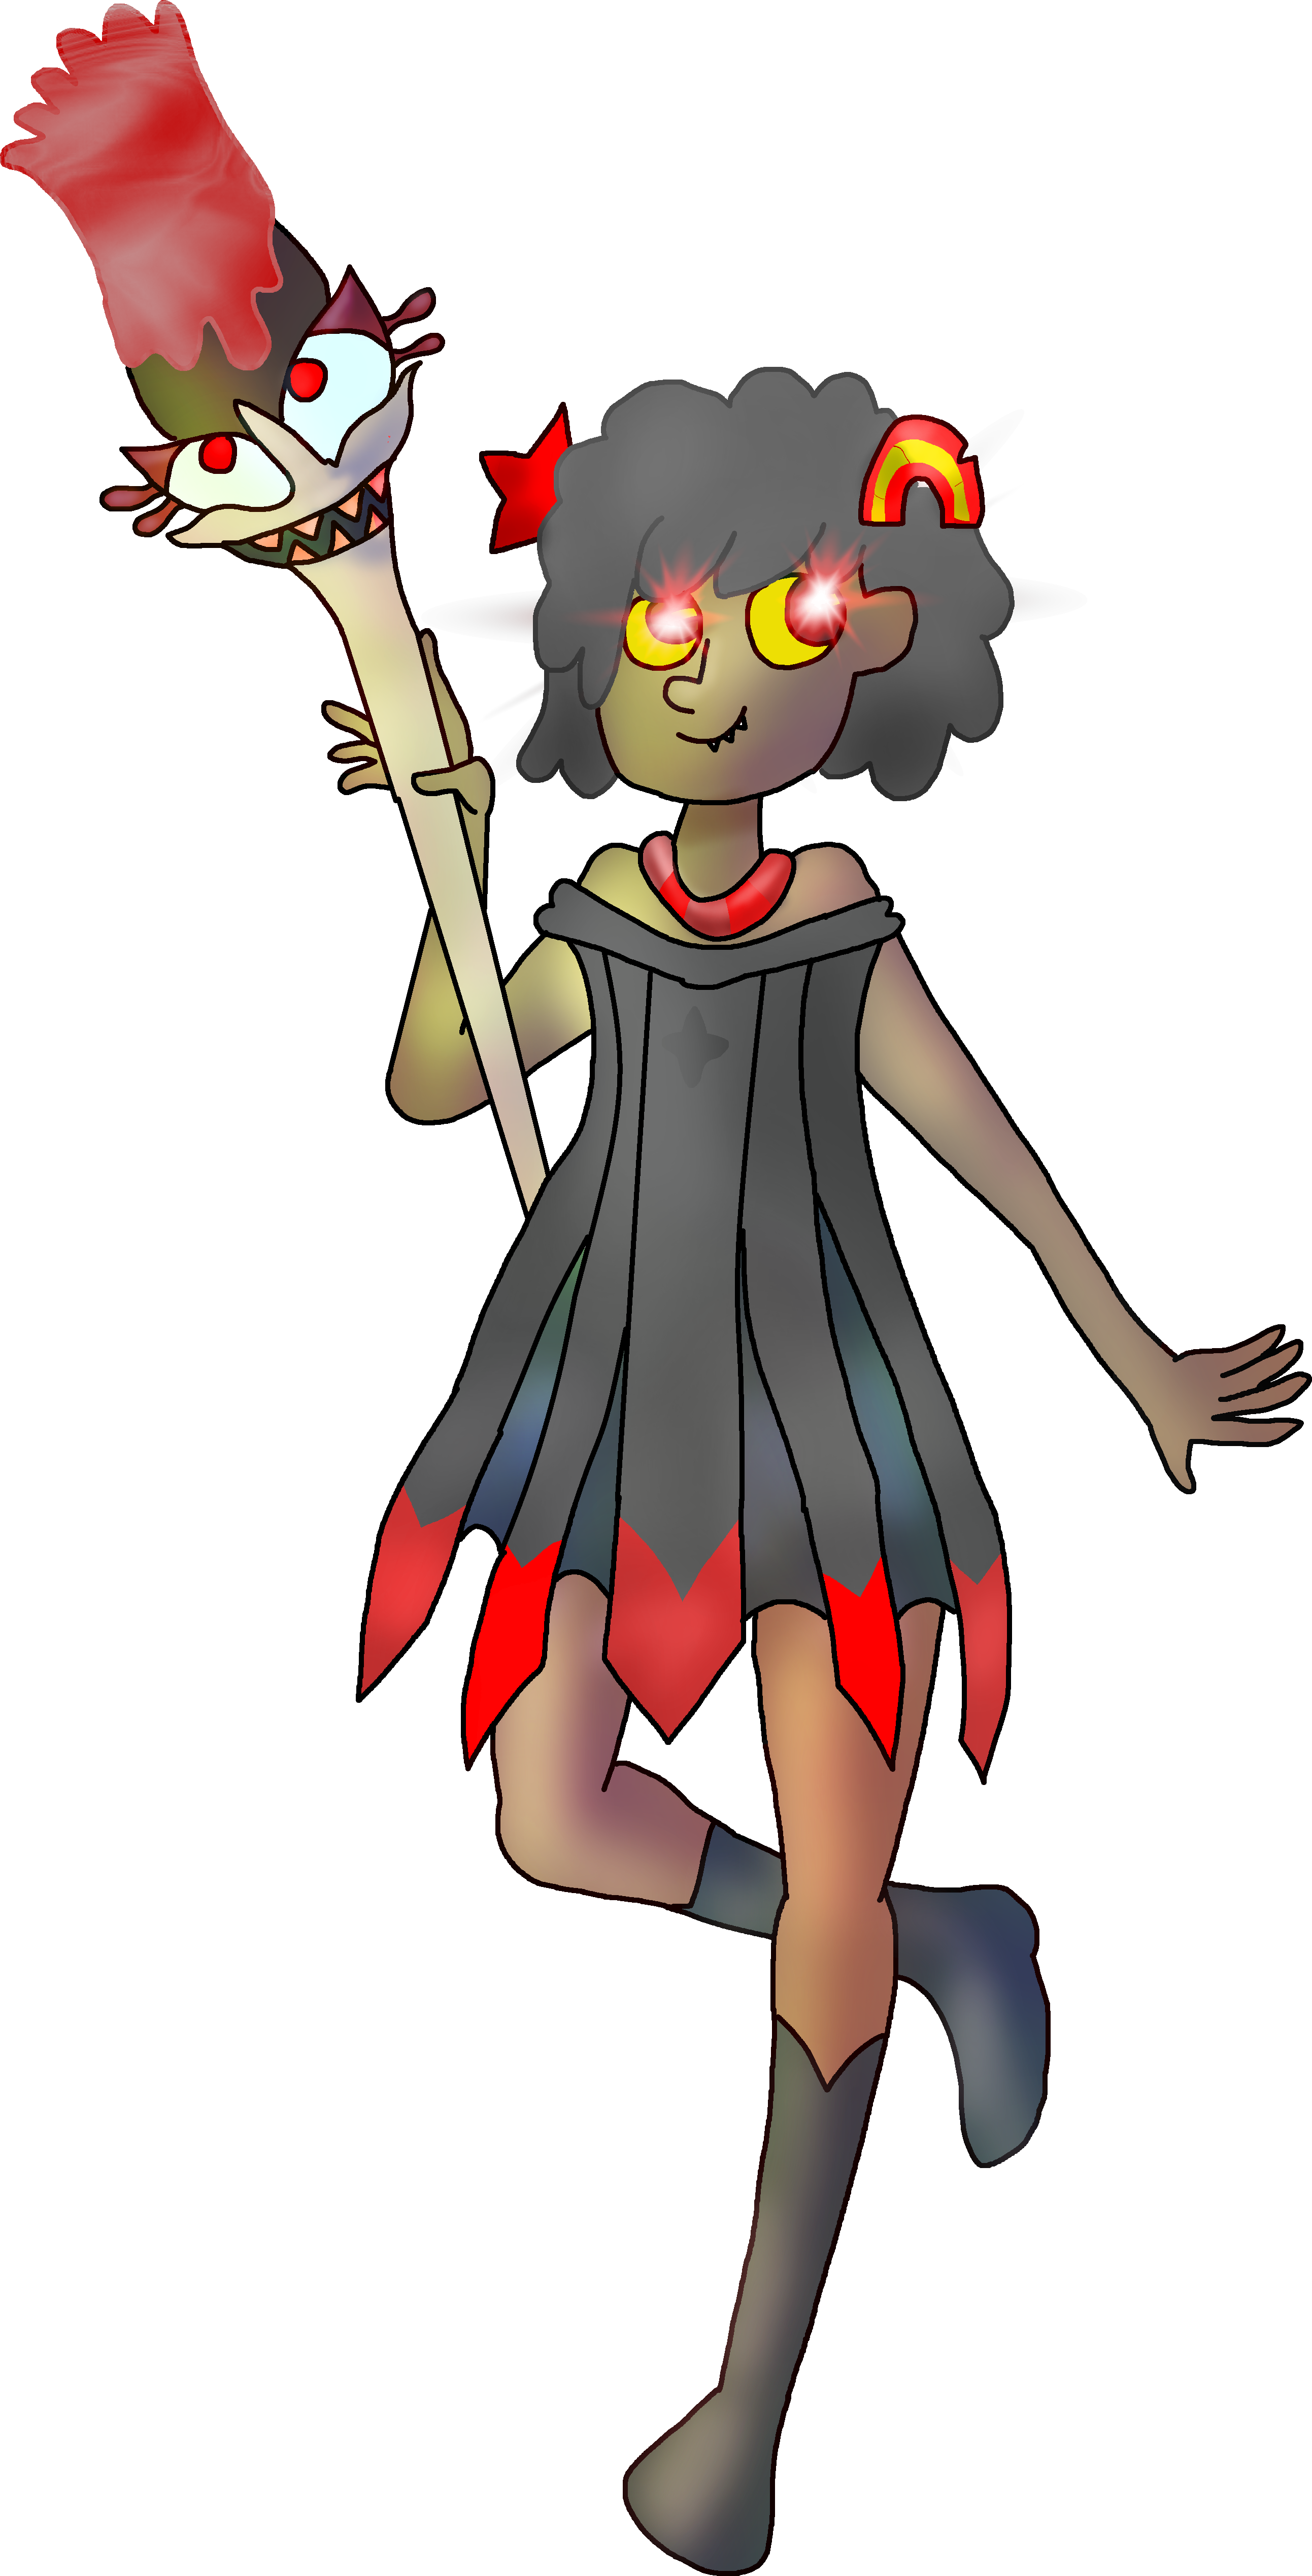 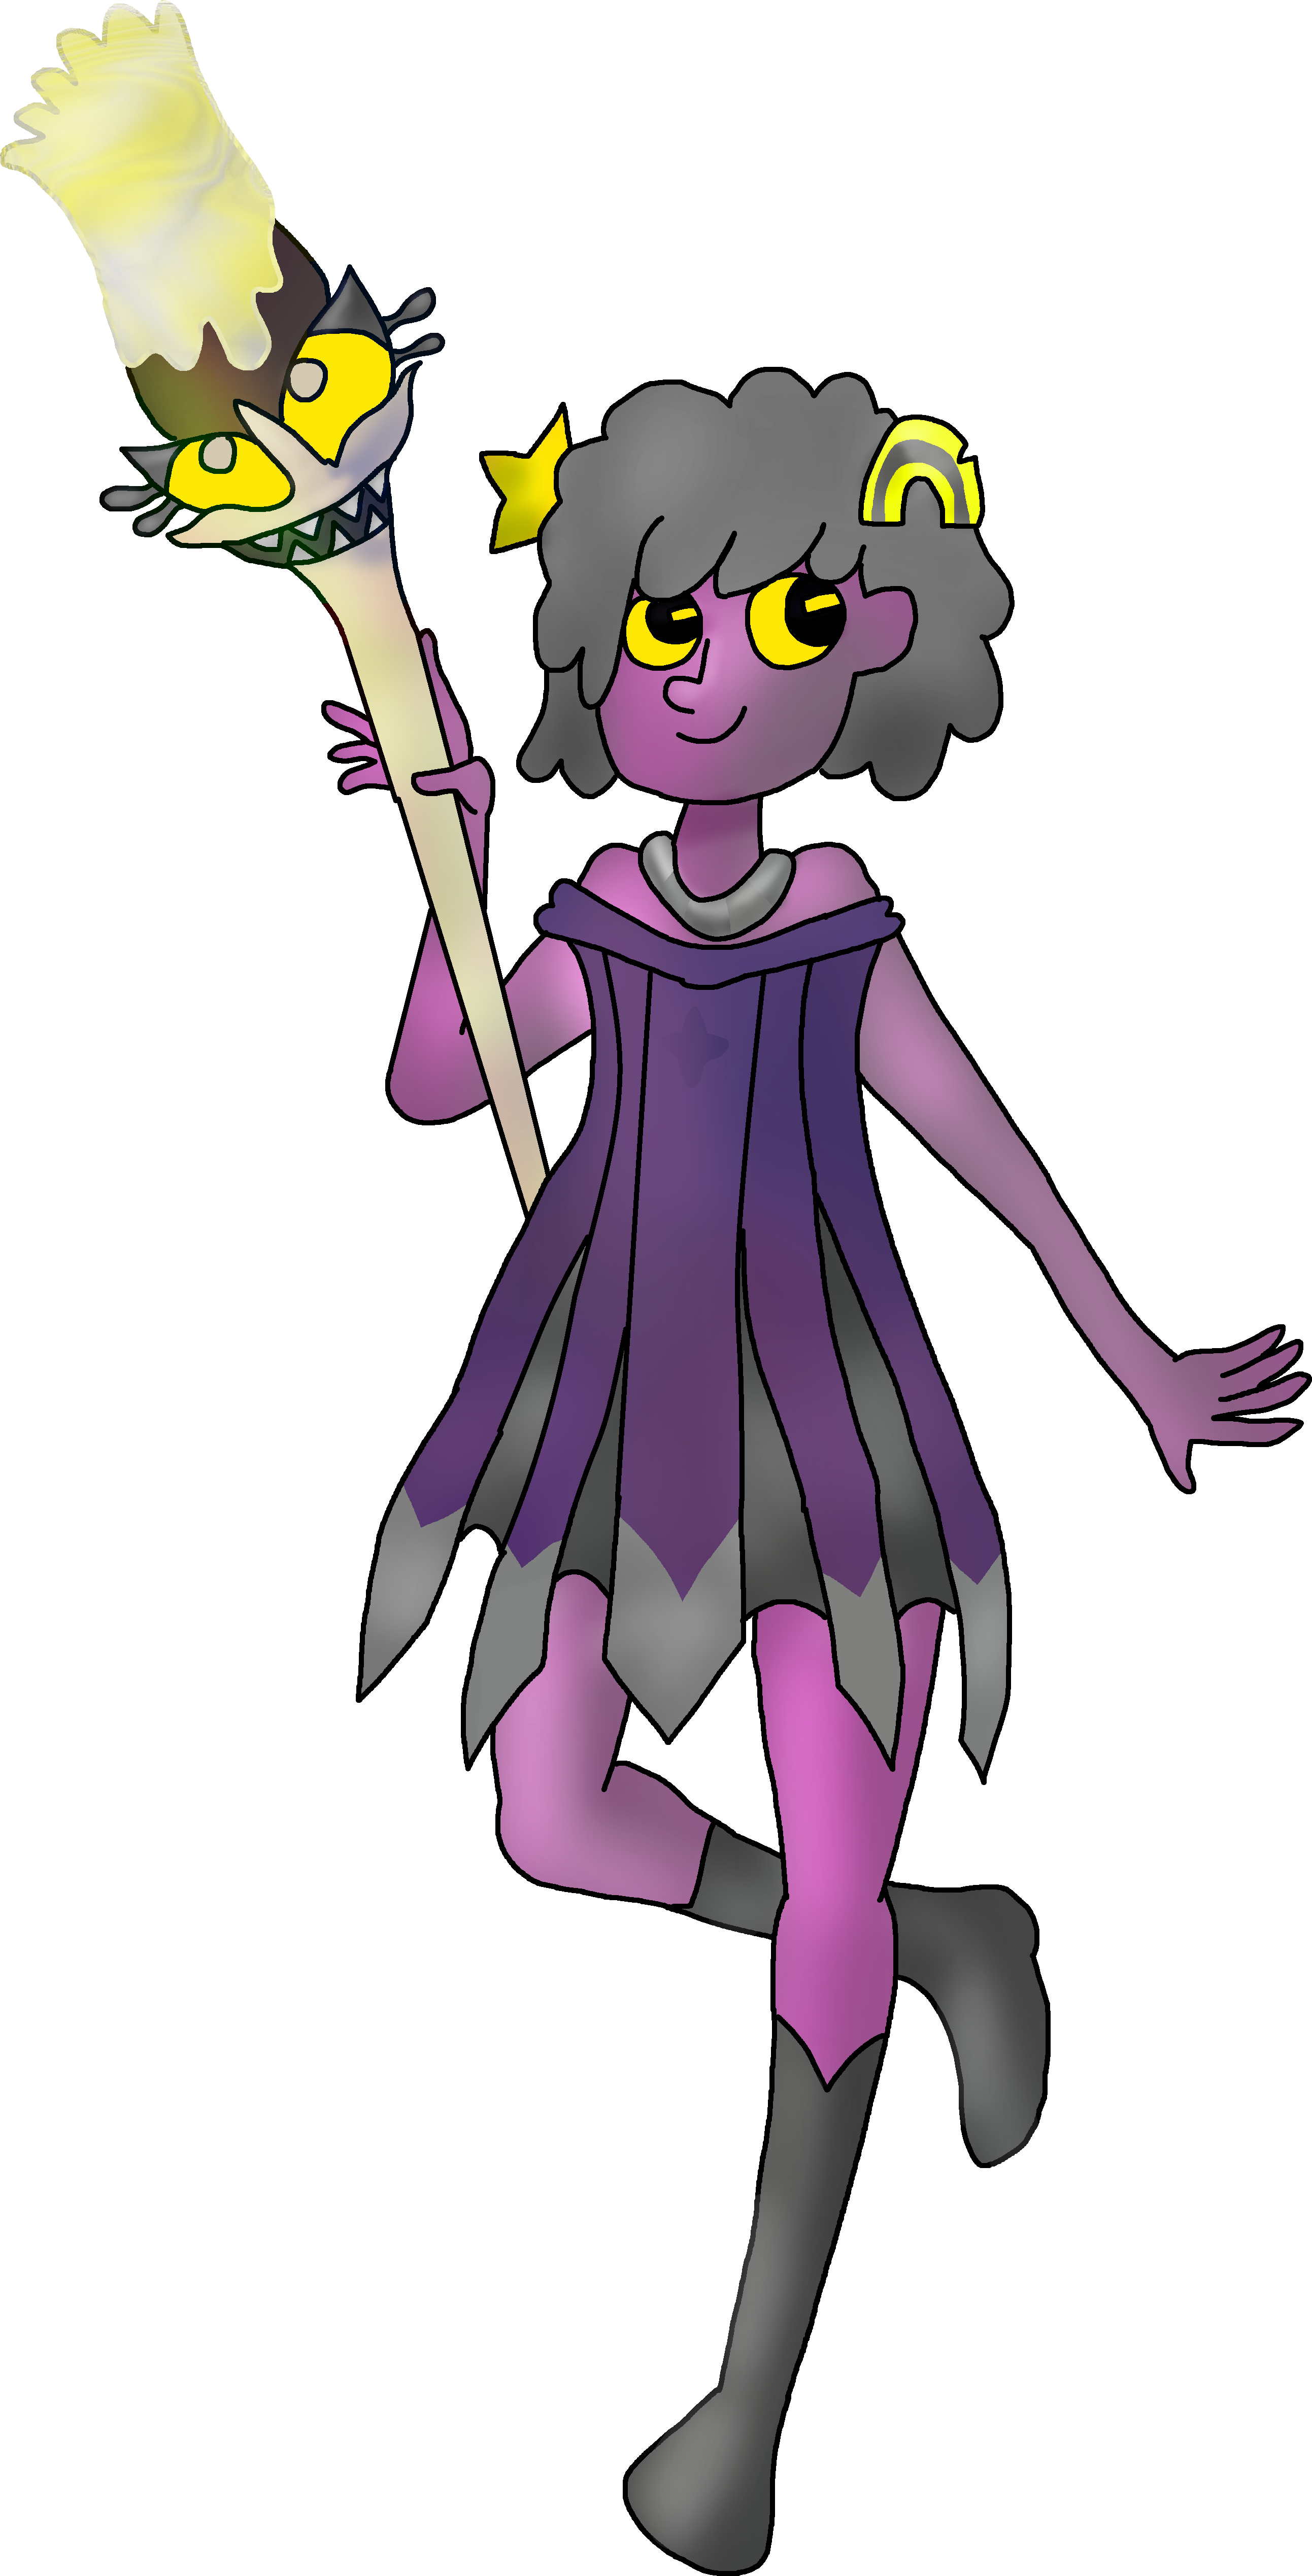 |
Vilicus
|
|
| Gameplay Details | ||||||
|
Vilicus is a very strange fighter that's absolutely one of COLD❄BLOOD's strongest fighters in the right hands. Vilicus boasts really solid stats all around, having above-average offense and mobility as well as really good defensive play. Vilicus' parry allows him to completely vanish and reappear in any direction, and he has a long magical grab that even works midair. Through usage of his taunts, he can change his expression and change the properties of his Psyche Beam special; the expression he's wearing also adjusts his advantages and disadvantages across his whole moveset, making him very versatile. Vilicus also has control over the three auras that the masks gift him, letting him play with his enemies' vitality they attack him head-on. He deals very minor recoil damage back upon his enemies, slightly weakens their stats, and has a chance of draining a Stylish Point from them every time they hit Vilicus head-on. Finally, his Marmalade Wand gives him excellent range and many of his attacks can chain together to attack more than once. Vilicus isn't without his flaws, though. He's practically weightless, meaning that any hard-hitting attack will send him flying at high velocities, meaning he'll take massive damage if he gets slammed right into a wall. The player can (uniquely) save themselves by jumping off the wall as soon as he makes contact with it, but this requires nearly frame-perfect timing if he's being flung away at high speeds. He also struggles if the character can pierce through his high defenses, as his stamina is rather poor and leaves him super vulnerable. Vilicus's agility and high jumps let him chase his enemies around the map and showcase his excellent air game, but he has rather loose controls that makes him tough to play. Combine that with his aforementioned weaknesses, and he becomes a character with a really high difficulty curve. There is payoff to playing as him though, as with the right strategies, he can very quickly take others down. Overall, Vilicus is a really capable fighter that uses the abilities of the Three Spirits well, but he's somewhat bogged down by the cruel skill level that's needed to master him and it can take a while to get used to all his unique gimmicks.
Common Attacks Special Moves
Hyper Moves
Animations
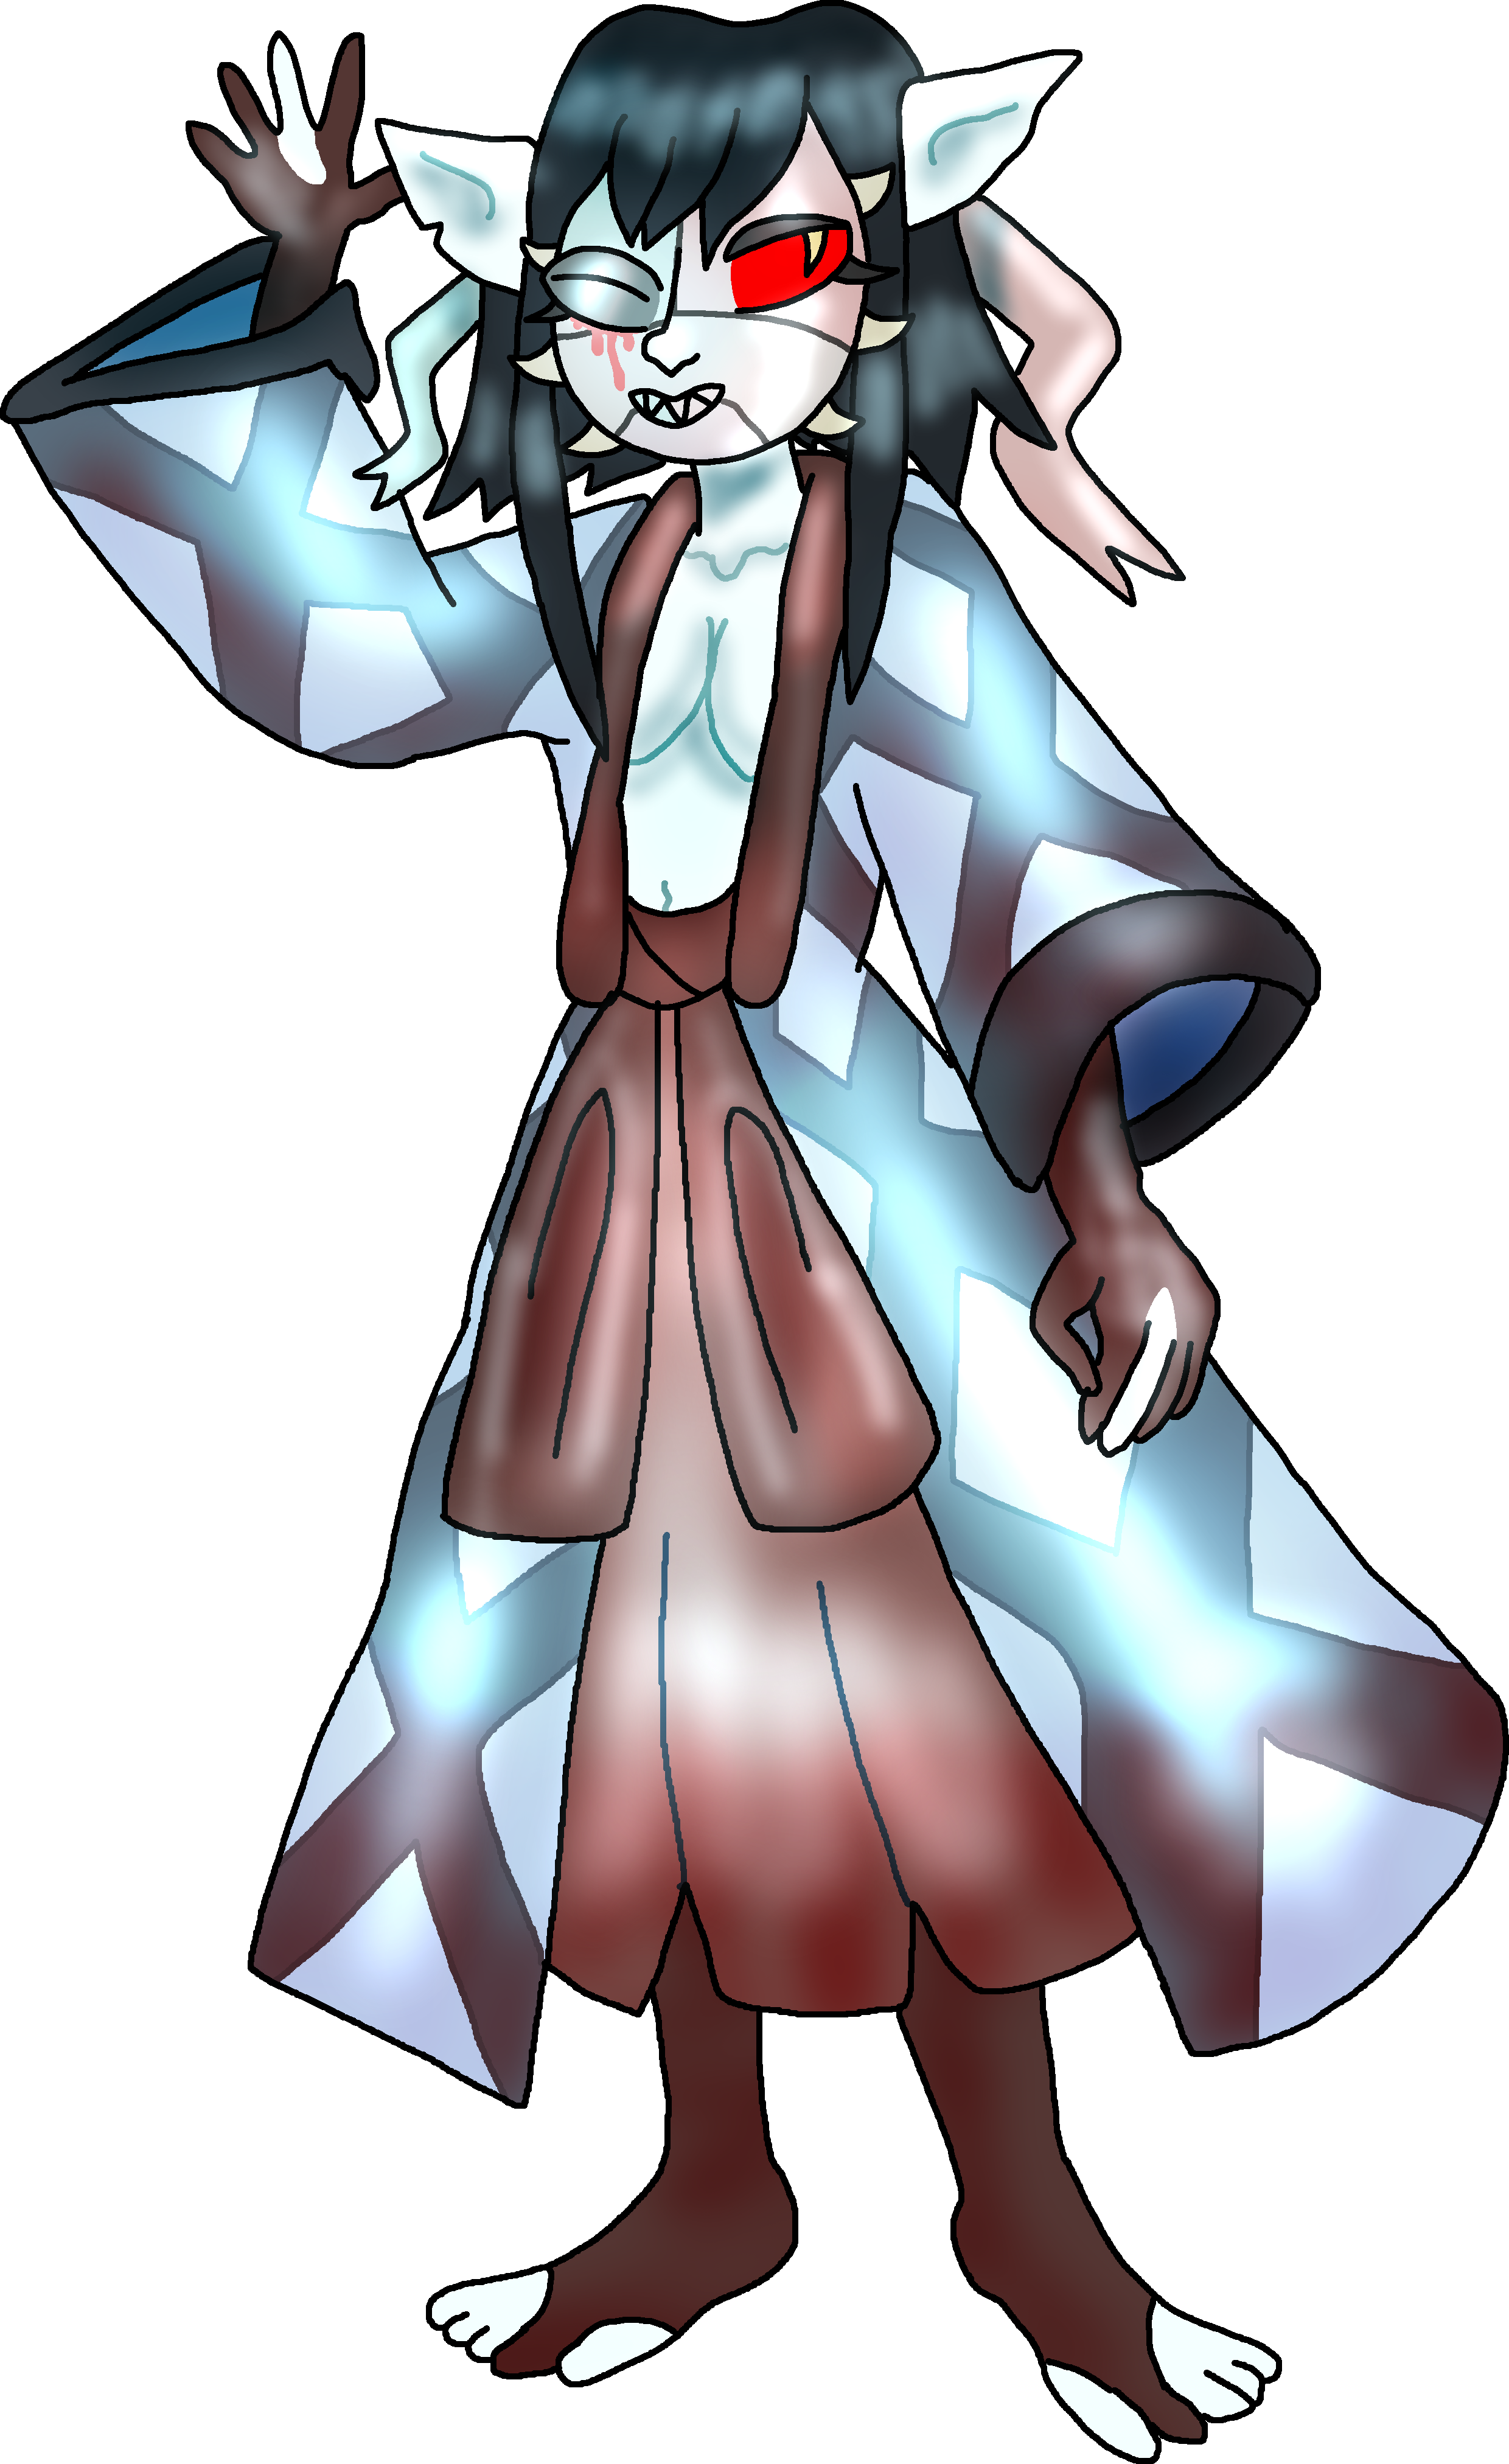  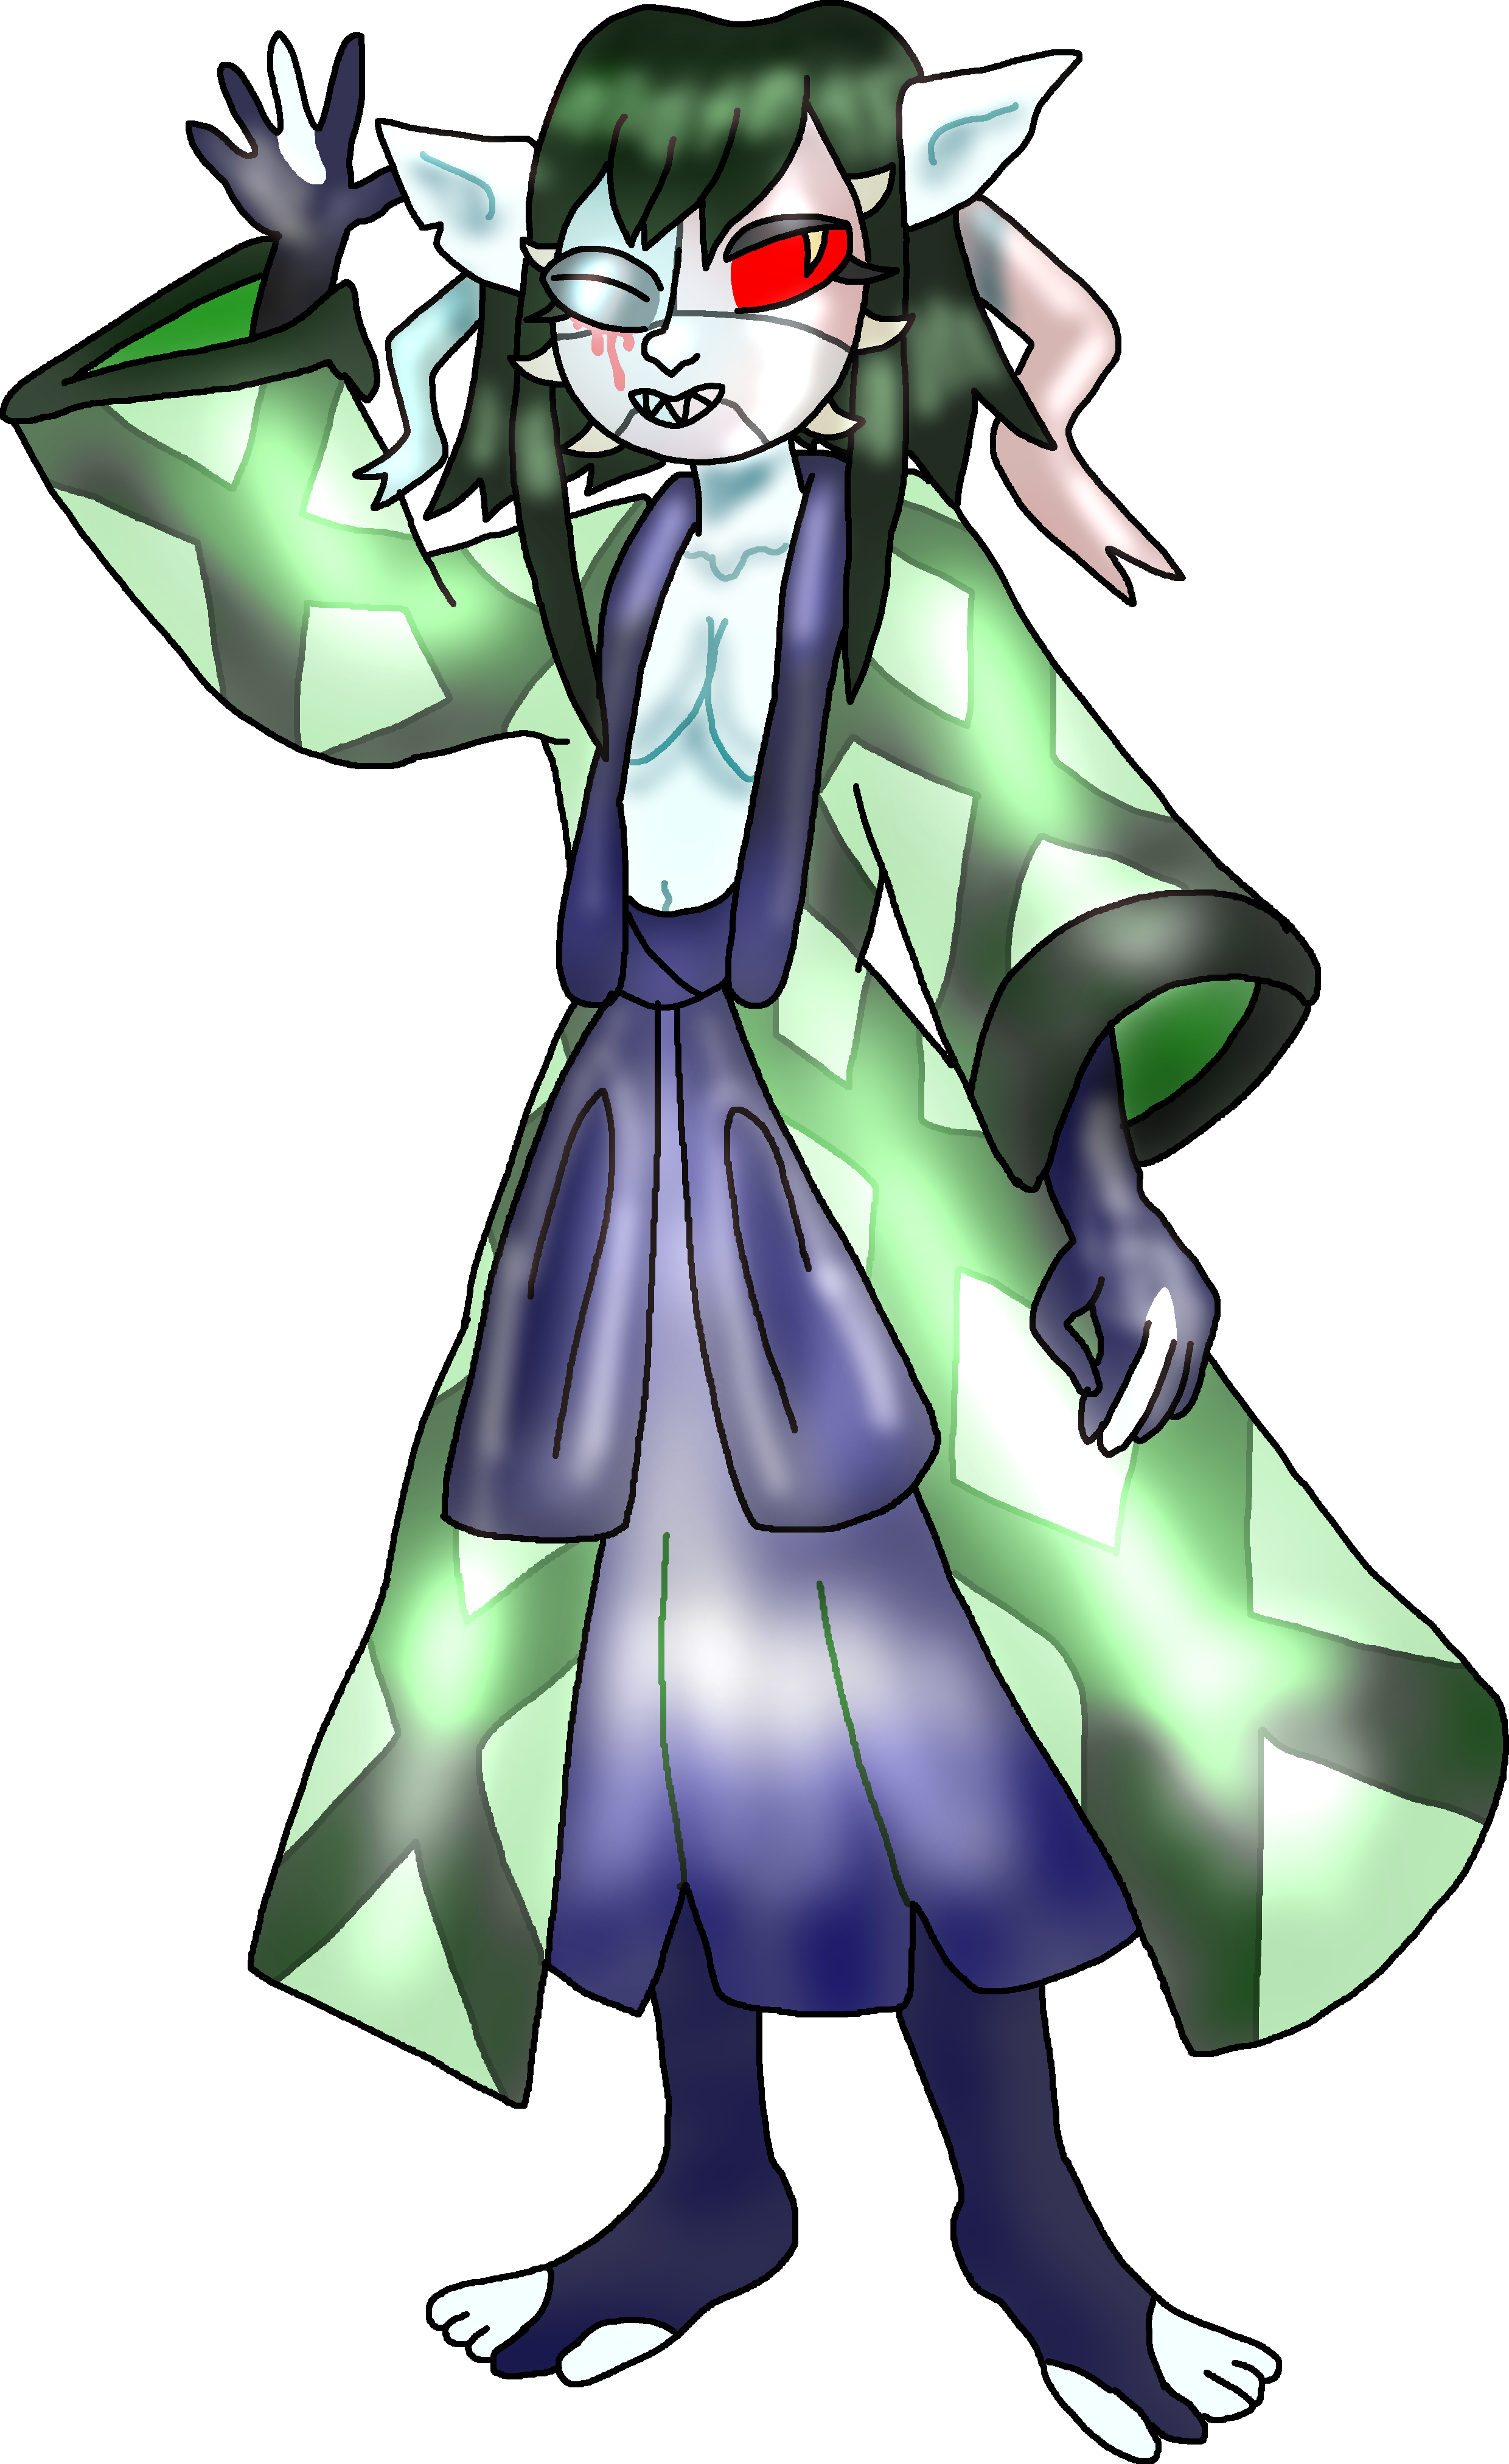 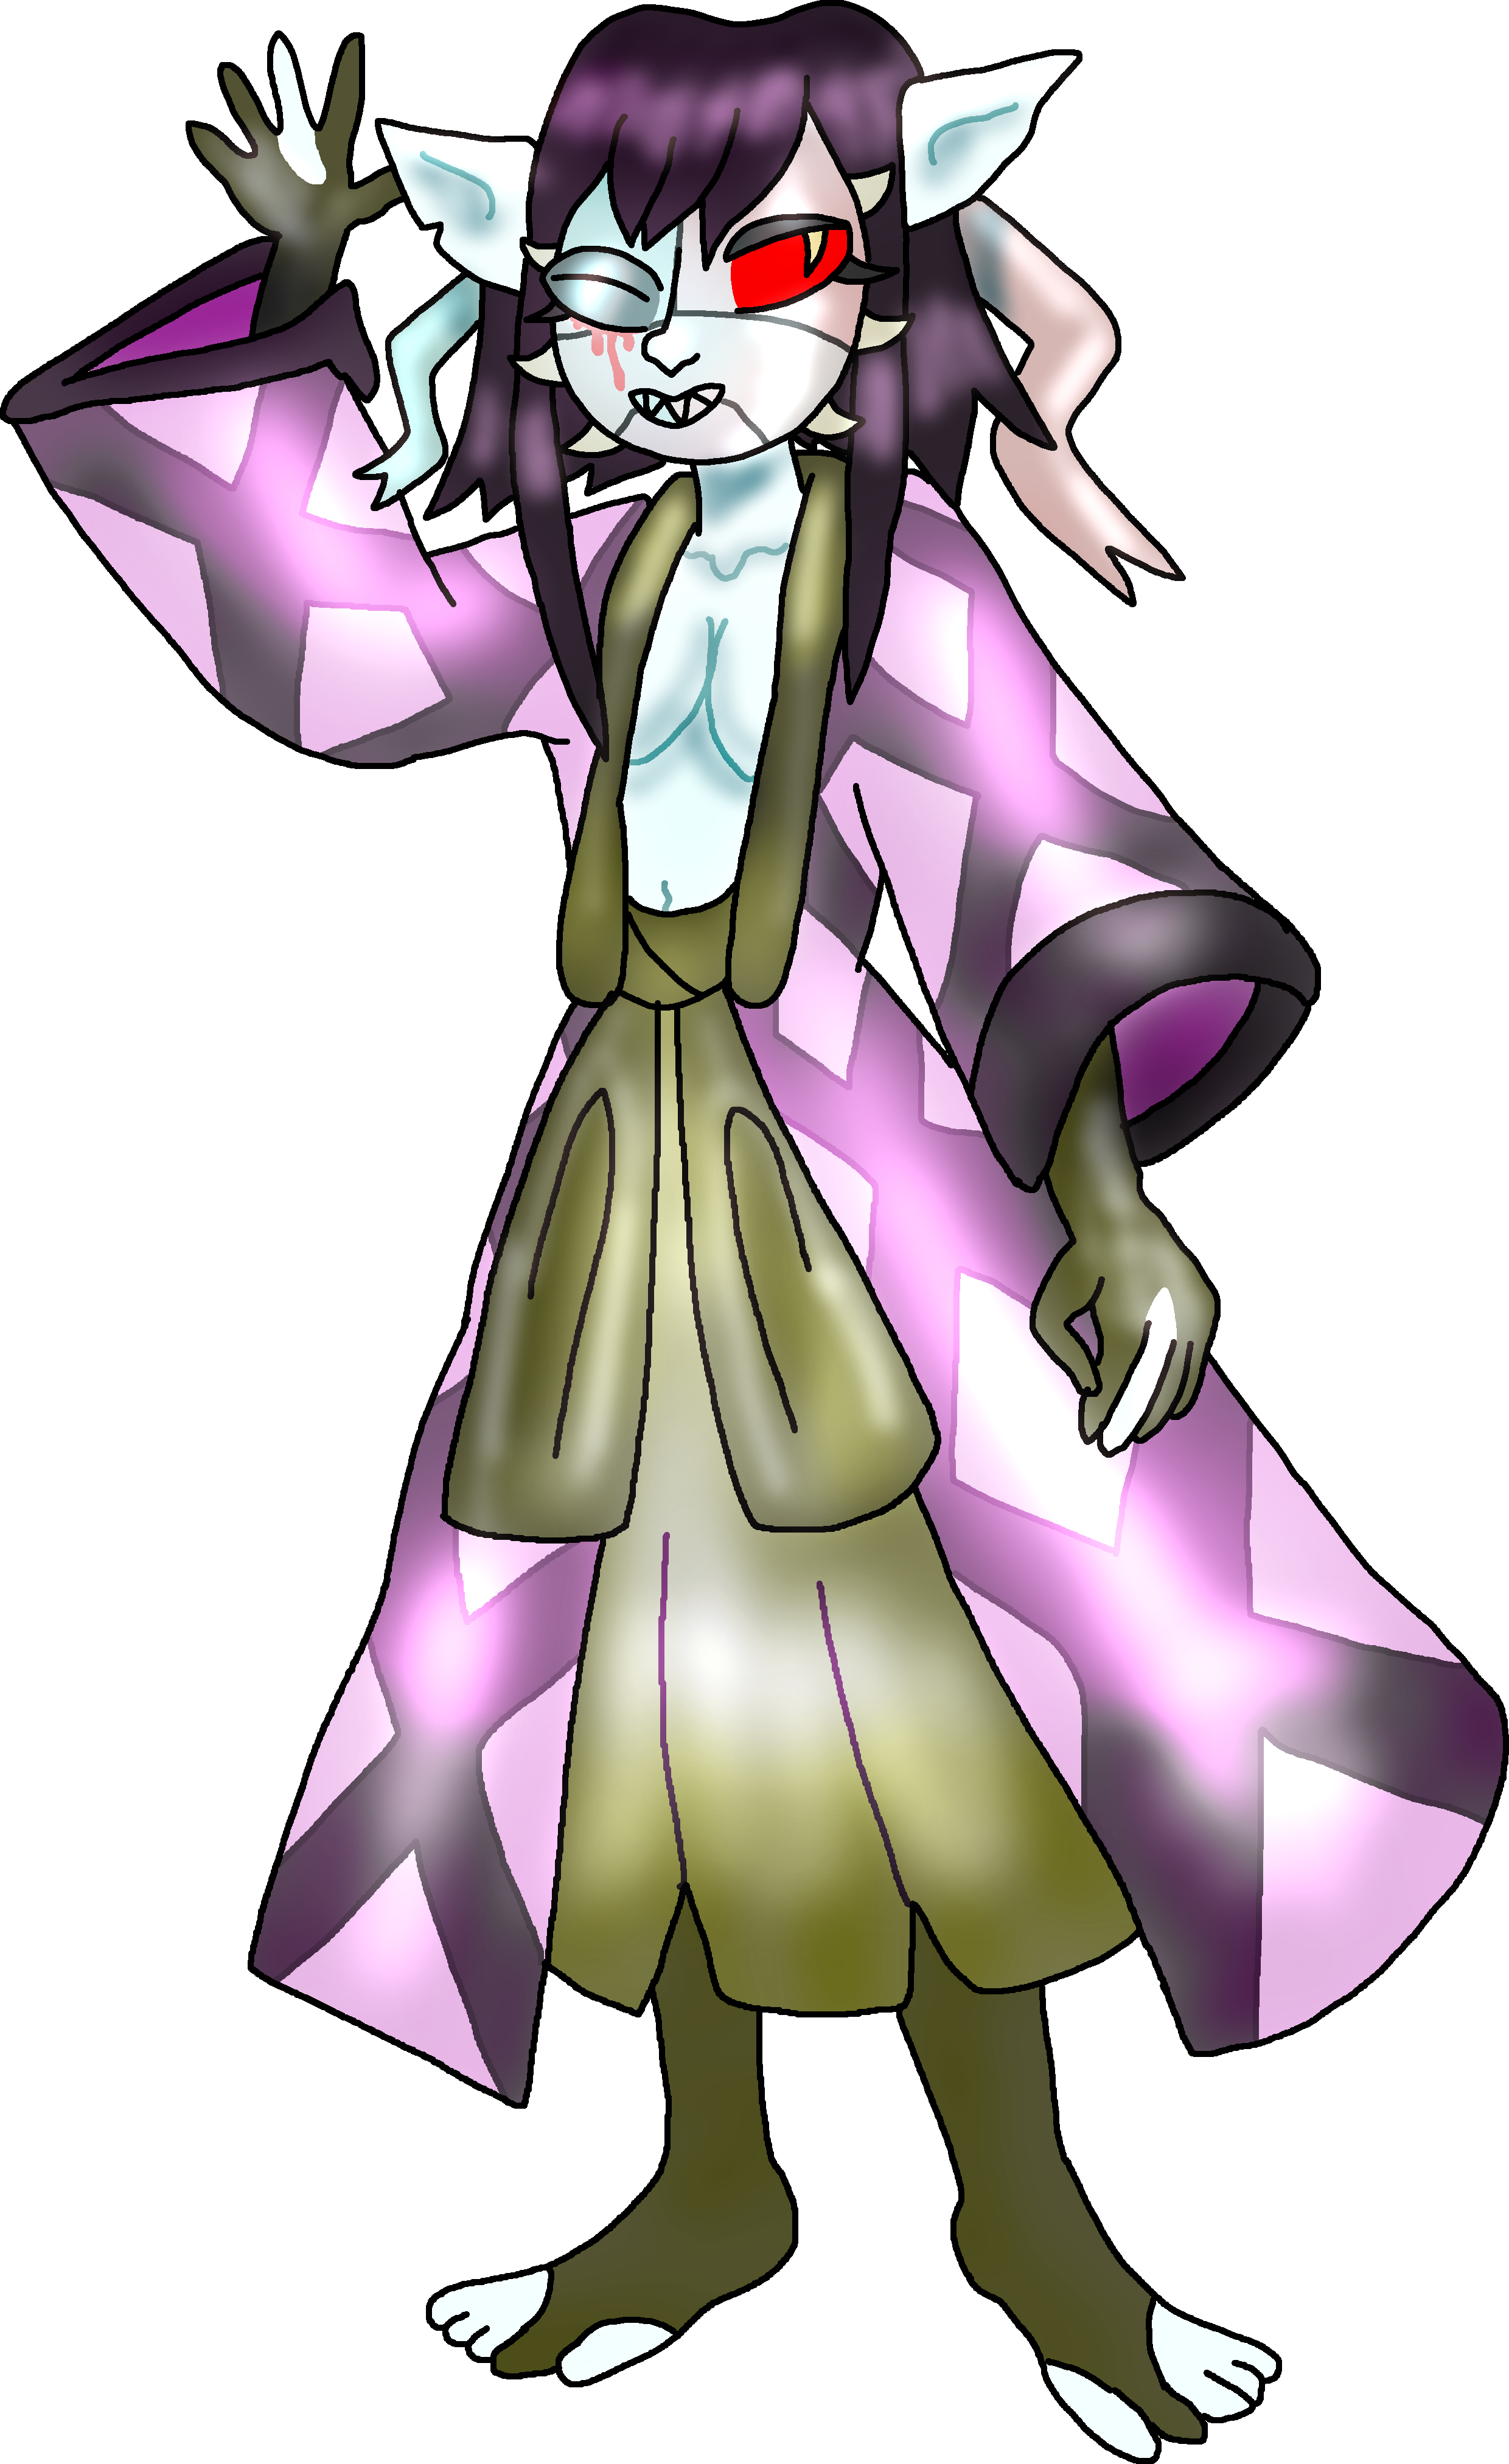    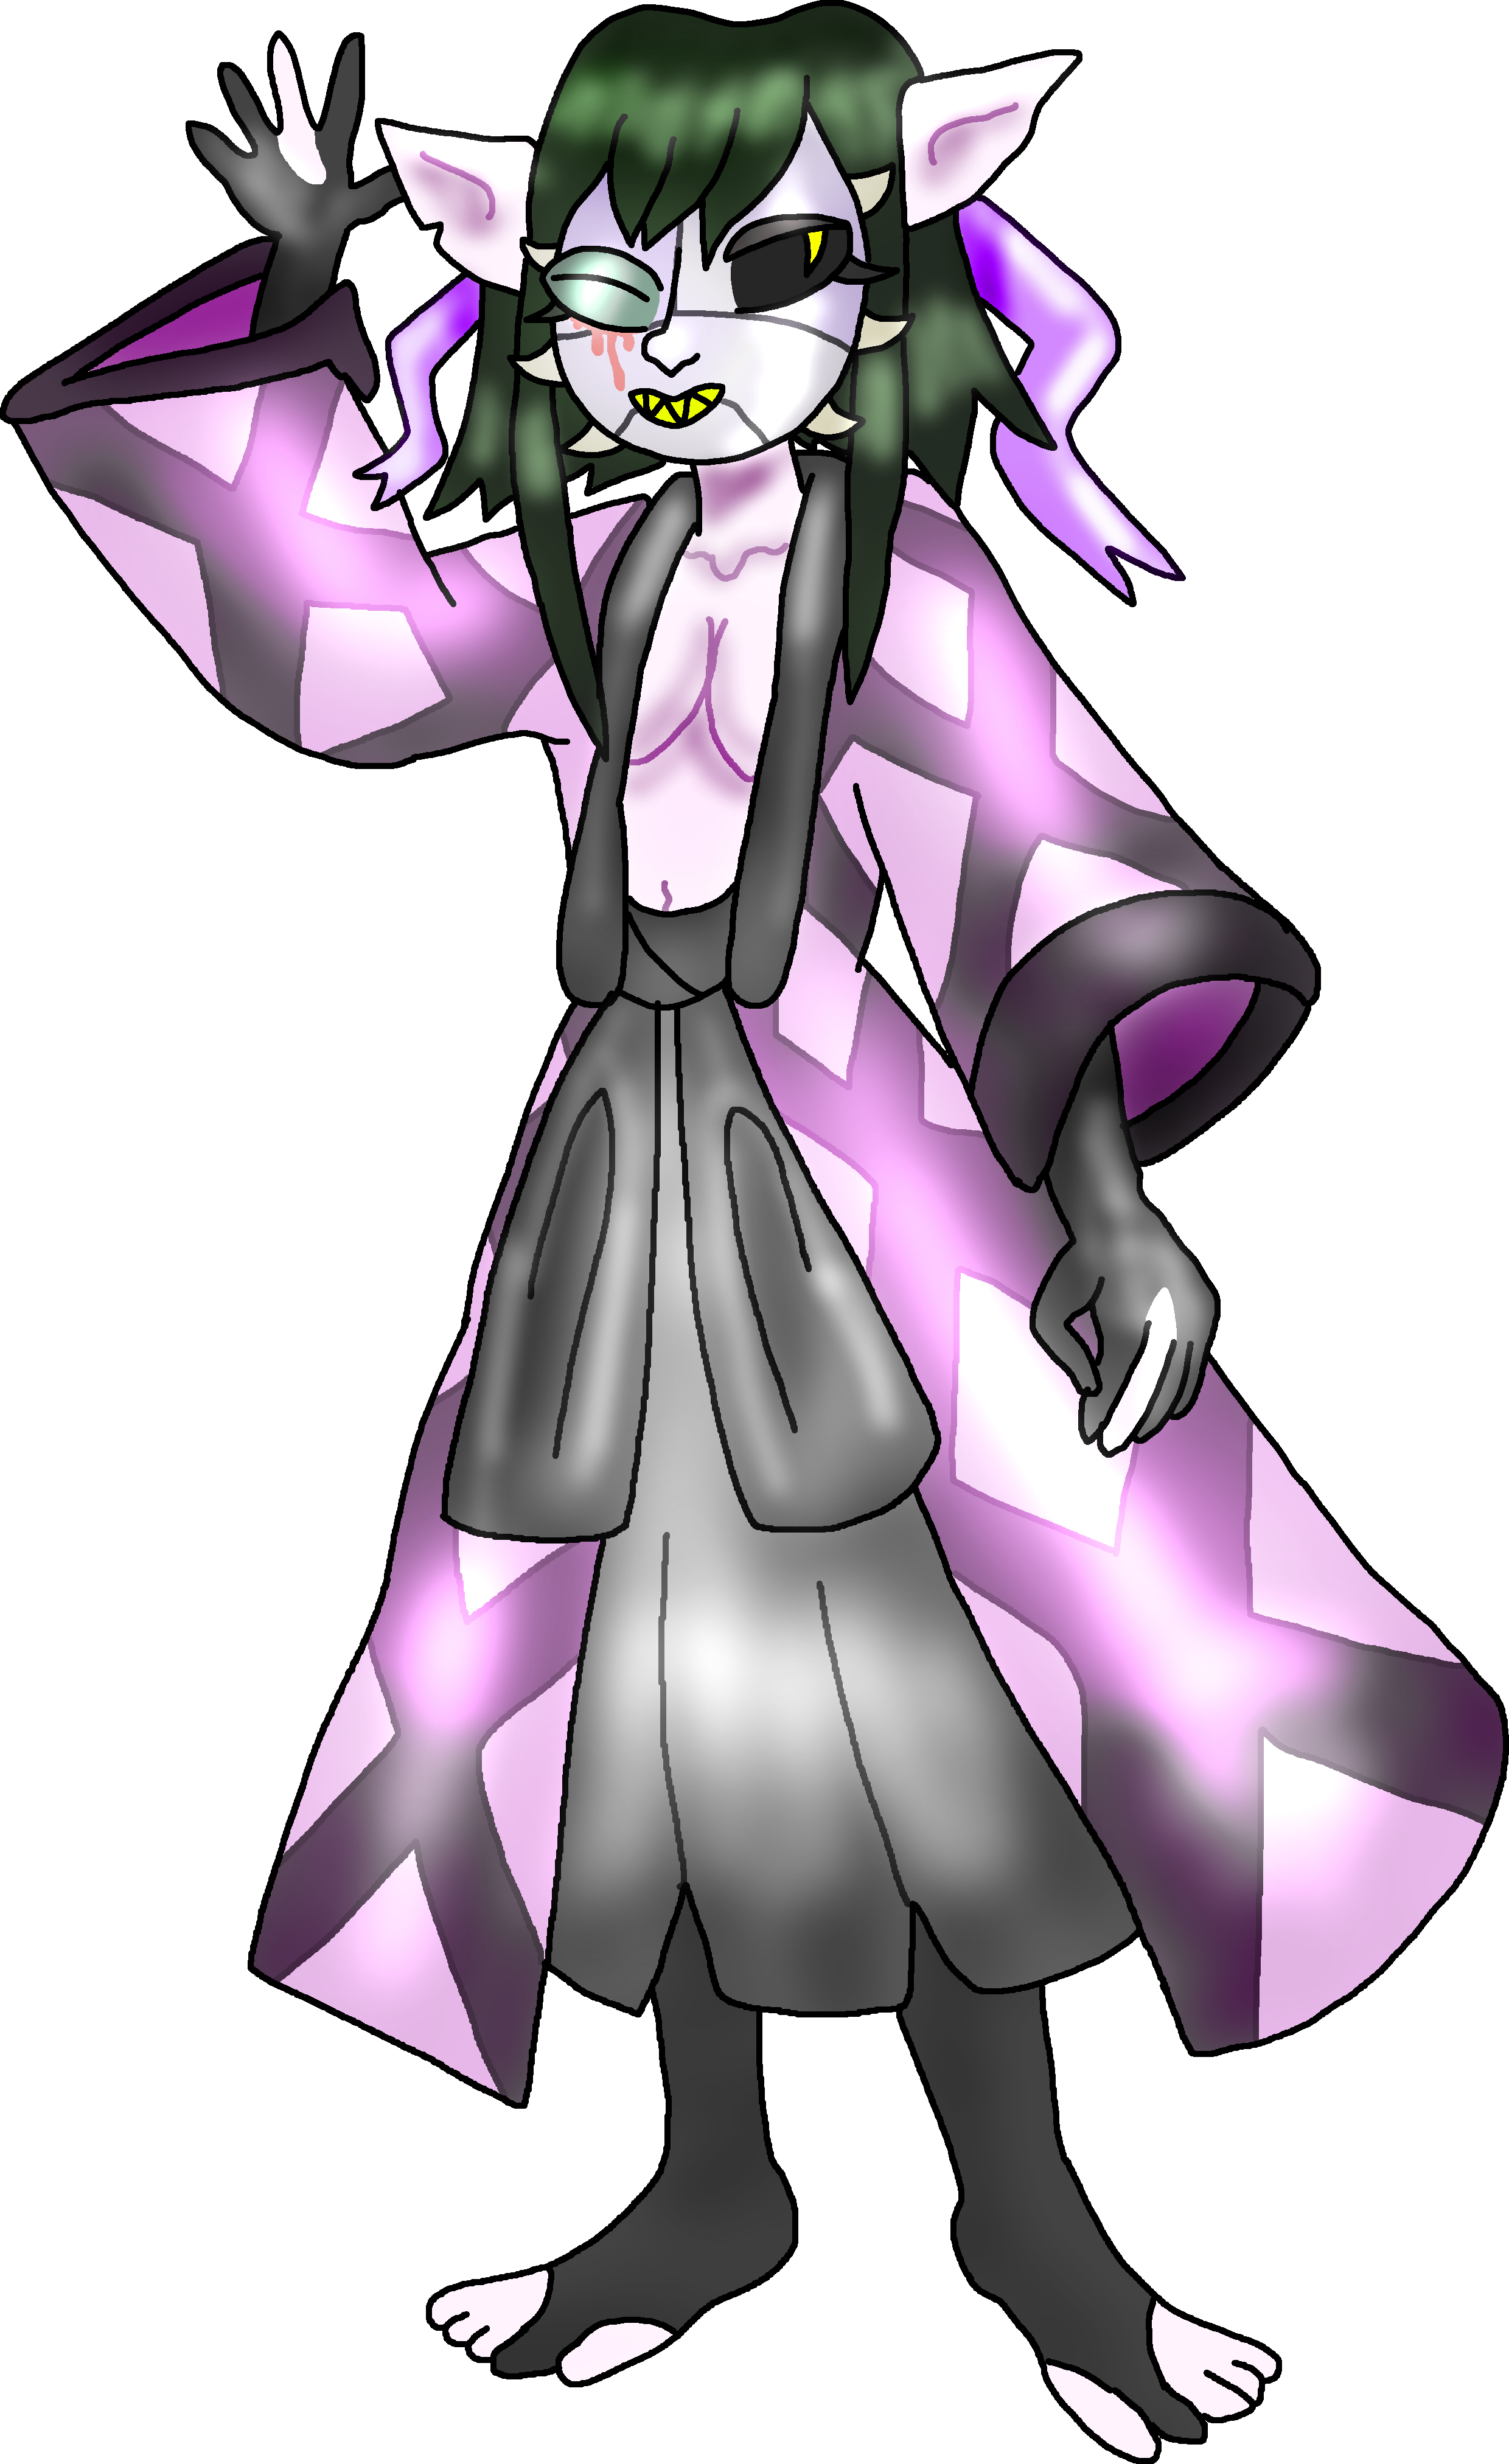 |
Hannibal
|
|
| Gameplay Details | ||||||
|
Hannibal is a super heavyweight character that stands stunningly tall, boasting very high gravity and falling speed and rather average mobility overall. He is always found mounted on his leather steed, named Pona, meaning he has by far the largest hurtbox of any fighter in the game, but the sheer length of his Sugar Sword also gives him one of the game's longest-reaching weapons to balance this out. Hannibal has excellent offensive and defensive capabilities, having some of the highest-reaching damage output across his whole moveset and being completely incapable of flinching or having his attacks paused. Hannibal is almost completely invulnerable to anything that isn't a direct attack, meaning that his enemies are forced to approach him as he works out a way to KO them himself. As icing on the cake, Hannibal's heavy tilts (especially his forward one) all completely pierce shields and destroy parries in exchange for them having the longest-lasting start-up lag. He can even cancel out his attacks so he doesn't waste much time. Hannibal does have some huge flaws worth mentioning, however. With his immense size, it is very difficult for Hannibal to actually block damage altogether, and his steed will retreat and leave Hannibal to stand on his own for 20 seconds if it takes enough of a beating, leaving him without his Specials and making him move considerably slower. Though Hannibal is allowed to cancel out his moves, there is slight ending-lag to doing so, and actually executing the moves will disable his movement long enough to let close enough enemies to get in free hits. He also doesn't have much of an aerial game, considering how heavy he is and that his jumps are among the weakest in the game. Finally, it can be somewhat tricky for Hannibal himself to land hits- Pona can deal some damage on her own, but it's mostly ideal for Hannibal to land hits as he deals significantly more damage, and the ways he can move his sword are limited. Hannibal is a master-class defensive fighter that must be played as extremely carefully if one wishes to master playing as him- they must keep in mind all of his negative traits and focus on going all-out with his strengths, making them a force that's relentlessly hard to counter.
Common Attacks Special Moves
Hyper Moves
Animations
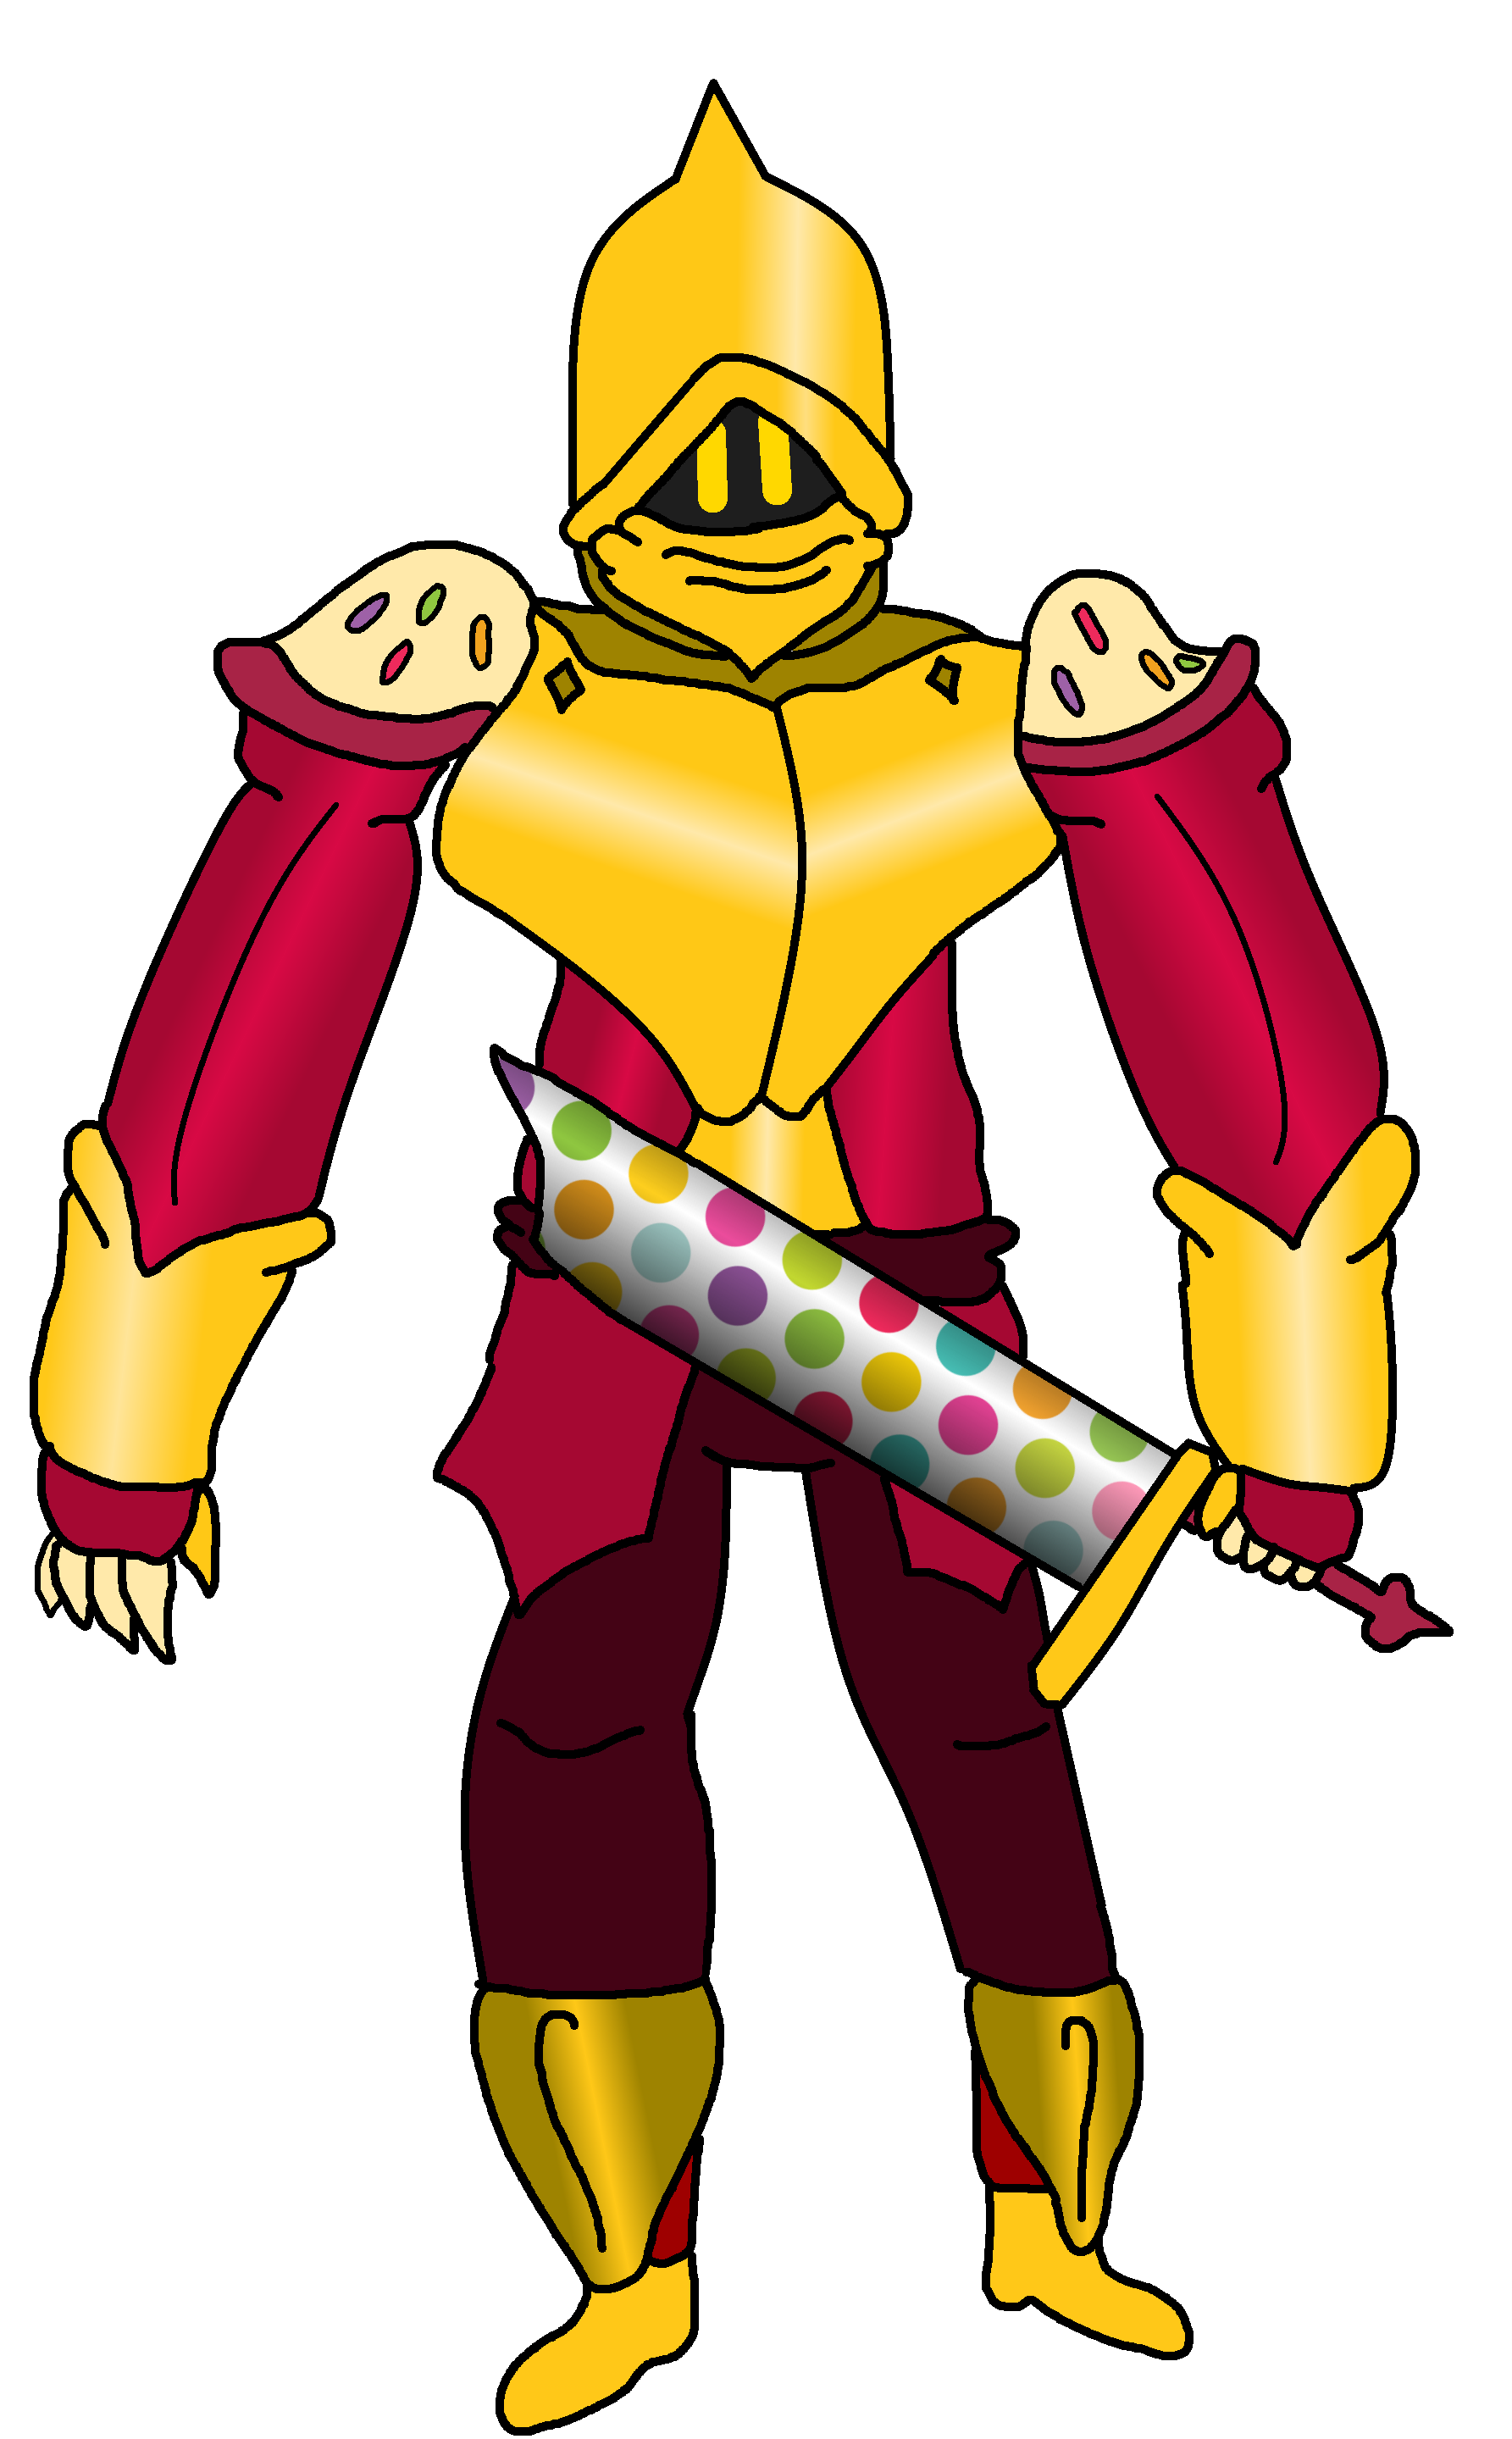 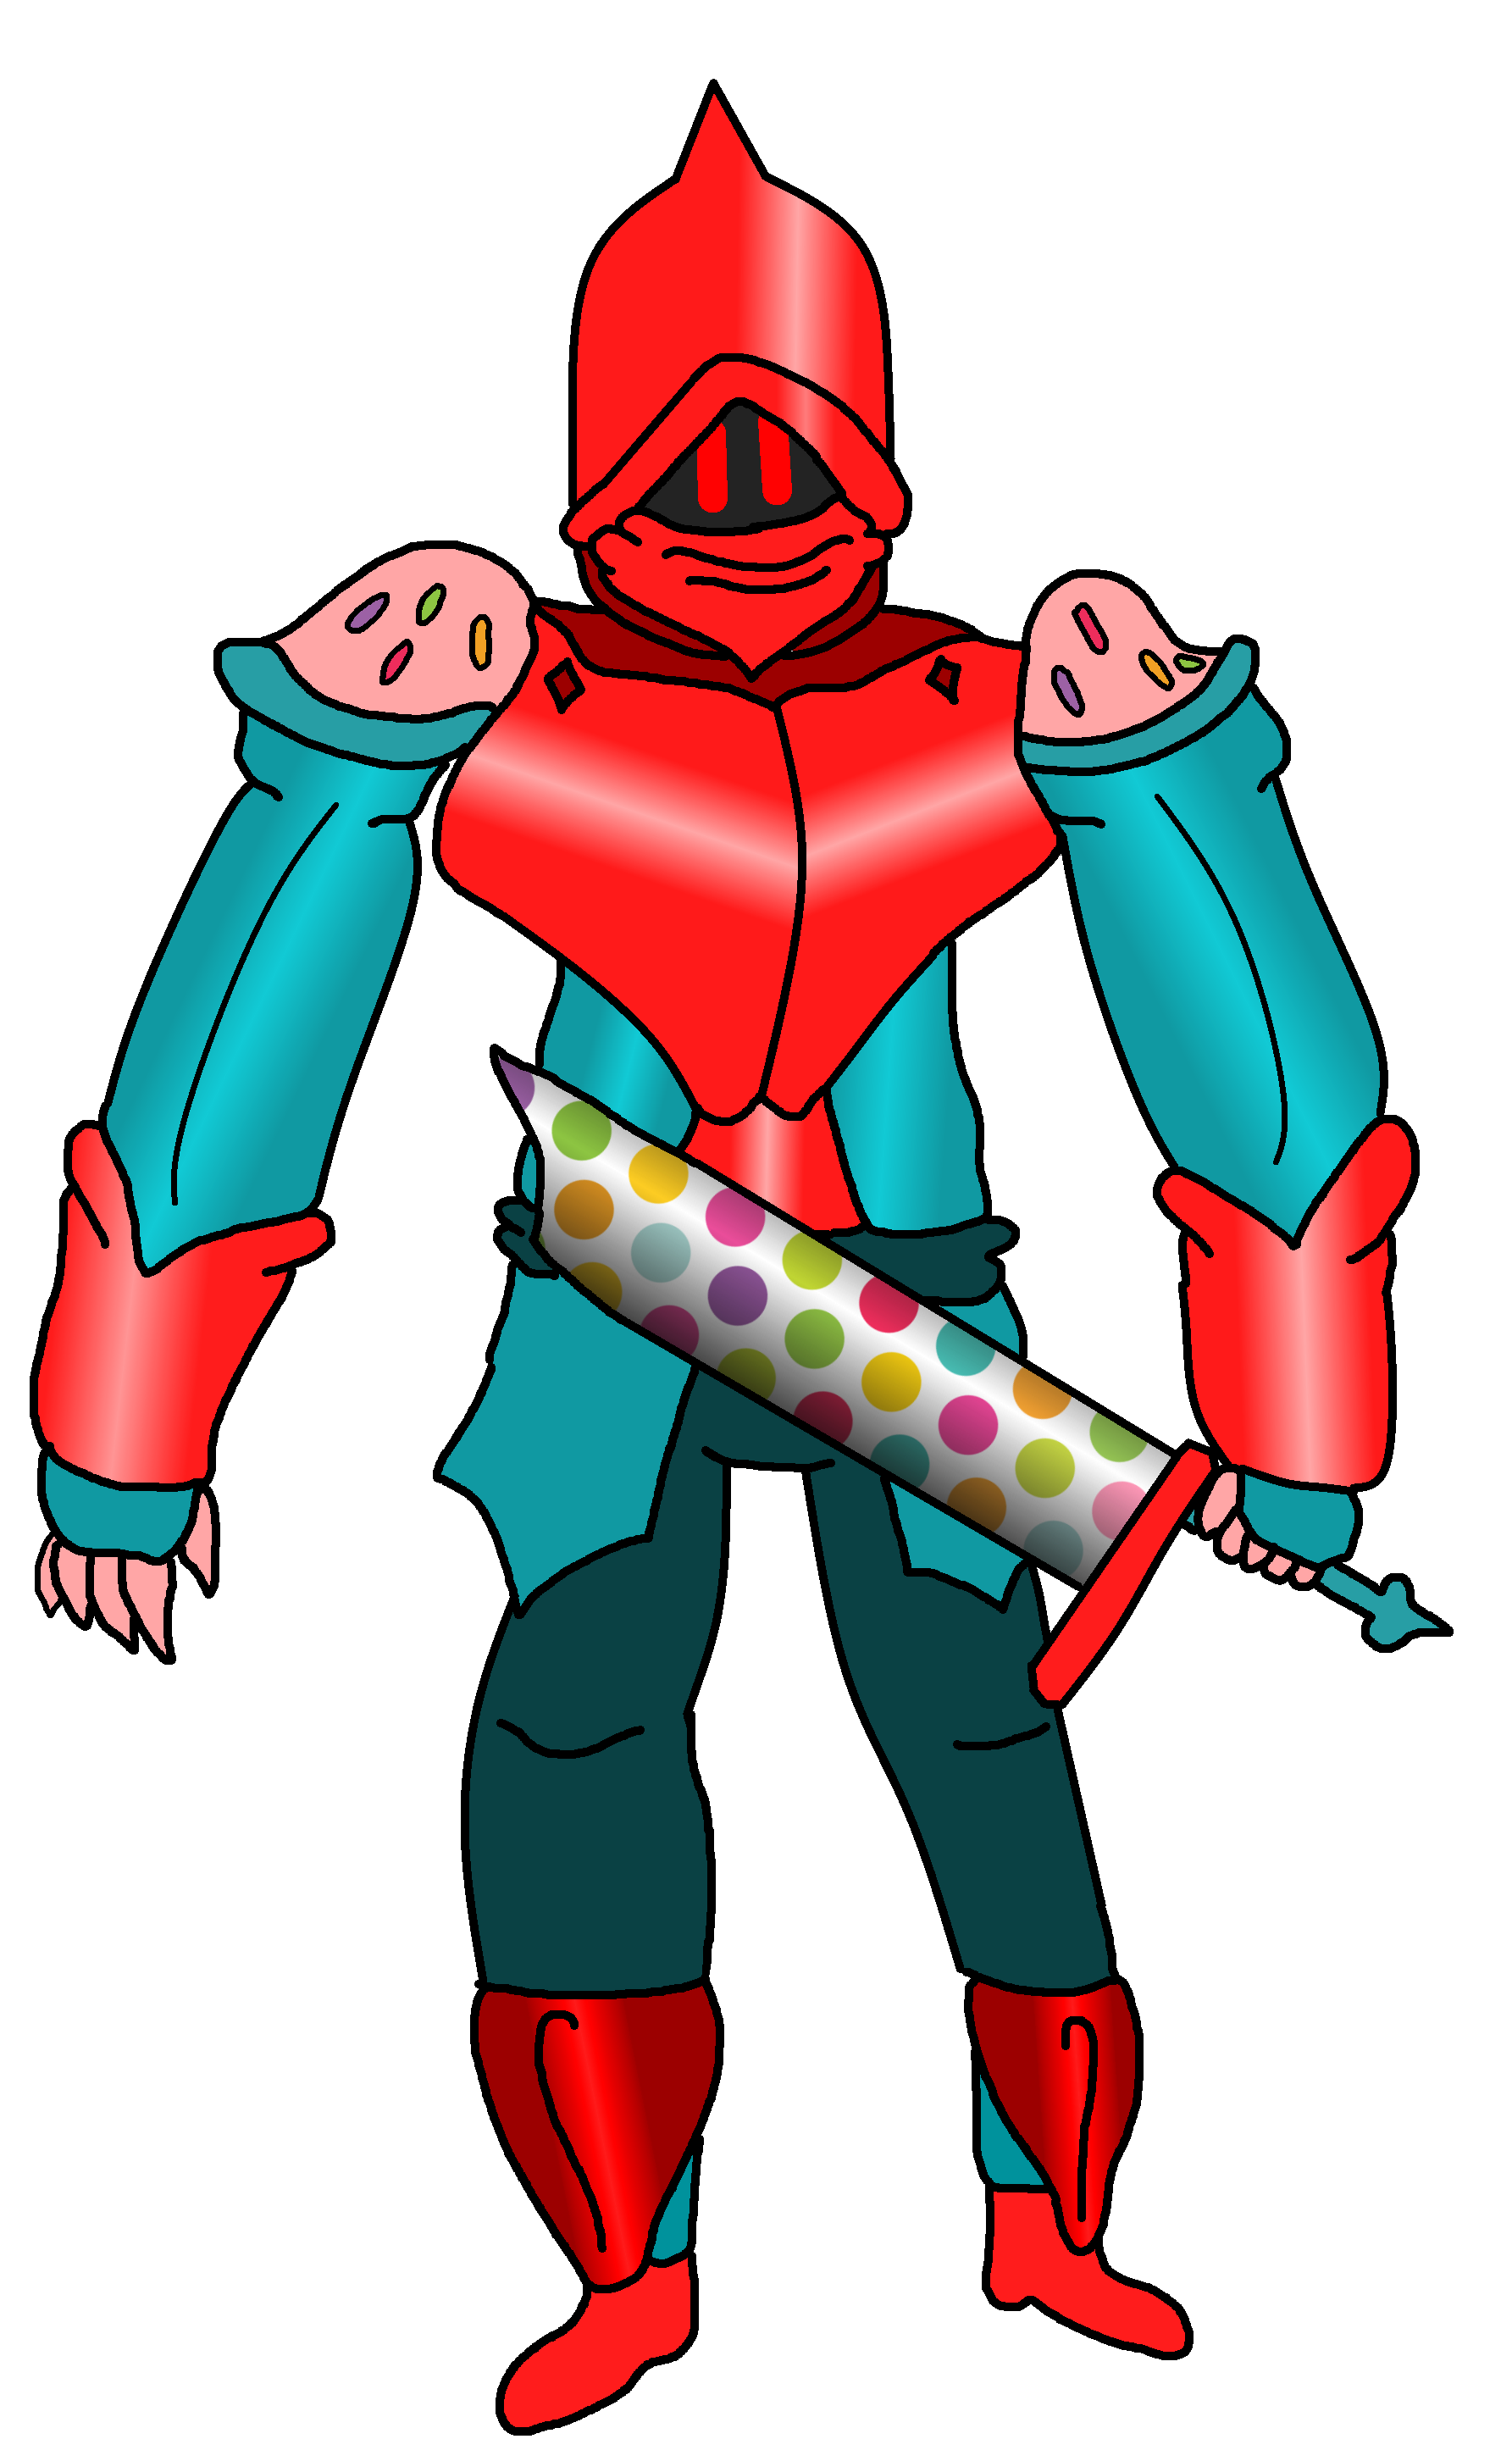 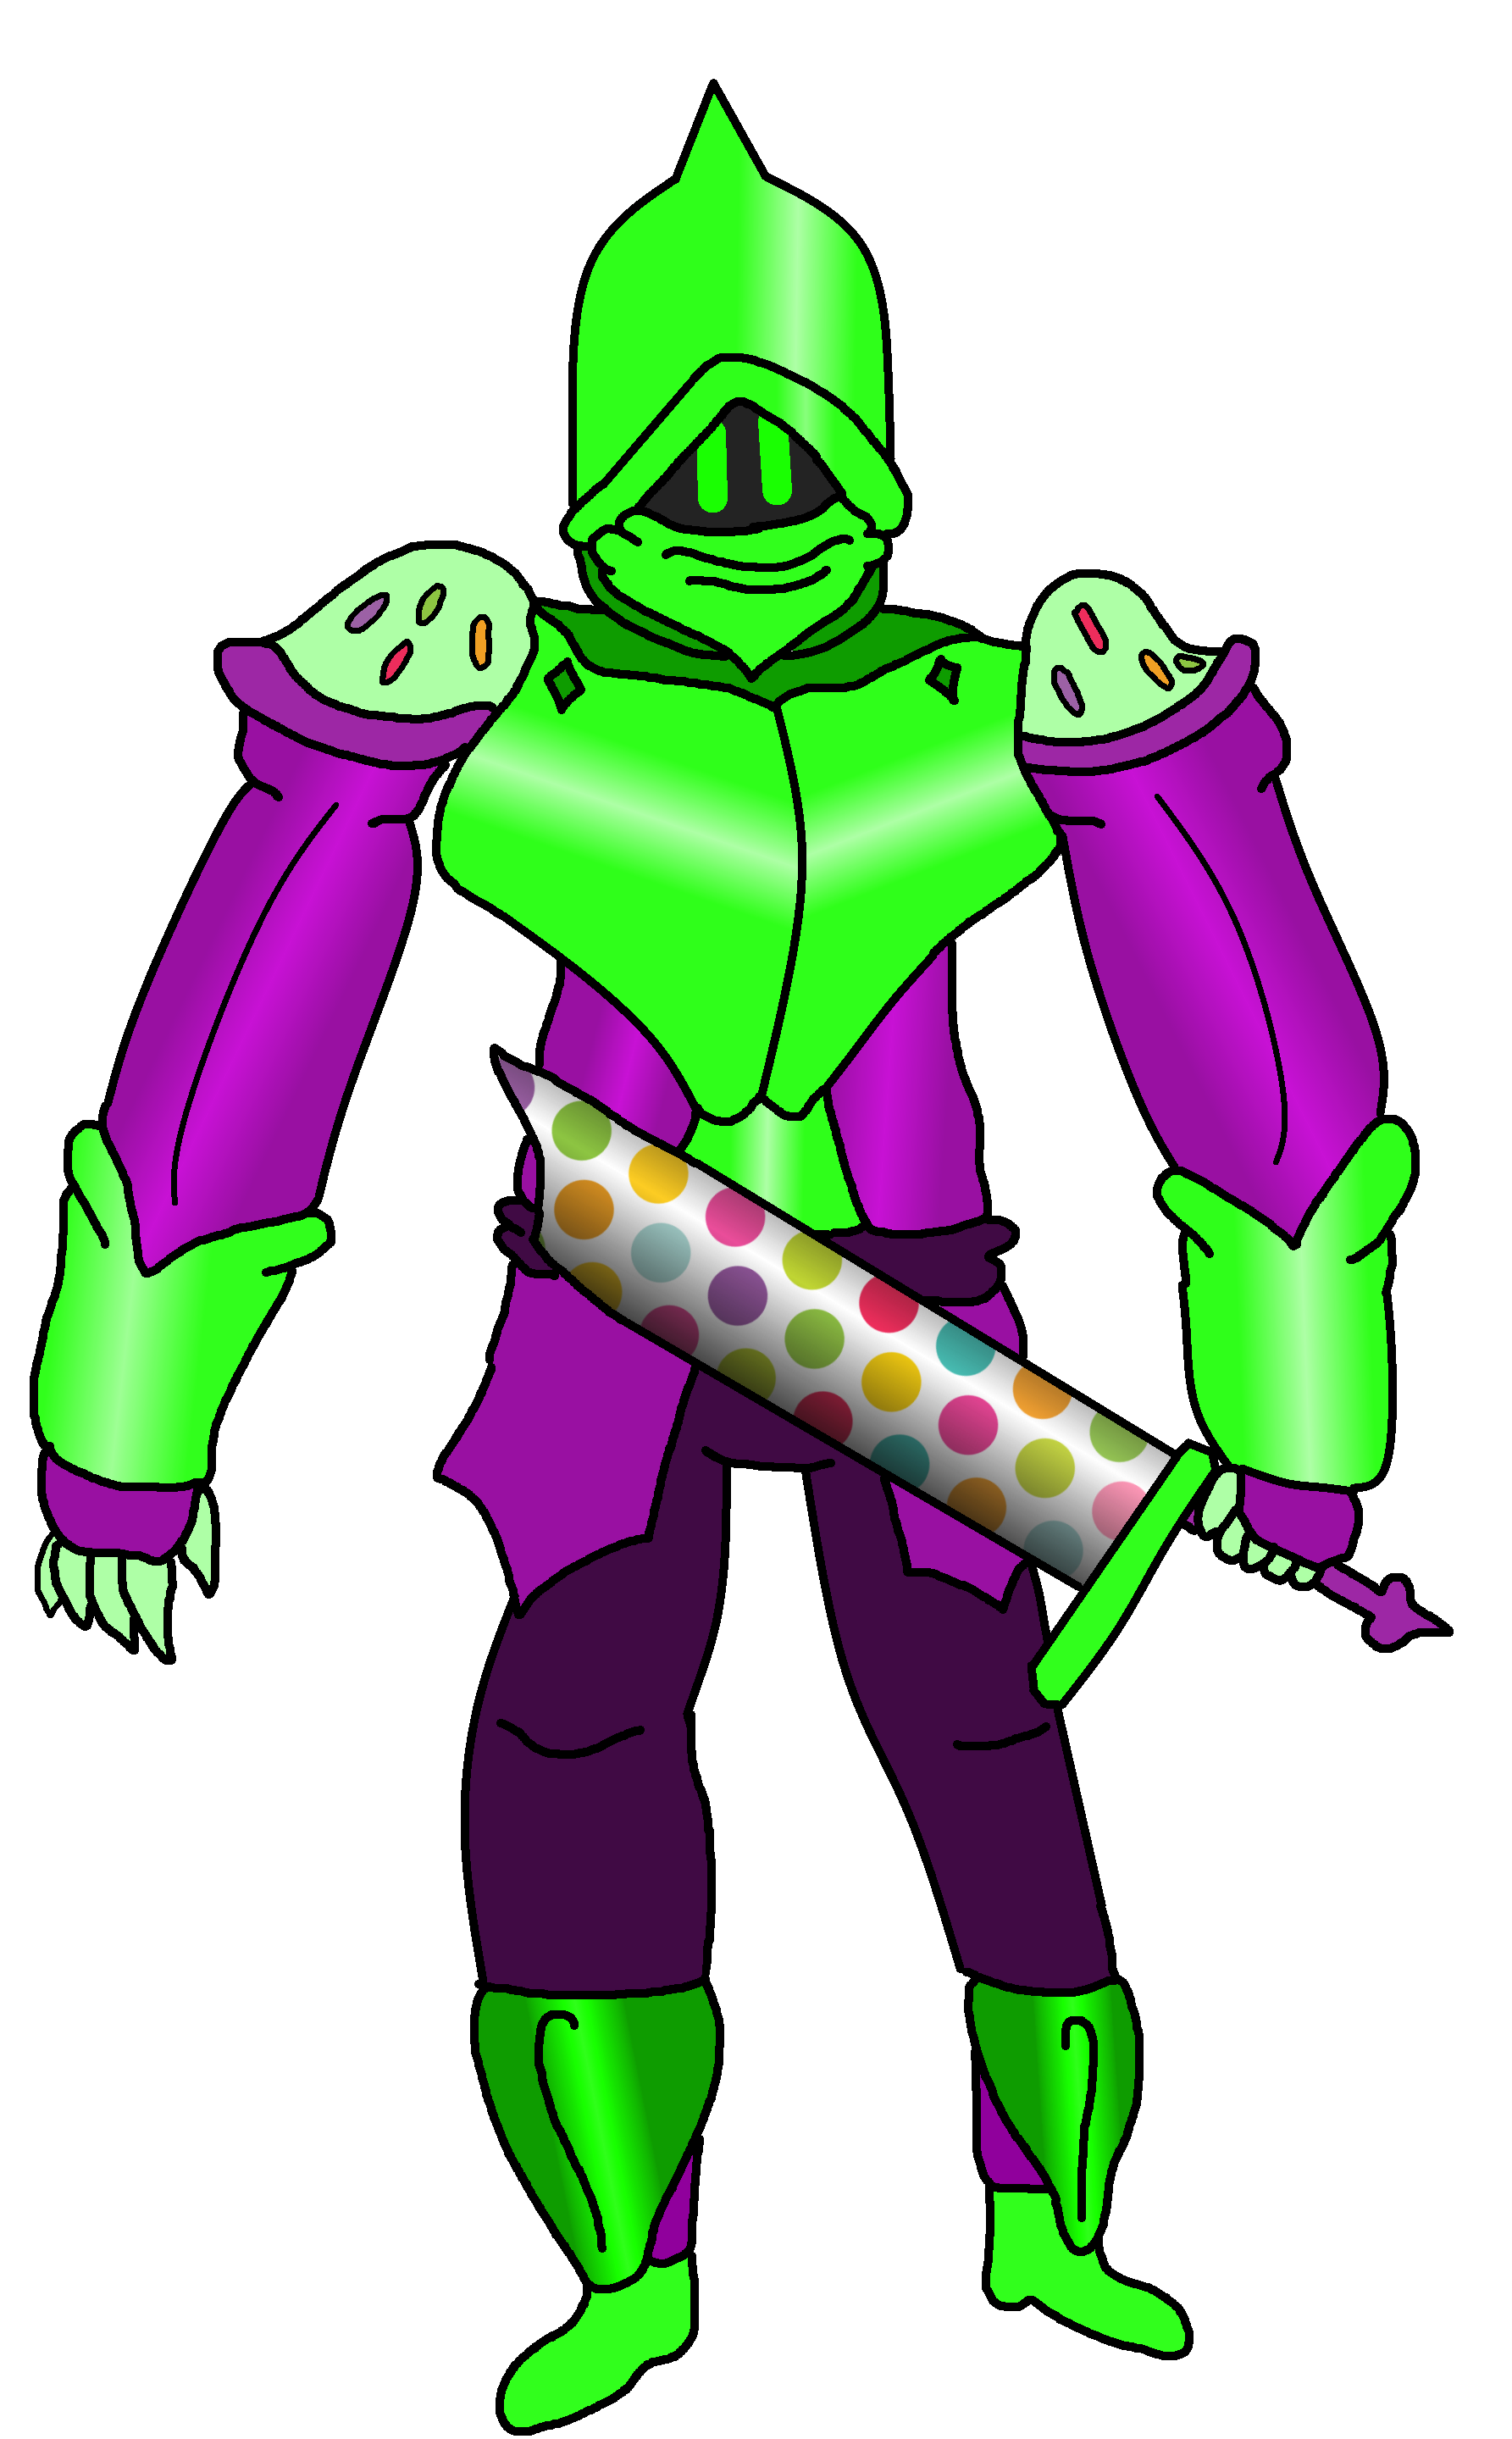  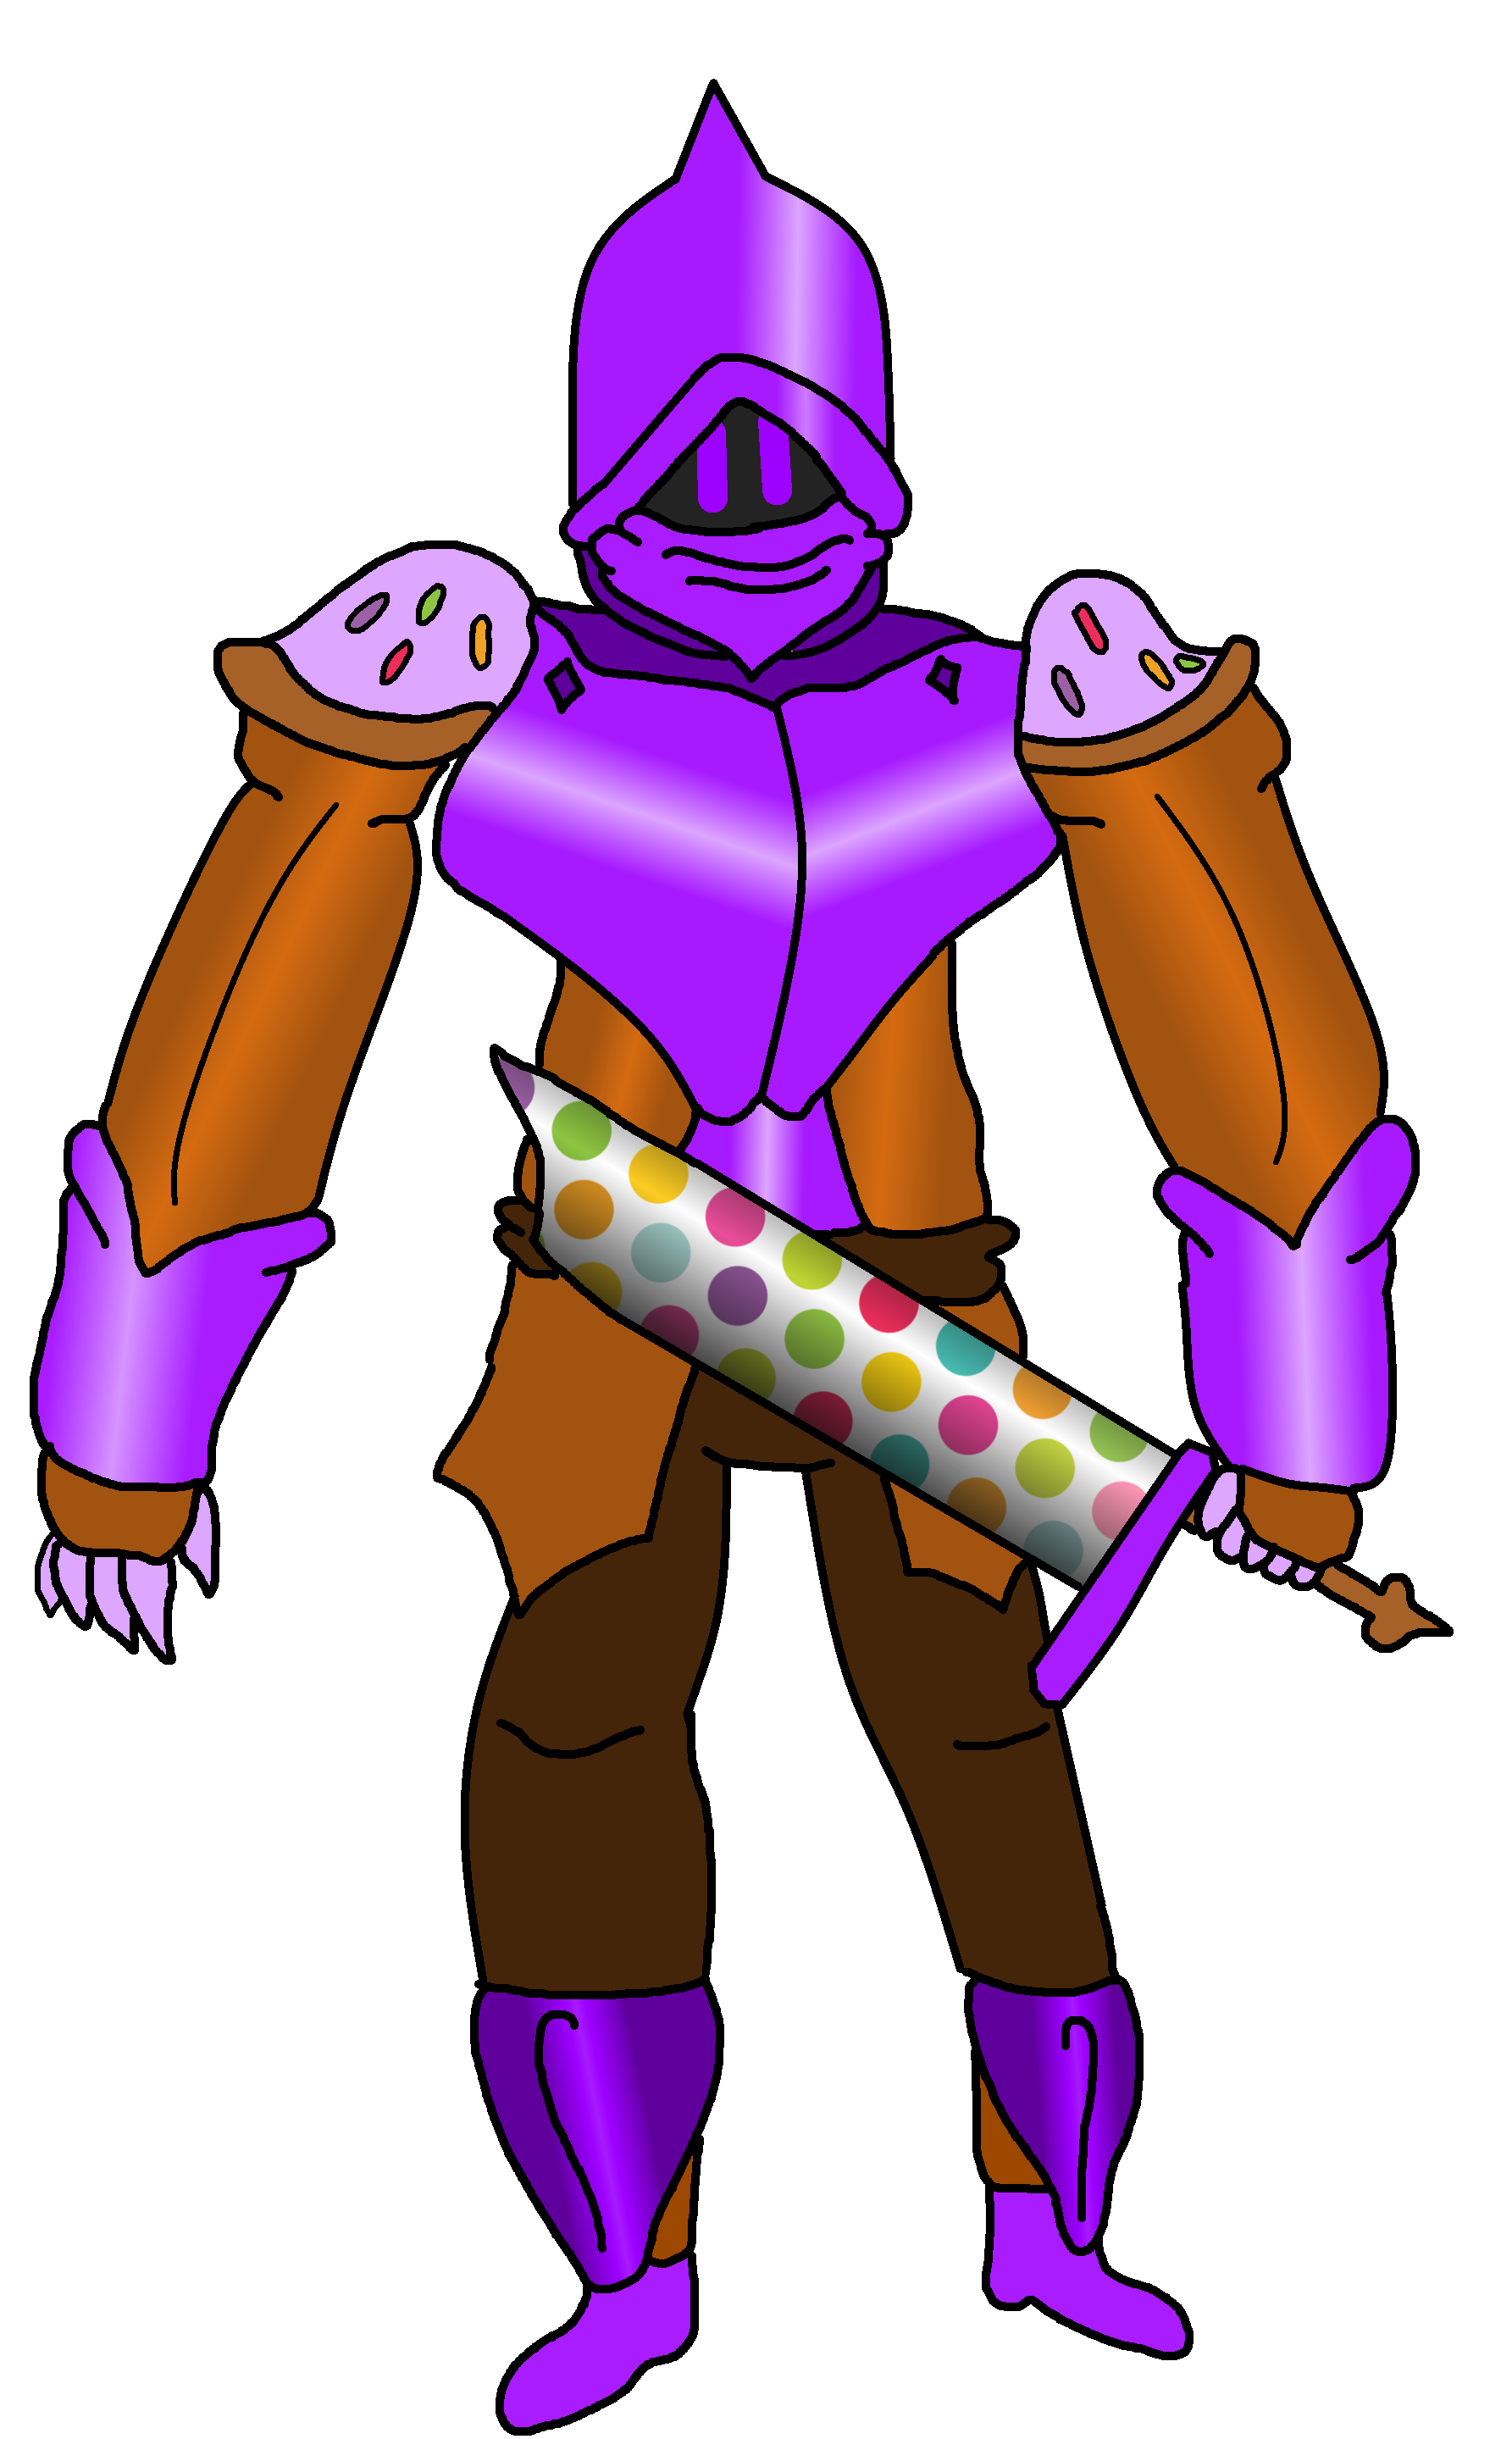 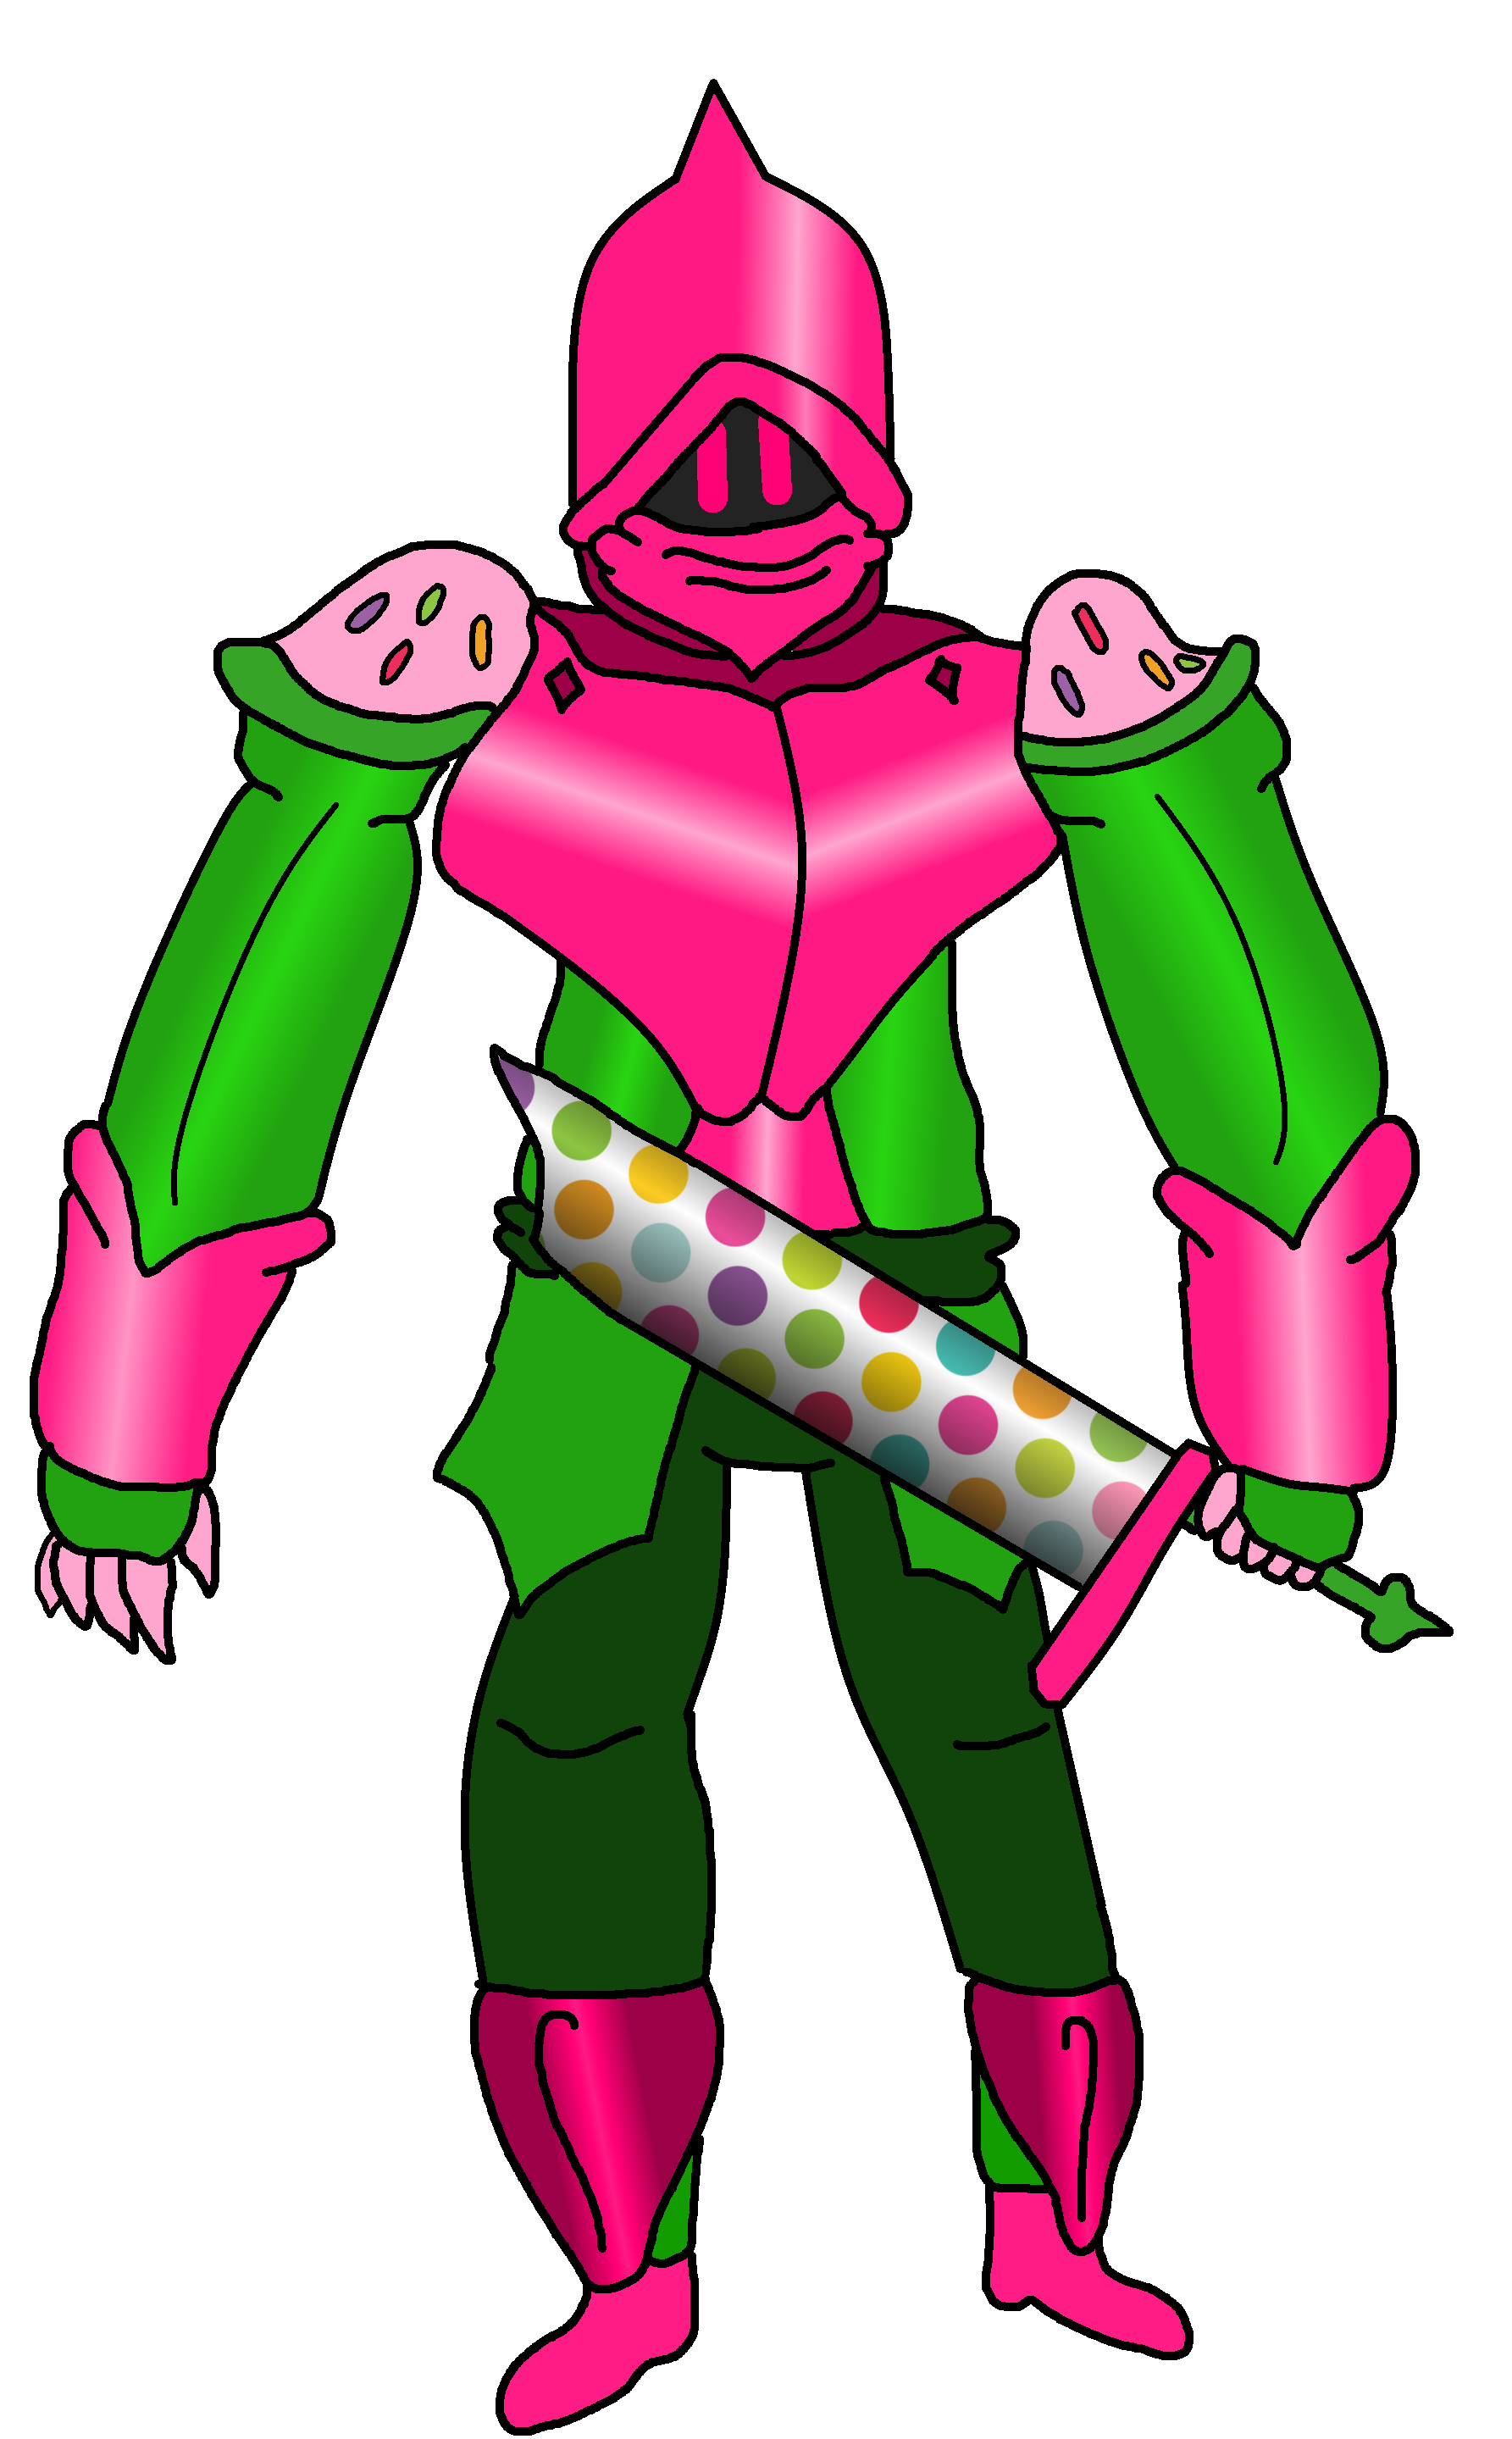 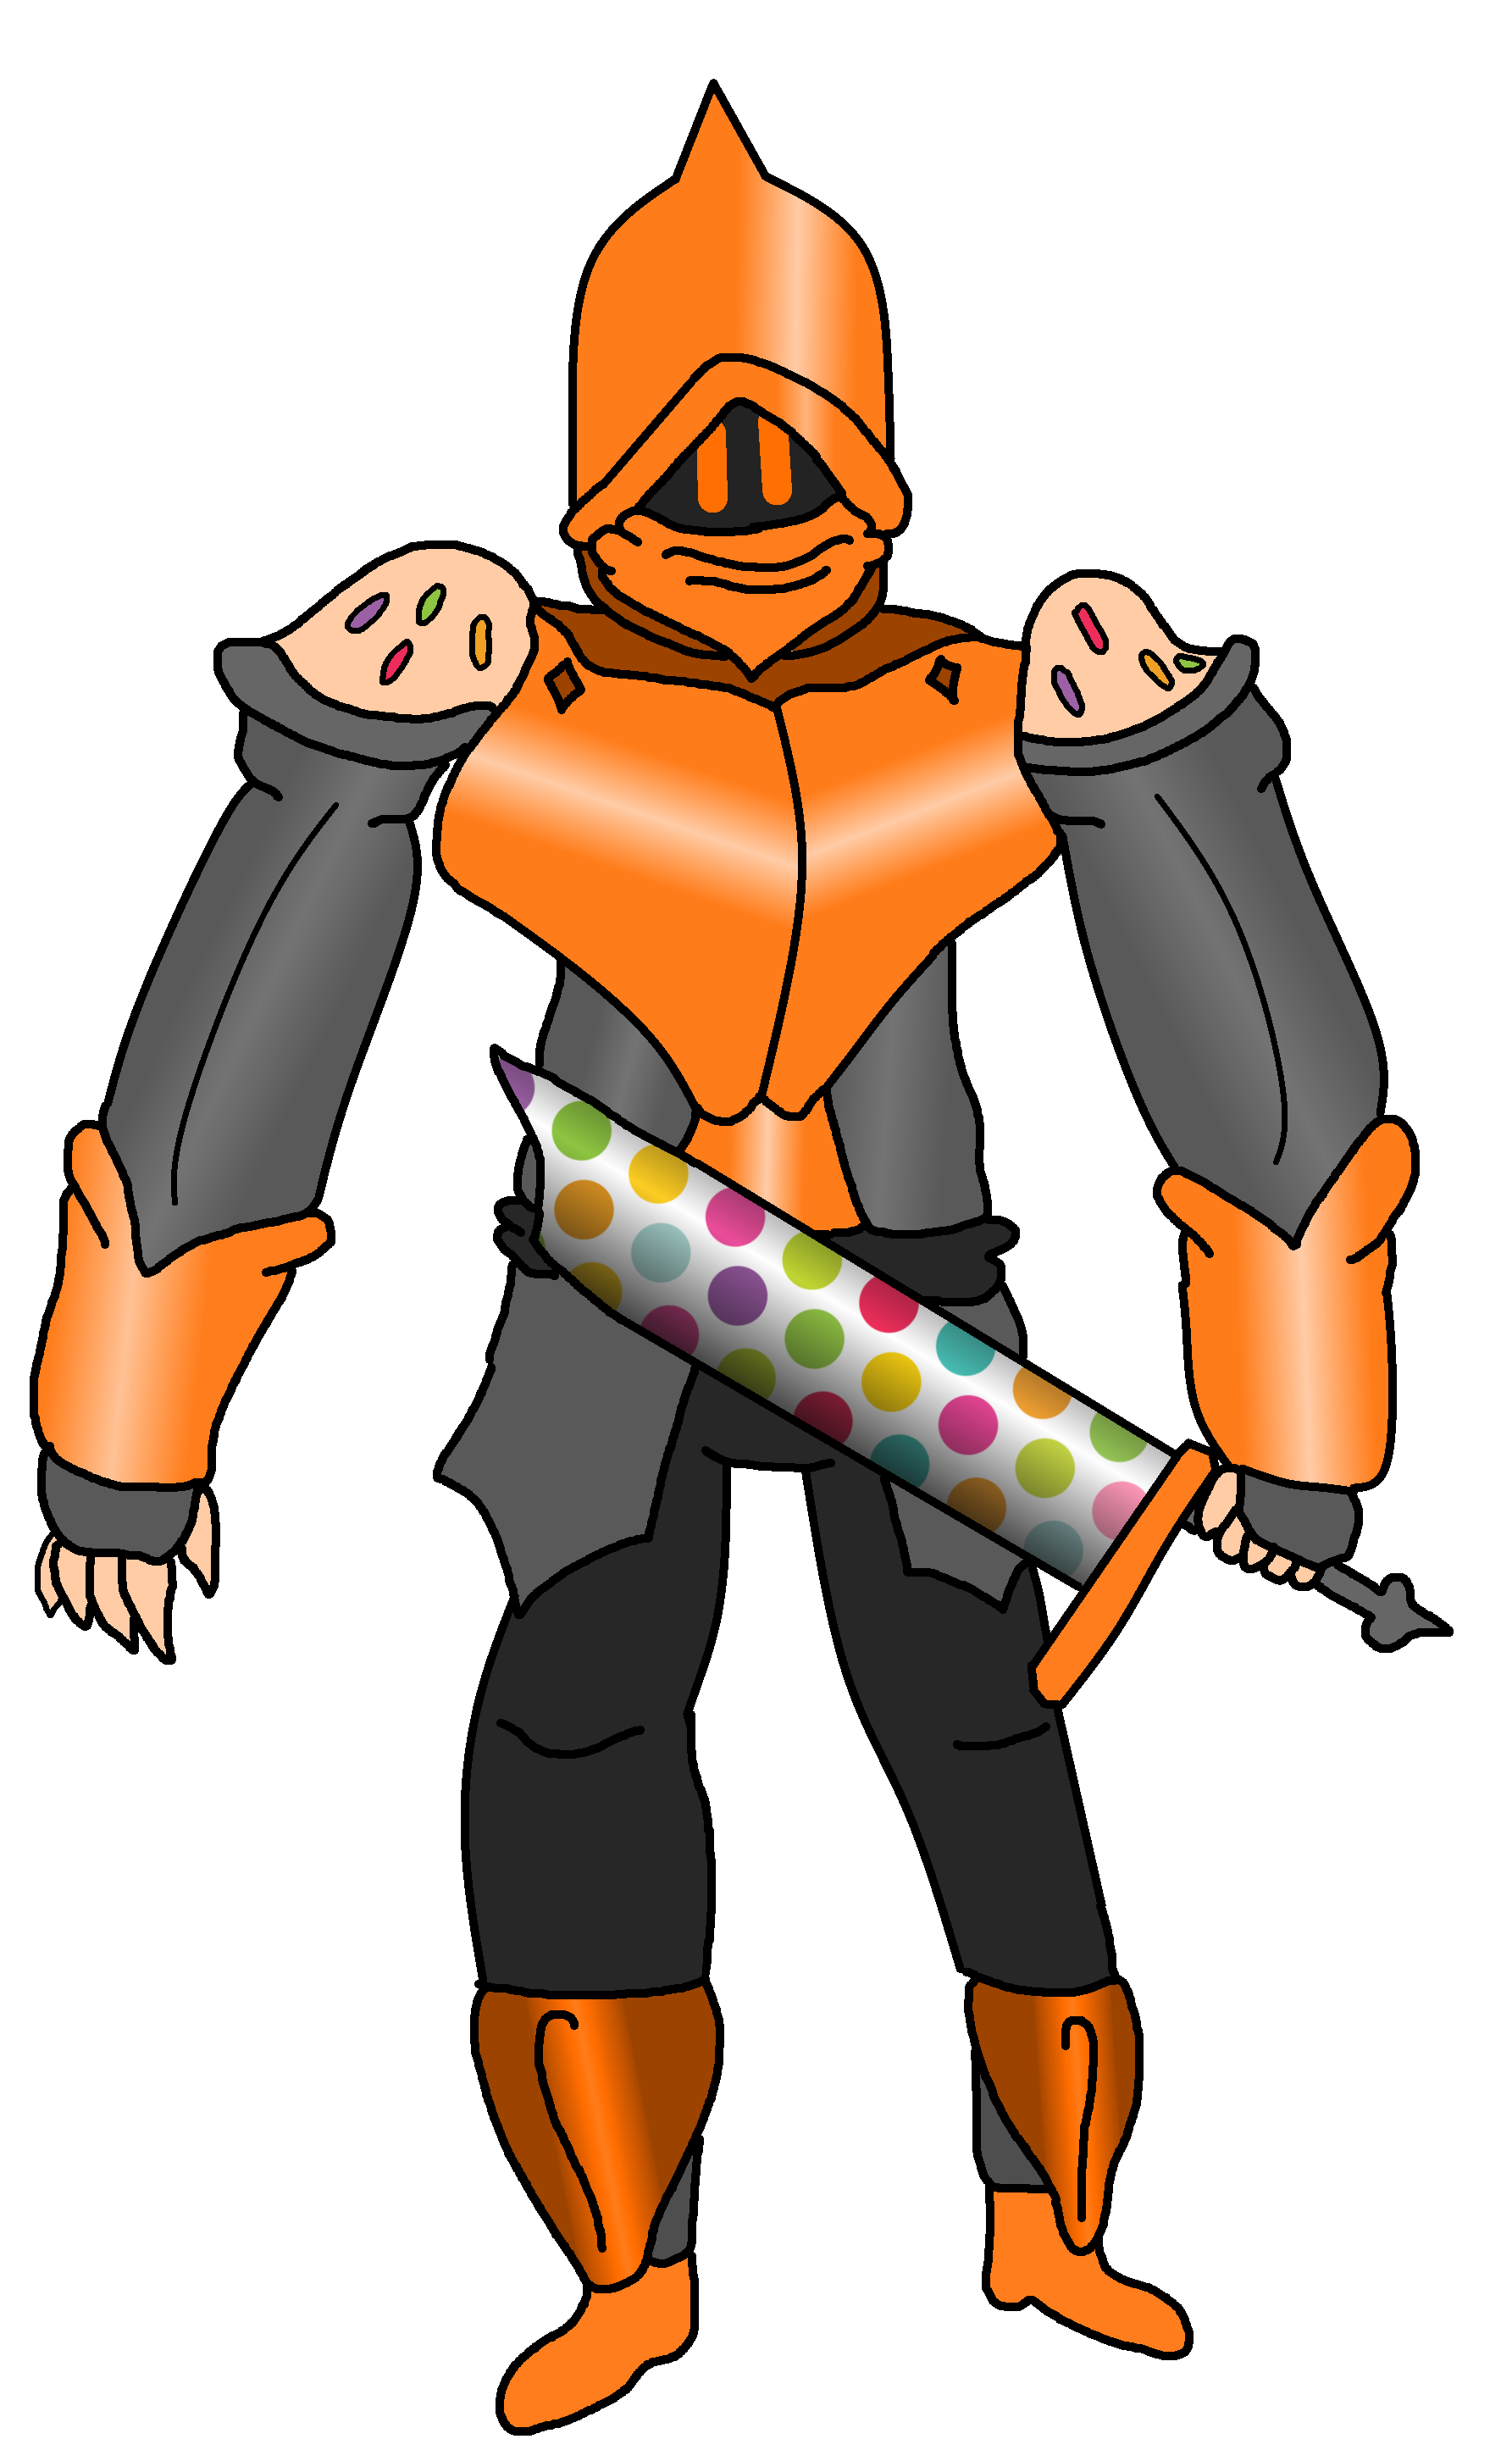 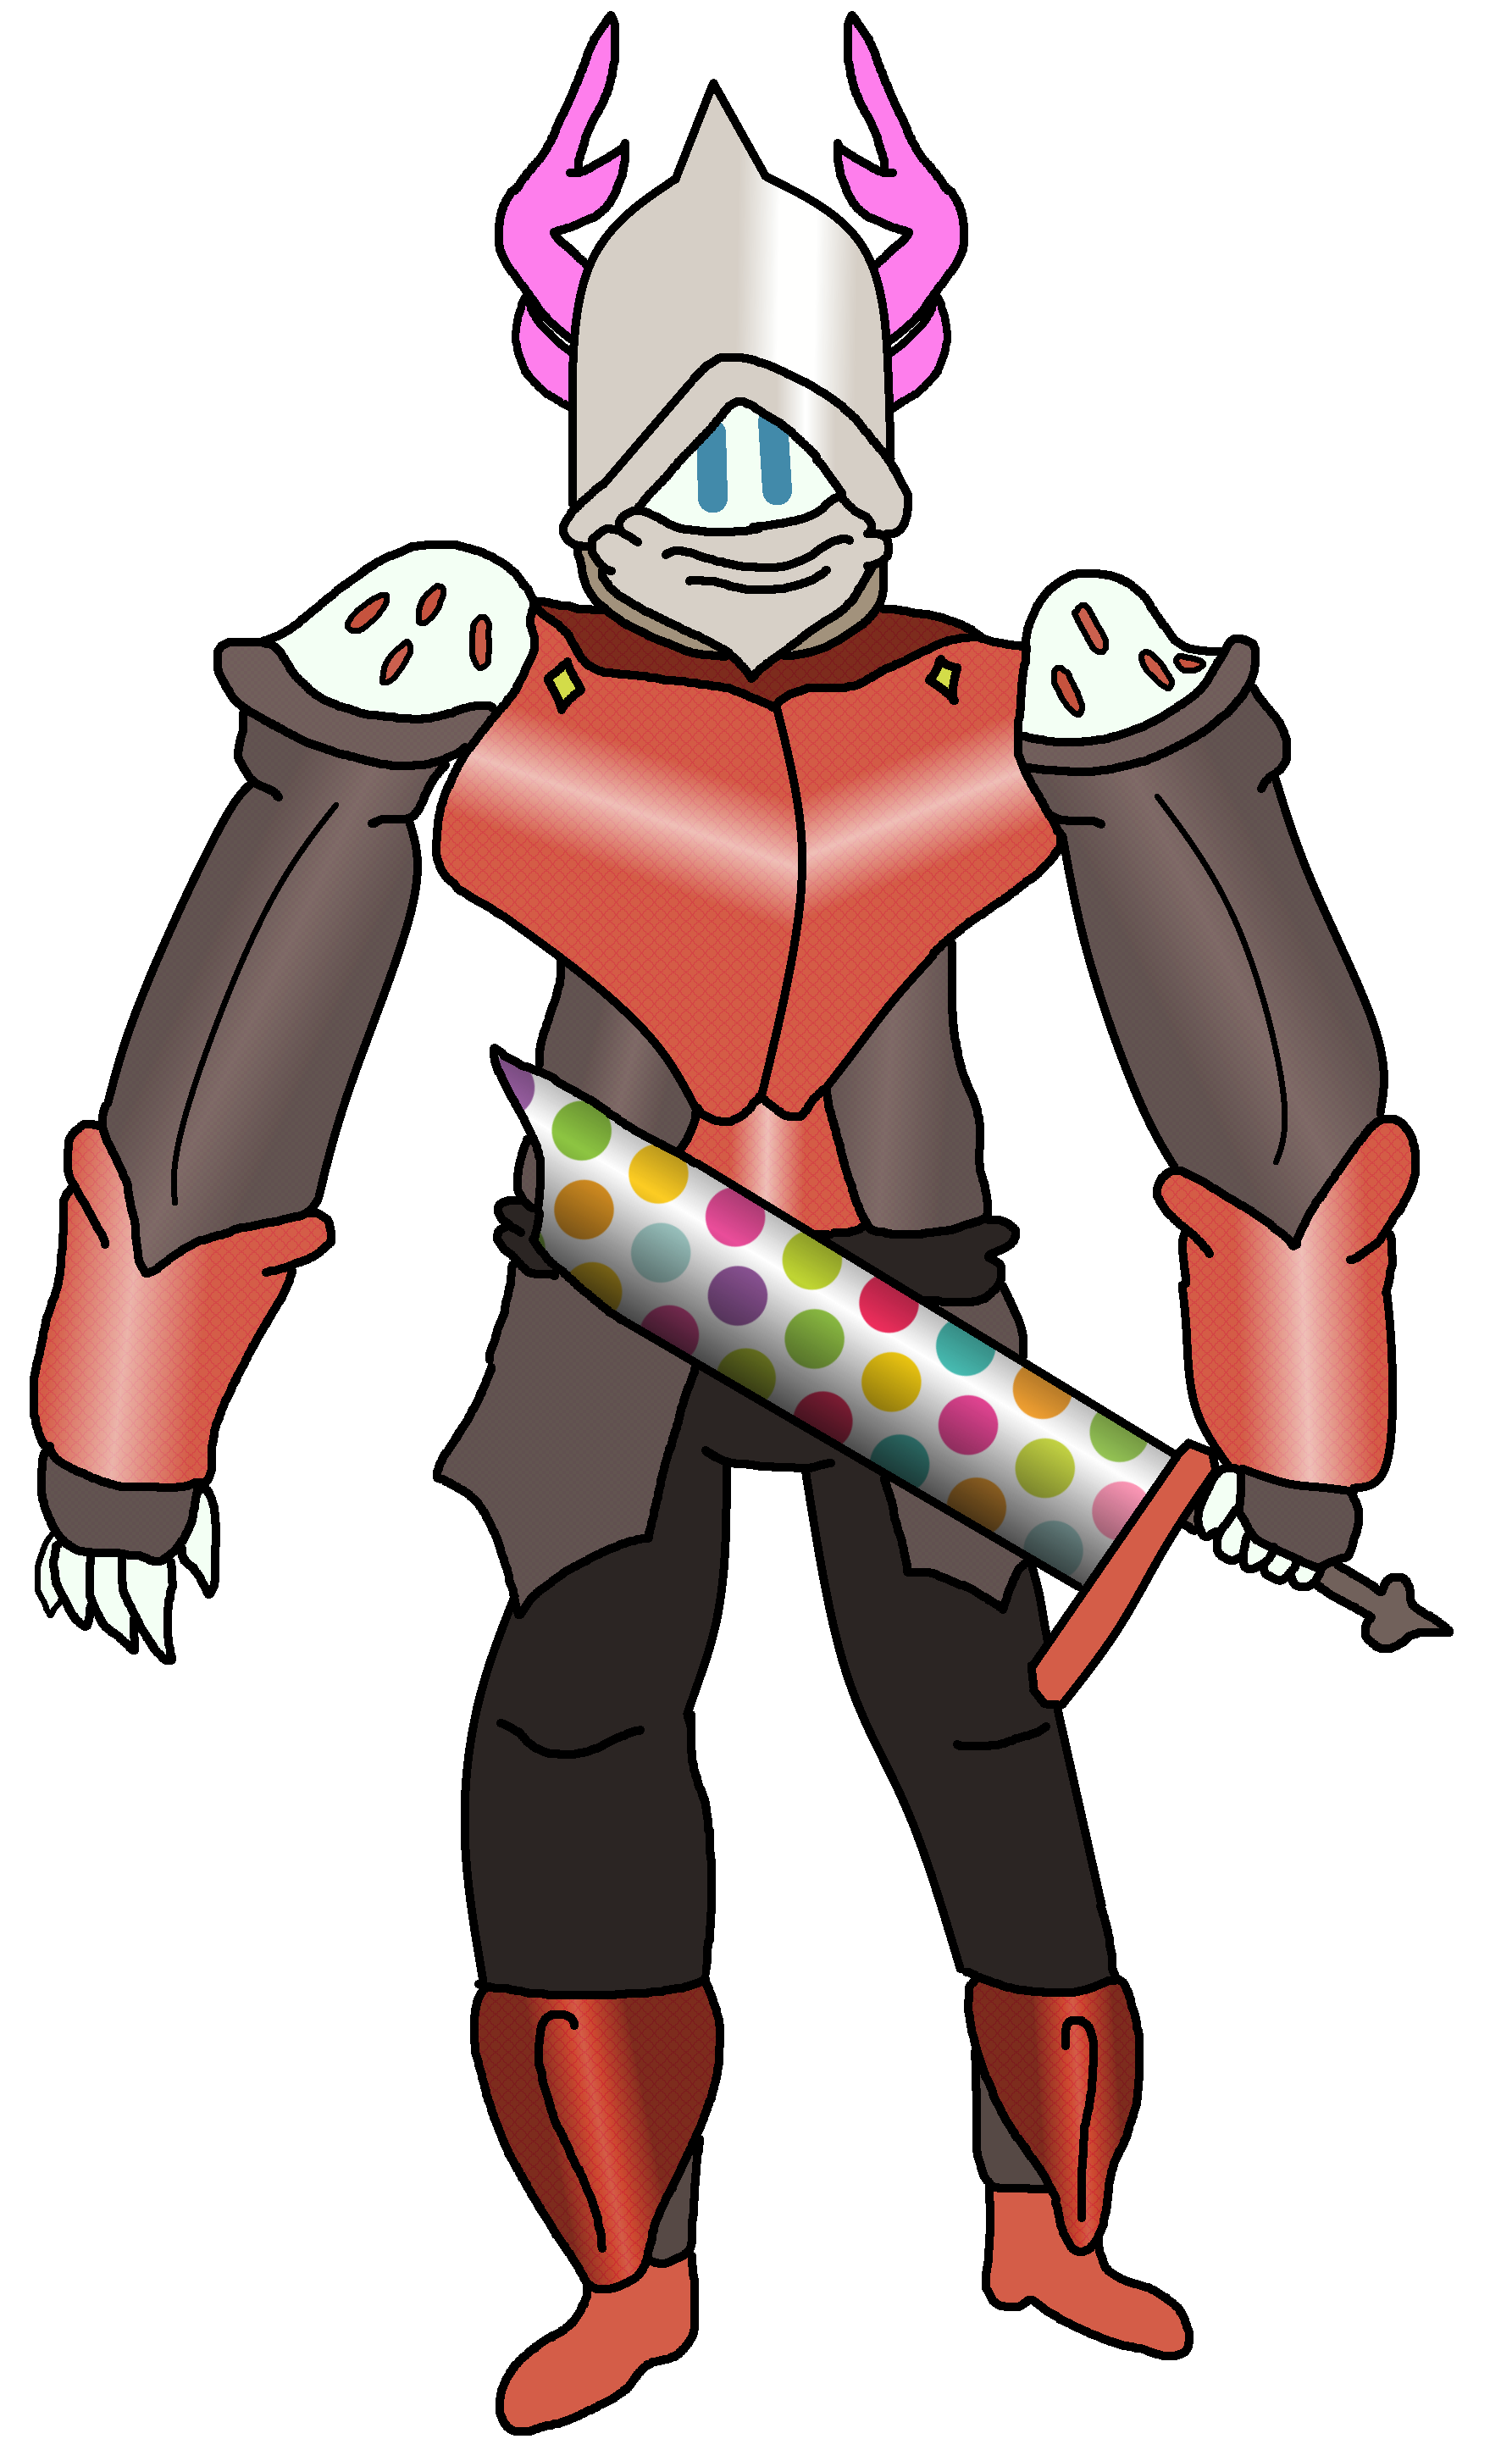 |
Jezebeth
|
|
| Gameplay Details | ||||||
|
Jezebeth is a member of the mix-up archetype, performing best at close range with a moveset that can be used tactically and for complicated mind games to exploit her enemies' weaknesses. Being the game's largest overall playable fighter, she has among the game's best range and is too heavy to be knocked around by even the strongest attacks, and her inability to flinch at weaker attacks means that it's hard to directly stop her. Jezebeth's moveset is based almost wholly around offense; she can grab multiple foes at one time with her tentacles, squeeze them, and hurl them brutally without any sign of remorse. In direct combat, she uses her Bronze Trident to block attacks and retaliate against her enemies by swinging this trident or otherwise stabbing with it. Her most unique quirk is her fear aura: if enemies are too close to Jezebeth, they will feel intimidated and have a power nerf, which aids her already high defenses and good Stamina and allows her to play recklessly when necessary. Because of Jezebeth's immense size and the fact she's the heaviest fighter in the game, however, Jezebeth has some of the poorest mobility in COLD❄BLOOD and only outspeeds two characters, both of whom can find ways around their weaknesses. In spite of her incredible range and her multi-grab attack, Jezebeth has a very poor defensive game and is immensely weak against charged projectiles, and she will flinch against any attack that's highly powerful. She's a huge target as well, and is very easy to attack even though she has an easy time retaliating against lightweight fighters. She also has incredibly poor recovery, having a move that doesn't even grant her any vertical height that isn't made up for at all by its hyper reinvention- she can't even jump very high to begin with, granting her a severe disadvantage when throwing her off stage. Jezebeth is worth of being one of the pseudo-bosses of COLD❄BLOOD and has a lot of important niches to her combat style, but players of her need to mind her enormous size and take full advantage of her range to block her from getting hit by powerful attacks, which will put her in a state of distress.
Common Attacks Special Moves
Hyper Moves
Animations
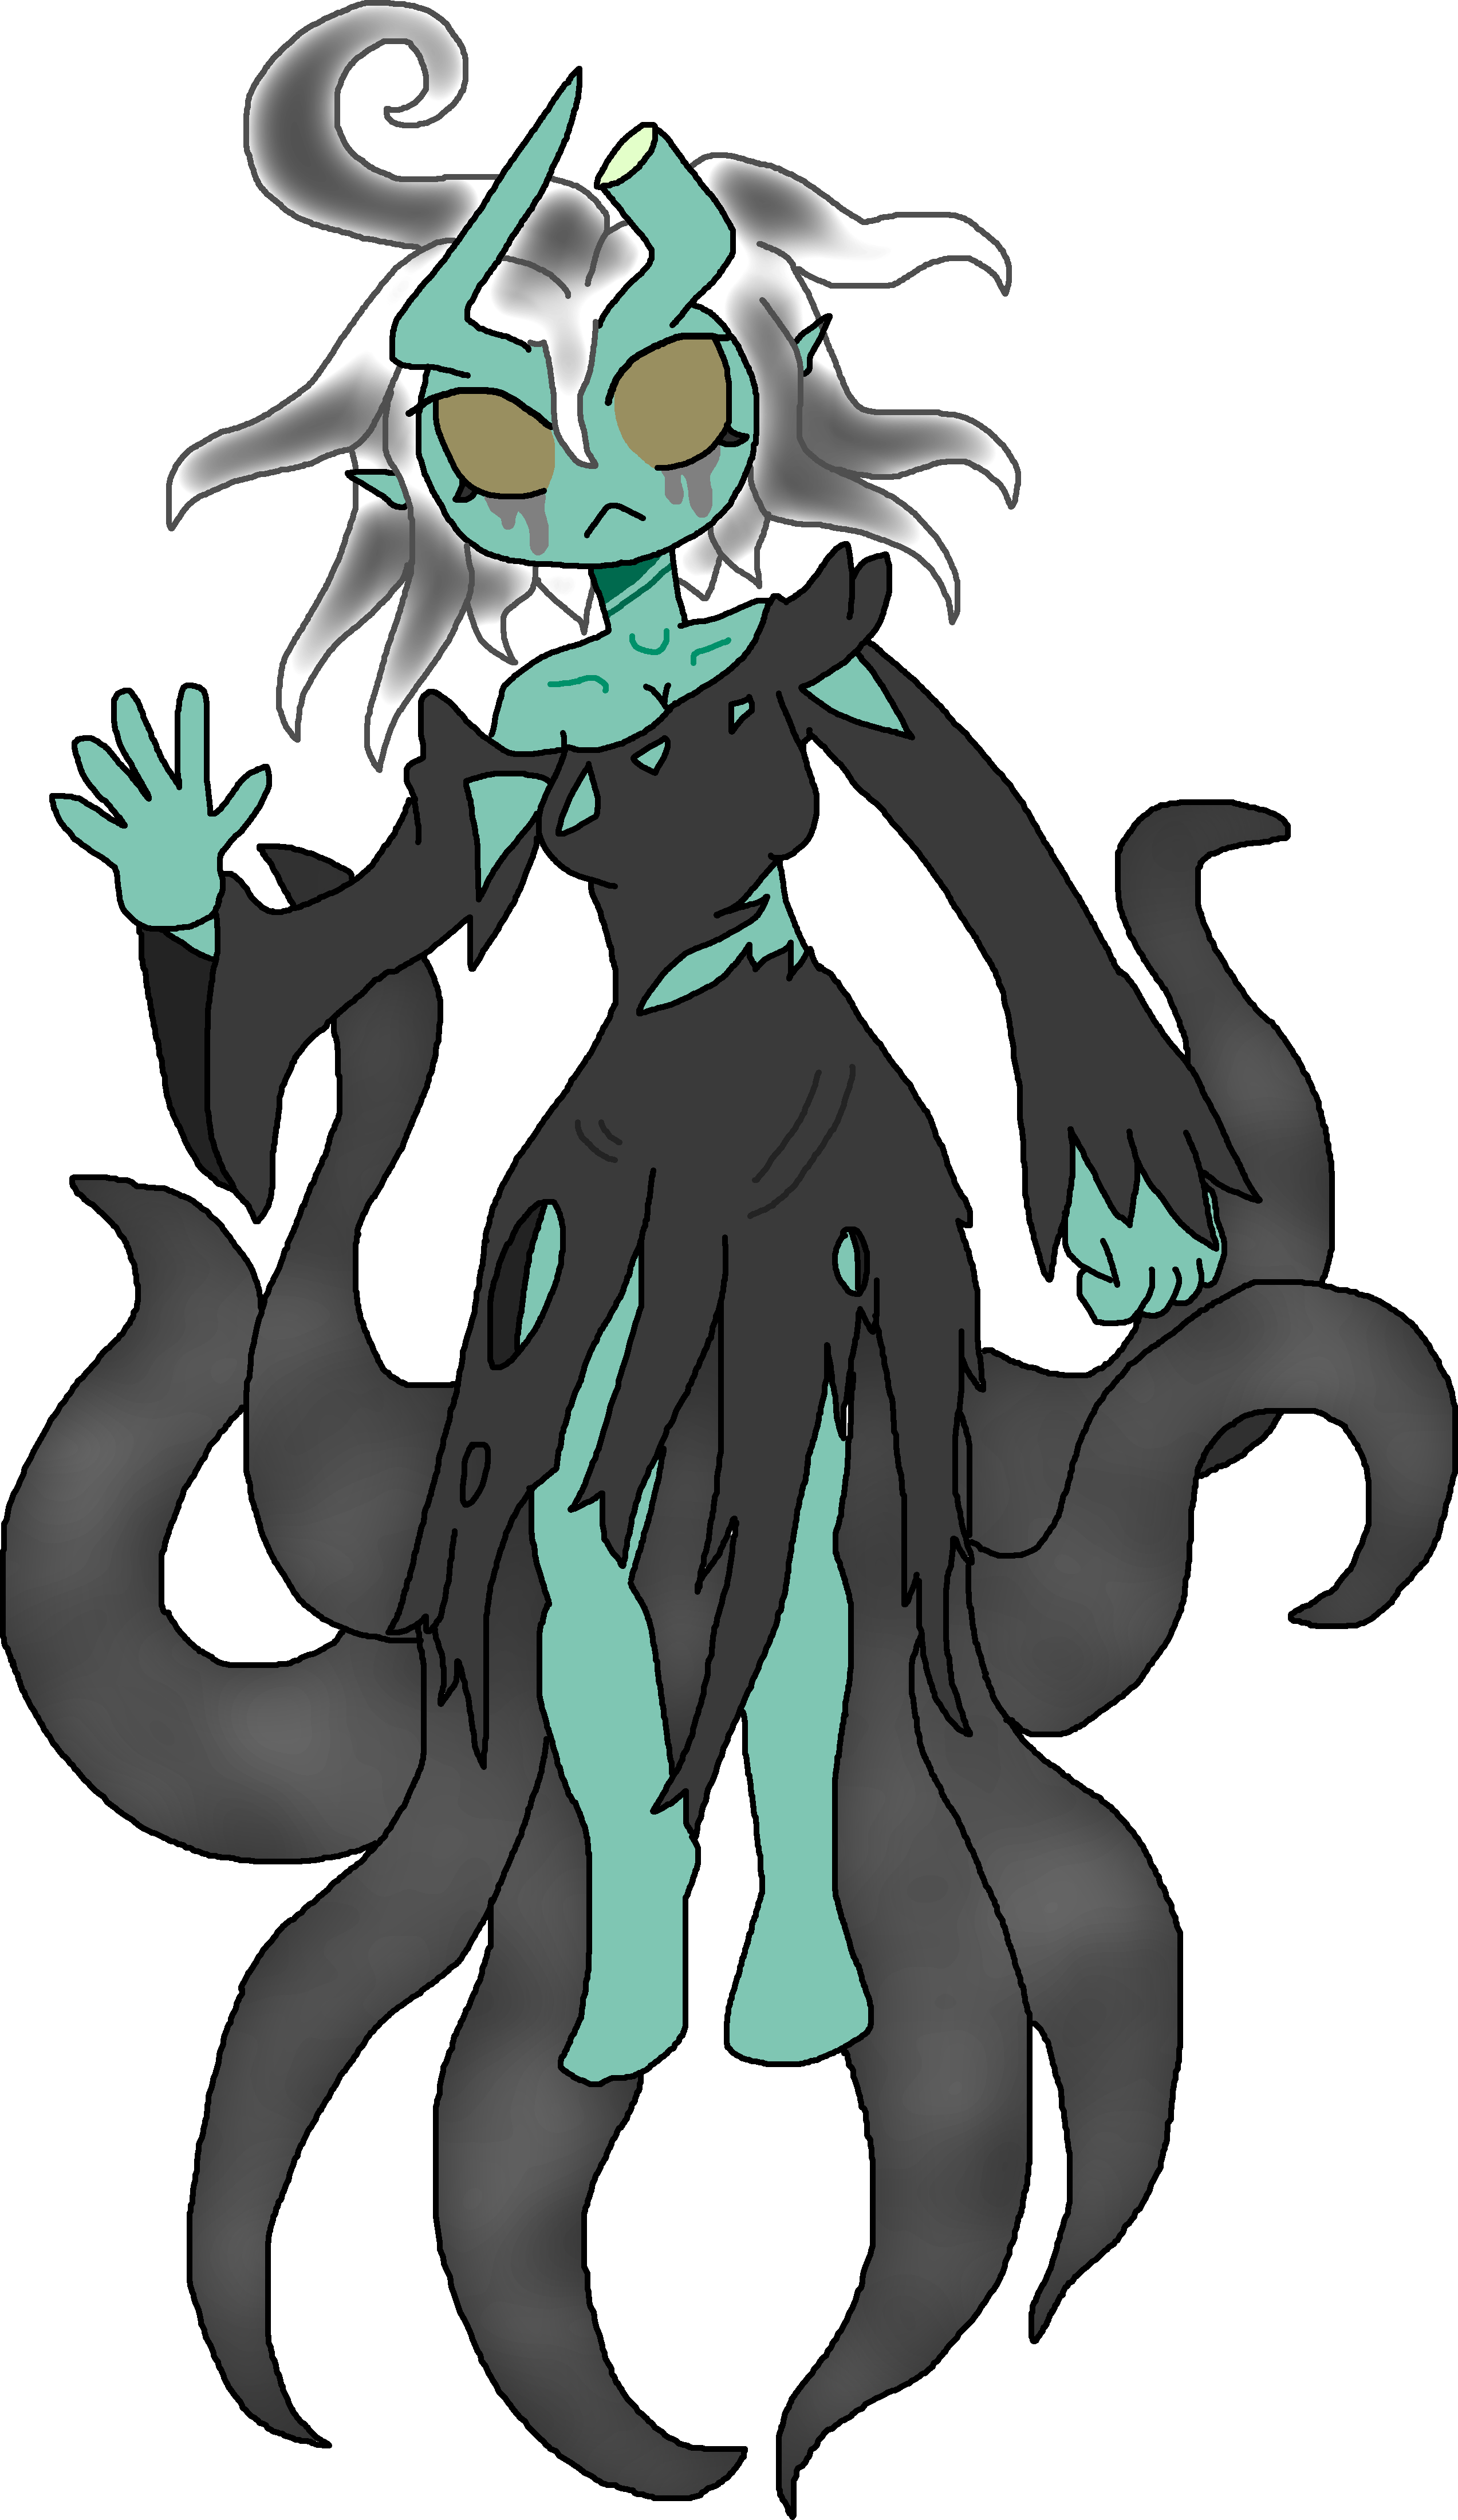    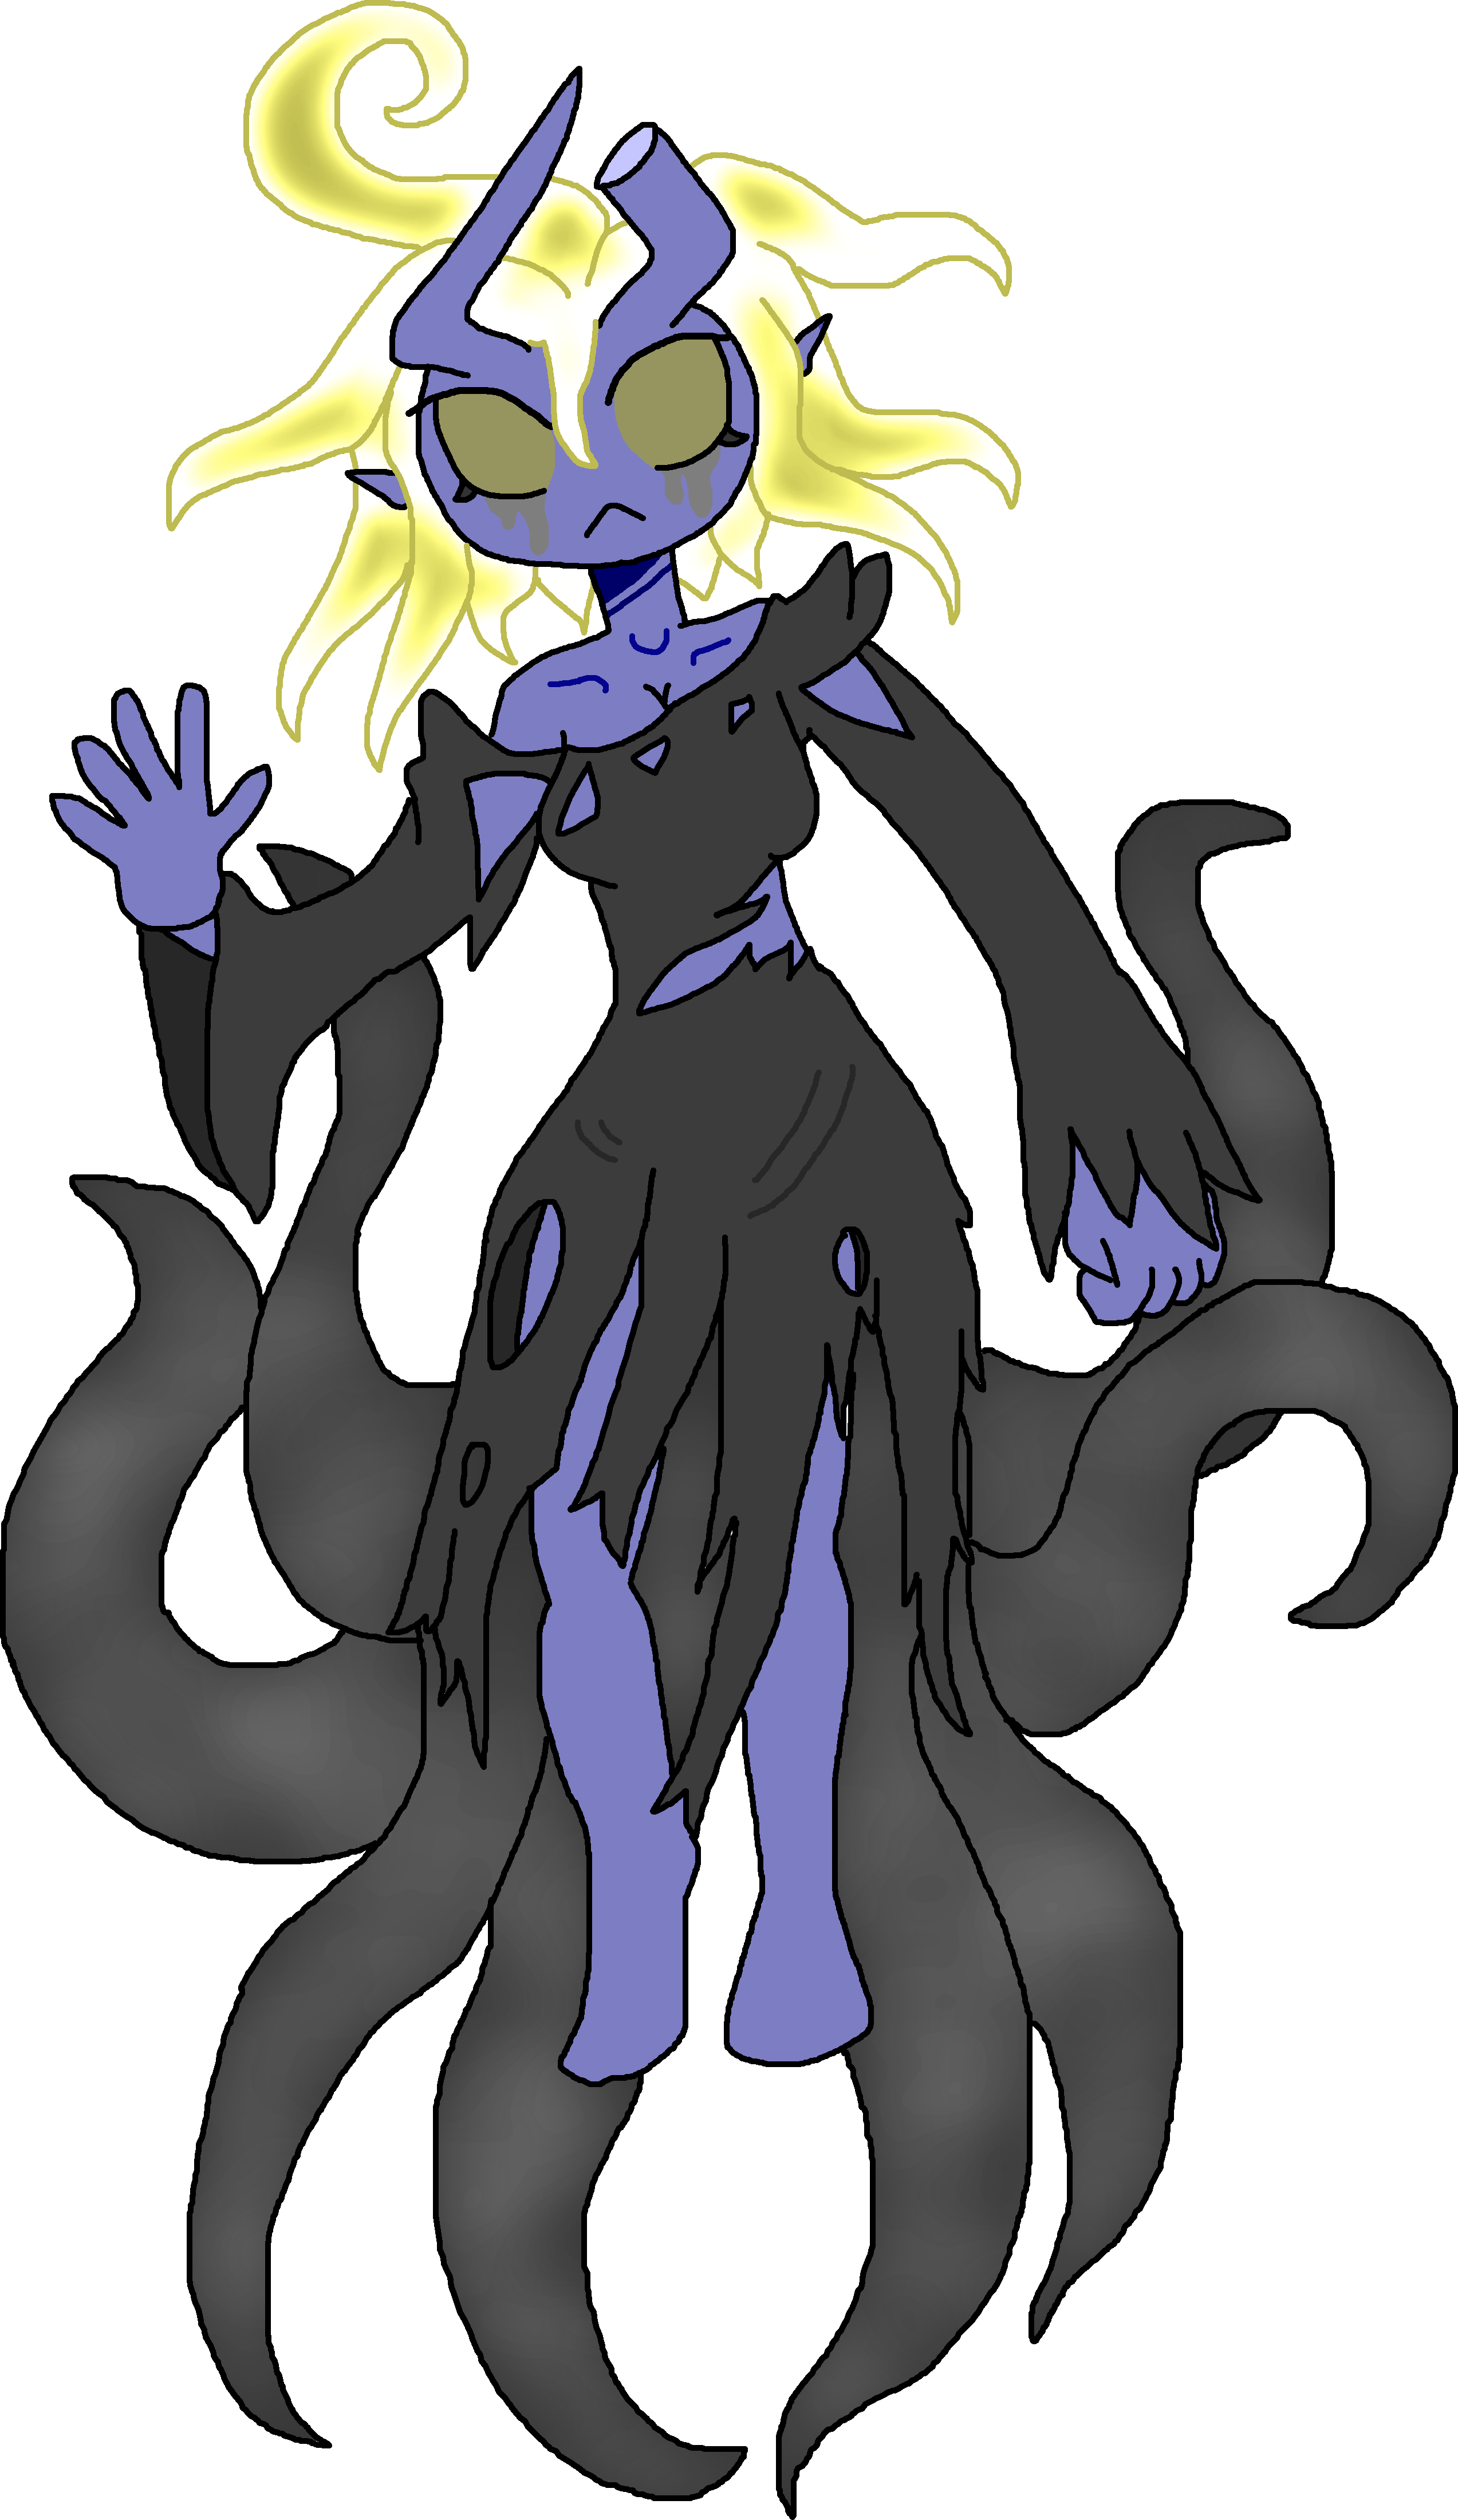 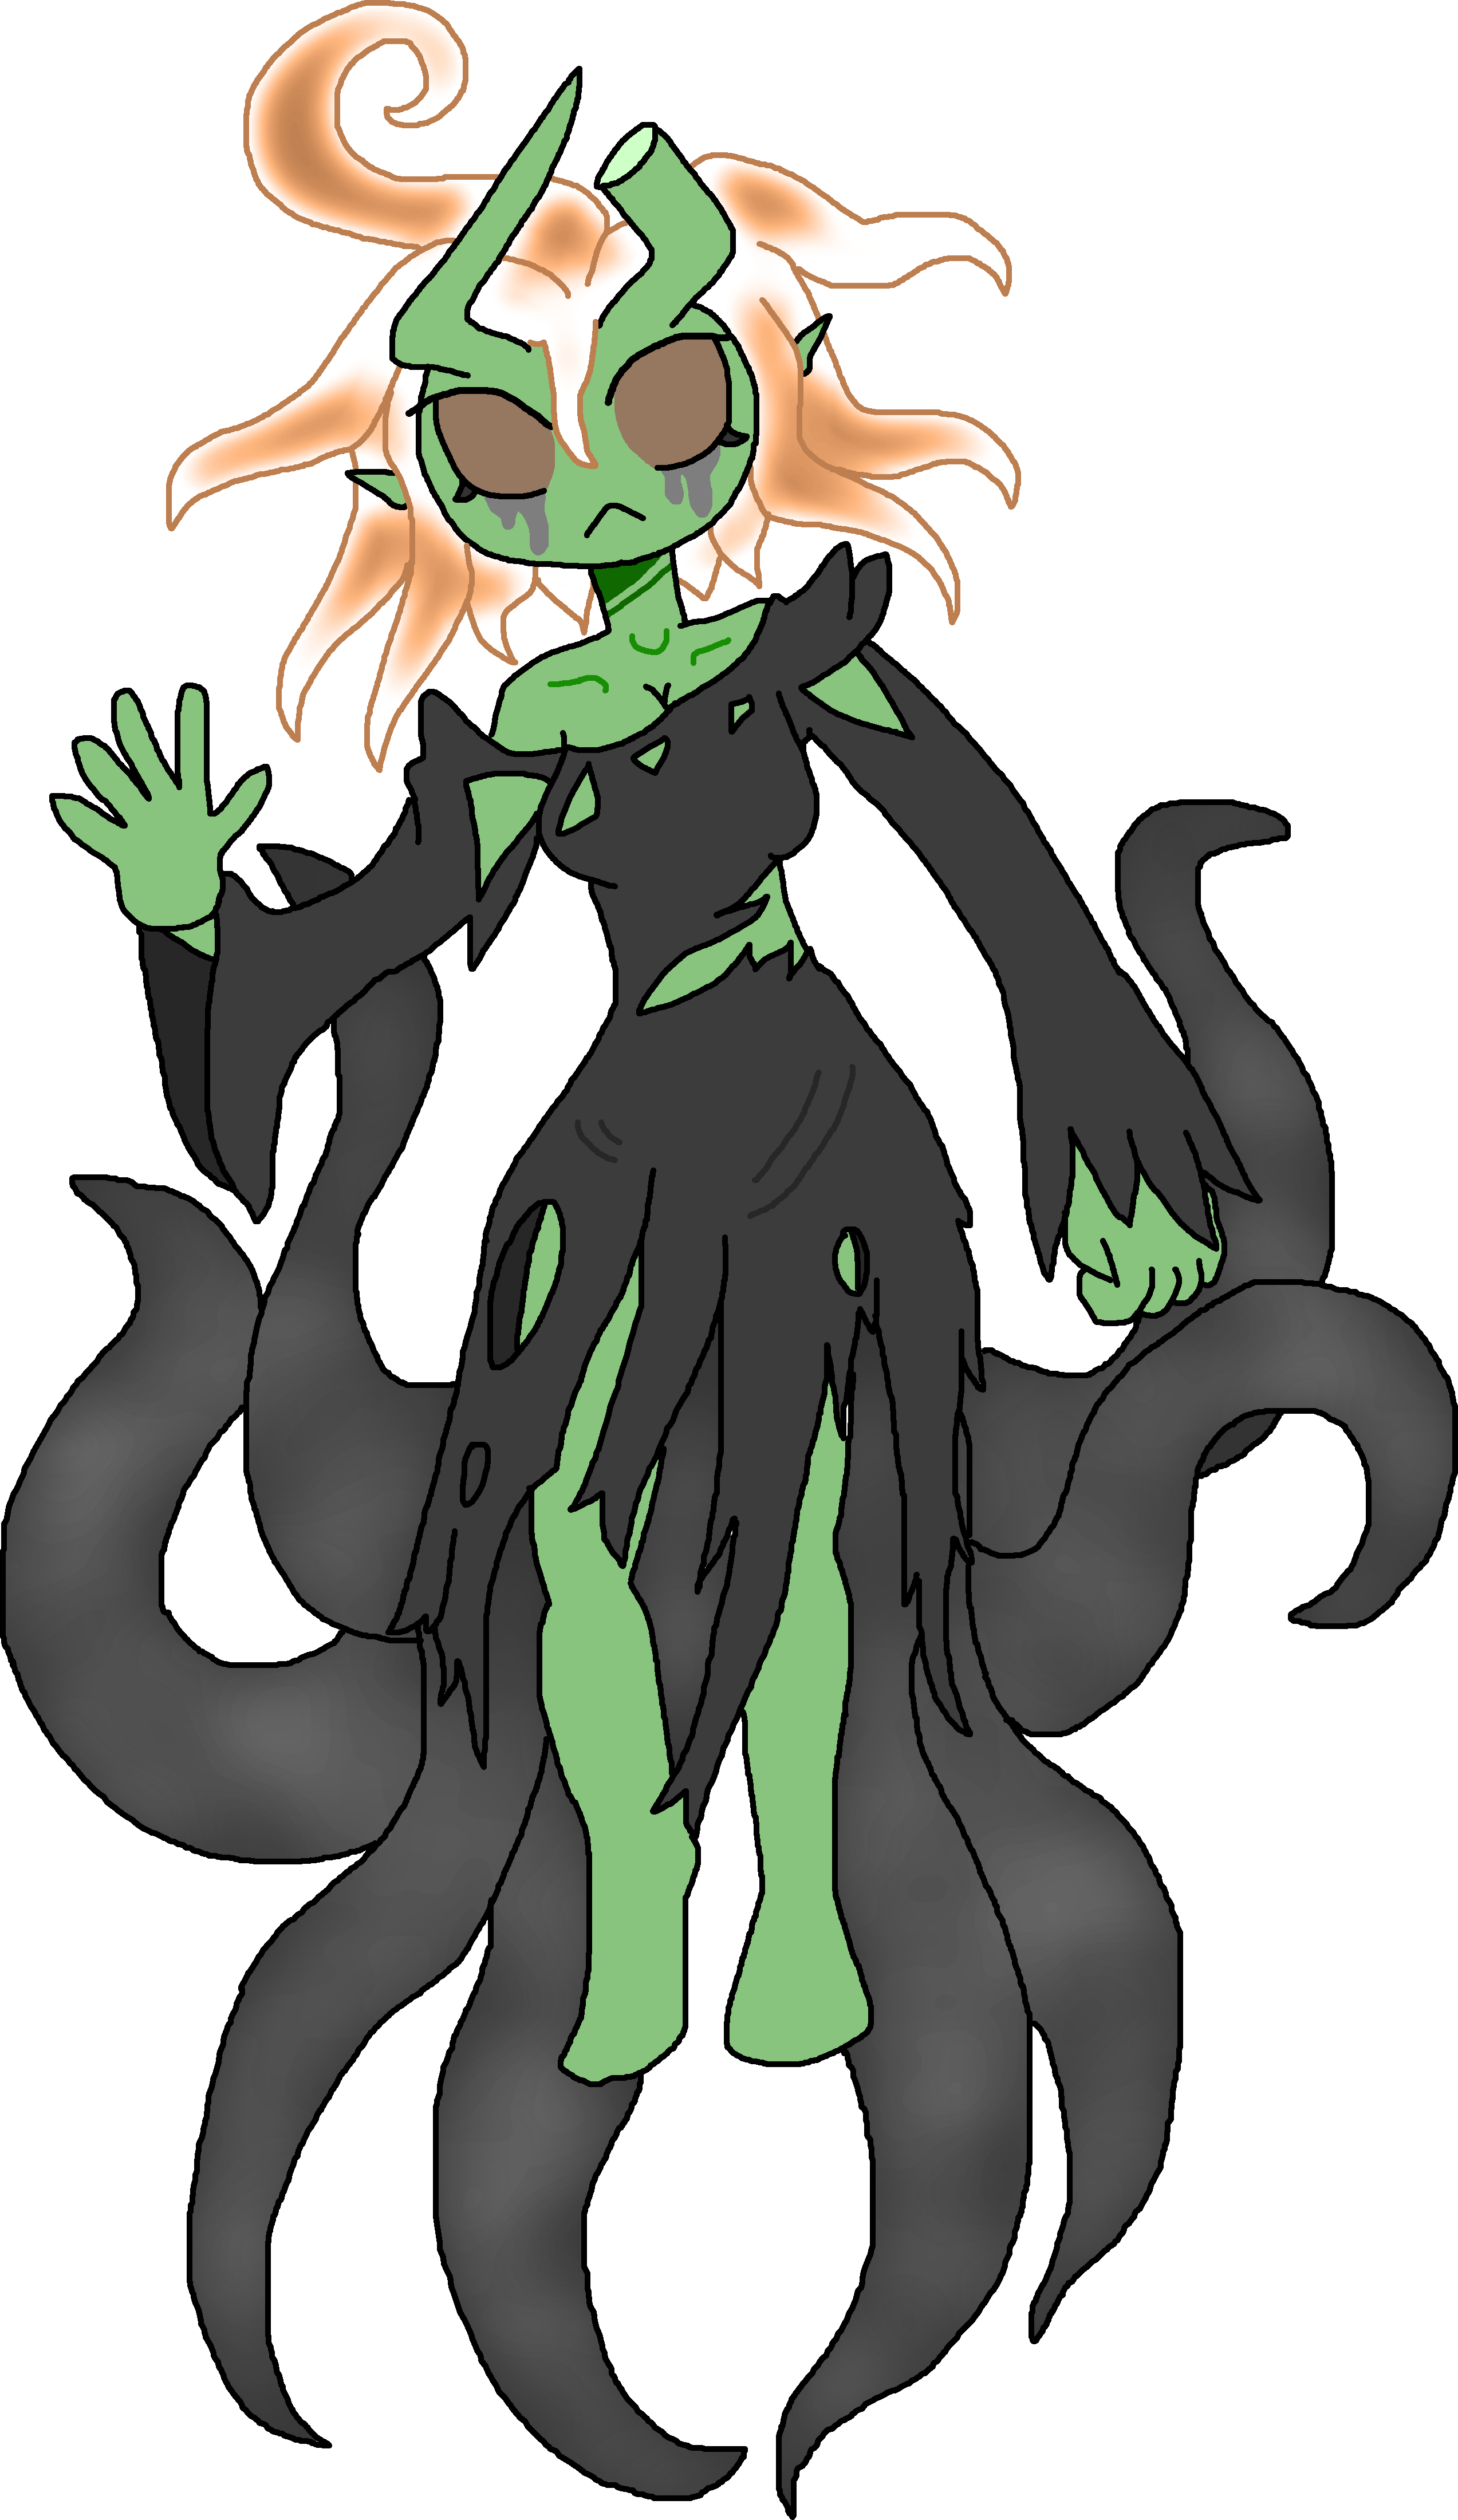 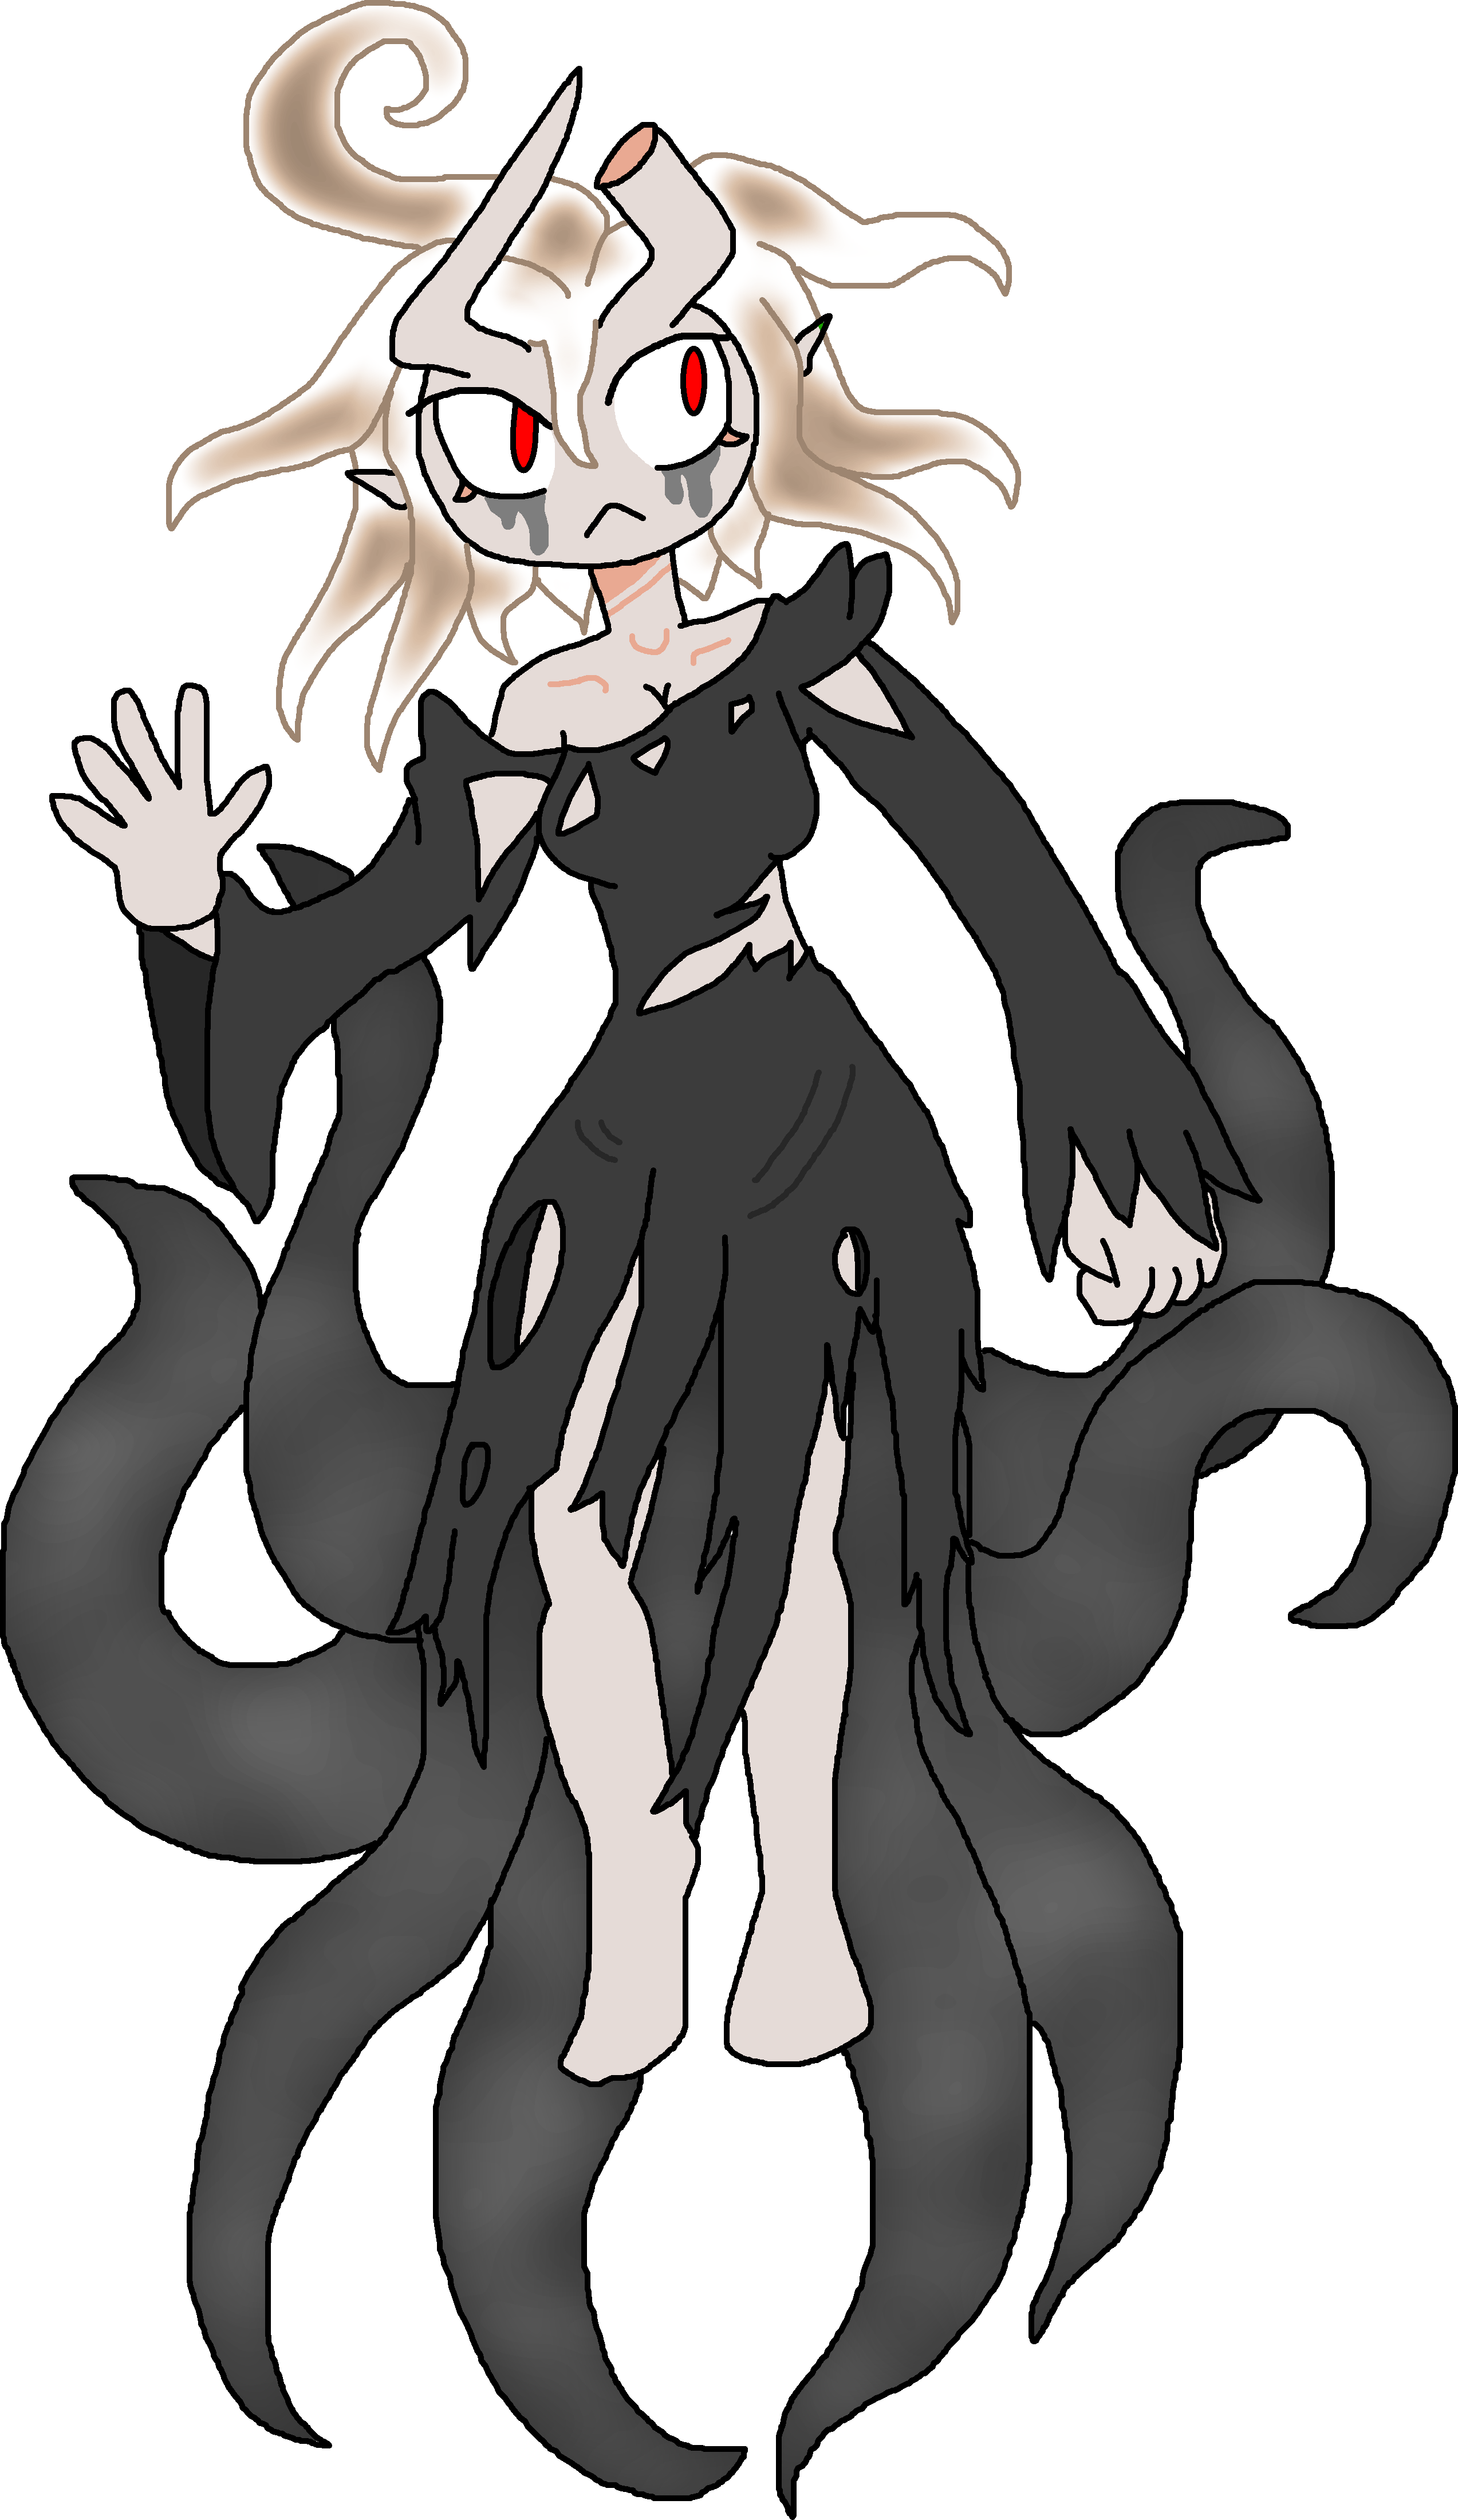 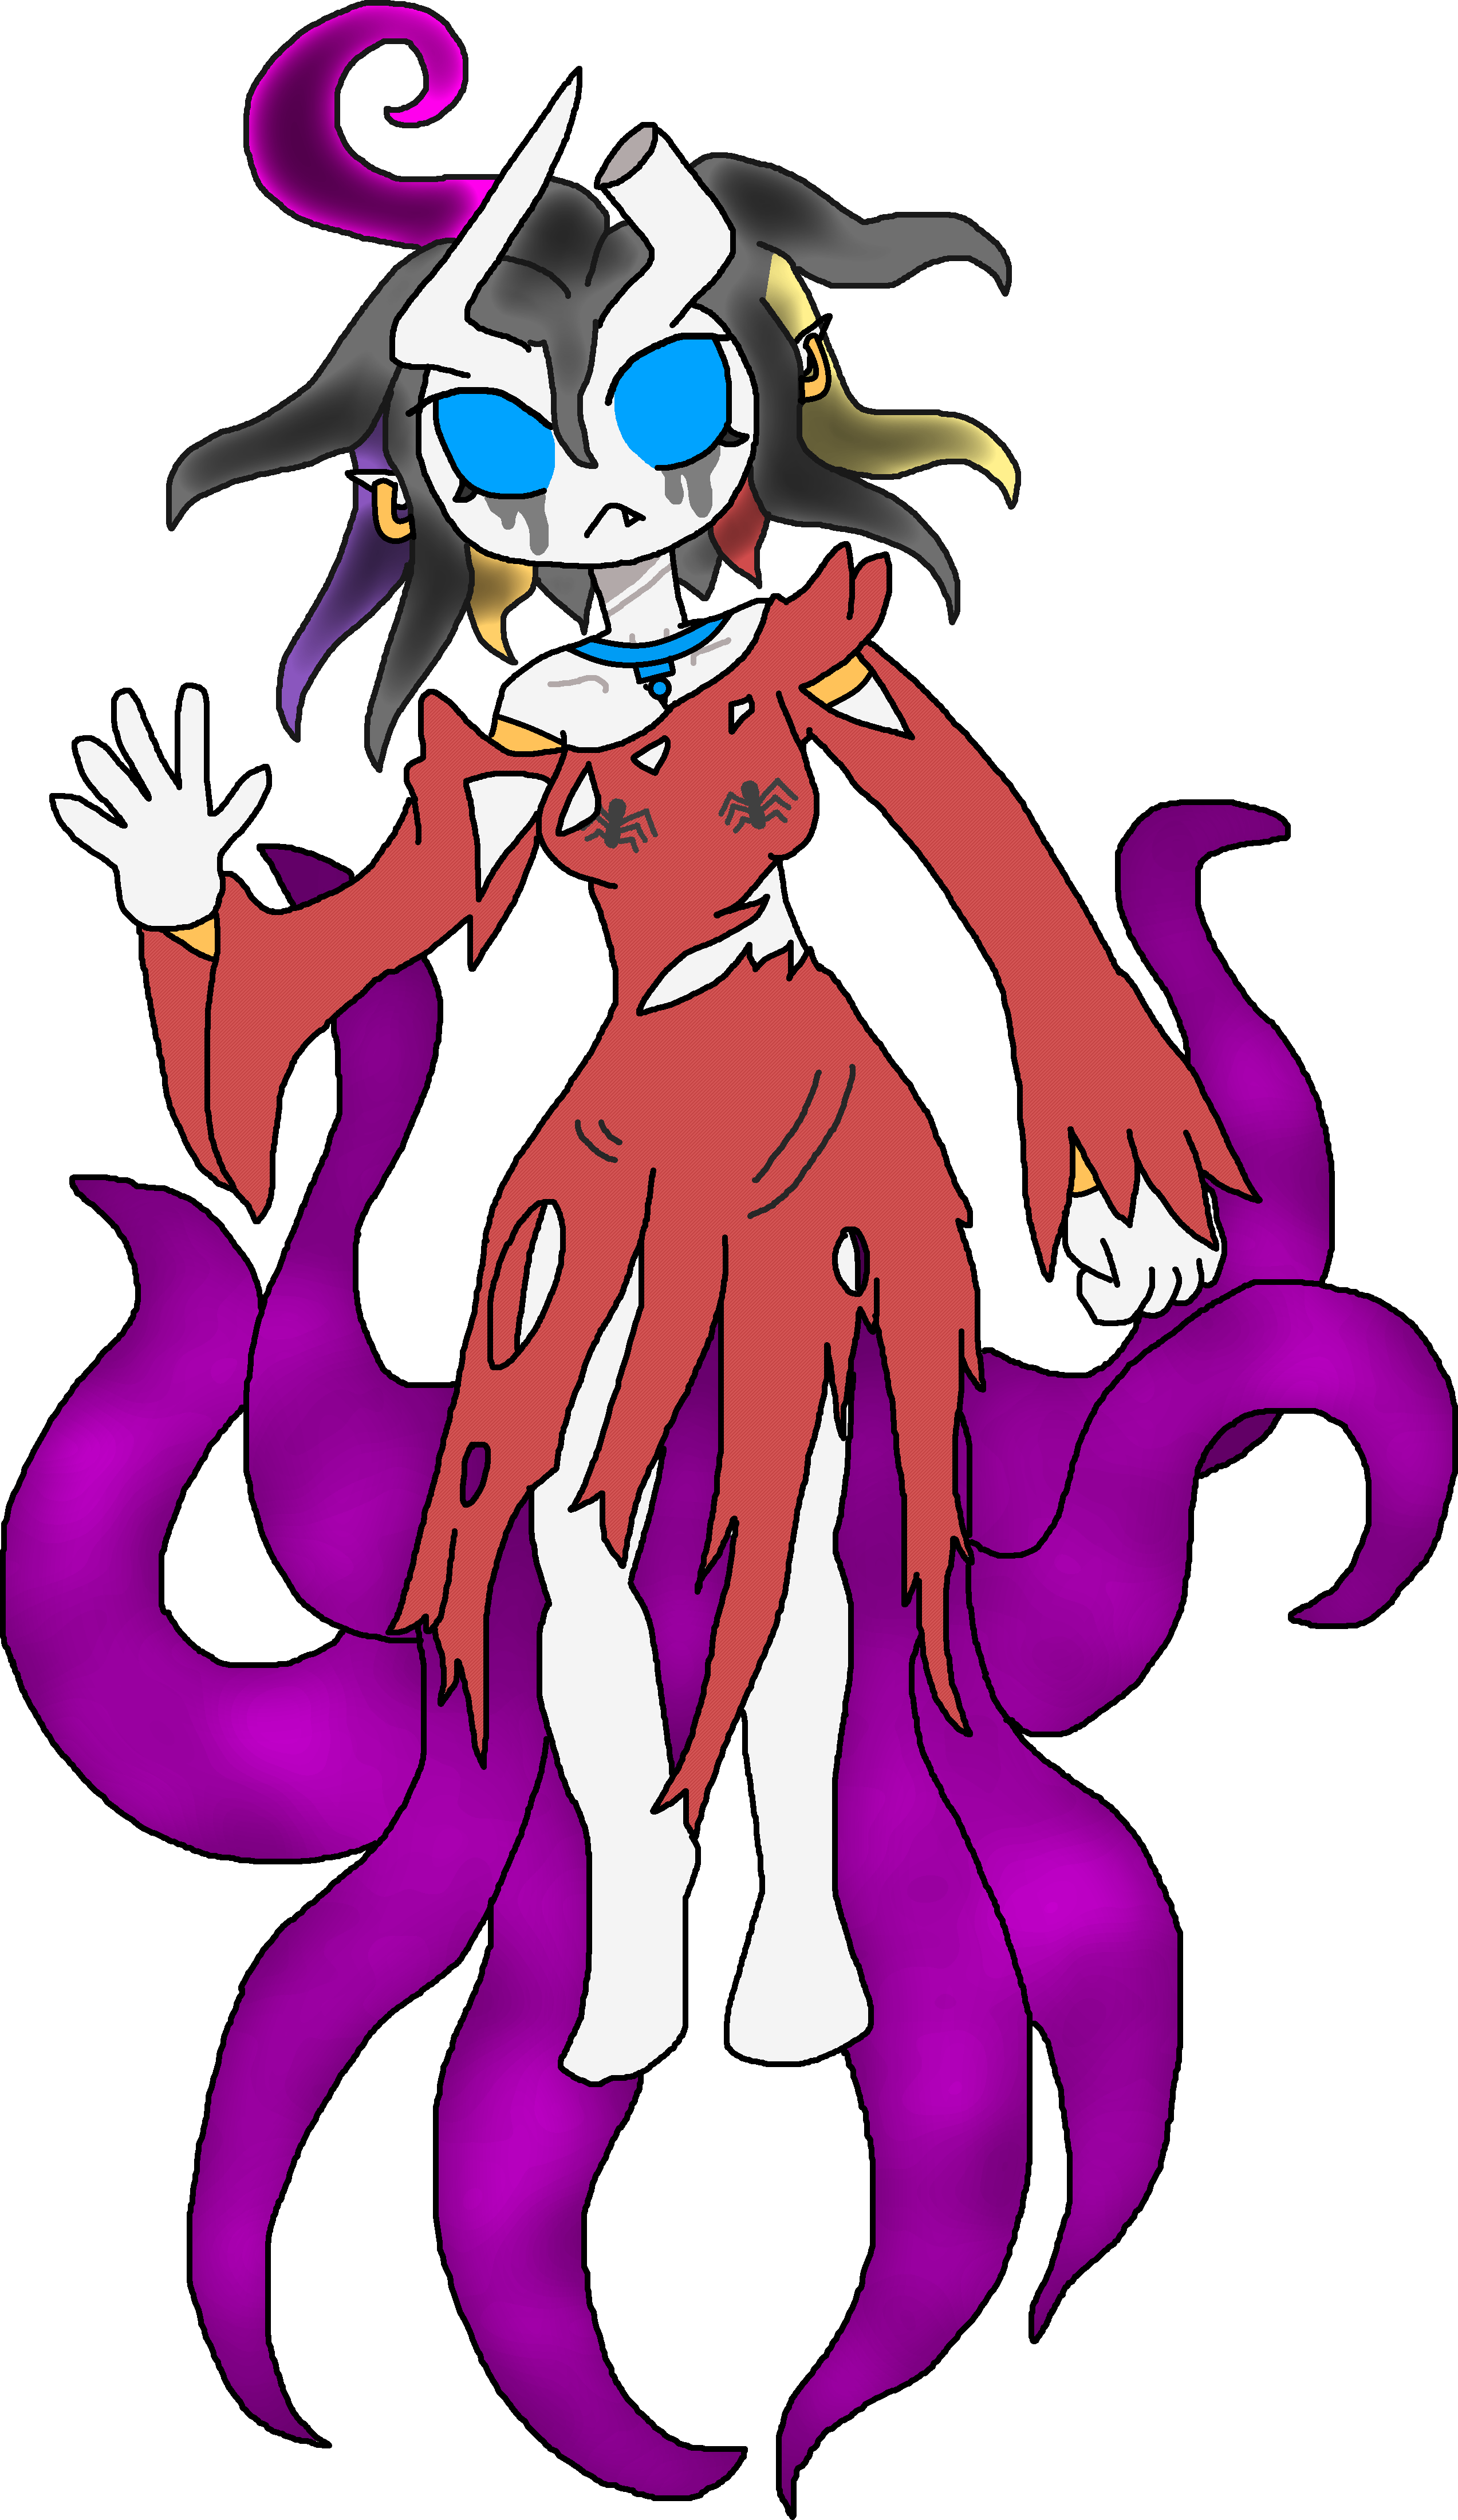 |
Niki
|
|
| Gameplay Details | ||||||
|
Niki is no ordinary glass cannon, that's for sure. This speedy trickster's got some of the most powerful offensive attacks in the whole game and boasts rather great range with her Life-Sapper Claws, which allow her to continuously drain health from all enemies she hits. She can also spread gasoline onto her enemies to slow them down and allow her speed to dominate the battlefield, and she can even follow up the gasoline smears by lighting her enemies aflame! She also has very good frame data and high priority, allowing her to tear through numerous groups of enemies without an issue. She is even somewhat durable, having only below-average defenses that don't quite reach levels of terrible, allowing her to tank more hits than the likes of Pierce, for example. She is one of the game's hardest characters to outperform, as all of Niki's enemies need to find appropriate moments to attack or they will be viciously torn apart. Niki, however, is a heavily flawed fighter that needs to work on a lot of issues herself. For example, Niki's defenses may not be among the worst in the game, but she's still quite frail and will be pushed around a lot because of her very light weight. Because all of her moves are directly based around attacking, Niki also lacks any supporting moves and cannot help her allies besides slowing their enemies down via usage of Gasoline Smear. Though she can still sap up energy with her Life-Sapper Claws, they're almost negligible when she's up against high-strength enemies, which sometimes boast attacks that can kill her in just one shot. Finally, Niki has a shortened parry move, which is very disadvantageous for her and hinders her defensive game even more. The reason why her parry is shortened is because she has never put any effort into her defensive game, meaning she's inexperienced with it. Overall, Niki is a very solid pseudo-boss character, but she has a lot of issues that the player needs to work to overcome if they plan on winning any battles with her. She either outperforms or is outperformed.
Common Attacks Special Moves
Hyper Moves
Animations
    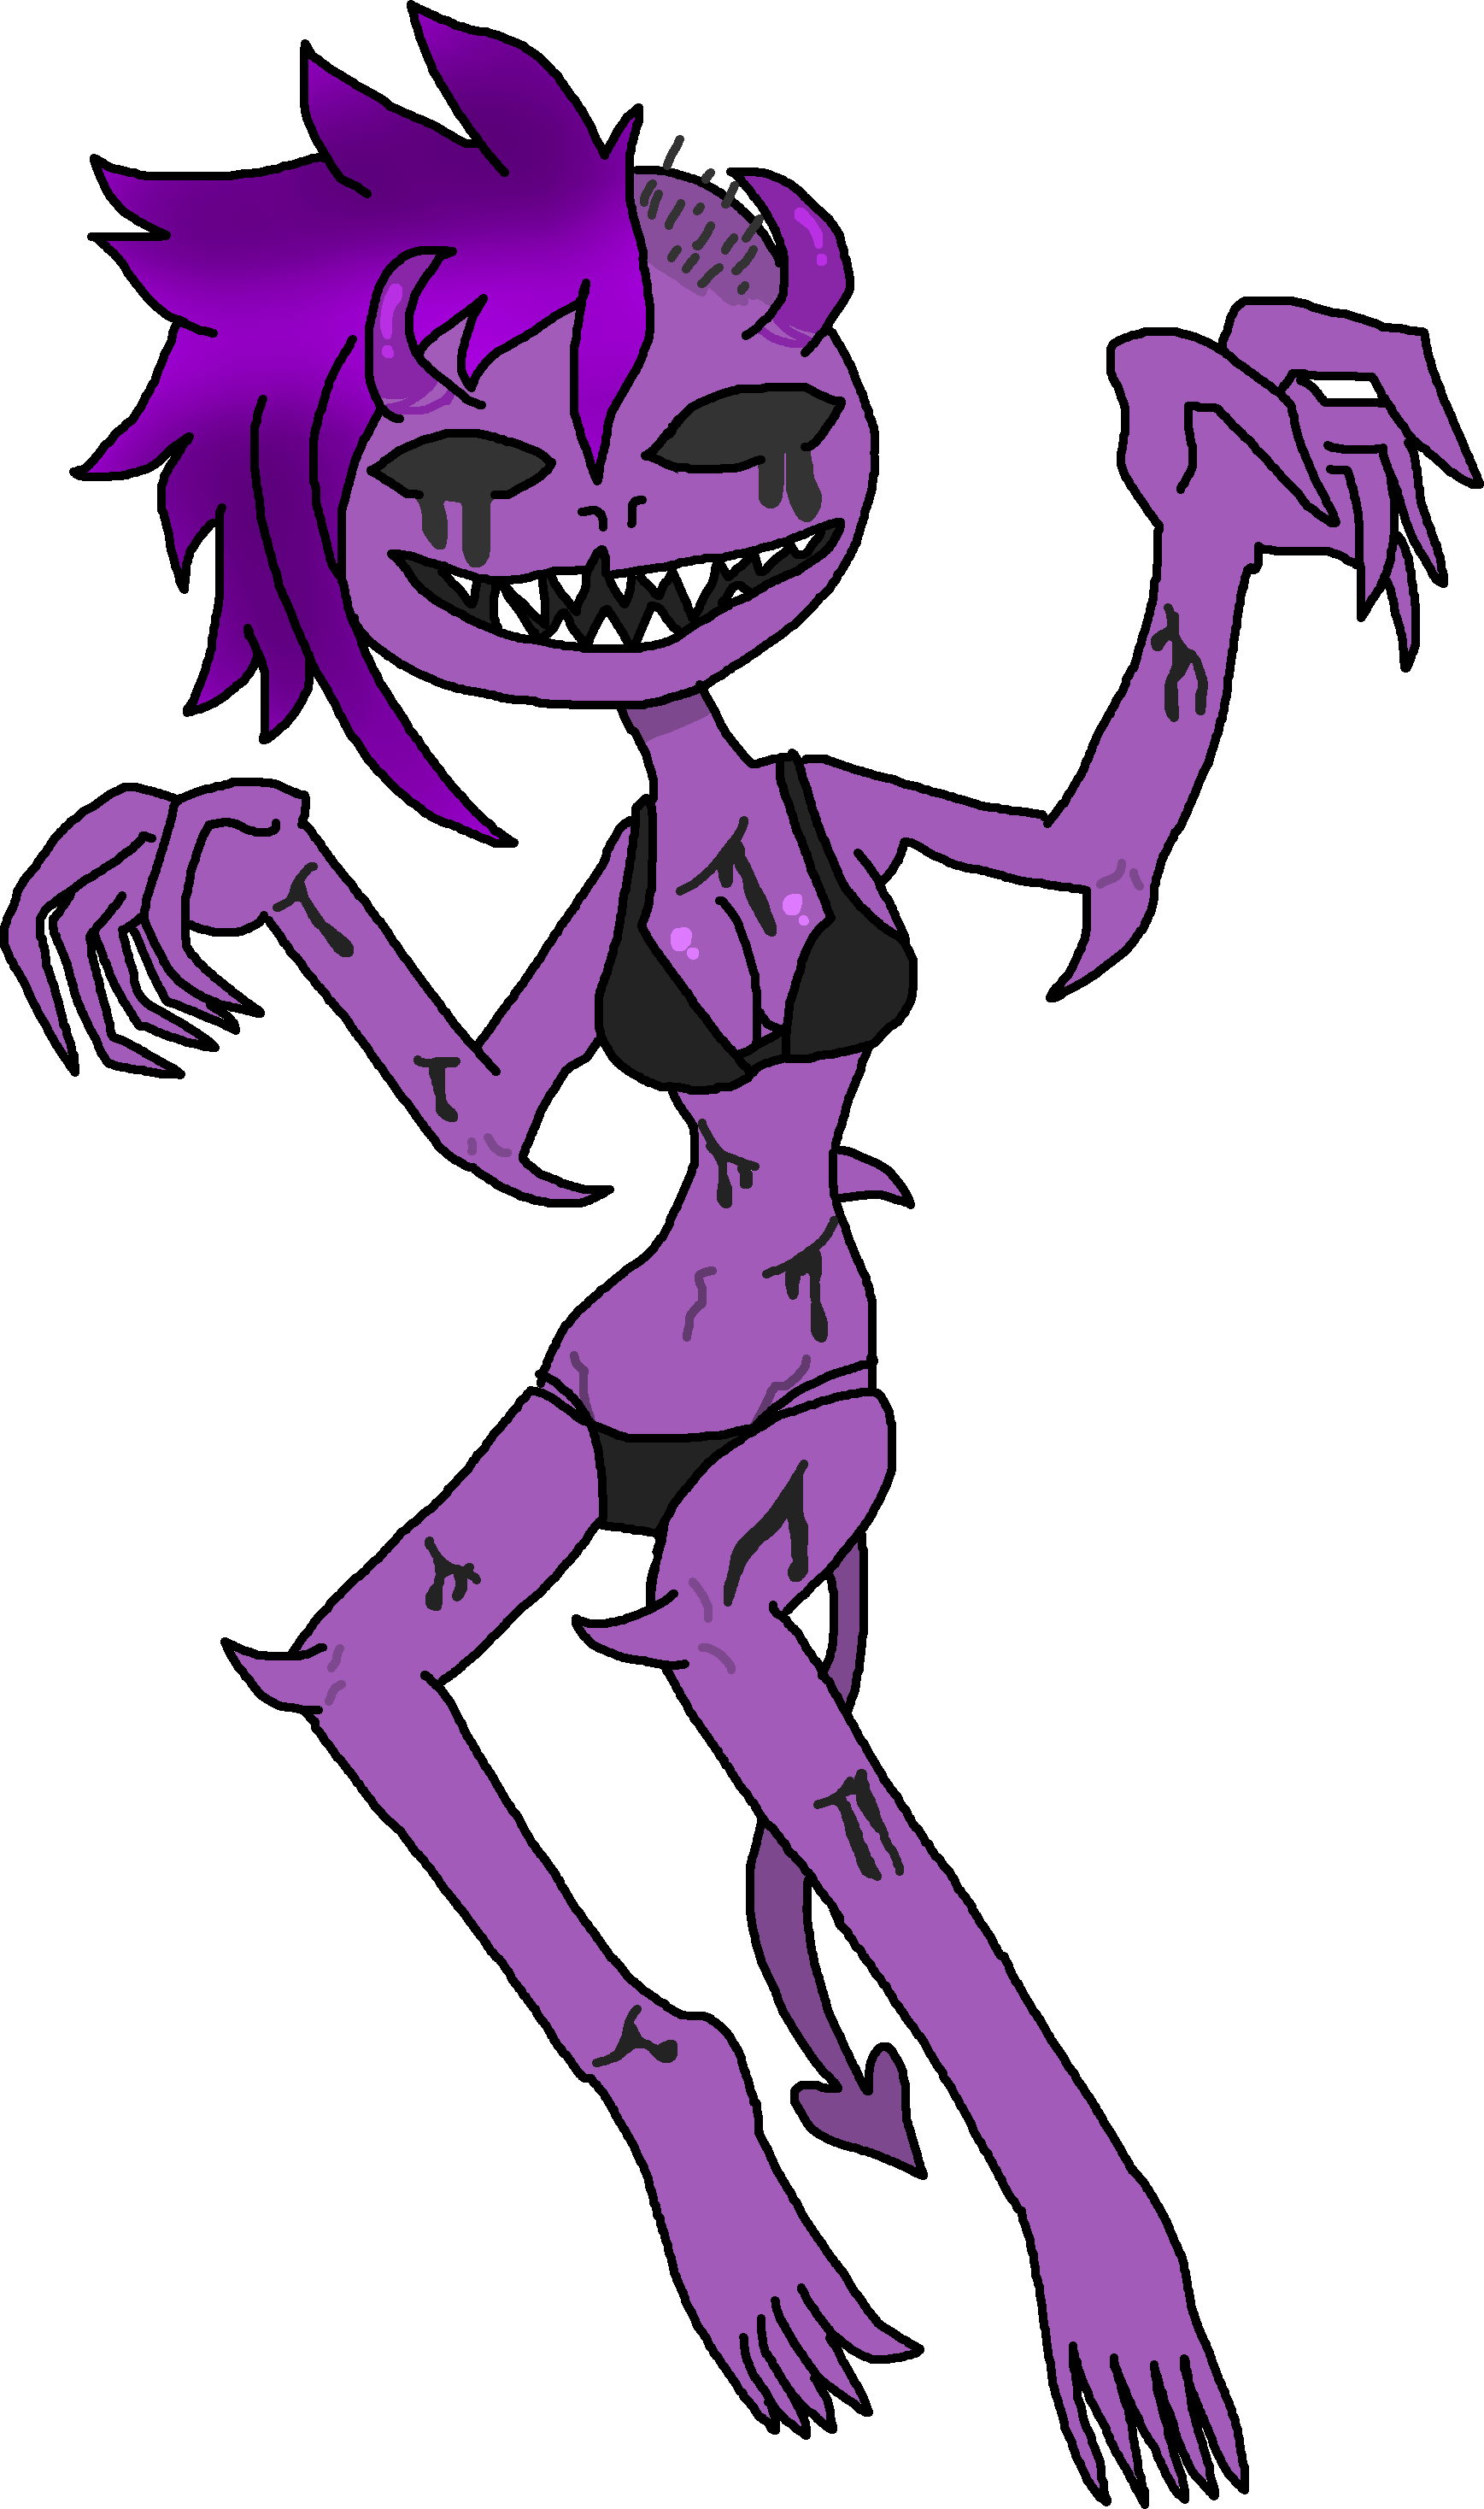   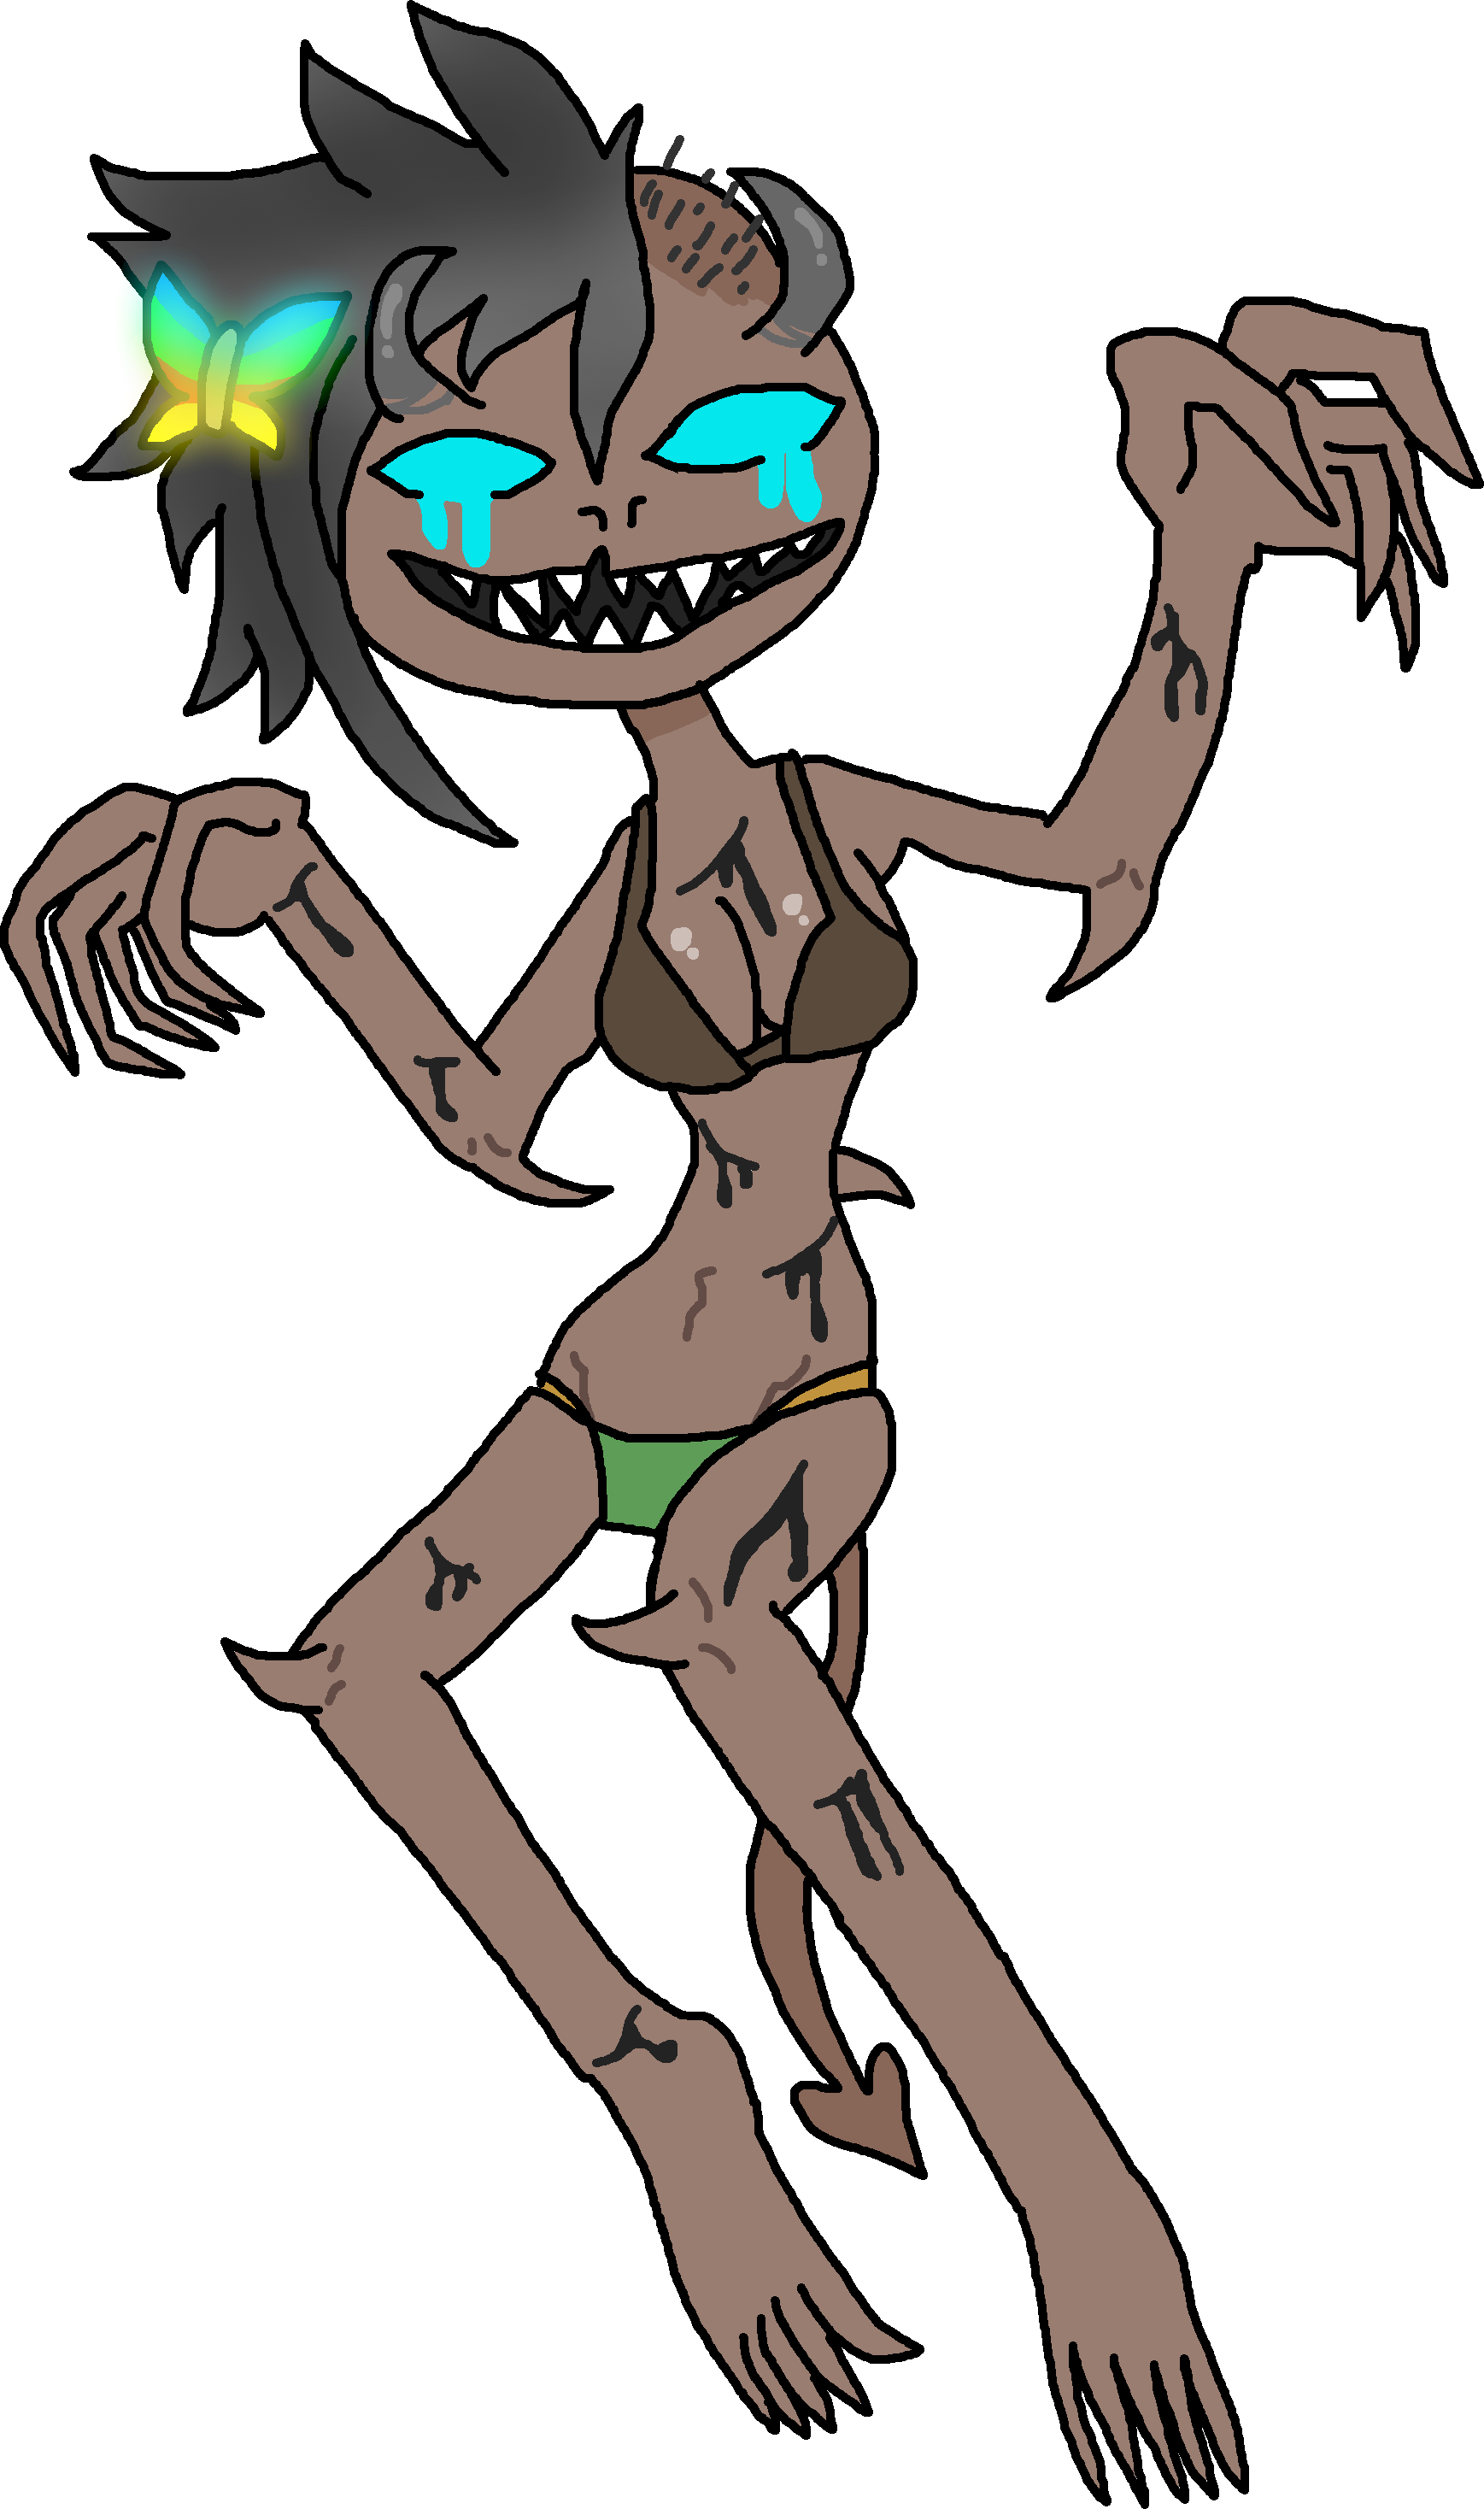 |
Thanatos
|
|
| Gameplay Details | ||||||
|
Thanatos is a zoning fighter that stands perplexingly tall among the game's cast, outsizing even the likes of Kýrios and Jezebeth. Thanatos specializes in acids and poisons, using his appropriately named Plague Staff to inflict poison status on his enemies and ignore their defenses with their corrosive qualities. His special gimmick, the "Plague Touch", is guaranteed to poison his targets if he strikes them with the tipper, making it dangerous to come close to Thanatos. Not only that, the Plague Staff itself gets stronger every time the Plague Touch successfully activates, with subsequent poisonings having a more corrosive effect against his enemies. Being among the game's speediest characters, Thanatos has an agile edge over much of his competition and can do a lot of damage through his hit-and-run strategies. Finally, since some of his inputs are more akin to a traditional fighter's, he can choose how much distance his moves have - tap inputs make his moves work for close combat, while press inputs make them reach further away. Thanatos does have some major flaws though that hinder his competence, though. His biggest issue is that he's fragile, meaning he won't be able to take many hits before he succumbs and crumbles, meaning it's crucial that he makes as few mistakes as possible. He also deals very little damage across his moveset, with his moves being among the weakest in the game if the Plague Touch hasn't hit them head-on. Thanatos is very reliant on his stage control ability to carry any sort of edge in battle; if he doesn't has control over the battlefield, he's going to face defeat very easily. Also compounding his success potential is his complicated moveset; while his tap/press inputs make him unpredictable and help catch his enemies off guard, they're mostly niche and difficult to utilize and can be tricky to master. Finally, Thanatos himself is not immune to poison, so his own Dissolvers and Sickness Gales can be rebounded to affect him instead. This further compounds his terrible defenses, making it tricky for him to stand alone. Thanatos does have some huge flaws as a fighter, but if you take advantage of his skills and play very defensely, Thanatos is a deceptively powerful fighter that can take any fighter down within moments if they're not careful, with even the most defensive characters susceptible to his poison arcana.
Common Attacks Special Moves
Hyper Moves
Animations
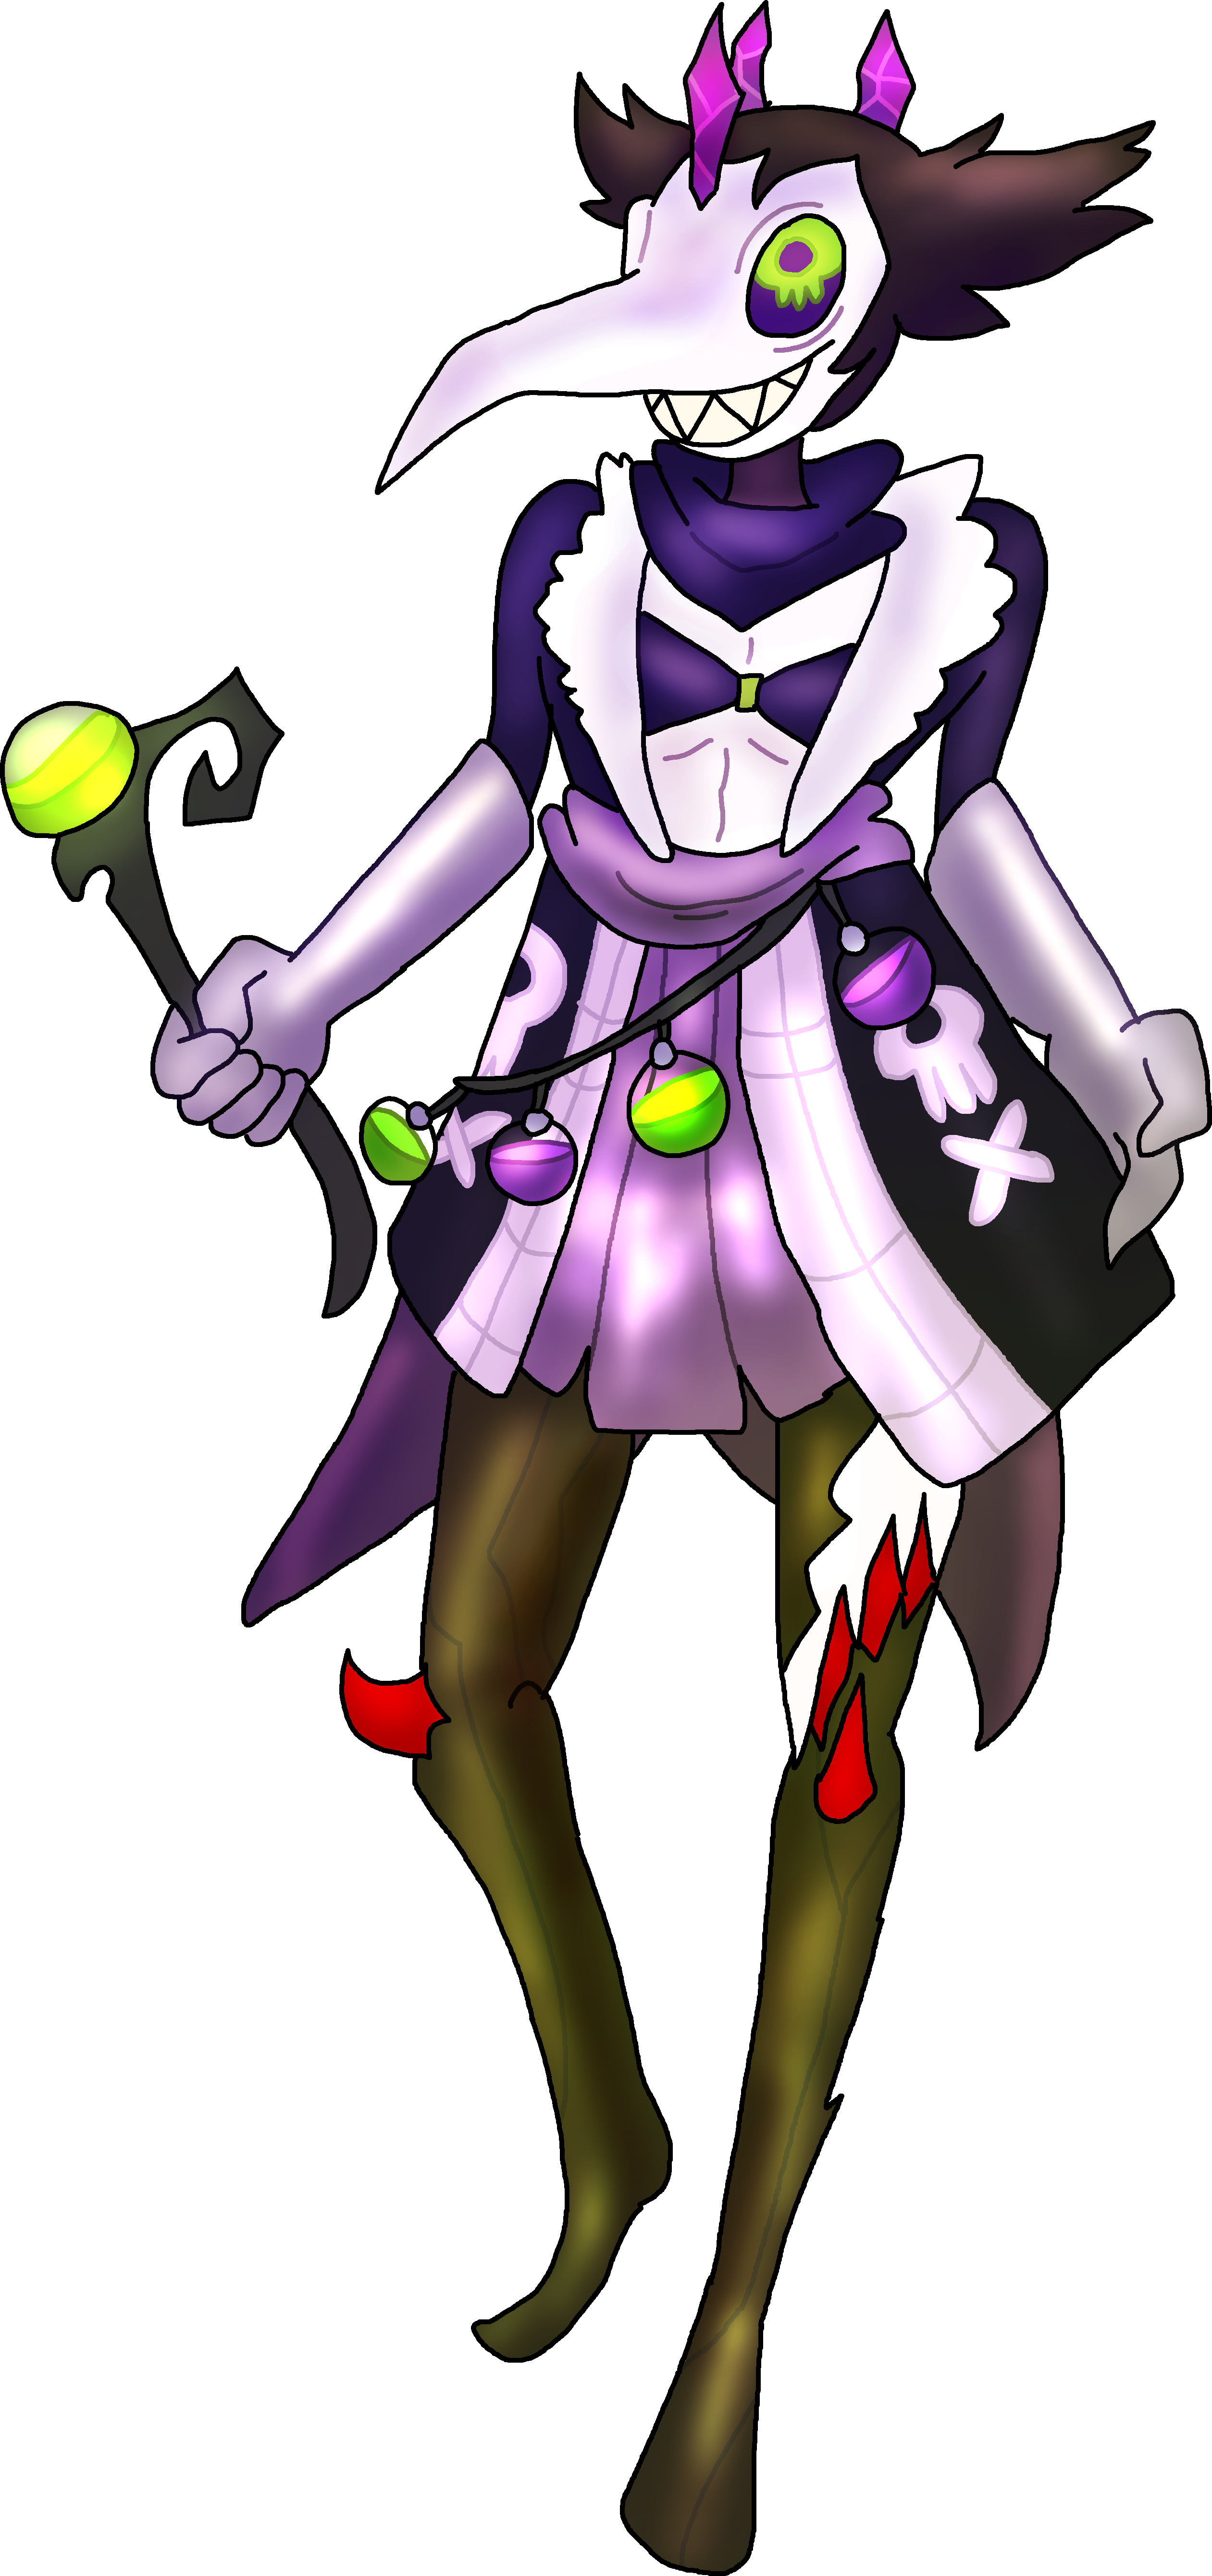 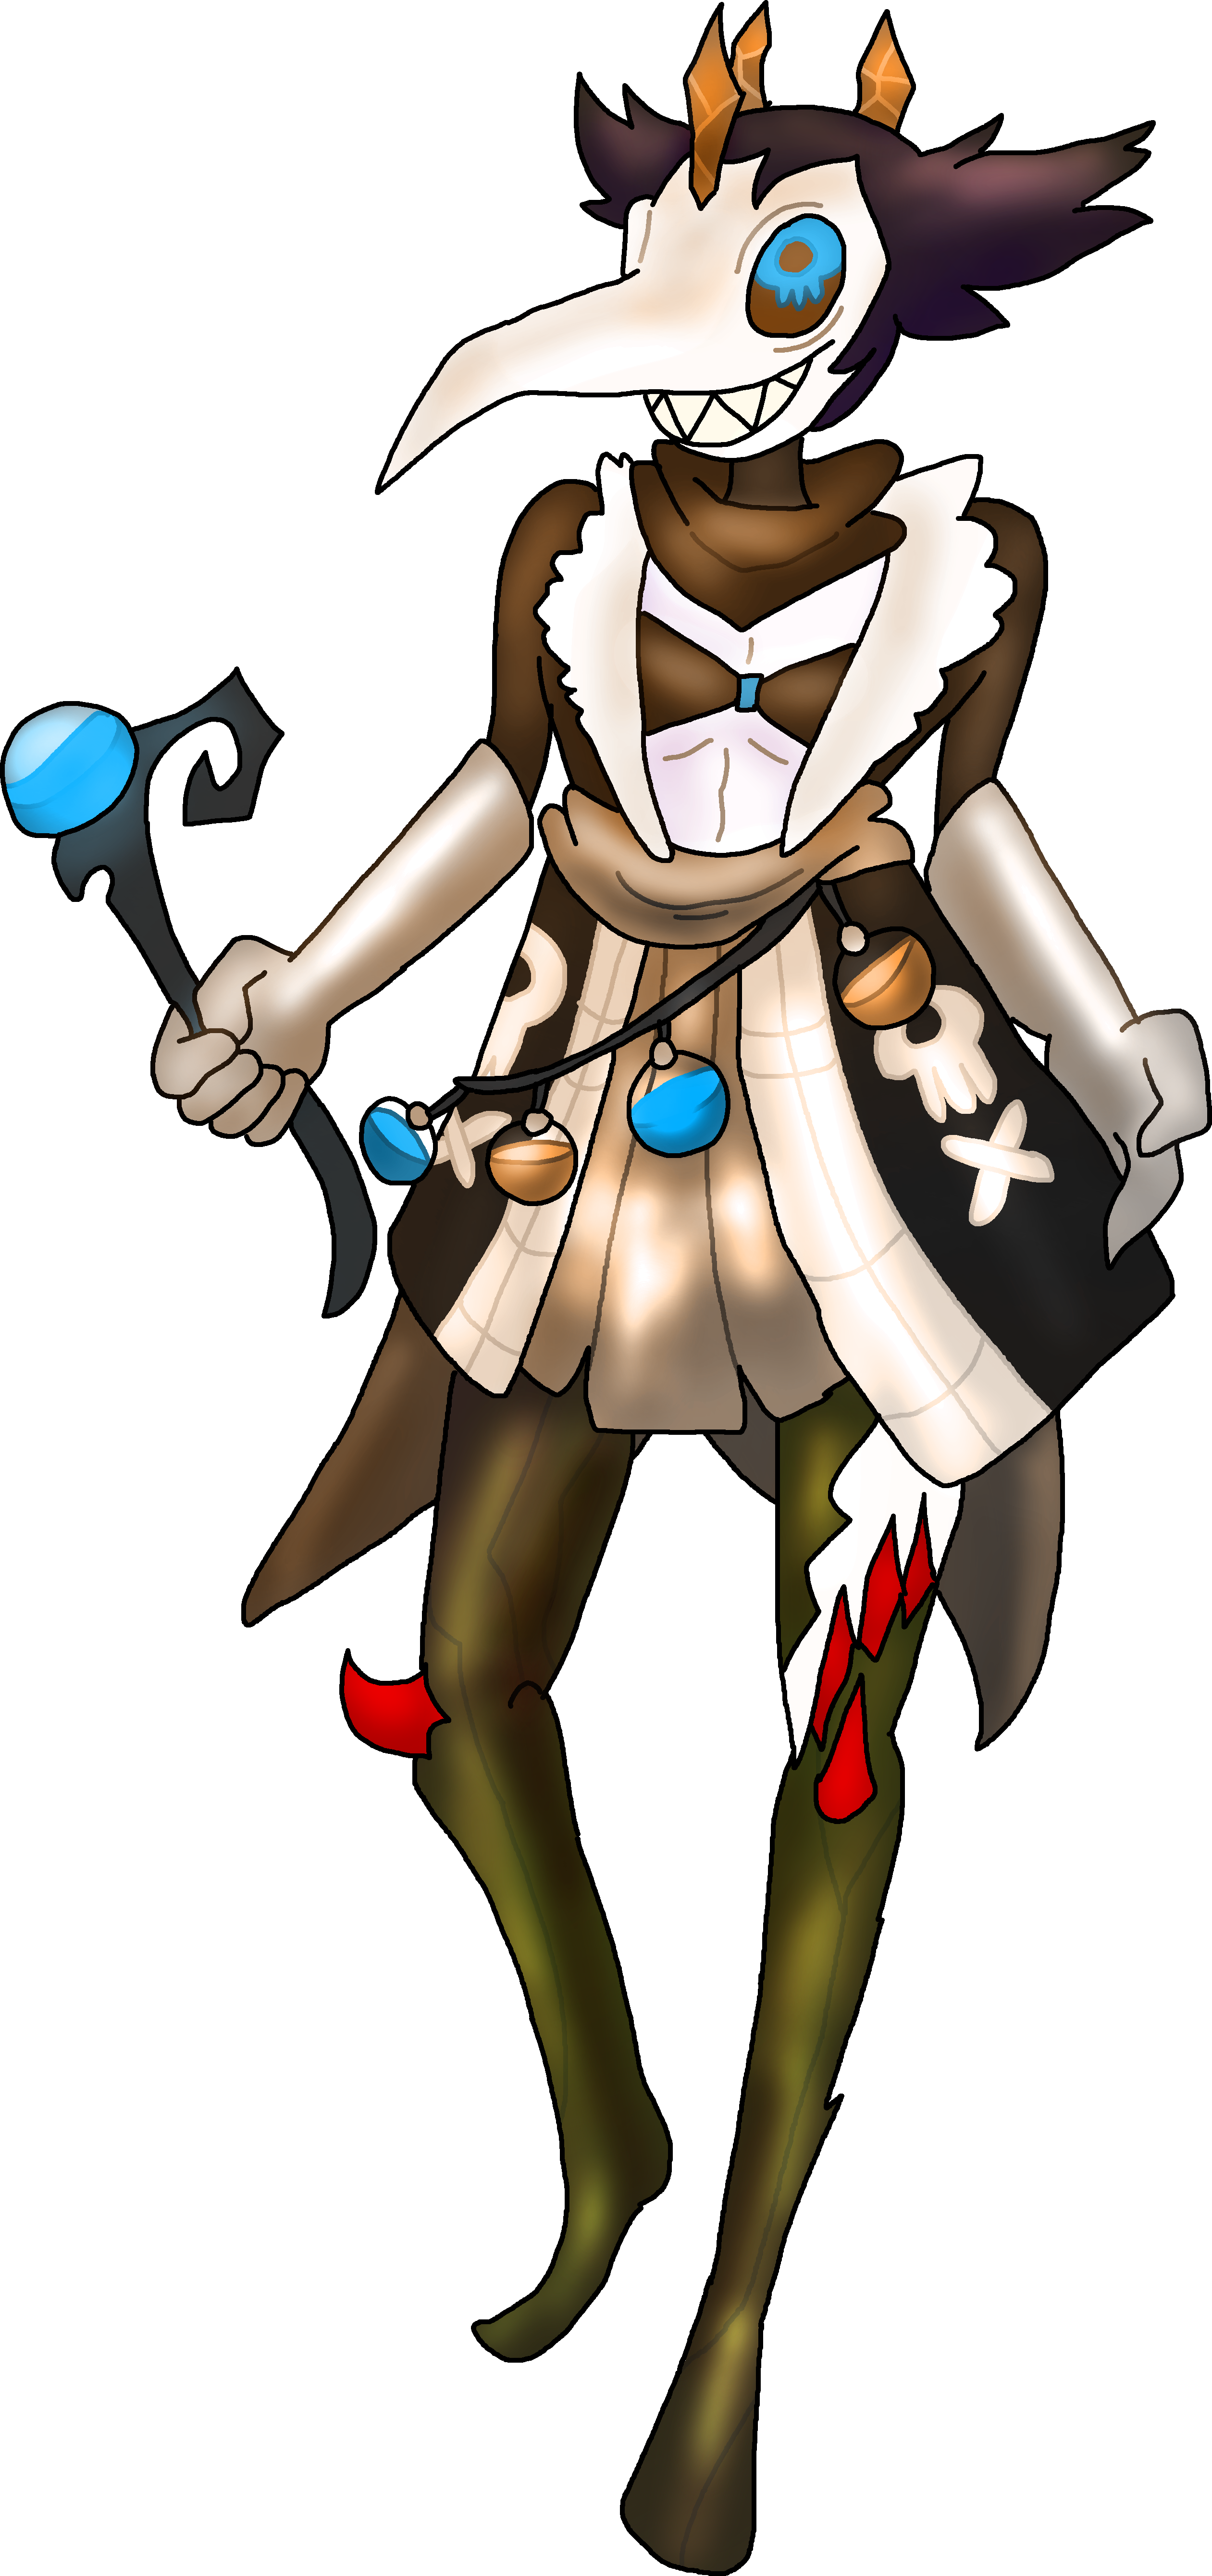 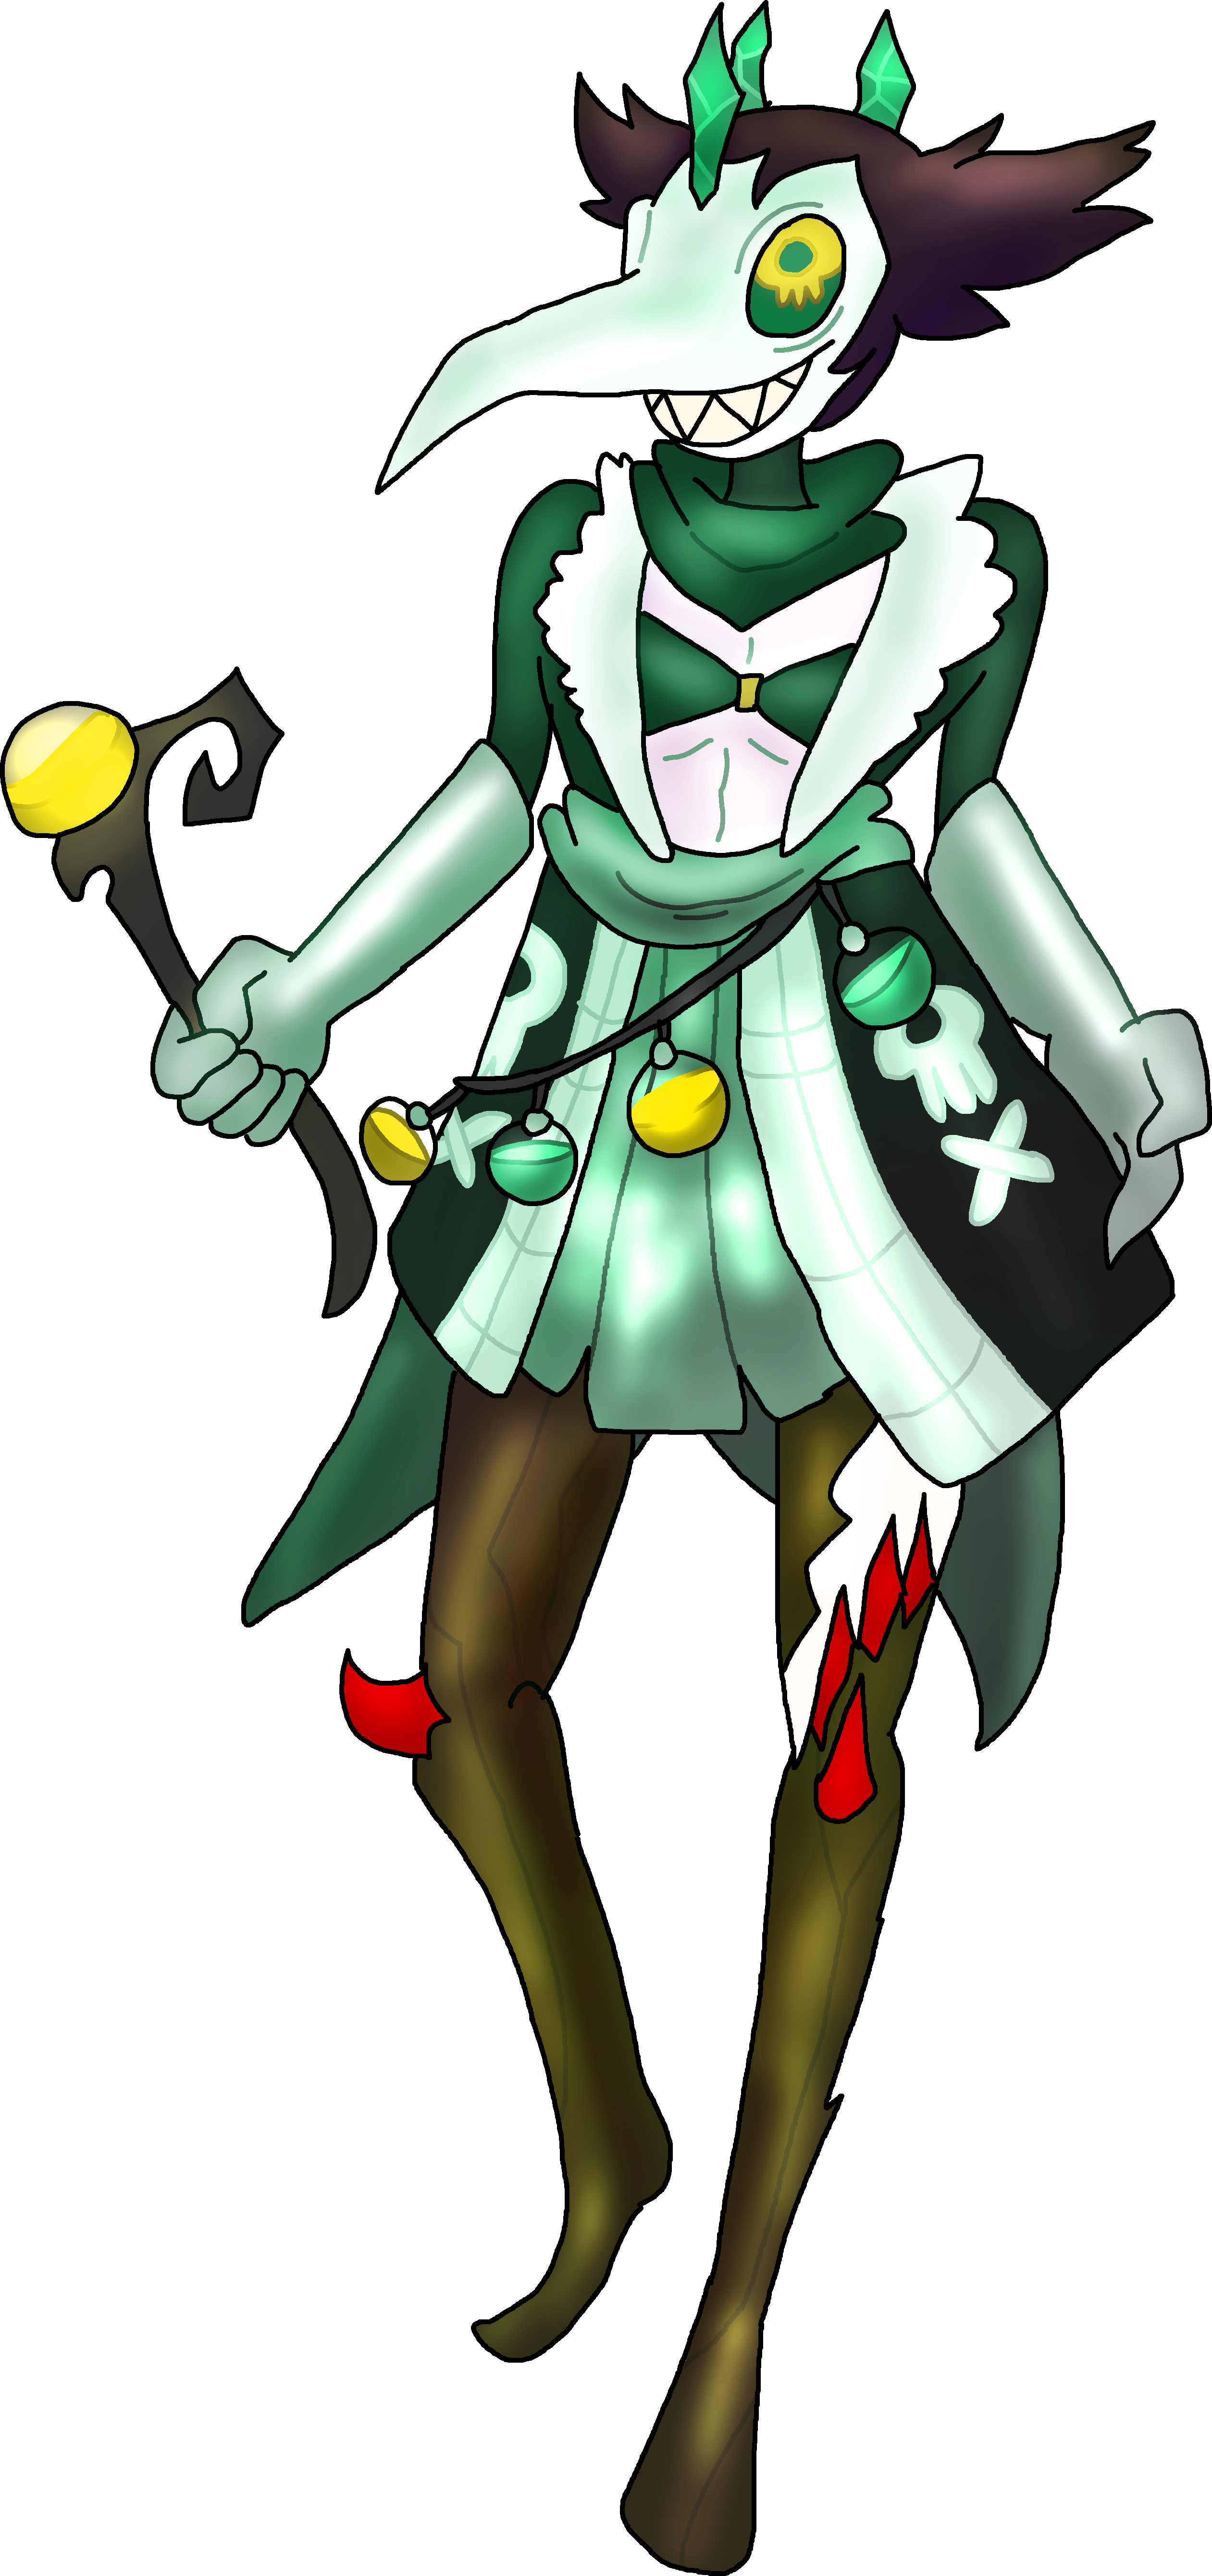 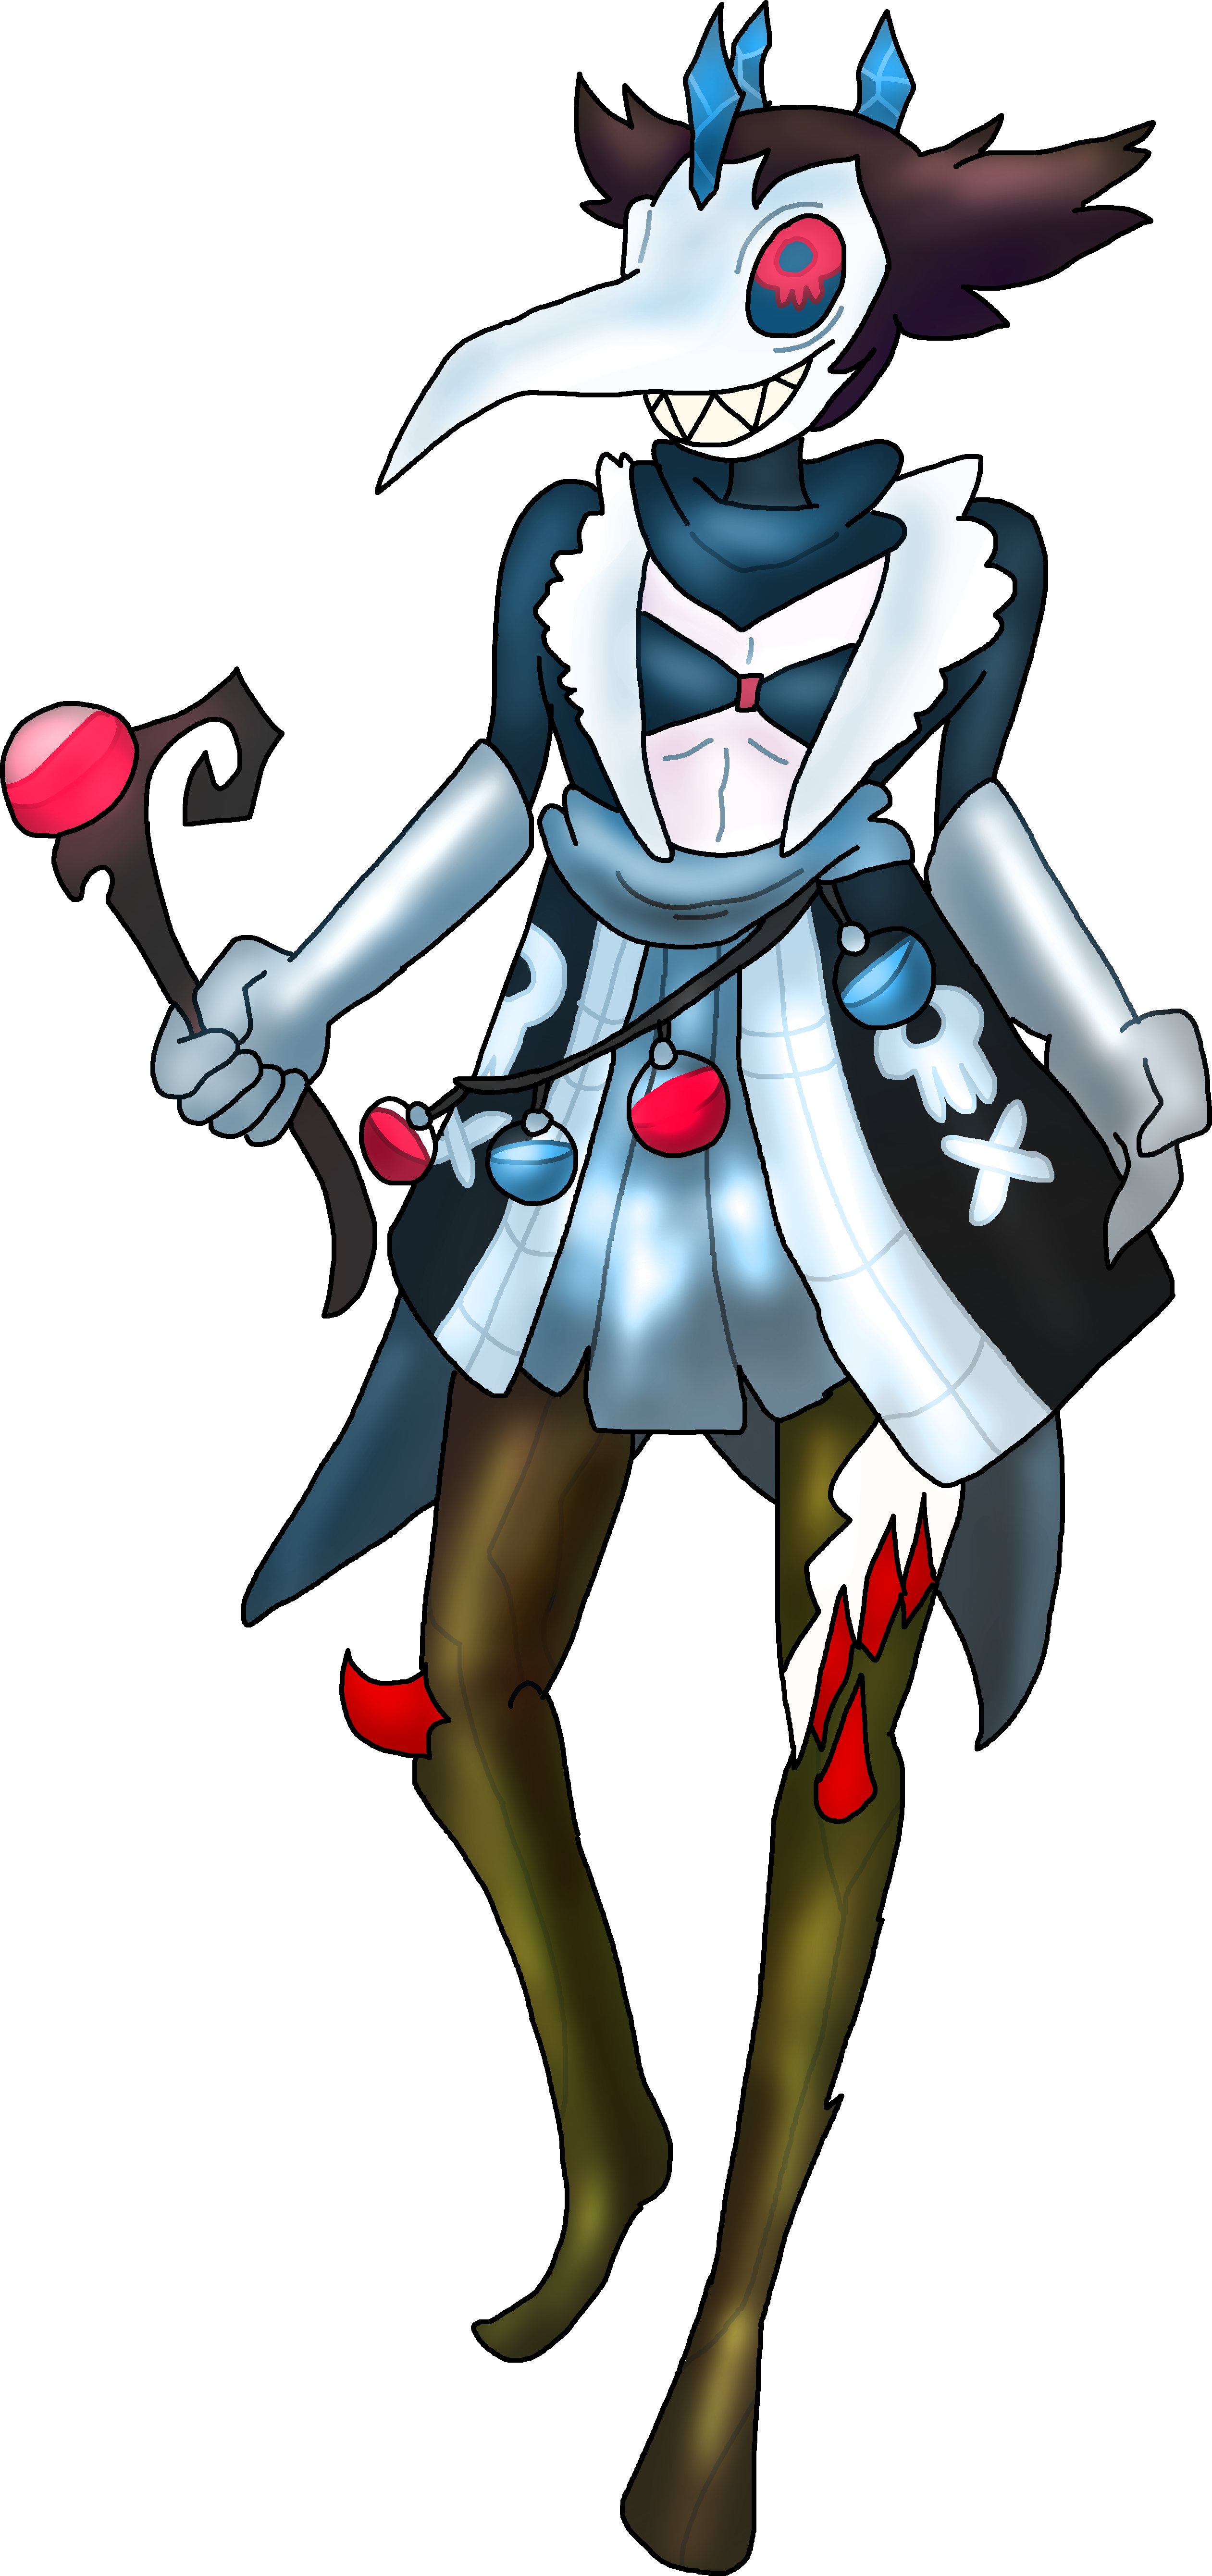 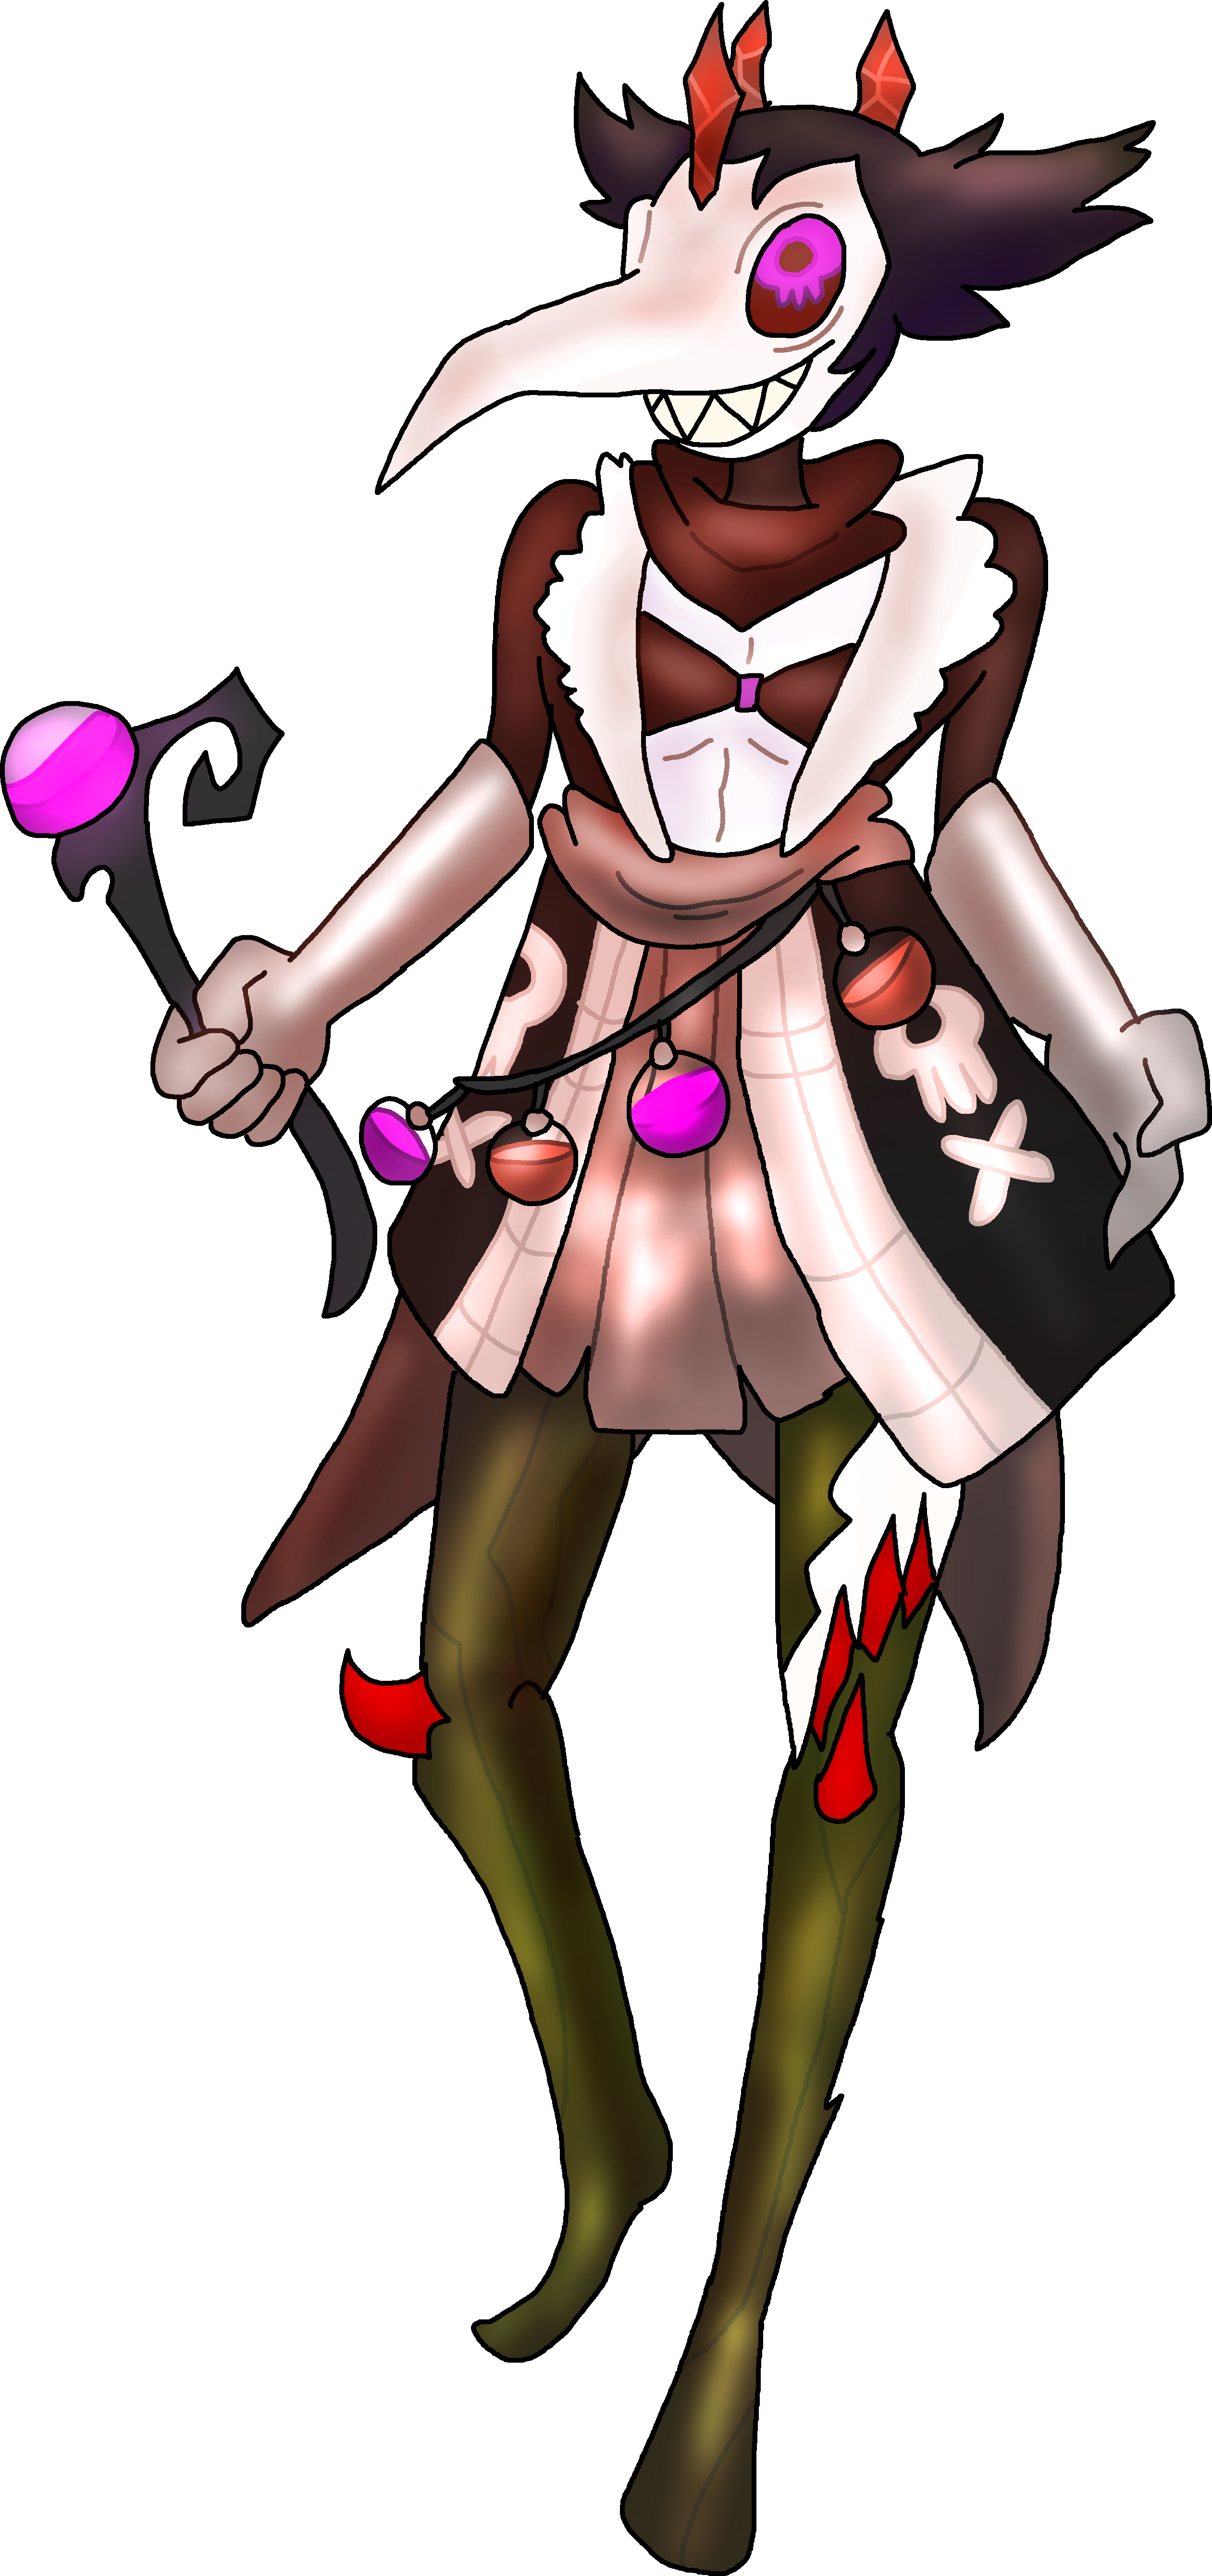 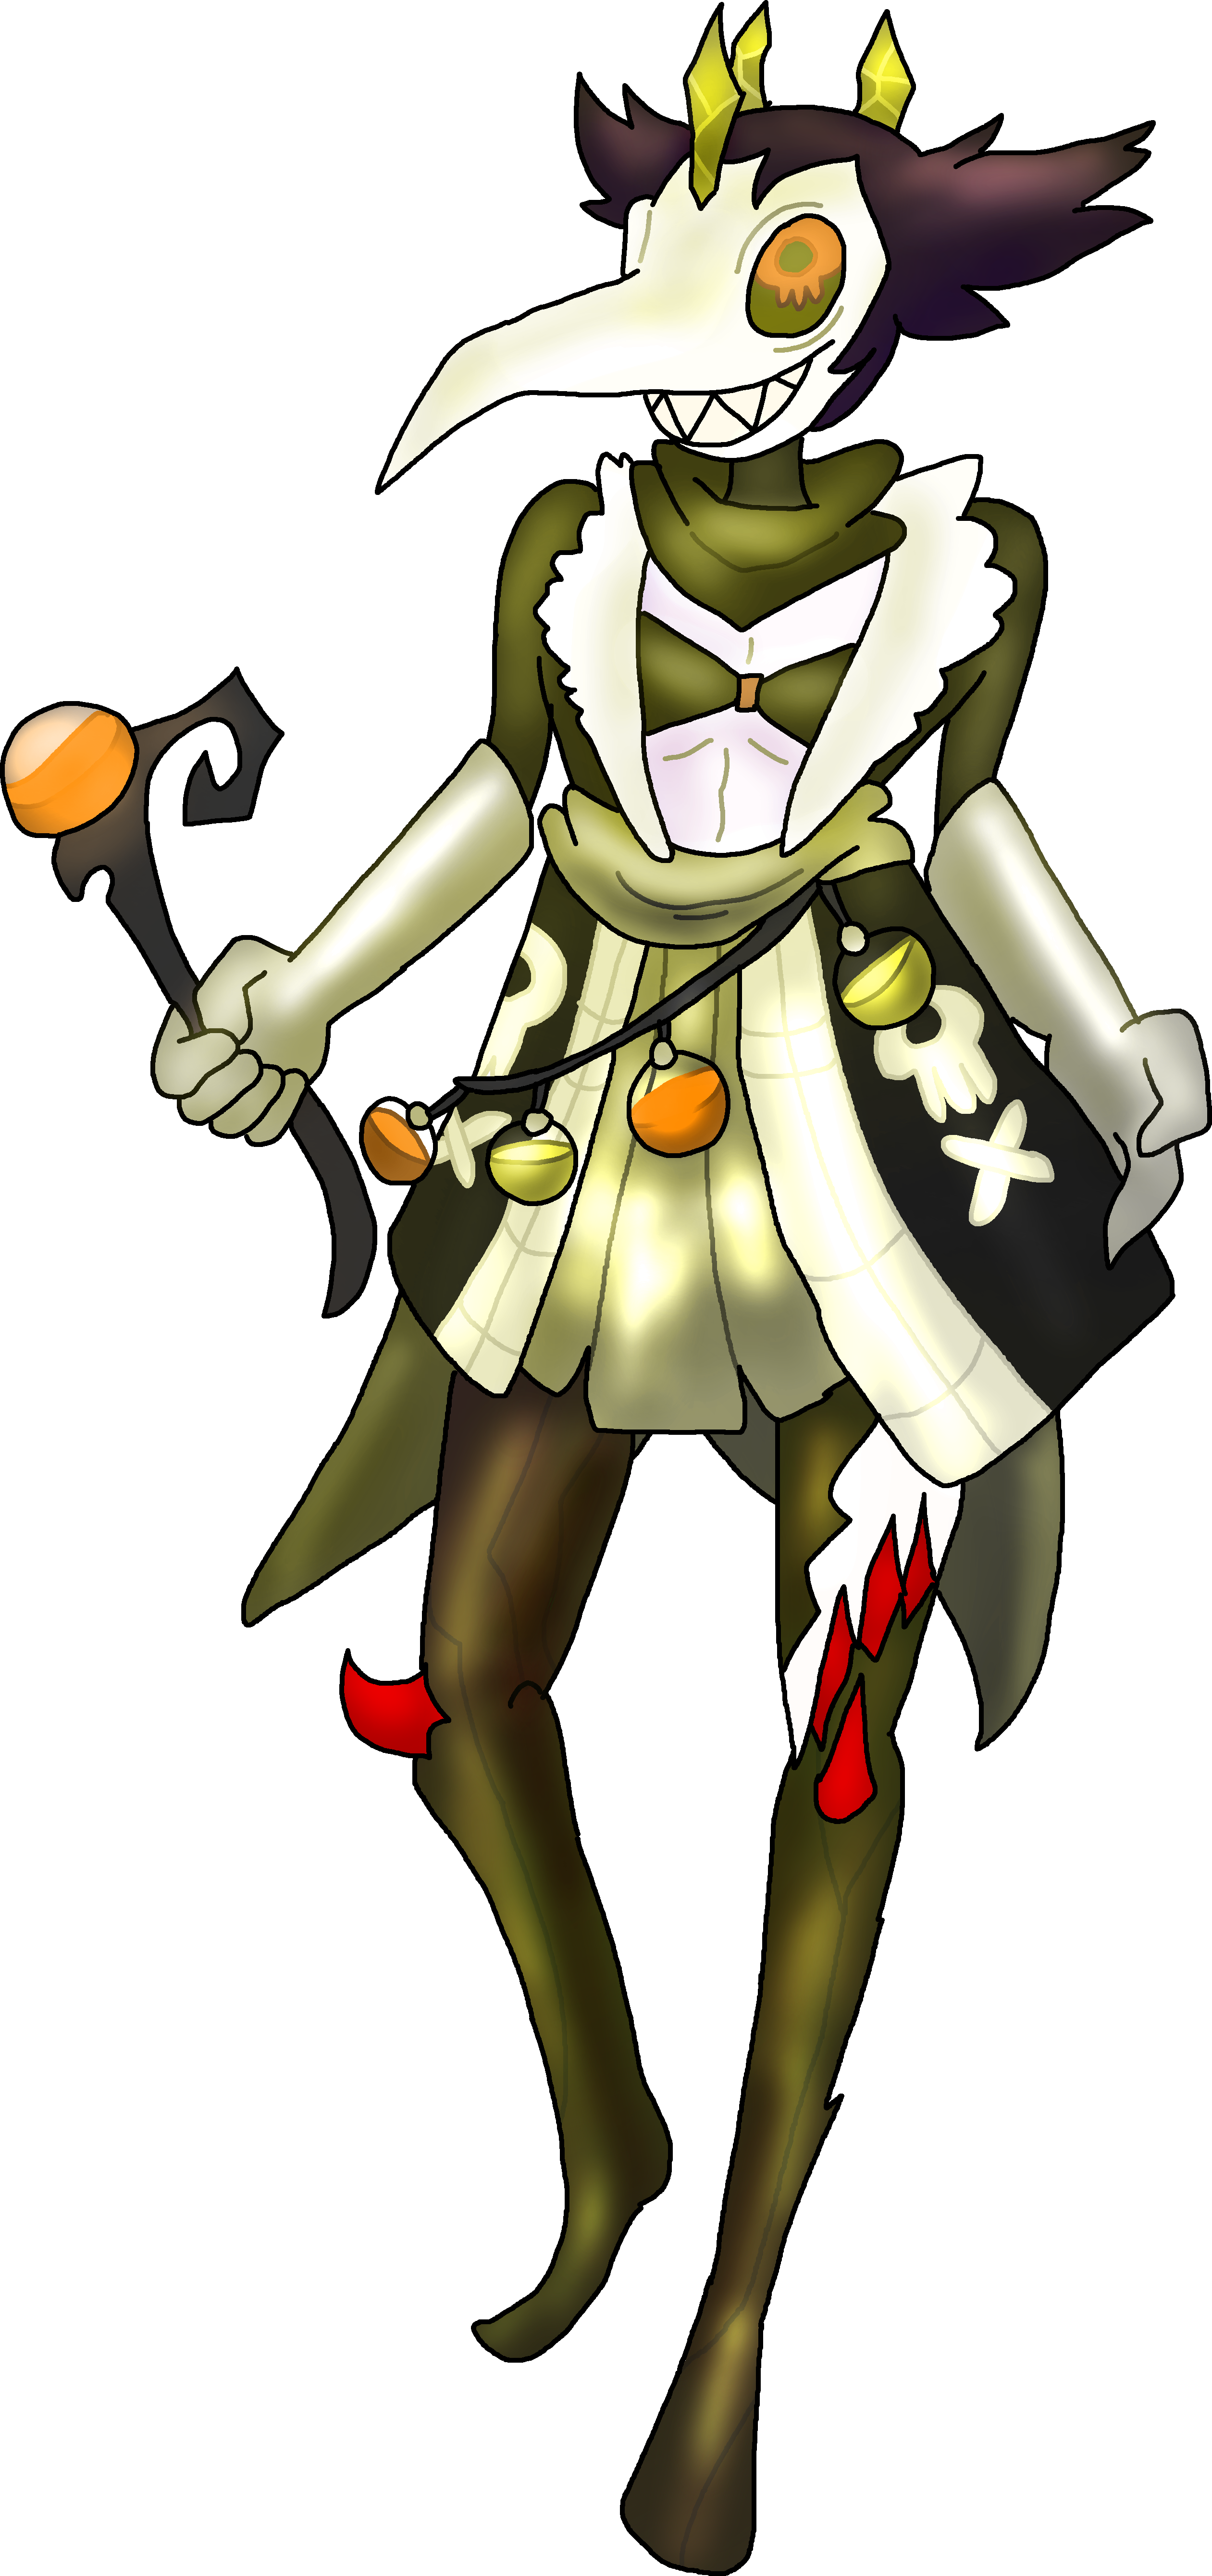 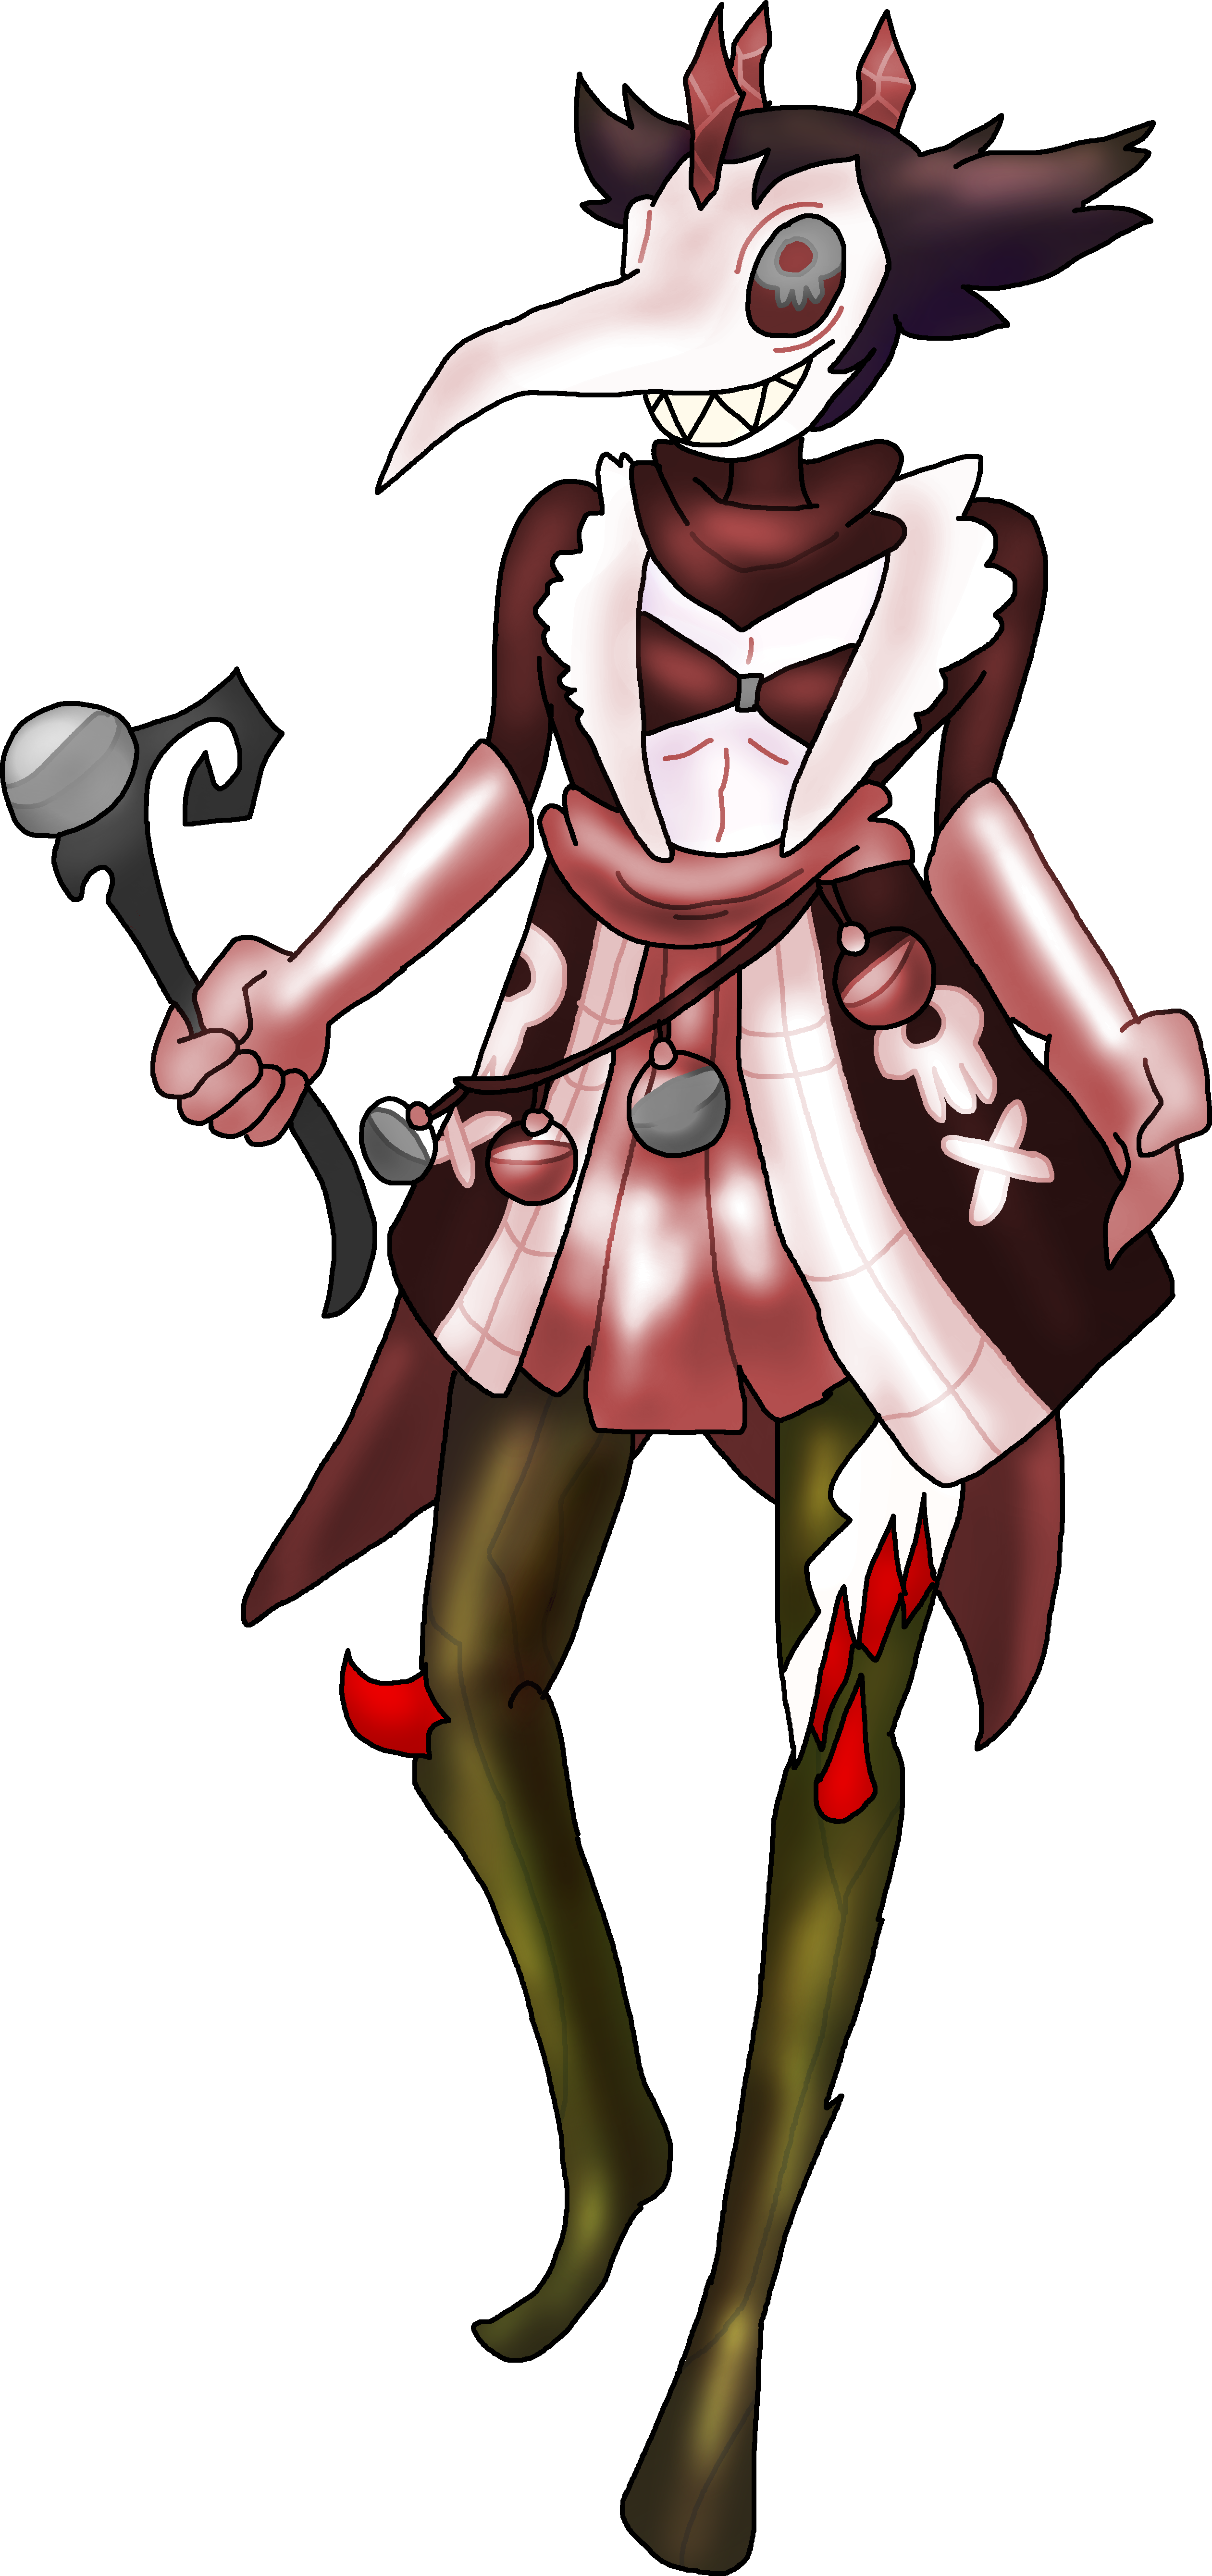 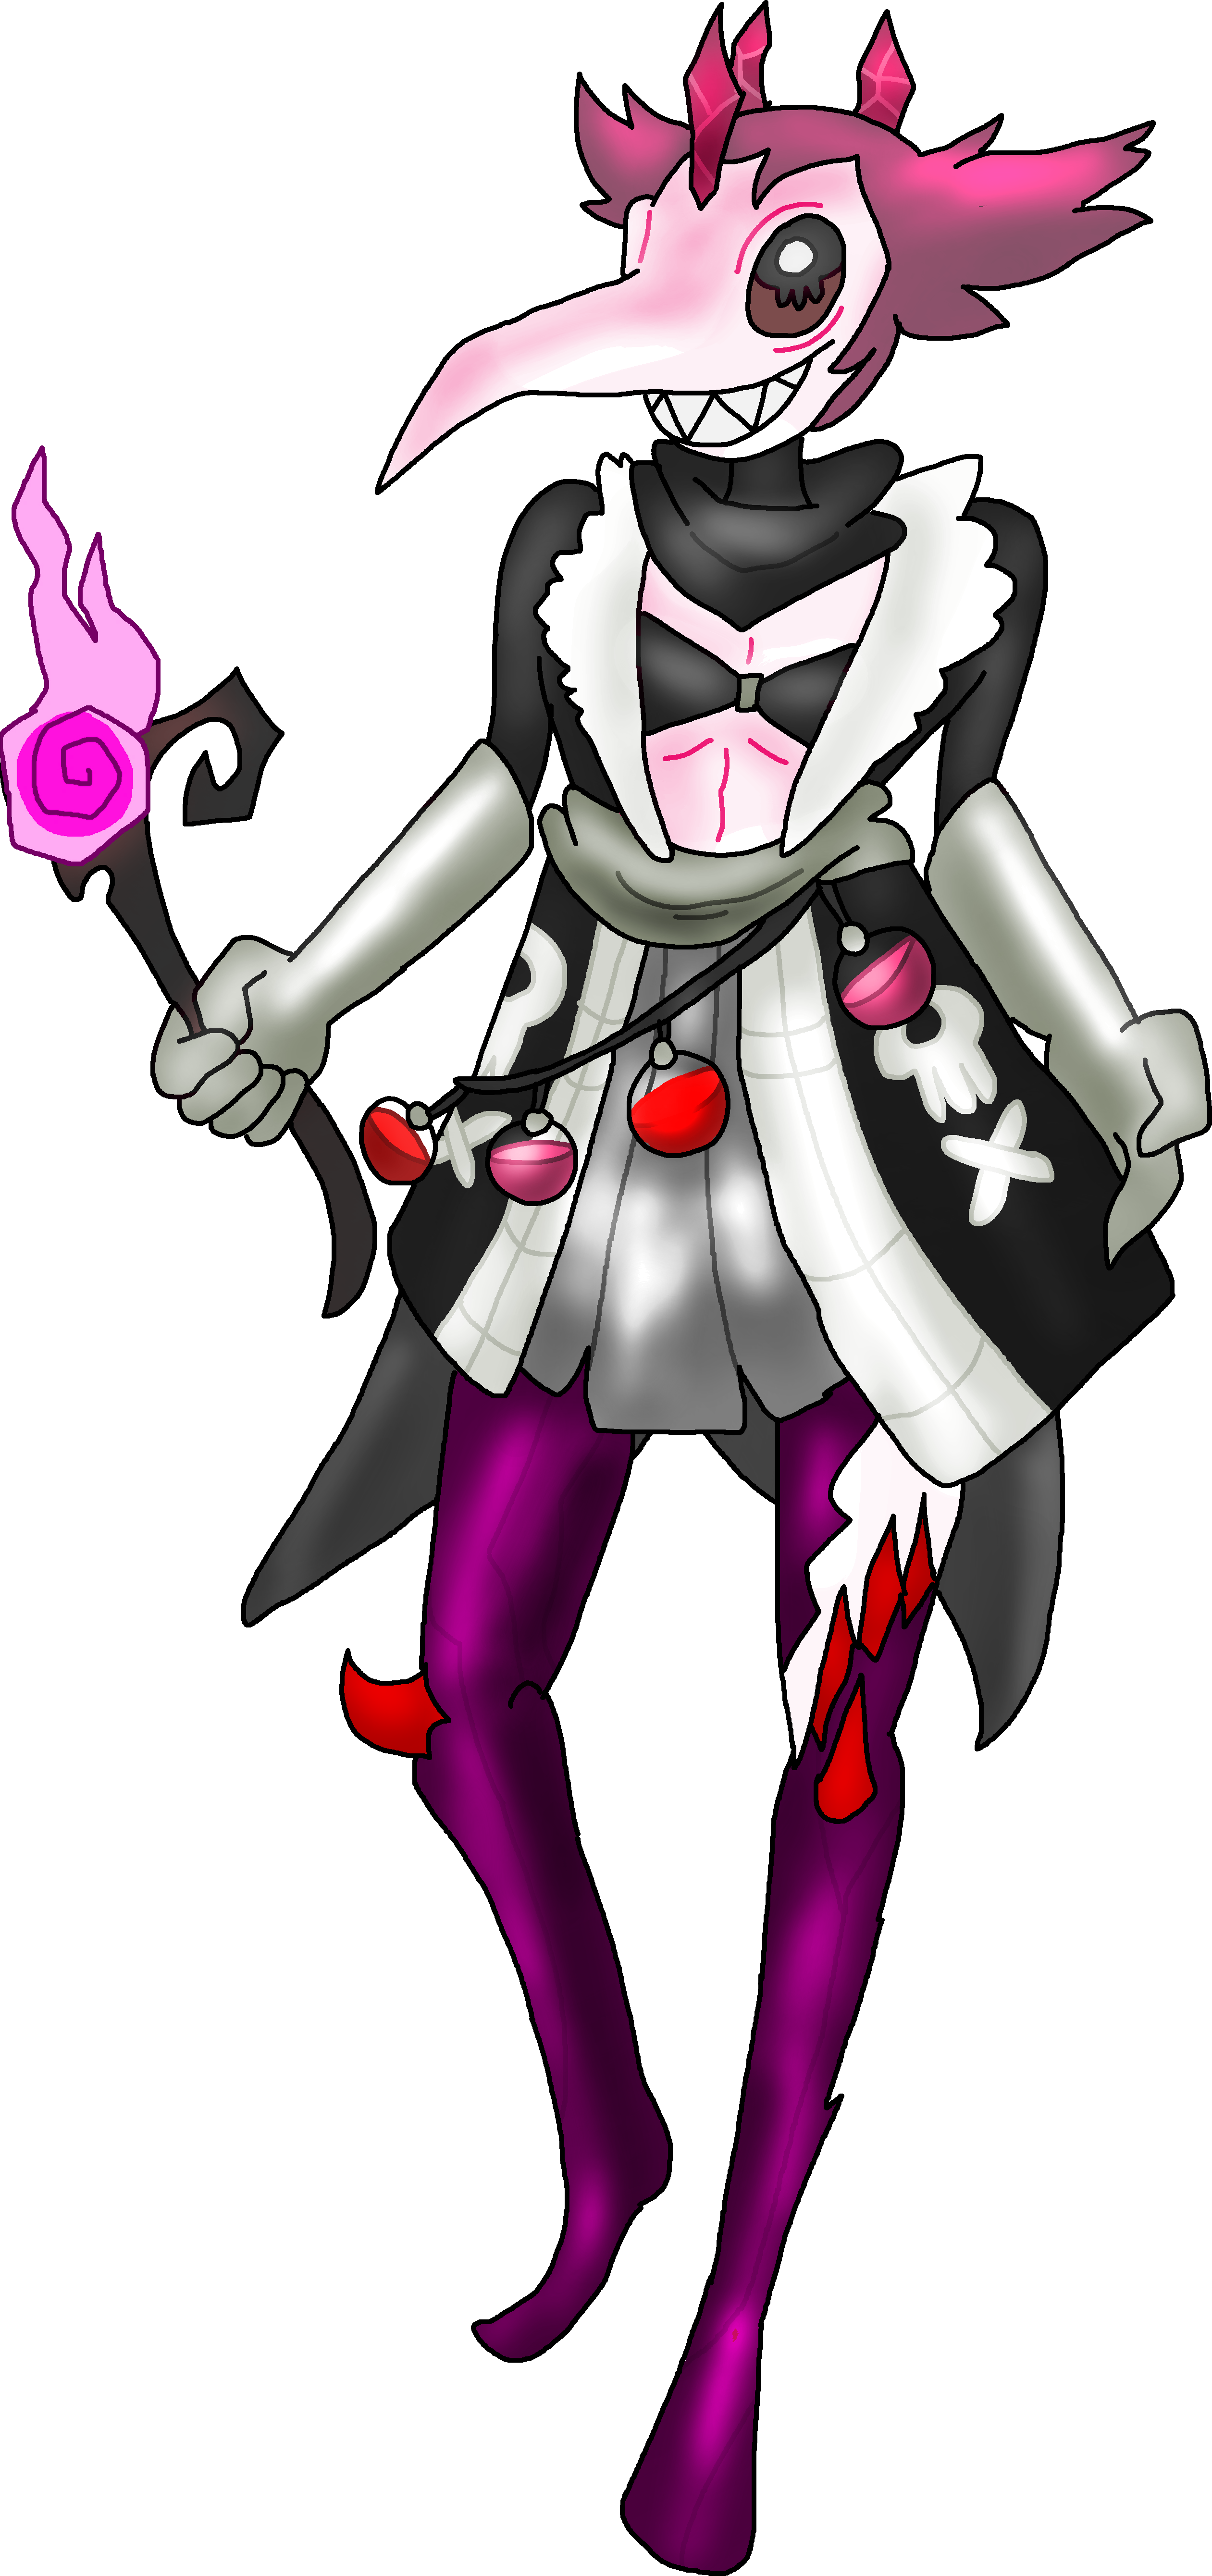 |
Motörmouth
|
|
| Gameplay Details | ||||||
|
Motörmouth is a super heavyweight fighter and is among the largest characters in the cast, carrying with him monstrous strength and range. Motörmouth battles with the Starbass, an amplified bass guitar that can play some dirty riffs and zone at his enemies from a long distance away. The notes from his bass reach far and stun enemies on contact and the swings he does with his guitar have plenty of range. Although admittedly sluggish, he can rev up his Motörhead helmet with his Crouch Special to fill the Bastard Gauge, which helps cut on his slack. Revving up that helmet empowers his other special moves and makes him noticeably more versatile, and fully charging it up briefly keeps it capped and gives him enhanced strength momentarily. Keeping his Motörhead helmet steadily charged keeps him playing at his maximum potential, as it gives him the agility he needs to make a difference in battle. He also has arguably the best throwing game in COLD❄BLOOD, with all his slams being brutal and relentless but short-distanced enough to reliably follow up with another move. Motörmouth certainly isn't without his flaws, though. The Bastard Gauge shouldn't be discredited too much as it is a very welcome part of Motörmouth's character, but since it depletes bit by bit every time he takes a hit and drains entirely whenever he uses any of his special moves, the player has to conserve his Bastard Energy carefully. As insult to injury, he is rather unbearable to play if he has no Motörhead charge, since he moves very slowly and his moves are very easy to whiff, meaning the player needs to aggressively work towards keeping the gauge charged up as much as possible. He also struggles with getting ganged up upon, considering his mass size and his sheer weight. Looking at the brighter side of things though, Motörmouth isn't affected much by his bass guitar moves being reflectable- he can rebound them back as bigger and stronger by swinging his guitar in his jab, forward tilt, or forward aerial. Motörmouth, with his complicated nature as a fighter, isn't the easiest character to play as. Getting a good grip on Motörmouth includes understanding how to make the best use of his Bastard Energy, whether it should be used for making him generally faster or for empowering his potentially incredible special moves.
Common Attacks Special Moves
Hyper Moves
Animations
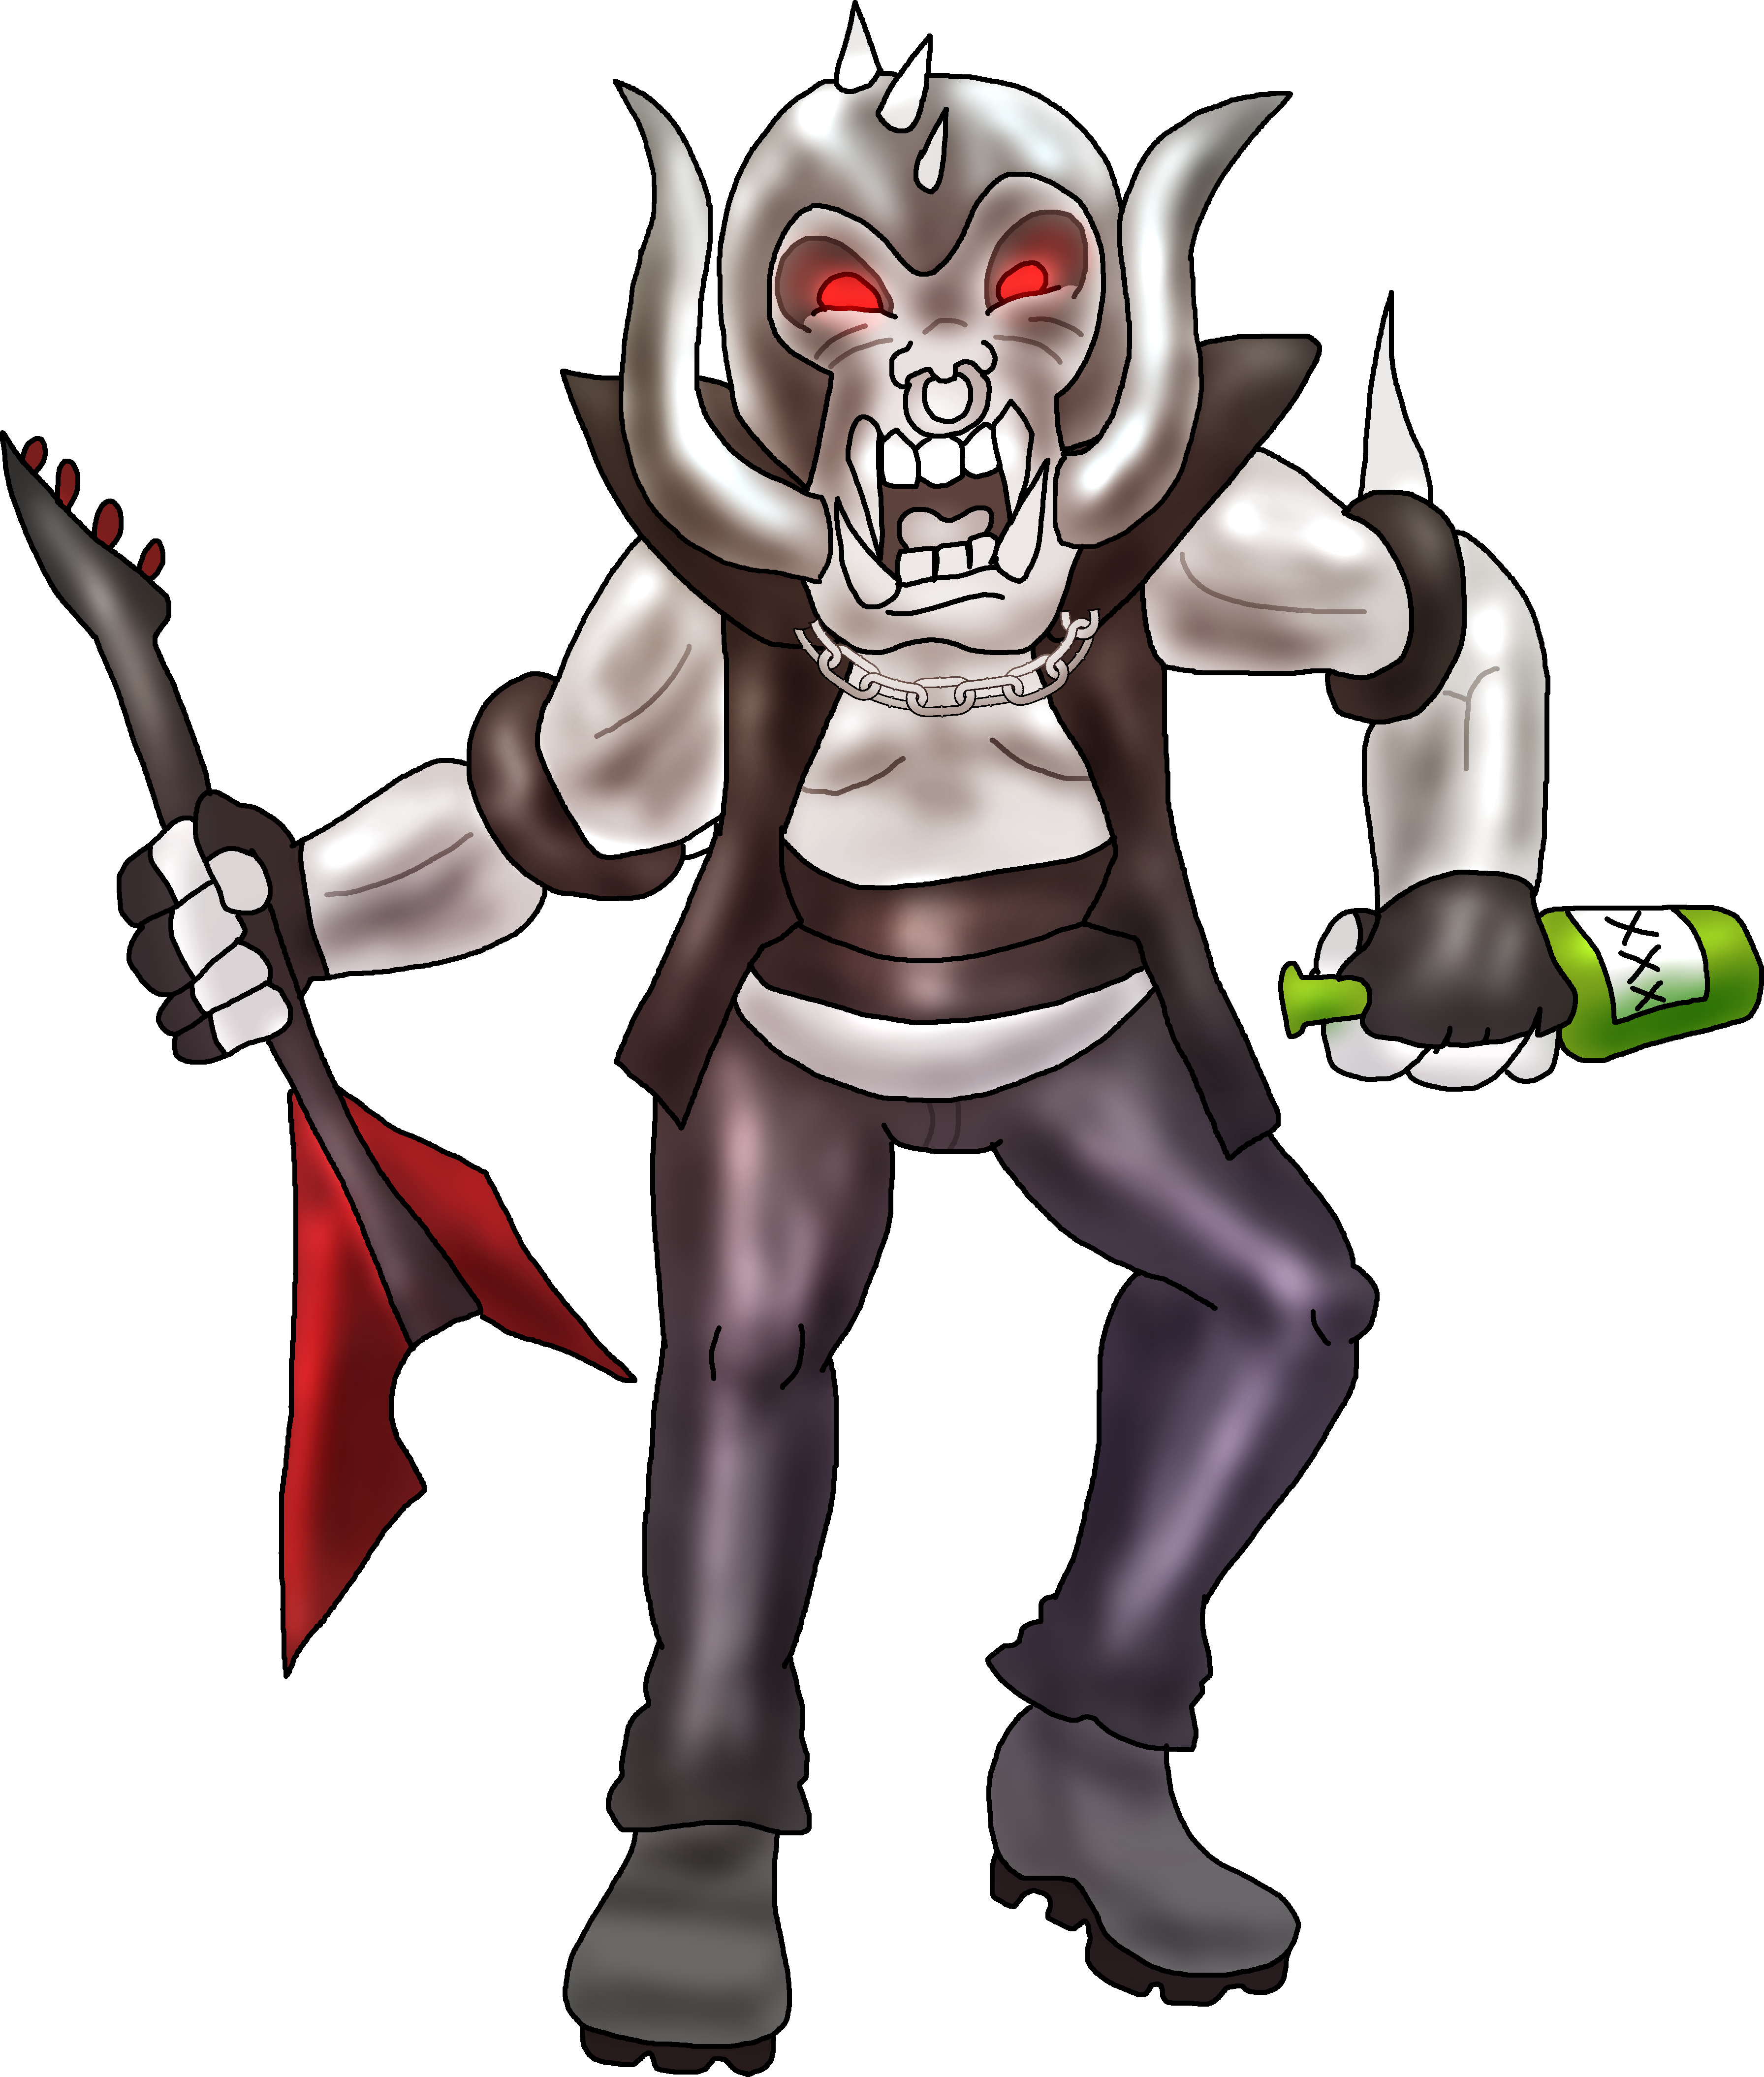 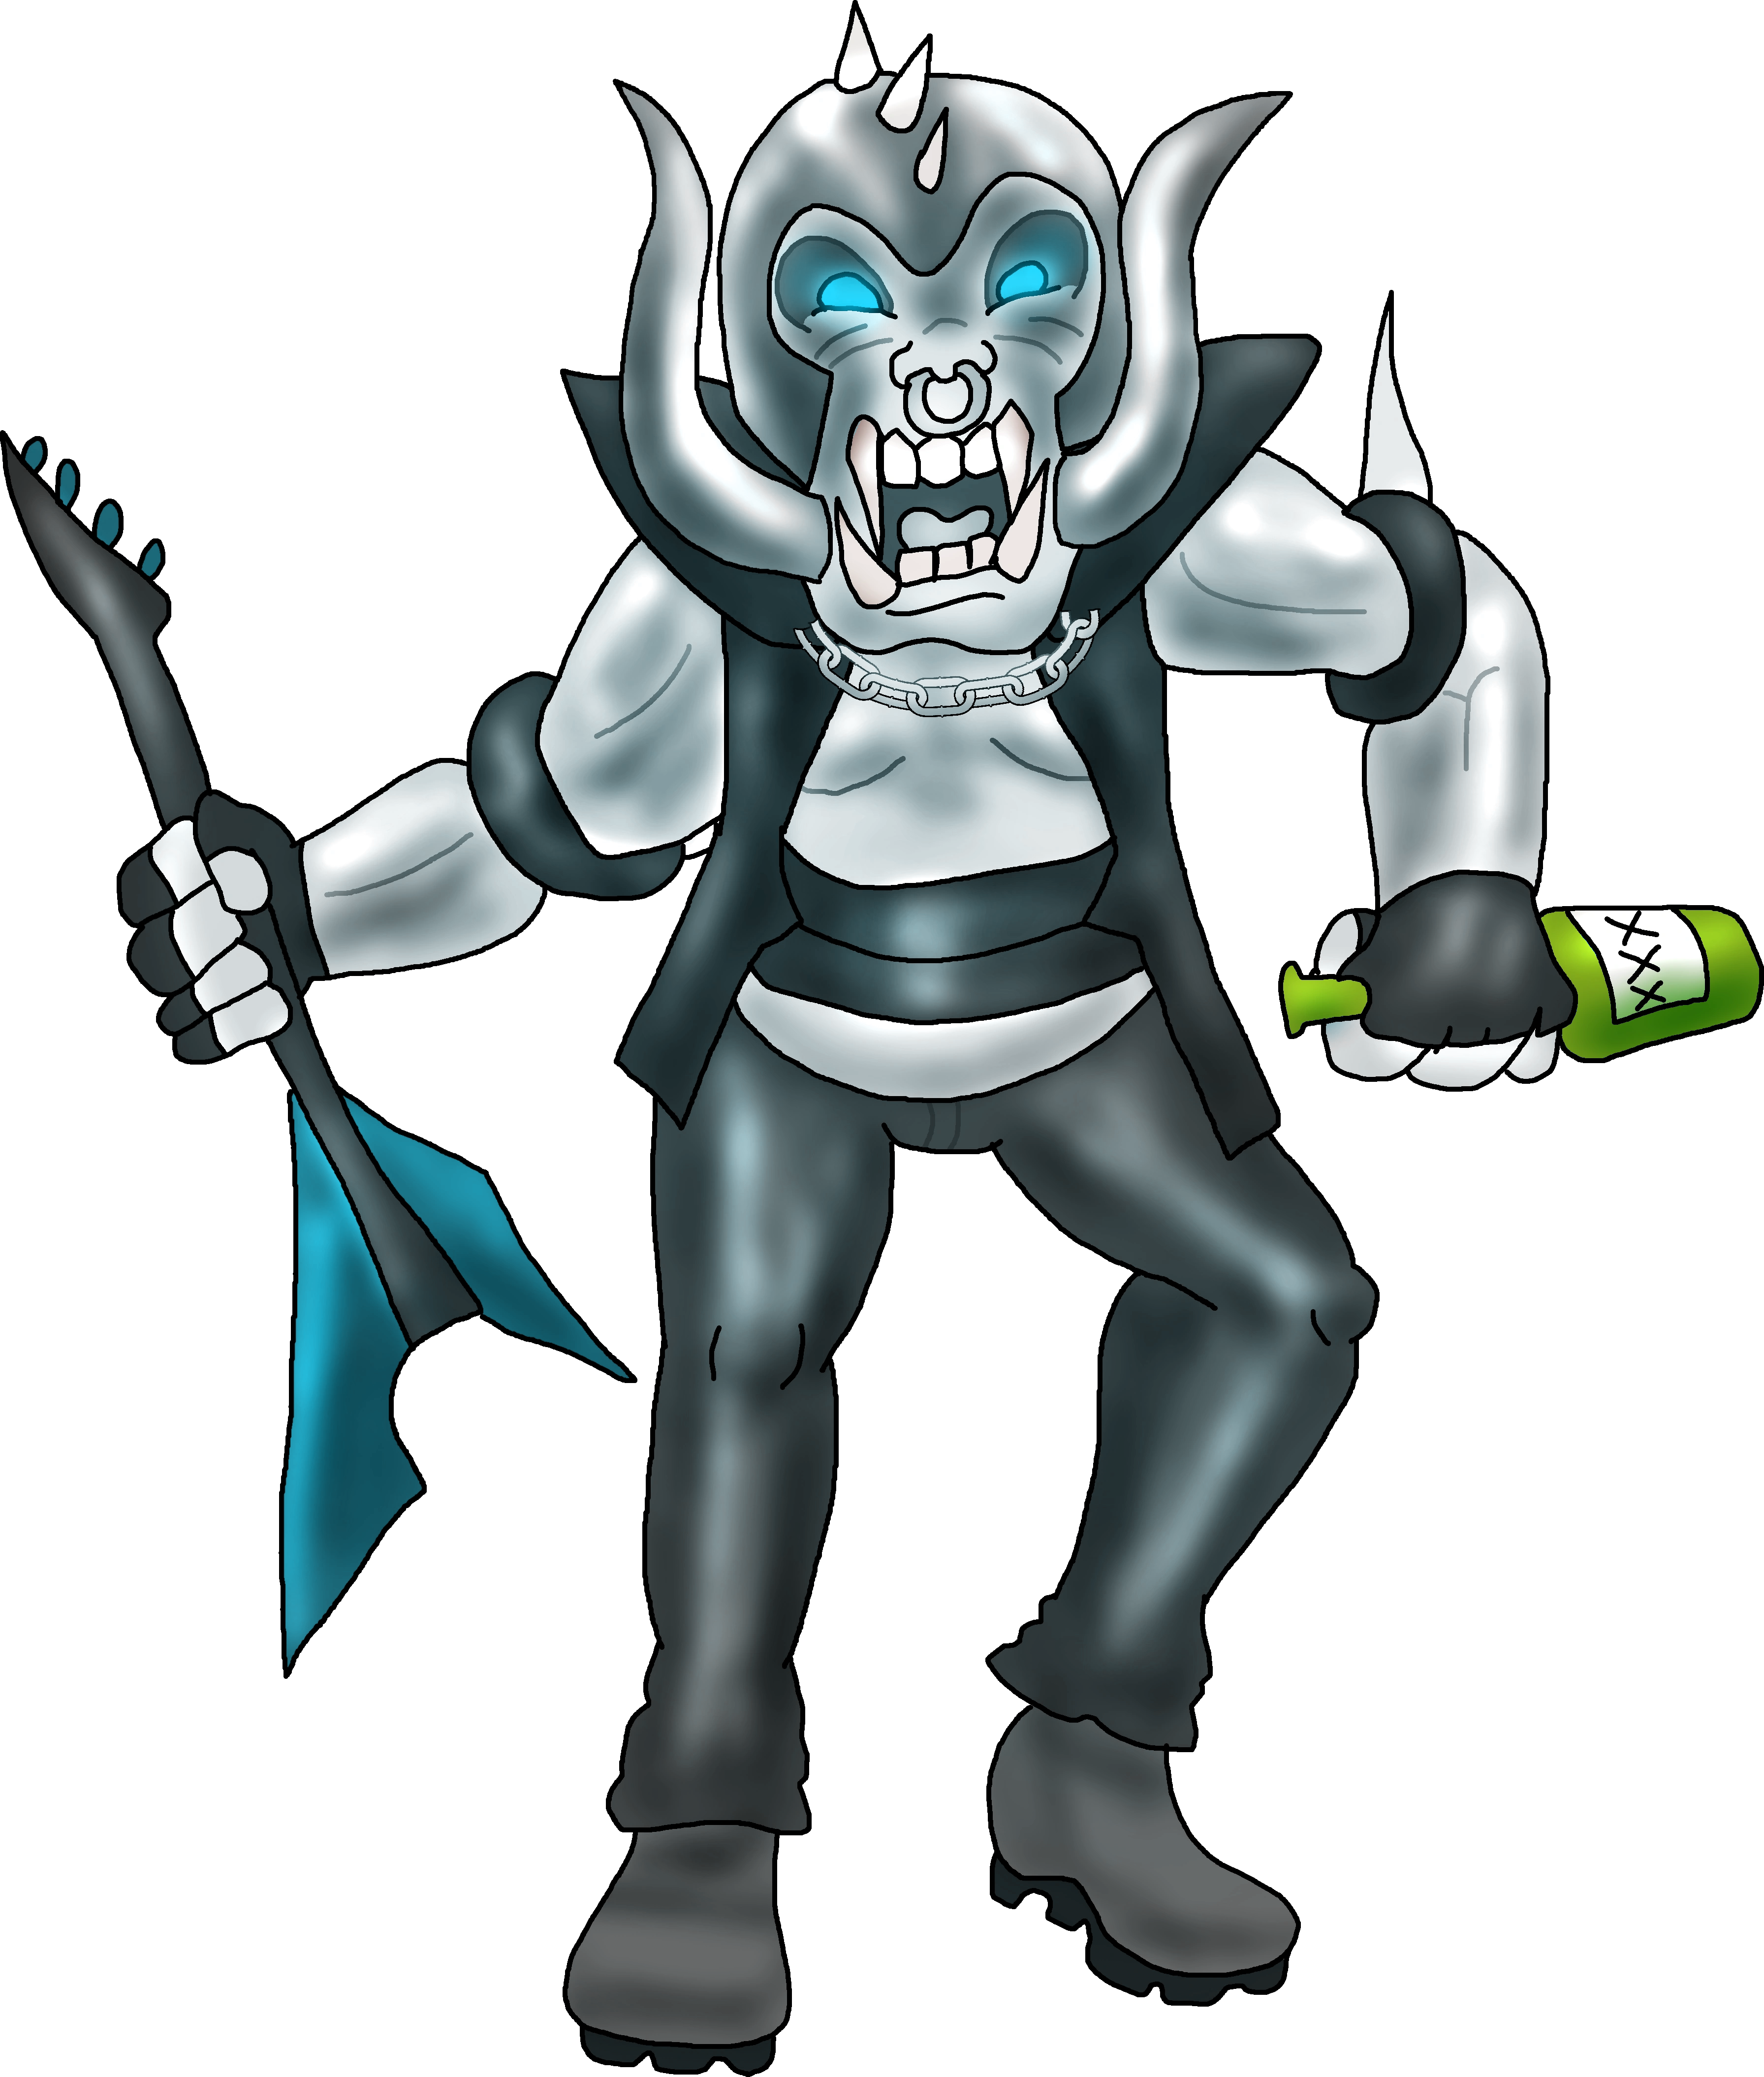 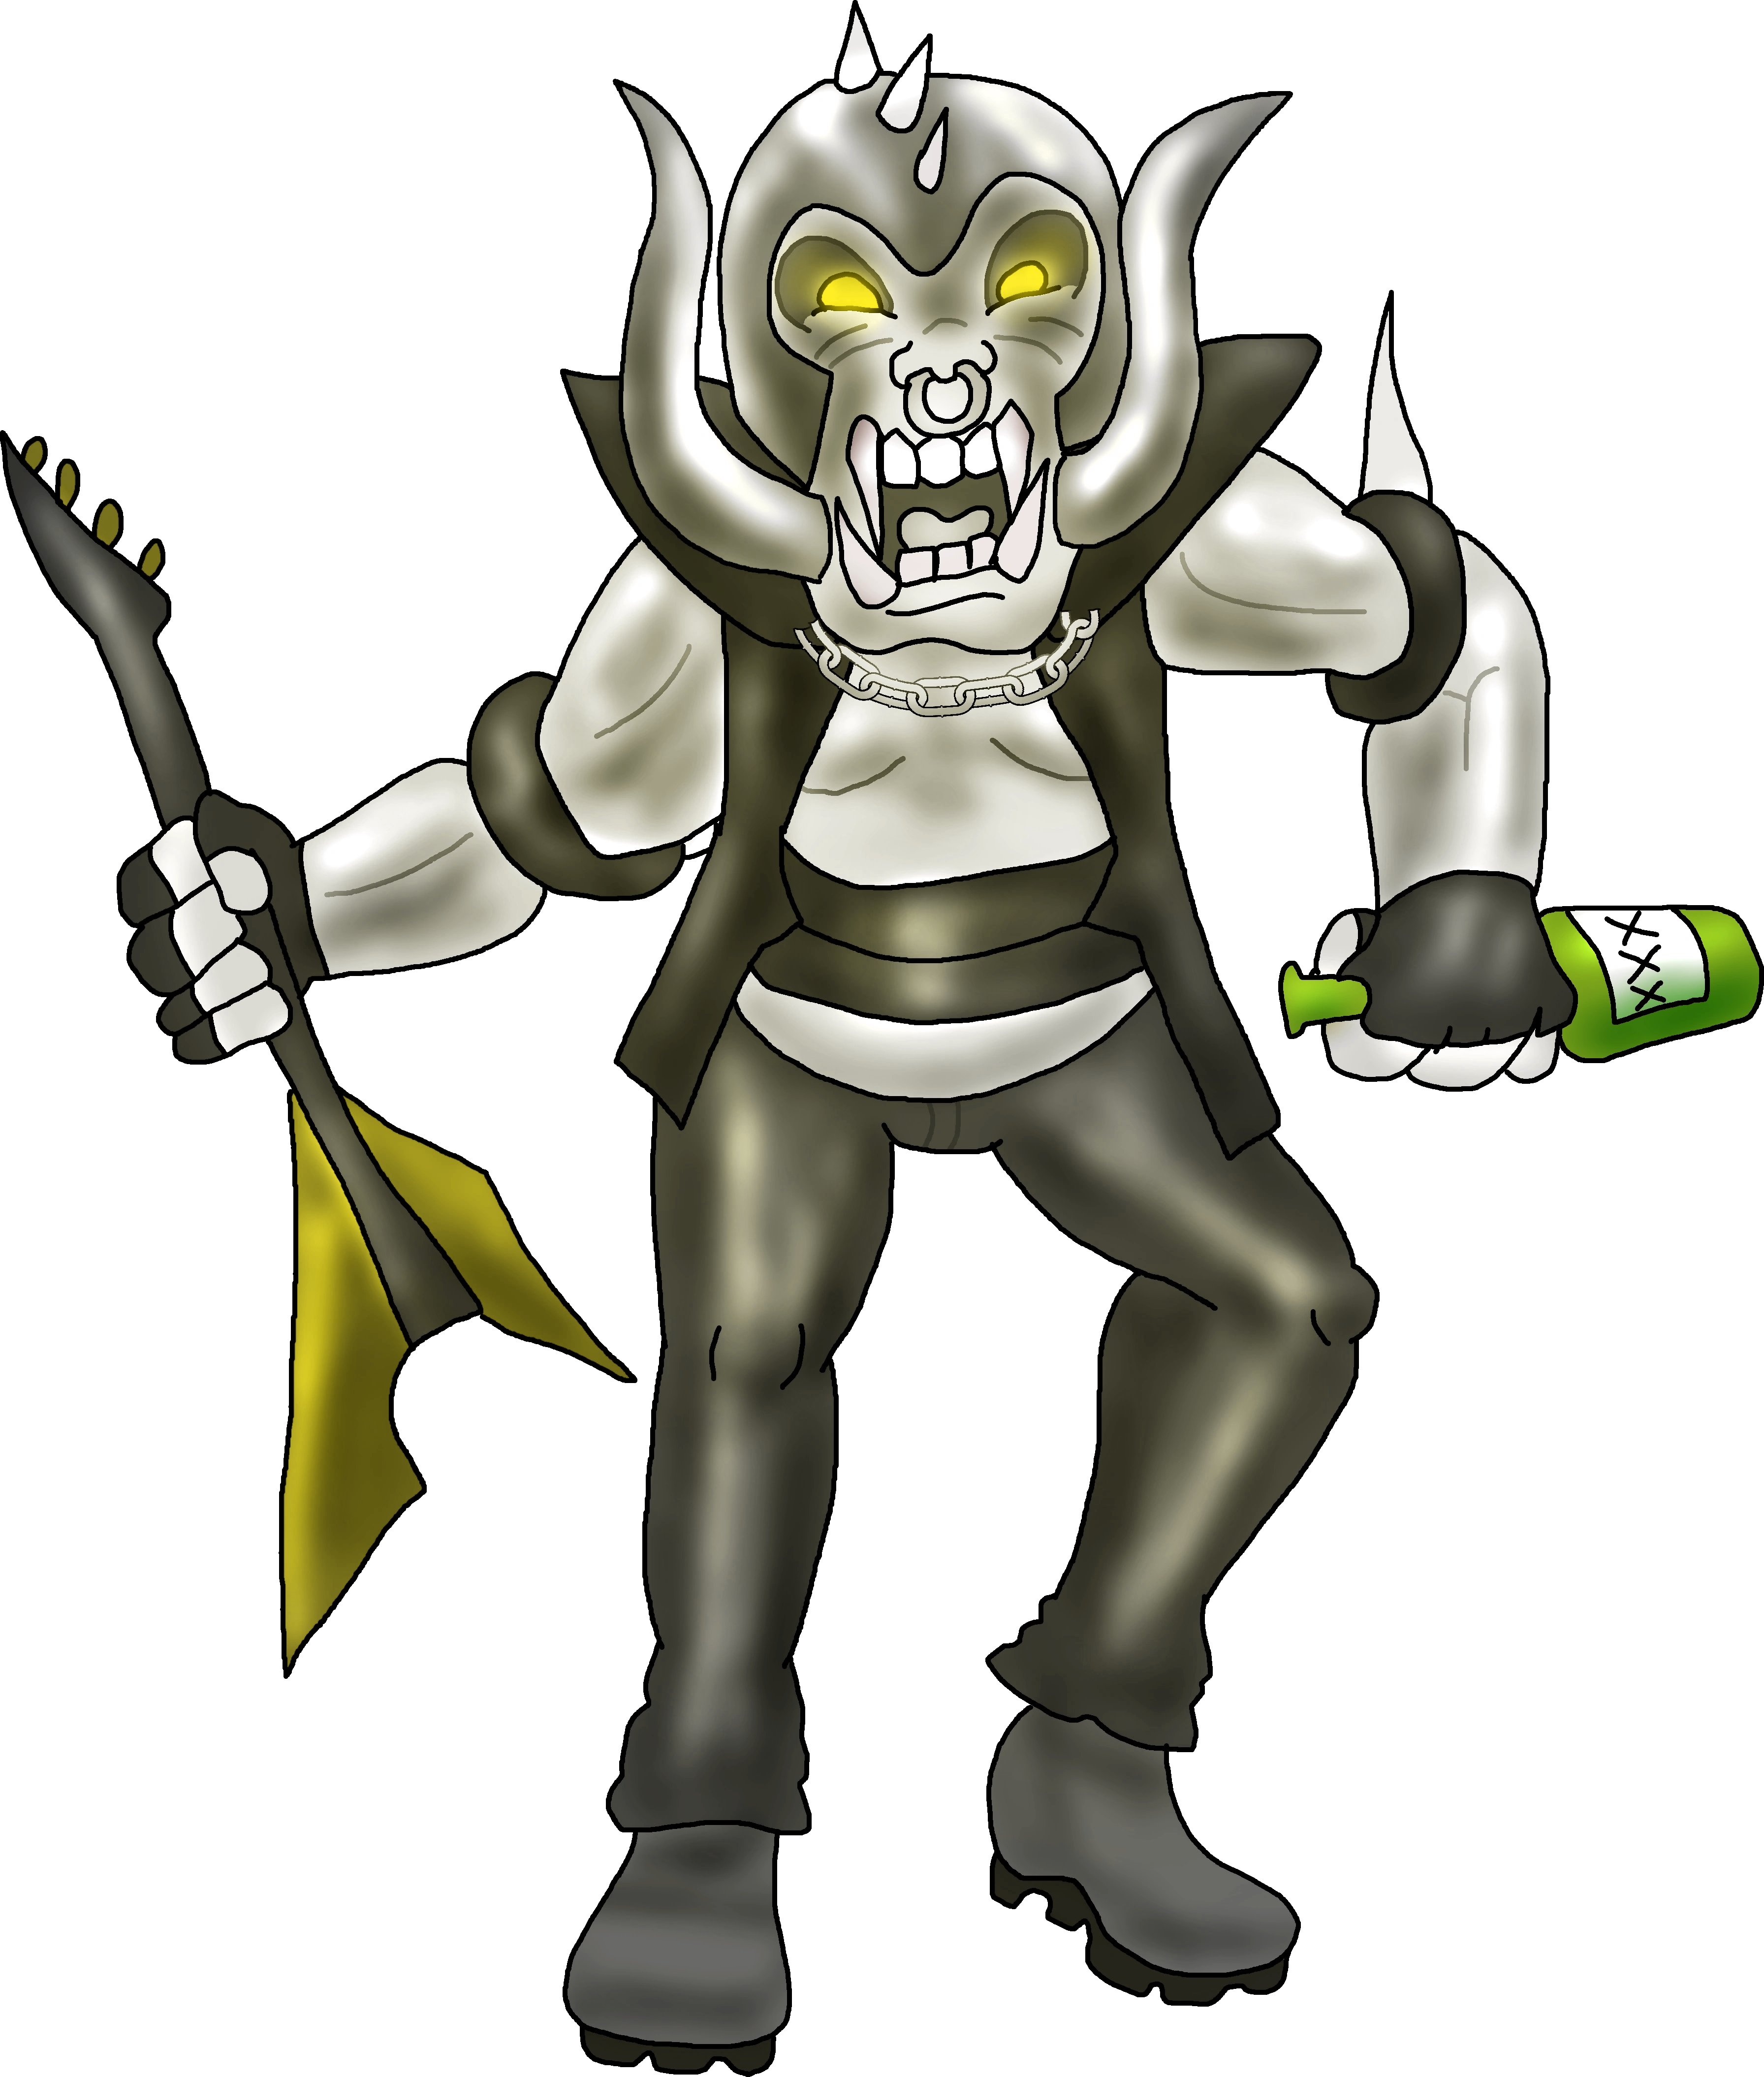    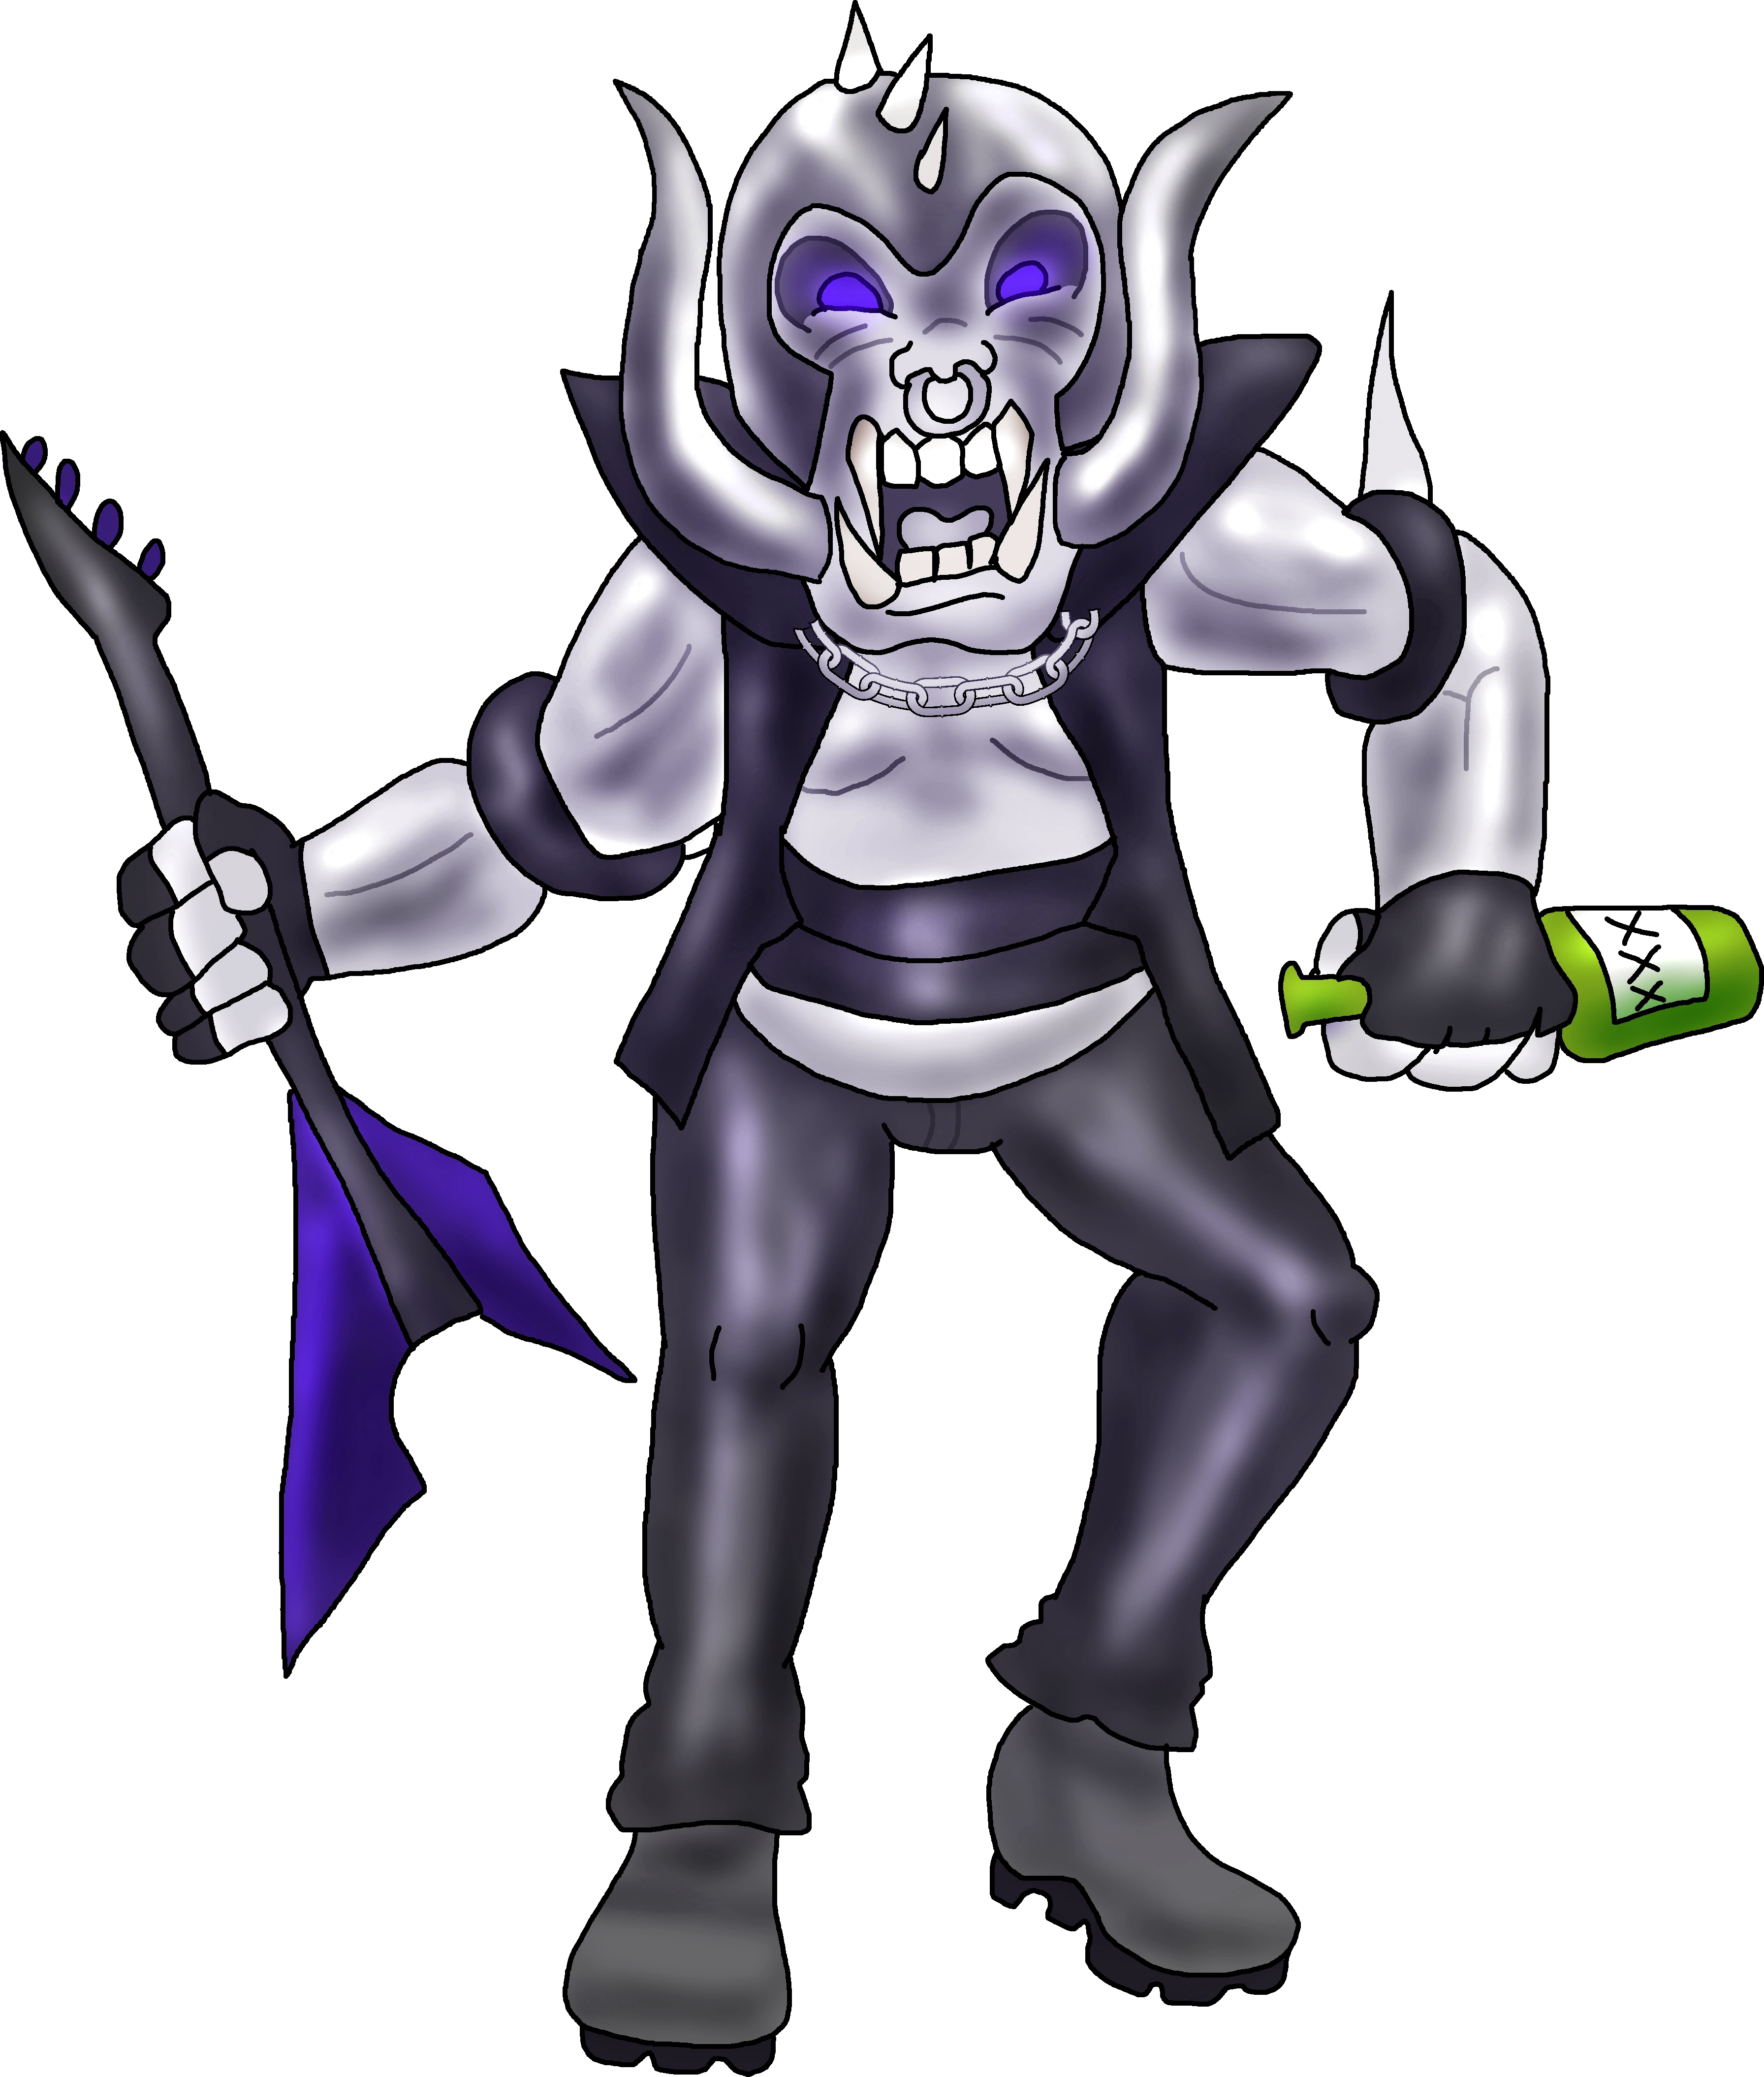 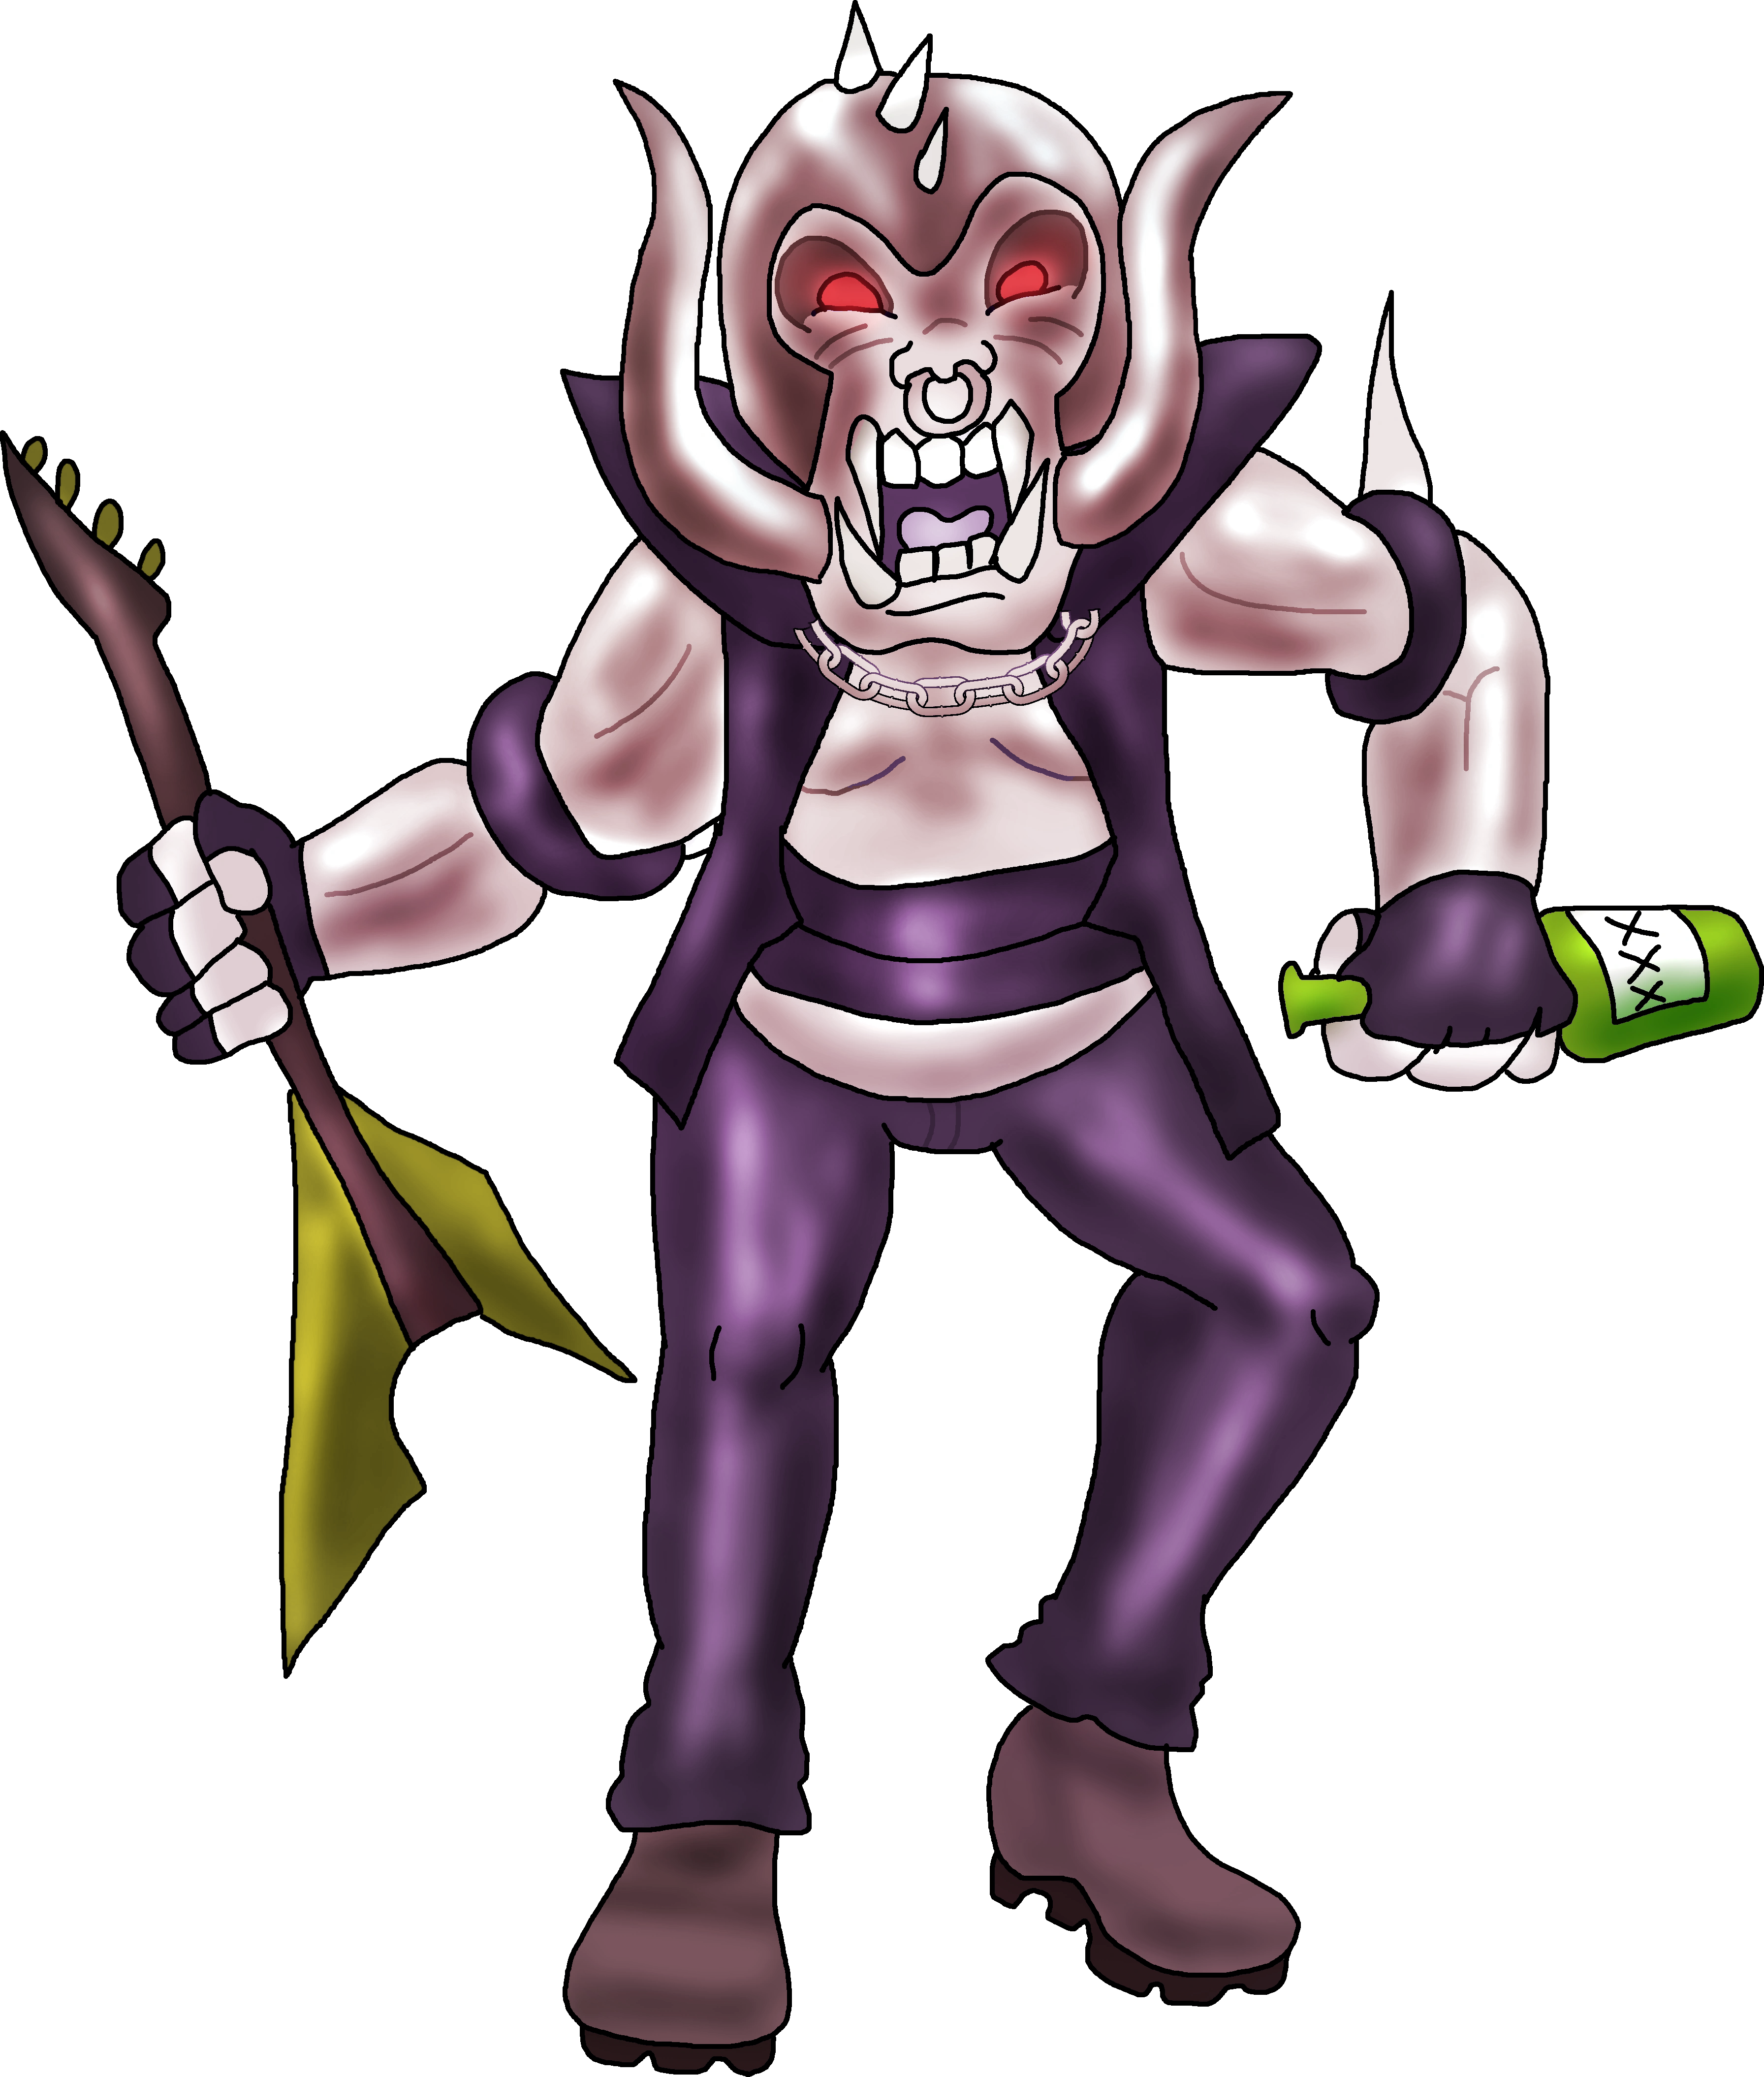 |
Altha
|
|
| Gameplay Details | ||||||
|
Altha is certainly one of the stranger fighters in COLD❄BLOOD, not actually qualifying as a fighter by definition. She is instead a pacifist that must win over her targets not through violence and gore, but rather through respect, politeness and slowing down the target. For as long as Altha is in battle, all her targets will have an Infatuation Gauge. The more Altha manages to charm and allure her targets, the higher their gauges will fill up. Once she completely fills a target's Infatuation Gauge, she can utilize her Zonal Fever move to put them down for the count, K.O.'ing them instantly. They go out in a peaceful way, sleeping on the floor. If they have more stocks, they'll come back up and return to battle from their nap. Altha's moves may not be attacks but they're still very useful; she very much appreciates being able to push away her targets, harmlessly paralyze them, and pull them into tango dances. It should be clear immediately that Altha's inability to damage the target can be slightly problematic; her method of winning is slower than any other character's (as she has to rely much on predicting the enemy's movesets). She also lacks the ability to counter any attacks that are thrown her way and cannot break her targets' parries, forcing her to be exclusively defensive. Luckily for Altha though, she does have a lot of special traits to make up for these inconveniences. For instance, Altha may be incapable of reflecting projectiles, but she can absorb them and use them to heal herself. She also has an unbreakable parry and taunts that increase the Infatuation Gauge progress on every target that's near her. Her most impressive ability though is that, when she grabs a target, they cannot break free until her "pummel" ends or until her tango dance "throws" end. Altha is a strange "fighter" that completely lacks offensive options, but if you play her wisely, you can net some really early KOs and save yourself the hassle of dealing with enemies that get stronger as they reach increasingly critical statuses of health. Contrarily, characters that perform better at full health will be tougher to take down... if you play Altha, it's simply because you adore style or because you're a masochist.
Common Attacks Special Moves
Hyper Moves
Animations
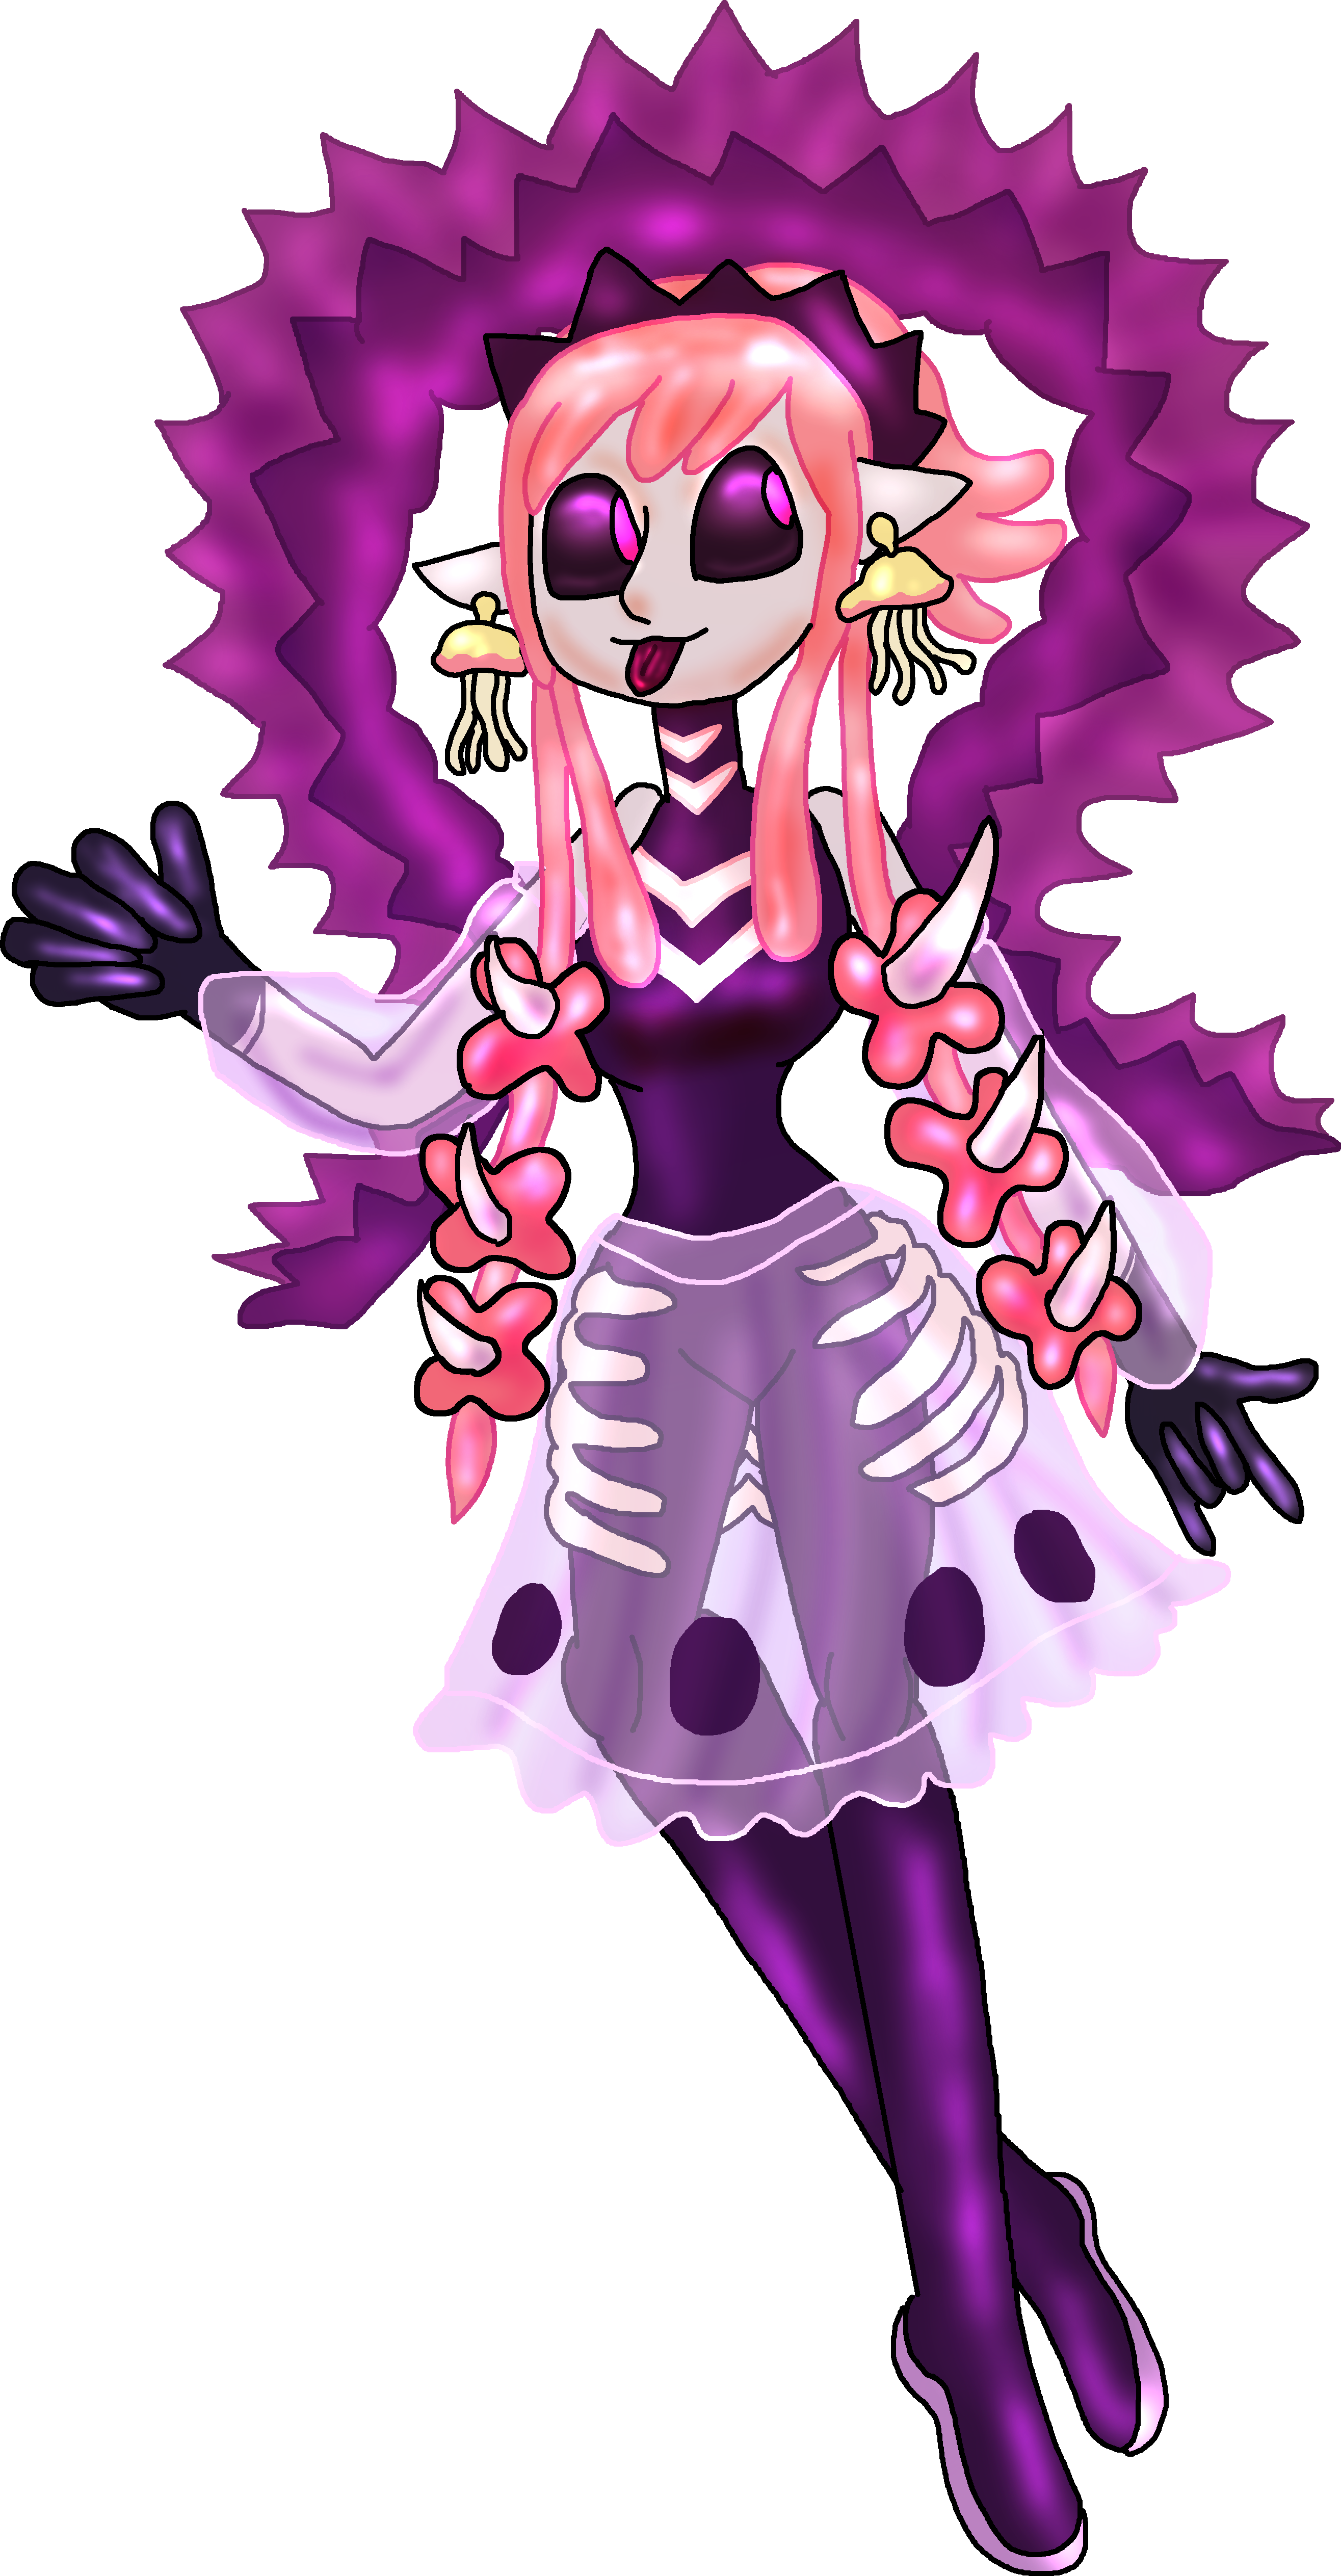 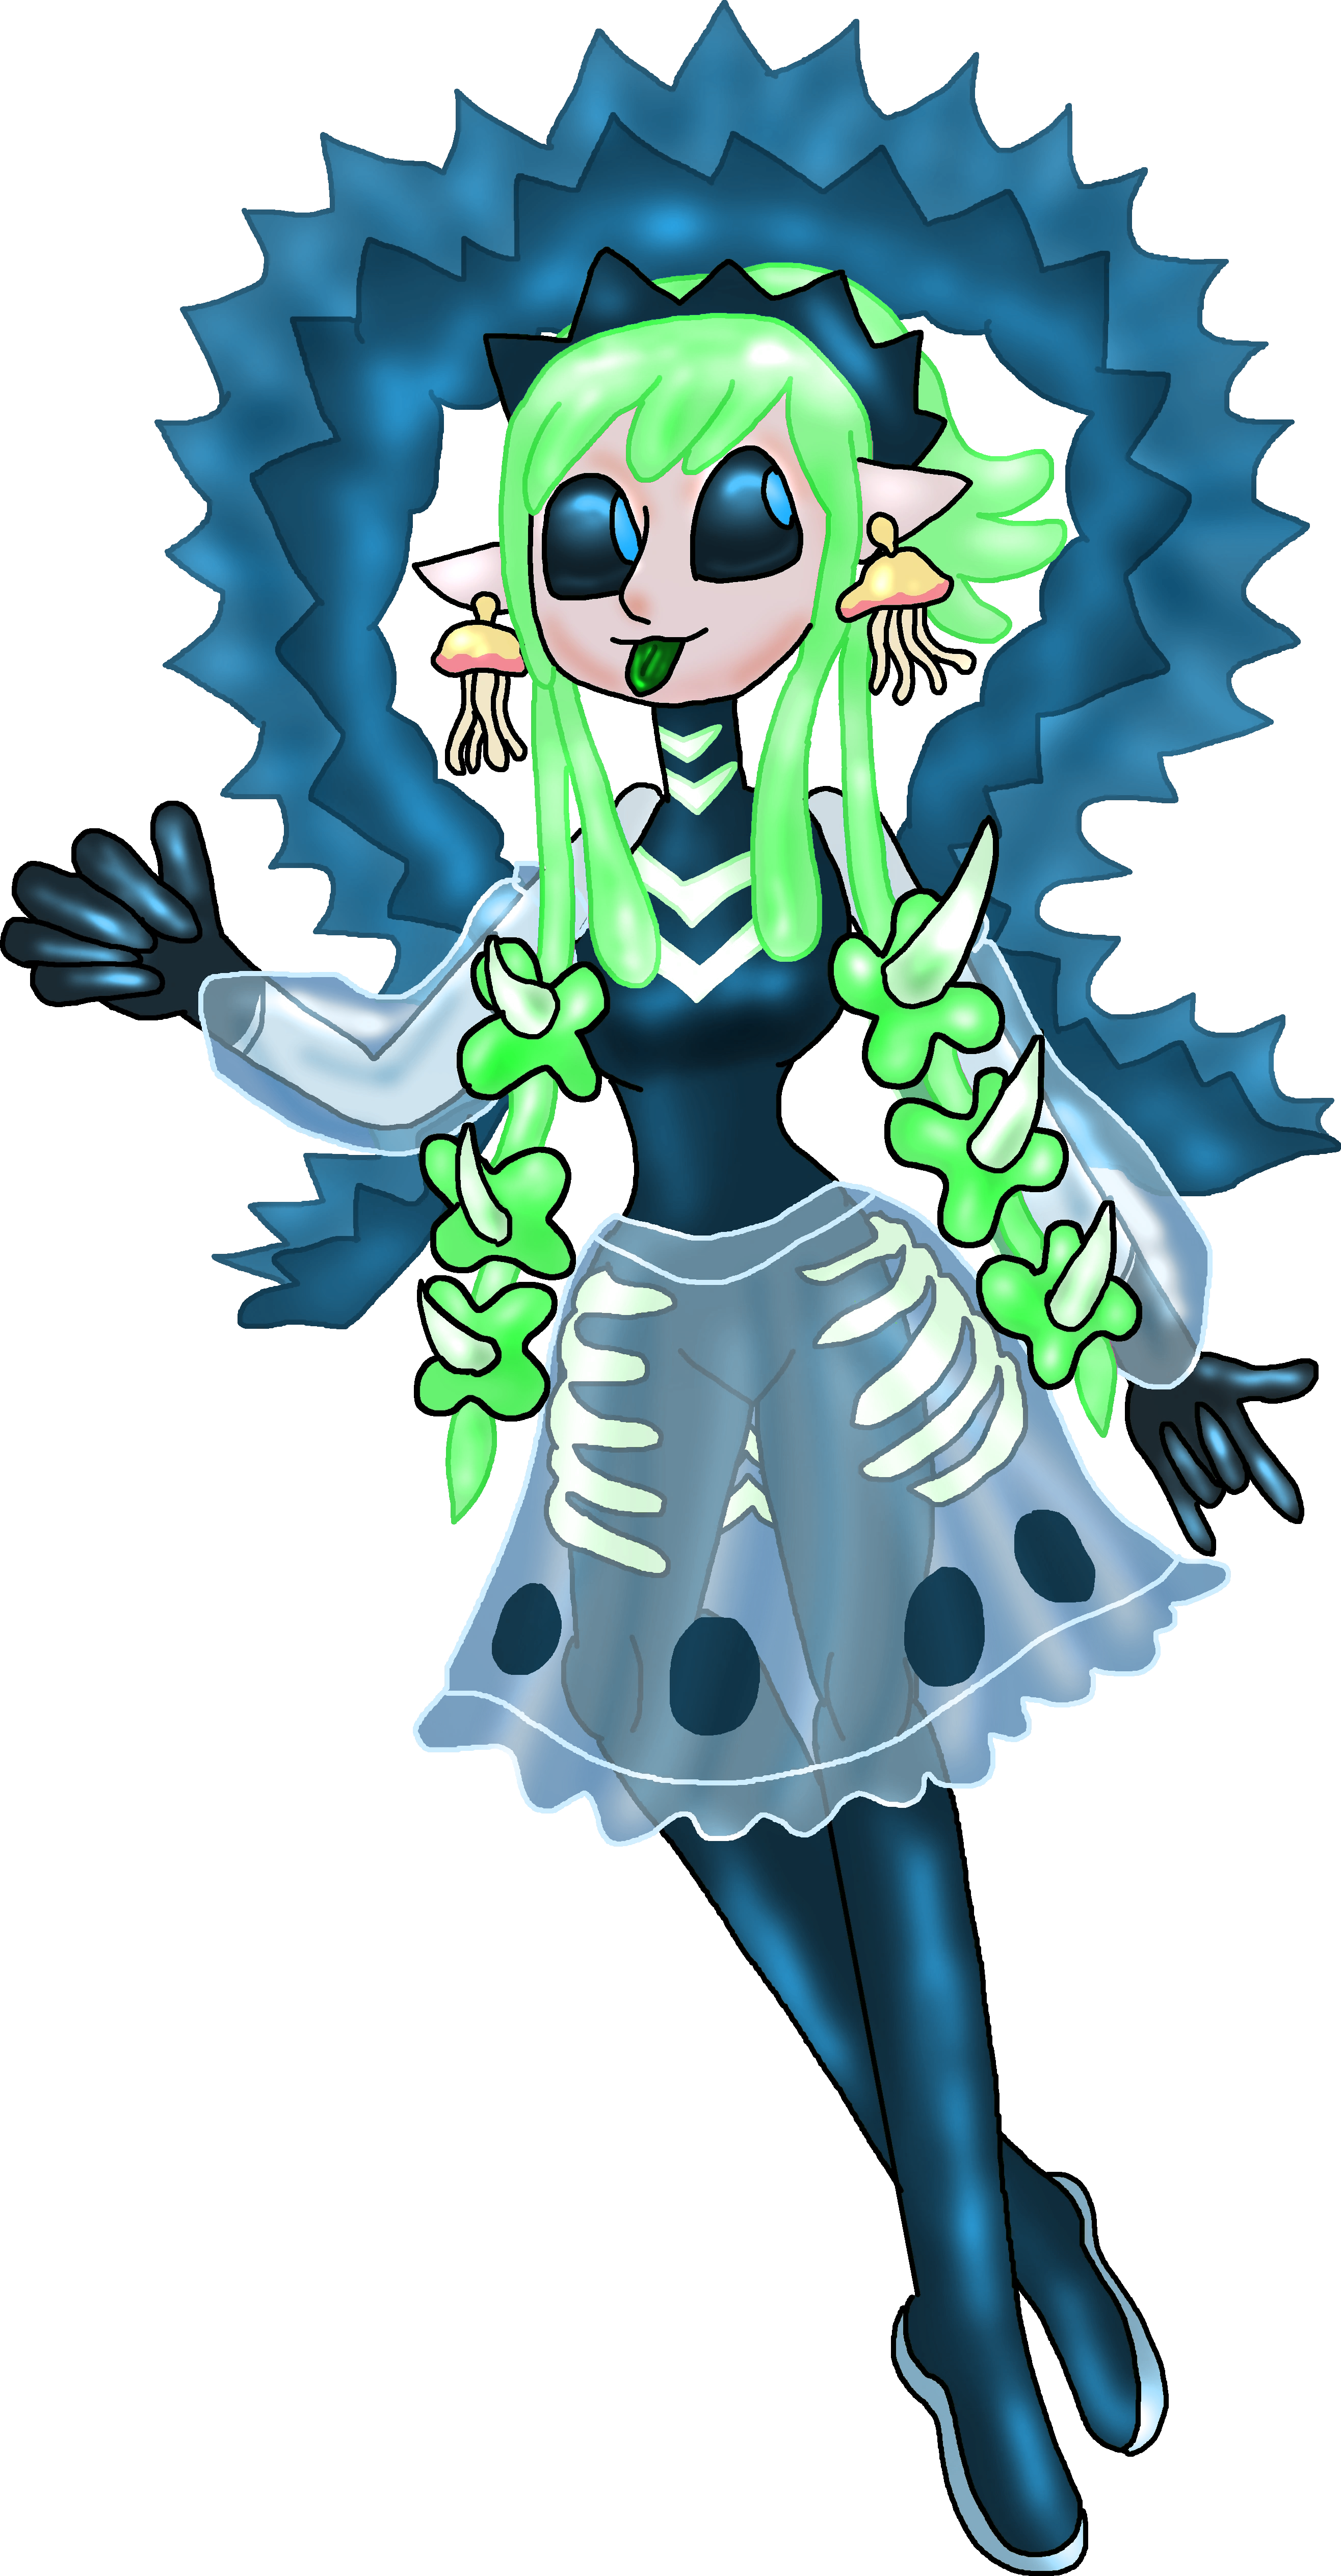 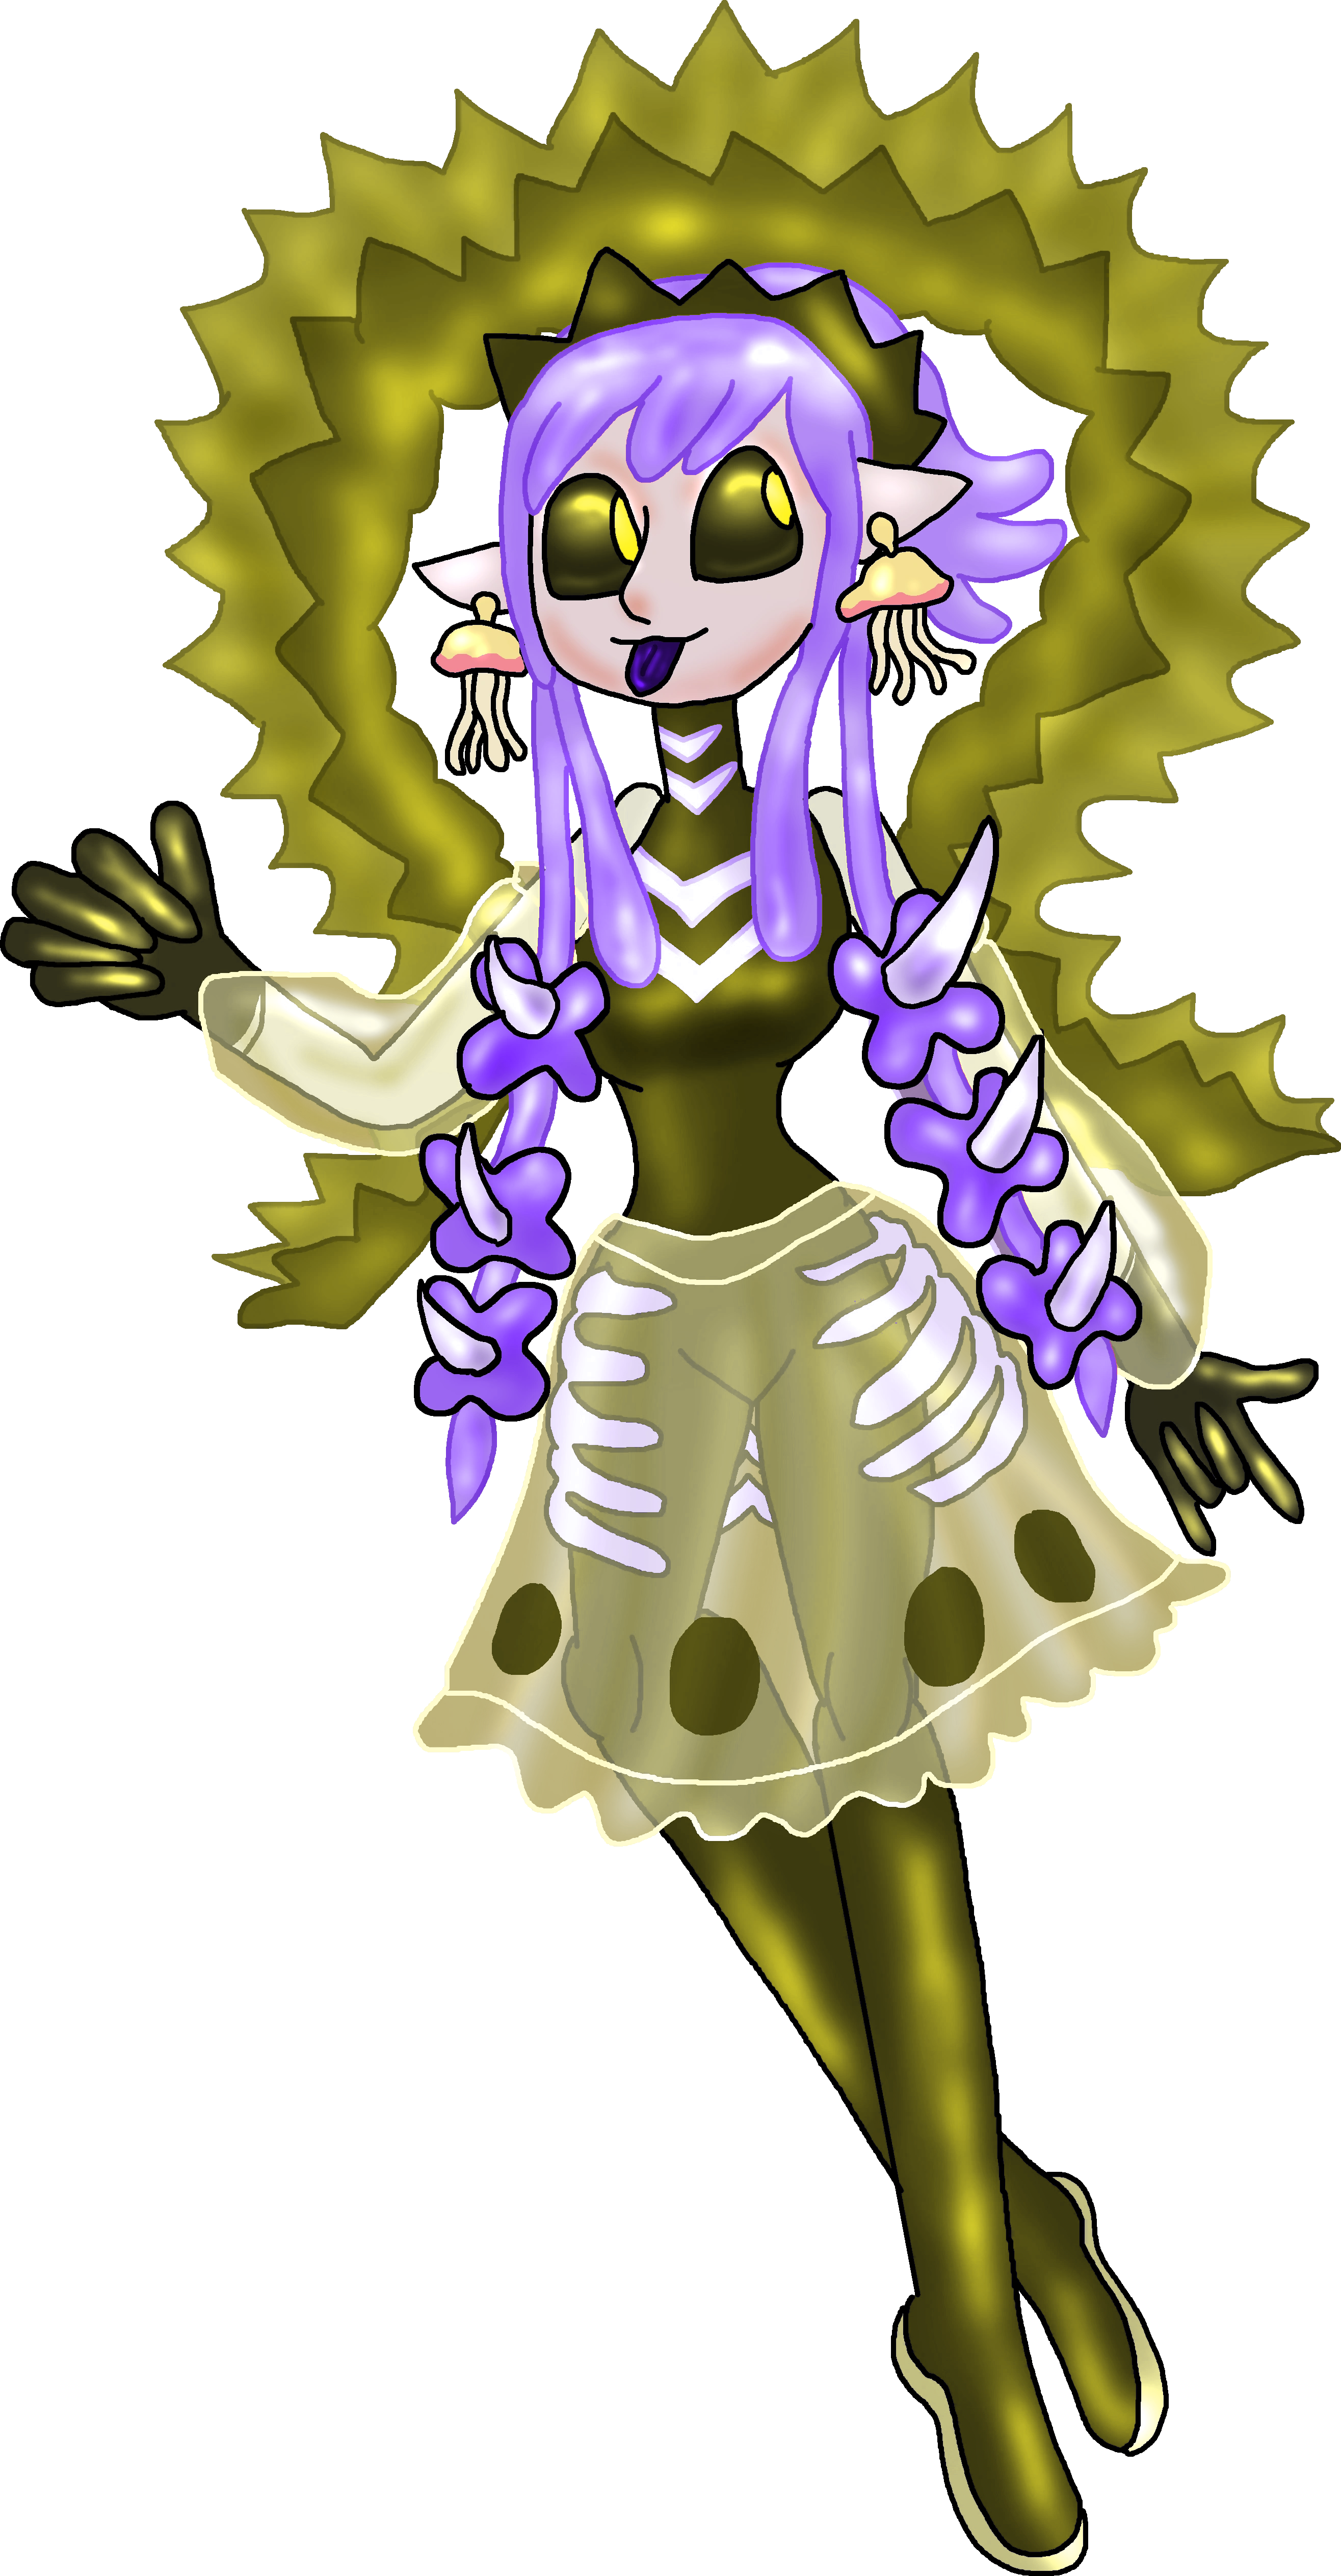 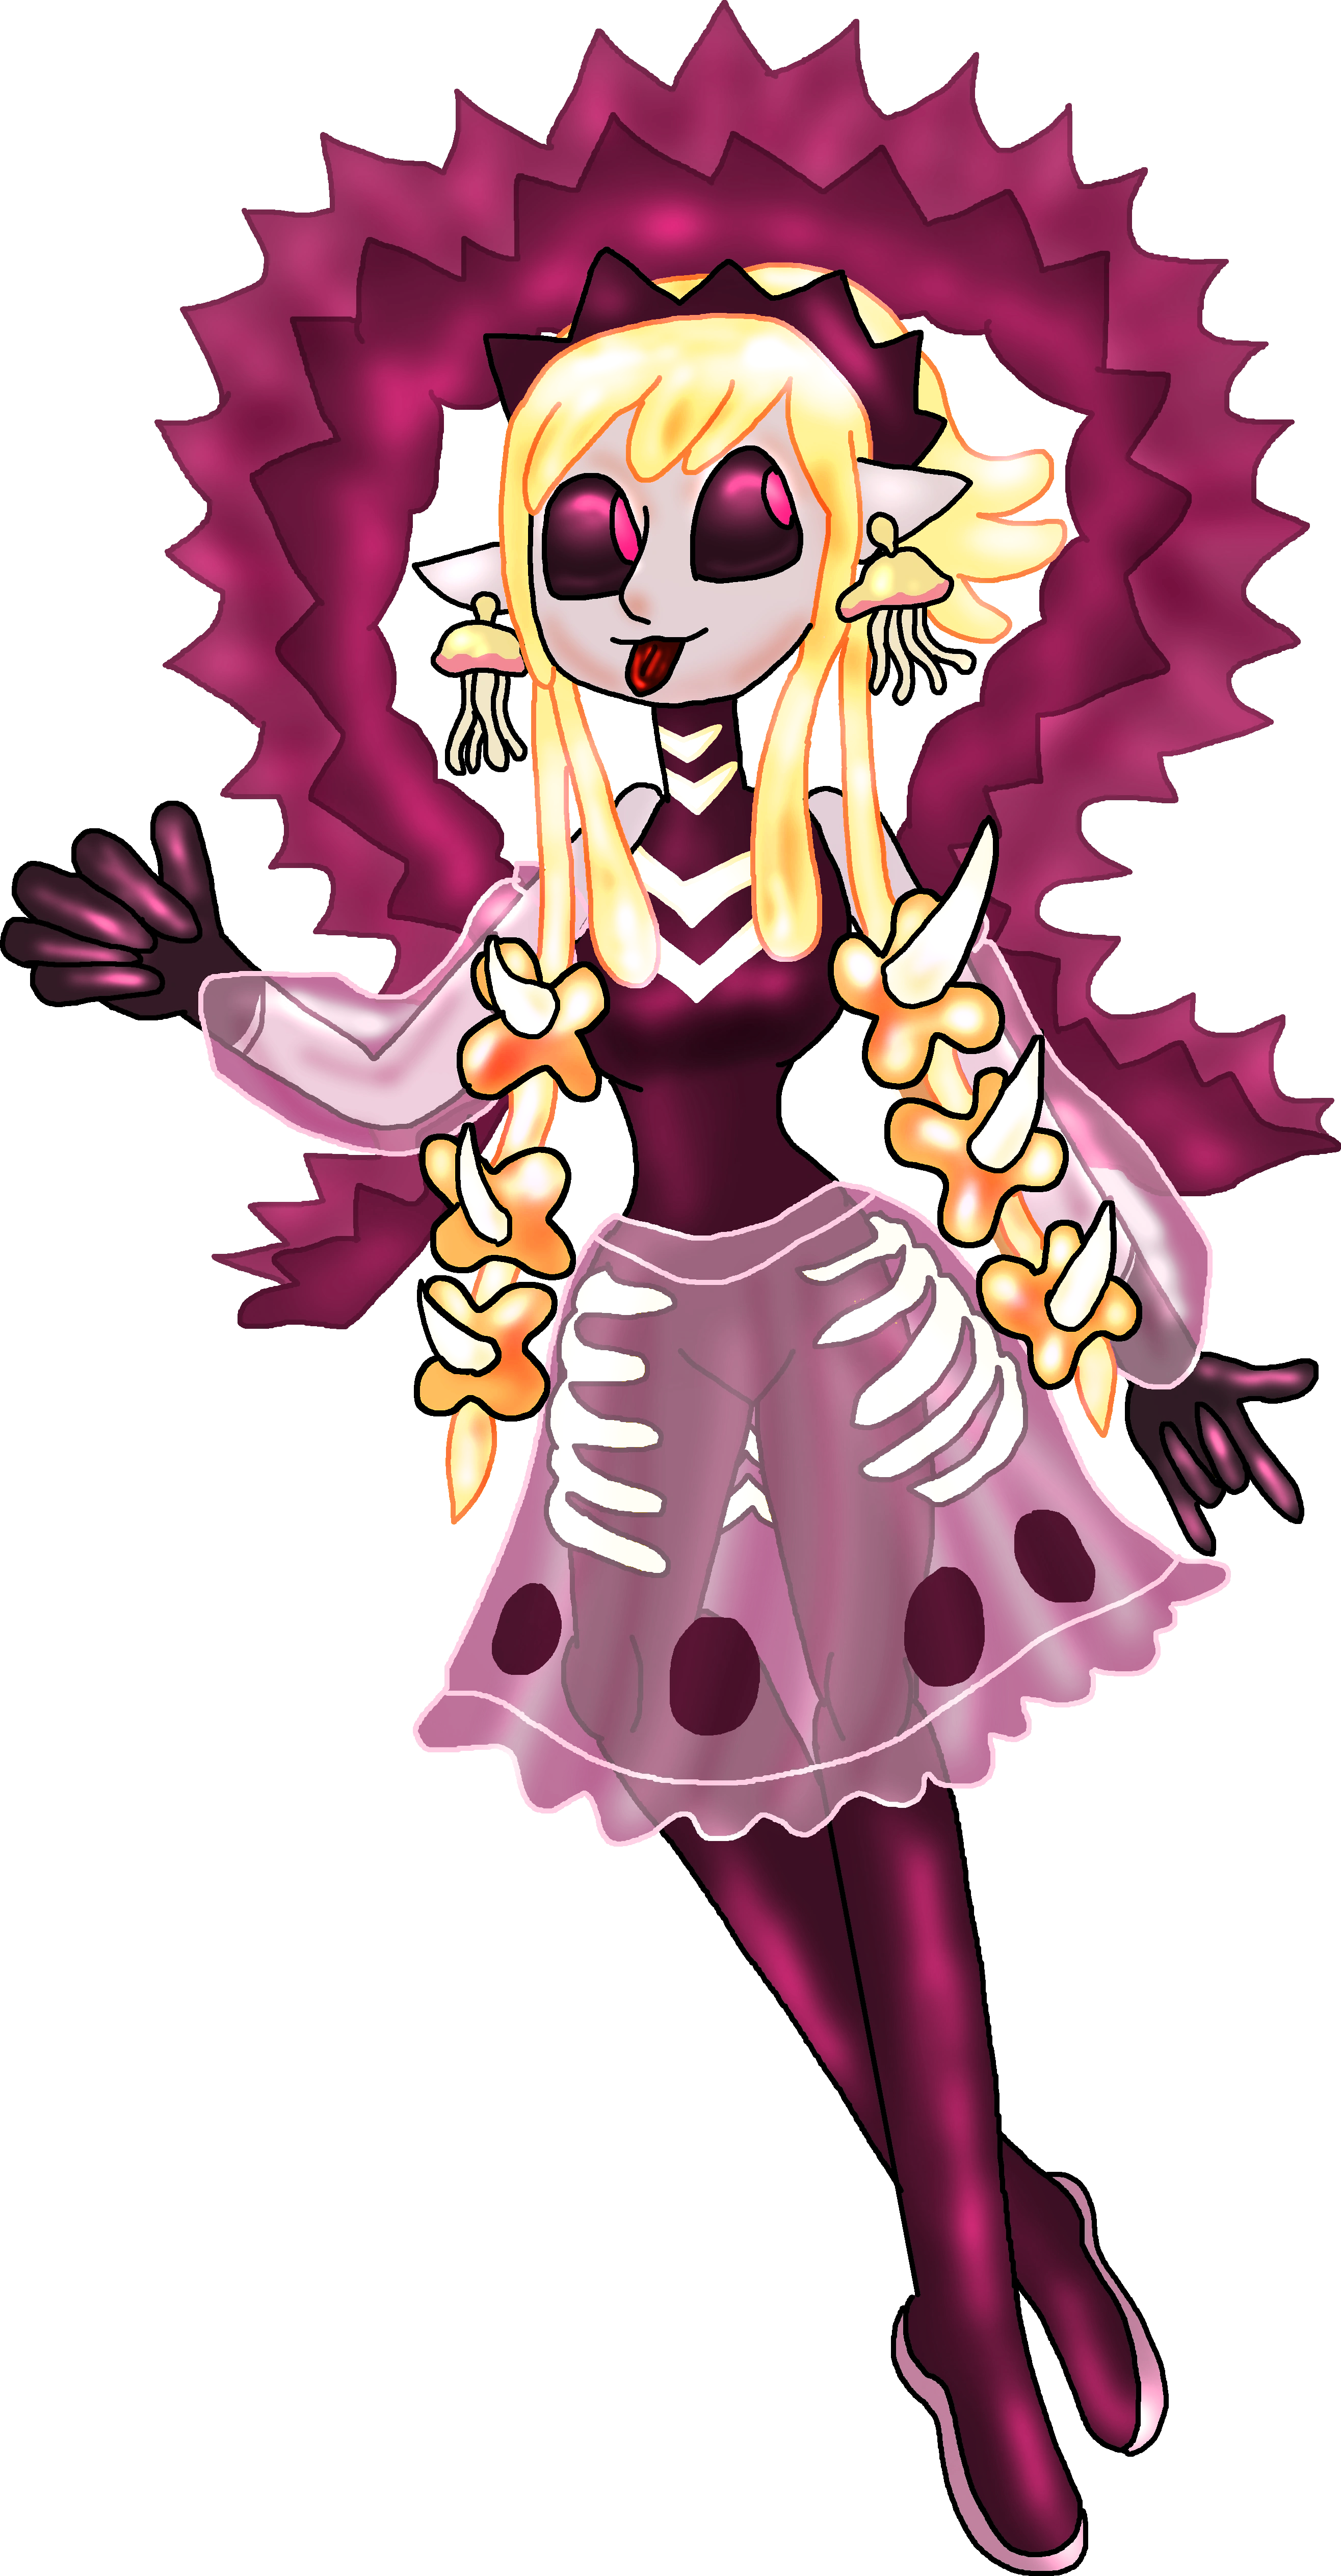 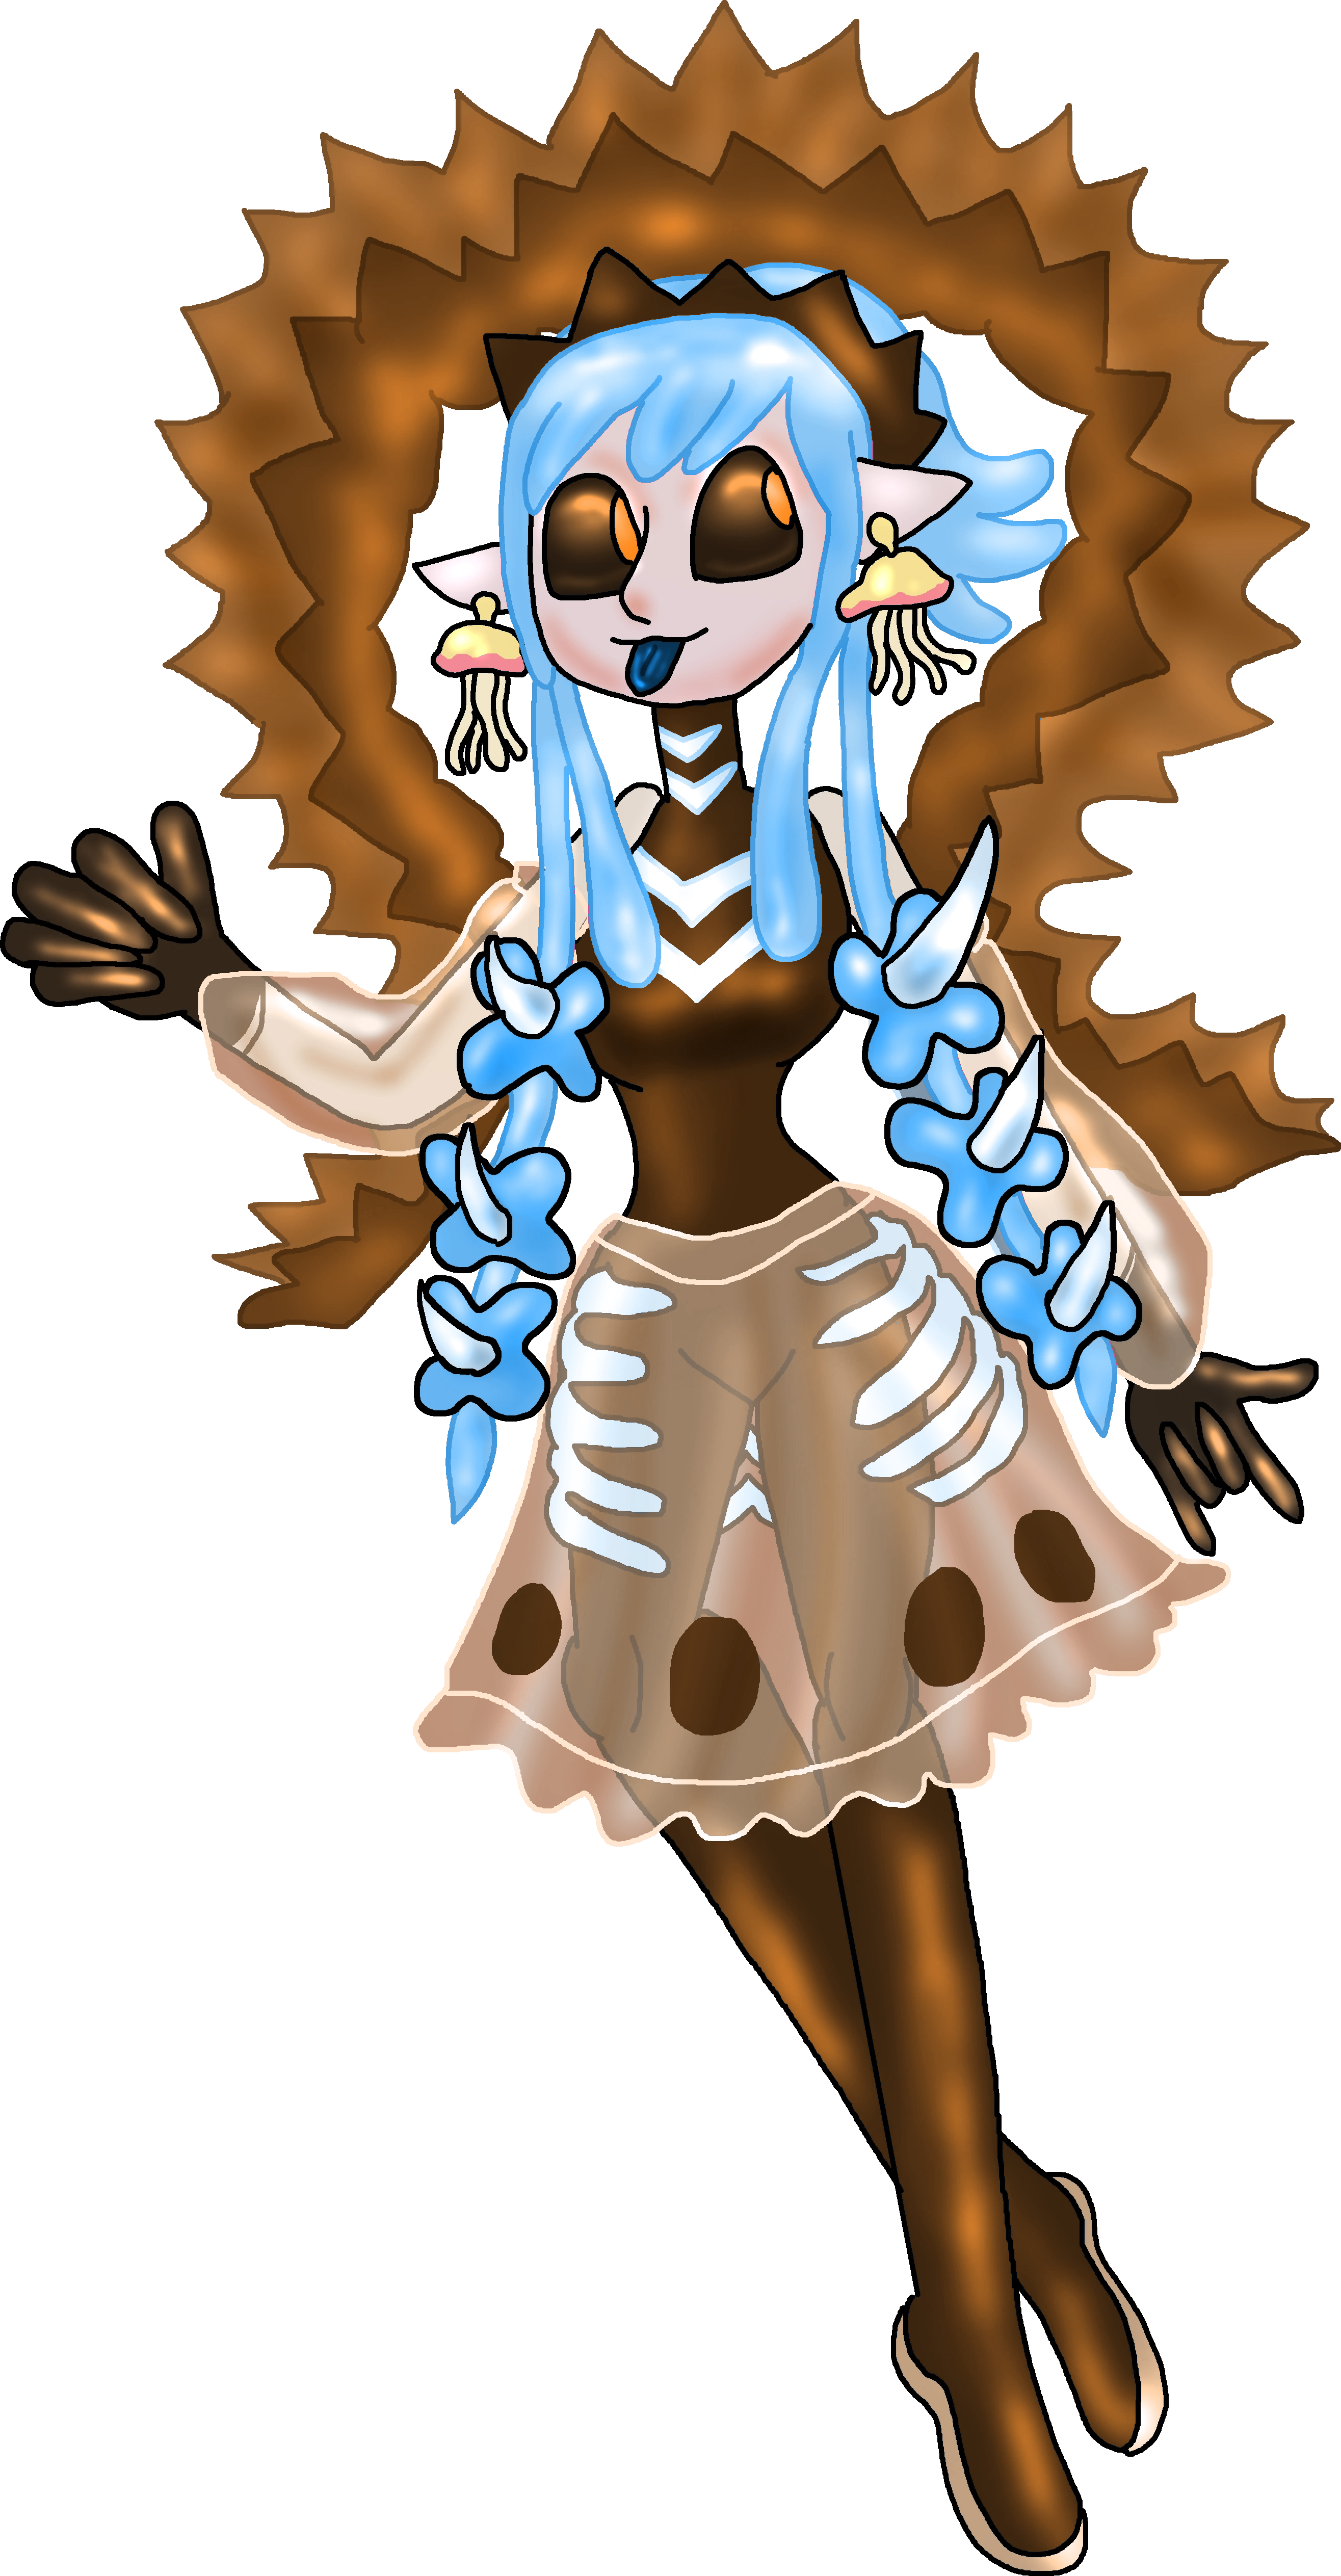  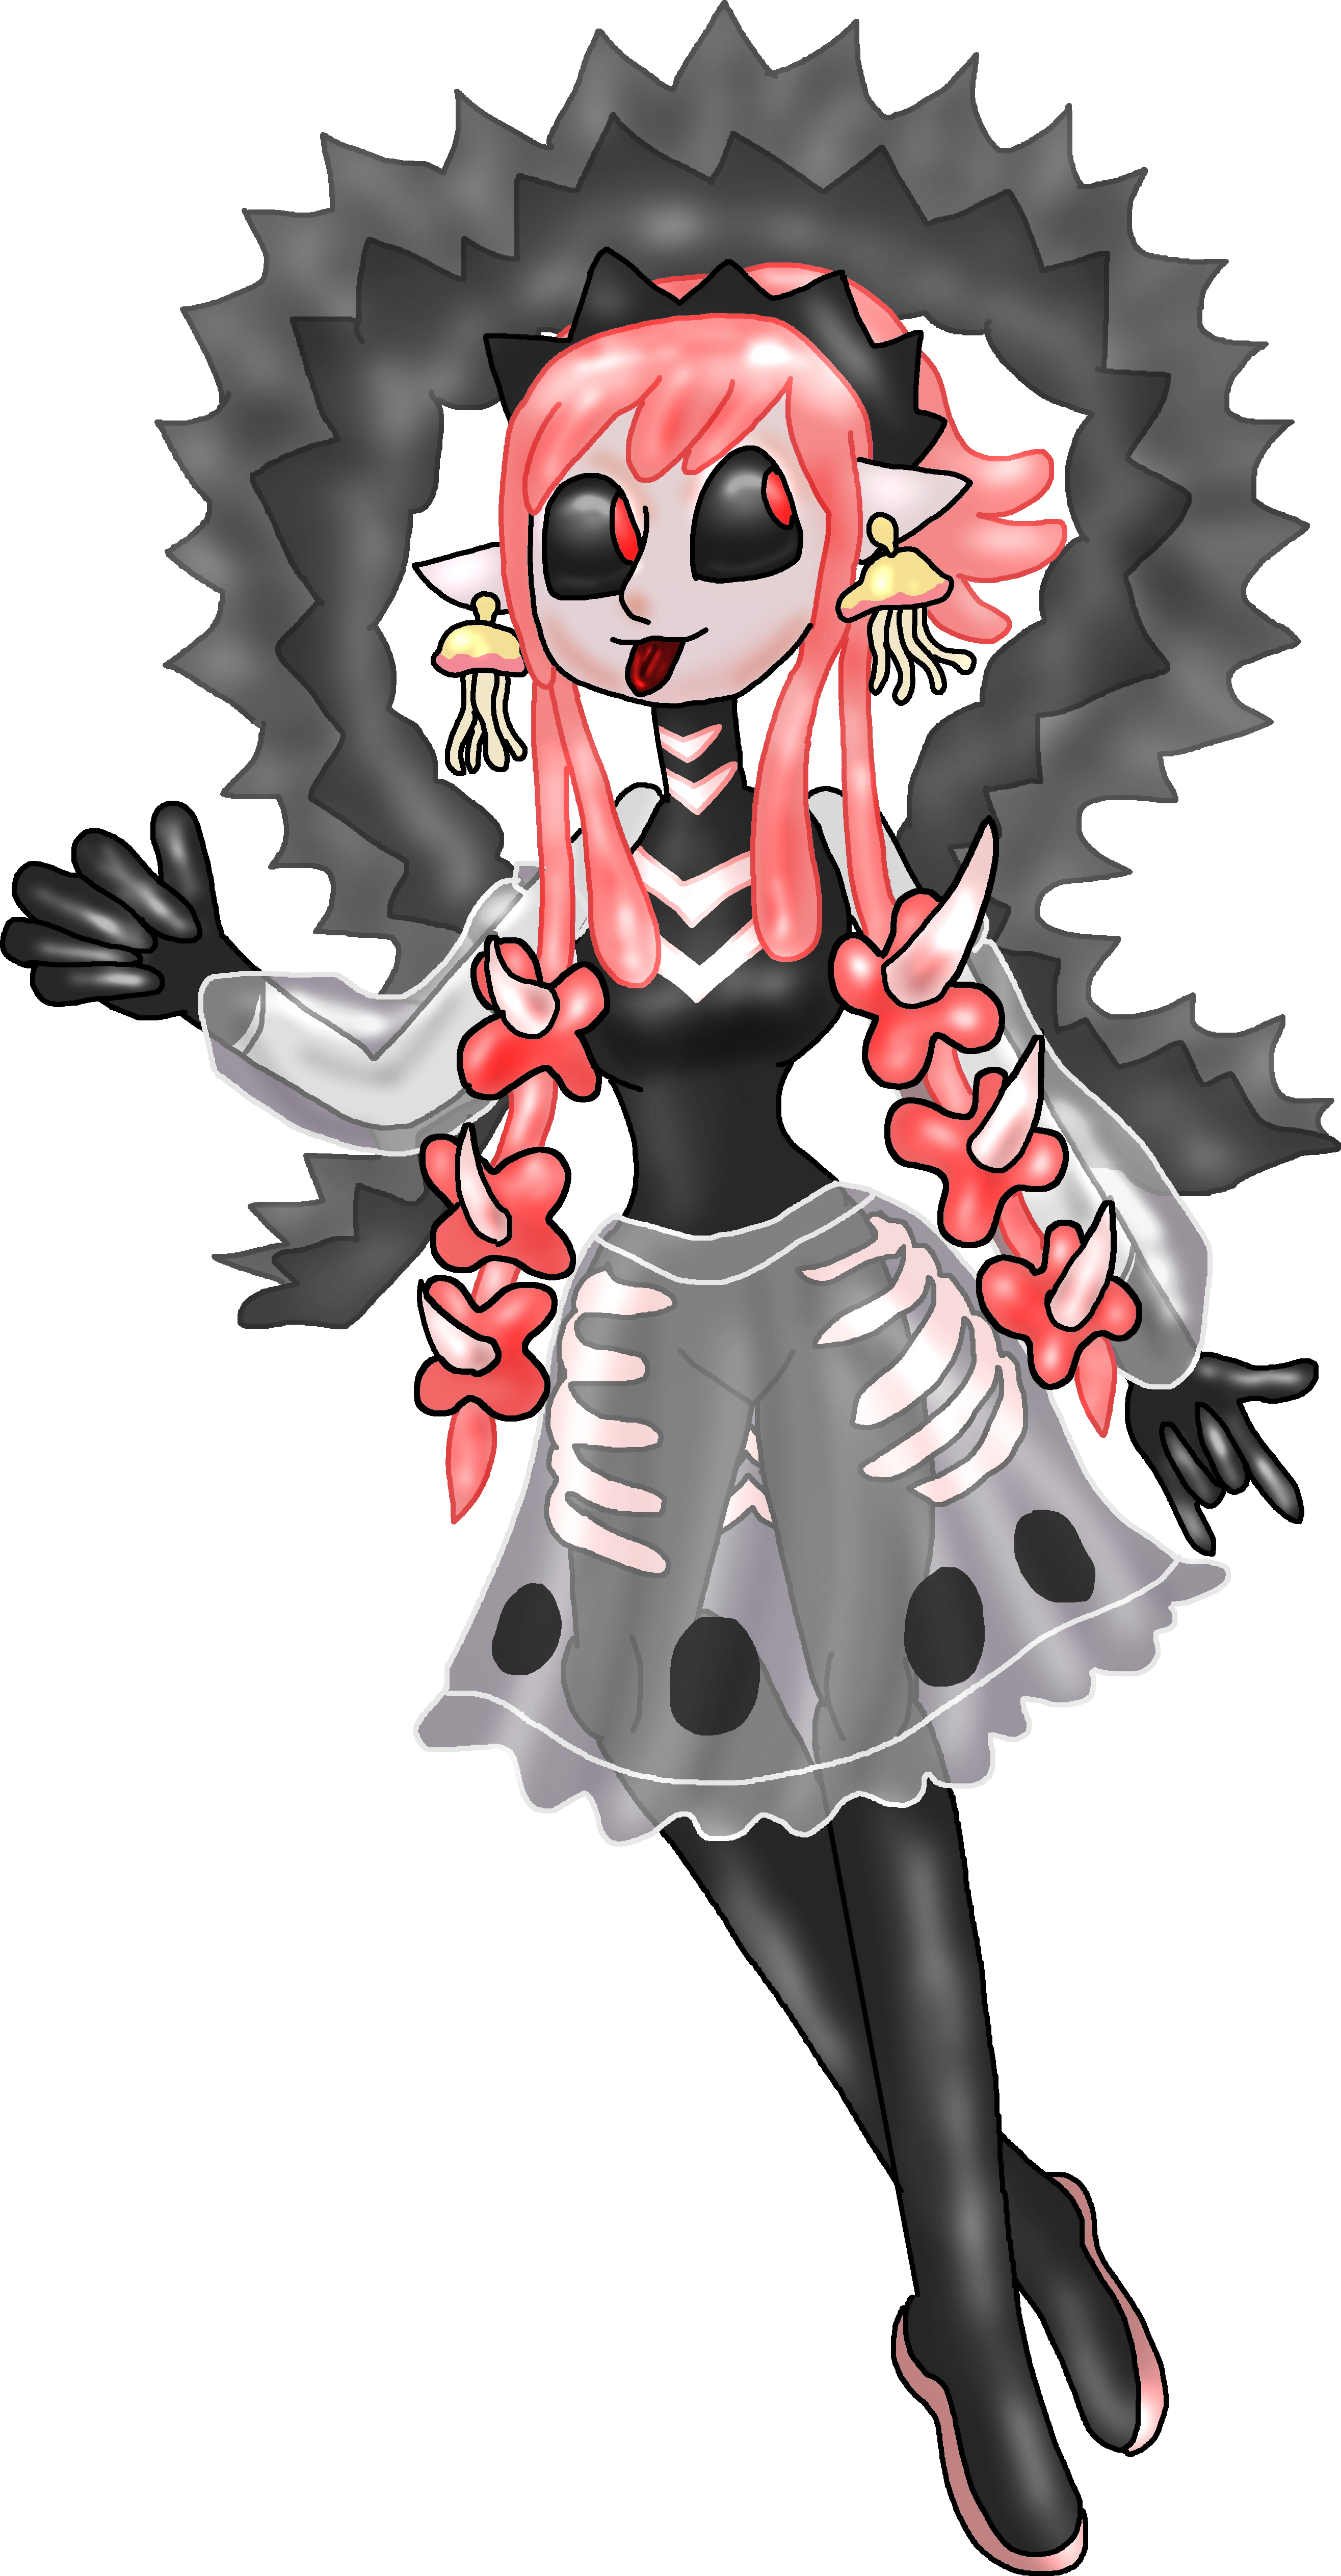 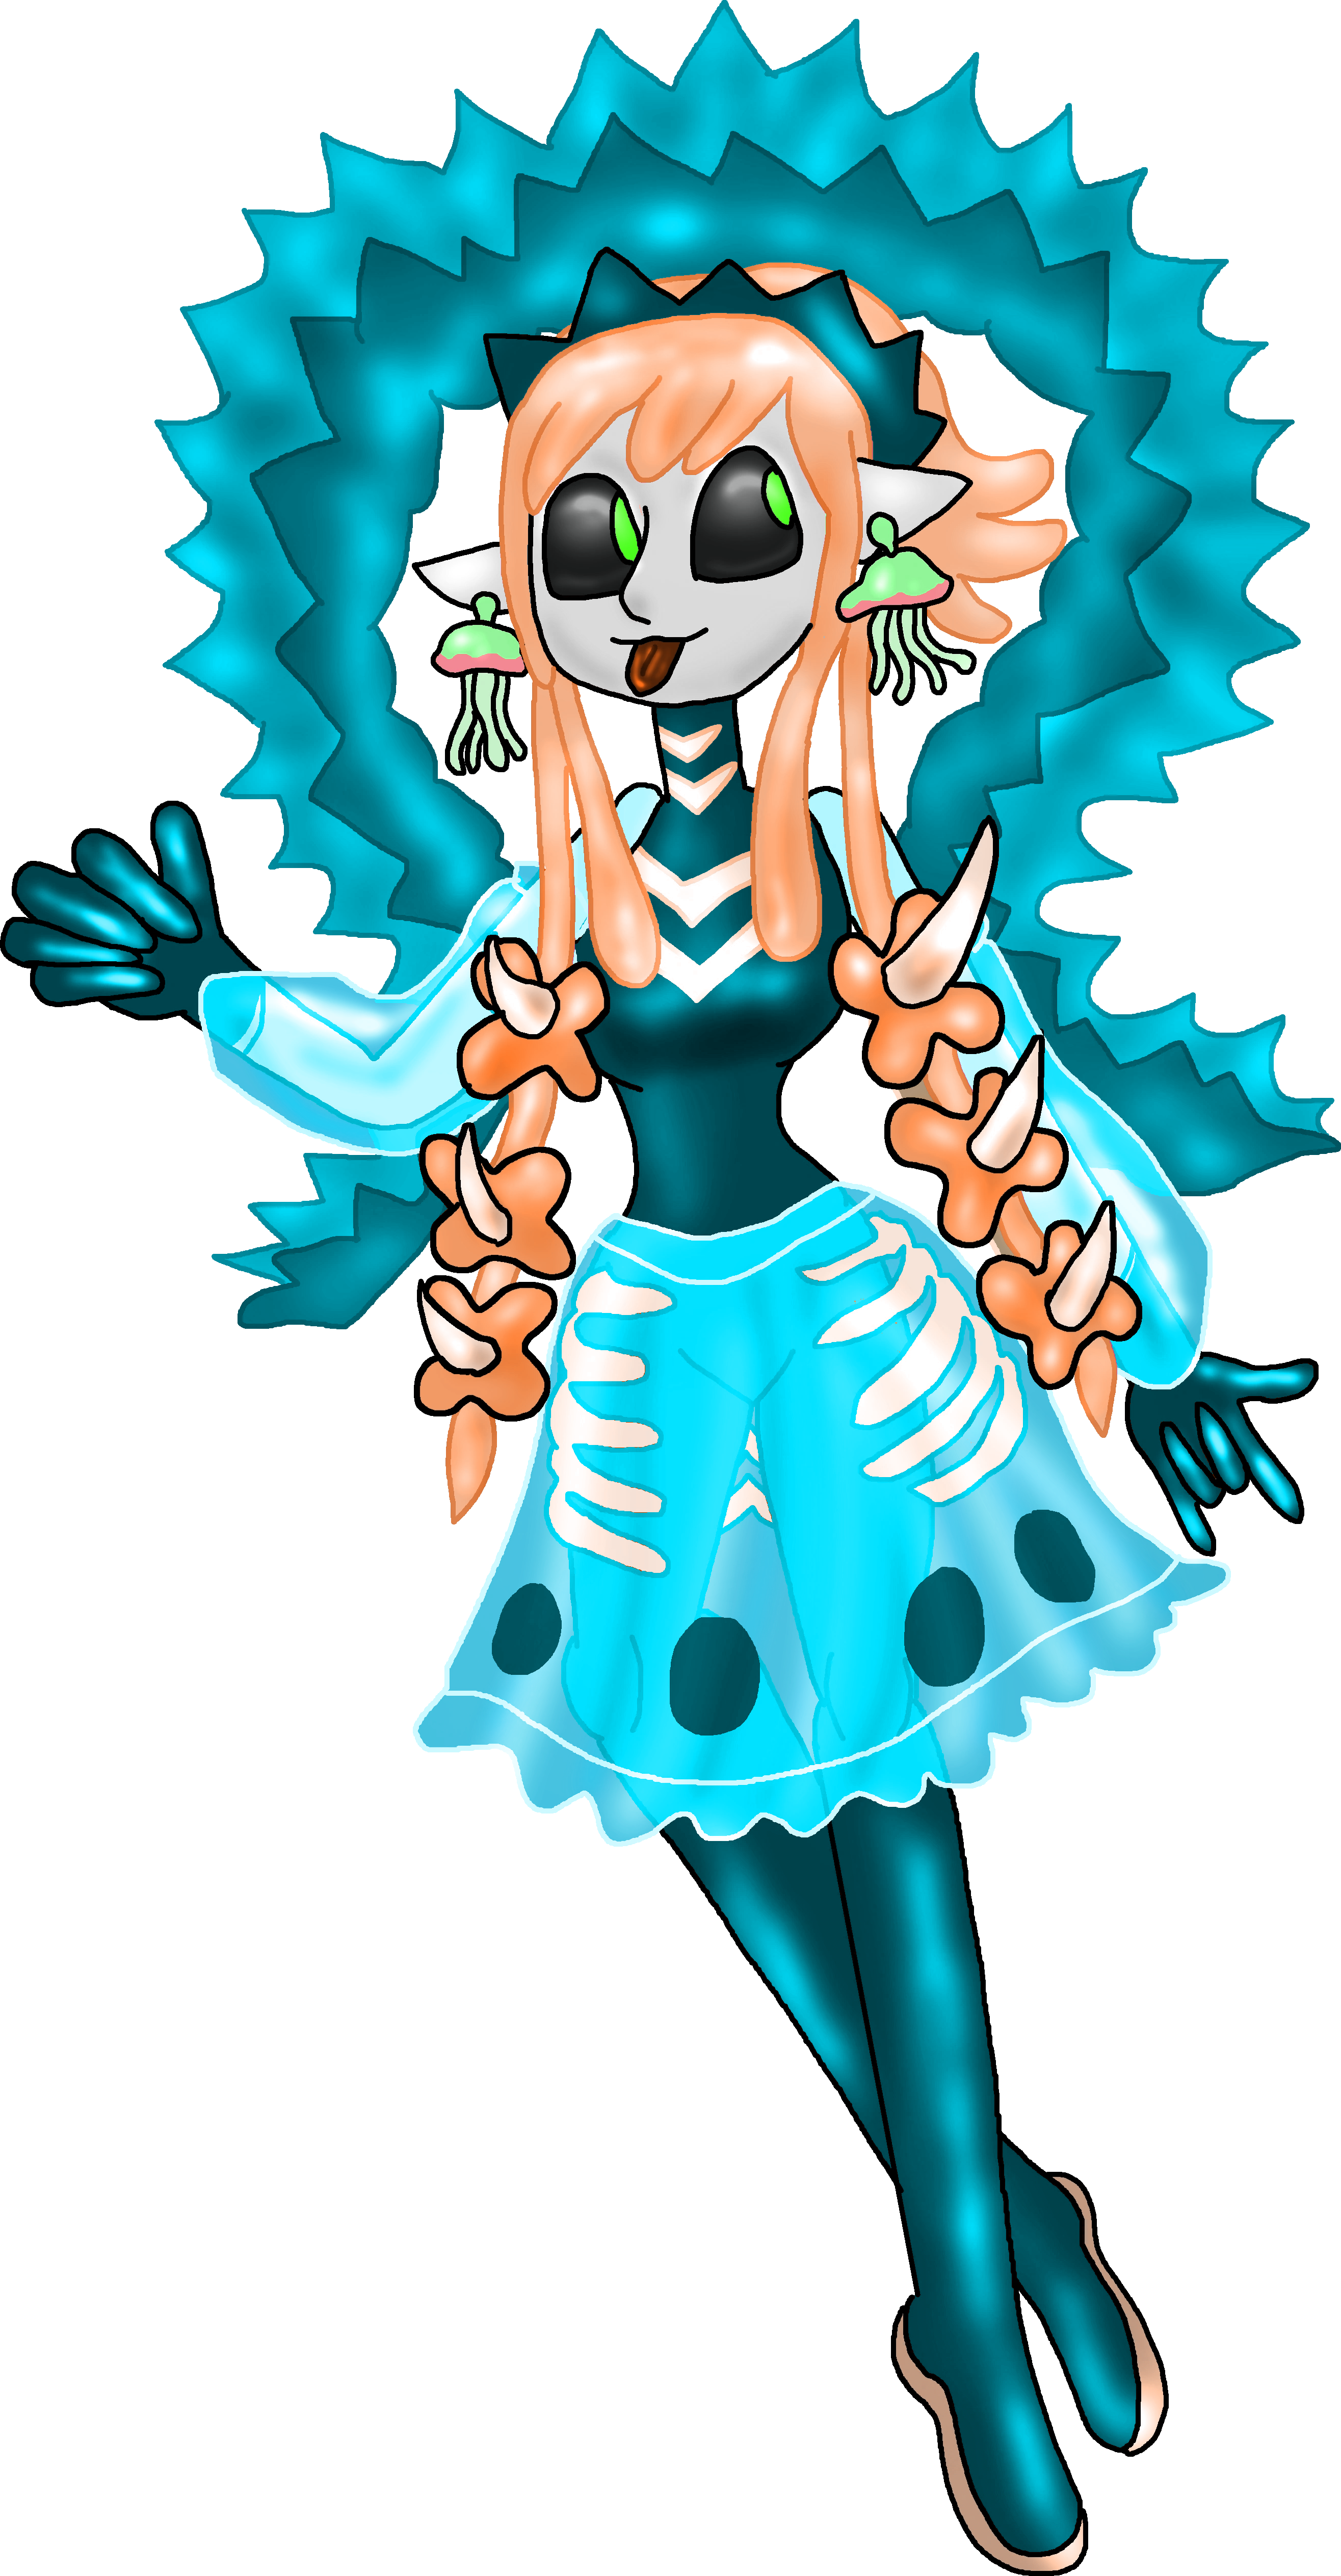 |
Phoenix
|
|
| Gameplay Details | ||||||
|
Phoenix is a heavyweight fighter with absurd strength and some of the furthest-reaching attacks of all of COLD❄BLOOD's characters, with his explosive flames giving him formidable stage control. Some of his attacks have such huge hurtboxes that they're bigger than his entire body and can cover a wide area both horizontally and vertically. Supporting this great range are his firework attacks, which not only work as his projectiles, but they themselves have formidable hitboxes that make them difficult to dodge. Phoenix isn't particularly gimmicky, but his attacks are so huge that it's very difficult to stay out of his line of fire. He does have one particular gimmick though, and it's that even standing too near him or his attacks will cause you to take damage. This means that you have to take extra care to dodge what he throws at you, because even if it's just minor passive damage, it still chips away at you. On the other hand, Phoenix isn't a particularly quick character and struggles to keep up with his competition. This can be troublesome, as the downside to his explosive attacks is that although they can deal a lot of damage, they cannot make the enemy flinch unless they're hit by the very center of the explosion. They're also rather easy to rebound, as passive damage from the flames won't disrupt counters and the cores can be sent right back at Phoenix. Phoenix has very punishing heavy tilt attacks that make him whip with his deadly Burning Twizzler, but his below-par mobility and the startup lag on those attacks make such moves risky to use and leave him open to enemy attacks. To top it off, Phoenix has to keep in great condition- if his stamina dips below 50%, his flames will begin to progressively weaken and shrink, limiting his options as his great offense begins to get taken down by a huge notch. While Phoenix has excellent range and can burn up the battlefield with ease, he isn't great at actually stopping his enemies nor is he great at defending himself. To play as Phoenix perfectly, one must play him very defensively and try to burn his enemy to death before they can take advantage of his glaring weaknesses.
Common Attacks Special Moves
Hyper Moves
Animations
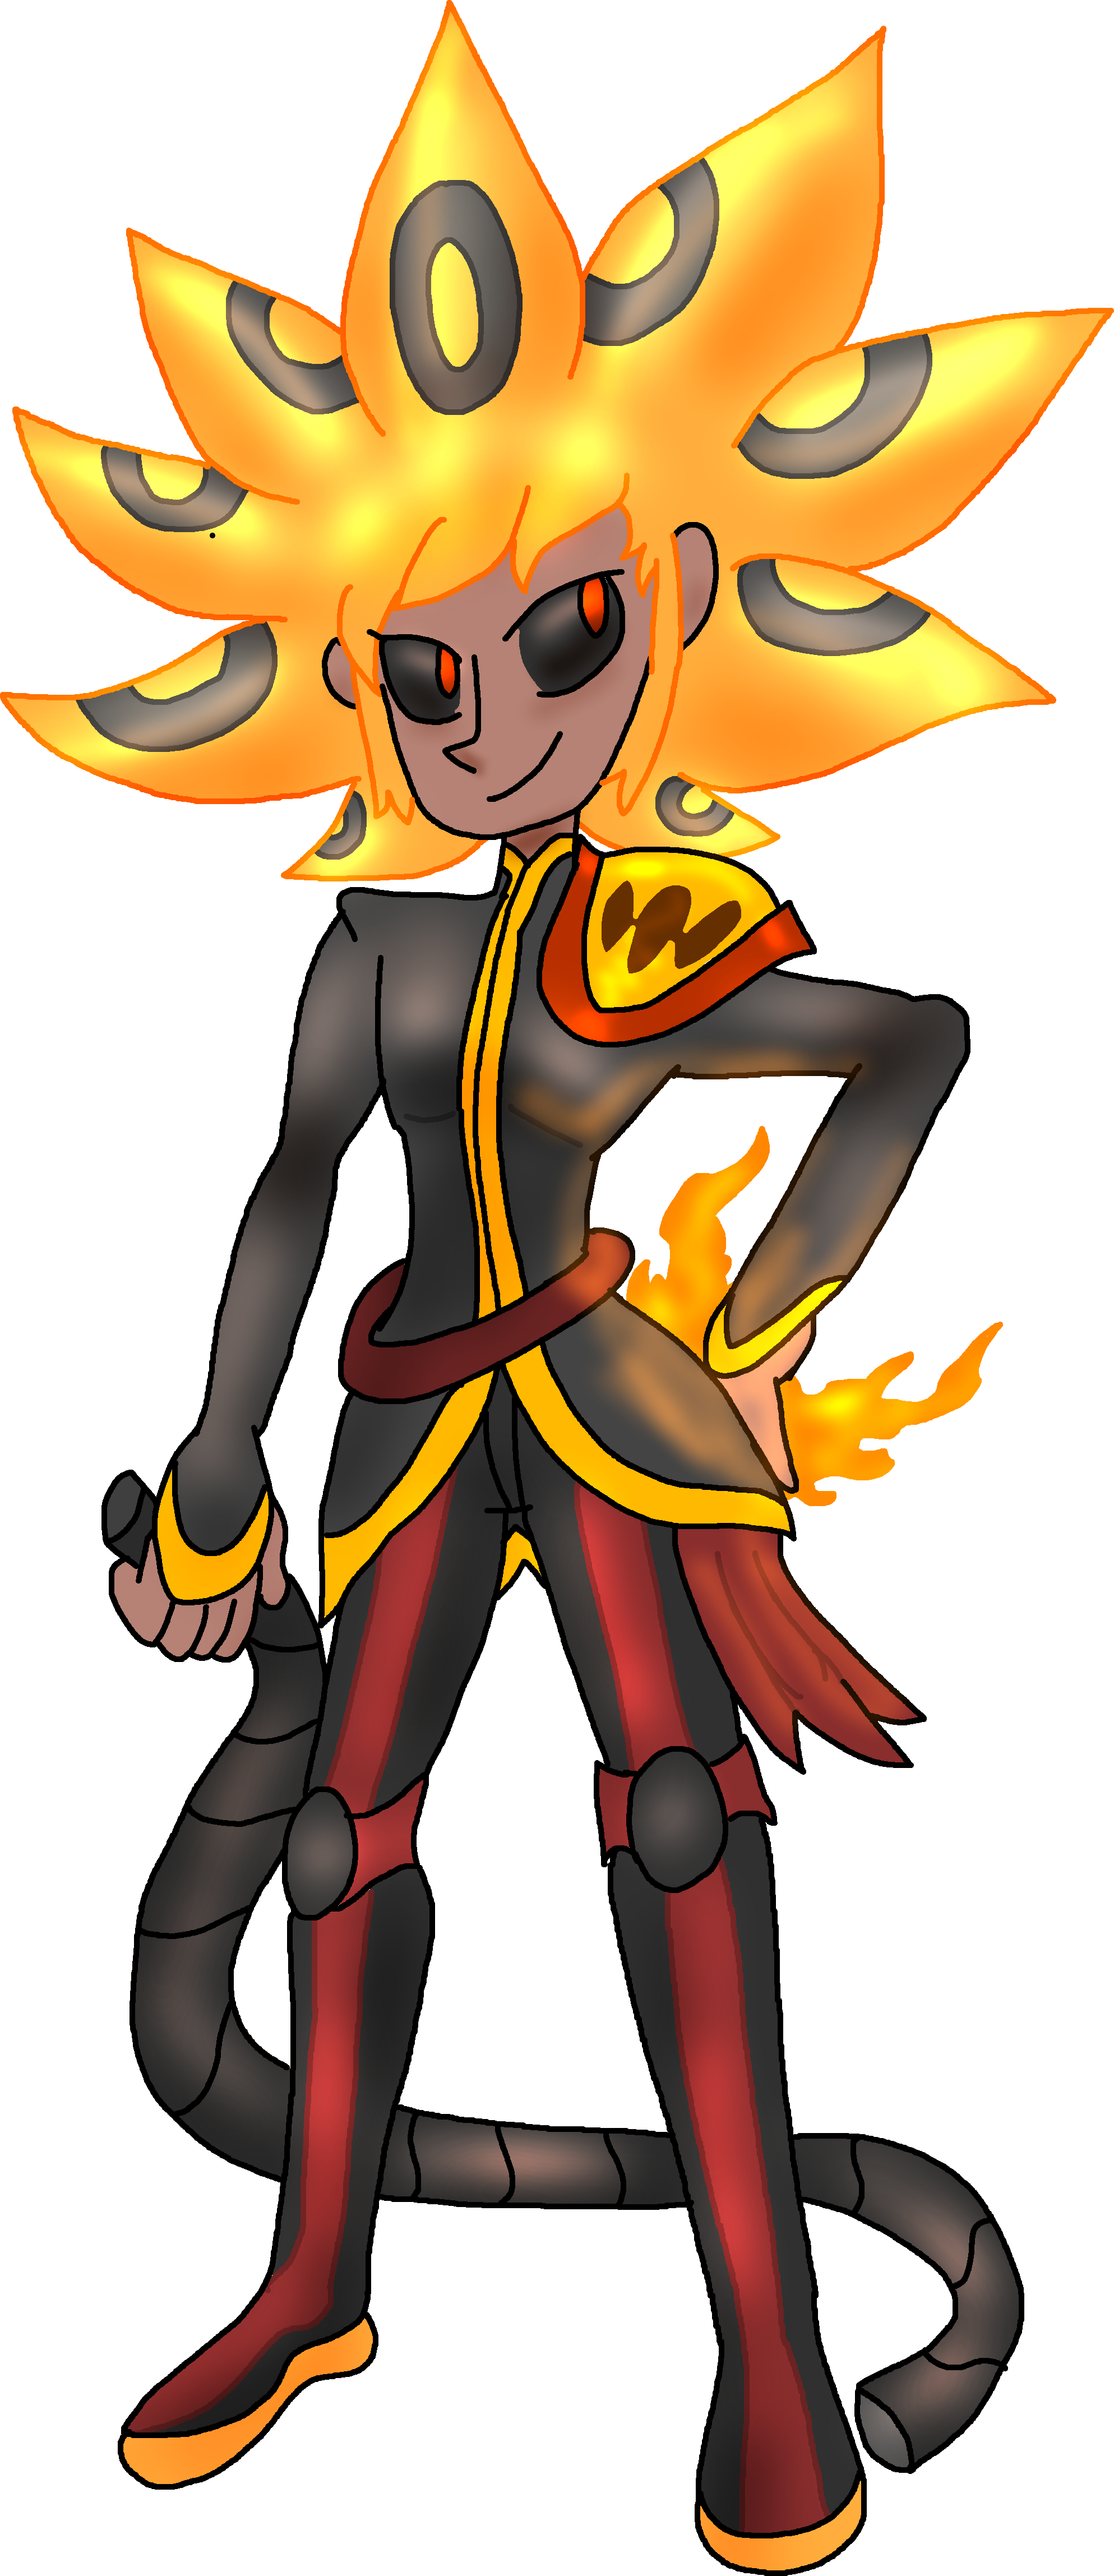 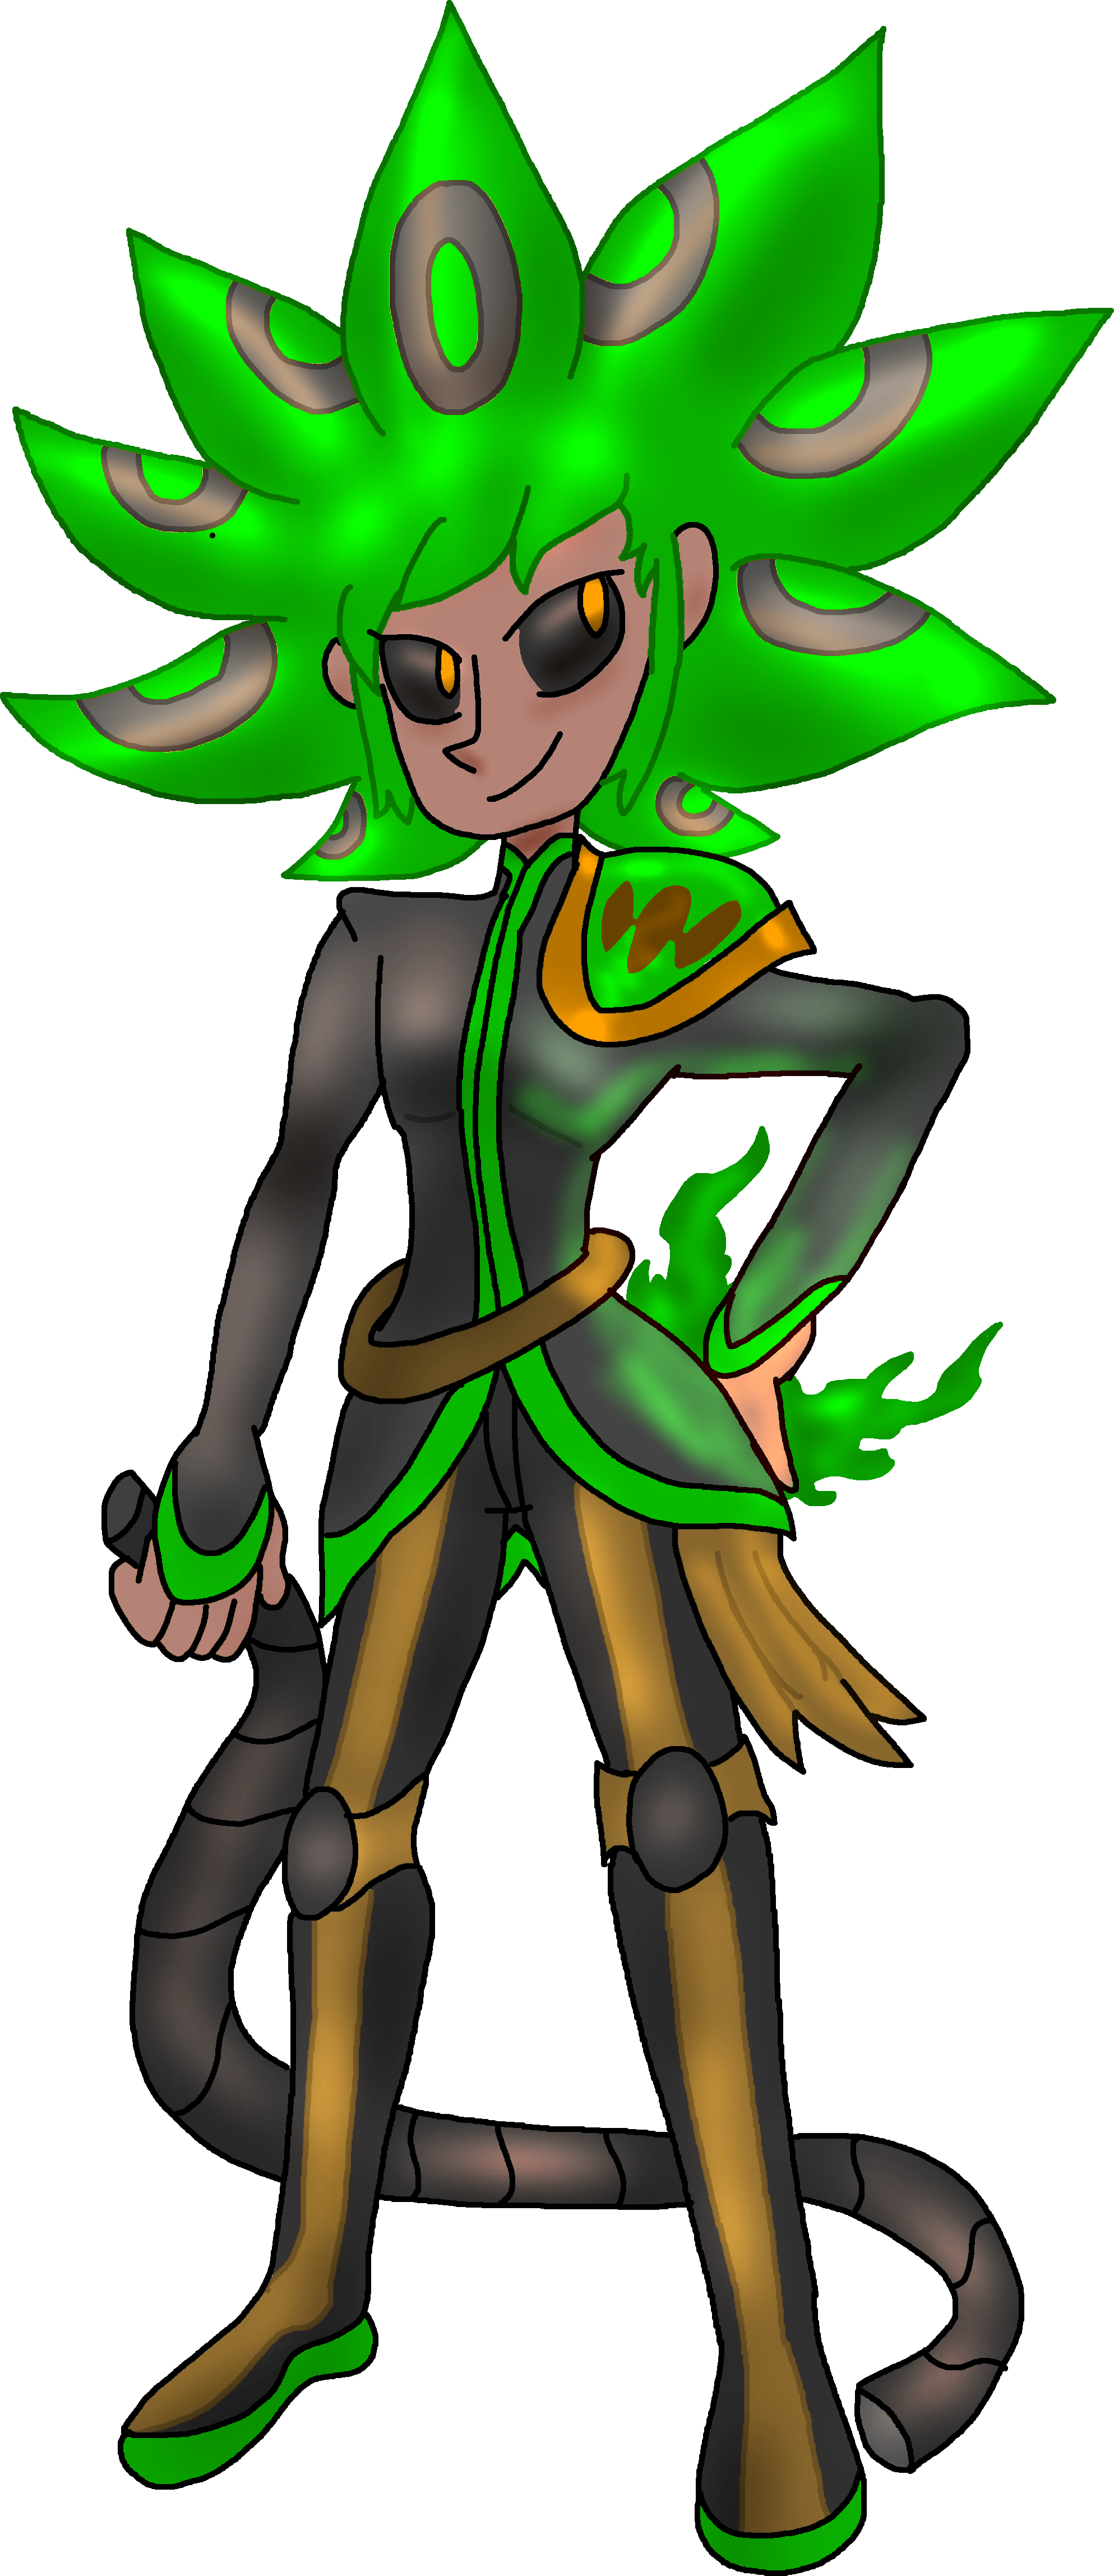 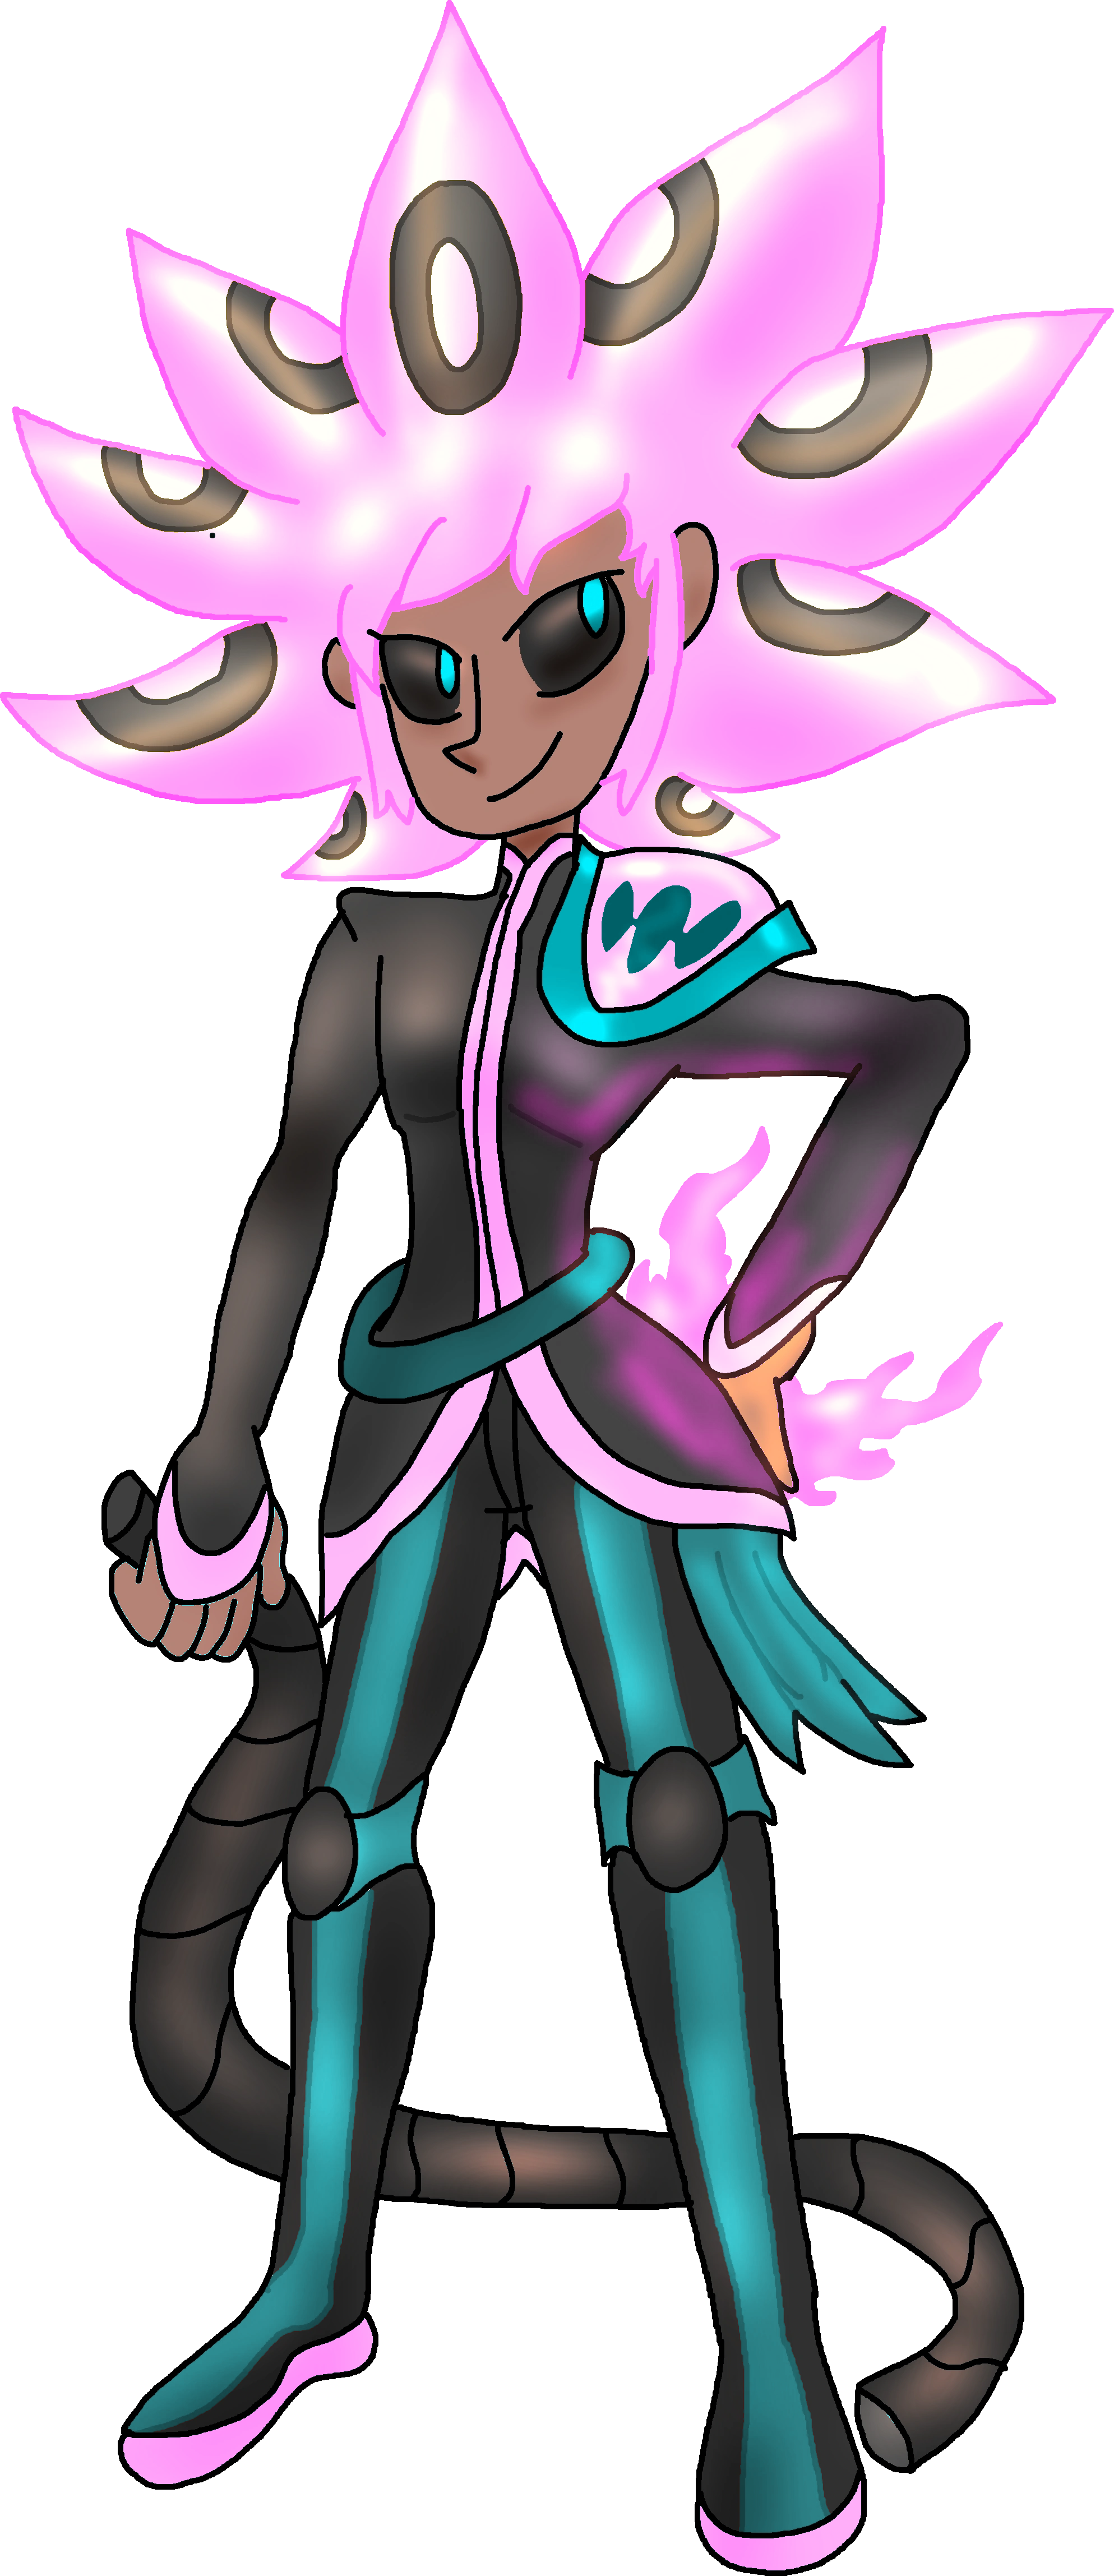 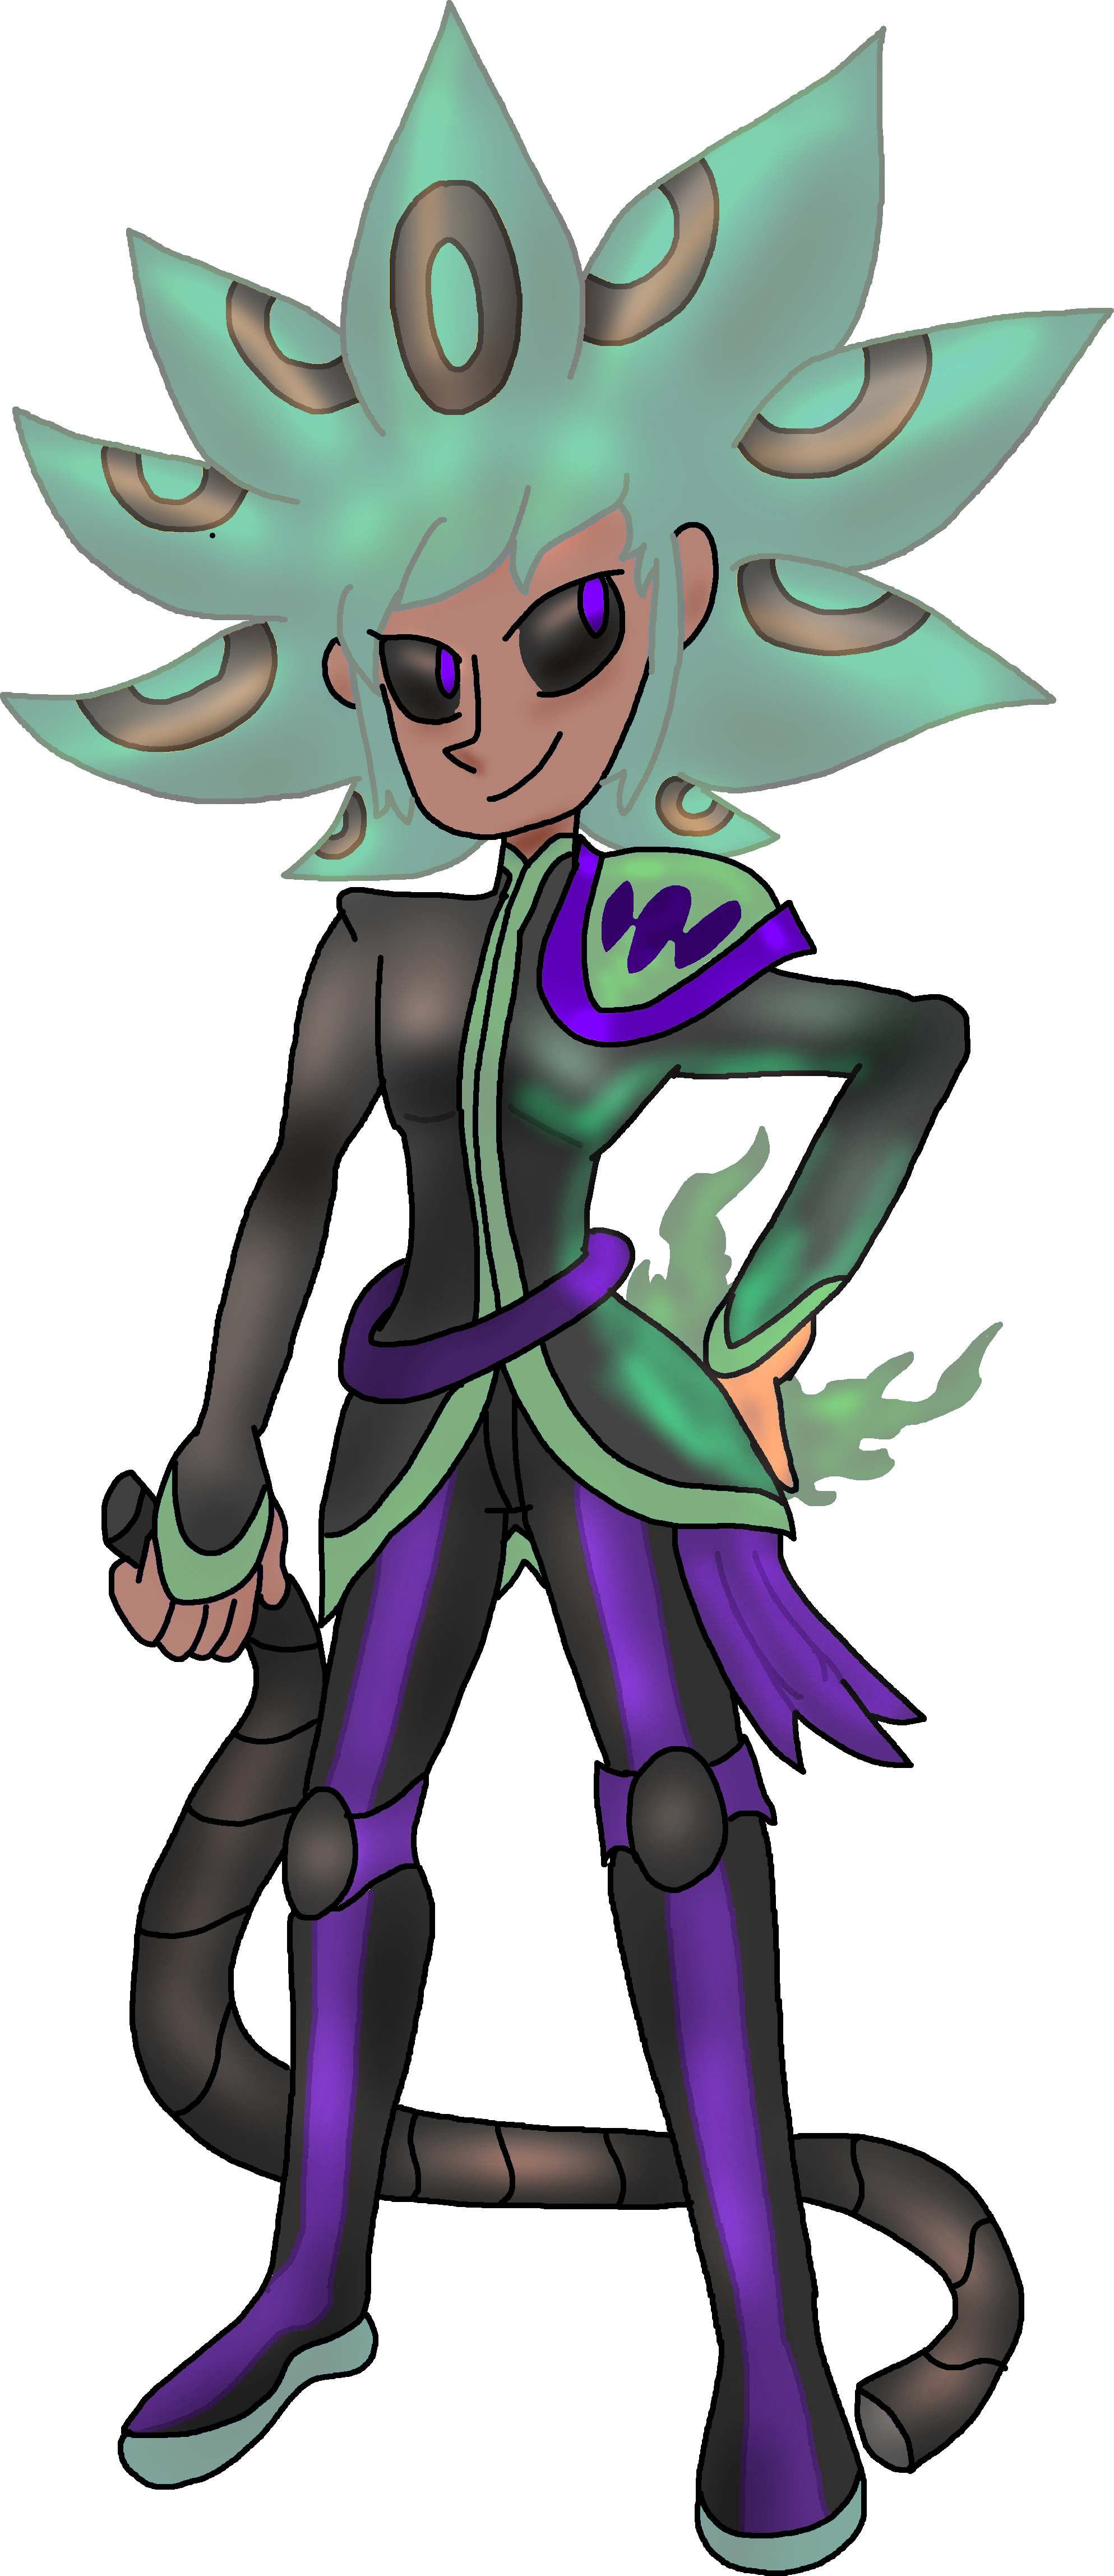 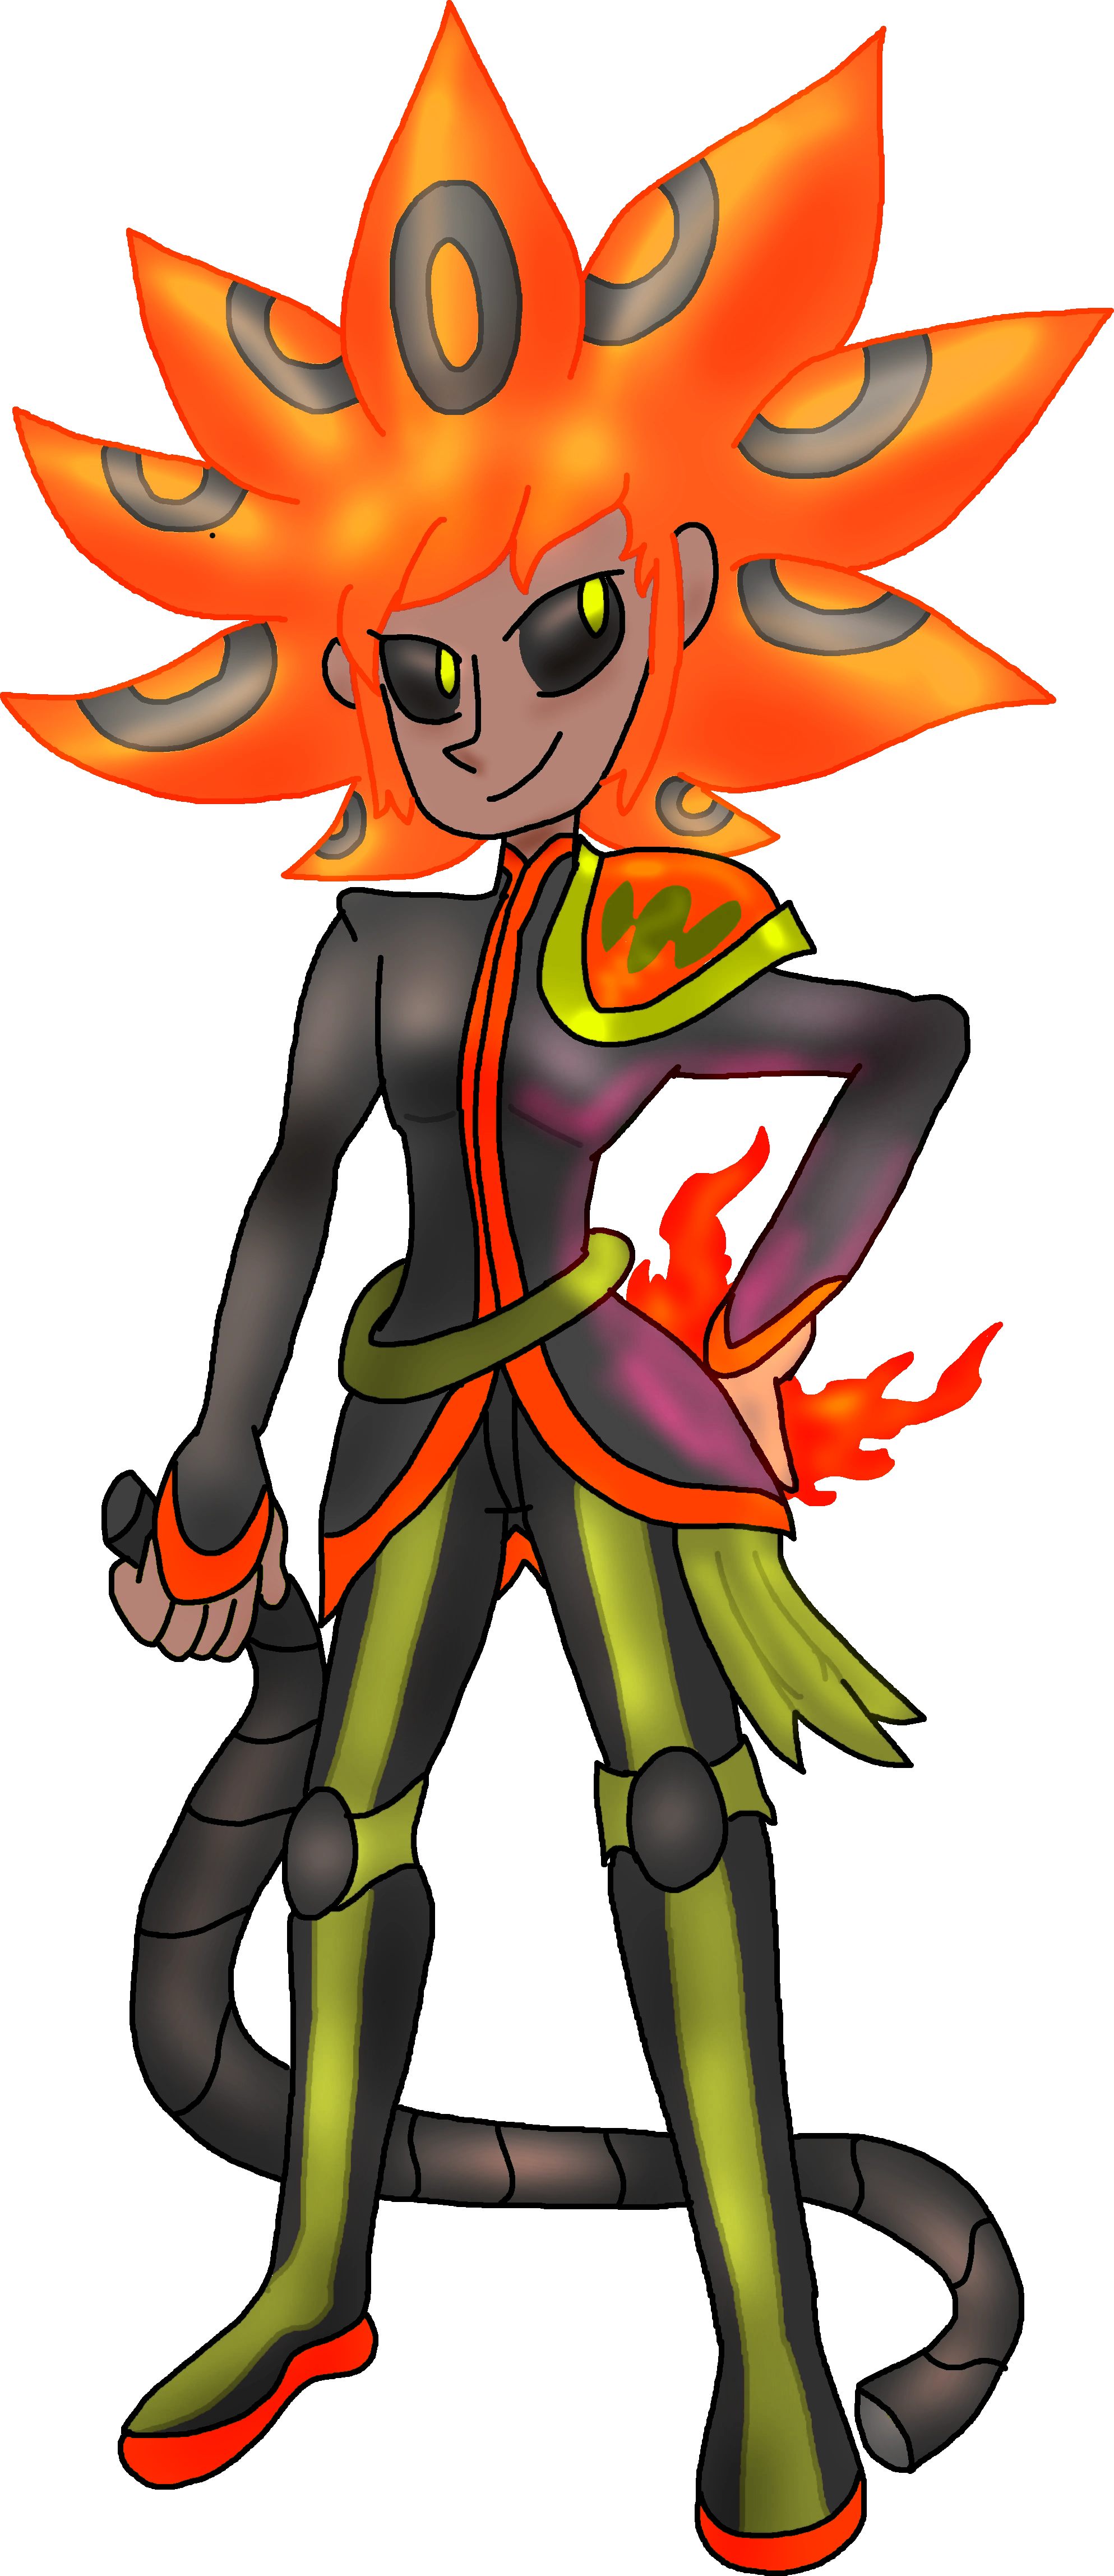 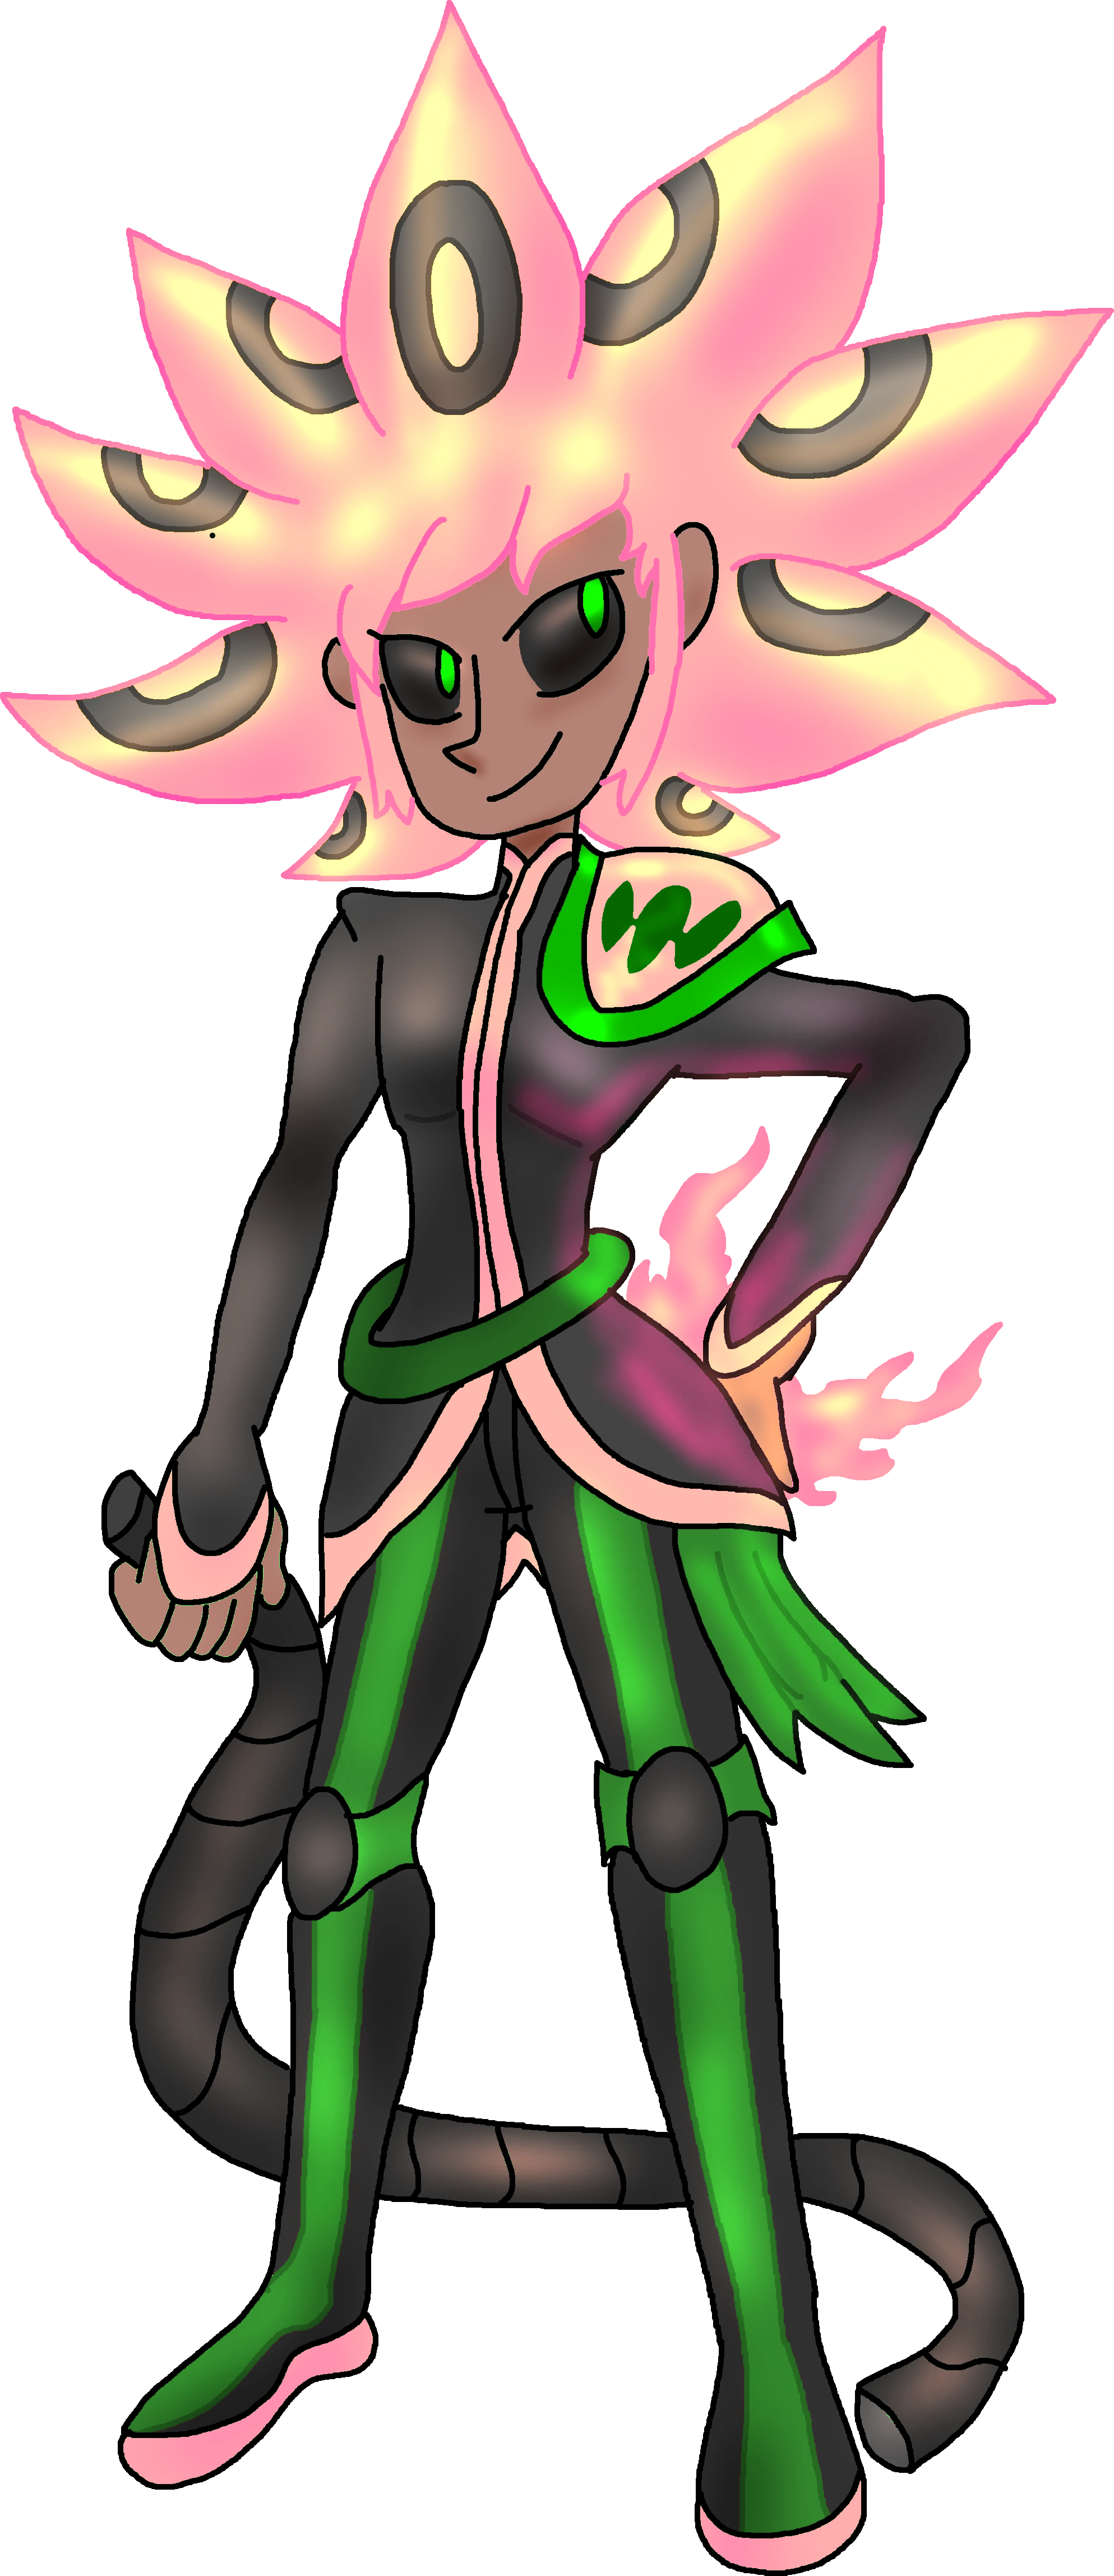 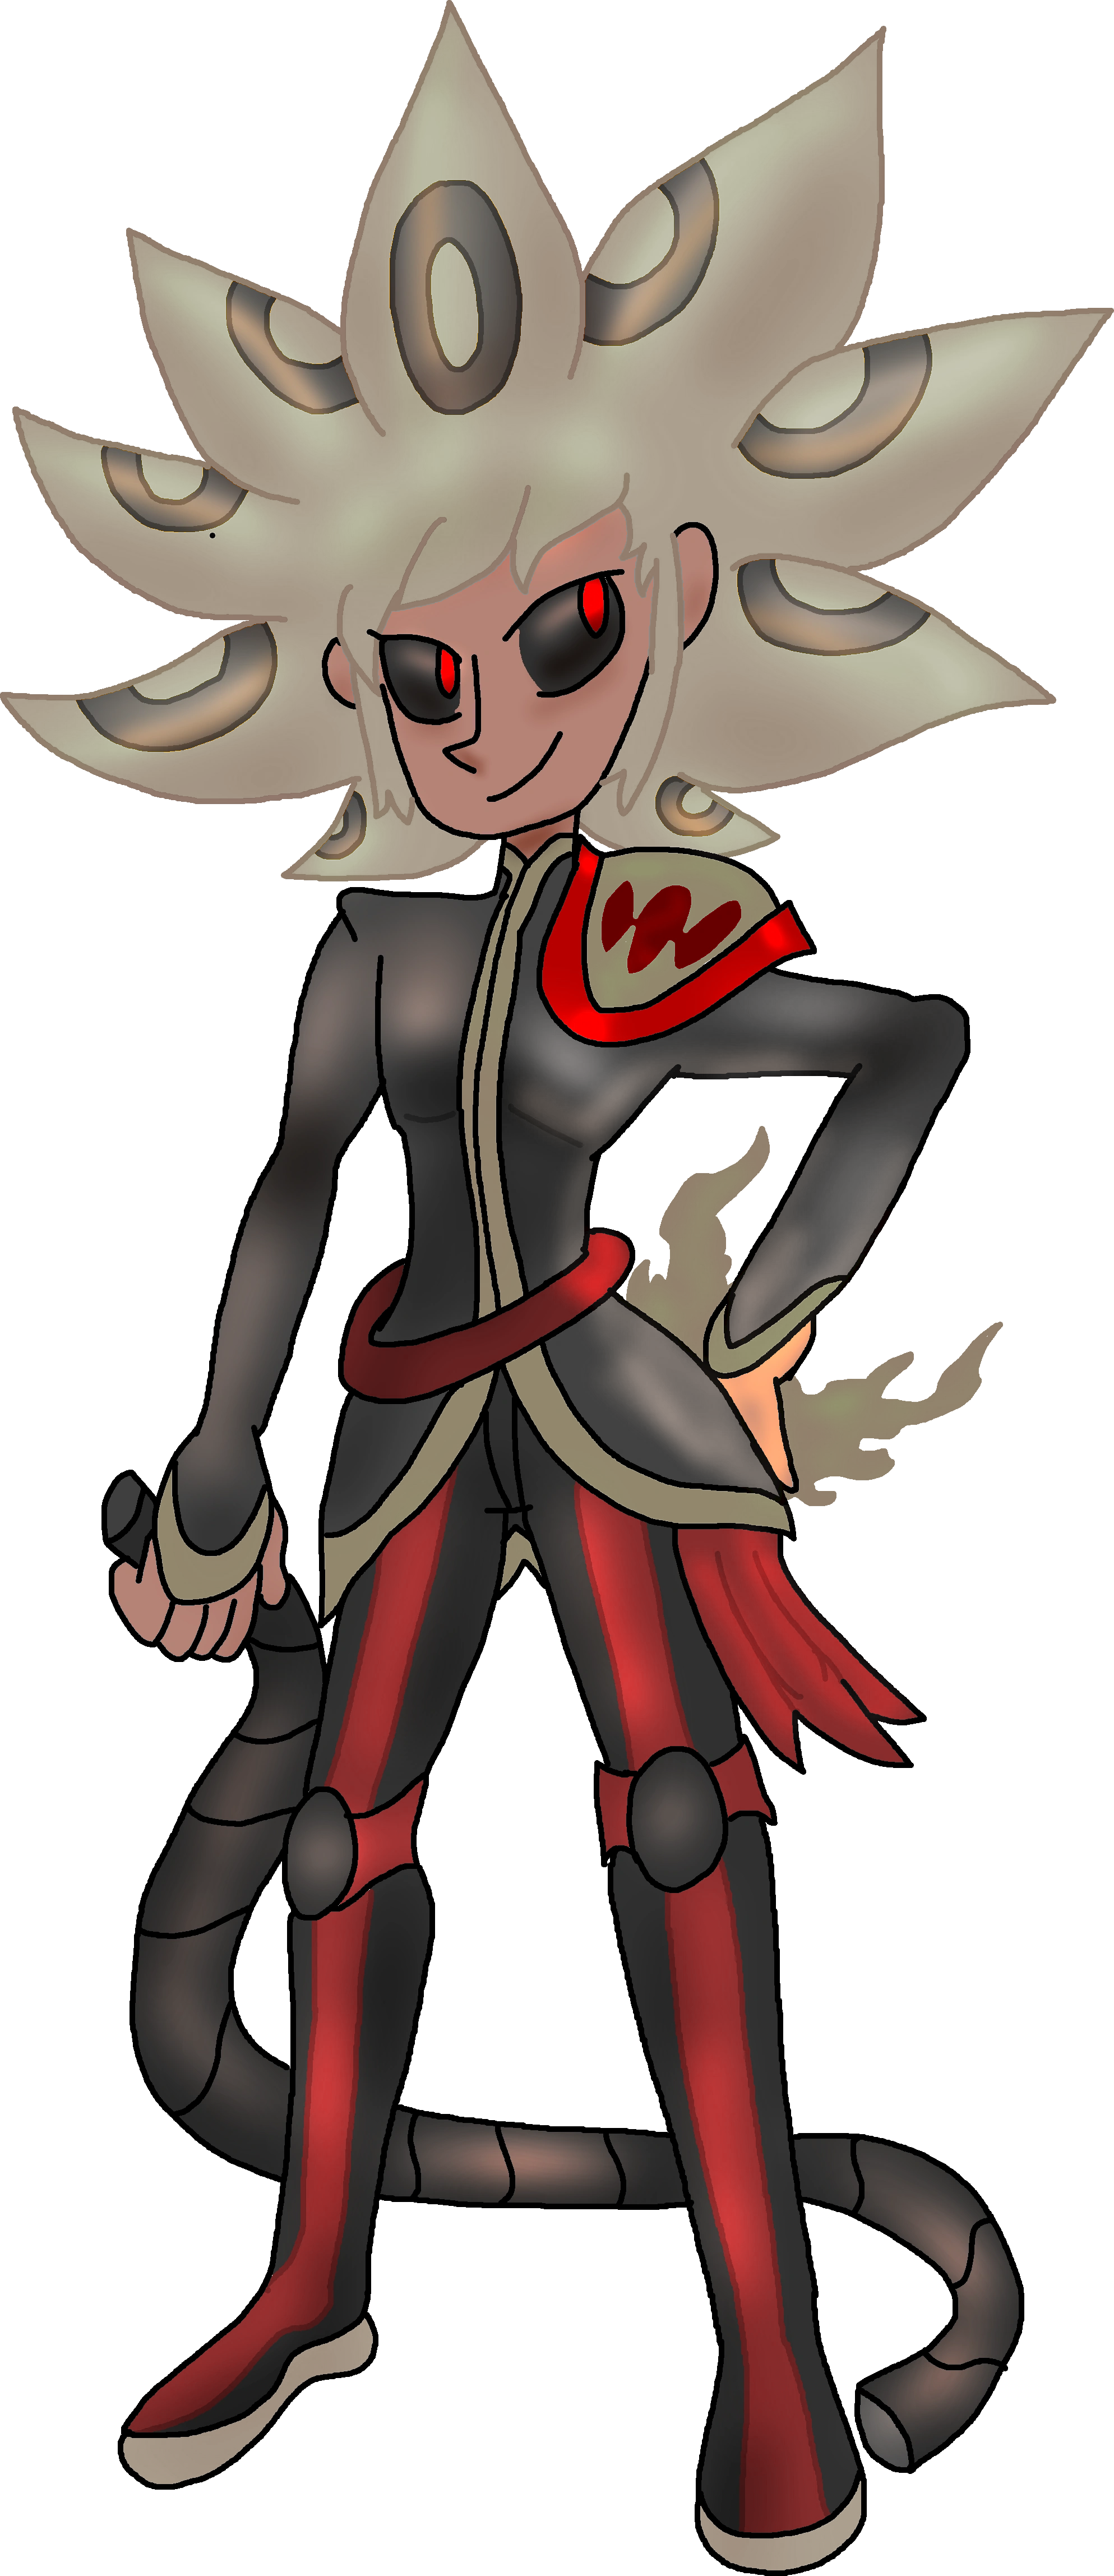 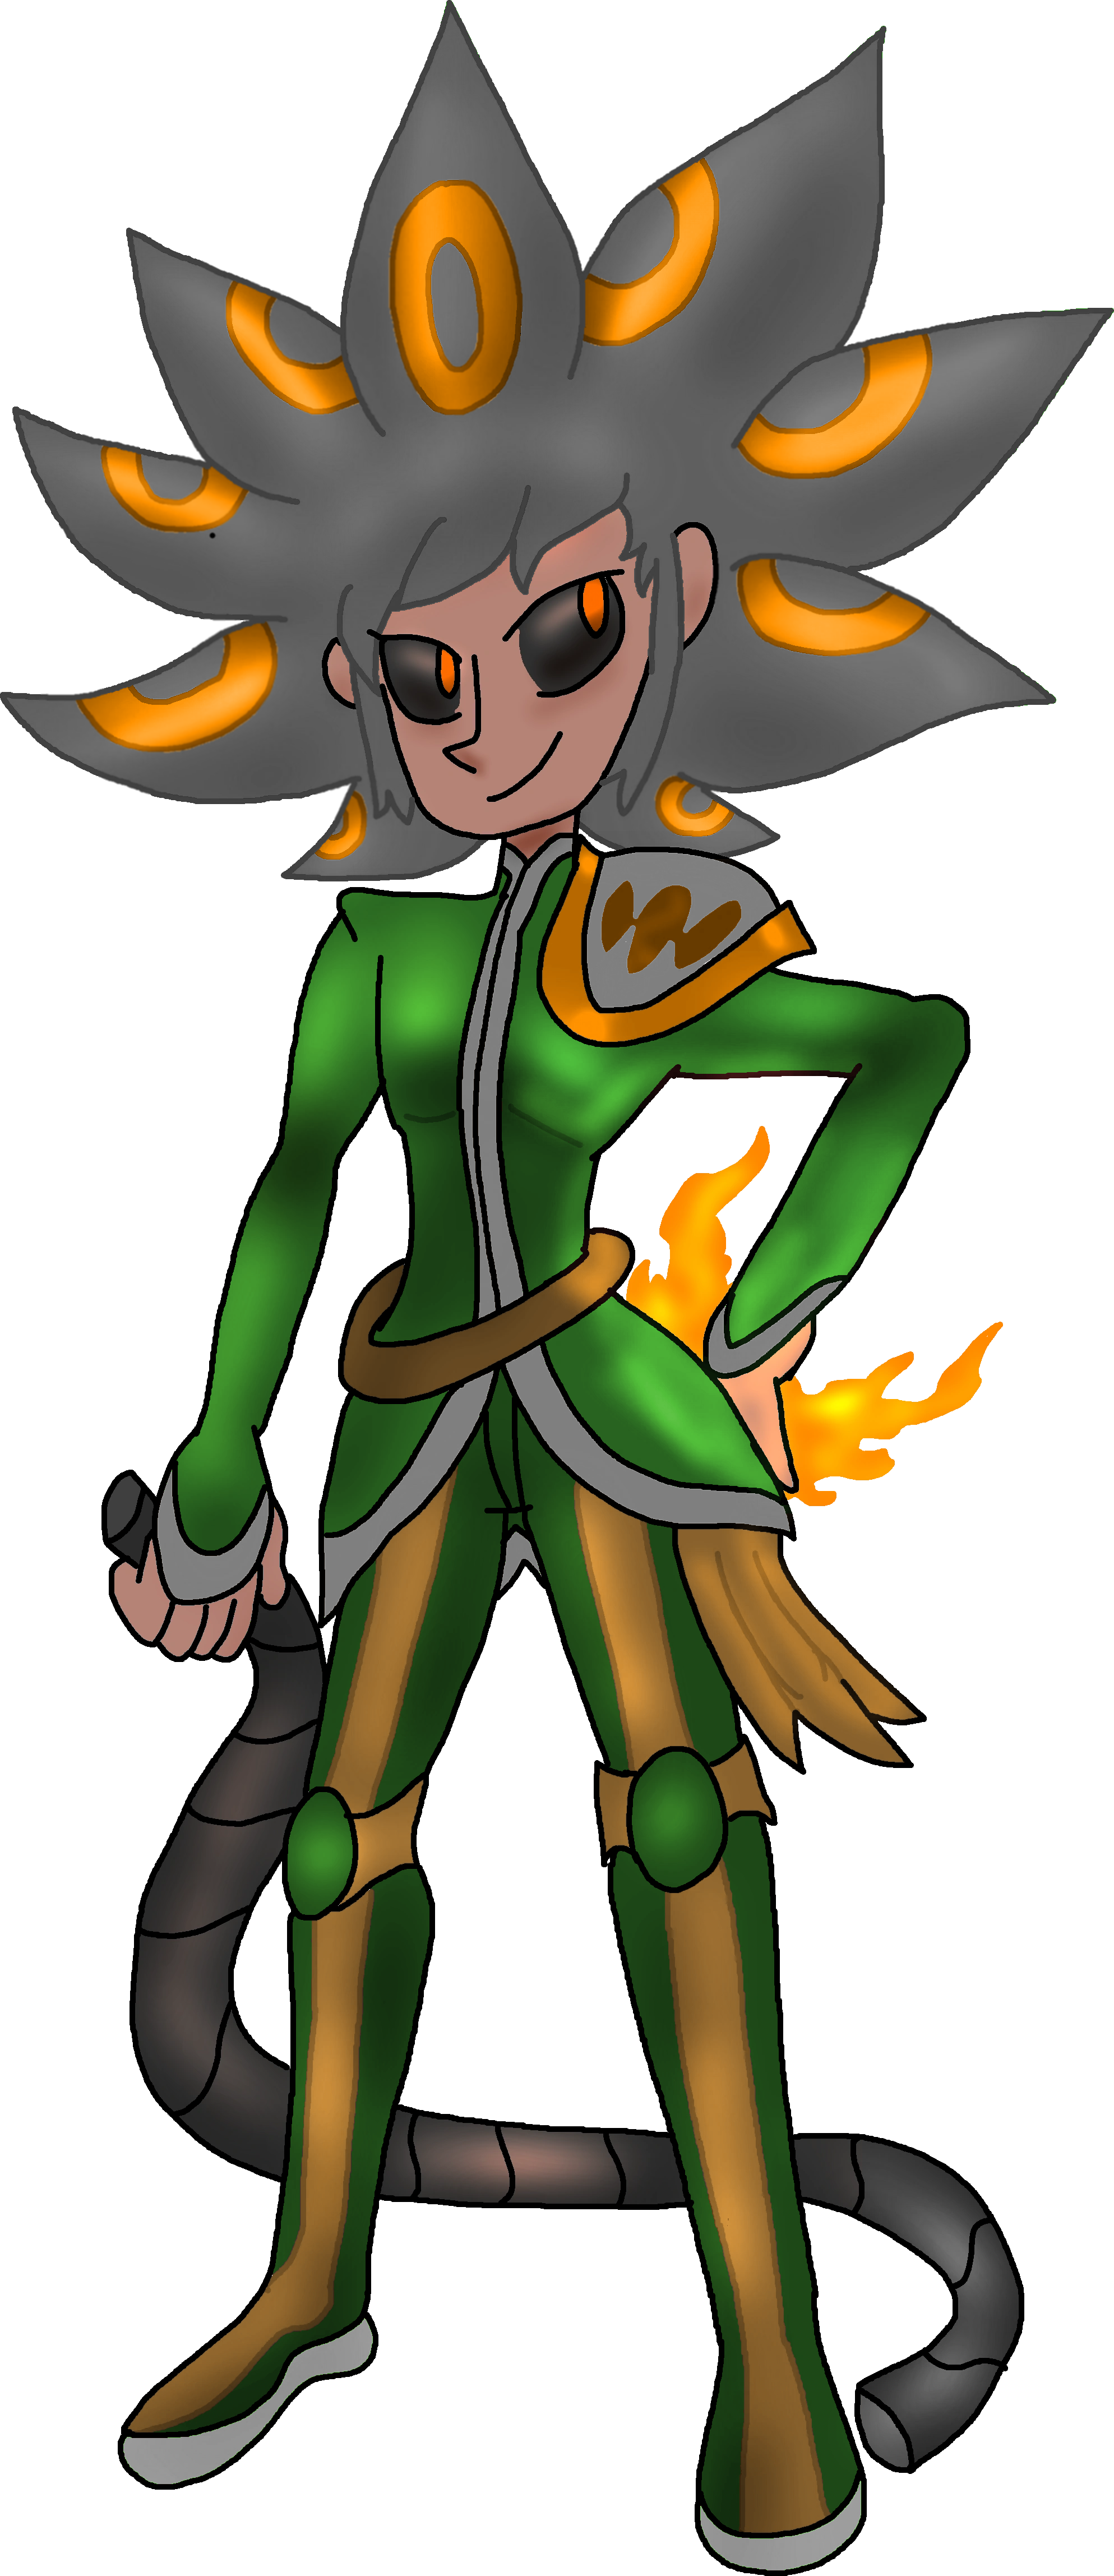 |
Bidziil
|
|
| Gameplay Details | ||||||
|
Bidziil is one of COLD❄BLOOD's more complicated fighters, being among the more versatile heavyweights. His signature "Steel Gauge" is one of the most versatile gauge-based gimmicks in COLD❄BLOOD, filled either by manually doing so with the Recovery Special command or by simply letting it fill on its own over time. Bidziil, if he has enough steel in the gauge, can sacrifice some to make his physical attacks hit harder and have extra range; an important example is that the size and strength of his fist are both amplified in his forward light tilt attack. If this gauge were to completely fill, Bidziil will be coated in heavy armor for a limited time, which increases the range and damage of all his attacks on top of amplifying his defenses and making it impossible to make him flinch. He doesn't lose speed either when in his metal form, making him a walking Armageddon to put it lightly. Finally, Bidziil's meddling speed is made up for by his absurdly deadly Forward Special, which has him roll around really fast as a flinchless steel ball. Bidziil has many strengths that easily rank him as one of COLD❄BLOOD's most formidable fighters, but that doesn't make him flawless. Bidziil has rather underwhelming stats when his (somewhat limited) Steel Gauge is low or empty, with both offense and defense that don't really make the cut for him at all. His generally average speed also makes it difficult for him to keep up with his enemies, although his punishing Crouch Special does elevate this problem to some extent. Bidziil is also one of the game's largest fighters, making him an easy target and making him struggle with getting juggled around or caught in chains of attacks. The only truly reliable way he can go about approaching his enemy is by using his Forward Special, though the fact he can cancel out of it mid-dash still gives him plenty of options. The projectiles he carries in his Neutral Special certainly help matters. Finally, he lacks a reliable recovery move; his Recovery Special instead is reserved for a different move, making his jumps his only hopes of escaping perils. While Bidziil's flaws may seem rather overwhelming, don't underestimate just how strong of a player he really is when he's in the right hands. Someone that's careful at managing the Steel Gauge will make the best use of him, knowing when to throw the hardest punches or assume Bidziil's steel form. It should also be noted that Bidziil's gauge can be turned on and off at will mid-fight, which can help reserve some of the gauge energy for later.
Common Attacks Special Moves
Hyper Moves
Animations
   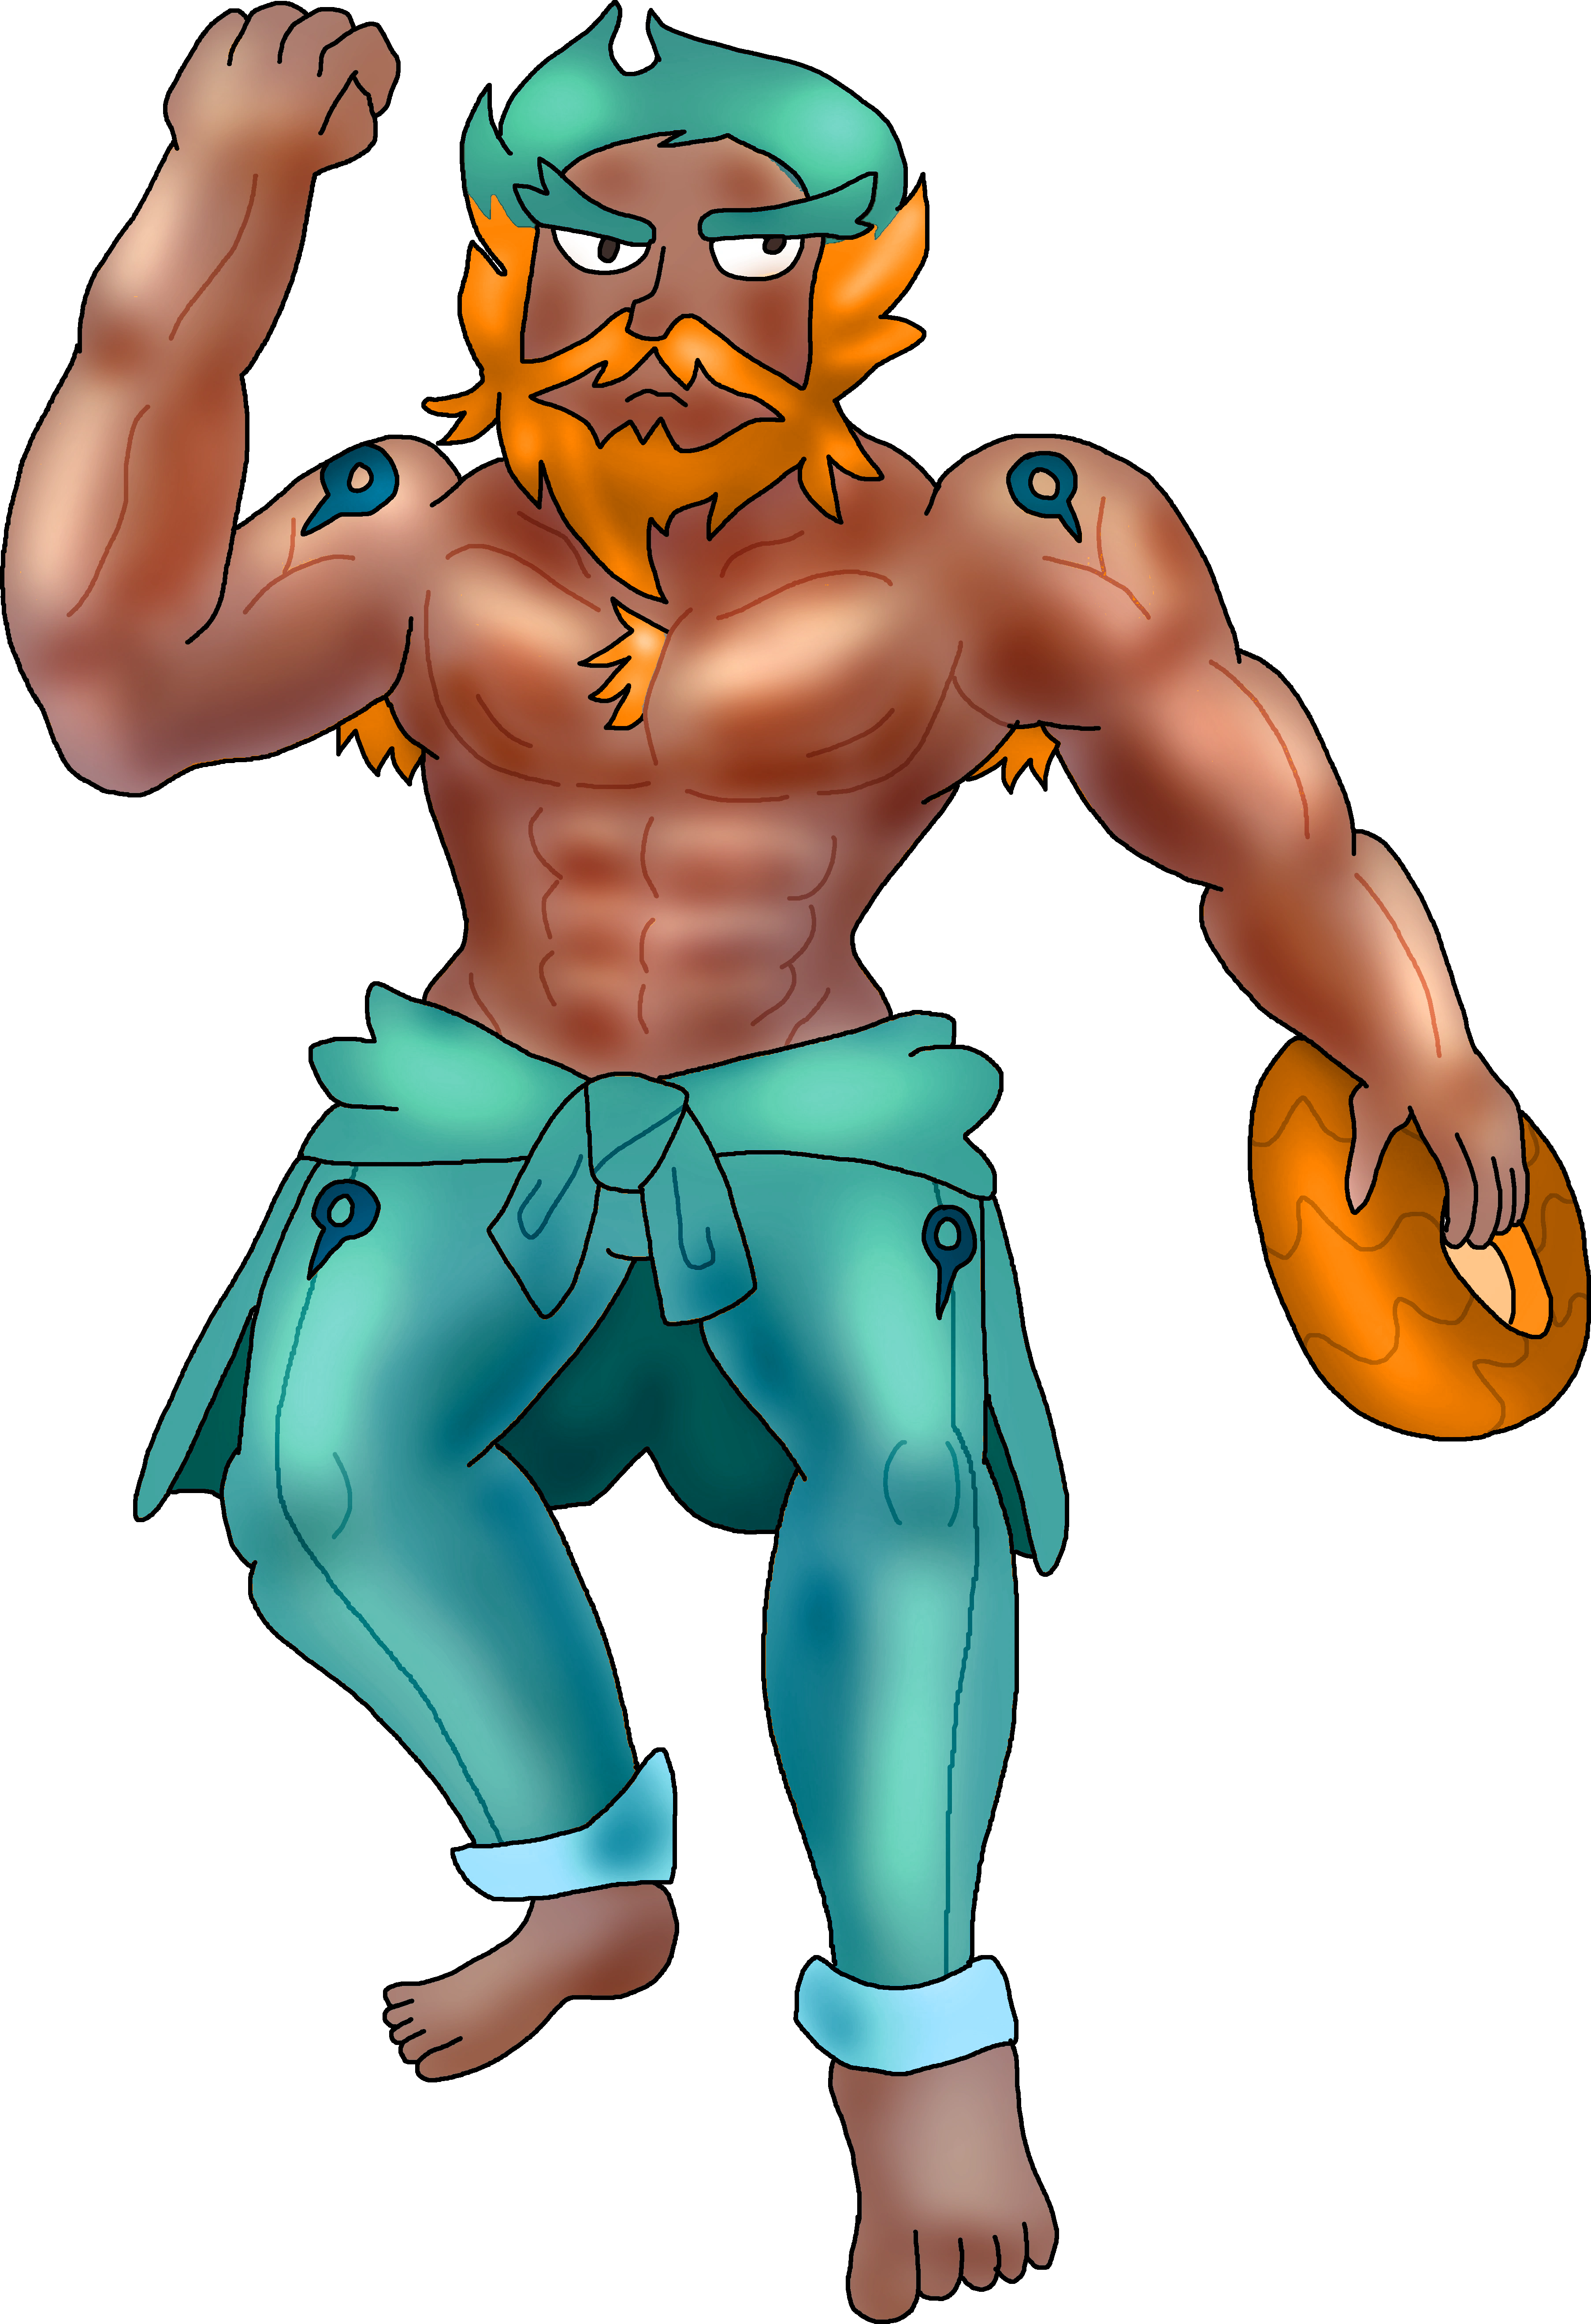    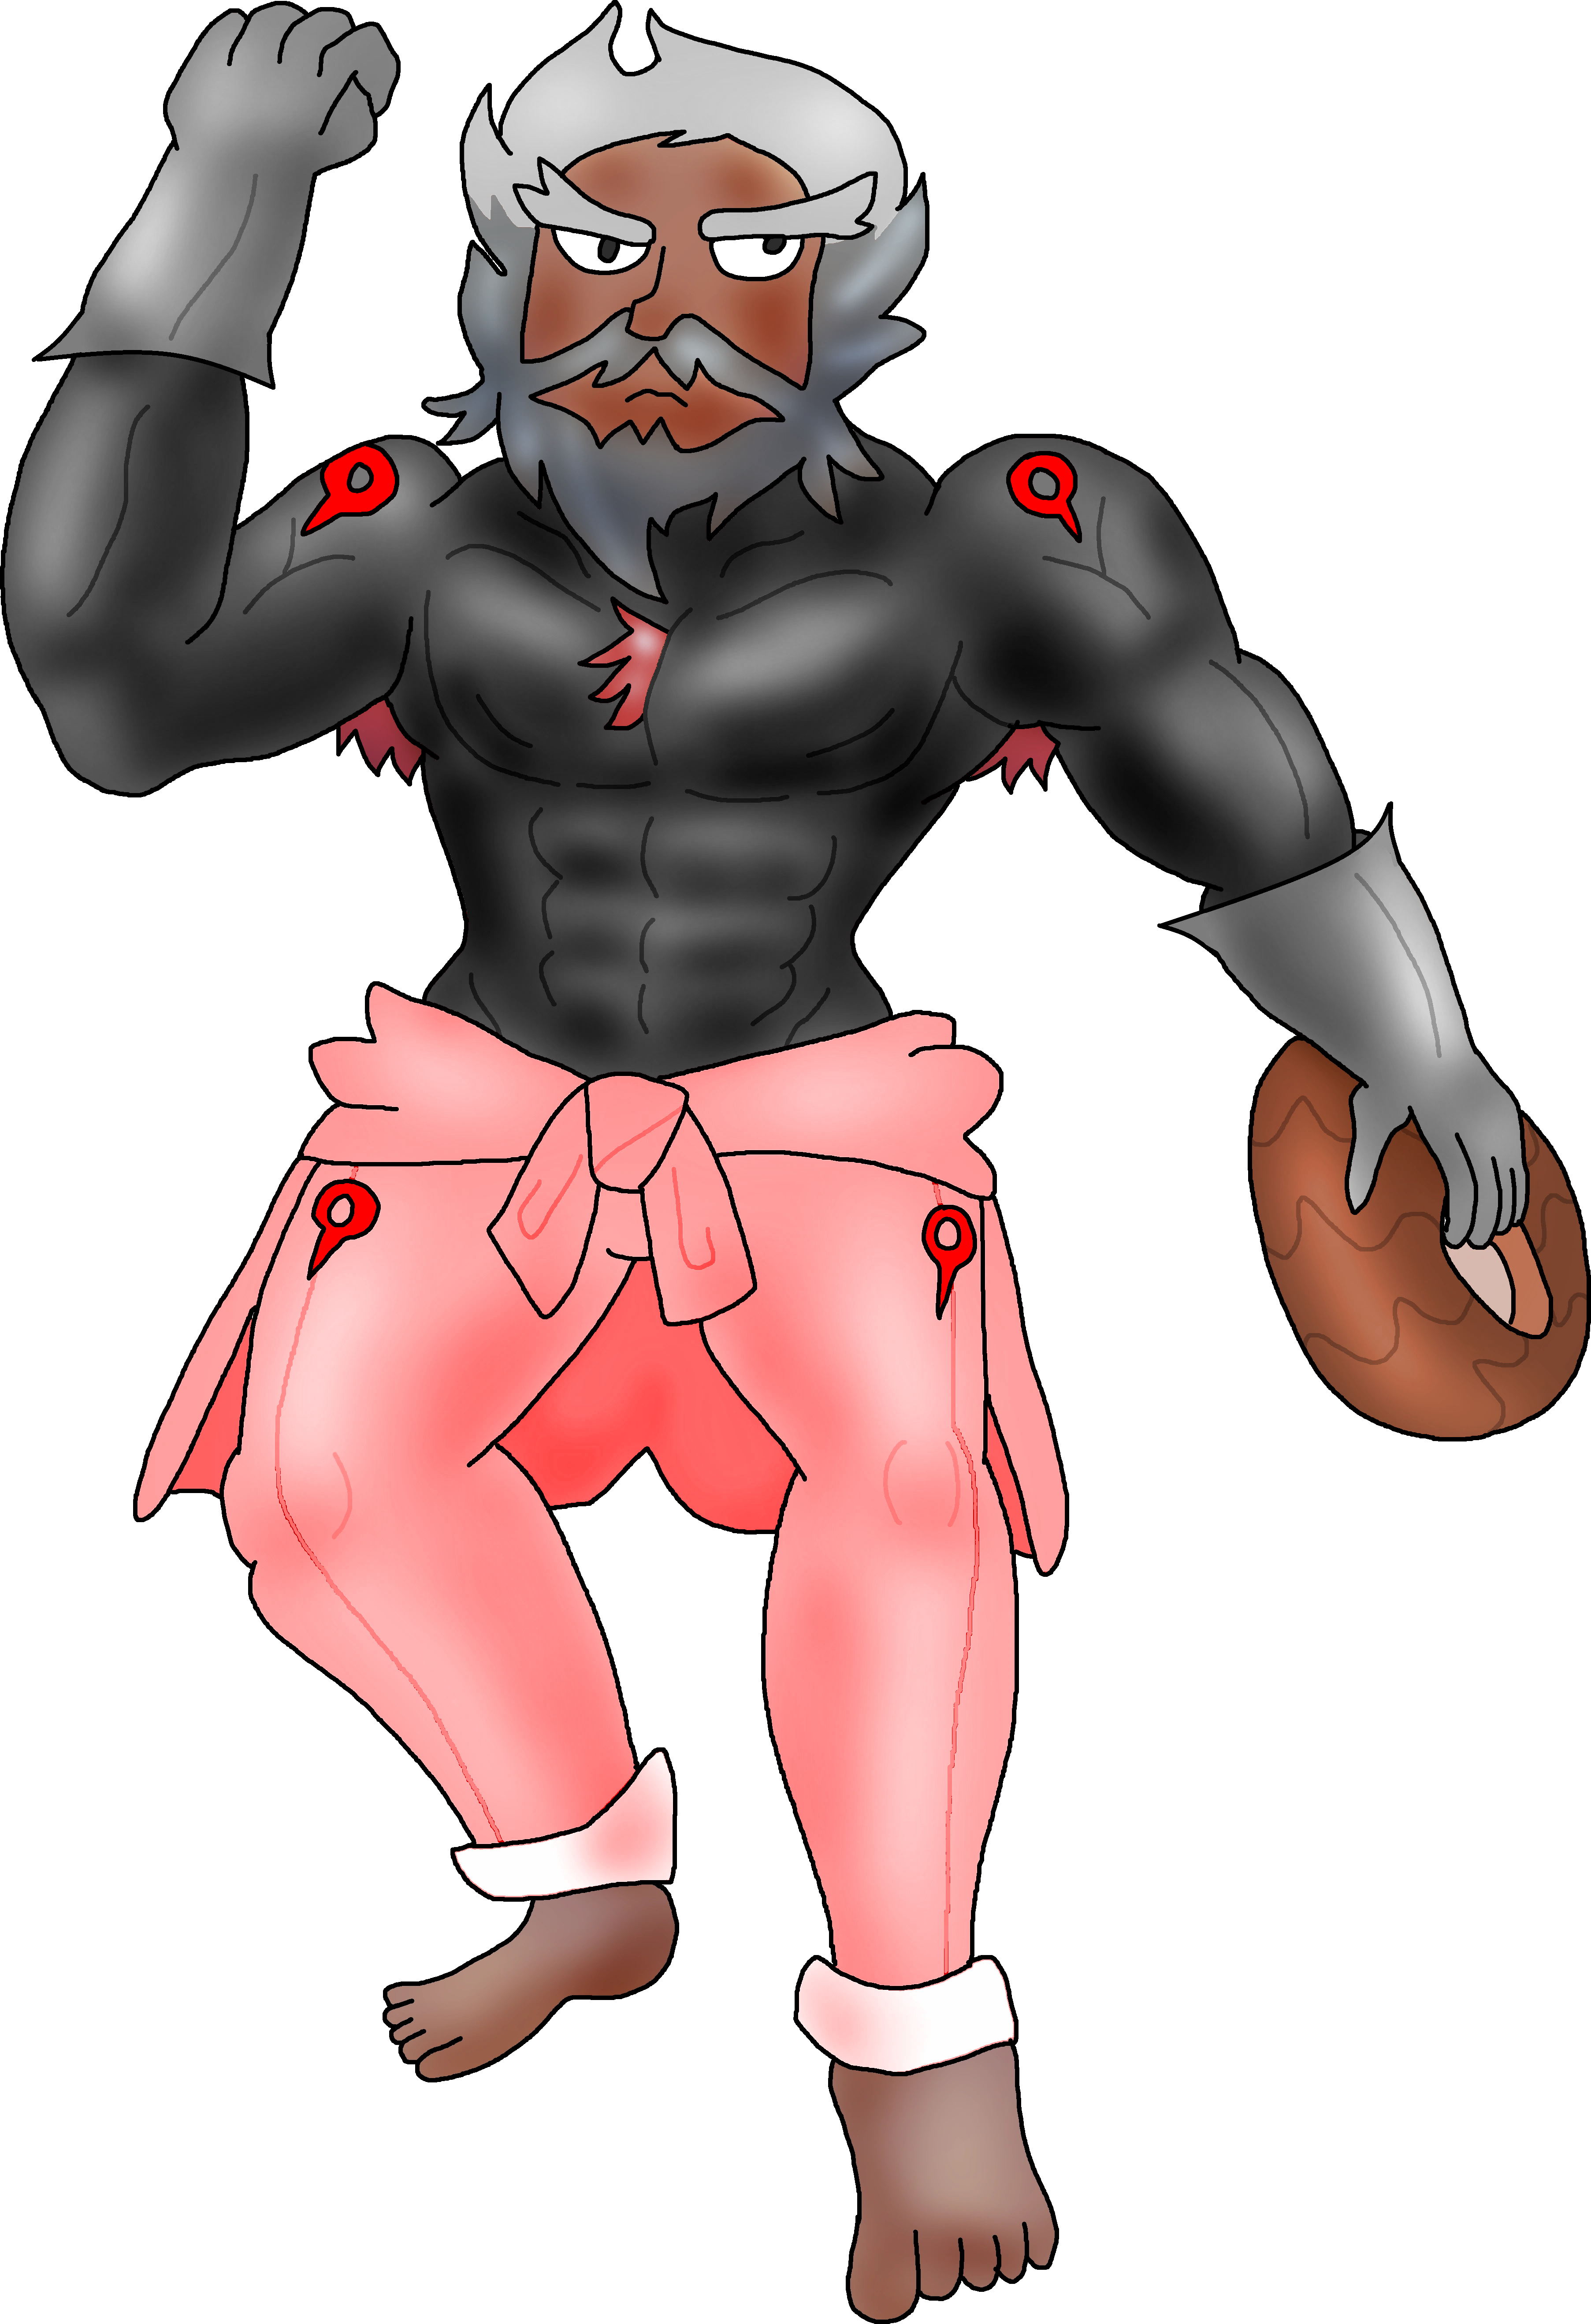 |
Nu Blade
|
|
| Gameplay Details | ||||||
|
Nu Blade is a lightweight fighter with great offense and defense, being one of COLD❄BLOOD's most capable fighters and proving to be a destructive force in good hands. Nu Blade's biggest and most impressive boon is her ability to switch up the blades she can use at will, giving her a surprising amount of versatility. All these different knives carry unique gimmicks, shapes, and colors, so they're easy to tell apart. Nu Blade, even though already having great offense, can potentially deal more damage with her ability to manually get an increased critical hit ratio. The more times she's hit in her Withstand counterstance, the stronger her inner rage will become, and the chance of her next moves becoming critical hits will sharply increase. Her insane mobility lets her keep up with much of the cast too. Nu Blade's high defense means that she won't take much damage from status ailments or from getting knocked against walls, giving her a fair fighting chance. Nu Blade does come with her fair share of problems, though. Nu Blade's stamina is notoriously horrible; she cannot take that many hits before going down even though she's practically immune to the poison and bleeding ailments. She requires lots and lots of energy to efficiently run, so hunting down food is going to be a huge priority for Nu Blade. She's also very difficult to master, as all her blades require the player to adapt to different playstyles and make the best use of her space, or she can get easily punished. Her moves also don't have many active frames, as Nu Blade's attacks are so damn fast that they're easy to intercept or punish if she's not careful. The more damage that Nu Blade takes, the more ending lag she'll suffer on her heavy tilt attacks and some of her special moves, so it's ideal to keep her in top-notch shape. But this can be tricky, as Withstand requires her to get hit for it to start giving her full power... also, her knives dull out over her stock, requiring her to switch between them frequently. Nu Blade isn't the easiest character to use, in fact she requires a lot of patience from the player to be mastered. But once the player understands her underlying mechanics, she becomes a deadly force of nature.
Common Attacks Special Moves
Hyper Moves
Animations
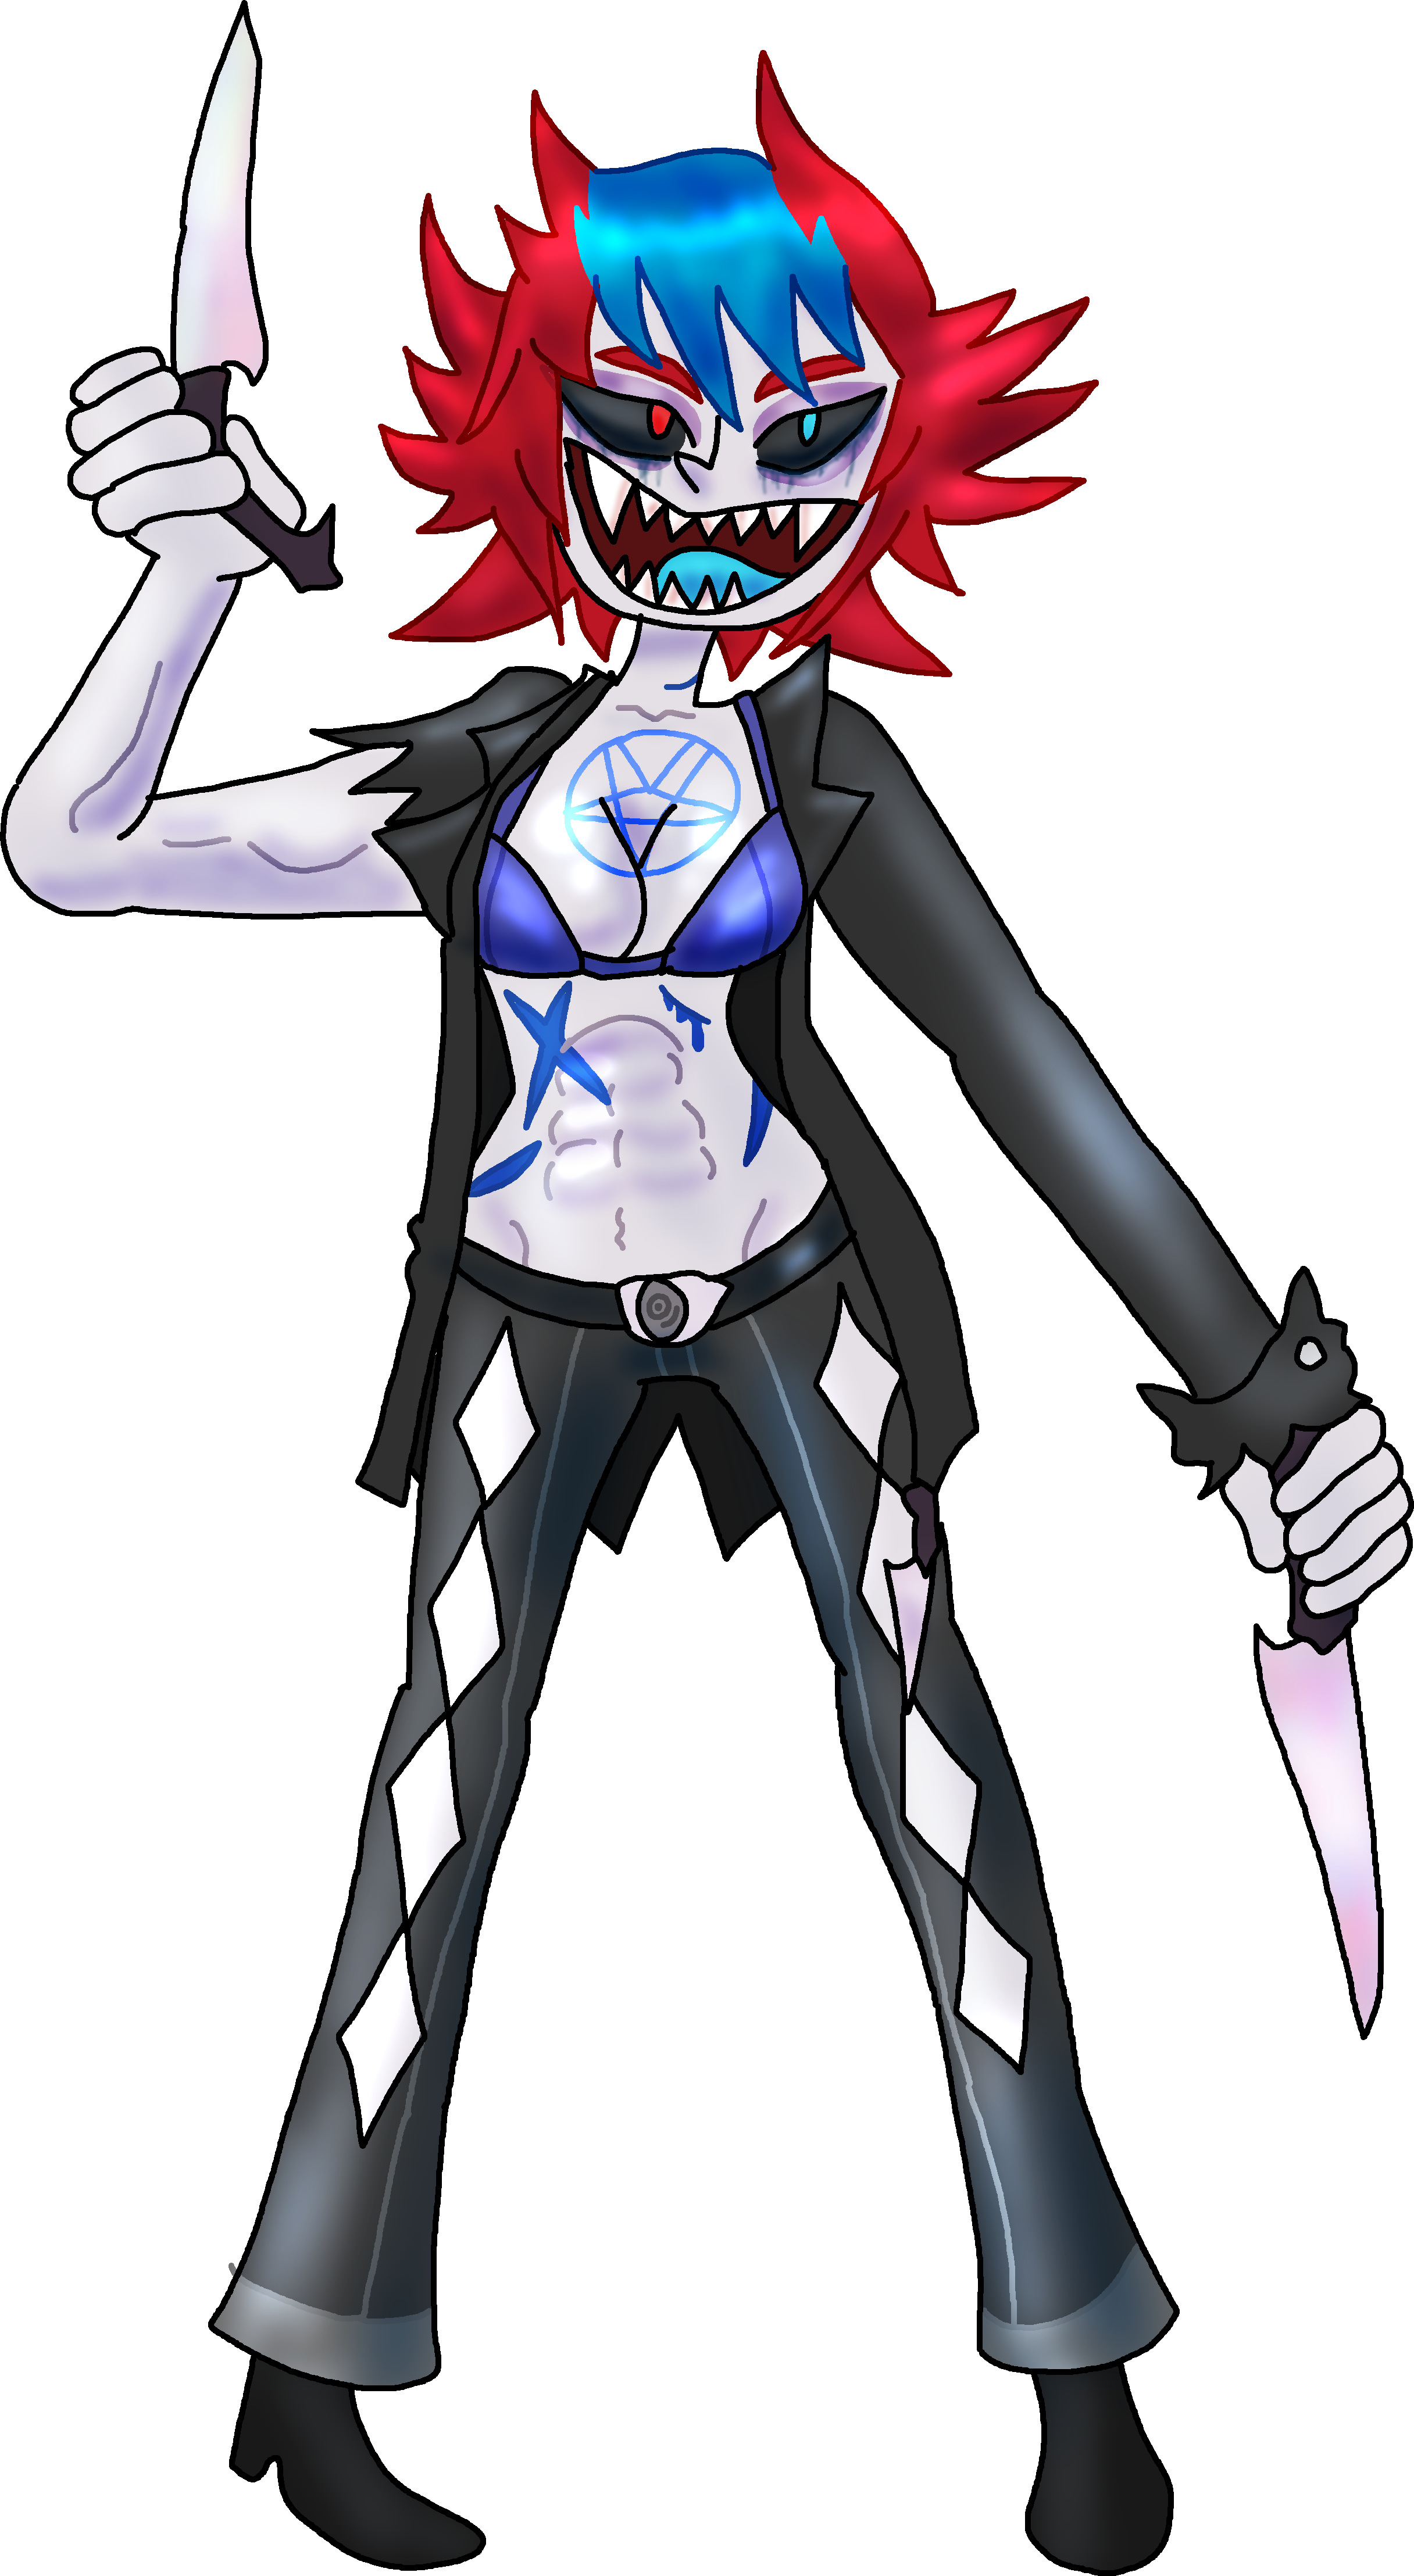 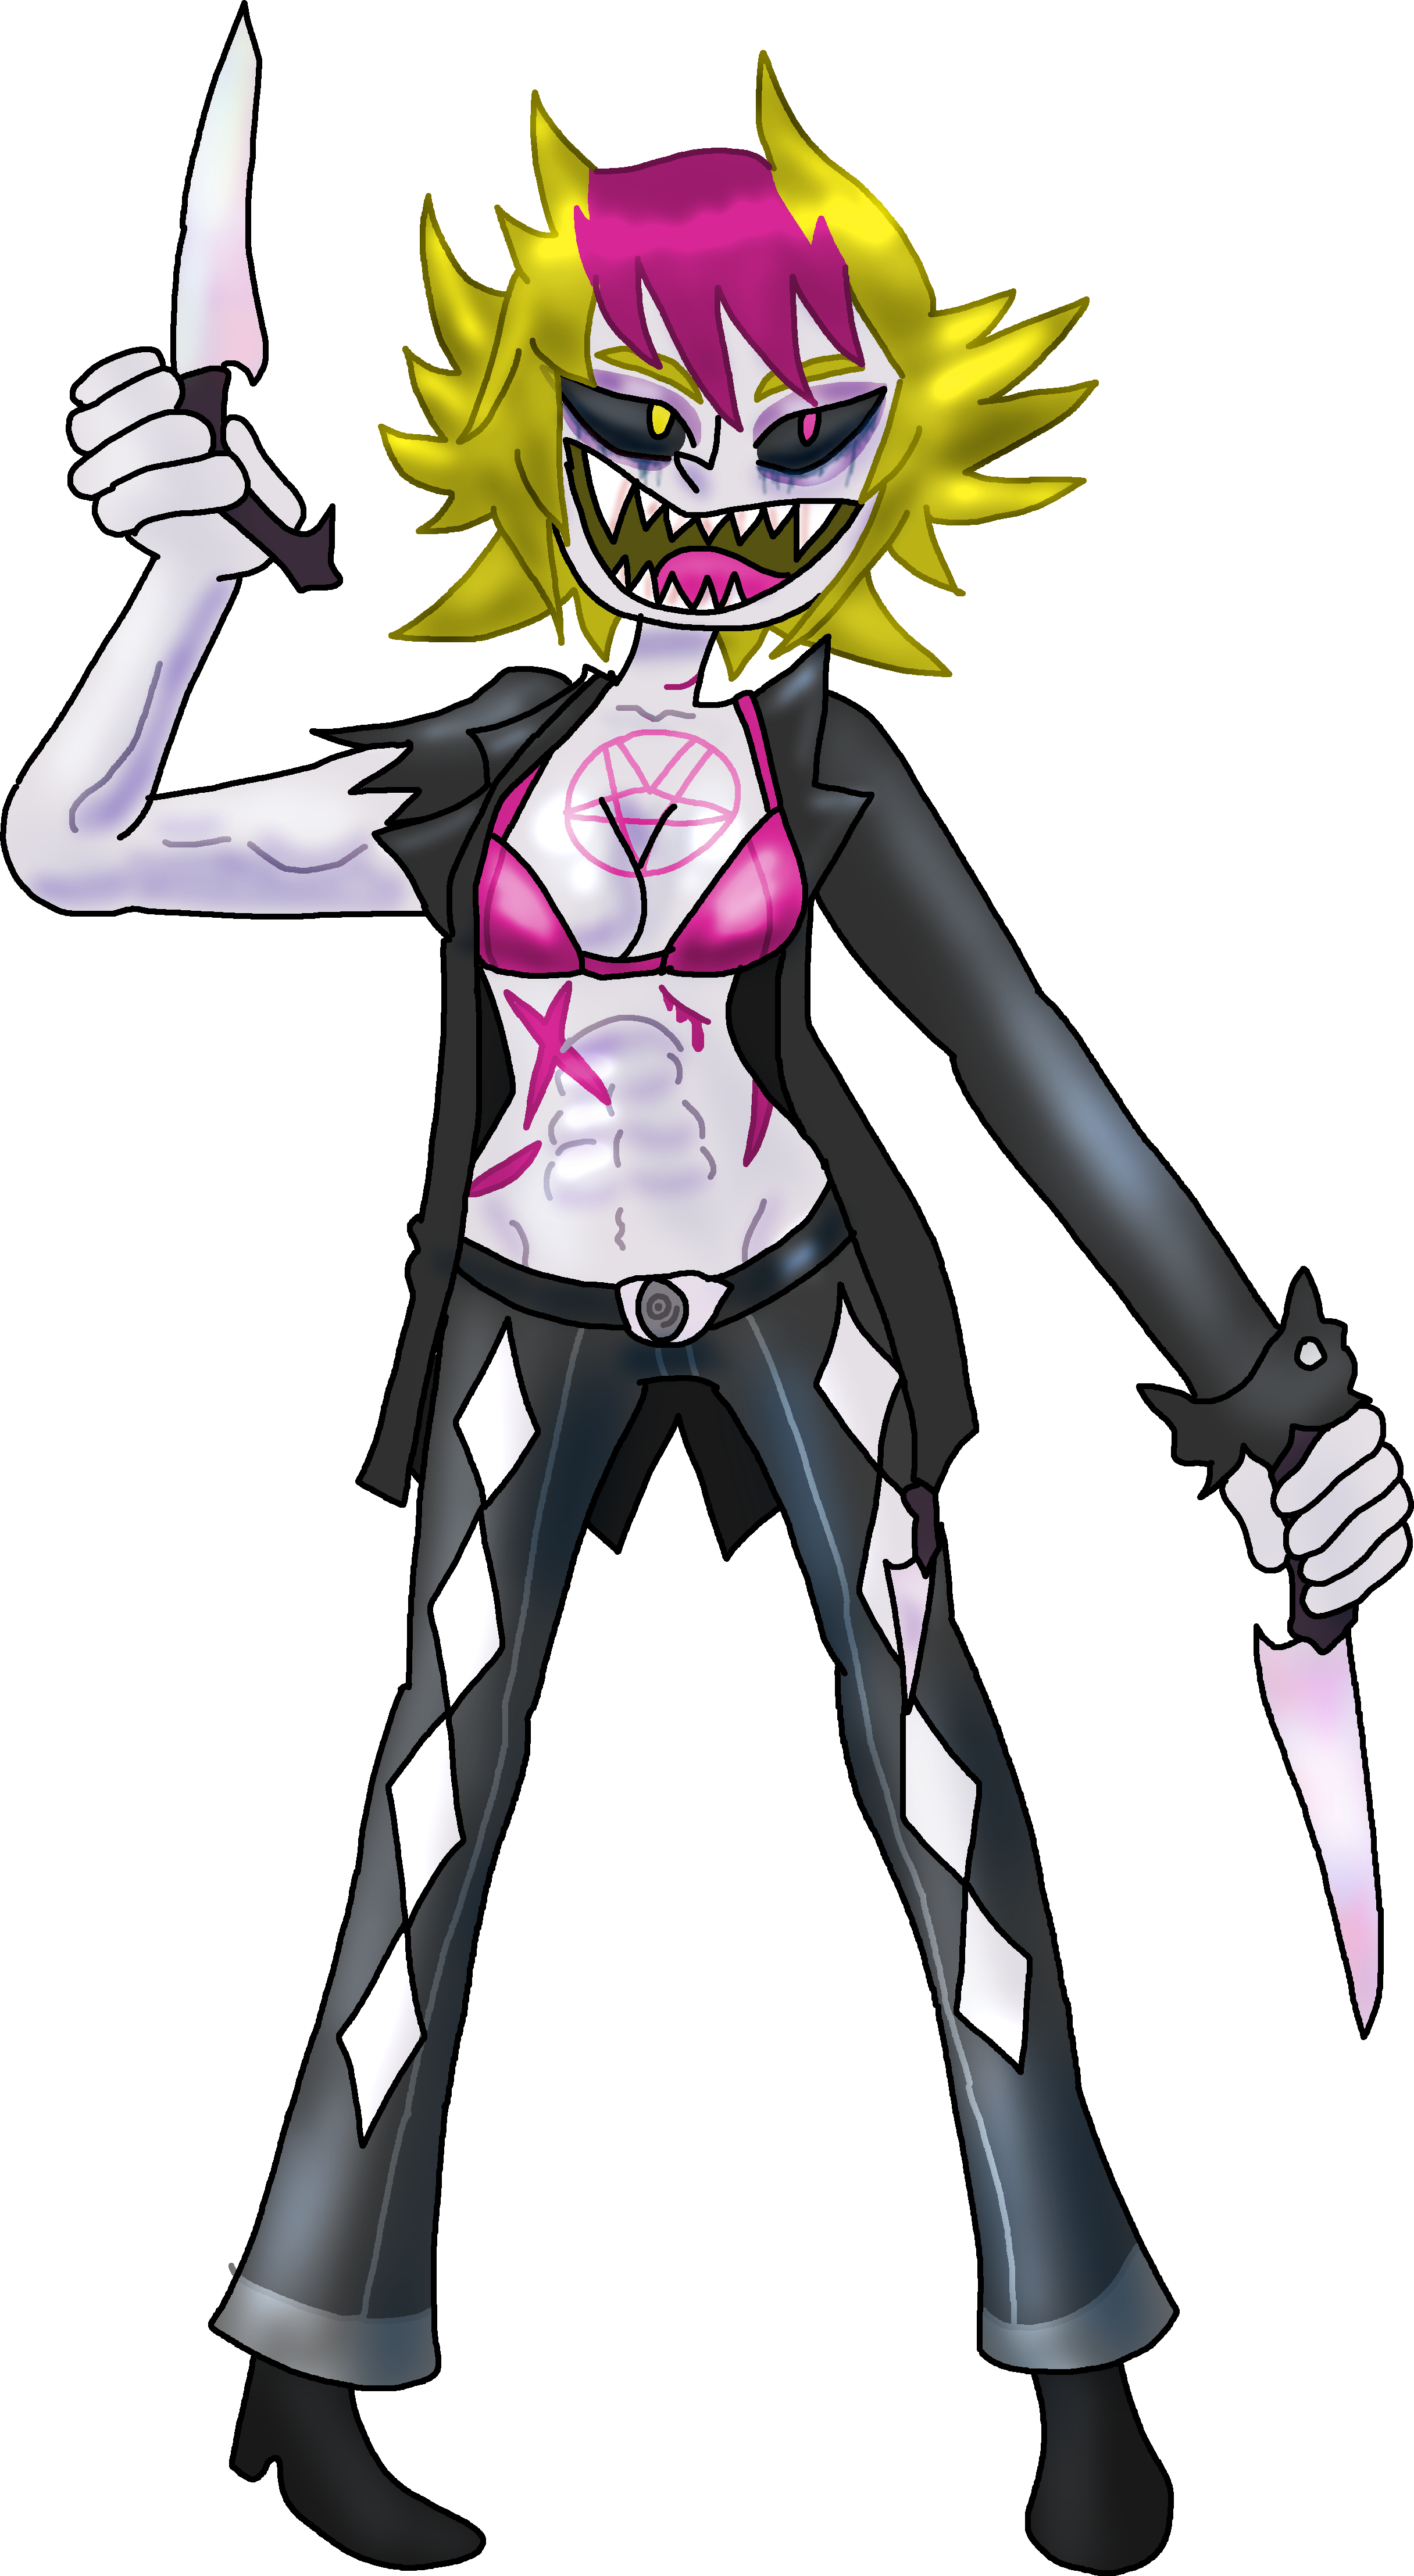 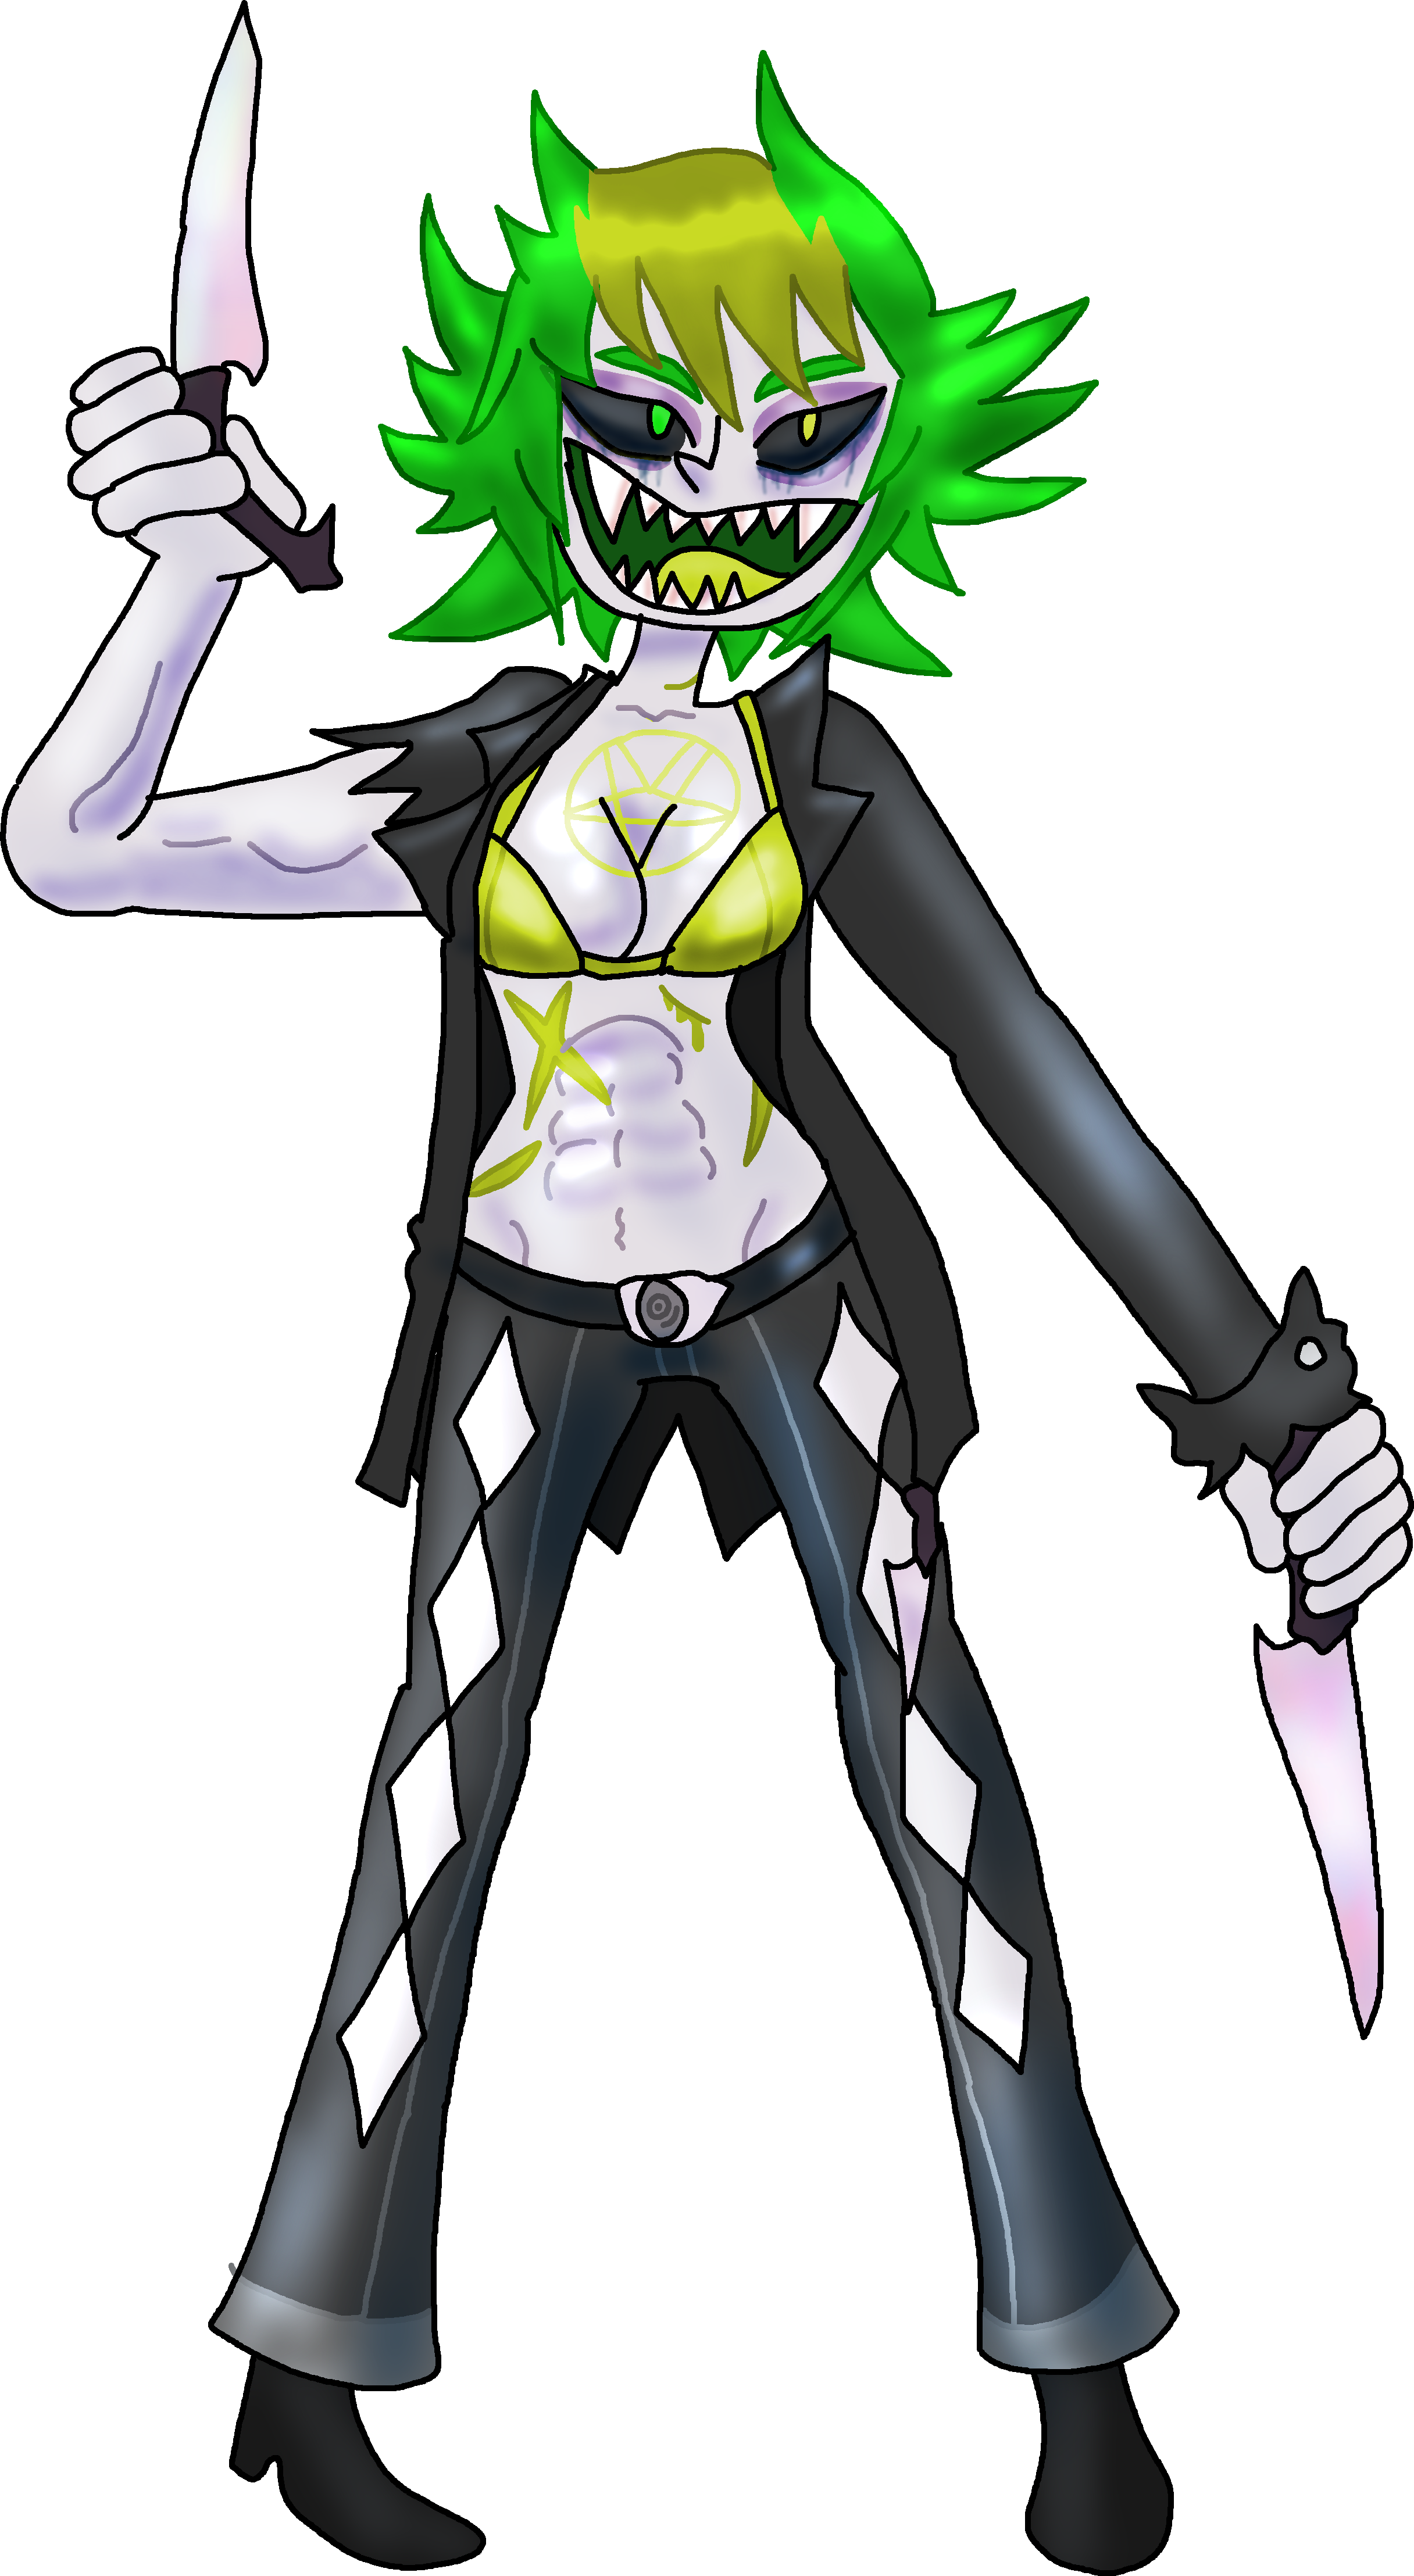 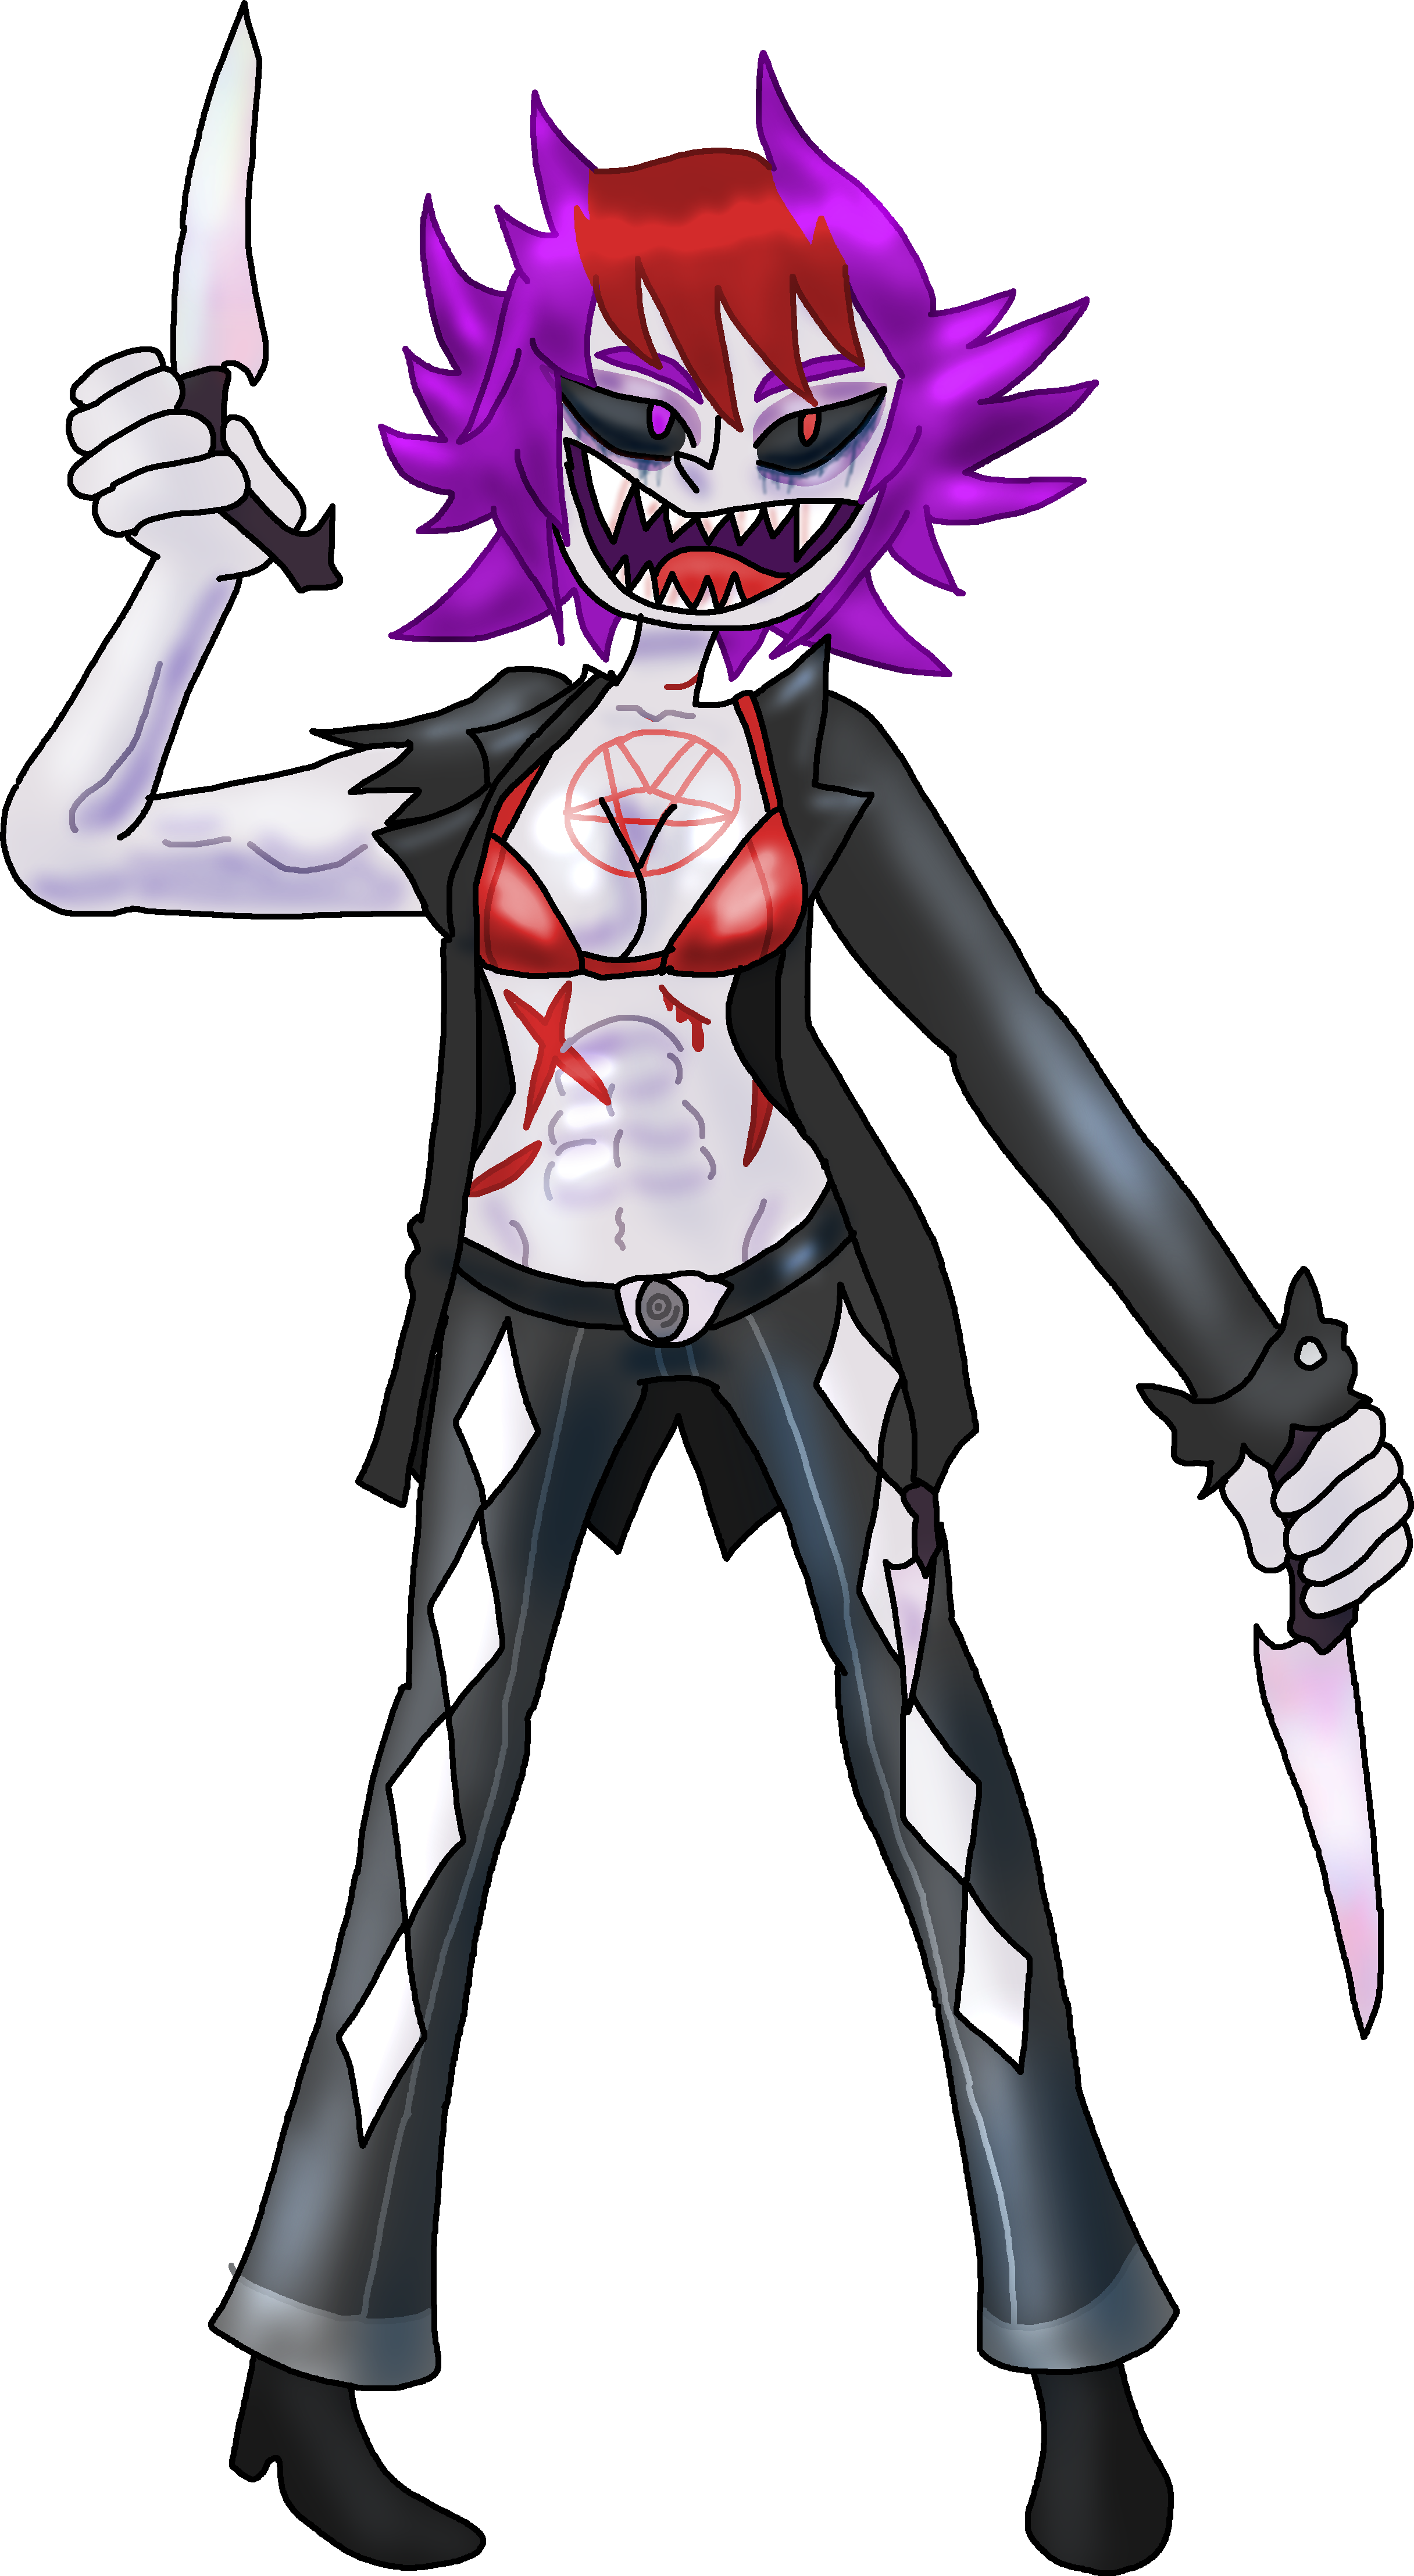    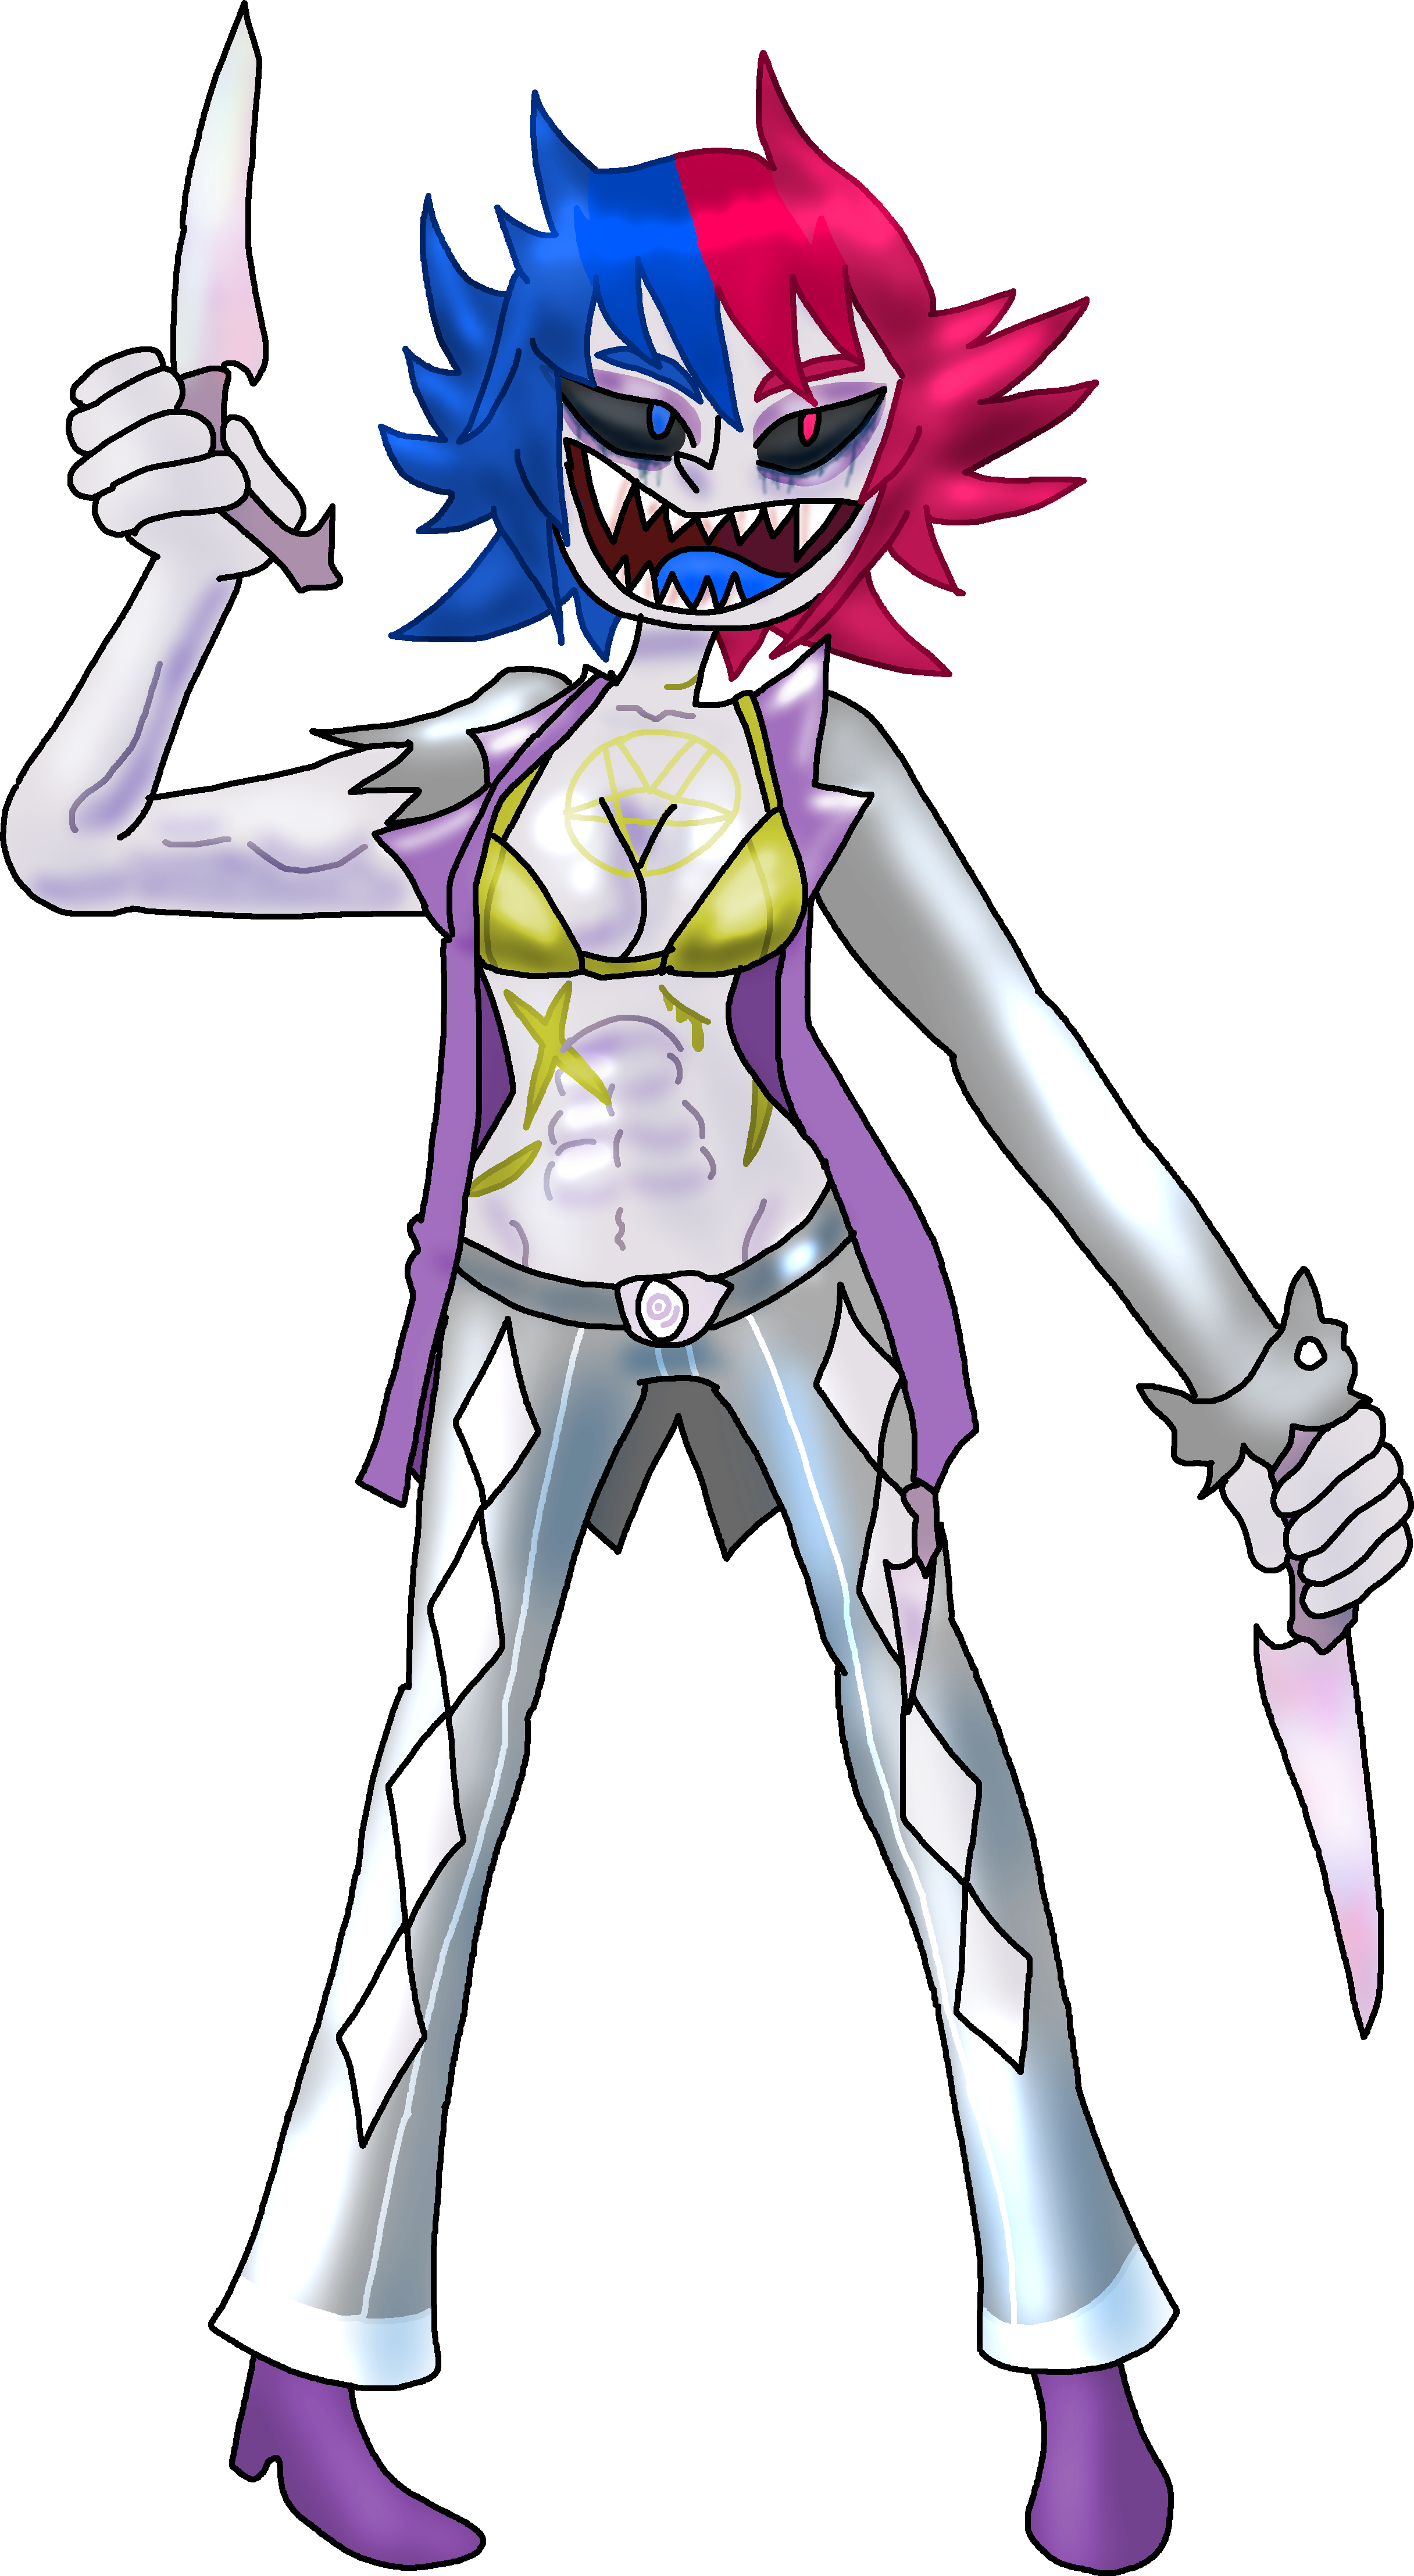 |
Medea
|
|
| Gameplay Details | ||||||
|
Medea is a middleweight fighter that has excellent mobility and offense and just solid stats all around. She especially dominates on the ground, having great frame data and some oversized heavy tilts that'd make anyone cry for mercy. What makes Medea especially great is that she has very startlingly fast move animations, making it almost impossible to both predict exactly how she's going to attack and be able to fearlessly approach her. Medea isn't just good at pressuring her enemies, though, she's also great at controlling the space around her to suit her needs. With her special moves, she can poison or weaken her enemies from a distance to whittle them down, raise her clipboard to knock away projectiles at an angle the player desires, or use a propeller made of scalpels to rush forward (or above if in the air) and tear through an enemy's armor while dealing extensive damage to them. As many benefits as Medea enjoys, however, she does have her weaknesses. Though Medea having sudden out-of-the-blue moves is rather beneficial to her unpredictability, each one of them leave her just vulnerable enough for her to be susceptible to punishment. This weakness does get addressed as she takes damage throughout the fight, with her frame data improving considerably as she reaches critical health, but the risk almost isn't worth it as she loses defense at twice the rate she gains better frame data. Medea also has other problems, like lacking standard projectiles and having a huge frame that makes her a rather easy target for attacks. Lastly, while her Clipboard Block is very efficient as a defensive tool, it can break if damaged enough and it takes a while to replace. Medea players need to be careful if they don't want to expose Medea's biggest weakness: her fragile defensive game. Medea players need to make sure the doctor stays in tip-top shape if they want to win, taking advantage of her whole skillpool to protect her and ensure she'll gain her victory. In the right hands, she is a very viable character.
Common Attacks Special Moves
Hyper Moves
Animations
 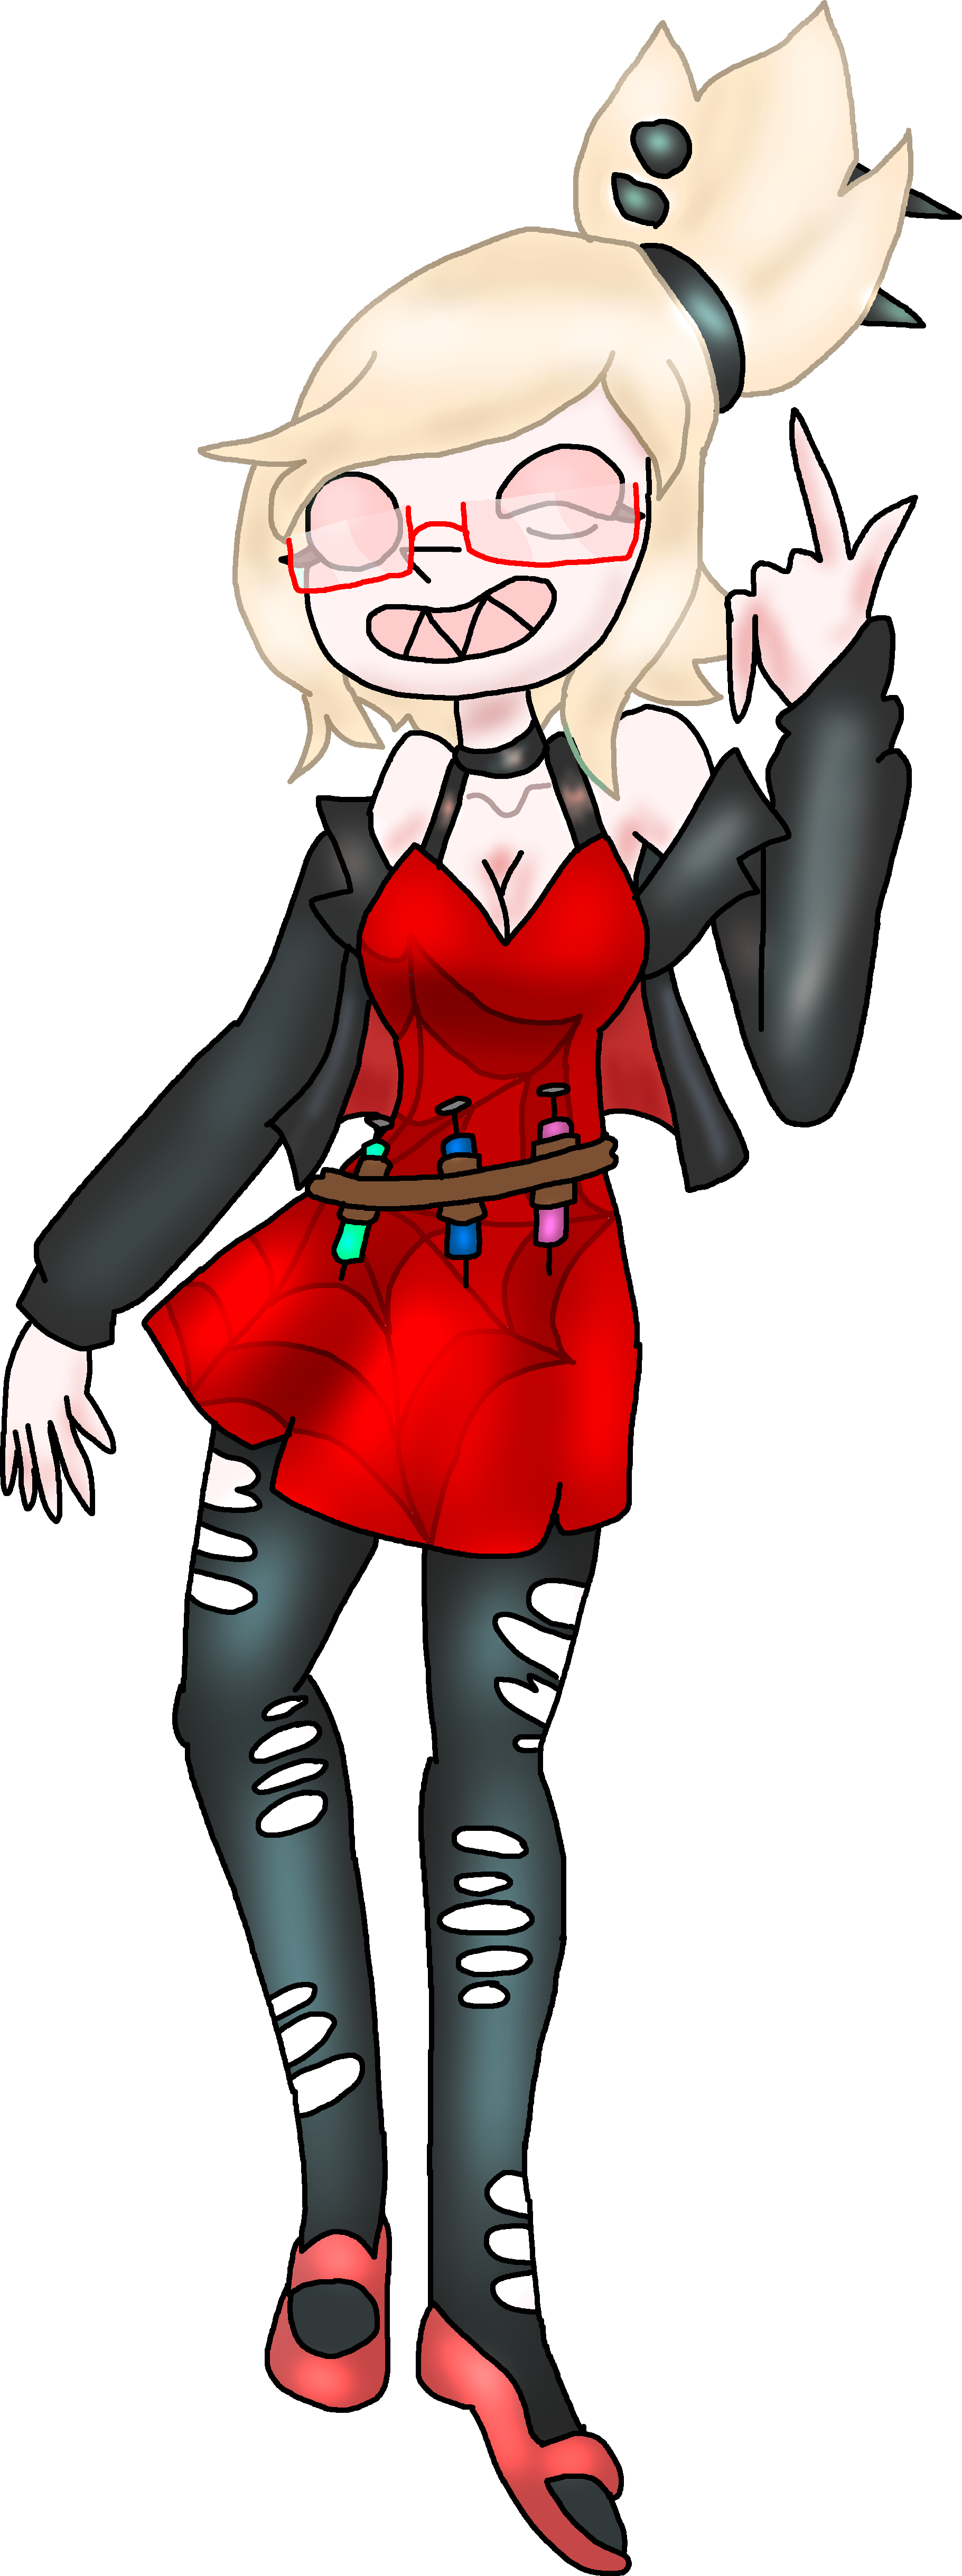 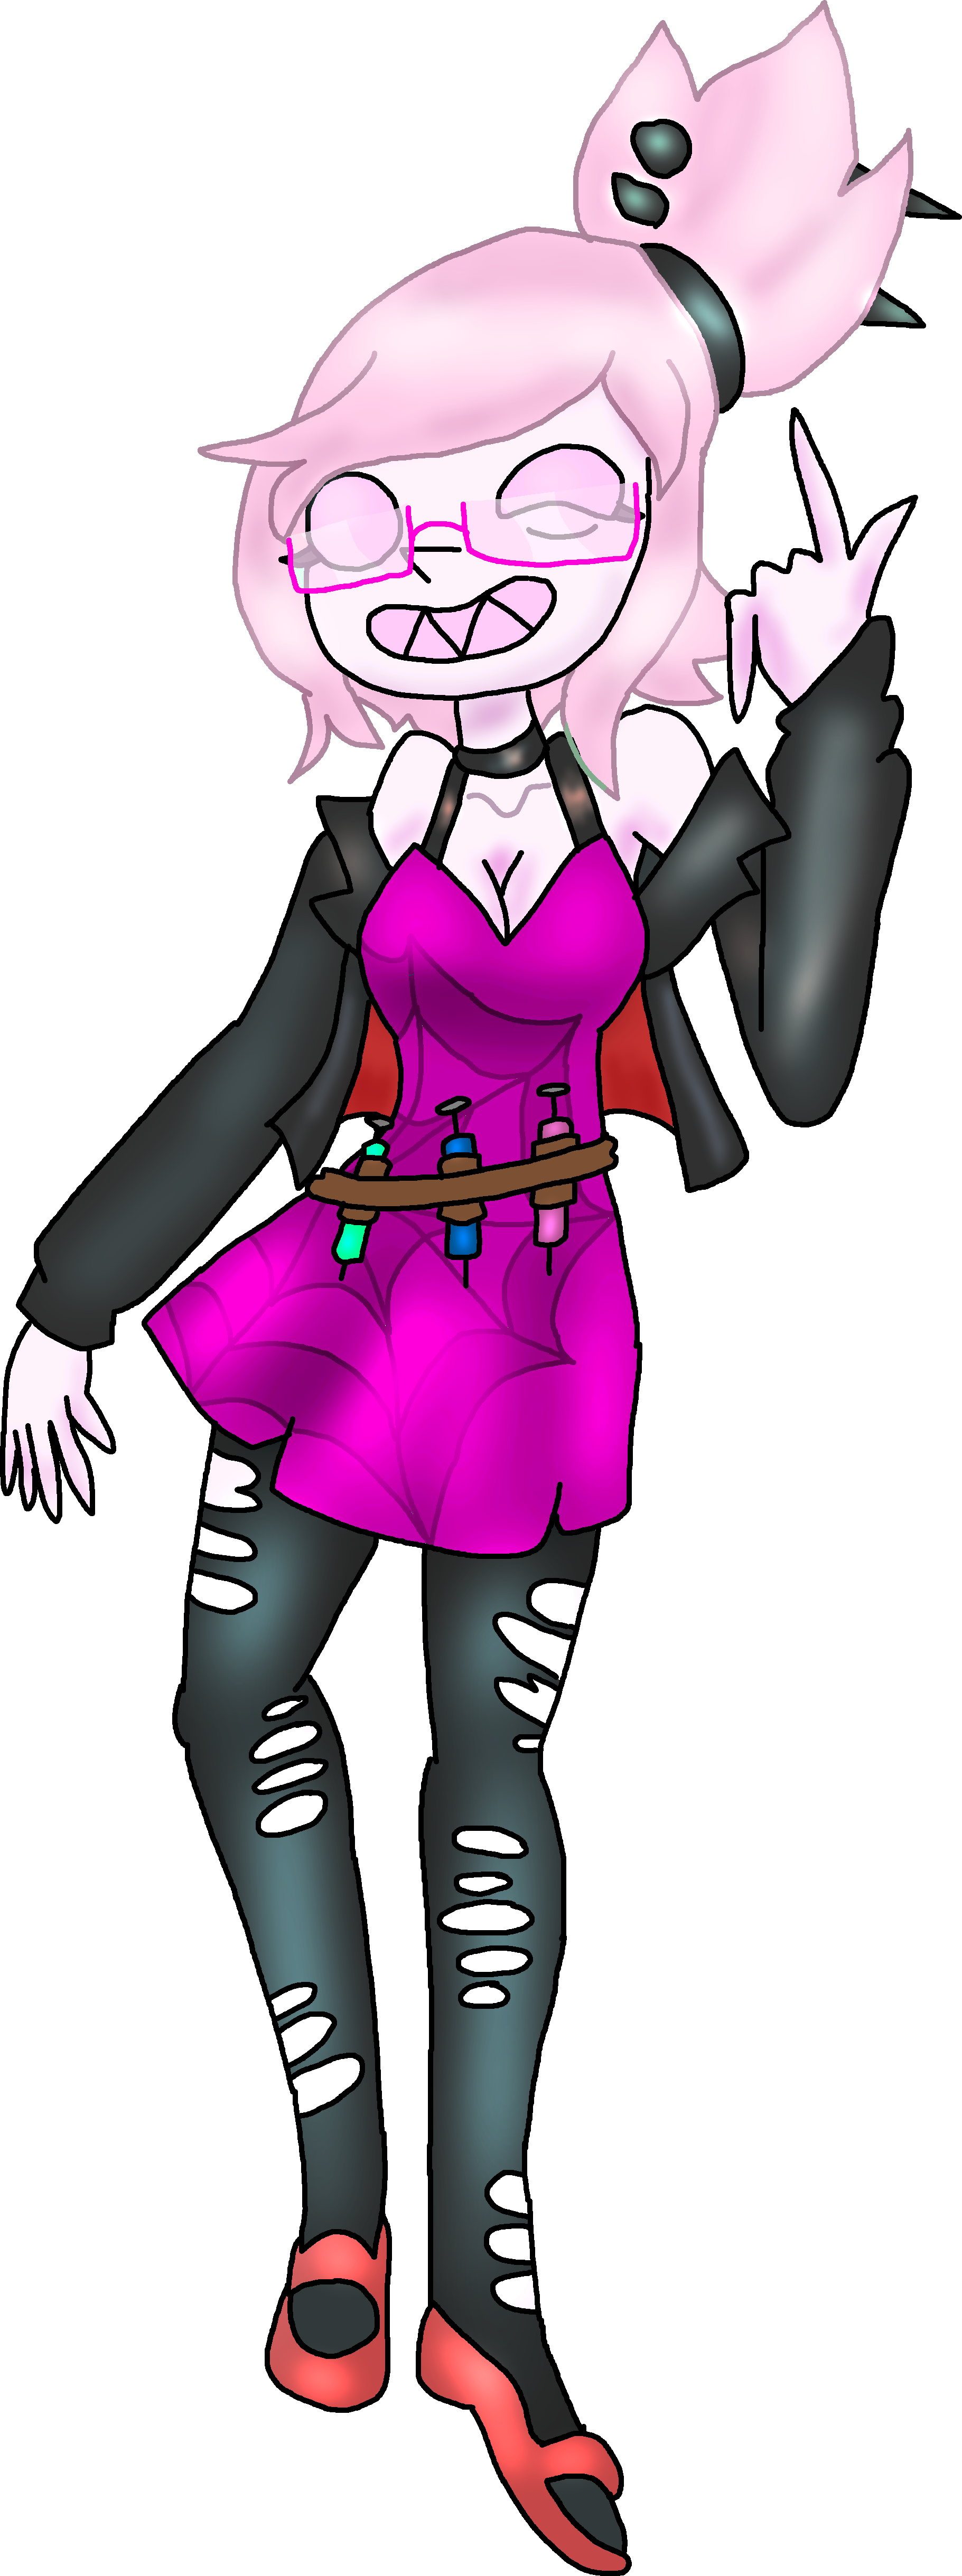 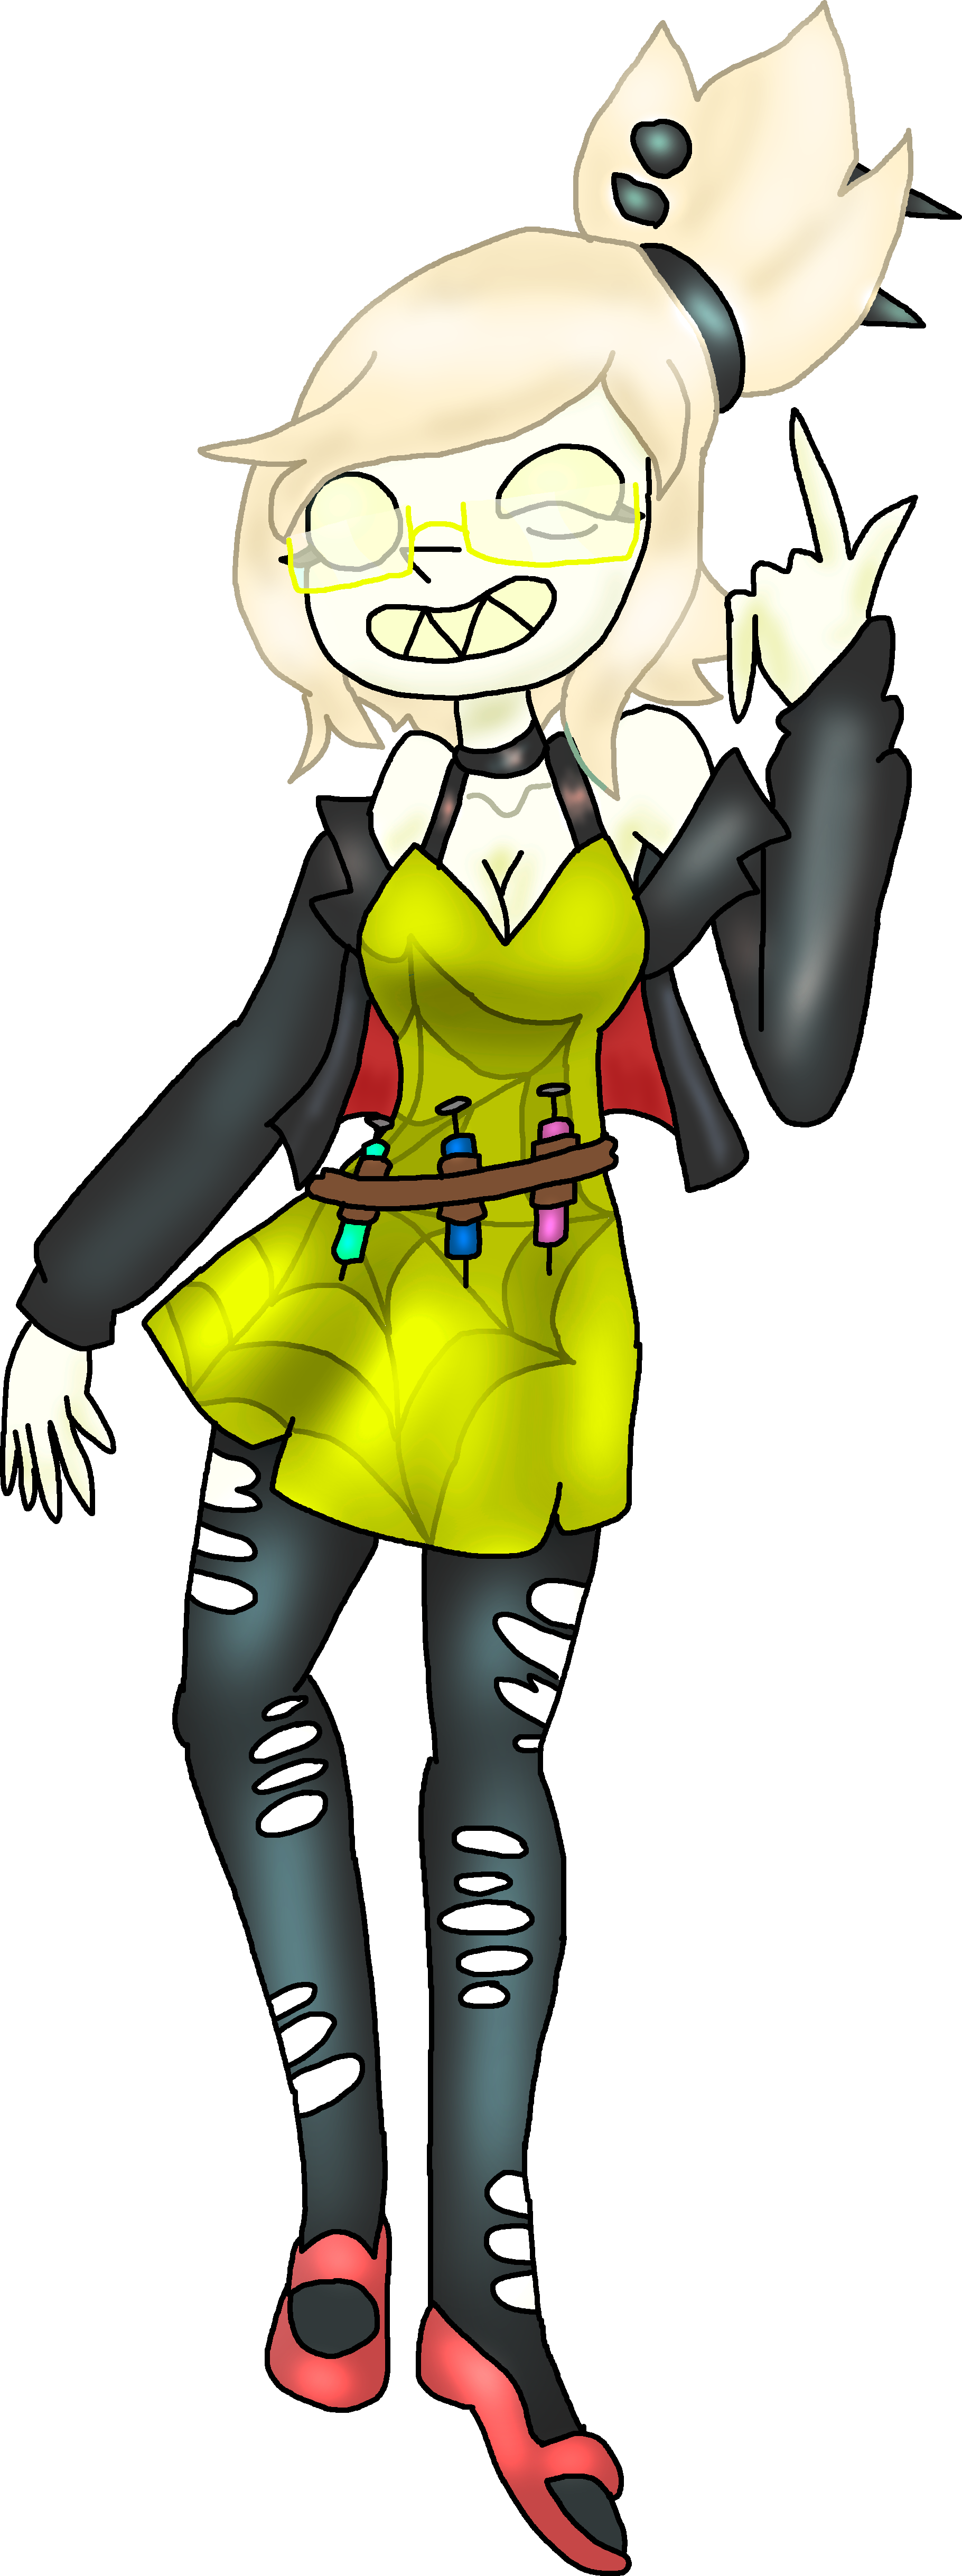     |
Mallory
|
|
| Gameplay Details | ||||||
|
Mallory is a heavyweight character that stands tall with high gravity and falling speed keeping her mostly grounded. While Mallory has only average mobility on the ground, she moves faster through the air, and her consistently strong arsenal of attacks makes her aerial approaches quite lethal. When compared to Silver, she's considerably bulkier and takes hits much better than he does. Mallory is very good at pressuring just like her brother, keeping her enemies at bay and forcing them to play safe and look for openings or she can easily exploit their weaknesses. Mallory's got versatile projectiles and insanely strong attacks, so she can difficult to approach, and her exceedingly useful specials don't make it any easier to come close to her. She's a perfect punisher, having the tools necessary to crush enemies for their mistakes, and is more or less a perfect match for Silver. Much like her sibling though, Mallory faces up against some very obvious weaknesses. Her heavy weight and high gravity make it hard for her to escape being juggled up in the air by her enemies, and lightweight characters give her a particularly tough time because they're agile enough to head outside her reach. Her subpar ground mobility makes it difficult for her to chase after her targets, meaning she has trouble making her own approaches and has to fight primarily from a distance to get anywhere in battle. She also gets pretty hungry, so she'll have to go searching for food fairly often during matches. She's also annoyed by characters that can hit her and then run off, as whenever she takes damage, her health will "bleed" away. Lastly, she doesn't have great frame data and is easy to punish if her slower but stronger attacks miss. Though Mallory does have some glaring flaws, she is still an excellent character to dominate the stage with, and players that play carefully and watch out for their foes' parries will quickly come to master her. Worth noting is that if Mallory takes minor damage, she will let out little cries of "Ugggh...!" and "Hhhhhh...", cackling insecurely if she takes particularly heavy hits.
Common Attacks Special Moves
Hyper Moves
Animations
 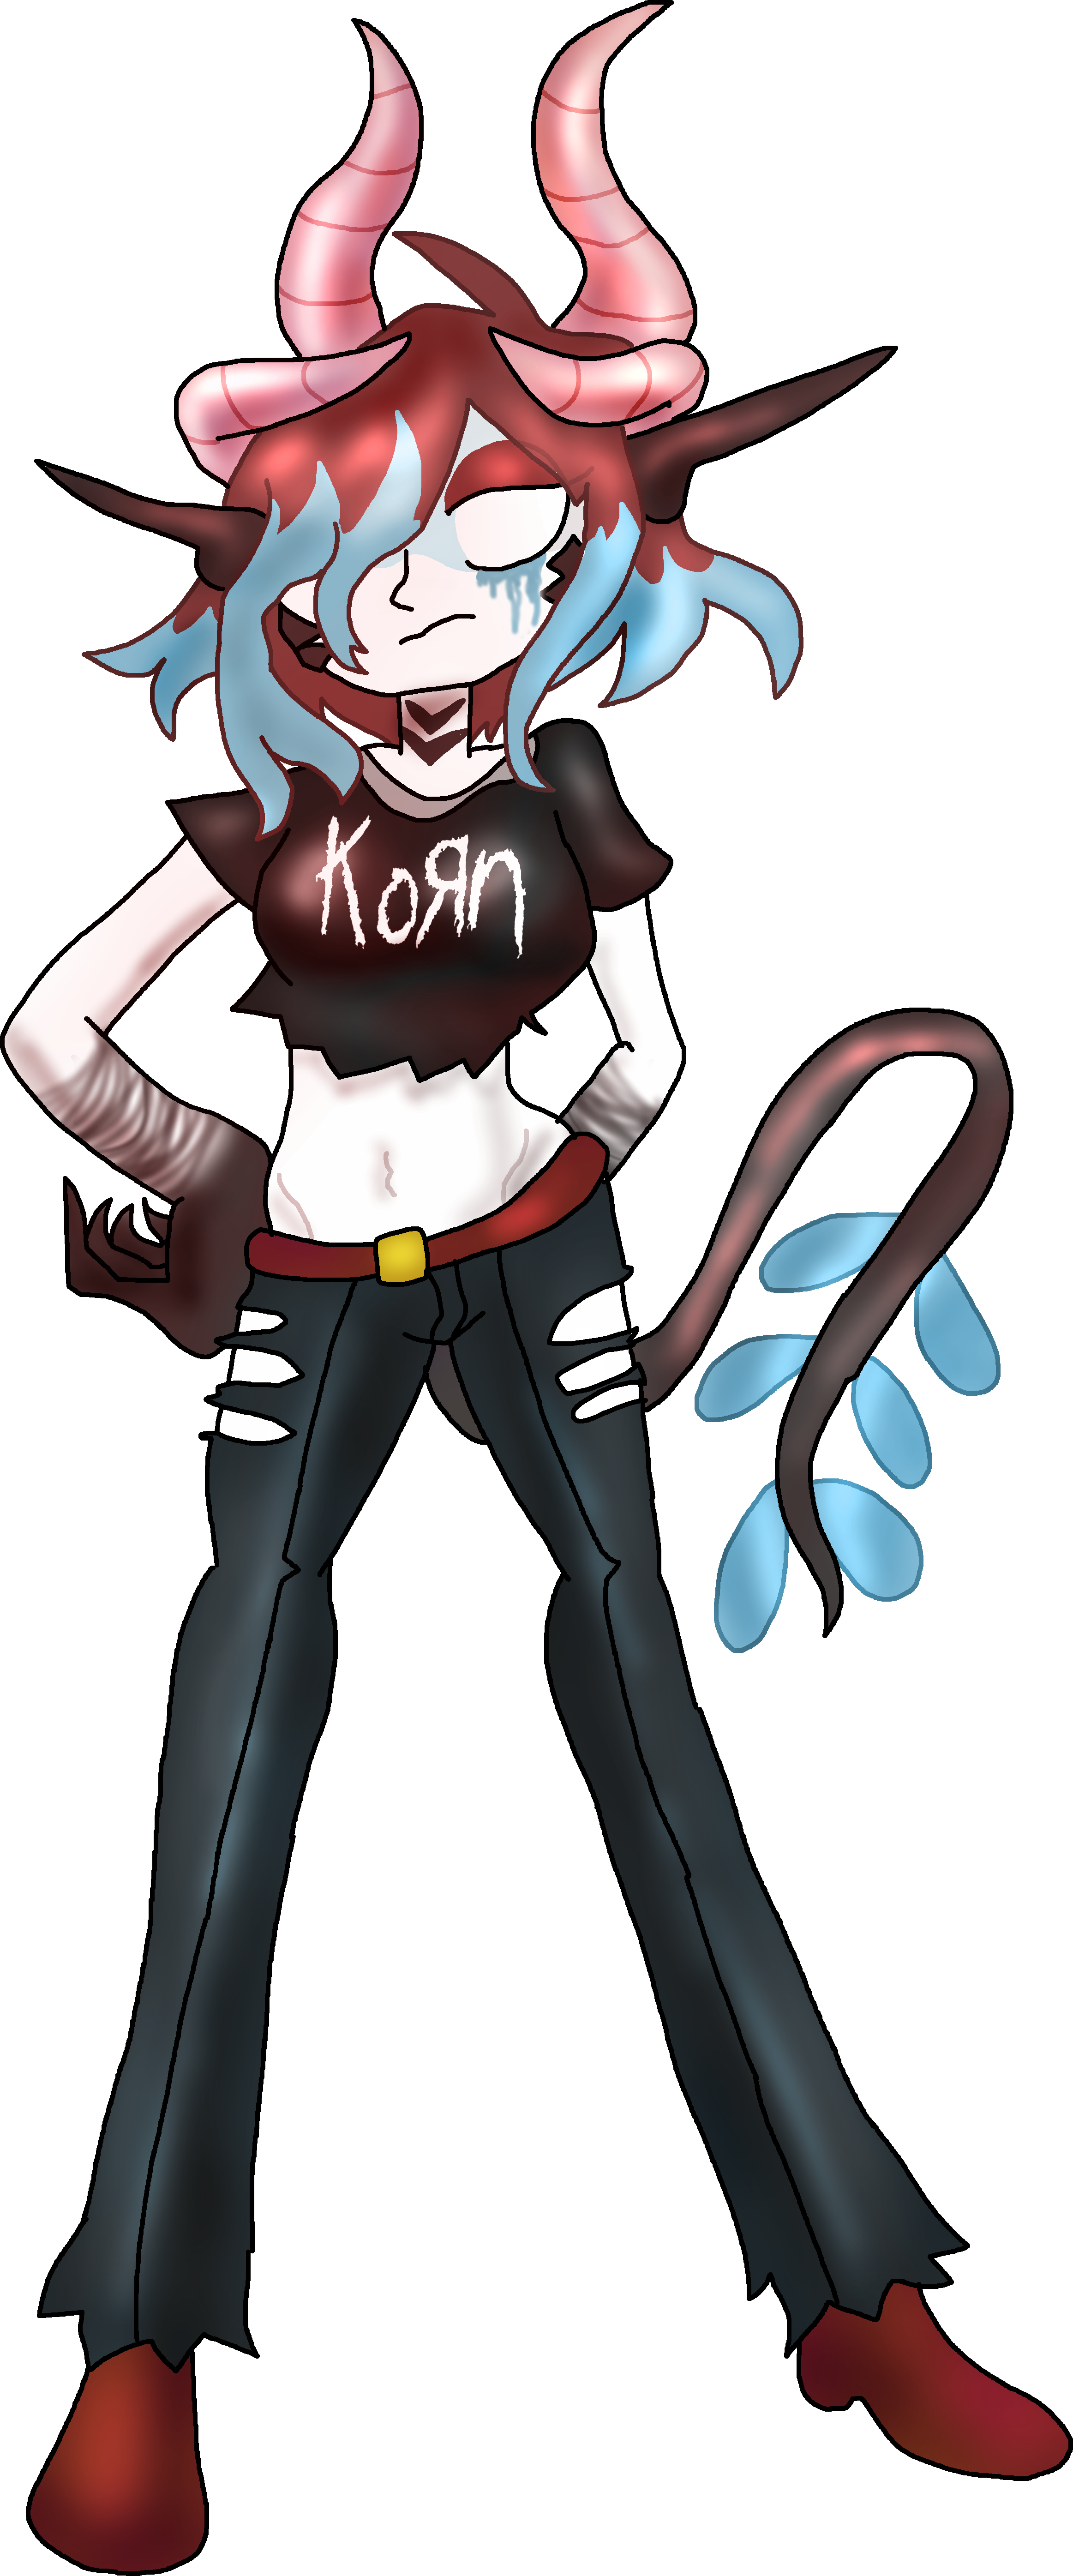 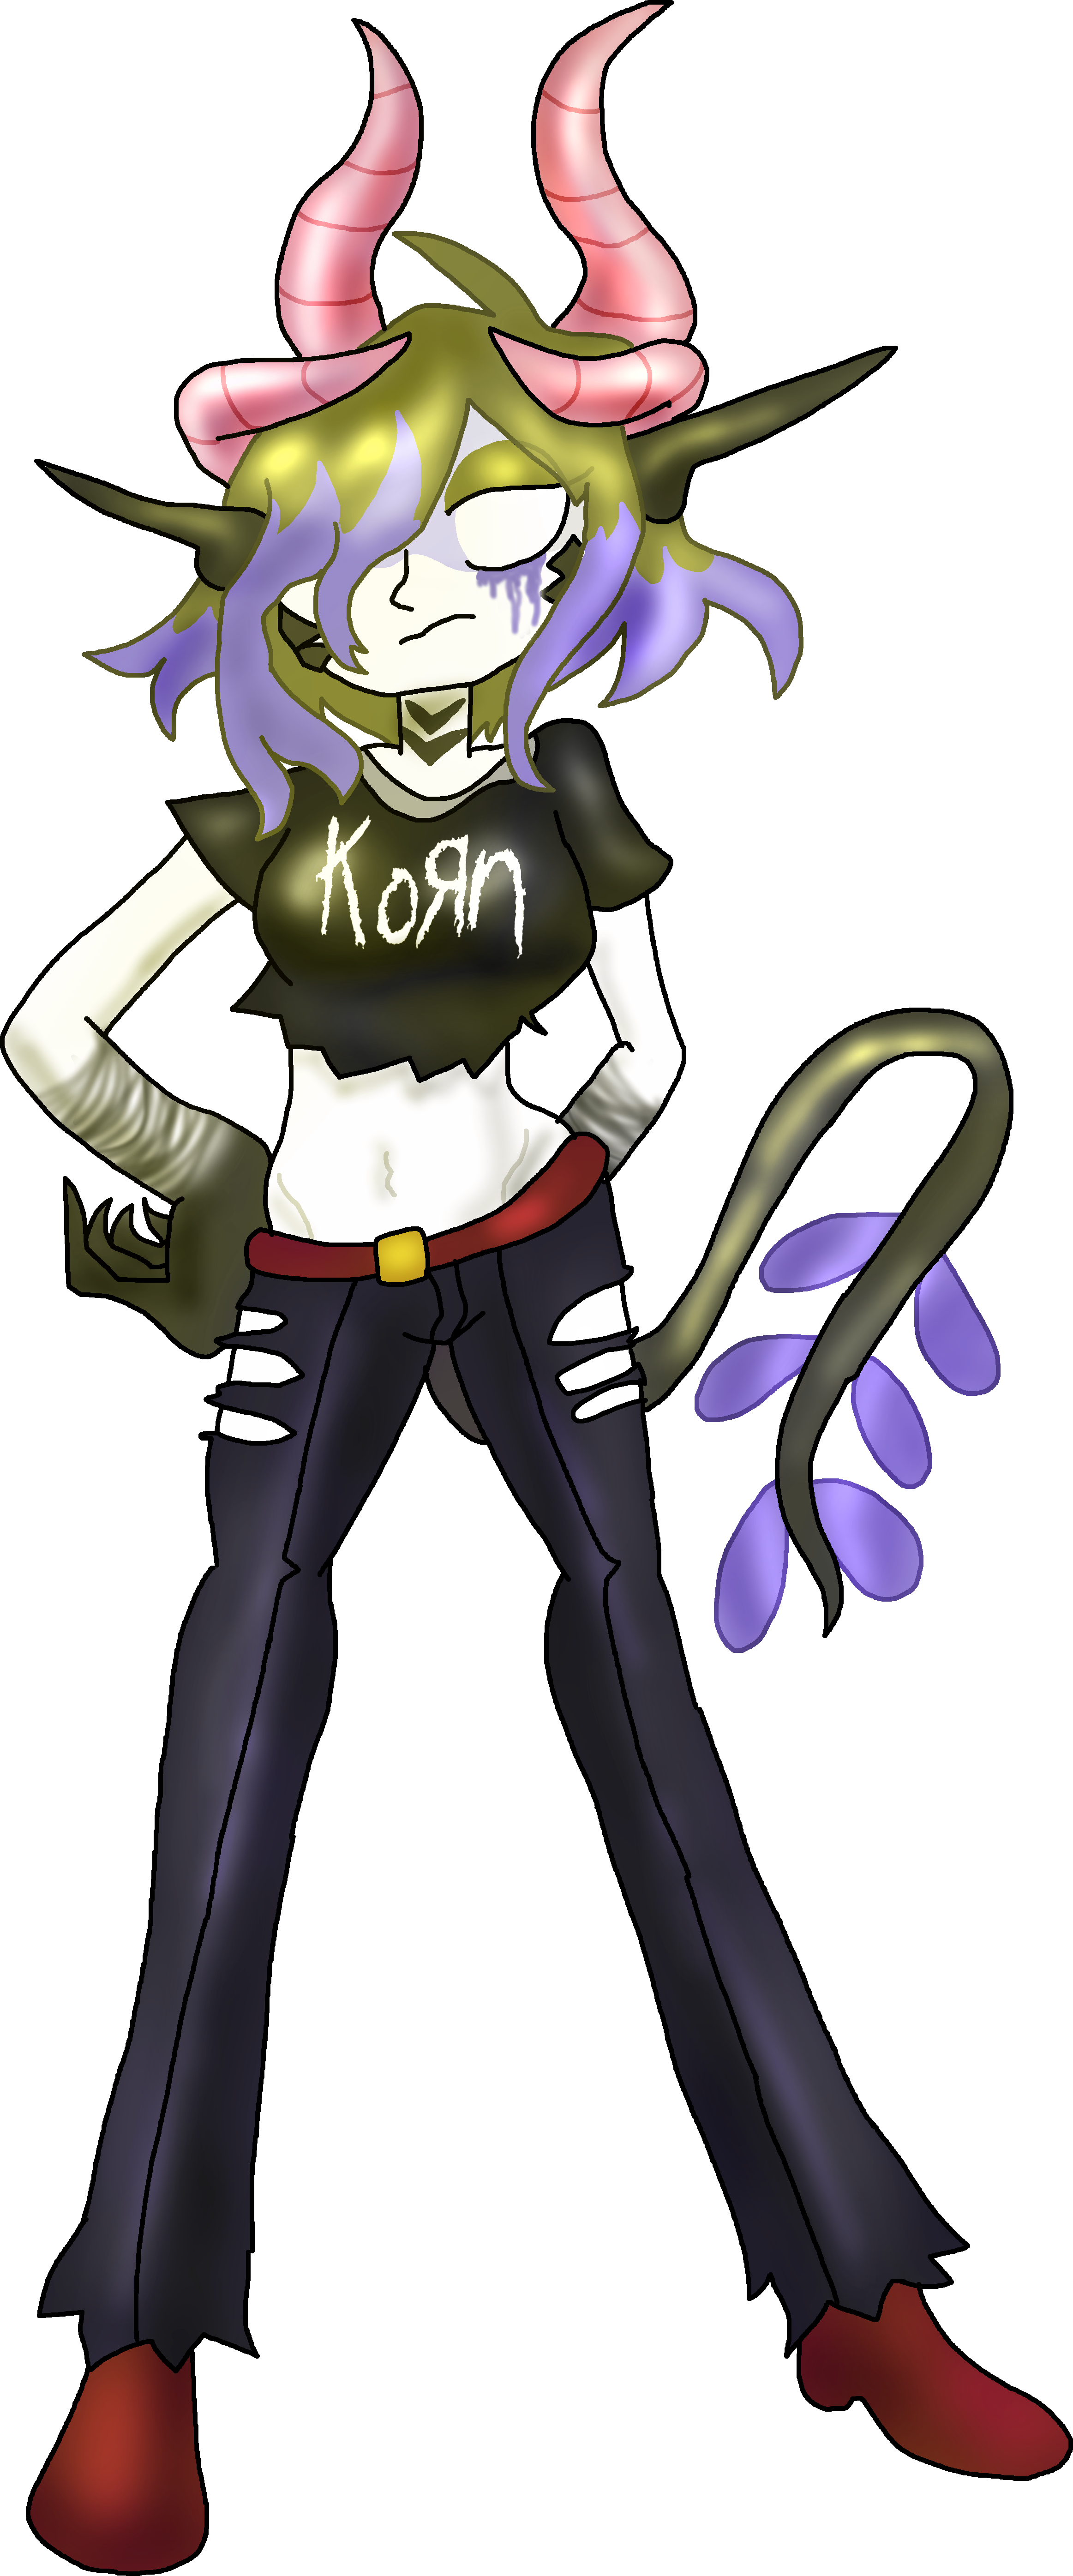 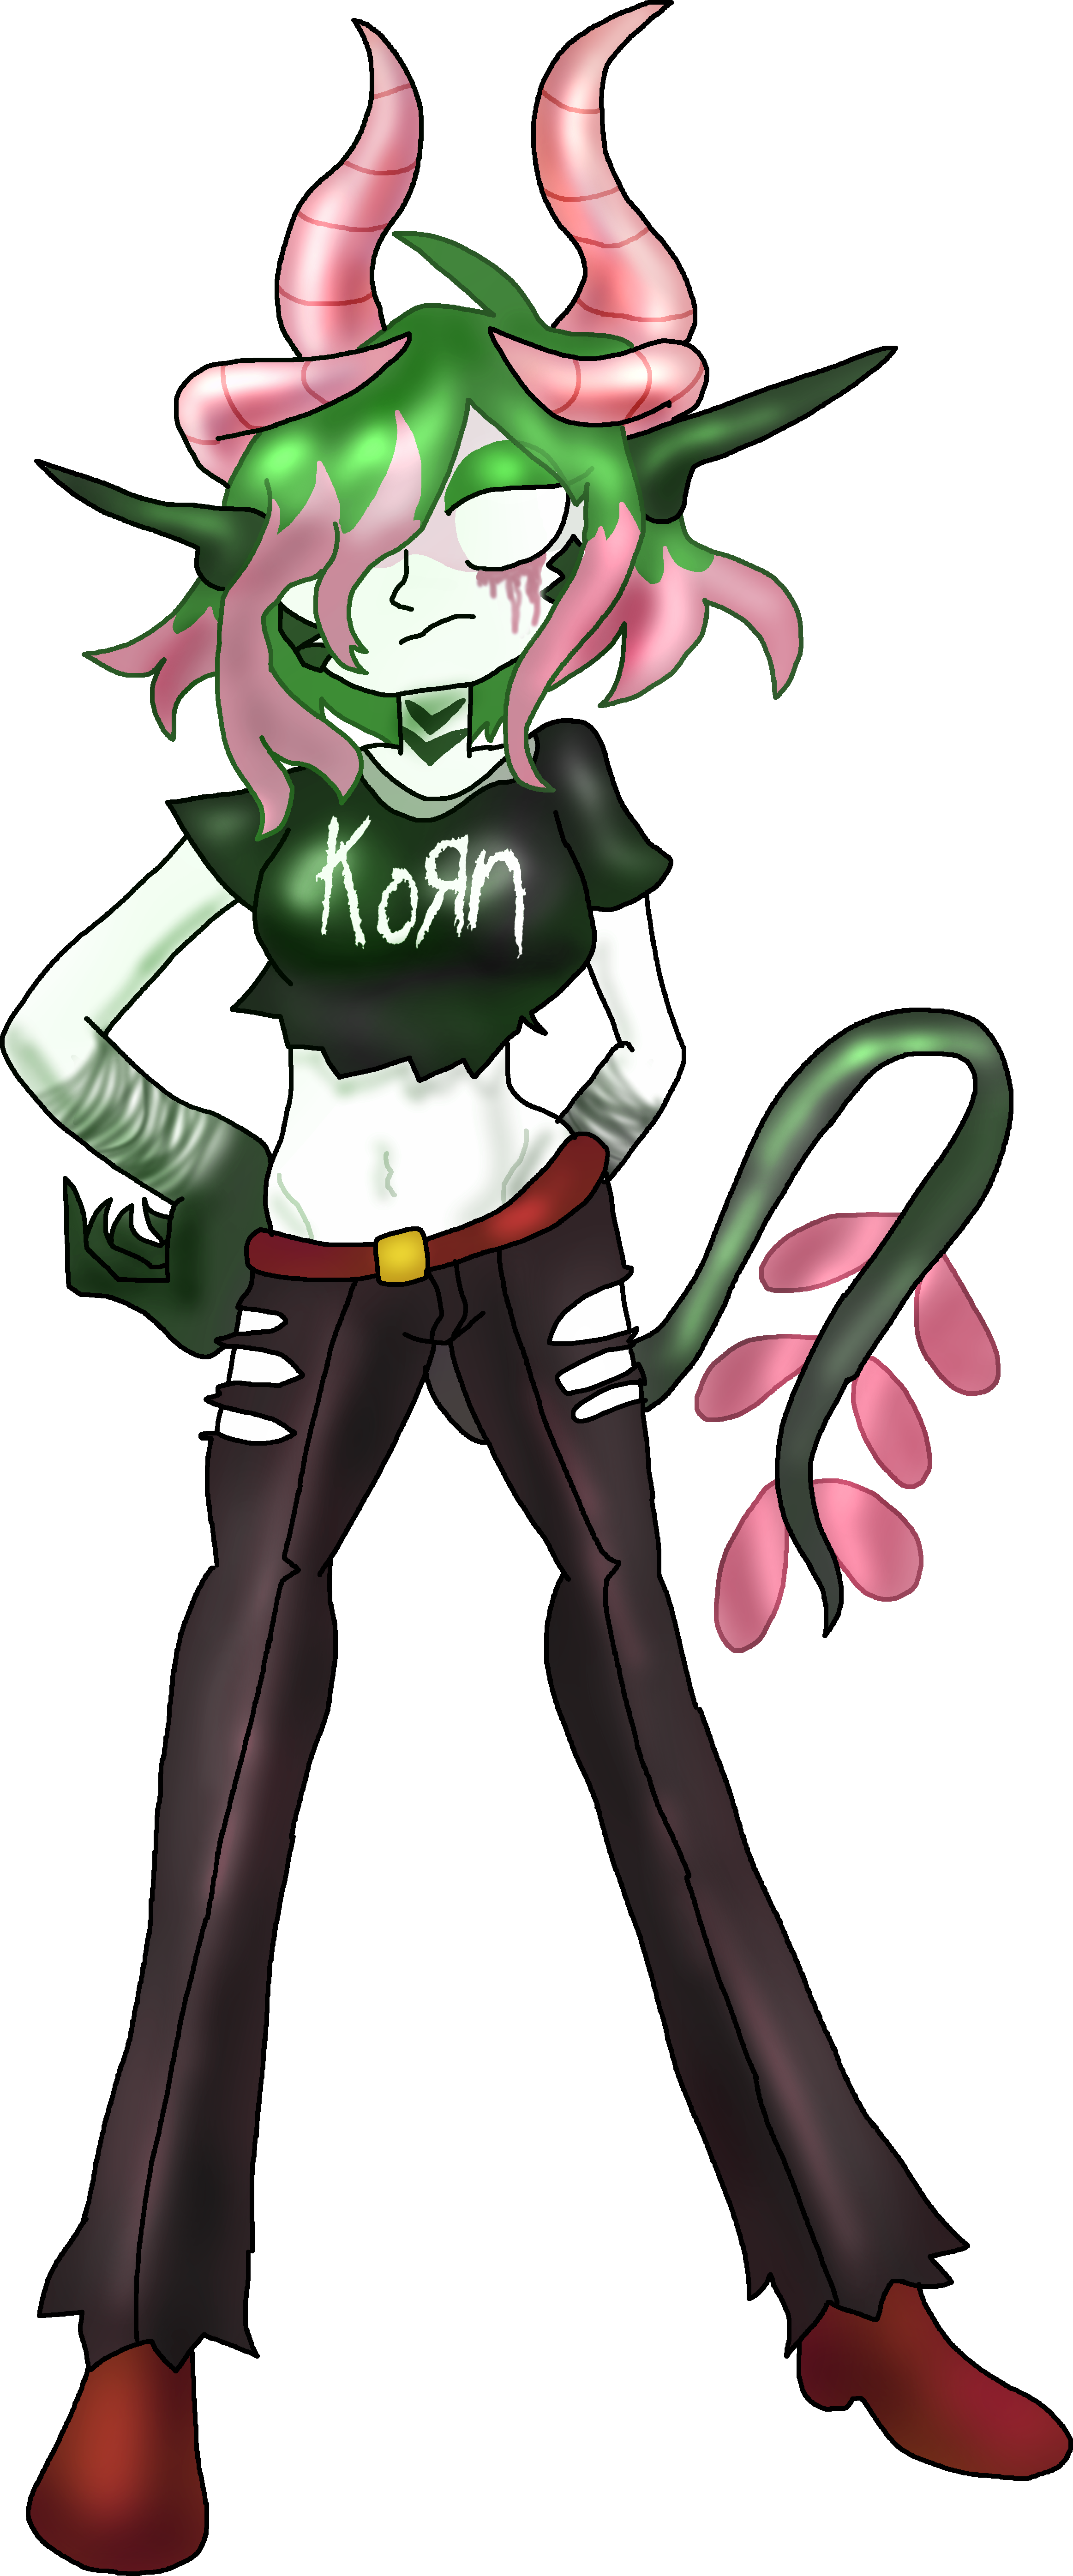  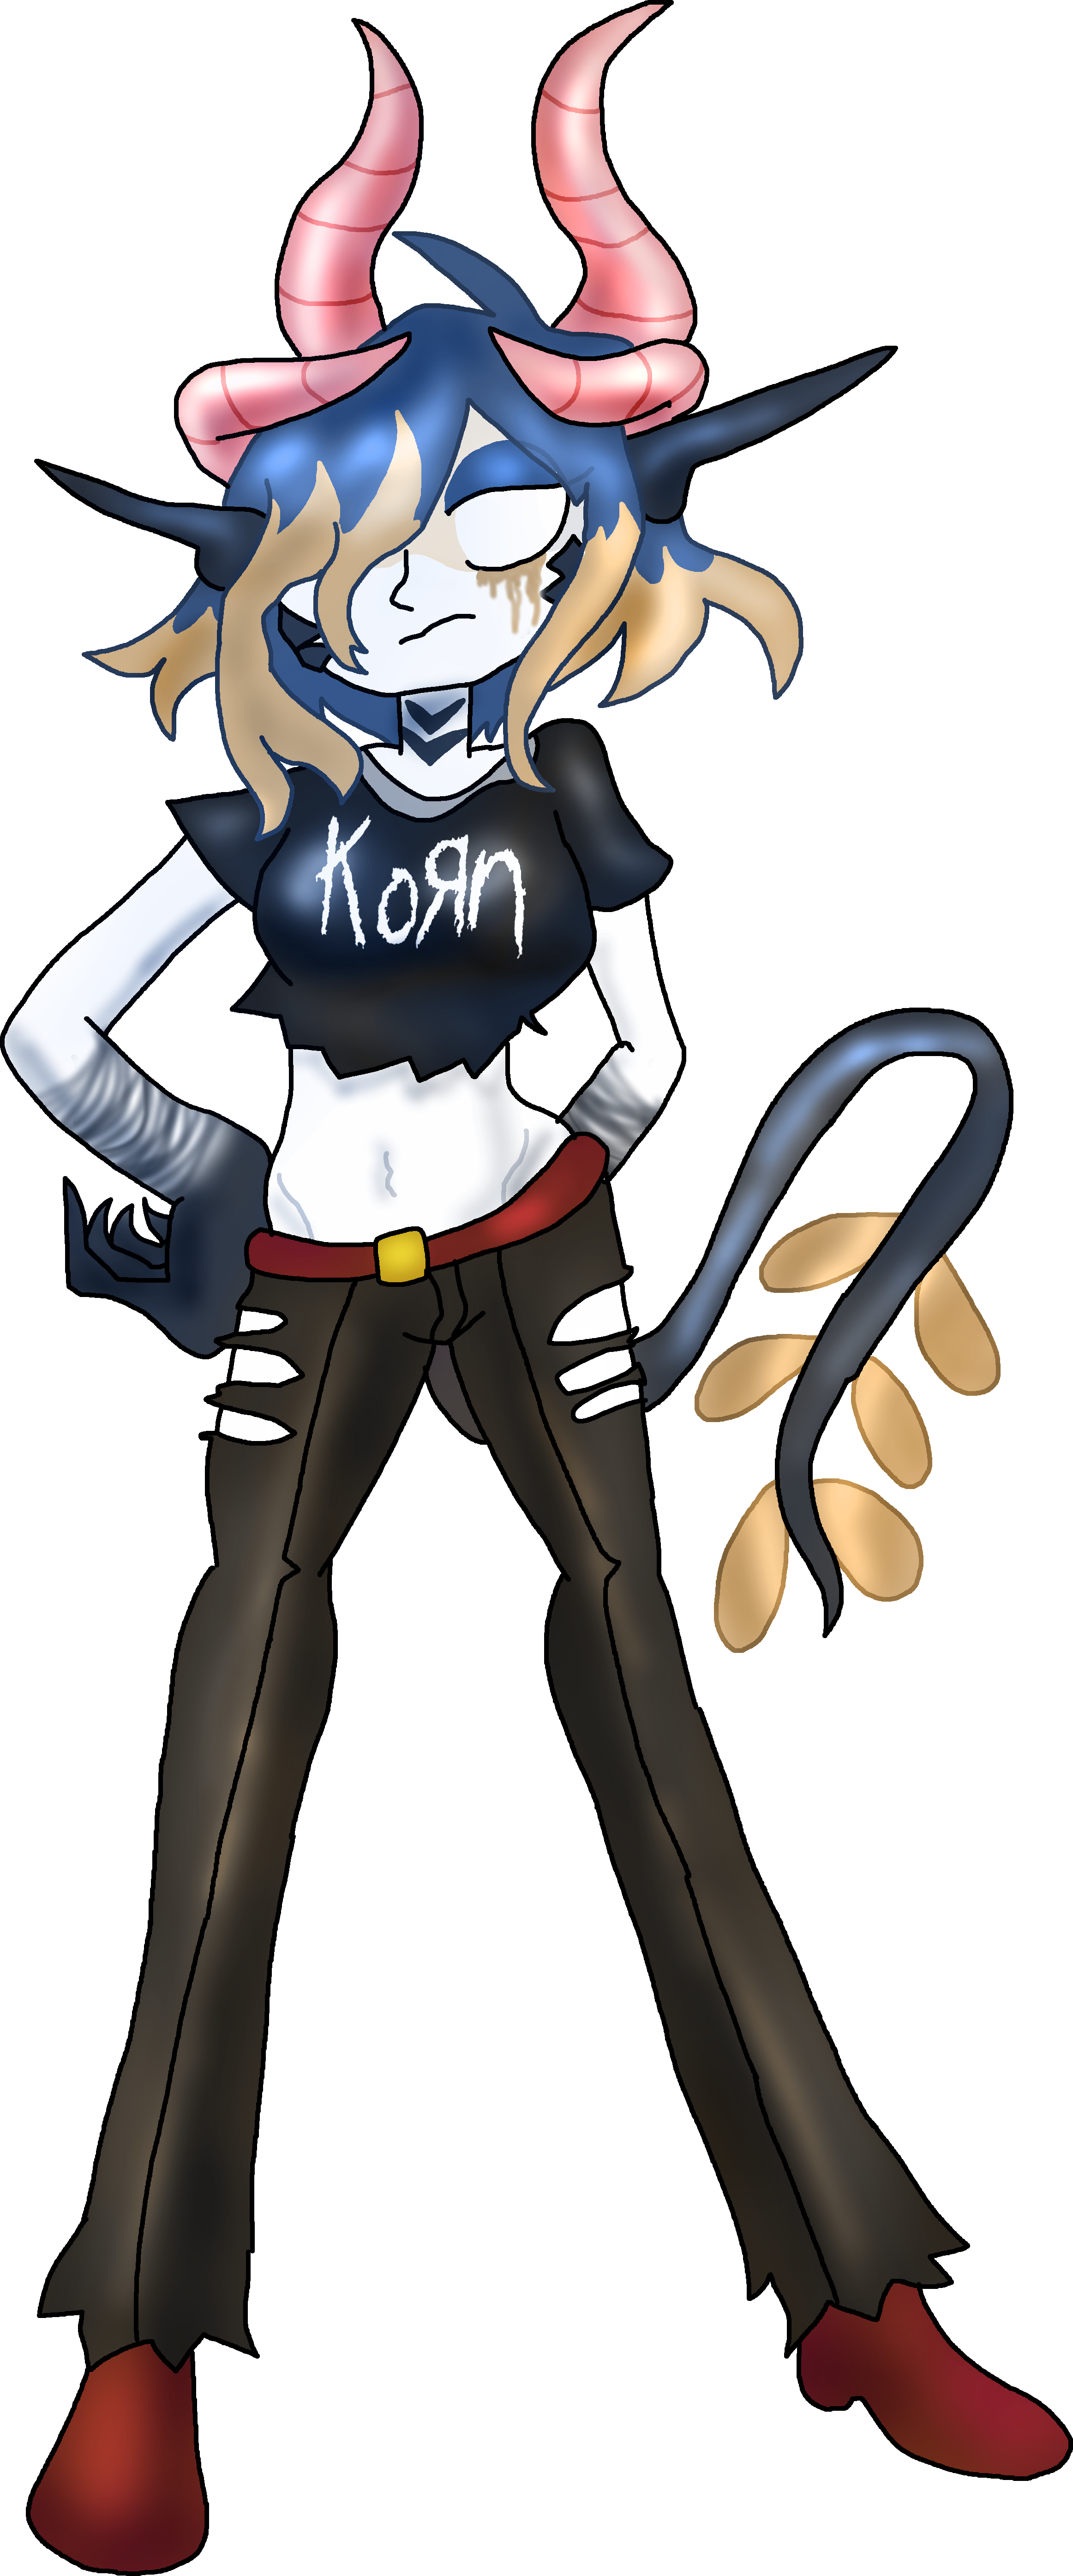 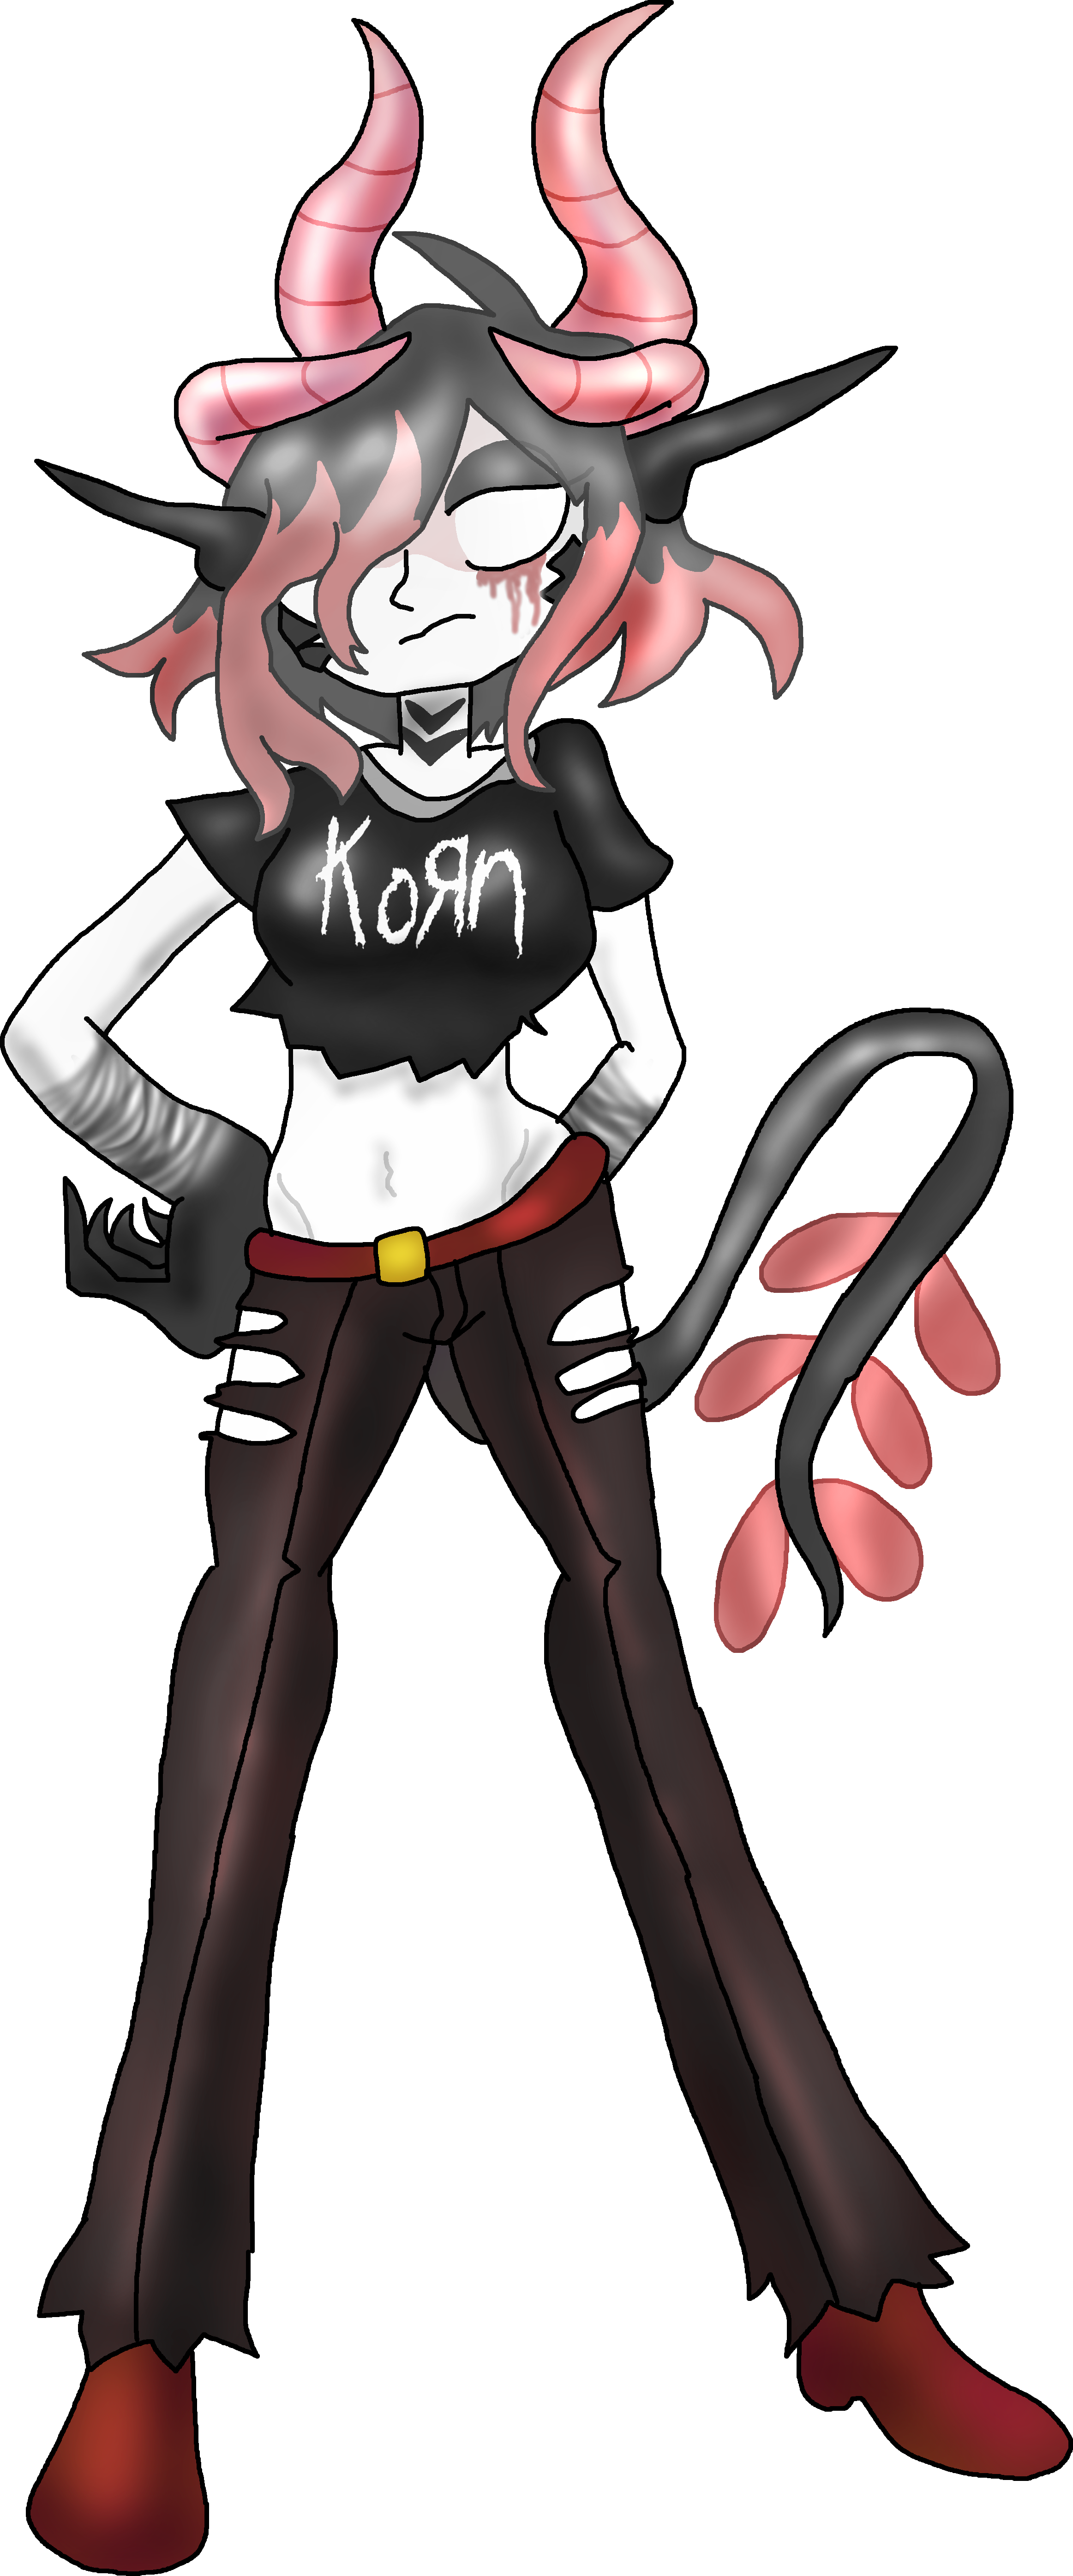  |
Note: Some characters may appear to be out of order in this list if you compare them to the character icons, but they're intentionally designed to read this way. No touchy!
| Fantendo Smash Bros. Combat (erictom333) | ||
|---|---|---|
| Fighters | #0 Dragon Queen • #1 Unten • #2 Strafe • #3 PalmMan • #4 Ella Metals • #4* Alice • #5 Pesh • #6 Zerita • #7 Aingeru • #8 Rachel • #9 Bowie • #10 Leah • #11 Fera • #12 Silver Zin • #13 Doomulus Grime • #14 Netnu • #15 McBoo • #16 Volt • #17 Mioda • #18 Meta-Form • #19 Reptflux • #20 Mika Sho • #21 Scotch • #22 Umbra • #23 Hama • #24 Riddle • #25 Syinara • #26 Sia • #27 X-Ray • #28 Sakeena • #29 Aurora • #30 Tess • #31 Crow • #32 Amy • #33 Tayshaun • #34 3.14 • #35 Mynis • #36 Valerie • #37 Aero • #38 Zellen • #39 Tigzon • #40 Reten • #41 Palutena • #42 Kaiden • #43 Nightless • #44 Nycho • #45 Bunea • #46 Voidmato • #47 Jura-Pek • #48 Quartz • #49 Bynde • #50 Nyxiel • #51 Alec • #52 Caleb • #53 Janka • #54 Glenn • #55 Lumino • #56 Felicity • #57 Vessa • #58 Lucius • #59 Thrusterhound • #60 Cassandra • #61 Anthony • #62 Millyrain • #63 Redge • #64 Storm • #65 Simone | |
| DLC Fighters | #66 Pickpocket • #67 Pubble • #68 Obena • #69 Kalatia • #70 Cardinal | |
| Stages | Aimlo Castle* • ANTIX Airship • Archaea Kingdon • Atlanta Moon Colonies • Autumn Meadows • Blaze Academy • California Cruise • Chococarrot Charge • CinnaMon Convenience Store • City Roof • Claire's Apartment • Cobalt • Coconut Forest • Draconian Kingdom • Dragonbreak Falls • Fantendo Firehouse • Fantendo Sports Resort • Final Frontier • Frozen Foundry • Gas Station • Grand Mal City • Grimecorp Tower • Guillotine End Institution* • Haukohi's Haven • Havoc Hell Tournament • Heiwana* • Leah's Hospital • Lock's Base • Longost Forest* • Lumin Town • Mango Island • Marika Island • McBoo's Mansion • Mega-Biome • Midnight Temple • Montanian Village • Museum of Weird • Nadian City • Neo York City Streets • Parasitic Grand Oak • Peaceful Plains • Pusher's Pile • Qeotulin • Sana Tomas Isle • Serene Dojo • Space • Star Heights • The Honeycombs • Tornado Town • Valco Balcony • Vinegar Base • Western Village • White Goddess's Sanctuary • World Tournament • Xastil City • Zeon Remnant • 1 TBD 3.14 stage | |
| Bosses | Adam • Asuna • Doomulus Prime • Doomulus Rise • Doomulus Saline • Doomulus Thai • Endal the Monkey • King Kube KiloBot • Liameno • Lock • Mallory • Master Binary • MineMan • Mistress of Weird • Ms. Replicate • Nebula • NULL • Parvati • Qingyun • Tiera • Xsomnis • Threat-Tan-Doe | |
| Items | Blorp • Blump • Boltzmann Badge • Bug Milk • Bull Horns • Bullet BoB • Chainblade • Chocodice • Corrupted Core • Finisher Sphere • Goo Grenade • Glistening Blump • Hell's Ramen • Keinz Colored Ketchup • Kolorb-Ball • Lamington Staff • Missile Gloves • Nyan Gun • Pushy • Pyunny Hood • Rage Soda • Smoke Grenade • Summoner Orb (See below) • Sword Gun • Untencake • Untencake Deluxe • Wrecking Ball Gauntlets • Zaxinian Cuisine | |
| Summoner Orb characters | 3Dee • Absinthe • Agustaclove • Ainhoa • Amaia • Aran • Aura • Boare • Bubbly G. • Chief Dongorio • Doormat • Elina • Flynn • Friday Blake • Graviteen • Iron Mask • Jasper Jabberwocky • Kiva* • Krystal Pérez • Lampferno • Lane • Lisa Leyser • Lucky Veridian • Melissa • Merrin • Mobius • Muffin • Mylan Starlight • Obena • Penny • Pixel • Proxxy • Punch • Quetz • Retron • Ronnie & Claire • Ruby Glaes • Spree • Sugarspike • Warrior & Slimes • Yami Zu • Yuki | |
| Misc | Alternate Costumes • Penny's Database • Spirits • Miscellaneous | |