This page features the movesets for every character in the base roster of Super Smash Bros. Something Else. To see a character's moveset, click on a character's portrait.
Roster[]
| Mario | Luigi | Yoshi | Peach | Daisy | Rosalina & Luma |
|---|---|---|---|---|---|
| Captain Toad | Bowser | Bowser Jr. | Wario | Waluigi | Paper Mario |
| Donkey Kong | Diddy & Dixie | King K. Rool | Little Mac | Link | Zelda |
| Impa | Ganondorf | Toon Link | Midna | Champion Zelda | Samus |
| Zero Suit Samus | Ridley | Dark Samus | Pit | Palutena | Viridi |
| Medusa | Ness | Lucas | Marth | Roy | Lyn |
| Ike | Lucina | Robin | Corrin | Byleth | Captain Falcon |
| Kirby | King Dedede | Bandana Dee | Adeleine & Ribbon | Meta Knight | Magolor |
| Fox | Falco | Krystal | Wolf | Pikachu | Jigglypuff |
| Red | May | Mewtwo | Lucario | Greninja | Incineroar |
| Hatterene | Villager | Isabelle | Isaac | Olimar | Chibi-Robo |
| Shulk | Rex | Inkling | Octoling | Min Min | Dr. Coyle |
| Ring Fit Trainee | Mr. Game & Watch | Ice Climbers | R.O.B. | Duck Hunt | Takamaru |
| Sonic | Tails | Dr. Eggman | Arle | Bayonetta | Joker |
| Mega Man | Zero | Ryu | Ken | Chun-Li | Dante |
| Monster Hunter | PAC-MAN | Kazuya | Lloyd | Klonoa | Simon |
| Soma | Bomberman | Snake | Cloud | Sephiroth | Hero |
| Sora | Banjo & Kazooie | Steve | Crash | Spyro | Tracer |
| Ryu Hayabusa | Terry | Rayman | Sol Badguy | Heavy | Travis |
| Shovel Knight | Shantae | The Knight | Cuphead | Papyrus & Sans | Mii Fighters |


Nintendo Characters[]
Mario / Yoshi[]
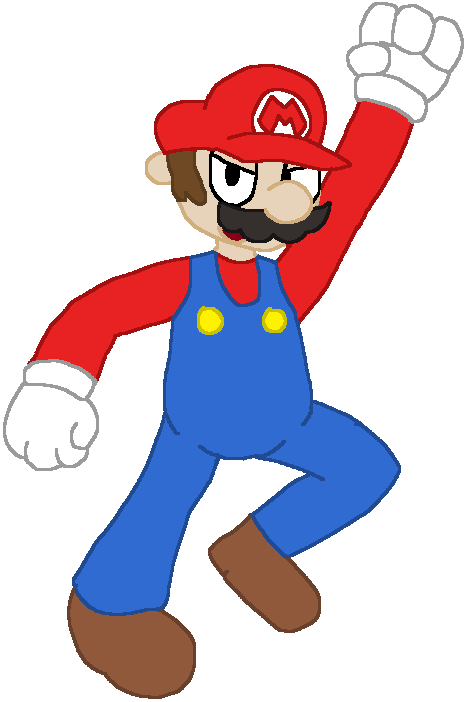
Mario Mr. Video Game Himself |
Mario is the mascot of Nintendo and the eponymous protagonist of the Mario series. First appearing in Donkey Kong and originally known as Jumpman, he's the hero of the Mushroom Kingdom, saving the kingdom and Princess Peach from the evil Bowser. Throughout his career he has appeared in hundreds of games and has been everything from a doctor, to a racer, to a player of all kinds of sports. | ||
| |||
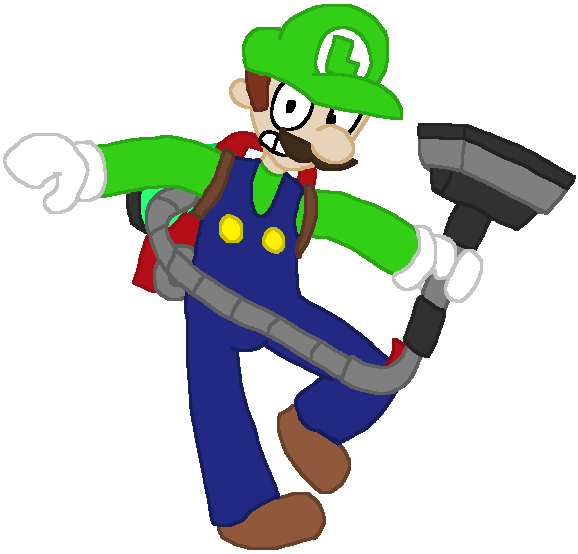
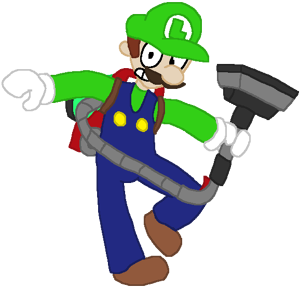
Luigi The Eternal Understudy |
Luigi is Mario's brother and a main character of the Mario series. Compared to his brave and headstrong brother, Luigi is much more timid and awkward in comparison. For a long time he had always been in Mario's shadow, but surpasses his jumping height, at the cost of slippery movement. Recently he has been given a spotlight through the Luigi's Mansion series. He even had his own year! | ||
| |||
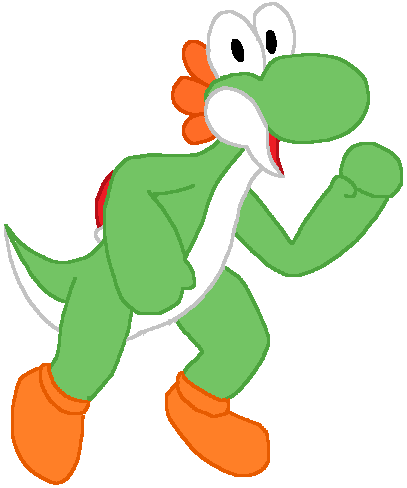
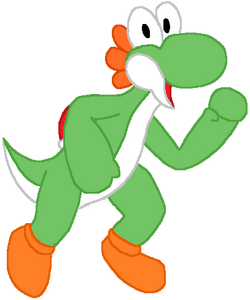
Yoshi The Green Glutton |
Yoshi is a character from the Mario series and the main protagonist of the Yoshi series. A gentle dinosaur from Yoshi's Island, they come in a wide variety of colors and have the ability to eat anything with their long tongues, transforming what they eat into eggs. He acts as an ally to Mario in his adventures, allowing the plumber to ride on him. | ||
| |||
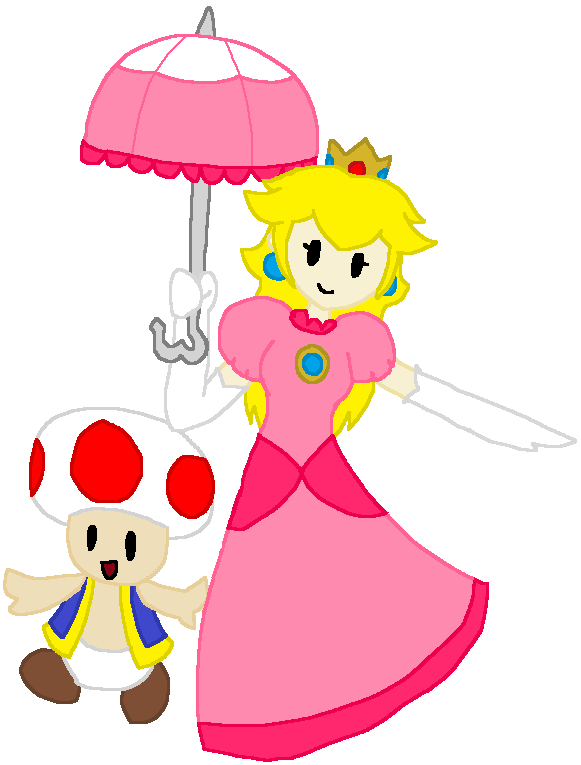
Peach Princess of the Mushroom Kingdom |
Princess Peach is a major character in the Mario series. The ruler of the Mushroom Kingdom, she is Mario's love interest throughout the games. Despite her loyal Toad servants doing their best to protect her, she is often kidnapped by Bowser, and it's always up to Mario to save her. | ||
| |||
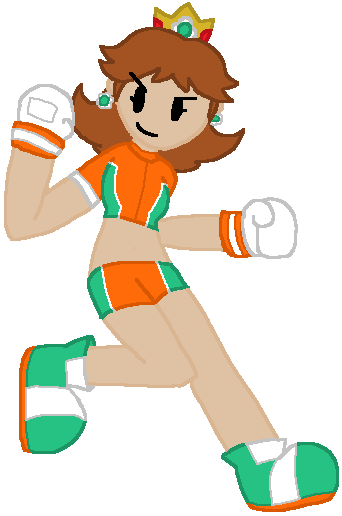
Daisy Sarasaland's Chipper Princess |
Princess Daisy is a reoccurring character in the Mario series. With an upbeat and spunky attitude, she is the ruler of Sarasaland. In her debut, she is a damsel-in-distress, being kidnapped by the tyrannical alien Tatanga. Ever since however, she often participates in many sports games like tennis, golf, baseball and soccer. | ||
| |||
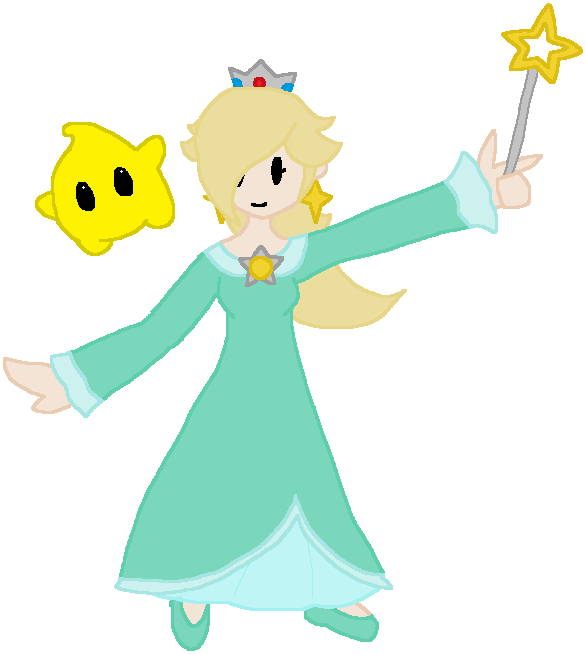
Rosalina & Luma The Cosmic Travellers |
Rosalina and Luma are reoccurring characters throughout the Mario series. Both debuting in Super Mario Galaxy, Rosalina acts as a major ally to Mario, helping him travel through space to save Princess Peach. She lives on the Comet Observatory, acting as a watcher and defender of the cosmos, and she is the adopted mother of the Lumas. | ||
| |||
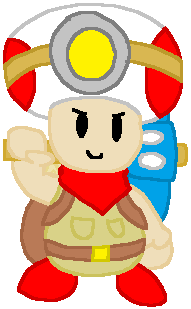
Captain Toad Leader of the Toad Brigade |
Captain Toad is a reocurring character in the Mario series. A red Toad with an oversized backpack, he is the leader of the Toad Brigade, a group who provide help to Mario in the Galaxy games. In his own adventure in Captain Toad: Treasure Tracker, he becomes a treasure hunter, and seeks to save Toadette and a Power Star from a giant bird named Wingo. | ||
| |||
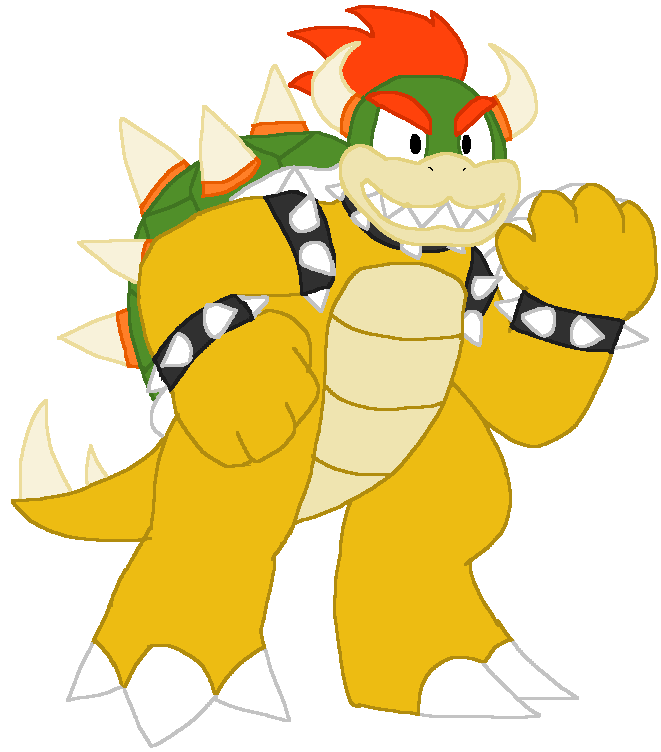
Bowser King of the Koopas |
Bowser is the main antagonist of the Mario series. The King of the Koopas and the leader of the Koopa Troopa, he is Mario's archnemesis. Throughout the series he has made many attempts to take over the Mushroom Kingdom by kidnapping Princess Peach (who he also has a crush on). | ||
| |||
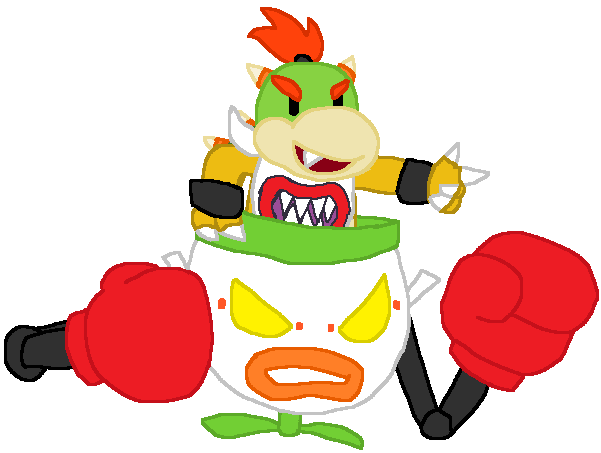
Bowser Jr. Prince of the Koopas |
Bowser Jr. is a reoccurring antagonist in the Mario series. The son of Bowser and the heir to his throne, since his first appearance in Super Mario Sunshine he has helped his father in his attempts to take over the Mushroom Kingdom. He's often seen riding in his Jr. Koopa Clown Car, which is equipped with a variety of weapons for him to use. | ||
| |||

Paper Mario Paper-Thin Plumber |
Paper Mario is the main protagonist of the Paper Mario series. He is very similar to normal Mario, though much flatter as he (alongside the rest of his world) is made out of paper. He often has to save Princess Peach, or even the entire world, from not just Bowser, but other evil threats. Throughout his adventures he meets and teams up with a wide variety of partners who help him fight in battle. | ||
| |||
Wario[]
Wario Scoundrel with a Fart of Gold |
Wario is a reoccurring character throughout the Mario series and the main character of the Wario series. He is Mario's evil doppleganger, and in comparison to him, is greedy, gluttonous and vain. His only goals are to be better than Mario in every way, and gain as much money as possible, either through treasure hunting or by making video games. | ||
| |||
Waluigi The Purple Trickster |
Waluigi is a reoccurring character throughout the Mario series. He is Luigi's lanky rival, and Wario's partner-in-crime throughout the Mario spin-offs. Introduced in Mario Tennis, he is known for his self-pity and cheating nature, believing that he deserves as much spotlight as everyone else in the Mario cast. | ||
| |||
Donkey Kong[]
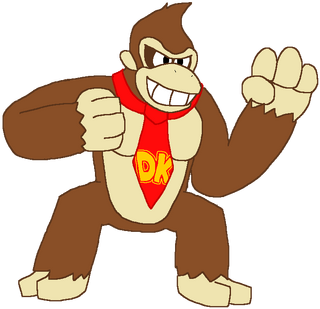
Donkey Kong King of the Jungle |
Donkey Kong is the main protagonist of the Donkey Kong series. A carefree jungle dweller with the charisma of a natural leader and a love for bananas, he lives on DK Island with the rest of the Kong Family. He often spends his time foiling the plans of the Kremlings, who seek to steal Donkey Kong's mighty banana hoard. | |||||
| ||||||
Diddy & Dixie The Simian Squad |
Diddy Kong and Dixie Kong are a duo of characters from the Donkey Kong series. Diddy is Donkey Kong's sidekick, helping him out on his adventures to stop King K. Rool. When Donkey Kong was captured in Donkey Kong Country 2: Diddy's Kong Quest, he teams up with Dixie Kong, his girlfriend, and the two work together to save DK from Kaptain K. Rool. | |||||
| ||||||
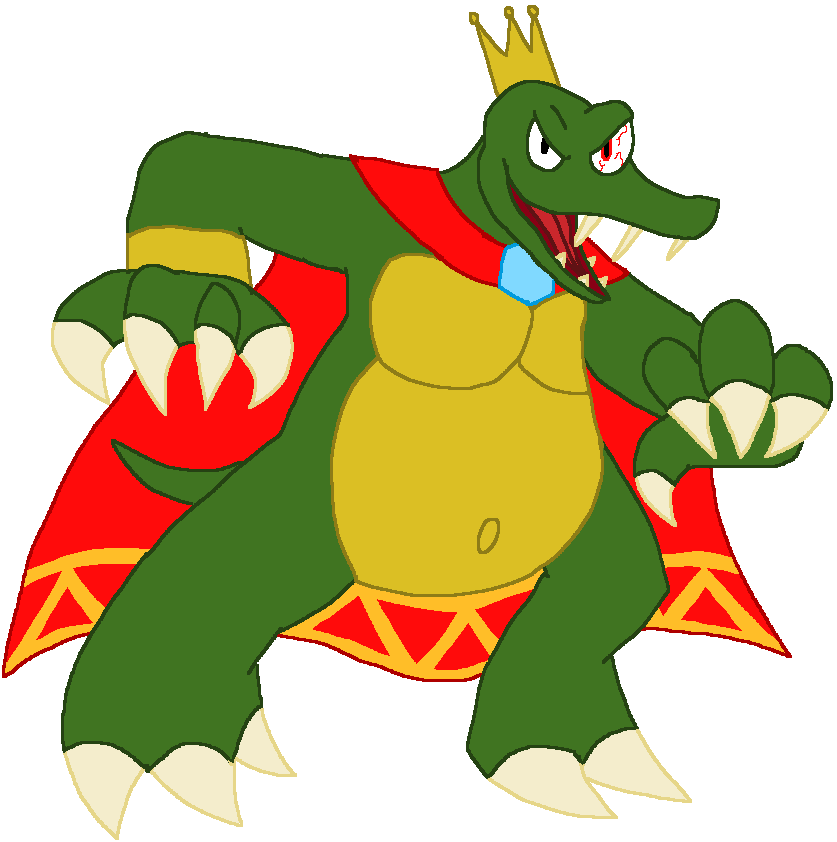
King K. Rool The Kremling Kommander |
King K. Rool is the main antagonist of the Donkey Kong series. He is the leader of the Kremlings, who constantly terrorize the Kong family. Though his and Donkey Kong's rivalry only started because of K. Rool's wish to steal his Banana Hoard, this spiraled into full blown hatred as King K. Rool kidnapped the Kongs and even attempted to blow up their home. | |||||
| ||||||
The Legend of Zelda[]
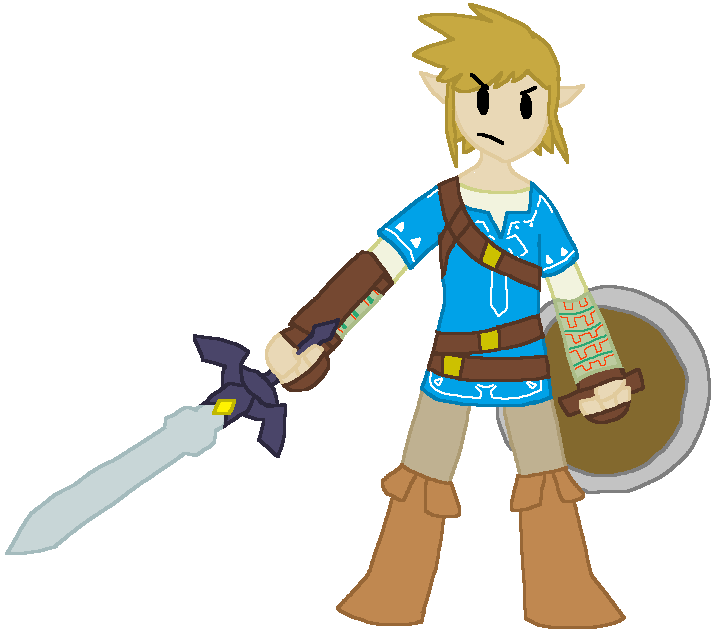
Link Champion of Hyrule |
Link is the main hero of the Legend of Zelda series. Over the years there have been many incarnations of Link, destined to become heroes against powerful forces of evil, most notably Ganon. This incarnation originates from Breath of the Wild. He is a Knight of Hyrule and a member of one of the Champions, a group tasked with battling against Calamity Ganon. However after being gravely wounded defending Princess Zelda, he was placed in a deep sleep in the Shrine of Resurrection. Suffering from amnesia, he seeks to defeat Calamity Ganon once and for all, while finding out about his past. | ||
| |||
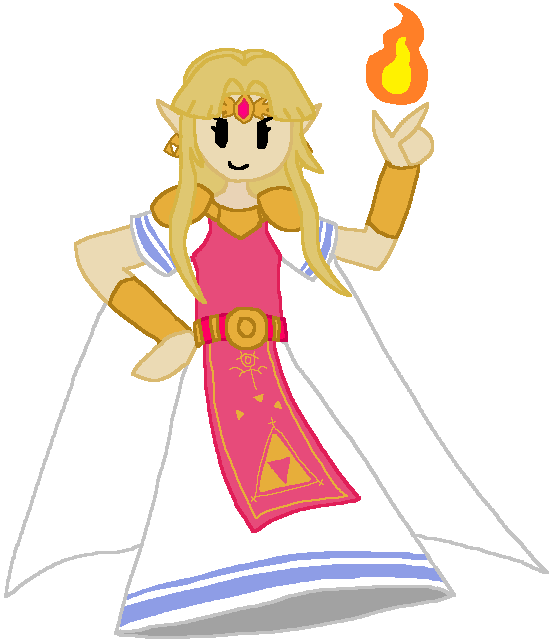
Zelda Hyrule's Wise Princess |
Princess Zelda is the titular character of the Legend of Zelda series. Like Link, there have been many incarnations of Zelda throughout the years, all of which are the crowned princess of Hyrule and being the holder of the Triforce of Wisdom. This incarnation of the character is from A Link Between Worlds, who is captured by the evil sorcerer Yuga, and brought alongside the Seven Sages to Lorule to revive Ganon. | ||
| |||
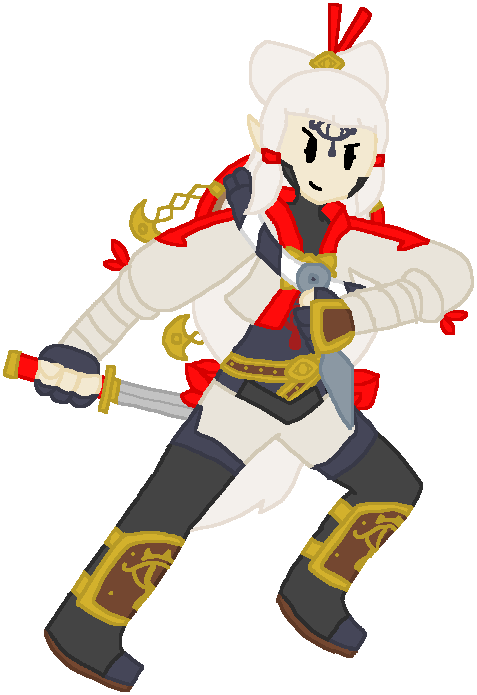
Impa The Mighty Sheikah |
Impa is a major reoccurring character in the Legend of Zelda series. Just like Link and Zelda, there have been many Impas throughout the ages. This incarnation of the character is from Hyrule Warriors: Age of Calamity. She is the adviser to Hyrule's royal family, a revered member of the Sheikah tribe, and Princess Zelda's personal friend and consultant. She fights alongside her, Link, and the Champions againsts the monsters heralding Calamity Ganon's return. | ||
| |||
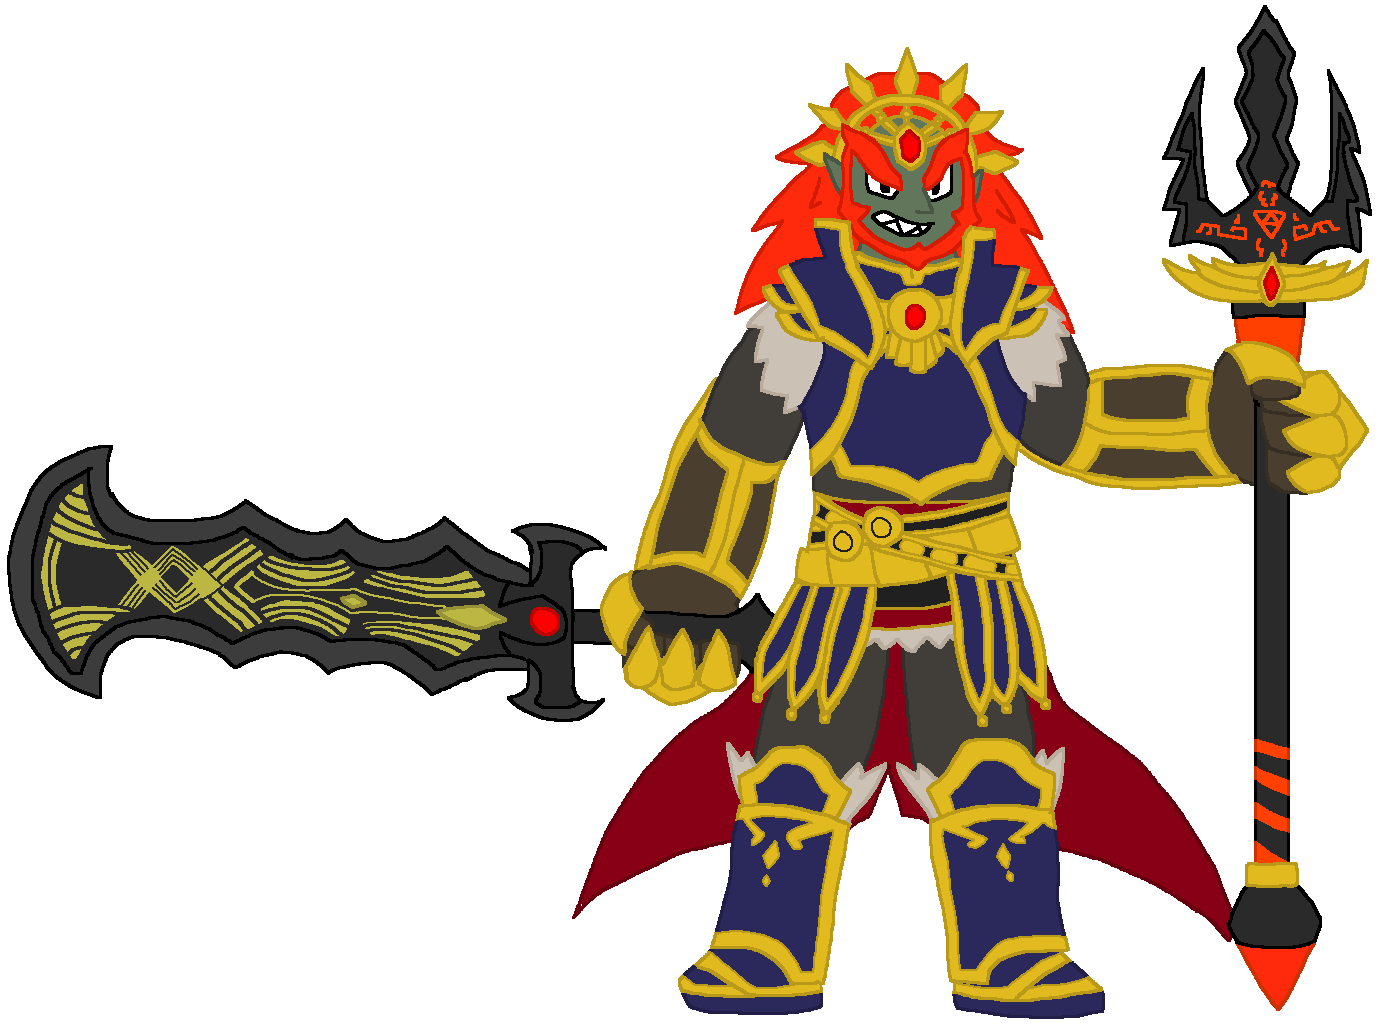
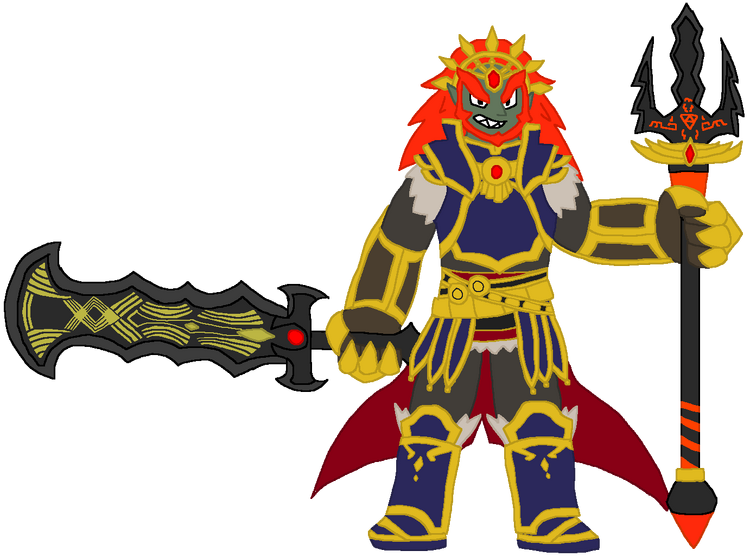
Ganondorf The King of Darkness |
Ganondorf is the main antagonist in several games in the Legend of Zelda series. He is a member of the Gerudo, turning into the immortal Demon King after he stole the Triforce of Power from the Sacred Realm. For centuries, he has fought against the reincarnations of Link and Zelda in his quest to obtain the full Triforce and conquer Hyrule. | ||
| |||
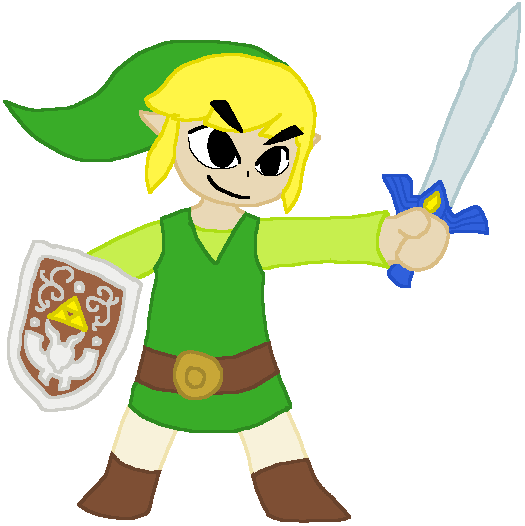
Toon Link Wind-Waking Warrior |
Toon Link is one of Link's many incarnations, first appearing in The Wind Waker. Living peacefully on Outset Island, compared to other incarnations of Link, he has a much more cartoony appearance (hence the name), and is much more carefree and excitable. When his sister is captured by a giant bird, he seeks to rescue her, with some help from the pirate captain Tetra, and later, the living boat known as The King of Red Lions. | ||
| |||

Midna The Twilight Princess |
Midna is a major character in The Legend of Zelda: The Twilight Princess. A member of the Twili, she was a princess in the Twilight Realm, but was overthrown by Zant and transformed into an imp. After finding Link, who had been transformed into a wolf, she decides to help him, and the two would work together to save Hyrule and defeat Zant. | ||
| |||
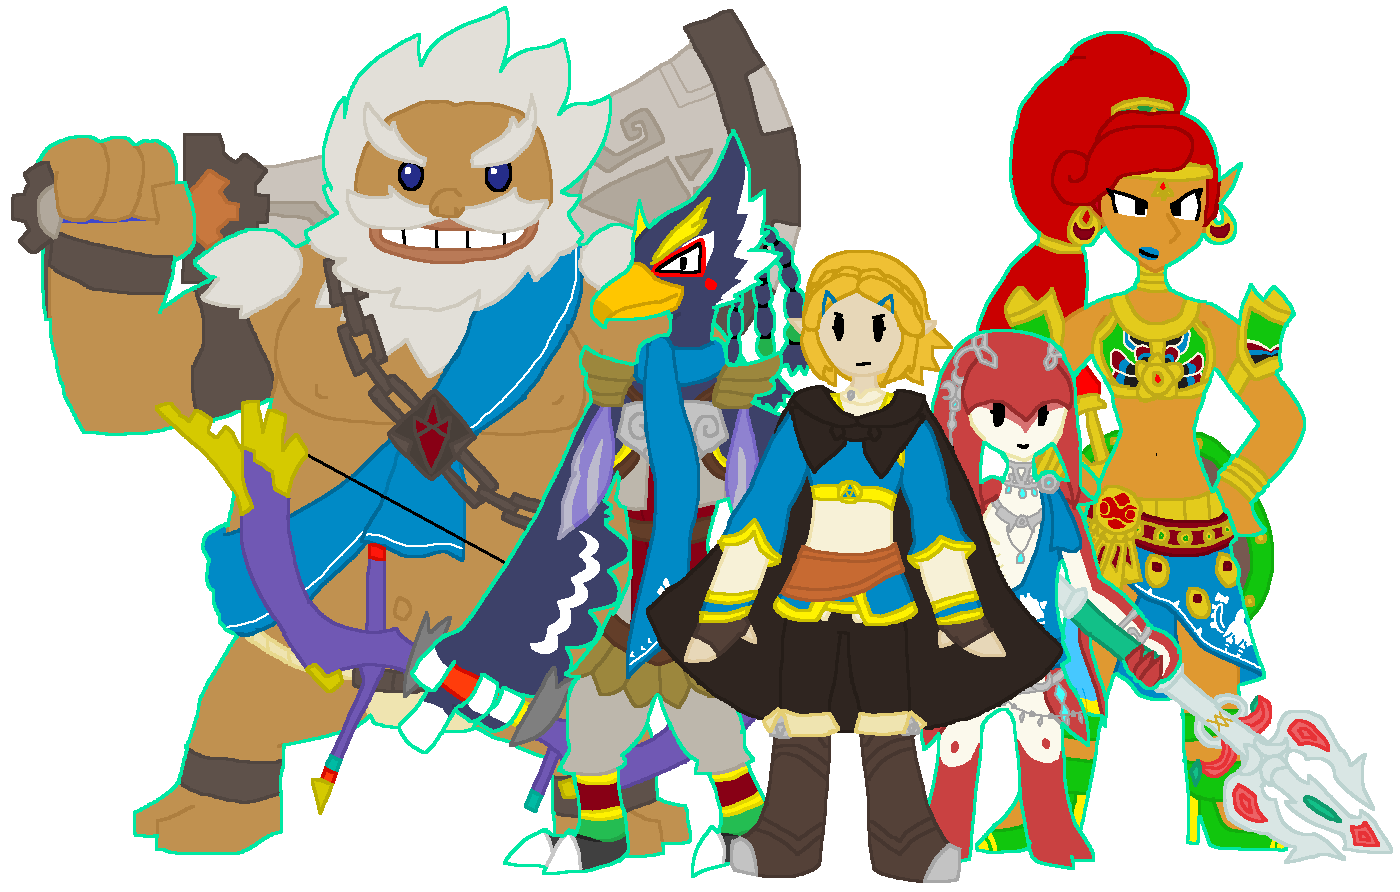
Champion Zelda Studious Leader of the Champions |
Champion Zelda is one of Zelda's many incarnations, appearing in The Legend of Zelda: Breath of the Wild. Not only is she the princess of the Hyrule, but also an aspiring scholar and the leader of the Champions of Hyrule. Throughout Link's adventure, she guides him while containing Calamity Ganon inside Hyrule Castle. Alongside her are the spirits of the other champions: Daruk, the Goron Champion, Revali, the Rito Champion, Mipha, the Zora Champion, and Urbosa, the Gerudo Champion, who all fight alongside her. | ||
| |||
Metroid[]
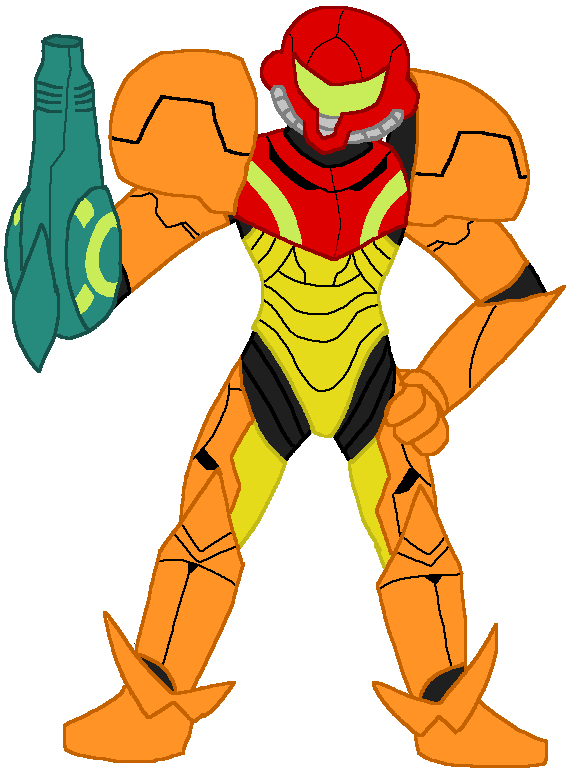
Samus Bounty Hunter Extraordinaire |
Samus Aran is the protagonist of the Metroid series. Orphaned at a young age, she was raised by the Chozo, and infused with their DNA to give her superhuman agility. She wields the Power Suit, an armored suit also created by the Chozo, which protects her from various environments, and is capable of upgrading to include many new abilities and forms. Though starting off as a member of the Galactic Federation, she ultimately left them to become a bounty hunter, famous for accomplishing missions previously thought to be impossible. | ||
| |||
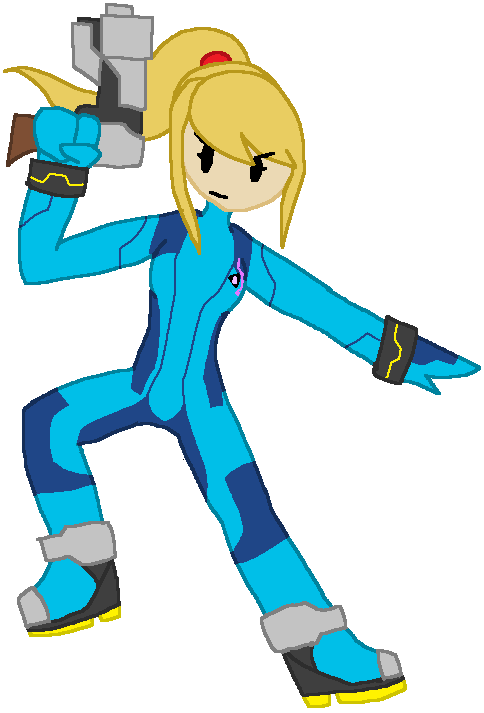
Zero Suit Samus Beautiful Galactic Warrior |
Zero Suit Samus is the form Samus takes when she is outside of her Power Suit. She only ever goes into this state if her Power Suit malfunctions. While it lacks her suit's firepower, its streamline design allows for acrobatic movement and agility. She is also equipped with a Paralyzer, which she can use to get her out of tight spots. | ||
| |||

Ridley Cunning God of Death |
Ridley is a major antagonist in the Metroid series. A high-ranking member of the Space Pirates, he is Samus' arch-enemy, as he is responsible for killing her parents. He is sadistic and bloodthirsty, delighting in death and destruction. And no matter how much Samus tries, he always seems to come back in some way or another, still intent on ending her life. | ||
| |||
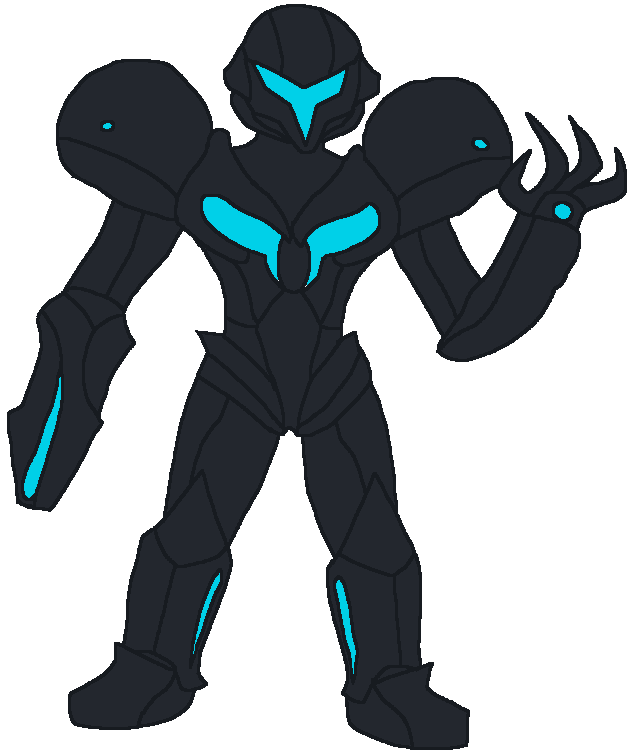
Dark Samus Phazon Incarnate |
Dark Samus is the main antagonist in the Metroid Prime series. The reincarnation of Metroid Prime, who clung to Samus' Phazon Suit and combined with her DNA to become a Phazon-infused clone. Cold and cunning, she will stop at nothing to absorb as much Phazon as possible, spreading it and killing anyone that stands in her way. | ||
| |||
Kid Icarus[]
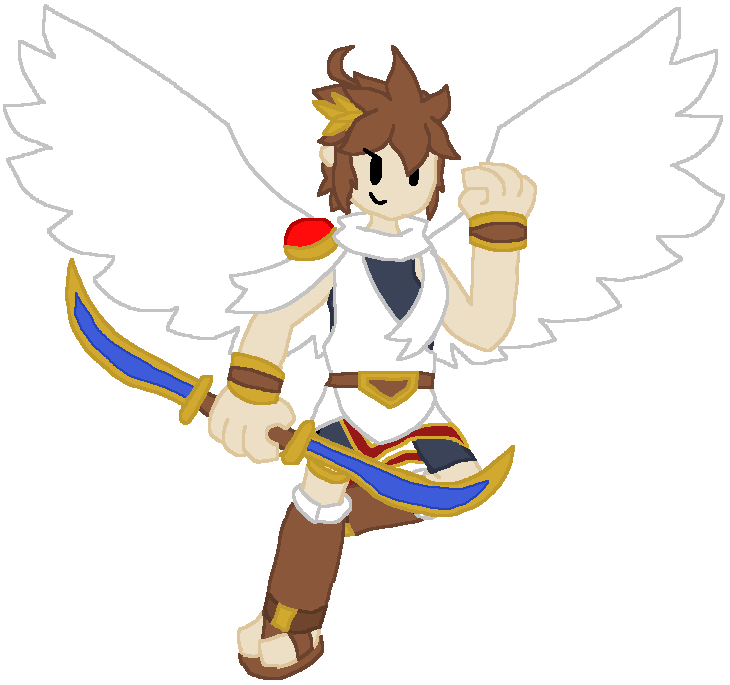
Pit Captain of Lady Palutena's Guard |
Pit is the main protagonist of the Kid Icarus series. He is the captain of Palutena's Army, fighting on her behalf while receiving her assistance via the Power of Flight alongside various Powers. Throughout his games he fights off against the forces of the Underworld Army. | ||
| |||
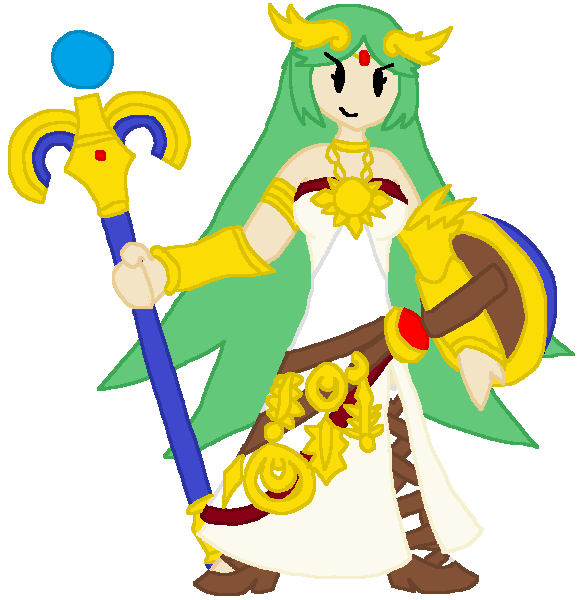
Palutena Goddess of Light |
Palutena is a major character in the Kid Icarus series. She is the Goddess of Light and the patron deity of Pit, assisting him via various Powers and her vast knowledge to protect humanity and maintain celestial balance. Despite this, she is actually quite cheerful, playful and even somewhat mischievous, treating Pit more like a kid brother and putting him in dangerous situations for her amusement. | ||
| |||
Viridi Goddess of Nature |
Viridi is a major character in Kid Icarus: Uprising. The Goddess of Nature and leader of the Forces of Nature, she seeks to preserve the natural order, seeing humanity as her enemy for taking advantage of nature. Due to this, she has gone into conflict with Pit and Palutena, though provides support against larger threats like the Underworld Army, the Aurum and the Chaos Kin. | ||
| |||
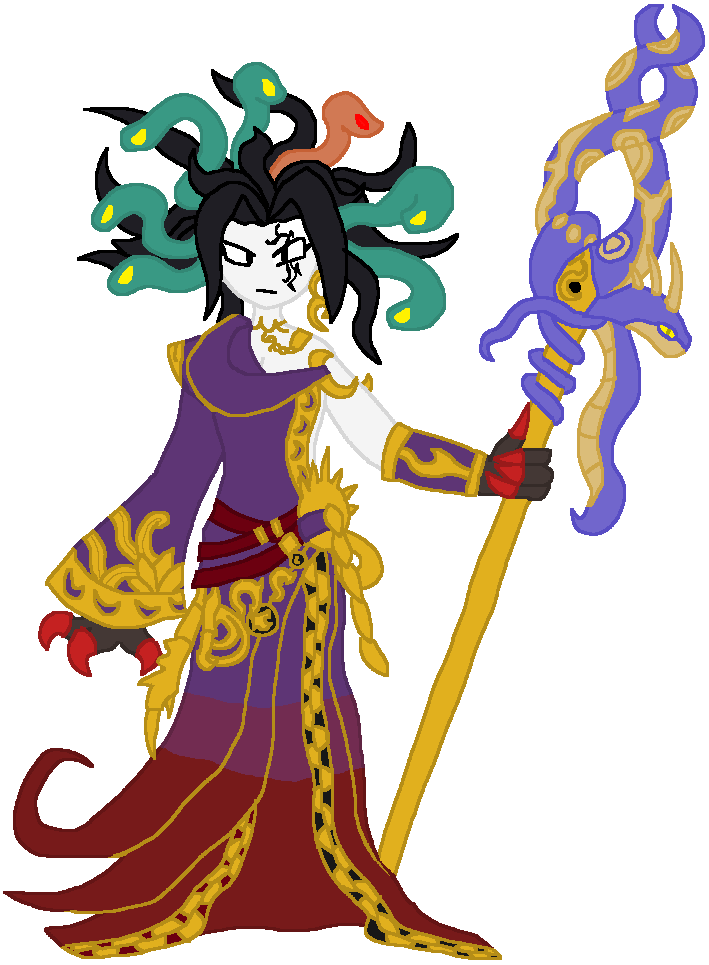
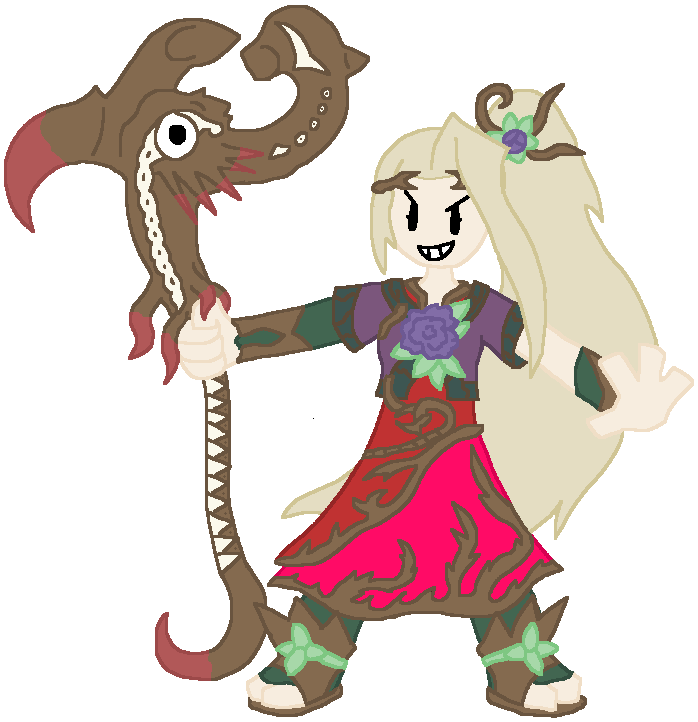
Medusa Queen of the Underworld |
Medusa is a major antagonist in the Kid Icarus series. The Goddess of Darkness and leader of the Underworld Army, she once ruled Angel Land with Palutena in peace. However, unlike Palutena, who fostered the growth of humanity, Medusa hated them, destroying their crops and petrifying them. In a fit of rage, Palutena turned her into a hideous monster and banished her to the Underworld. Since then, Medusa has vowed to overthrow Palutena and retake her position in the Palace in the Sky. | ||
| |||
Earthbound[]
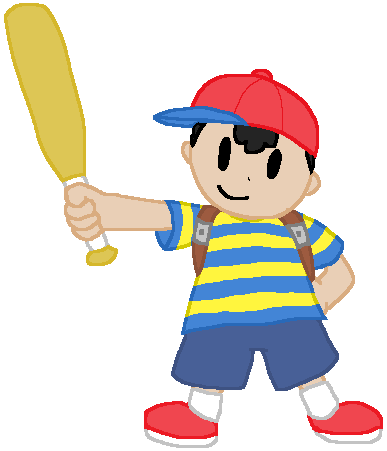
Ness The PSI Powerhouse |
Ness is the main protagonist of Earthbound, the second game in the Mother series. A young boy who has mastered psychic powers known as PSI, he lived a normal life in Onett until a meteor crashed in a nearby mountain. There, an alien creature warned him of a future threat, leading to Ness going on an adventure to stop the evil Giygas. | ||
| |||
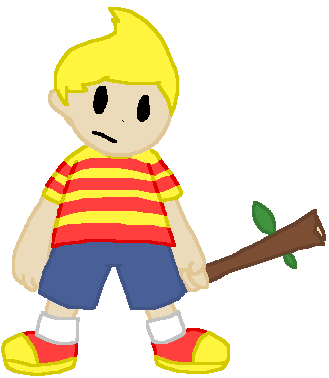
Lucas The Boy from Nowhere |
Lucas is the main protagonist of Mother 3. The younger of two twin brothers, he lives in Tazmily Village in the Nowhere Islands. Though kind in nature, he's shy, and after the sudden passing of his mother and the disappearance of his brother, became depressed and unable to cope with the losses he had to endure. However, after seeing the transformation of his hometown at the hands of Porky and his Pigmask Army, grows strong and determined in his journey to find the Seven Needles and save his home. | ||
| |||
Fire Emblem[]
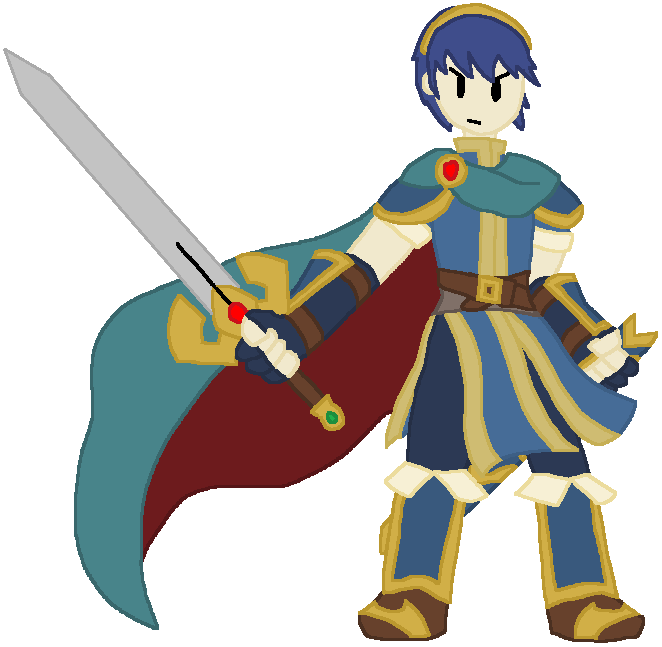
Marth The Hero-King |
Marth is the main protagonist of Fire Emblem: Shadow Dragon and the Blade of Light and its sequel, Fire Emblem: Mystery of the Emblem. The betrayed prince of the Kingdom of Altea, the blood of hero Anri runs through his veins. Forced to exile when the Kingdom of Dolua invaded his home, with his divine sword Falchion, he led a revolt with a group of stalwarts against the dark dragon, Medeus. | ||
| |||
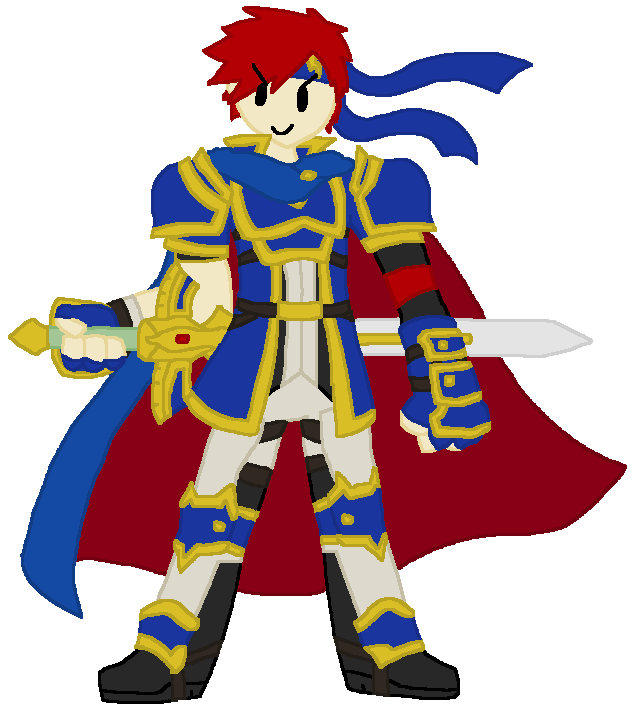
Roy The Young Lion |
Roy is the main protagonist of Fire Emblem: The Binding Blade. The son of the lord of Pharae Principality, Roy was studying in Ostia when the Kingdom of Bern invaded the League of Lycia. His father, Eliwood, fell ill at this time, so Roy assumed lordship of Pharae's armies to fight off against Bern and its ruler, Zephiel, who seeks the destruction of human rule. After his fateful meeting with the Princess Guinevere, his destiny became inextricably linked with the fate of the entire continent. | ||
| |||
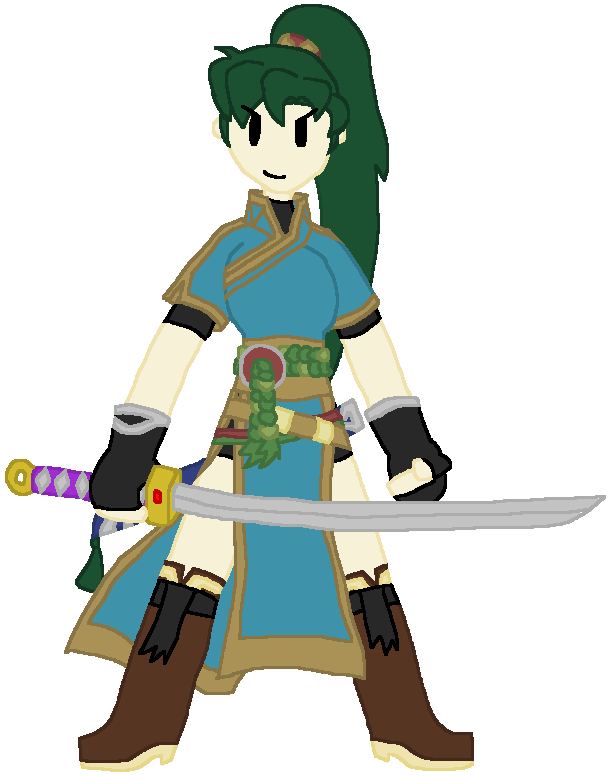
Lyn Noble Lady of the Plains |
Lyndis, more commonly known as Lyn, is one of the main characters of Fire Emblem: The Blazing Blade. Born in the Sacaen Plains, after coming to the aid of a fallen traveler, she sets off on a quest to become a master swordsman and avenge her parents and tribe, who were killed by bandits. Eventually, she learns that she is the sole heir of the Caelin throne, and vows to defeat Lord Hausen’s brother, Lundgren, who seeks to take the throne for himself. Later on, she assisted Eliwood and Hector in taking back Castle Caelin from the Laus Army, and would help the two defeat the Black Fang. | ||
| |||
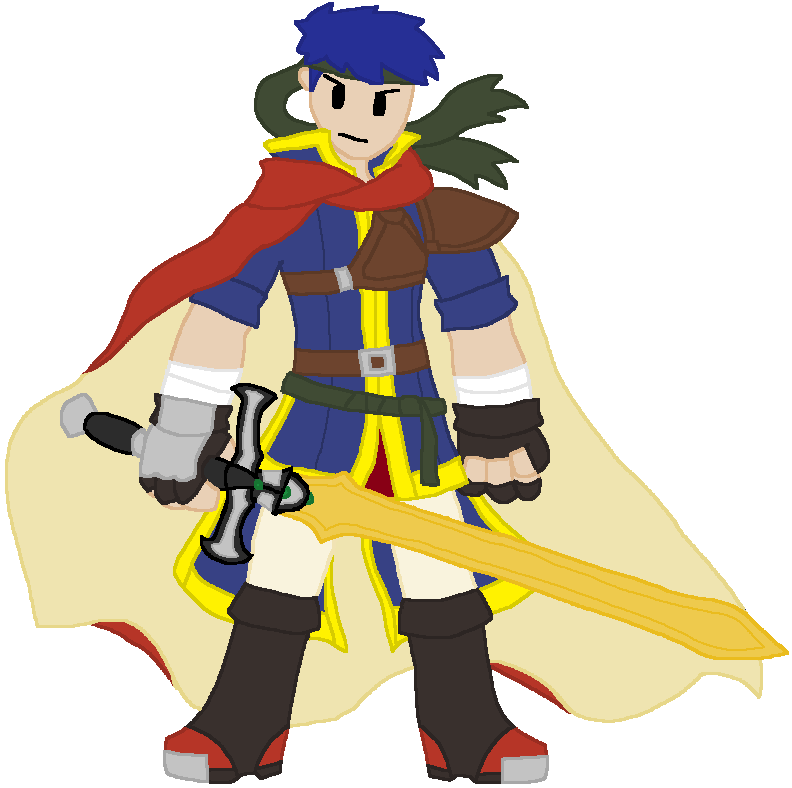
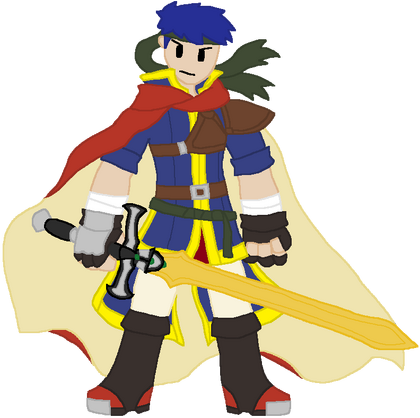
Ike The Radiant Hero of Legend |
Ike is the main protagonist of Fire Emblem: Path of Radiance and deuteragonist of Fire Emblem: Radiant Dawn. He is the son of Greil, a legendary warrior who leads a band of mercenaries serving as Crimea's top fighting force. Taking part in the Mad King's War, he was forced to lead the mercenaries after Greil is killed by his former student, the Black Knight. He would grow into a renowned hero, restoring Crimea to its former glory, and would later aid the Laguz Alliance in the fight against the Begnion Empire. | ||
| |||
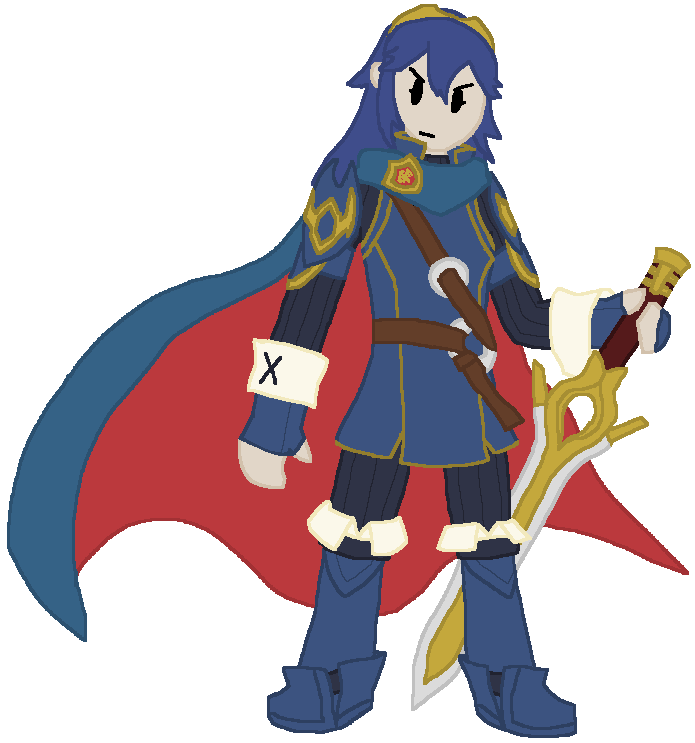
Lucina Warrior from a Doomed Future |
Lucina is a main character in Fire Emblem Awakening. The daughter of Chrom and the future Princess of Ylisse, she comes from a future where the Fell Dragon Grima brought the world to ruin. Wishing to prevent this, she and other future children of the Shepherds travel back in time to prevent Grima’s revival, with Lucina hiding her identity behind a mask and disguising as the Hero-King Marth. When her identity is revealed, she reunites with her parents, and fights alongside them against Grima. | ||
| |||
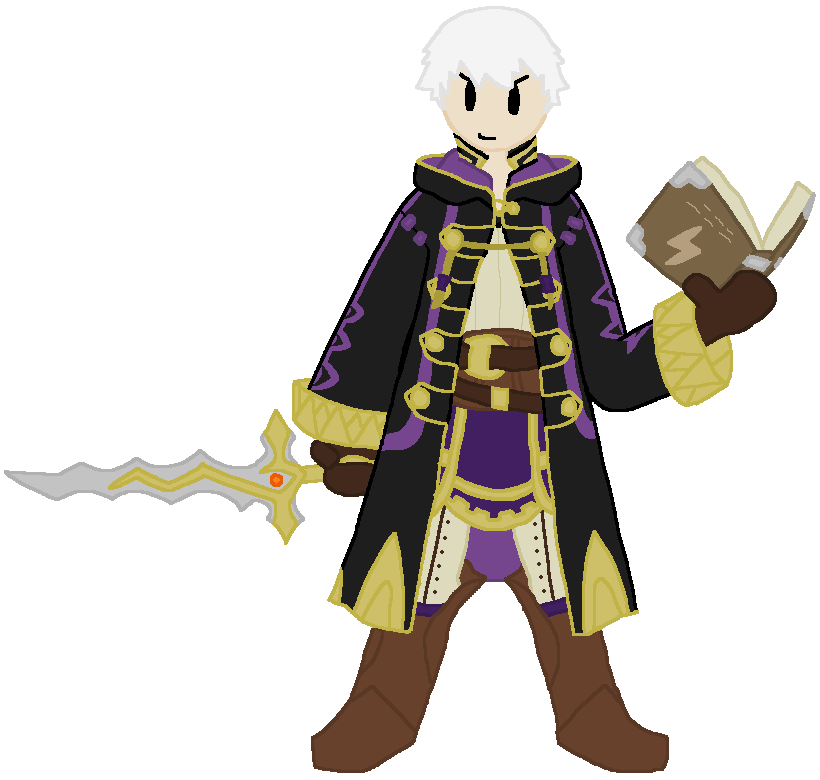
Robin The Tactician Magician |
Robin is the default name for the player's avatar in Fire Emblem Awakening. Found in a field by Chrom, Lissa and Frederick, he has no memory of his past besides his knowledge in fighting battles. As a result of helping save a town, Chrom invites him to join the Shepherds, and the two become close friends. He uses his tactical knowledge to help Chrom and his home of Ylisse in a war against Plegia and Valm, while also defeating evil forces like the Risen and the Fell Dragon Grima. | ||
| |||
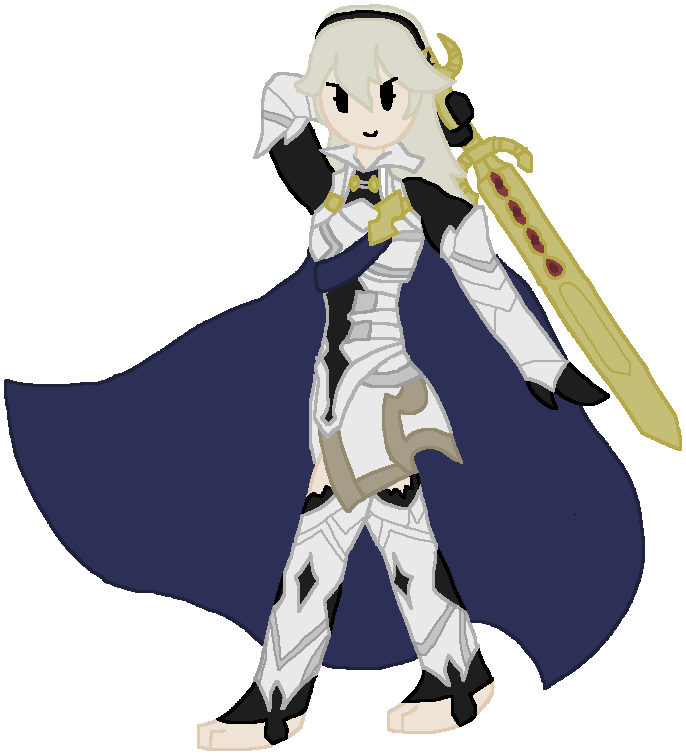
Corrin Blood of Dragons |
Corrin is the default name for the player's avatar in Fire Emblem Fates. Born to the Hoshido royal family, they were kidnapped and raised by the neighboring kingdom of Nohr. For years they were isolated in the Northern Fortress until defeating their brother Xander in a duel, proving that they were strong enough. Garon, the ruler of Nohr, sends Corrin on a mission, only for them to be captured by Hoshidan soldiers. Brought into the kingdom, they reunite with their blood relatives and the songstress Azura. However, after witnessing the murder of their mother and ruler of Hoshido, Mikoto, Corrin's draconic blood is awakened, transforming into a Feral Dragon and causing a rampage before being calmed by Azura. With the barrier protecting Hoshido disappearing, Hoshido and Nohr meet in battle, and Corrin is forced to choose which side they will fight for. | ||
| |||
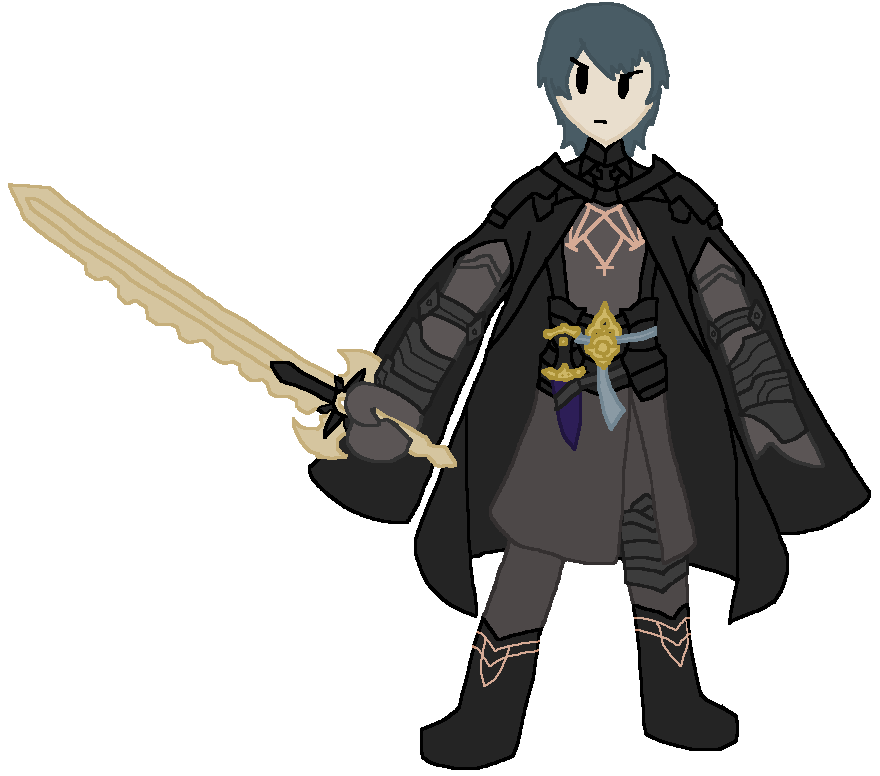
Byleth The Ashen Demon |
Byleth is the default name for the player's avatar in Fire Emblem Three Houses. The child of Jeralt, a former knight of Seiros, and Sitri, a nun of the Church of Seiros, Byleth was born in critical condition, and as a result was given the Crest Stone of Flames, saving Byleth and reawakening the goddess Sothis, at the cost of Sitri's life. Byleth travelled with their father in a mercenary troop, before a chance encounter where they saved three nobles frombeing attacked by bandits: Edelgard, Dimitri, and Claude. Returning to Garreg Mach Monastery, Byleth would be enlisted as a professor for one of the Officers' Academy's three houses: the Black Eagles, the Blue Lions and the Golden Deer, led by the nobles from before. After being bestowed powers by Sothis, who only they can see, after Edelgard declares war on the Church of Seiros, Byleth is forced to take a side and help their house's leader obtain their goals, whether it be destroying the Church, finding out about the Crests and the Heroes' Relics, or defeating Edelgard and Those Who Slither in the Dark. | ||
| |||
Kirby[]
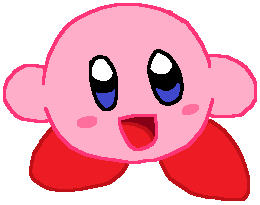
Kirby The Pink Puffball |
Kirby is the eponymous main protagonist of the Kirby series. He's a round pink creature from Planet Popstar, and is best known for his abilities to inhale his foes and copy their powers. He acts as a defender of his planet from everything, from its ruler, King Dedede, to outside forces like Nightmare and Dark Matter. | ||
| |||
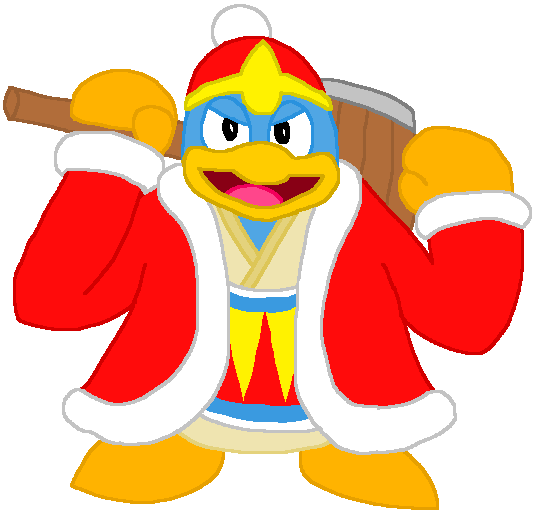
King Dedede Self-Proclaimed King of Dreamland |
King Dedede is a reoccurring character in the Kirby series. The self-proclaimed king of Dreamland, he acts as Kirby's rival. Though at first villainous, at one point stealing Dream Land's entire food supply, he will team up with Kirby when combating a common evil. | ||
| |||
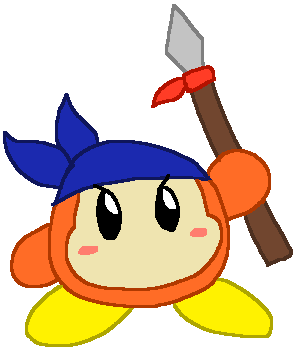
Bandana Dee Waddle Dee Warrior |
Bandana Dee is a major character from throughout the Kirby series. A Waddle Dee wearing a blue bandana, in his first appearance in Super Star Ultra, he's a servant and sidekick to King Dedede, but after that he acts as an ally to Kirby, offering assistance like tossing out healing items before bosses. He primarily fights with a spear in combat. | ||
| |||
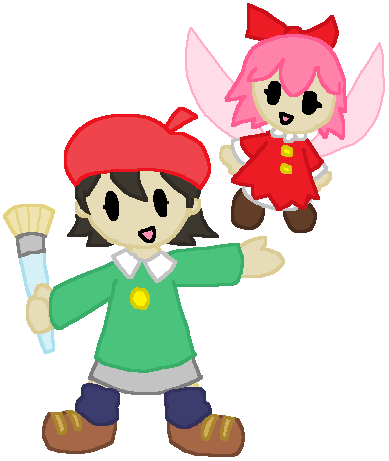
Adeleine & Ribbon ? |
Adeleine and Ribbon are two recurring characters in the Kirby series. Adeleine was first introduced in Kirby’s Dream Land 3 as a boss, but would later appear as an ally to Kirby in later games. Ribbon was introduced in Kirby 64: The Crystal Stars, a fairy from Ripple Star instructed with protecting the planet’s Crystal from Dark Matter. After the crystal was split into many pieces and spread across the galaxy, Kirby and his friends help her to find the crystal shards and defeat Dark Matter. | ||
| |||
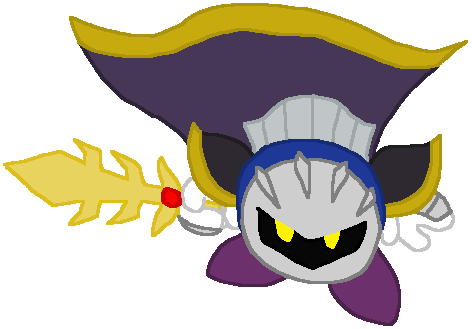
Meta Knight The Masked Swordsman |
Meta Knight is a reoccurring character in the Kirby series. The leader of the Meta-Knights, he acts as a rival of Kirby. He is an accomplished swordsman with a code of ethics, only choosing to fight Kirby in a fair duel. Though we have seen his face, his relationship with Kirby is a mystery. | ||
| |||
Magolor Mysterious Hooded Traveler |
Magolor is a reoccuring character from the Kirby series. He debuts in Kirby's: Return to Dreamland, asking Kirby to repair his ship and save his planet from the evil Landia. However, after defeating the dragon, Magolor reveals his true plans, stealing the Master Crown and threatening to take over the universe. After being defeated however, he seems to have changed his ways, acting as a shopkeeper in the Team Kirby Clash games and a Dream Friend in Star Allies. | ||
| |||
Star Fox[]
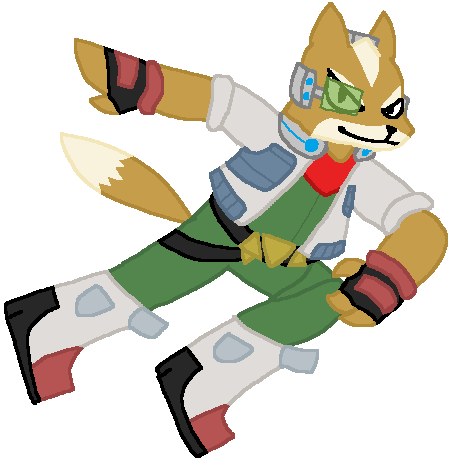
Fox Leader of Star Fox |
Fox McCloud is the main protagonist of the Star Fox series. The son of James McCloud, he is the leader of the Star Fox team, a team of mercenaries who have defended the Lylat System in times of peril. He is a skilled fighter in both his Arwing and on-foot. | ||
| |||
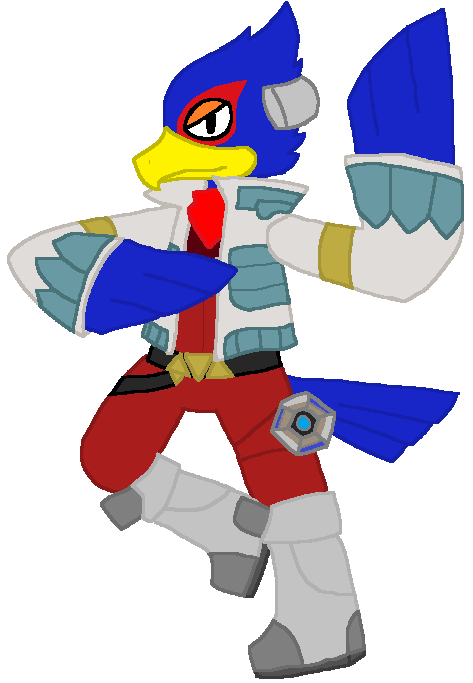
Falco Proud Space Ace |
Falco Lombardi is a main character in the Star Fox series. Once the head of a galactic gang, he's a member of the Star Fox Team, acting as their best pilot. He comes off as cocky and egotistical, being uncooperative and preferring to work alone, but he has a strong sense of loyalty and will always try and help when the need arises. | ||
| |||
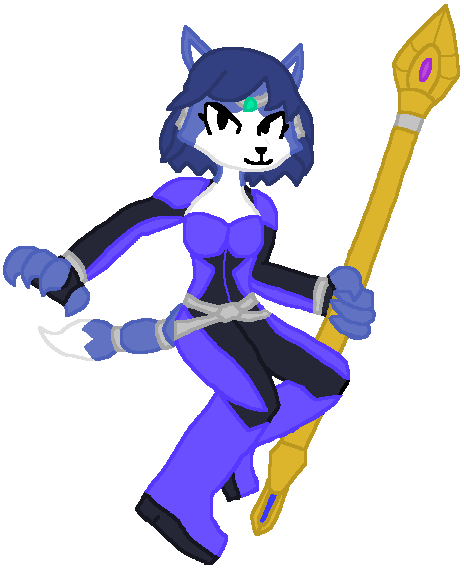
Krystal The Graceful Telepath |
Krystal is a main character in the Star Fox series. A vixen from Cerinia, she sought answers as to why her home was destroyed and her parents were murdered, leading her to the planet Sauria. Tricked by a mysterious figure, she was imprisoned in a crystal, before being found and later saved by Fox. Krystal would later join Star Fox as the team’s telepath, and would become Fox’s love interest. | ||
| |||
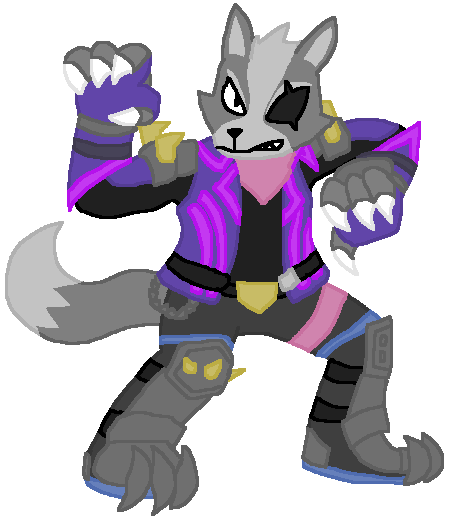
Wolf The Silver Space Wolf |
Wolf O'Donnell is a reoccurring antagonist in the Star Fox series. He is the leader of Star Wolf, an infamous team of skilled mercenaries that have crossed paths with Star Fox on several occasions, and is the mutual rival of Star Fox's leader, Fox McCloud. Though the two teams are often at odds, as Team Star Wolf have been hired by Andross multiple times, though they do help Star Fox in fighting common foes like the Aparoids. | ||
| |||
Pokémon[]
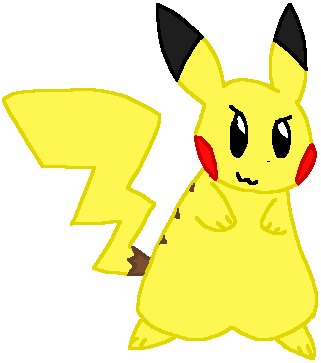
Pikachu Pika Pika! |
Known as the Mouse Pokémon, Pikachu is the mascot of the Pokémon series. Known across the world, it is an Electric-type Pokémon first introduced in the Kanto region. It's well known for its yellow color, lightning-bolt tail, and its round cheeks, which it uses to store electricity when it is in danger. | |||||||
| ||||||||
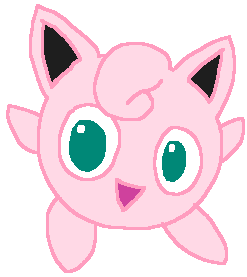
Jigglypuff The Sleepy Singer |
Known as the Balloon Pokémon, Jigglypuff is a Normal/Fairy-type Pokémon introduced in the Kanto region. When its large, alluring eyes light up, it sings a mysteriously soothing melody that lulls its enemies to sleep. It can inflate itself like a balloon, allowing it to sing for longer periods of time. | |||||||
| ||||||||
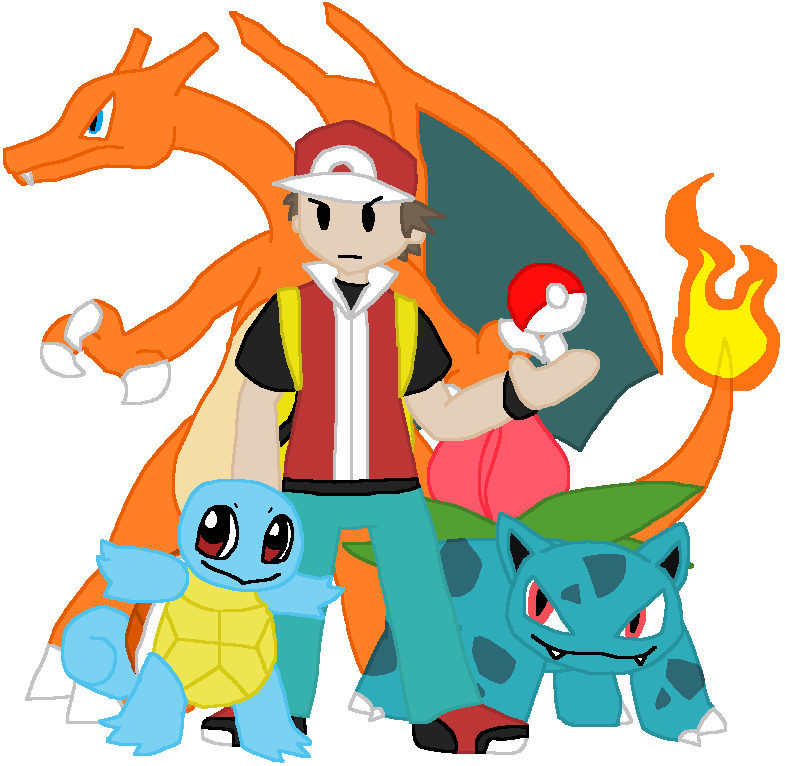
Red Wants to Be the Very Best |
Red is the default trainer character in Pokémon Red and Blue, alongside its remakes. Originating from Pallet Town, after obtaining a starter Pokémon from Professor Oak, he sets on an adventure to become the champion of the Kanto Pokémon League. He fights alongside three Pokémon, Squirtle, the Tiny Turtle Pokémon, Ivysaur, the Seed Pokémon and Charizard, the Flame Pokémon. | |||||||
| ||||||||
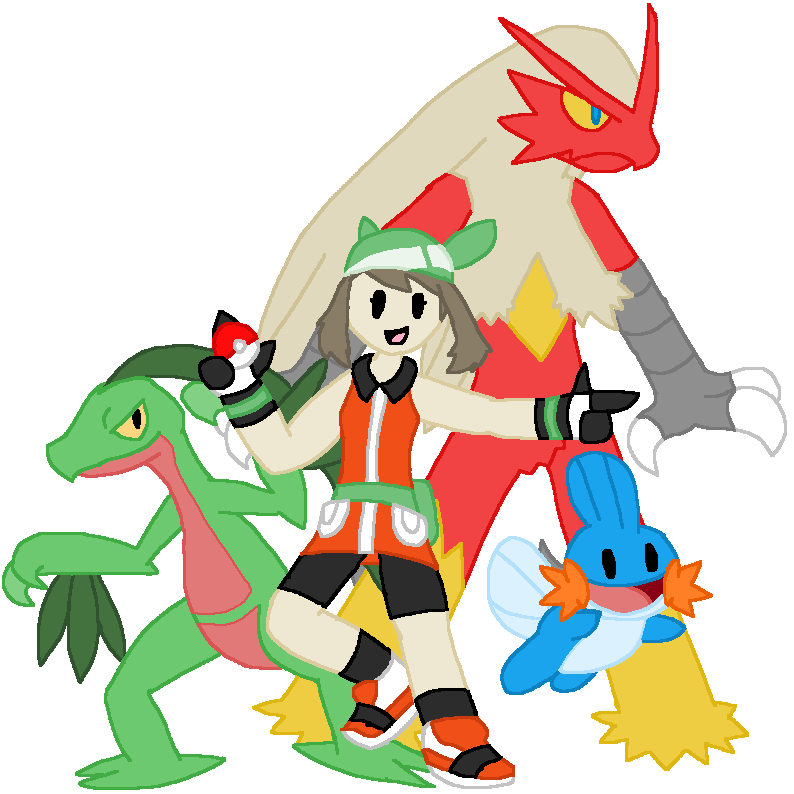
May Wants to Be a Hero |
May is the default female trainer character in Pokémon Ruby, Sapphire and Emerald, alongside its remakes. Moving into the Hoenn region, after saving Professor Birch from a wild Pokémon, he gives her a starter Pokémon, and May sets off on an adventure to become champion of the region. She fights alongside three Pokémon, Mudkip, the Mud Fish Pokémon, Grovyle, the Wood Gecko Pokémon, and Blaziken, the Blaze Pokémon. | |||||||
| ||||||||
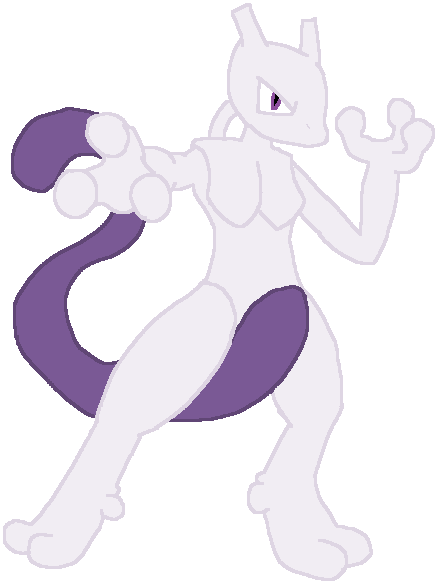
Mewtwo Awakened Genes |
Known as the Genetic Pokémon, Mewtwo is a Psychic-type Legendary Pokémon from the Kanto region. It was created by humans through the splicing of Mew's genes and DNA engineering experiments. It boasts a dangerous combination of incredible power and a savage heart, and only seeks to battle the strongest of foes. | |||||||
| ||||||||
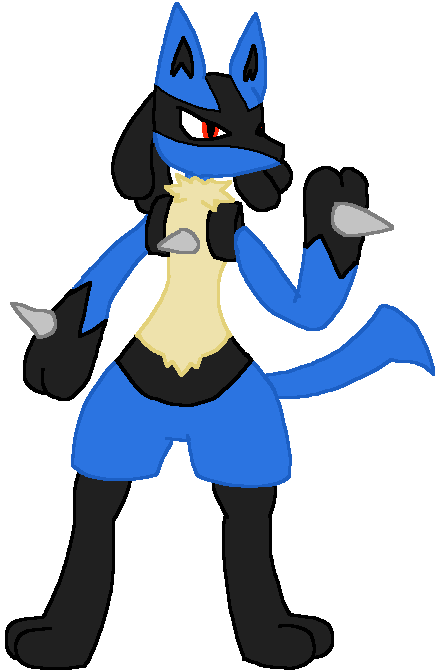
Lucario Master of the Aura |
Known as the Aura Pokémon, Lucario is a Fighting/Steel-type Pokémon introduced in the Sinnoh region. It is capable of sensing the aura of all living things, allowing them to read their thoughts and movements. It uses its own aura in battle, which is strong enough to crush boulders. | |||||||
| ||||||||
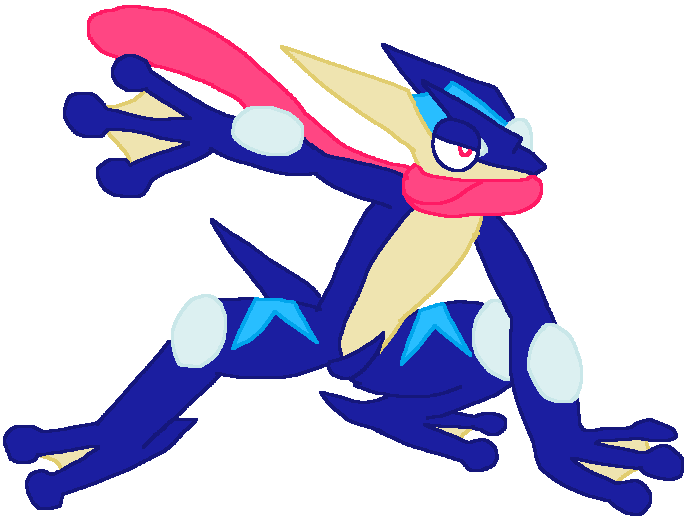
Greninja Master of Stealth |
Known as the Ninja Pokémon, Greninja is a Water/Dark-type Pokémon introduced in the Kalos region. It appears and vanishes with a ninja's grace. It toys with its enemies using swift movements, while slicing them with throwing stars of sharpest water. | |||||||
| ||||||||
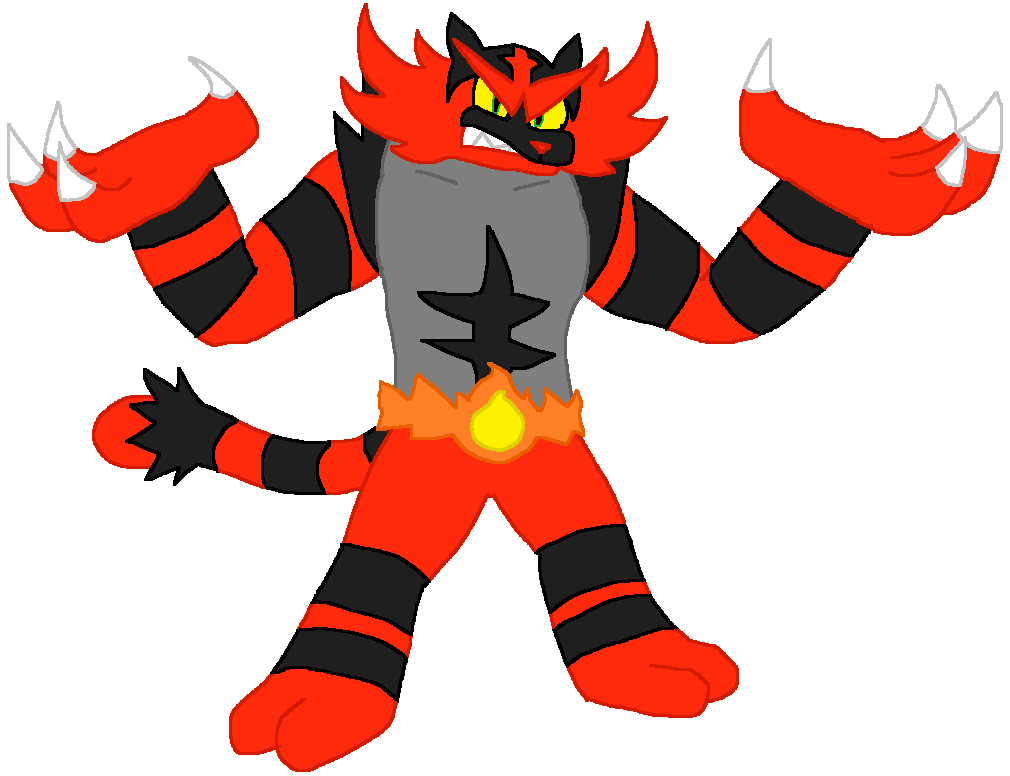
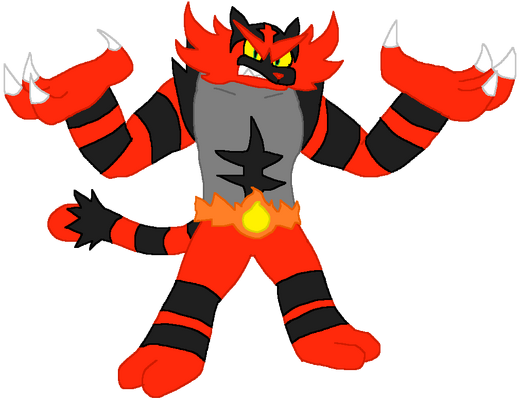
Incineroar The Ring's Raging Flame |
Known as the Heel Pokémon, Incineroar is a Fire/Dark-type Pokémon introduced in the Alola region. It has a violent and selfish disposition, and is rough mannered and egotistical. It finds fighting unworthy opponents boring, only choosing to fight the strongest. When its fighting spirit is set alight, the flames around its waist become especially intense. | |||||||
| ||||||||
Hatterene Silent Forest Witch |
Known as the Silent Pokémon, Hatterene is a Psychic/Fairy-type Pokémon from the Galar Region. The final form of the Hattena line, it is known for its ability to sense the emotions of others. If it senses loud noises or hostility, it goes on the attack, utilizing the large tentacle on its head to rip its enemies apart. | |||||||
| ||||||||
Animal Crossing[]
Villager Mayor of Smashville |
The Villager is a representation of the player characters from the Animal Crossing series. They feel the need to set out on their own and move into a town full of anthropomorphic animals. As they live, they can perform various tasks like fishing, bug-catching, digging for buried objects, shopping, running errands, and interior decorating. | ||
| |||
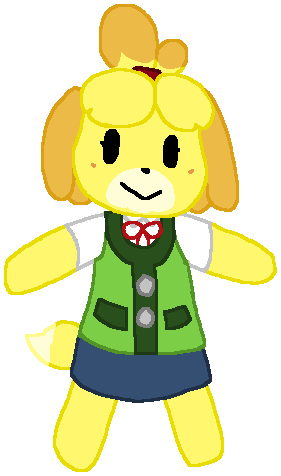
Isabelle The Mayor's Assistant |
Isabelle is a major reoccurring character in the Animal Crossing series. Introduced in Animal Crossing: New Leaf, she acts as your secretary and assists the player after they become mayor of the town they just moved into. She can be naive and a little scatterbrained, but she has an eager and hardworking spirit. | ||
| |||
Xenoblade Chronicles[]
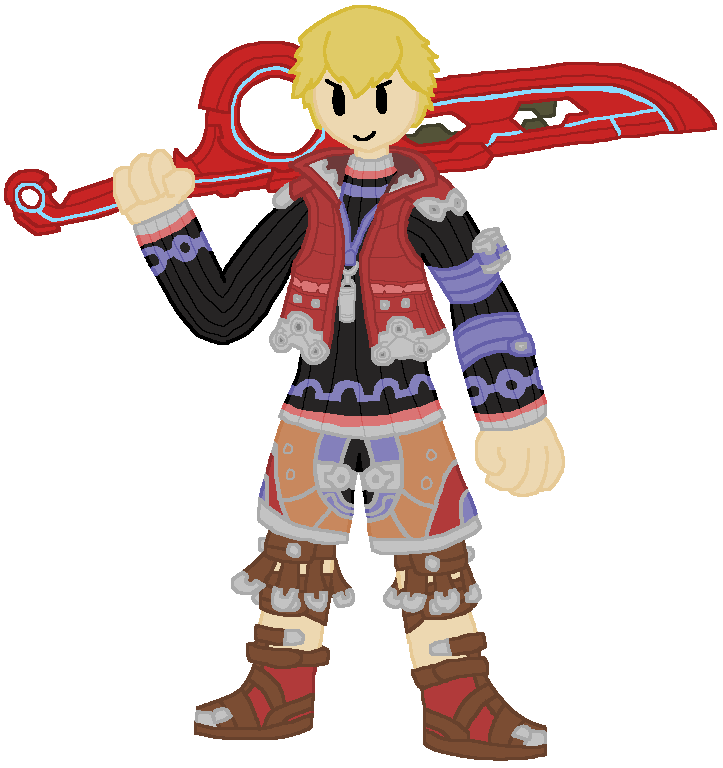
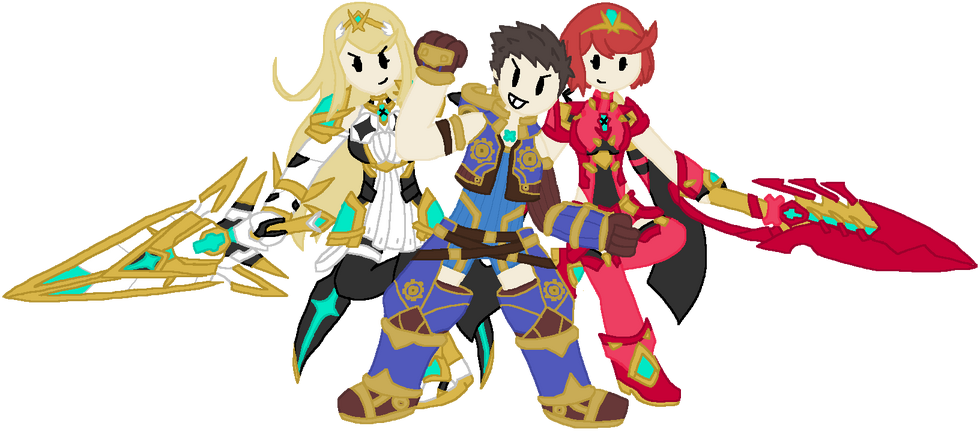
Shulk The Visionary |
Shulk is the main protagonist of Xenoblade Chronicles. A young scientist from Colony 9, he works in their Defense Force to study a weapon known as the Monado, trying to find its secrets and discover a way it could be used by other people. When the colony is attacked by mechanical soldiers known as the Mechon, he discovers that he can not only wield the weapon, but also see into the future. Though he protects the colony, his close friend Fiora is seemingly killed. As a result, he and his best friend Reyn set out on a journey to find and defeat Metal Face, the one who led the raid on Colony 9 and killed Fiora. | ||
| |||
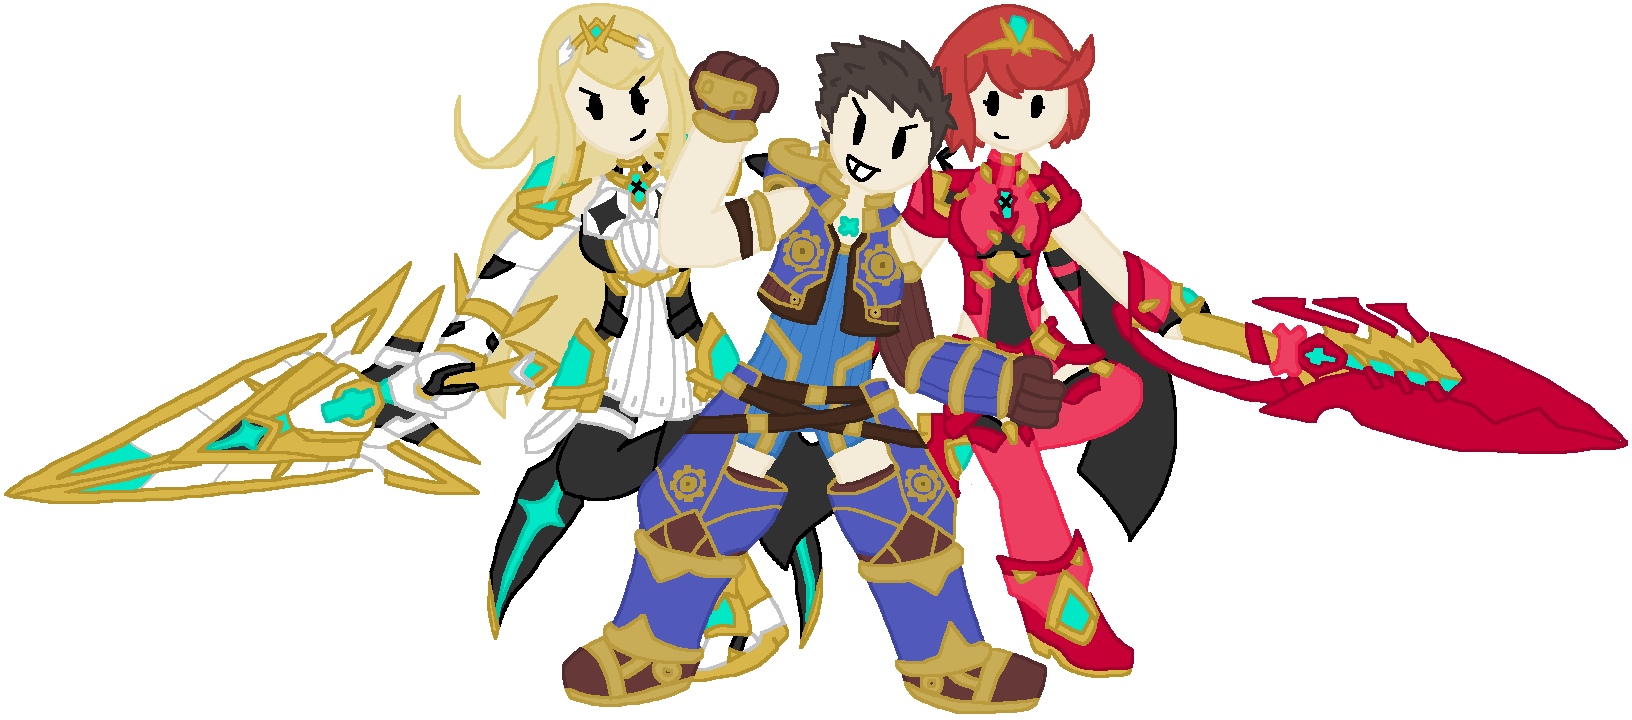
Rex The Master Driver |
Rex is the main protagonist of Xenoblade Chronicles 2. He is a Driver, a warrior capable of harnessing the powers of Pyra and Mythra, two legendary Blades that are known as the Aegises. After discovering them and being killed by a man named Jin, he is brought back to life by Pyra, and in exchange, he promises to protect her, and the two would go on a journey across Alrest to find Pyra’s long-lost home of Elysium. | ||
| |||
Splatoon[]
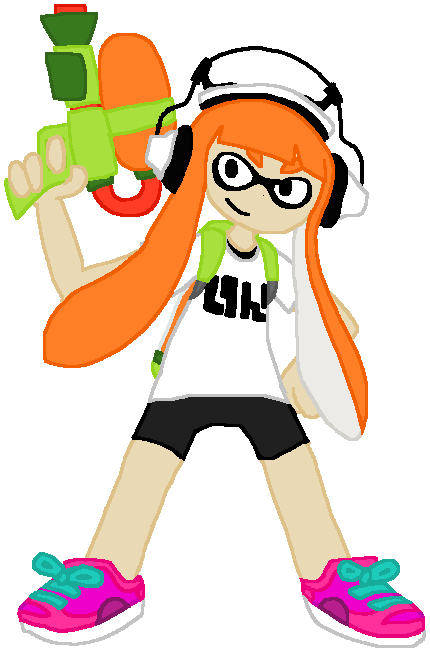
Inkling Part Kid, Part Squid |
The Inklings are the main playable characters from the Splatoon series. They are a squid-like race that can transform between a humanoid form and a squid-like form. They enjoy participating in Turf Wars against other Inklings, wielding a variety of weapons to color the battlefield in their color's ink. | ||
| |||
Octoling ? |
The Octolings are a major race in the Splatoon series. Once fighters in the Octarian army, they were brainwashed by DJ Octavio's music, but broke free upon hearing the Squid Sisters during the final battle of the first game. Many would later escape into Inkling society, hoping to start anew. | ||
| |||
ARMS[]

Min Min The Ramen Bomber |
Min Min is a playable character in ARMS. She is one of the select few people in the world to be born with a gene that grants ARMS, a phenomenon where the person's arms transmute into extendable helixes. In Min Min's case, her ARMS resemble ramen noodles. Her family operates the Mintendo Noodle House, and Min Min joins the ARMS Grand Prix with the goal of winning the championship to promote it. | ||
| |||
Dr. Coyle The Rad Scientist |
Dr. Coyle is a playable character and an antagonist in ARMS. She is the director of ARMS Laboratories, and is responsible for the creations of Helix, Springtron and Hedlok. Fascinated by ARMS since she was a young girl, she has dedicated her life to researching ARMS, even experimenting on herself to further her goal. After a falling out with the ARMS League’s commissioner, Max Brass, she joins the ARMS League to prove to everyone that she is the most powerful ARMS fighter of all time. | ||
| |||
Other[]

Little Mac Bruiser from the Bronx |
Little Mac is the main character of the Punch-Out!! series. A lightweight scrapper from the Bronx, after meeting former boxing great Doc Louis, he takes him on as his coach, and together they try to win the championship belt in the WVBA. Despite his short stature, he is incredibly powerful, able to take on boxers several times his size. | ||
| |||

Captain Falcon The Supersonic F-Zero Pilot |
Captain Falcon is the main protagonist of the F-Zero series. He is an F-Zero racer and intergalactic bounty hunter, known as the best in the galaxy. He joined F-Zero to fuel his competitive drive, riding his own machine, the Blue Falcon. Throughout his career he has constantly thwarted the plans of villains like Black Shadow, both on and off the Grand Prix circuits. | ||
| |||
Isaac The Master Venus Adept |
Isaac is the main protagonist of the first Golden Sun game. A Venus Adept able to control the earth, after witnessing a disaster that presumably killed his father and his friend’s family, he sought to study and train the art of Psynergy. After the Elemental Stars being stolen by a group of intruders led by a man named Saturnos, Isaac sets off on a journey across the world of Weyard to safeguard it from a doomsday that would be brought about by the release of power of Alchemy. | ||
| |||
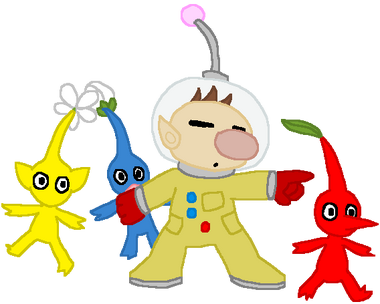
Olimar Veteran Astronaut |
Captain Olimar is the main protagonist of the Pikmin series. A veteran spacefarer working for Hocotate Freight, during his vacation a meteor collided with his ship, causing him to fall onto an uncharted planet. There he meets the Pikmin, small plant-like creatures that seem to listen to him. With their help, Olimar ventures across this planet, finding the parts to his broken ship before his oxygen runs out. | ||
| |||
Chibi-Robo ? |
Chibi-Robo is the titular protagonist of the Chibi-Robo! series. A 10cm tall robot, Chibi-Robo was produced by Citrusoft Robotics and was programmed with the goal of making people happy. Bought by the Sandersons as a birthday gift for their daughter, Jenny, Chibi-Robo would complete various good deeds in order to obtain “Happy Points”. Throughout his adventures across the house he helps various living toys, revives the Sanderson’s Giga-Robo, and fixes the relationship of Jenny’s parents. | ||
| |||
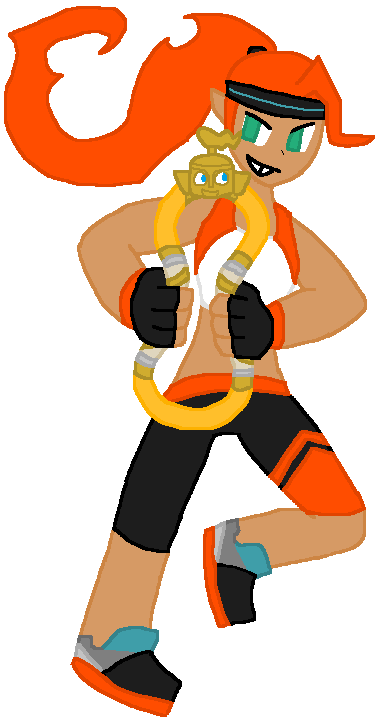
Ring Fit Trainee Fired-Up Fitness Fighter |
Ring Fit Trainee is the main protagonist of Ring Fit Adventure. After accidentally releasing an evil bodybuilding dragon named Dragaux, she teams up with a magical guardian named Ring and sets off on an adventure to stop Dragaux and save the world. She controls the power of fitness, and is capable of utilizing various arm, leg, stomach and yoga exercises to attack foes. | ||
| |||
Retro[]
Mr. Game & Watch Master of Two Dimensions |
Mr. Game & Watch is the main character of the Game & Watch series. These were a line of portable LCD games that utilize simple black monochrome imagery, similar to that of a calculator. A variety of games were on these systems, for juggling balls, to hitting moles, to save people from a burning building. And as the name implies, these systems could also tell time. | ||
| |||
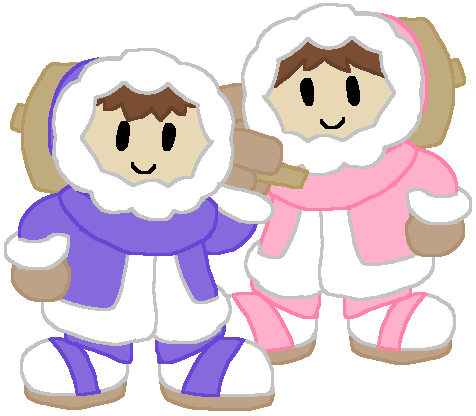
Ice Climbers Bone-Chilling Duo |
Popo and Nana, known together as the Ice Climbers, are the titular protagonists of the game Ice Climber. In their game, they utilize their hammers and high jumping to scale large mountains, avoiding various obstacles as they make their way towards the summit. Upon reaching the top of each mountain, they must collect vegetables while catching a condor at the top to end the level. | ||
| |||

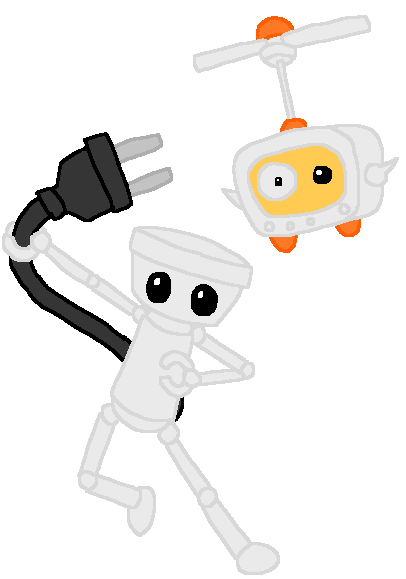
R.O.B. The Last of His Kind |
R.O.B. is a peripheral created for the Nintendo Entertainment System. Created as a result of the North American video game crash of 1983, he was used to market the console as a toy in a time where video game consoles were unpopular. He was compatible with Gyromite, a puzzle-platformer where he moved Gyros to move pillars, and Stack-Up, a puzzle game where the player has to control R.O.B. to move color blocks and put them in a specific order. | ||
| |||
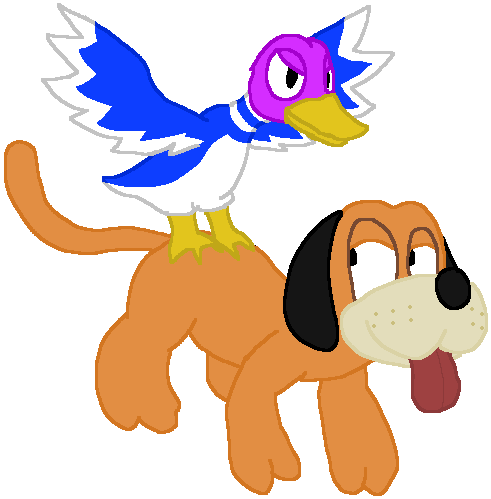
Duck Hunt The Odd Couple |
Duck Hunt is a tag team of the dog and the duck from Duck Hunt. The main goal of the game is to shoot ducks with your NES Zapper, under a time limit and a limited number of bullets. The dog flushes out the ducks for the hunter to shoot and picks up any ducks that are shot down by the player, though if you fail to shoot down any ducks, the dog infamously laughs at the player's misfortune before going back into the grass. | ||
| |||
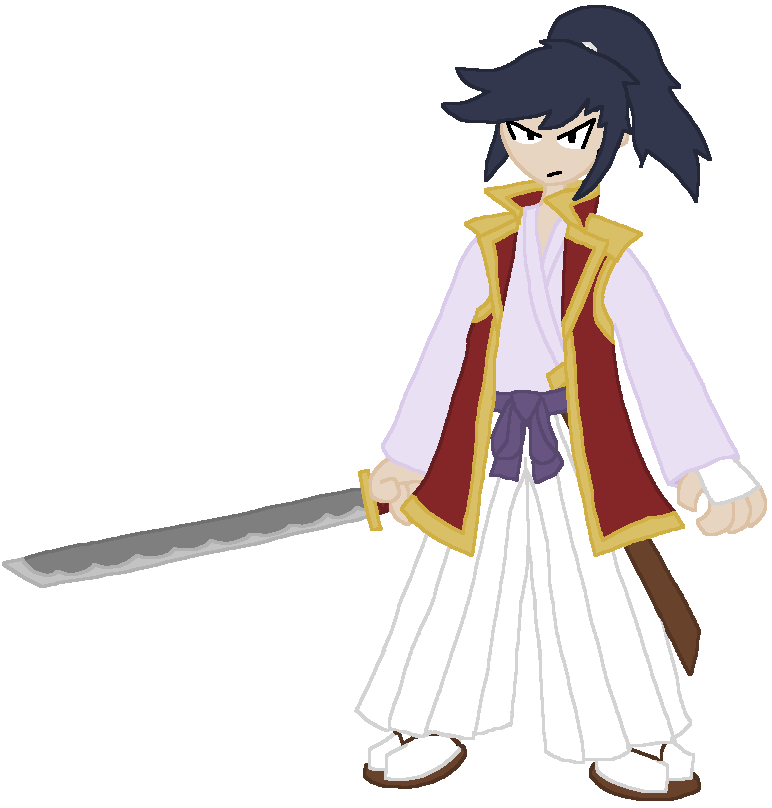
Takamaru The Wandering Samurai |
Takamaru is the main protagonist of The Mysterious Murasame Castle. During Edo era Japan, Takamaru was sent by the Shogun to investigate an evil alien menace known as Murasame, who has taken over several neighboring castles and towns. Armed with his trusty katana and a variety of other magic and weapons, he sets off on a journey, fighting off against Murasame’s forces before facing off against him. | ||
| |||
3rd Party Characters[]
Sega[]
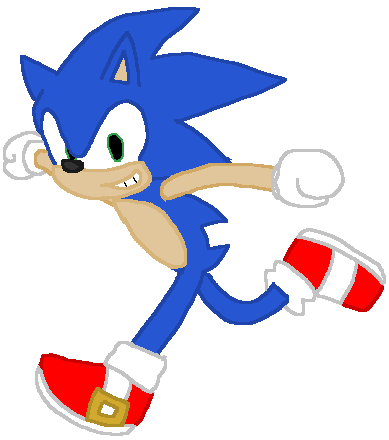
Sonic The Blue Blur |
Sonic the Hedgehog is the main protagonist of the Sonic the Hedgehog series. An anthropomorphic blue hedgehog, he has the ability to run at supersonic speeds. He has a cocky attitude and an easy-going demeanor, but he has a strong sense of justice and a love for freedom and adventure. He uses his abilities to protect the world, primarily from his arch-nemesis, Dr. Eggman. | ||
| |||
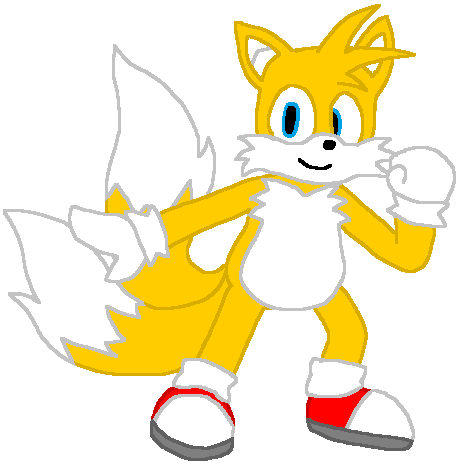
Tails Twin-Tailed Genius |
Miles "Tails" Prower is a major character in the Sonic the Hedgehog series. An anthropomorphic fox with twin-tails, he is a mechanical genius and a skilled pilot, able to spin his tails like a helicopter to fly. Though timid at first, after meeting Sonic he became more confident, outgoing and brave, looking up to him and helping him during his adventures. | ||
| |||
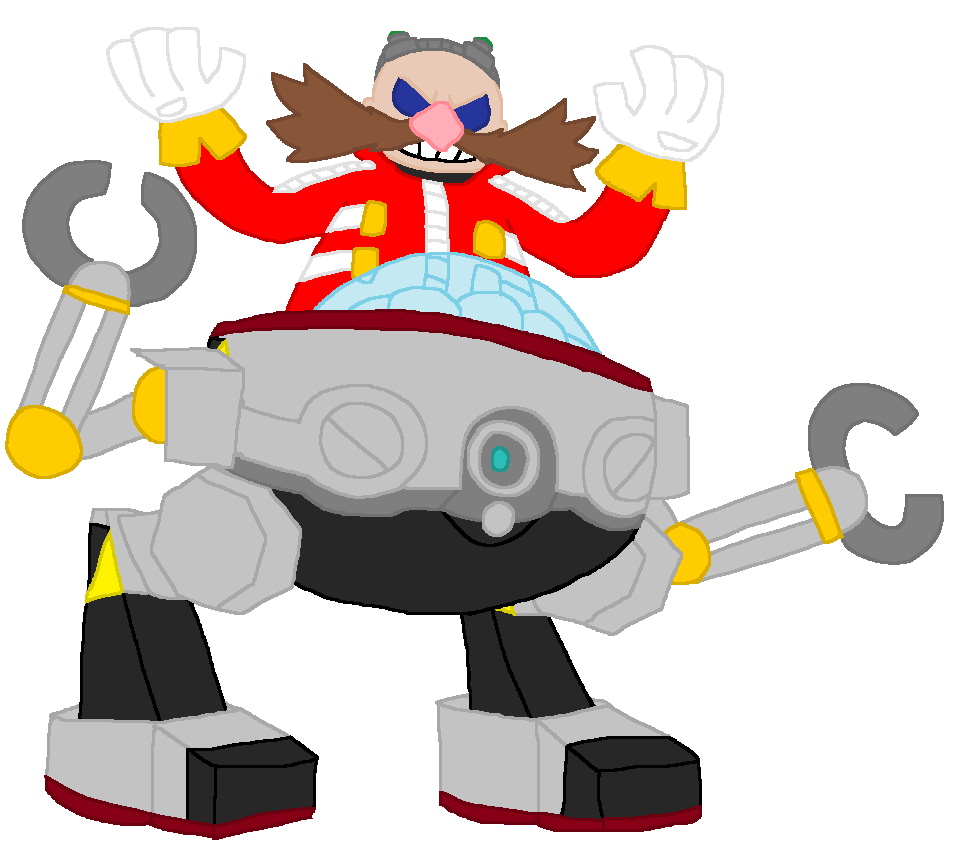
Dr. Eggman Man With the Master Plan |
Dr. Ivo Robotnik, better known by his alias, Dr. Eggman, is the main antagonist of the Sonic the Hedgehog series. An evil scientist with an IQ of 300, he is Sonic's archnemesis, with dreams of taking over the world and building his own empire. He has created a variety of robots, including his never-ending army of Badniks, the E-100 series, and his most powerful creation, Metal Sonic. | ||
| |||
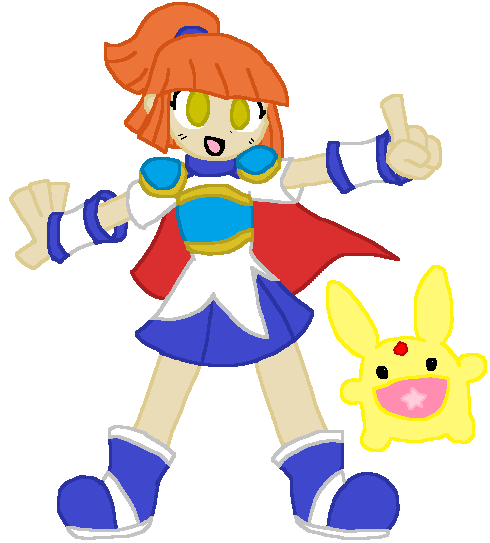
Arle ? |
Arle Nadja is the main protagonist for the Madou Monogatari series, and the Puyo Puyo series. A young sorceress with magical powers, she travels the world in search of adventure with her pet and friend, Carbuncle. She is cheerful and a bit of a tomboy, but is often weirded out by the many people she meets and often makes snarky comments about them. | ||
| |||
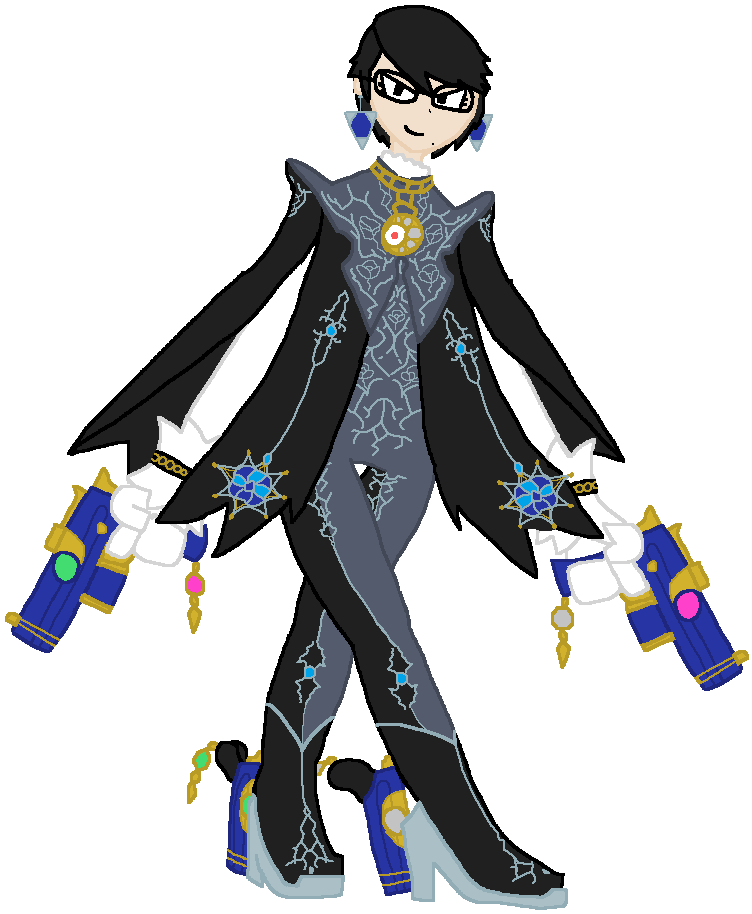
Bayonetta Umbra Witch |
Bayonetta is the main protagonist of the Bayonetta series. Born as Cereza, she is one of the last of the Umbra Witches and is the child of the Umbra Witch Rosa and Lumen Sage Balder. Her birth caused a rift between witches and sages that would eventually escalate into the clan wars and the witch hunts, eventually leading to the death of Rosa when Balder is falsely accused of starting an attack. Learning of this Cereza lost the will to live, being sealed inside a red jewel for 500 years by her friend Jeanne to keep her safe. Reawakened centuries later with no memories of her past, she changes her name to Bayonetta, dedicating her life to killing the angels of Paradiso and regaining her lost memories. | ||
| |||
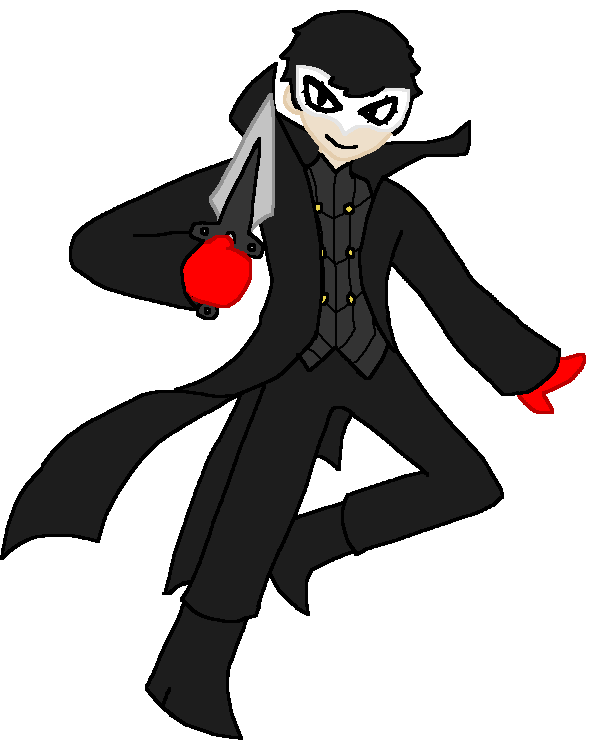
Joker The Great Phantom Thief |
Joker, known as Ren Amamiya as a civilian, is the protagonist of Persona 5. After being falsely accused of assault, he was labeled a delinquent and moved to Tokyo, Japan to attend Shujin Academy as part of his probation. After discovering a mysterious app on his phone, he learns it is a way to enter the Metaverse, a parallel universe that manifests an individual's twisted desires into a dream-like fantasy. After discovering how his gym coach, Suguru Kamoshida, sees others, he rebels against him, awakening his Persona, and donning the mask and cloak of "Joker". From there, he leads the Phantom Thieves of Hearts, and pursues corrupt adults who victimize the young. | ||
| |||
Capcom[]
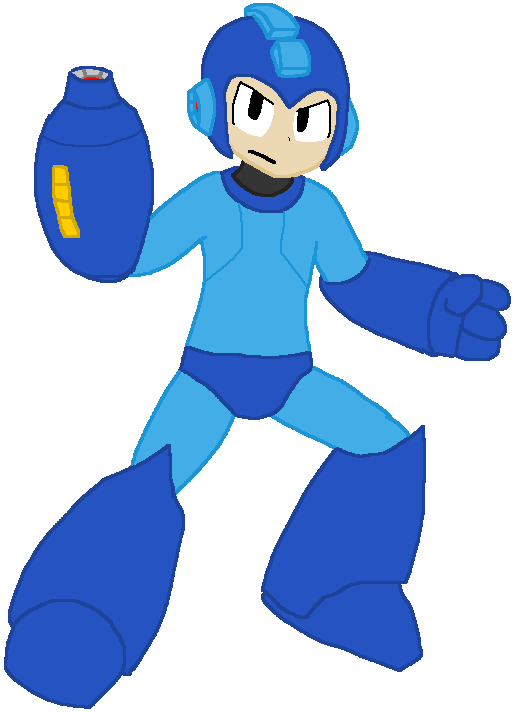
Mega Man The Blue Bomber |
Mega Man is the titular protagonist of the original Mega Man series. Originally a robot named Rock created by Dr. Light, after the scientist's former friend, Dr. Wily, reprogrammed his robots, Rock volunteered to be converted into a fighting robot and defend the world against Dr. Wily's robotic threats, becoming Mega Man. | ||
| |||
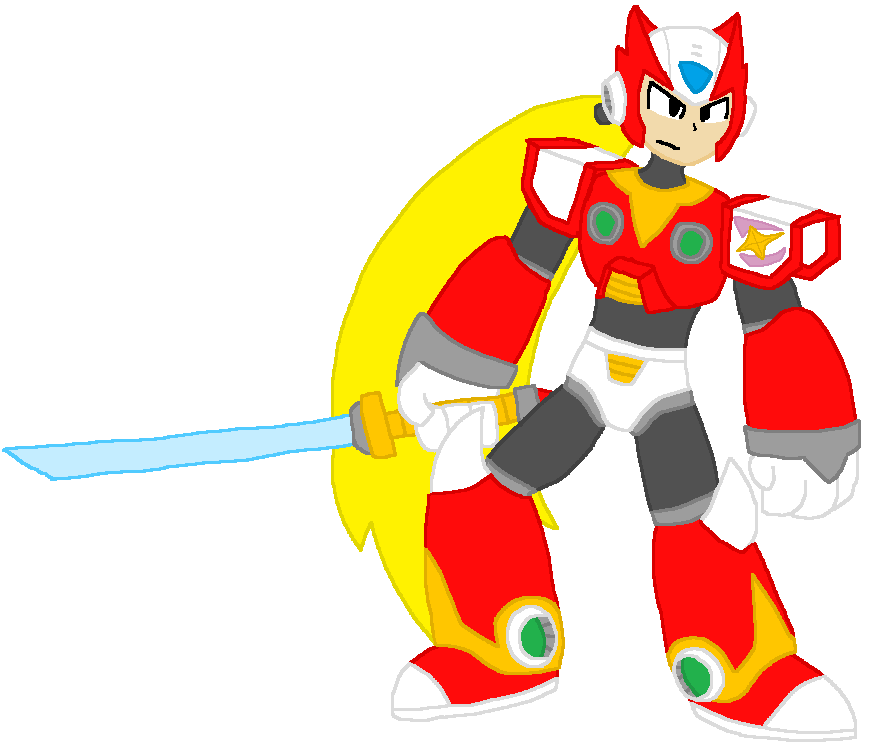
Zero Legendary Maverick Hunter |
Zero is a major protagonist in the Mega Man X series. The greatest creation of Dr. Wily, he was sealed in a capsule when the doctor was unable to control him, awakening decades later when he was discovered by a group of Reploids. Zero destroyed most of them, except for their leader Sigma, who he was defeated by. Brought to the Maverick Hunters, when he reawoke, he had no memory of his previous actions, and decided to join the group, becoming one of its high-ranking members. | ||
| |||
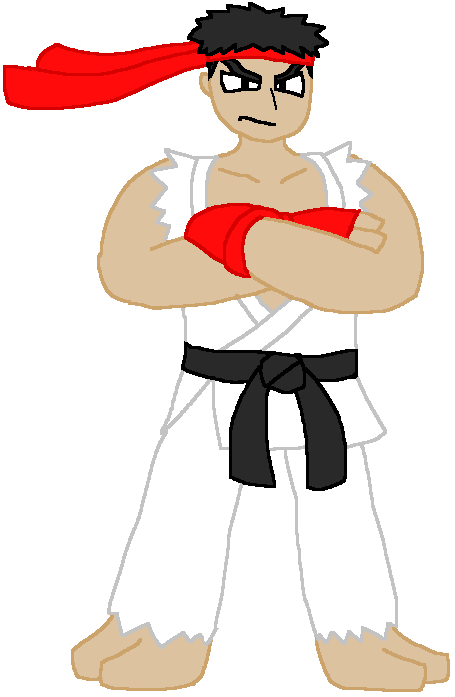
Ryu The Eternal Wanderer |
Ryu is the main protagonist of the Street Fighter series. Orphaned at a young age, he was raised and trained by master Gouken in the art of Ansatsuken, or Assassin's Fist. During his time training he found friendship in another one of Gouken's pupils, Ken Masters, who Ryu would become rivals with. After leaving Gouken's dojo, he travels the world, furthering his training and searching for tough opponents to fight, often by joining the various World Fighting Championships held by many of the series' evil organizations. | ||
| |||
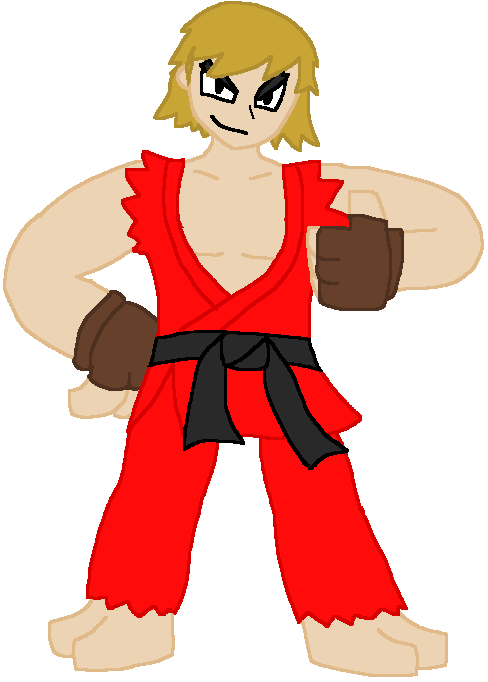
Ken The Fire-Breathing Fist |
Ken Masters is a major character in the Street Fighter series. Born into a wealthy family, he was sent to Japan to be taught discipline in order to prevent him from becoming spoiled. He trained with Gouken and constantly sparred with his best friend and future rival, Ryu, being taught in the order of the Ansatsuken. After leaving Gouken's Dojo, he would return to the United States and would go on to compete in many tournaments. He has a wife named Eliza and a son named Mel. | ||
| |||
Chun-Li The Strongest Woman in the World |
Chun-Li is the main female protagonist of the Street Fighter series. She was inspired by Chinese plays and her first Bruce Lee movie to take up martial arts, being taught the style of Hongquan by her father, eventually developing her own style inspired by other martial arts. After her father’s disappearance, Chun-Li became an Interpol investigator, eventually discovering that her father was killed by Shadaloo’s leader, M. Bison. Swearing vengeance against him, she hopes to find and take down Shadaloo and defeat M. Bison. | ||
| |||
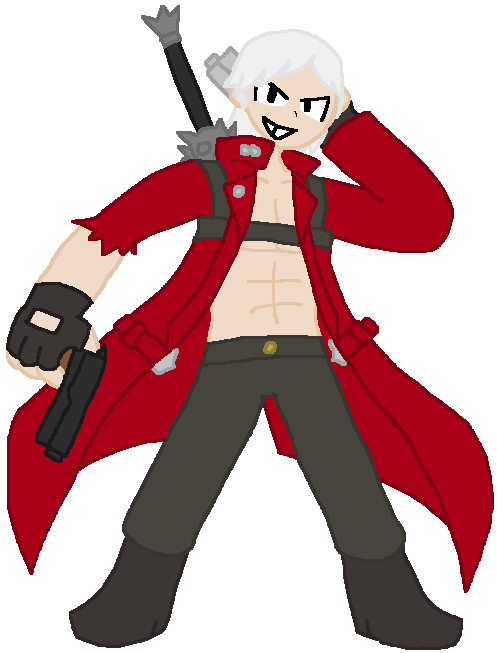
Dante Legendary Devil Hunter |
Dante is the main playable character for much of the Devil May Cry series. The son of the demon Sparda and the human Eva, and the younger twin brother of Vergil, he's a paranormal mercenary, a private investigator, and a vigilante Devil Hunter who is dedicated to exterminating evil demons and other malevolent forces; a mission he follows in order to find those who killed his mother and corrupted his brother. | ||
| |||

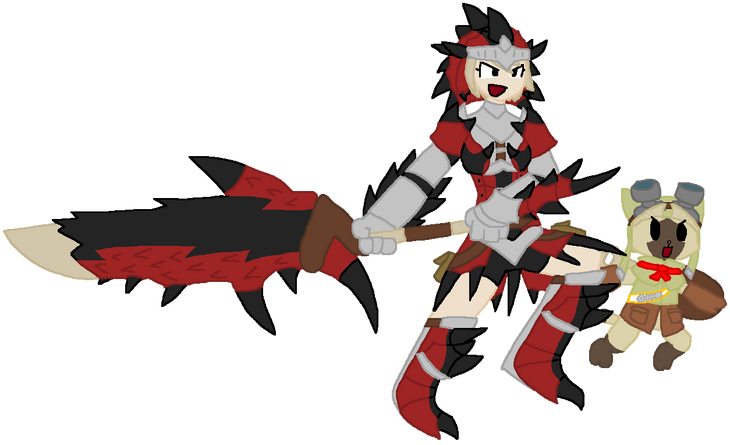
Monster Hunter Slayer of Elder Dragons |
The Monster Hunter is the player’s avatar in the Monster Hunter series. Members of the Hunter’s Guild, a group responsible for preventing the ecosystem from being damaged, they are people who make a living taking up quests by civilians to track down and defeat various dangerous creatures. The armor they wear and the weapons they wield are made from the parts of the various monsters that they have slain. | ||
| |||
Namco[]

PAC-MAN The Yellow Bane of Ghosts |
Pac-Man is the titular main character of the PAC-MAN series. One of the most widely recognized video game characters, Pac-Man is well known for his original game, where he navigates a maze, eating dots while avoiding the Ghost Gang. While his personality varies depending on the game, his ravenous appetite and heroic nature always show. | ||
| |||
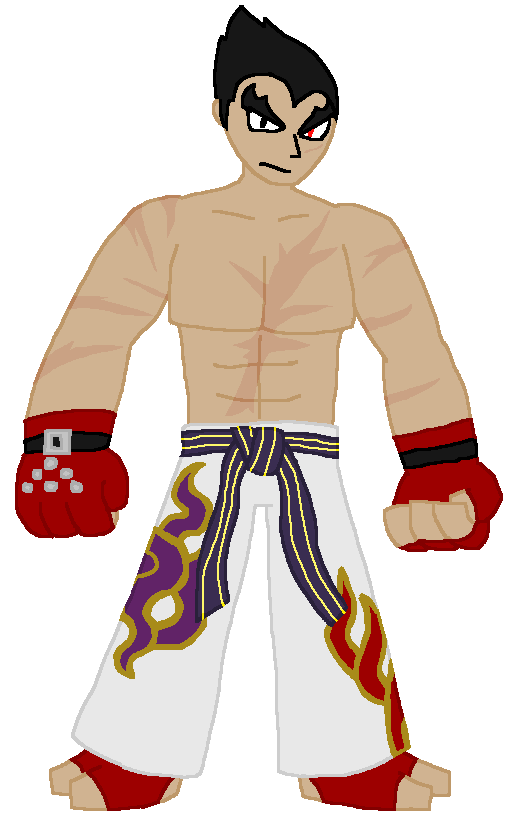
Kazuya The Iron Fist of Darkness |
Kazuya Mishima is a major character in the Tekken series, alternating between protagonist and antagonist throughout the series. The son of Kazumi and Heihachi Mishima, after learning of his mother's death at the hands of his father, a young Kazuya sought to defeat Heihachi only to be defeated. He was thrown off a cliff, Heihachi believing a true member of the Mishima could climb back up. This is when he awakens his Devil Gene, using it to climb back out. Following this incident, he trained rigorously, before joining the first King of Iron Fist Tournament to finally get revenge against his father. | ||
| |||
Lloyd The Eternal Swordsman |
Lloyd Irving is the main protagonist of Tales of Symphonia. Orphaned as a child, he was adopted and raised by a dwarf named Dirk. Once just a normal country boy, he would be thrusted out into the Journey of Regeneration, accompanying the Chosen of Mana in a pilgrimage to replenish the world of Sylvarant, and prevent it from falling to ruin. He is shown to be irresponsible and brash, but a gentle idealist who wishes to bring peace to the world. | ||
| |||
Klonoa The Dream Traveler |
Klonoa is the main protagonist of the Klonoa series. An anthropomorphic animal resembling a long-eared cat, he is a Dream Traveler, fated to travel to various places where the state of dreams is in danger, though he himself is not aware of that. He is a determined and good-natured individual who wishes to help whoever he can and save the worlds he finds himself in from all sorts of trouble. | ||
| |||
Konami[]
Simon Evil's Whip Wielding Bane |
Simon Belmont is the protagonist of several games in the Castlevania series. He is a member of the Belmont Clan, a family of vampire hunters who are destined to kill Dracula every 100 years. He wields the Vampire Killer, a legendary whip capable of slaying the creatures of the night. He ventured to Dracula's Castle in 1691 and defeated him, only to learn a curse was placed upon him before Dracula's death. So, he gathers Dracula's remains and destroys him once and for all. | ||
| |||
Soma Reincarnated Lord of Darkness |
Soma Cruz is the main protagonist of Castlevania: Aria of Sorrow and its sequel, Dawn of Sorrow. Once your everyday high school student living in Japan, his life would change when during a solar eclipse in which he and his childhood friend, Mina Hakuba, would become trapped in Dracula's Castle. Here, he discovers he has the power of dominance, allowing him to claim the souls of the monsters he defeats. Throughout the game, he not only learns of Dracula's demise, but also that he is his reincarnation, and so seeks to find a way to not give in to his destiny as the next Lord of Darkness. | ||
| |||

Bomberman The Explosives Expert |
White Bomberman, or simply Bomberman, is the main protagonist of the Bomberman series. He lives on Planet Bomber and is the leader of the Bomberman Brothers, defending the Galaxy from intergalactic threats. Like all other Bombermen, he has the ability to generate bombs, which he uses to navigate mazes and defeat enemies. | ||
| |||
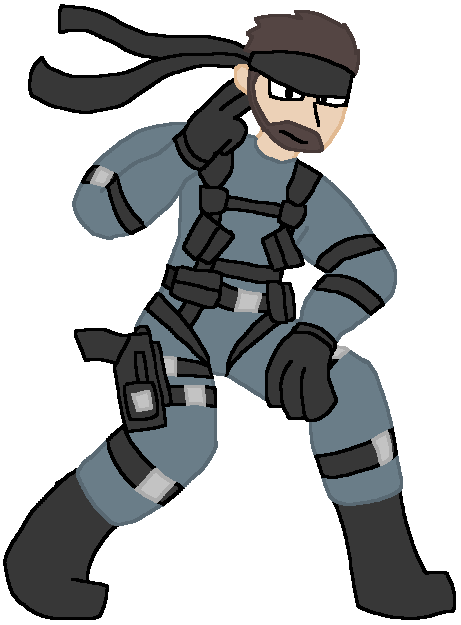
Snake The Legendary Mercenary |
Solid Snake, also known as Snake or by his real name David, is a major protagonist in the Metal Gear series. A former member of FOXHOUND with an IQ of 180 and mastery of six languages, he's an infiltration specialist whose ability to carry out missions under any conditions has made him a legend. He has saved the world many times from the threat of bipedal, nuclear-armed mechs called Metal Gear. | ||
| |||
Square Enix[]
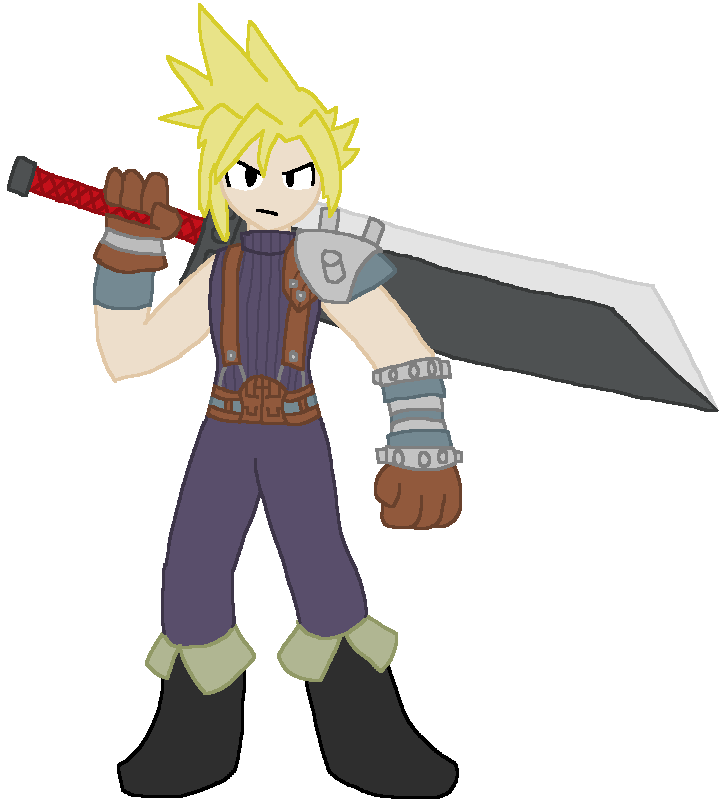
Cloud SOLDIER 1st Class |
Cloud Strife is the main protagonist of Final Fantasy VII, its remake, and its film sequel, Final Fantasy VII: Advent Children. Initially a proud, yet arrogant and aloof swordsman who claims to be a former member of the elite military group SOLDIER, Cloud is hired by the insurgency group Avalanche as a mercenary to help them in their cause against the Shinra Electric Power Company. As Cloud's journey unfolds, he rediscovers his past and, alongside his childhood friend Tifa Lockhart and newfound friends within Avalanche, abandons his quest for power and fame in favor of fighting to defend his friends and their home planet Gaia. | ||
| |||
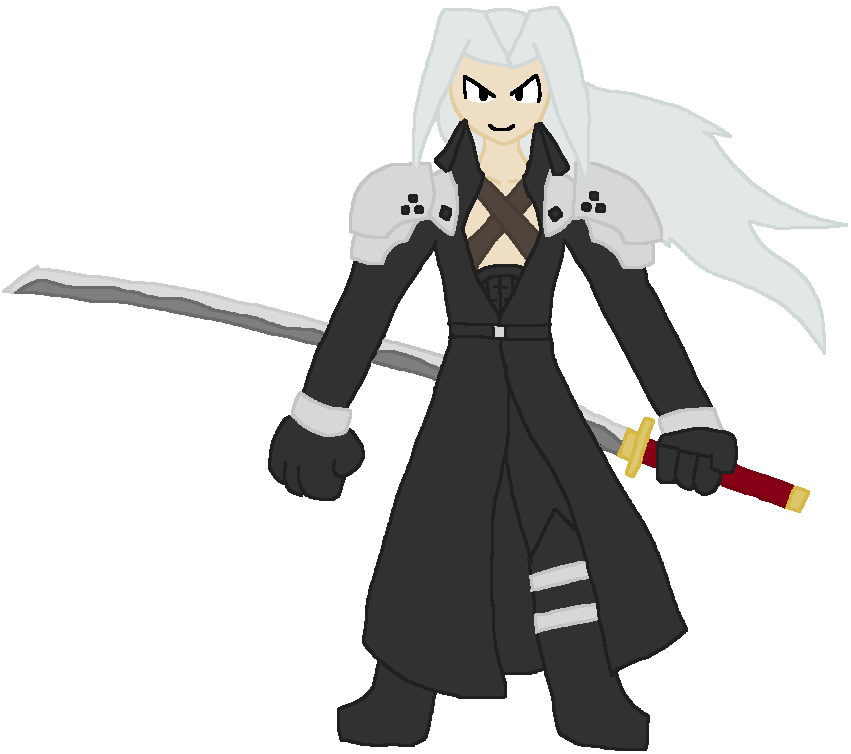
Sephiroth The One-Winged Angel |
Sephiroth is the main antagonist of Final Fantasy VII, its remake, and its other related media. Introduced as a powerful member of SOLDIER, Shinra's elite military division, after being sent on a mission to Nibelheim, he learns he was as a biological experiment, created by combining a human fetus with the cells of Jenova, an extraterrestrial lifeform that sought to destroy the world. After learning of this, he wished to follow in Jenova's footsteps and become a god who would rule over the Planet. Burning down Nibelheim, he is seemingly killed by Cloud, only to reappear years later with a plan to summon Meteor to force the Planet's Lifestream out and merge with it to become a god. | ||
| |||
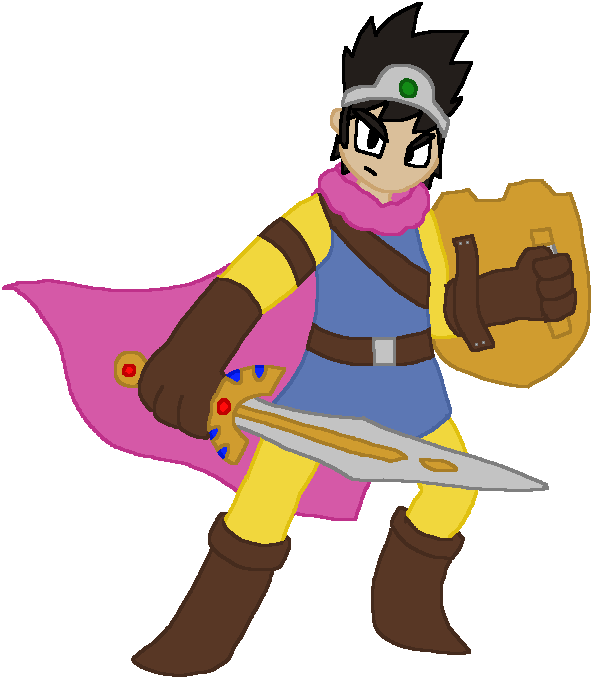
Hero The Legendary Hero |
The Hero is a title given to the main protagonist of the Dragon Quest series. They act as the player's avatar, being a well-rounded fighter with access to both swords and various magic spells. The represented heroes include Arusu, better known as Erdrick, from Dragon Quest III, Solo from Dragon Quest IV, Eight from Dragon Quest VIII, and the Luminary from Dragon Quest XI. | ||
| |||
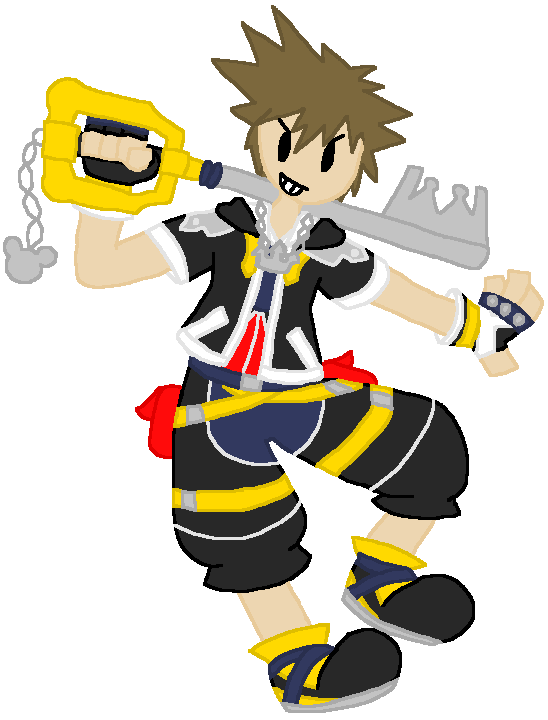
Sora Chosen by the Keyblade |
Sora is the main protagonist of the Kingdom Hearts series. He lived on Destiny Islands with his best friends Riku and Kairi, with the three of them dreaming of finding what lies beyond their home. When Destiny Islands is consumed by darkness, he is sent on a journey across worlds in the Realm of Light. Along with his friends Goofy and Donald Duck, and his weapon, the Kingdom Key, he seeks to put an end to threats that destroy his world. | ||
| |||
Microsoft[]
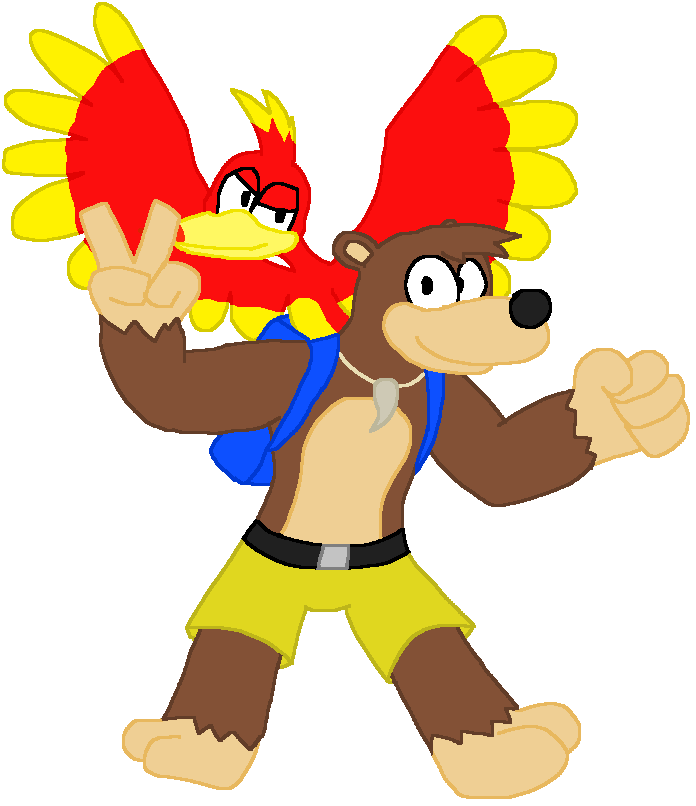
Banjo & Kazooie The Bear & Bird Duo |
Banjo and Kazooie are the two main protagonists of the Banjo-Kazooie series. Banjo is the brown bear, he's laid-back and kind-hearted, wishing to help others and often choosing not to fight unless he needs to. Kazooie, the red-crested breegull, on the other hand is brash, snarky and loudmouthed. When Banjo's sister Tooty is kidnapped by the evil witch Gruntilda, the two work together to save her by collecting Jiggies scattered across each world to open up new areas. | ||
| |||
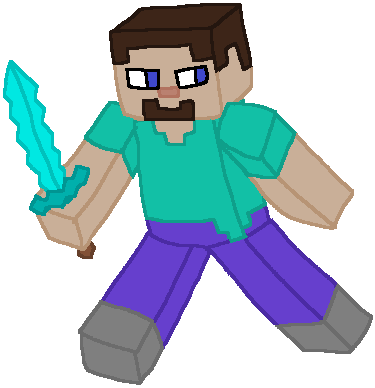
Steve The World Crafter |
Steve is the name of the default skin of the main character in Minecraft. They are vessels of the actual player's manifestation in the Minecraft world, having no other discernible personality or role. From there, the player can do whatever they want, like exploring the world, crafting various tools and items, building things, and fighting monsters. | ||
| |||
Activision / Blizzard[]
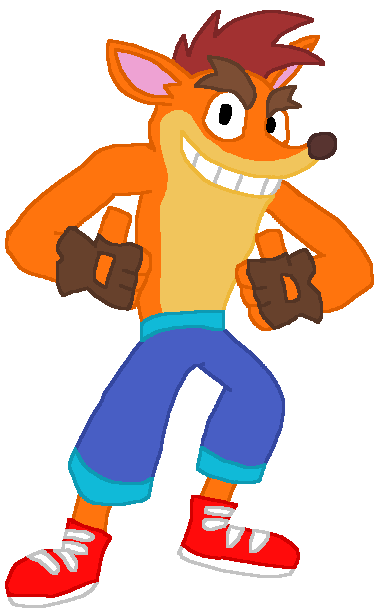
Crash The Wumpa Womper |
Crash Bandicoot is the main protagonist of the Crash Bandicoot series. A mutated Eastern barred bandicoot, he was captured and genetically enhanced by Dr. Neo Cortex. After escaping, he acts as the doctor's main opposition, fighting against him to stop his schemes of world domination. | ||
| |||
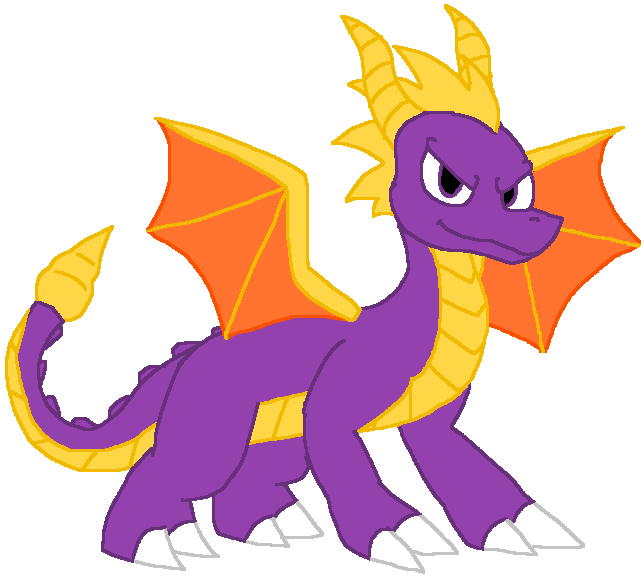
Spyro ? |
Spyro is the titular protagonist of the Spyro series. A young purple dragon from the Artisans Homeworld, he is courageous and headstrong, but is also arrogant and has a fiery personality. When Gnasty Gnorc turns every dragon but Spyro into crystal statues, it’s up to him to defeat Gnasty, rescue the dragons and prove himself as a hero. | ||
| |||
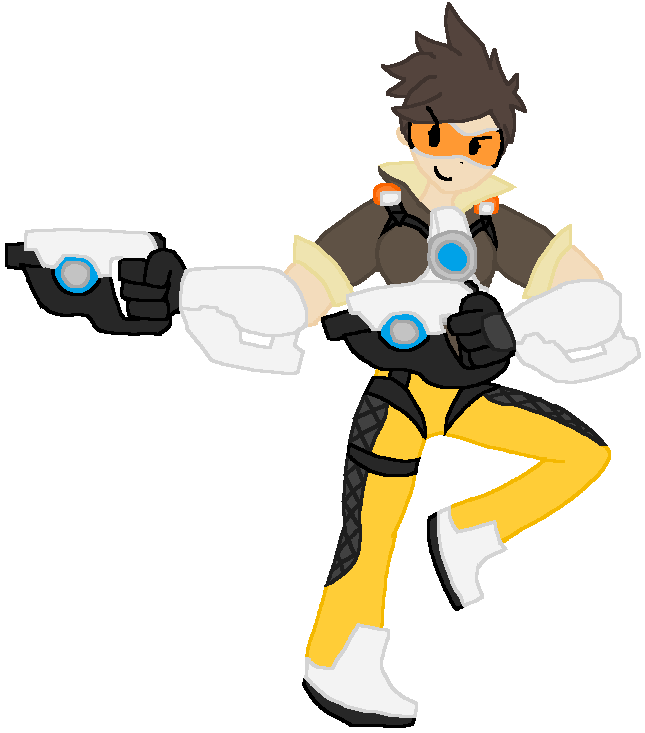
Tracer ? |
Lena Oxton, better known as Tracer, is one of the many playable heroes in Overwatch. A British pilot and adventurer, she was the youngest pilot in Overwatch's experimental flight program. During a test with the Slipstream, a jet with teleportation technology, she and the craft suddenly vanished. Reappearing months later, the accident caused her molecules to desynchronize from time, preventing her from maintaining a physical form. The enhanced gorilla scientist Winston invented the chronal accelerator to anchor her to the present, and even allow her to speed it up and slow it down at will. With her newfound skills, she became one of Overwatch's most effective agents, continuing to right wrongs and fight the good fight even after the organization’s dissolution. | ||
| |||
Other[]

Ryu Hayabusa The Dragon Ninja |
Ryu Hayabusa is the main protagonist of the Ninja Gaiden series. Born into the Dragon Lineage, he was trained at a young age to walk the path of the ninja. Ryu excelled among his peers, developing into a ruthless and technical fighter who kills his enemies without mercy, though this in combination with the hardships he faced caused him to harden his emotions. He is the epitome of a modern day ninja, saving the world from evil forces like the Cult of Nostradamus, Guardia de Mieux and the Vigoor Emperor. | ||
| |||
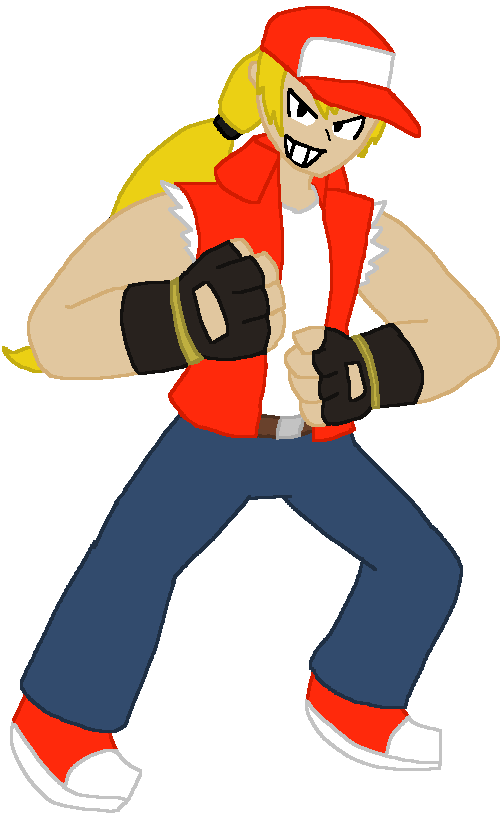
Terry The Legendary Wolf |
Terry Bogard is the main protagonist of the Fatal Fury series. Orphaned at a young age with his brother Andy, living out in the dangerous streets of South Town until they were adopted by Jeff Bogard. However, when Terry was only 10, he witnessed his father's murder at the hands of Geese Howard, a local crime boss. Terry and Andy swore revenge, training and honing their skills to avenge their father's death. Upon finishing their training, the two, alongside their friend, Muay Thai champion Joe Higashi, joined the King of Fighters tournament, for a chance to fight Geese. | ||
| |||
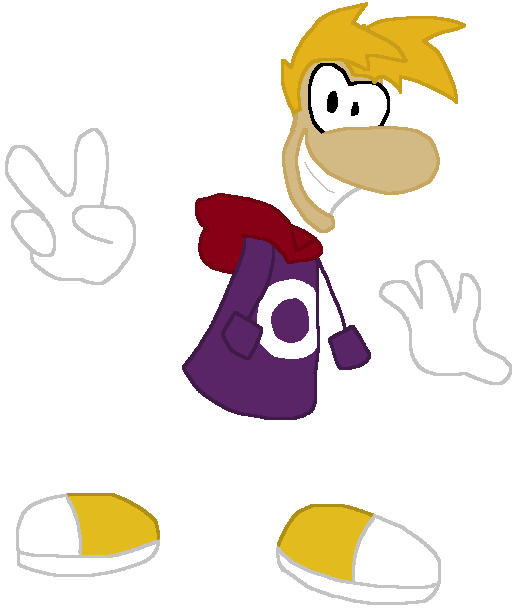
Rayman The Limbless Legend |
Rayman, is the titular protagonist of the Rayman series. He resides in and protects the Glade of Dreams, a fantastical world powered by beings of pure energy known as Lums. Due to a lack of them when he was created, he was created without arms, legs and a neck, with his head, hands and feet floating around his body. | ||
| |||
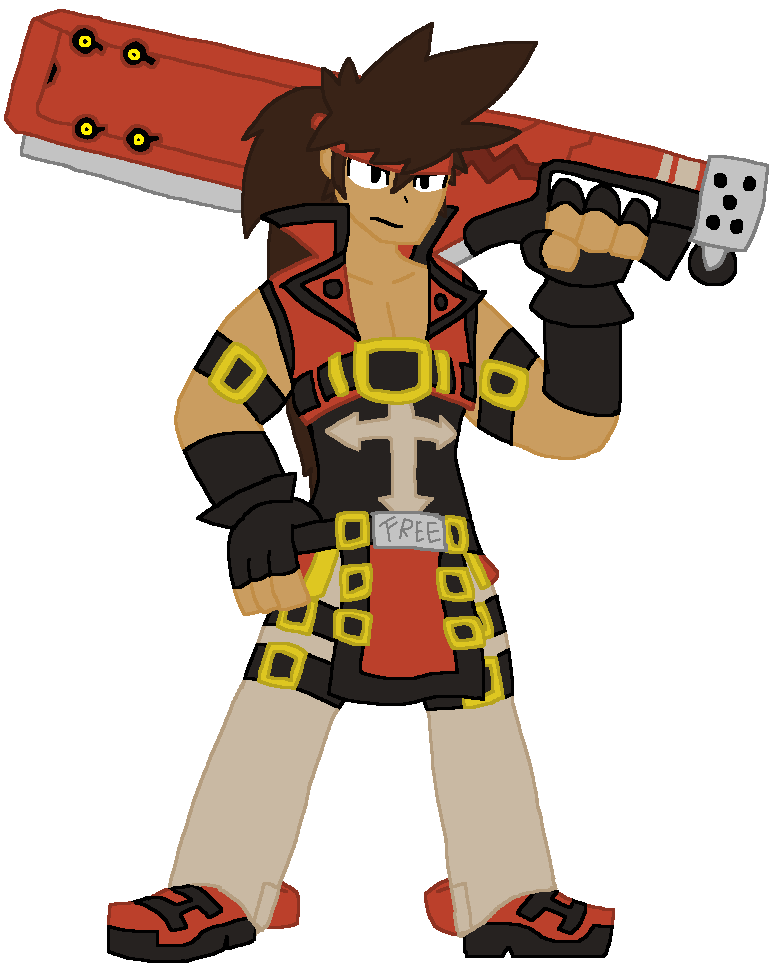
Sol Badguy The Flame of Corruption |
Sol Badguy, real name Frederick, is the main protagonist of the Guilty Gear series. He was originally a scientist working on the Gear Project, created to transform humans into biological weapons known as Gears (of which he was the first created). He's made it his personal mission to destroy all Gears so they couldn't be used for war, becoming a bounty hunter. | ||
| |||
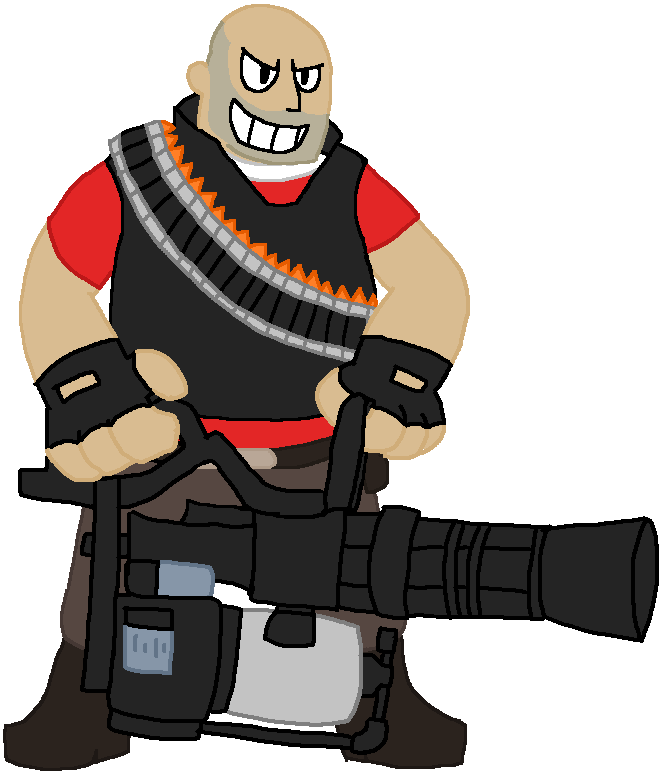
Heavy The Minigunning Mercenary |
The Heavy is one of the 9 playable classes in Team Fortress 2. A towering hulk of a man from the USSR, he is the largest and easily most dangerous of the game's mercenaries. He's equipped with Sasha, his trusty minigun, which he uses to mow down anyone that stands in his path, while using his large size and health pool to absorb enemy fire. | ||
| |||
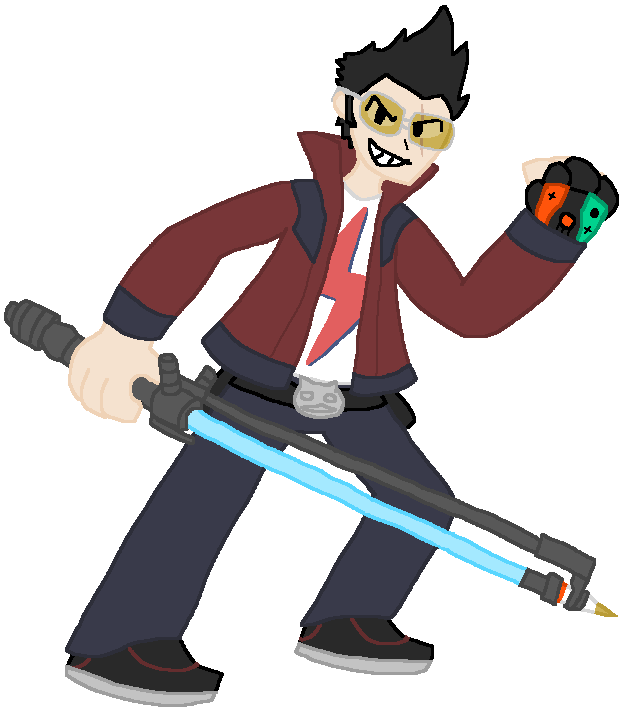
Travis No. 1 Ranked Assassin |
Travis Touchdown is the main protagonist of the No More Heroes series. An otaku who lives in near poverty playing video games and worshipping his favorite anime, after obtaining a beam katana from an online auction, he meets Silvia Christel at a bar, who ushers him into joining the United Assassins Association. Having run out of money and with the possibility of getting together with Silvia, he joins the UAA, battling against other assassins, with only the goal of being number one. | ||
| |||
Indies[]
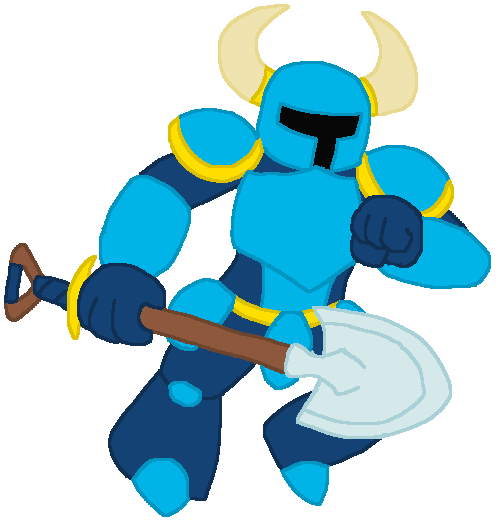
Shovel Knight Shovelrous Treasure Hunter |
Shovel Knight is the titular protagonist of Shovel Knight. A practitioner of the ancient code of Shovelry, he and his beloved Shield Knight were adventurers, that is until Shield Knight became lost in the Tower of Fate. Some time after a mysterious sorceress known as the Enchantress and her Order of No Quarter had conquered the Valley. Taking up his Shovel Blade once more, he sought to bring peace back to his home. | |||||
| ||||||
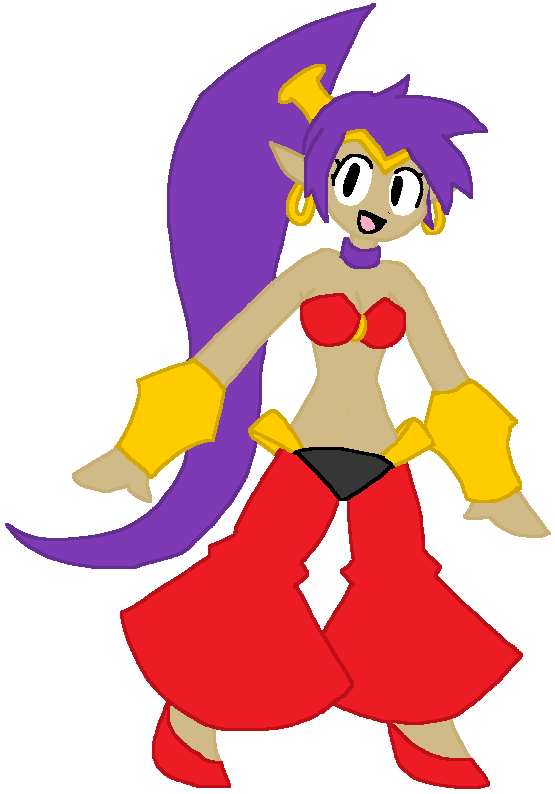
Shantae The Half-Genie Hero |
Shantae is the main protagonist of the Shantae series. She is a half-genie, the daughter of a human father and a genie mother, which consequently grants her limited magical powers. She serves as the Guardian Genie of Scuttle Town, defending it from the evil lady-pirate, Risky Boots. | |||||
| ||||||
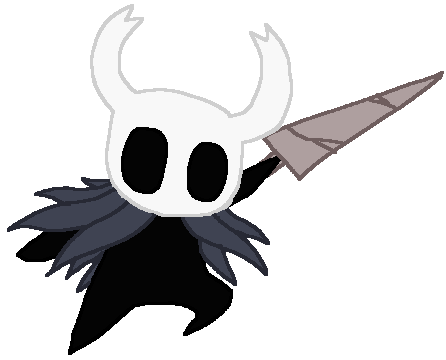
The Knight Hero of Hallownest |
The Knight is the main protagonist of Hollow Knight. They are a Vessel, a being made of Void, created by the Pale King to protect Hallownest from a being known as the Radiance. After climbing the Abyss, they witnessed their sibling, the Hollow Knight, being taken out by the Pale King, before the entrance was sealed. However, they, and other Vessels, managed to escape. Now, with the Infection seeping back into Hallownest, the Knight sets out to replace the Hollow Knight as a Vessel and seal the Radiance once more. | |||||
| ||||||
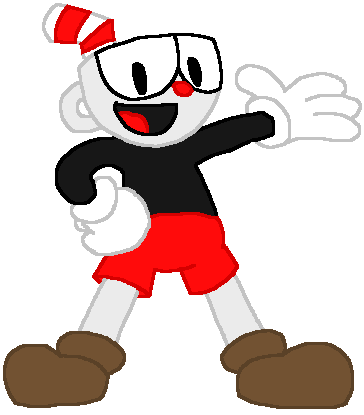
Cuphead ? |
Cuphead is the main titular protagonist of Cuphead. He and his brother Mugman are fun-loving cups who live under the watchful eye of Elder Kettle on Inkwell Isle. One day, they enter the Devil's Casino, where after obtaining a winning streak, they are challenged by the Devil himself. Losing a bet, the Devil takes their souls. The brothers beg for mercy, so the Devil strikes a deal with them, allowing them to keep their souls if they retrieve the Soul Contracts from all of the Devil's runaway debtors. | |||||
| ||||||
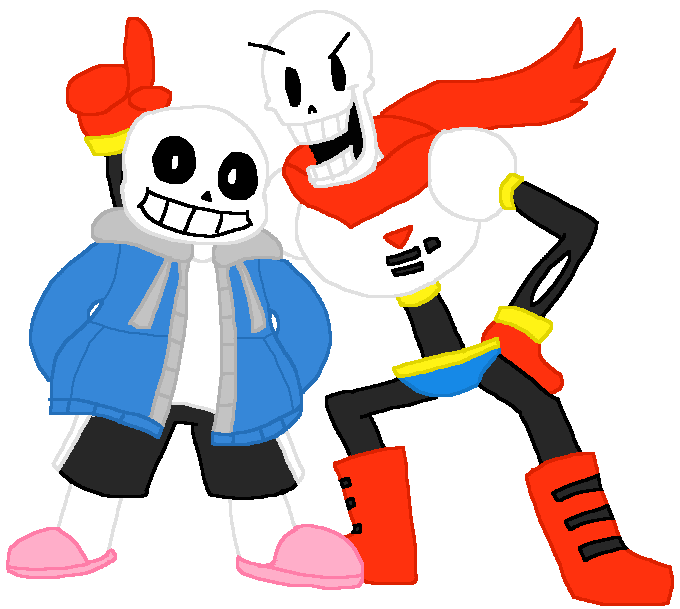
Papyrus & Sans Humerus Bone Brothers |
Papyrus and Sans are a duo of major characters from Undertale. They are a pair of skeleton brothers that live in the Underground. Papyrus is the taller of the two, a flamboyant and brash but optimistic person who seeks to capture a human and join the Royal Guard. In contrast, Sans, the shorter skeleton, is lazy and likes puns, and though he is usually agreeable, becomes eerily serious at random times. Your actions as Frisk throughout the game will either lead into them being one of your allies, or beings murdered at your own hands. | |||||
| ||||||
Mii Fighters[]
Mii Fighters The Fighter of Many Faces |
Miis are personal digital avatars that players can create on certain Nintendo consoles. First introduced alongside the Wii, Miis have since appeared on the Nintendo 3DS, WiiU, Nintendo Switch, and even certain DS and mobile games. They often make playable cameos in various Nintendo games, and even have some of their own games like Tomodachi Life and Miitopia. | |||||||||||
| ||||||||||||