| This page is under construction. Please excuse its informal appearance while it is being worked on. We hope to complete it as soon as possible! |
Chase's Super Smash Bros. is a fan-made game in the Super Smash Bros. series by Chase (EdGeorgenCody). This game was not made with realistic expectations in-mind, and as a result has several abstract character choices and changes to existing characters. In addition, there have been several alterations to the gameplay designed to make Smash more fun as a whole.
Gameplay[]
This game follows a similar gameplay formula to previous games in the Super Smash Bros. series, being a platform fighter in which Nintendo characters (along with some third-party characters) try to knock each other out of an arena, having a gradually rising damage percentage that makes it easier to launch opponents the higher percentage they are at. Compared to Super Smash Bros. Ultimate, the previous game in the series, this game features several mechanical changes in the engine that are designed to make the gameplay much tighter: the game engine is generally faster, with characters getting speed buffs across the map and several features previously removed (such as Melee's wavedashing) have been reintroduced. Characters also now have 12 alternate pallettes instead of 8. and as a result have a few different costumes from previous titles. Some characters, such as veterans Falco and Ridley, as well as newcomers Dixie Kong and Shantae, can now perform Aerial Grabs, complete with their own set of aerial throws. Outside of general gameplay changes, there are now new modes introduced, as well as the return of fan favorite modes from previous games in the series:
Single-Player Modes[]
Classic Mode[]
All-Star Mode[]
Training[]
Mob Smash[]
Century Smash[]
Cruel Smash[]
Event Smash[]
Stadium Smash[]
Home-Run Contest[]
Break the Targets![]
Boss Blitz[]
Multiplayer Modes[]
Smash[]
Squad Strike[]
Tourney[]
Special Smash[]
Smashdown[]
Custom Smash[]
Super Sudden Death[]
King of the Smash[]
Characters[]

There are 124 individual characters in Chase's Super Smash Bros., with 18 of them being Echo Fighters. All veterans in the series prior (minus the Mii Fighters) return. Veterans have also gone under significant changes to align their portrayals in Super Smash Bros. with those they have in canon.
Changes to Veterans[]
Veterans with the most significant changes will have their names bolded.
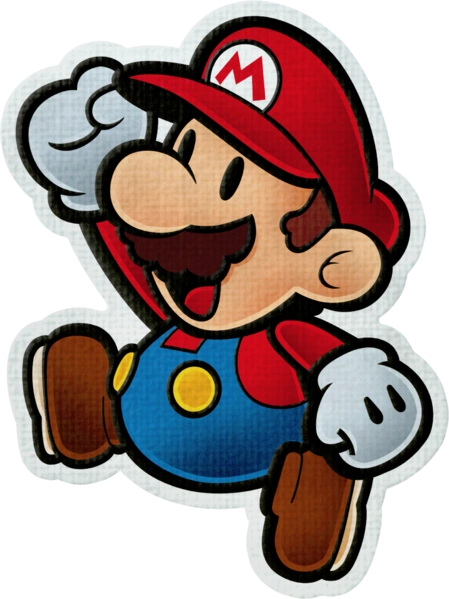
- Mario
- In addition to being in some of his taunts, Cappy now also appears as Mario's grab, being thrown out by Mario and then possessing opponents. As a result of this, Mario's new pummel is making opponents punch themselves in the face. His throws, however, remain the same, and Mario will pop out of opponents before grabbing them traditionally and throwing them.
- F.L.U.D.D., Mario's Down Special, has wider range and is more effective as an edgeguarding tool.
- He is generally more in-character and happy, complete with new voice clips provided by Charles Martinet to reflect this.
- Donkey Kong
- Like the other characters who formerly had bestial roars (with the exception of Ridley, who keeps his), Donkey Kong now has his canon voice, provided, as in the Donkey Kong games, by Takashi Nagasako.
- Donkey Kong is generally more in-character, smiling more and being goofier than previous installments.
- Link
- Samus
- Samus can now crawl by going into her Morph Ball, giving her the fastest moving crawl in the series as well as greatly reducing the size of her hurtbox, making it a more viable approach option.
- Samus' speed has been buffed.
- Overall, Samus' hitboxes have become less disjointed and are less likely to miss.
- Dark Samus
- Like Samus, Dark Samus can now crawl by going into her Morph Ball.
- Yoshi
- Now has a costume of Boshi, recognized as a different character by the announcer.
- Kirby
- Fox
- Pikachu
- Luigi
- Luigi's new Neutral Special is Thunderhand, functioning identically to his Fireball from previous installments but with electric effects instead of fire.
- Generally, most of Luigi's fire effects have been replaced with electricity.
- Ness
- Captain Falcon
- Jigglypuff
- Rest has been buffed back to its power in Melee.
- Sing can make opponents fall asleep for a longer amount of time, but its hitbox is smaller.
- The power of Jigglypuff's Smash Attacks has been buffed considerably, and they all KO much earlier.
- Peach
- Instead of her faceless parasol from previous installments, Peach now uses Perry from Super Princess Peach as her parasol.
- To reflect the inclusion of Captain Toad as a newcomer, Peach's Neutral Special is now Perry Parry, where Peach takes out Perry the Parasol to shield her from attacks, reflecting them back at opponents if they attack her while she has Perry out.
- Daisy
- Daisy's Neutral Special is now Parasol Parry, functioning identically to Peach's.
- Daisy's personality has become far more taunting and mean-spirited than Peach, giving her more personality as well as aligning her more with her portrayal in the Strikers games.
- Bowser
- Like the other characters who formerly had bestial roars (with the exception of Ridley, who keeps his), Bowser now has his canon voice, provided, as in the Mario' games, by Kenny James.
- Bowser is now generally more in-character, grinning evilly on occasion throughout his attacks and laughing while taunting.
- Ice Climbers
- The Ice Climbers can now switch which of them is in control through their down taunt.
- Sheik
- Zelda
- Dr. Mario
- Pichu
- Falco
- Given a third and fourth jump.
- Air speed and dash speed buffed considerably.
- Has the new ability of Aerial Grabs and Throws.
- Marth
- Lucina
- Young Link
- Ganondorf
- Ganondorf now floats for his dash, and his dashing speed is greatly increased as a result.
- Ganondorf has a new Neutral Special: Dead Man's Volley, in which he swipes his cape to reflect projectiles back at opponents.
- Ganondorf has a new Down Special: Demon Shockwave, taken from his battle in Ocarina of Time, where he punches the ground to create shockwaves that can stun opponents.
- Mewtwo
- Roy
- Chrom
- Mr. Game & Watch
- Meta Knight
- Meta Knight's Dark Meta Knight costume is now recognized as a different character by the announcer, and has slightly different voice clips in this costume to match this.
- Pit
- Dark Pit
- Zero Suit Samus
- Wario
- Wario's Neutral Special is now Shake It, in which he grabs opponents and shakes them up and down, causing coins to fly everywhere. This move is functionally identical to Chomp, but is more powerful in exchange for losing the healing effect Chomp has in Ultimate.
- Wario Waft has been nerfed considerably, being weaker and less capable of KOing at lower percentages, as compensation for buffing the rest of his kit.
- Wario's throws have been revamped, now being based on the throws from Wario World. His down throw is now the Piledriver, and his back throw is the Wild Swing-Ding.
- Wario's forward throw is now his throw from the Wario Land games, and is the only throw in the game that can be charged.
- Wario's down air is now a Ground Pound.
- Snake
- Ike
- Pokémon Trainer - Pokémon Change is now all three Pokémon's down taunt, allowing all three Pokémon to have fleshed out movesets.
- Squirtle
- Squirtle now has his own individual Down Special: Bubble, where he shoots a small projectile forwards a short distance that doesn't do much damage but can trip opponents, as well as gimping recoveries in the air.
- Squirtle is now identified with male pronouns in game.
- Ivysaur
- Ivysaur now has her own individual Down Special: Seed Bomb, where she launches a seed into the air that explodes upon contact with opponents. If it misses, it releases Stun Spores upon contact with the ground, stunning opponents within their range.
- Bullet Seed has been moved to Ivysaur's jab.
- Ivysaur has a new Neutral Special: Synthesis/Solar Beam, where she charges Solar Beam while slowly healing herself, before firing it once it is fully charged, creating a powerful beam that is fired diagonally above her.
- Ivysaur is now considerably heavier, being the same weight as Mega Man.
- Ivysaur is now identified with female pronouns in game.
- Charizard
- Charizard's moveset is now returned to how it was when he was a solo character in SSB4, regaining Rock Smash as a Down Special.
- Charizard is now identified with male pronouns in-game.
- Squirtle
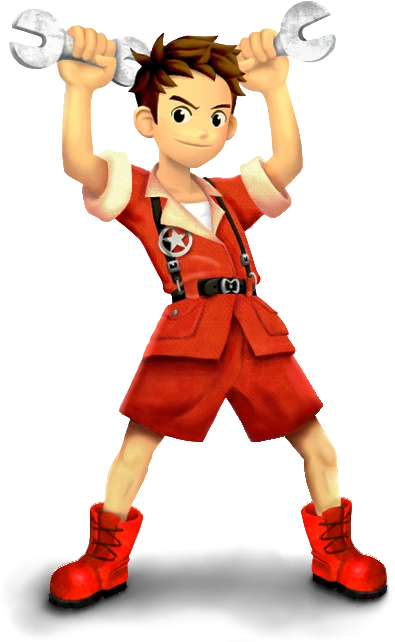
- Diddy Kong
- Like the other characters who formerly had bestial roars (with the exception of Ridley, who keeps his), Diddy Kong now has his canon voice, provided, as in the Donkey Kong' games, by Katsumi Suzuki.
- Diddy Kong now gains a triple jump in the form of his Jetpack from Donkey Kong Country Returns and Tropical Freeze, improving his airgame.
- Lucas
- Lucas has been further decloned from Ness, gaining a new Down Special in PK Ground, where he summons a spire made of rocks that slowly rises up, dealing multiple hits and high knockback in exchange for the high amounts of lag associated with it.
- Lucas also has a new Final Smash: PK Love, where he summons Kumatora, Duster, and Boney, surrounds all four of them in a wave of PSI, and releases it in a fashion like Tabuu's Off Waves in Brawl, sending opponents flying.
- Lucas' down throw now combos into his neutral air again.
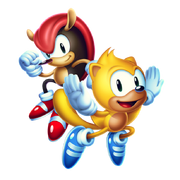
- Sonic
- Sonic's moveset has been diversified from previous installments, featuring fewer moves that look the same.
- Sonic has a new Side Special: Sonic Boost, where he charges forwards surrounded by Speed Energy, ramming into any opponents in his way.
- Sonic also has a new Down Special: Super Peel Out, where he performs the ability of the same name from the Sonic games to increase his speed, rocketing off but making it more difficult for him to stop.
- Sonic's dash attack has been restored to its SSB4 incarnation.
- King Dedede
- As opposed to his voice clips provided by Masahiro Sakurai in previous games, King Dedede is now voiced by Ted Lewis, sporting his thick Southern accent from Kirby, Right Back At Ya!
- King Dedede's Gordo Throw has been buffed considerably, as the Gordos are significantly more difficult to reflect back due to the increased size of their hitbox.
- His power and speed have both been buffed considerably.
- Olimar
- Lucario
- R.O.B.
- Toon Link
- Toon Link has a new Side Special: Cane of Pacci, functioning identically to the Boomerang but having a sweetspot on the tip of the cane that buries opponents who touch it on the ground and meteor smashes those in the air in exchange for being a much weaker projectile.
- Toon Link also has a new Up Special: Deku Leaf, which summons the Deku Leaf and gives Toon Link both a short amount of vertical air and the ability to glide until he touches a platform, giving him the horizontal recovery the other two Links lack.
- Wolf
- Villager
- Mega Man
- Wii Fit Trainer
- Rosalina and Luma
- Little Mac
- Straight Lunge now has less ending lag if it misses, making it less risky.
- Jolt Haymaker is revamped, causing him to bounce off opponents if he connects with them, making it a less risky edgeguarding and zoning tool.
- Little Mac's speed and power have both been buffed considerably.
- Greninja
- Palutena
- Pac-Man
- Pac-Man now has a normal grab, making his throws a far more viable option.
- Robin
- Shulk
- Bowser Jr.
- Bowser Jr. now has a new Final Smash, Megahammer, where he summons his mech of the same name from Super Mario Galaxy 2 and hops into the background, smacking the mech's hammers into the stage to send opponents flying.
- New multipliers have been applied to the damage and knockback Bowser Jr. recieves versus the Clown Car, now being 1.25x and 0.75x respectively as opposed to 1.15x and 0.88x.
- Bowser Jr.'s air speed has been buffed considerably due to the propeller of the Clown Car spinning while he is in the air, making his already formidable aerials even more dangerous.
- Abandon Ship's hitbox and damage have been restored to their SSB4 incarnation, making it more viable again.
- Mechakoopas move considerably faster than in previous installments, and hone in on opponents once they are seen.
- Duck Hunt
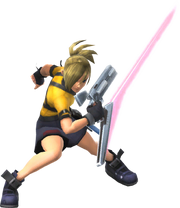
- Ryu
- Ken
- Cloud
- Corrin
- Bayonetta
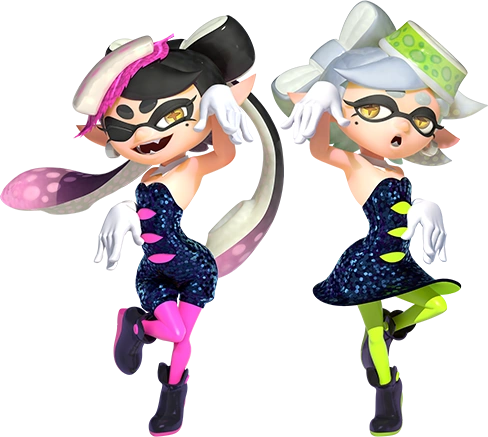
- Inkling
- The maximium damage multiplier on ink has been changed from 1.5x to 1.3x, making the ink less overpowered.
- Ink disappears faster than in Ultimate.
- Splat Roller will now only bury opponents if they are hit by the Roller itself, making it more difficult to use.
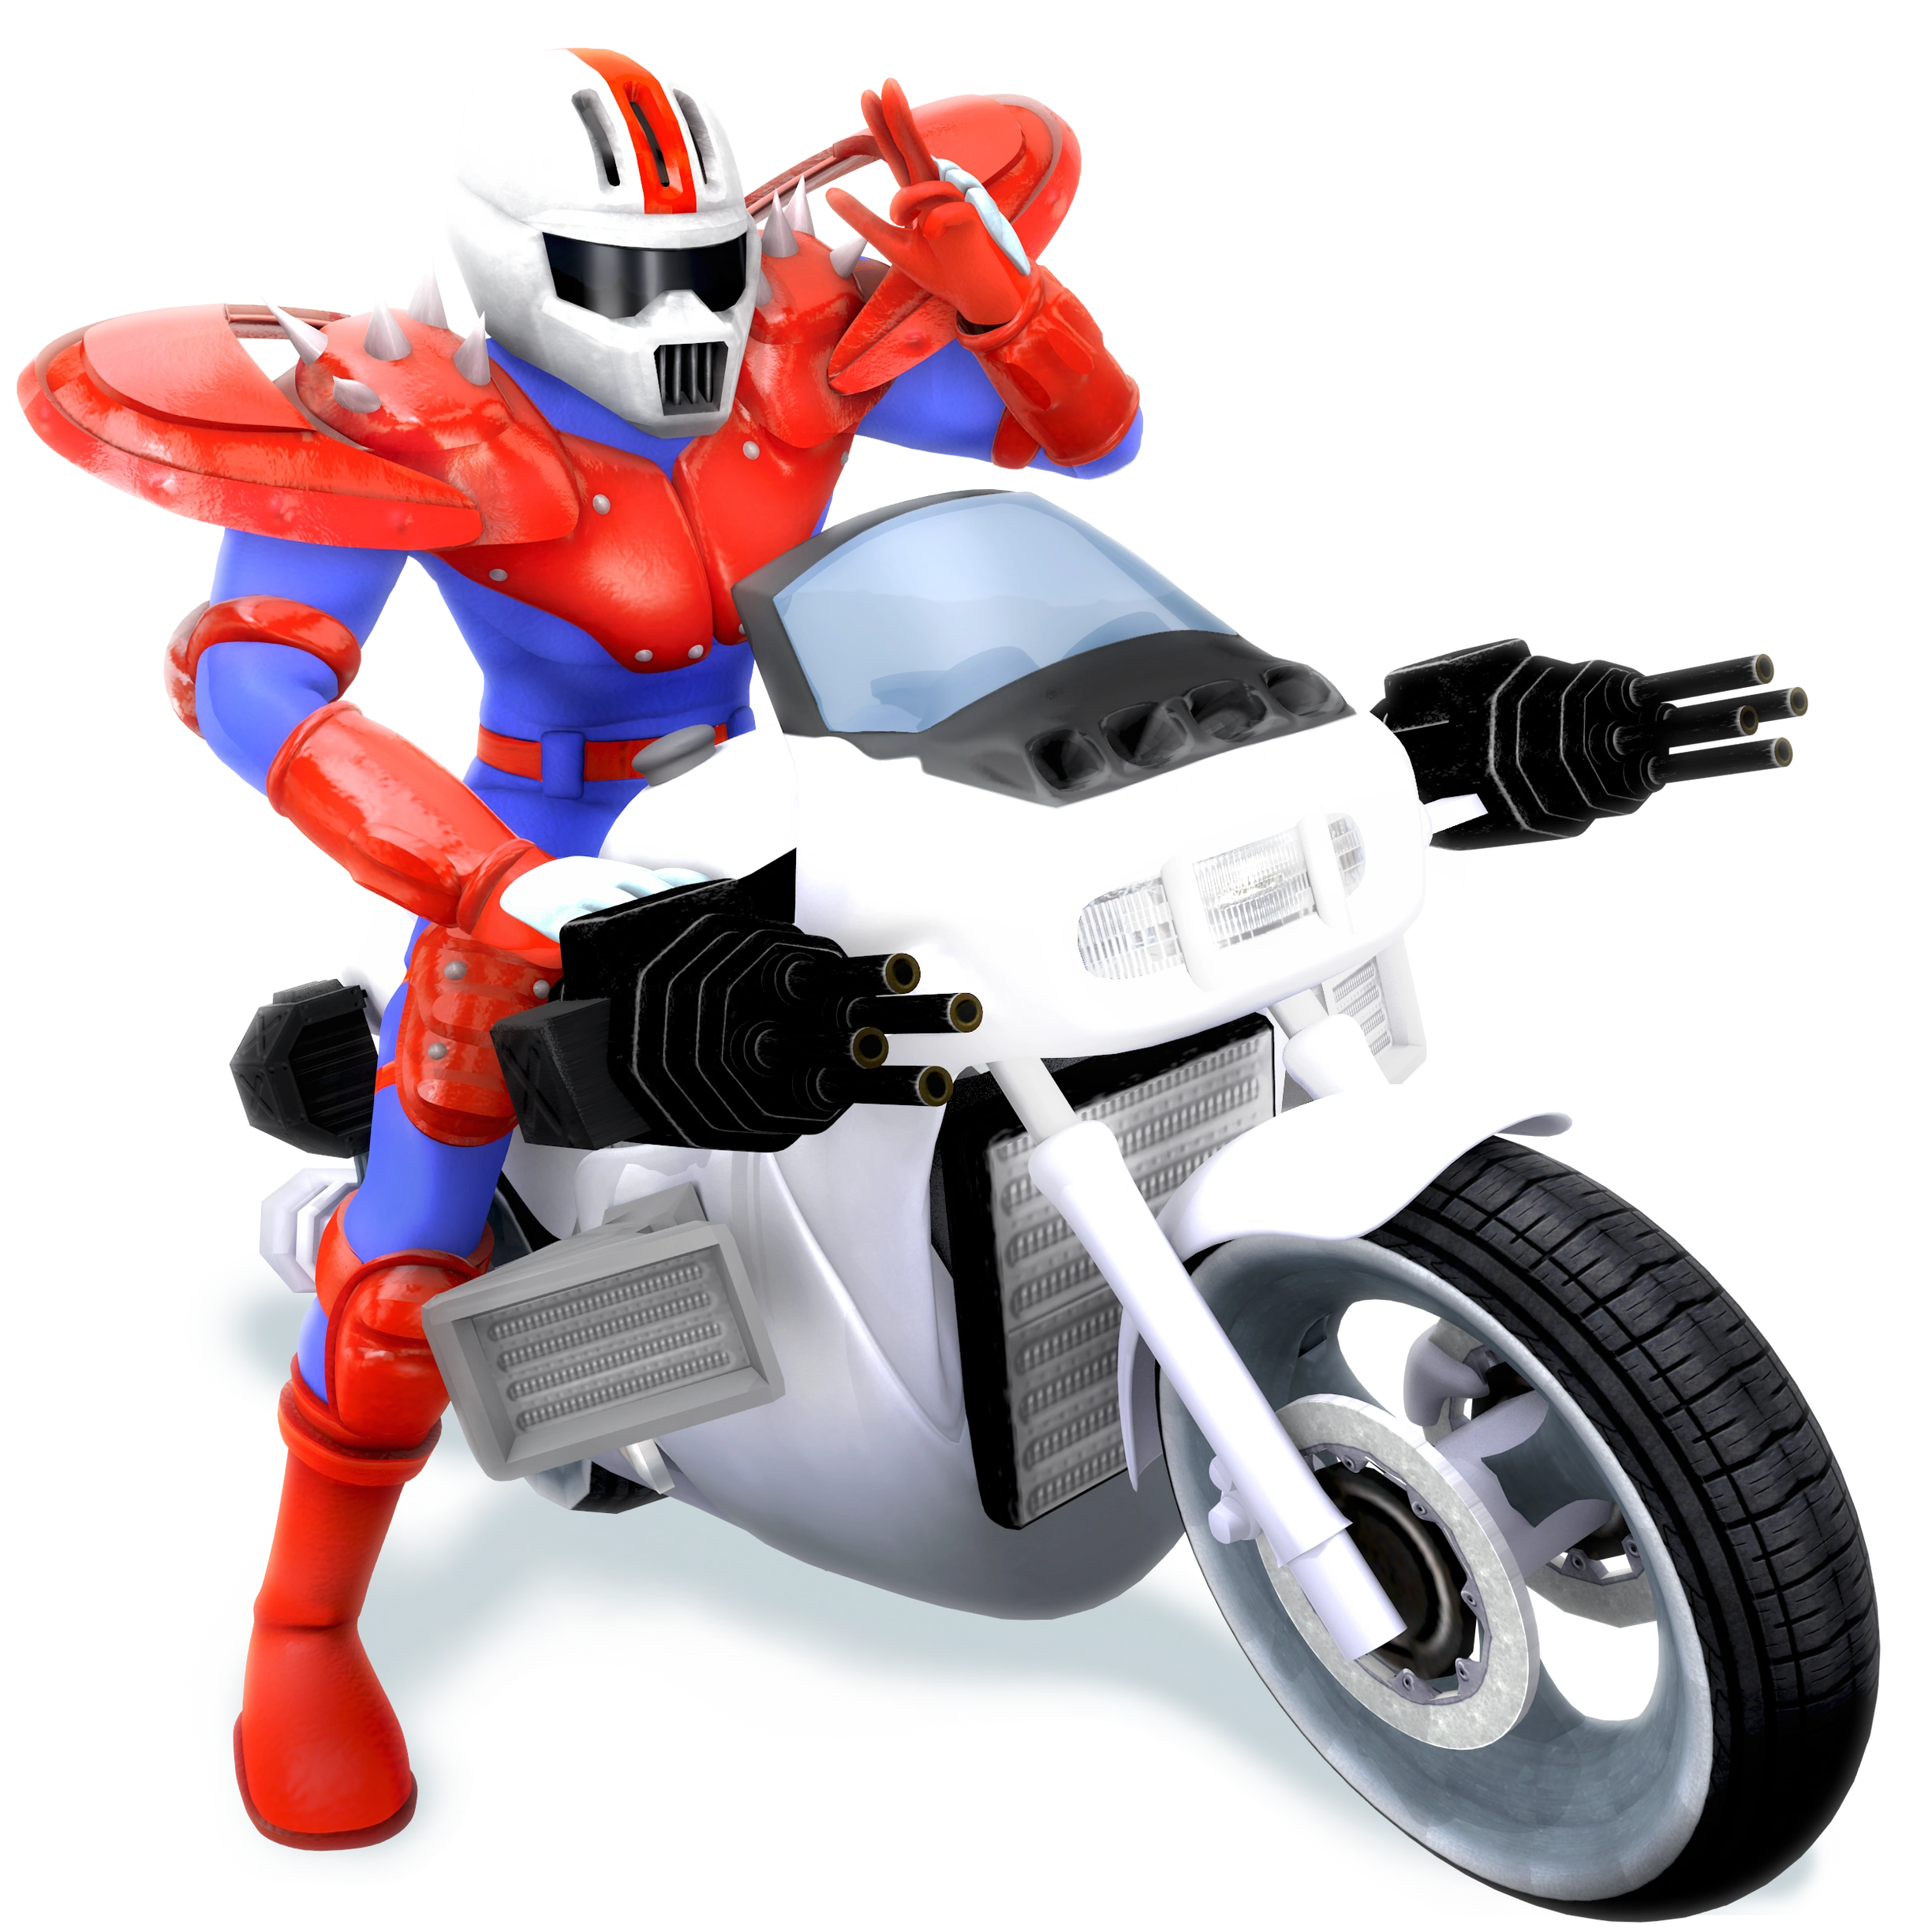
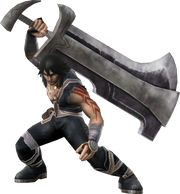
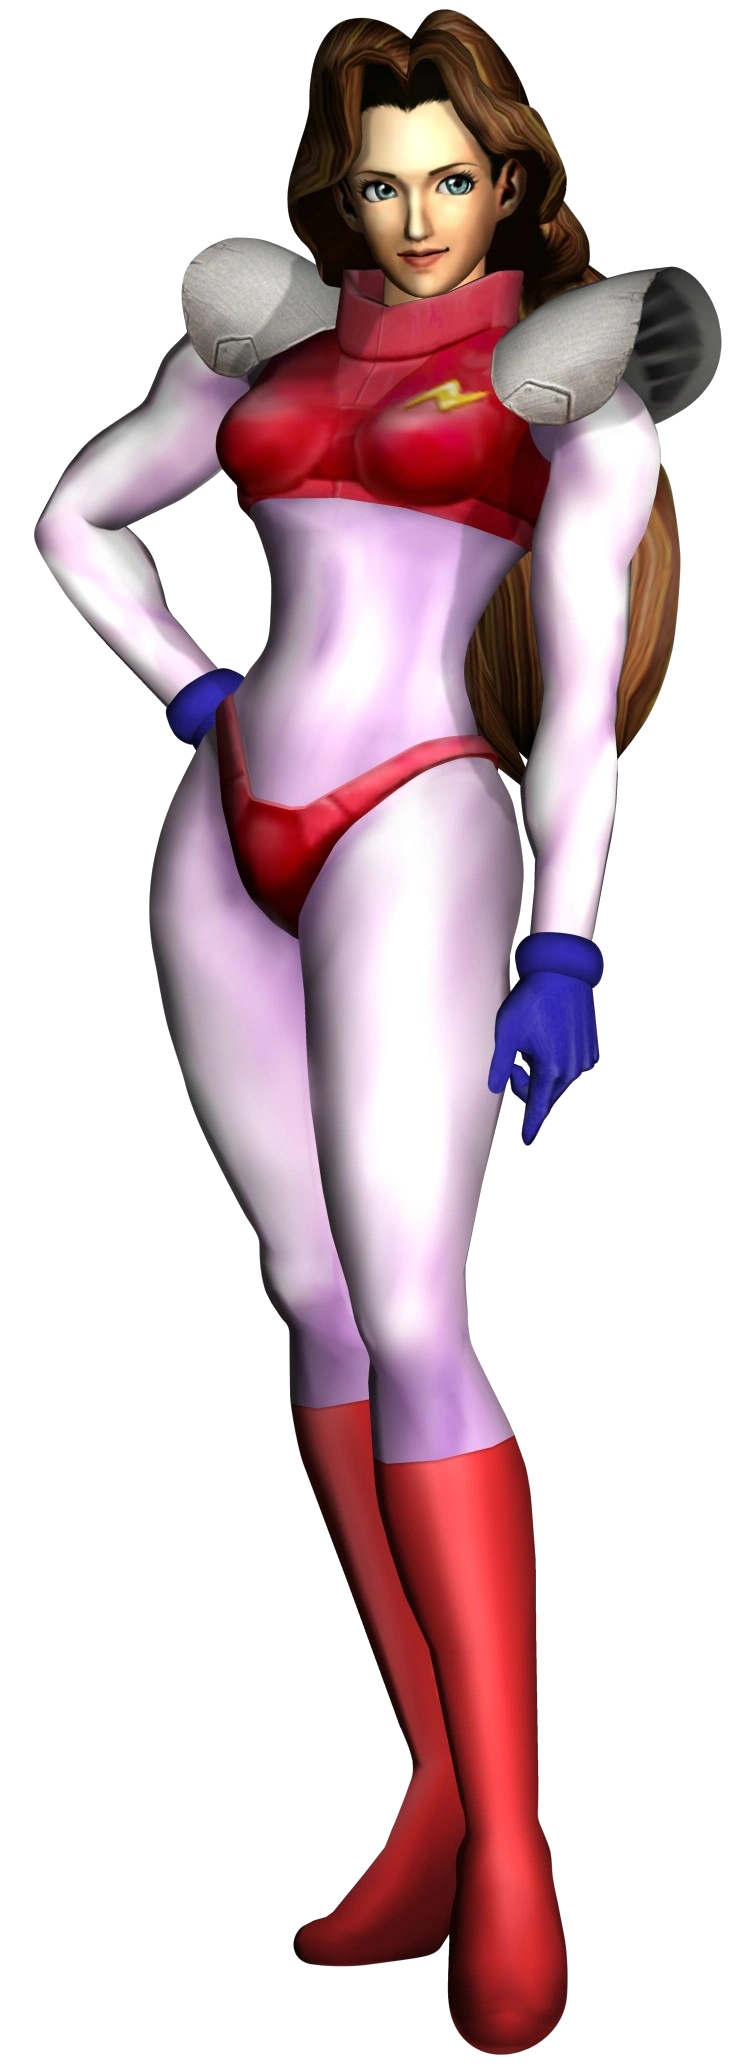
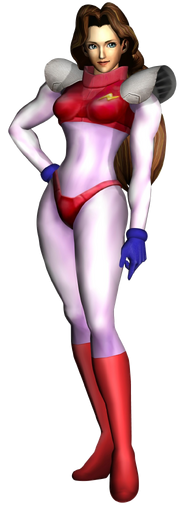
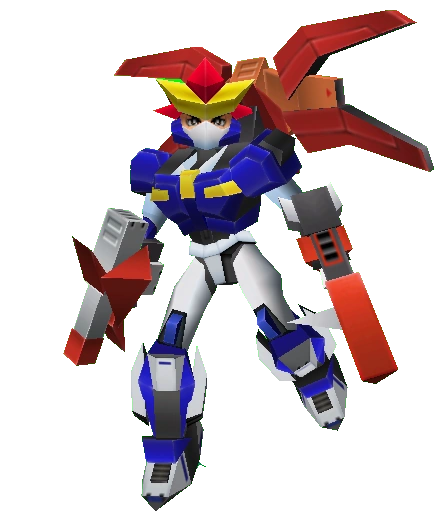
- Ridley
- Ridley, like Falco, now utilizes the new ability of Aerial Grabs and Throws.
- Wing Blitz can be charged for longer and travels much higher when this is done, buffing his vertical recovery.
- Skewer can now launch opponents at higher percentages in the sourspot, giving it more utility as a spacing tool.
- Simon Belmont
- Richter Belmont
- King K. Rool
- King K. Rool now runs upright and much faster than in Ultimate.
- King K. Rool's armor breaks far sooner than before, making it less exploitable.
- Like the other characters who formerly had bestial roars (with the exception of Ridley, who keeps his), King K. Rool now has his canon voice, provided, as in the Donkey Kong 64, by Chris Sutherland.
- Blunderbuss' vacuuming effect can now backfire if held too long, giving King K. Rool minor recoil damage. A pirate hat no longer appears on his head after performing this move.
- King K. Rool now looks at the camera for a moment during Crownerang, increasing its endlag. If he is hit while his crown is being thrown, he will shout the "HONK" from his battle in Donkey Kong Country.
- Kaptain K. Rool, Baron K. Roolenstein, and King Krusha K. Rool now appear as alternate costumes.
- Isabelle
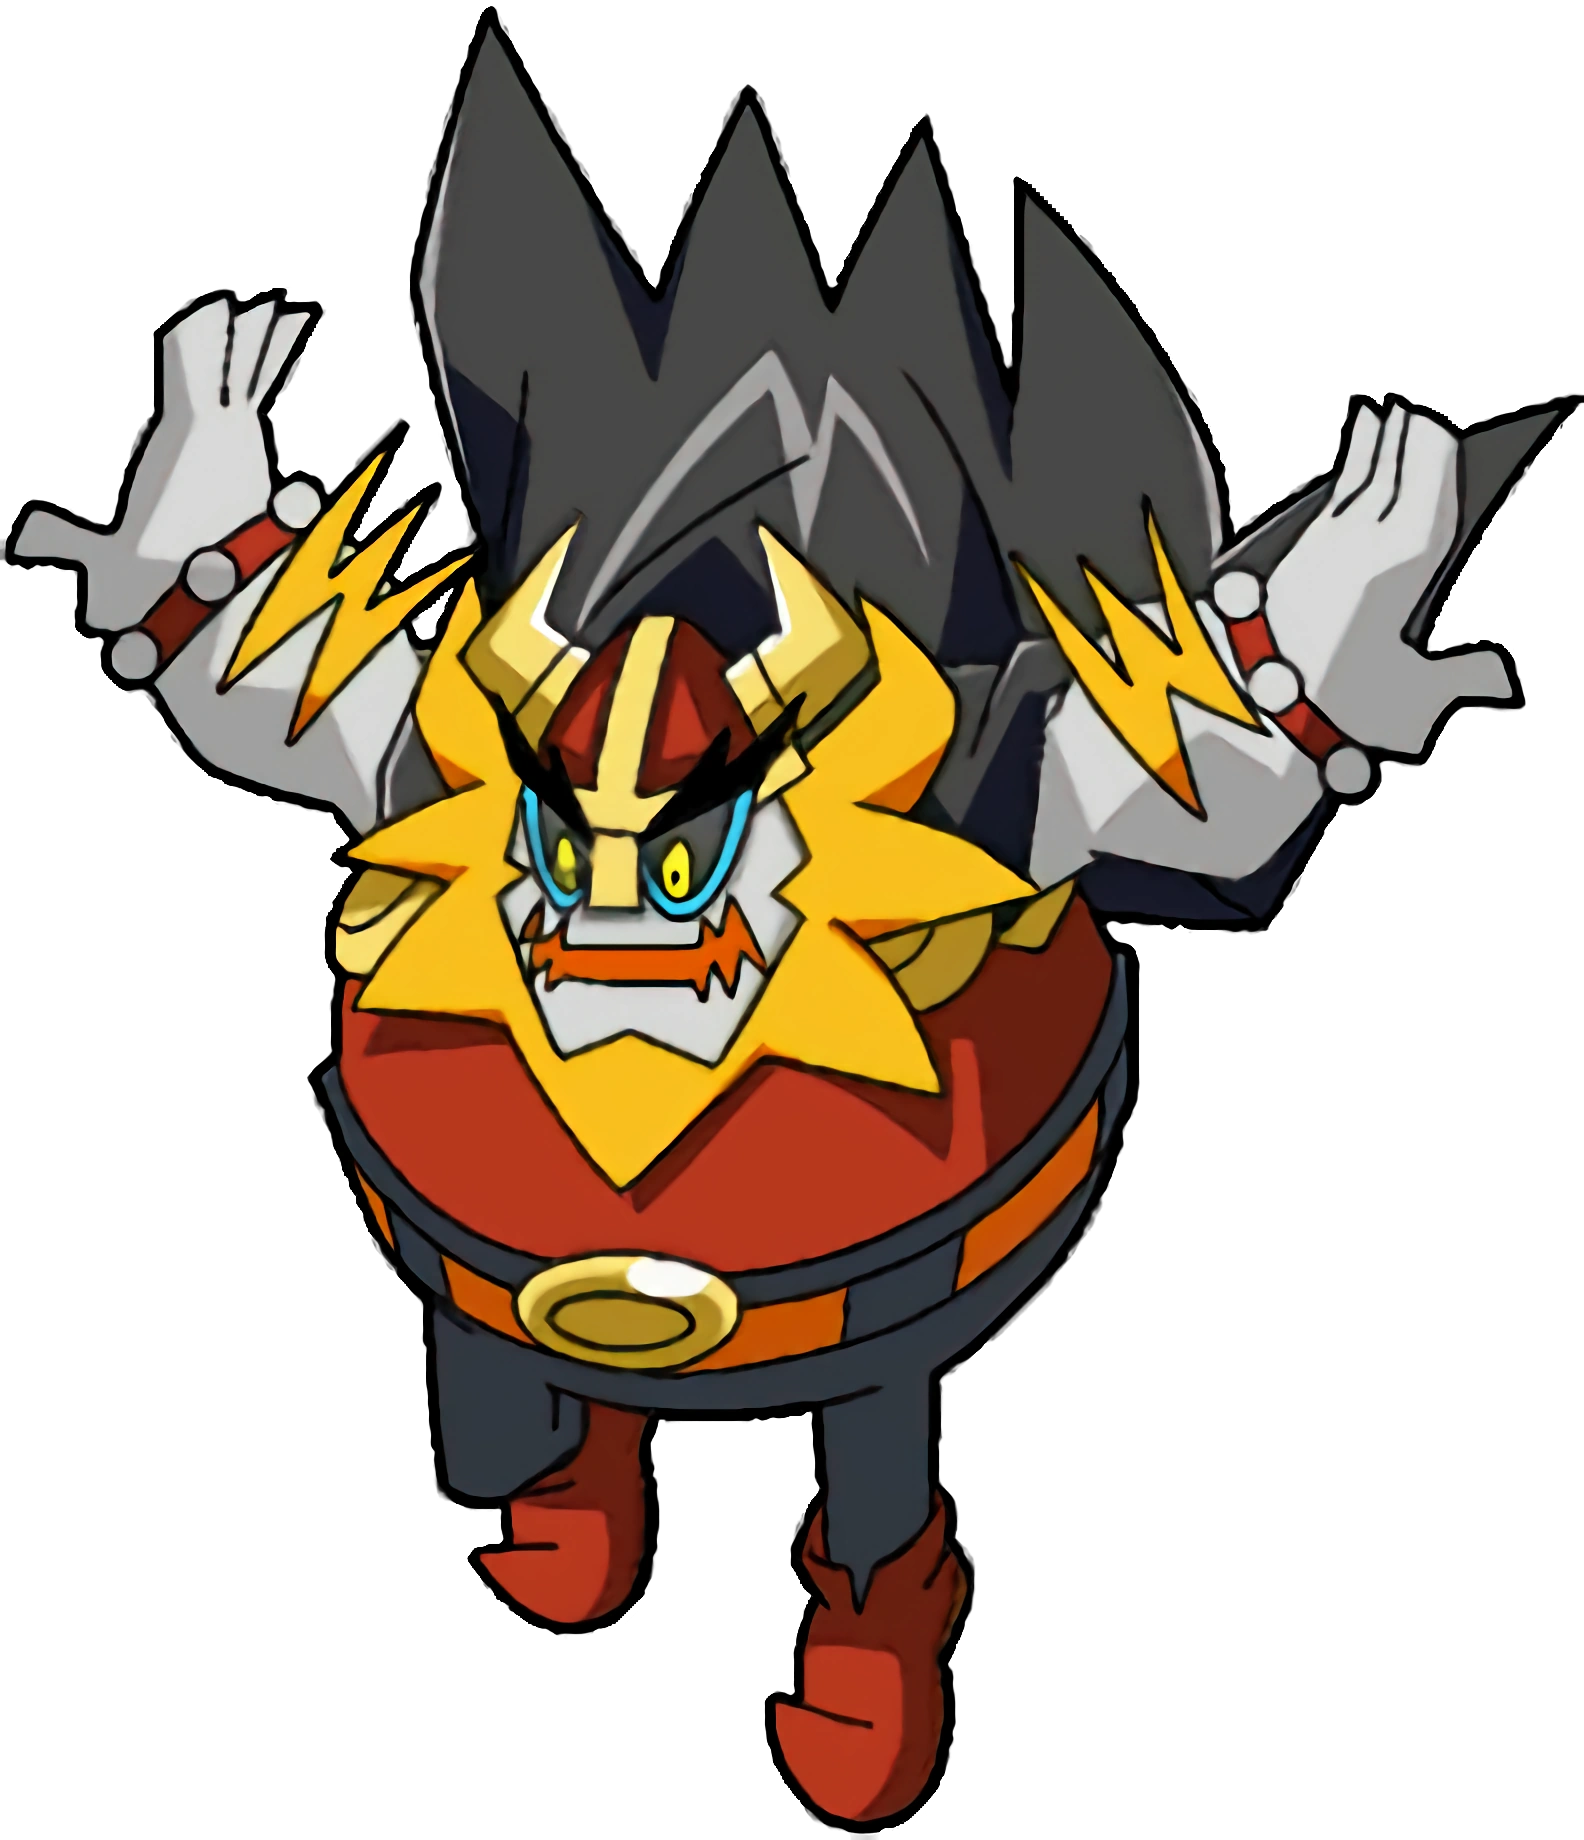
- Incineroar
- Cross Chop now travels higher vertically than before in exchange for travelling at a sharper angle diagonally, making it more viable as vertical recovery but less viable as horizontal recovery.
- Piranha Plant
- Joker
Newcomers[]
| Name/Franchise | Image/Stock Icon | Attributes/Gimmicks | Special Moves |
|---|---|---|---|
|
Waluigi Waappears! (Mario) |
 |
Waluigi, never one to play fair, brings his notorious cheating to the battlefield, using several of his abilities to throw opponents off and take advantage of every loophole and exploit he can in the way the game works in order to win. Even if Waluigi didn’t cheat, he would remain a very odd target to fight; his tall, lanky frame gives him one of the skinniest hurtboxes in the series, making him somewhat difficult to hit, and he is heavier than his skinny frame may imply. However, Waluigi is not the most mobile character in the series, having slow air and fall speeds and a mediocre-at-best dashing speed, and opponents can somewhat easily get into Waluigi’s space to try and hit his bizarre frame. However, Waluigi is willing to pull any and all stops to win, and uses his wits, a wide variety of sports equipment, and every dirty trick in the book to do so. |
|
|
King Boo Joins the Fright! (Mario) |
|
GIMMICK: Intangibility King Boo is a large, floaty, somewhat bizarre character with weird hitboxes and one of the most fascinating defensive abilities in the game: shielding will not give King Boo a shield, but rather make him intangible and transparent instead. This means, that despite King Boo’s somewhat slower moves that can take a while to charge, he has very fast defenses and a ton of out-of-shield items that vastly increase his viability. However, King Boo will have to utilize his fast defenses often in order to survive due to his massive, round hurtbox and being one of the more abnormally shaped fighters. King Boo’s light weight, large size, and for the most part slower movement makes him a character where precise planning is required, although his fast defenses can be used to give him a bit of wiggle room with his slower attacks. |
|
|
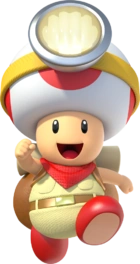
Captain Toad Goes Forth! (Captain Toad: Treasure Tracker) |
|
GIMMICK: Weight Change Captain Toad is a character who is unique in that he is both a slow heavyweight and a fast lightweight, depending on how many items he puts in his backpack. When his backpack is full, Captain Toad is slow and cannot jump very high (in fact having the lowest jump and worst recovery in the entire series), but has a lot of power behind his slower moves, feeling as he does in his home games. However, when Captain Toad empties items from his backpack, he becomes far faster and more mobile, being able to jump higher but also becoming far lighter and less able to withstand powerful attacks. Captain Toad also has a wide number of projectiles and strange hitboxes that he can use to keep opponents on their toes, but the main bread and butter of his moveset is emptying and reloading his backpack with various objects depending on the situation. |
|
|
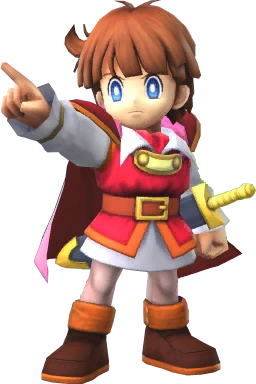
Paper Mario Joins the Fold! (Paper Mario) |
|
Paper Mario is the lightest character in the series thus far, due to his nature of being made of paper. Although he is the same person as regular Mario, he has an entirely different set of abilities that prevents him from being a clone in any fashion. Paper Mario's partners from Paper Mario and Paper Mario: The Thousand Year Door make appearences throughout many of his moves, (with the exception of Bobbery and Kooper). Paper Mario's primary weapon is his hammer. In this iteration specifically, it appears as the normal wooden hammer from early in the games in artwork, but he switches hammers several times for different moves like his smash attacks. Paper Mario is quite speedy, being able to dash around the battlefield at very quick speeds compared to other characters. Paper Mario's moves also have rather abnormal hitboxes, due to some of his moves being offensive jumps. Paper Mario's light weight can make him rather vulnerable. He is launched at lower percentages than a lot of other characters, but he makes up for this with some powerful, hard hitting attacks that can hold opponents at bay so Paper Mario doesn't get launched into the KO Zone relatively early. Paper Mario, although he lacks many projectiles, is good at spacing due to the high amount of knockback on his moves. This gives Paper Mario a "eat-or-be-eaten" style of play that constantly makes Paper Mario trying to one-up his opponents to keep at an advantage, |
|
|
Geno Whirls In! (Mario RPG) |
|
Geno is a lightweight, fast, medium-sized fighter who keeps his opponents at bay through his wide array of projectiles. Geno’s strategy is heavily based on overwhelming his opponents to such an extent that they have little time to react and go back on the offensive. A lot of Geno’s moves work just as they did in Super Mario RPG, becoming more powerful and more useful if executed with precise timing. The idea of Geno is that players get into a rhythm of barraging opponents, allowing Geno to fire out flurries of timed moves, and keeping opponents away so as to not get through his rather mediocre defensive options. |
|
|
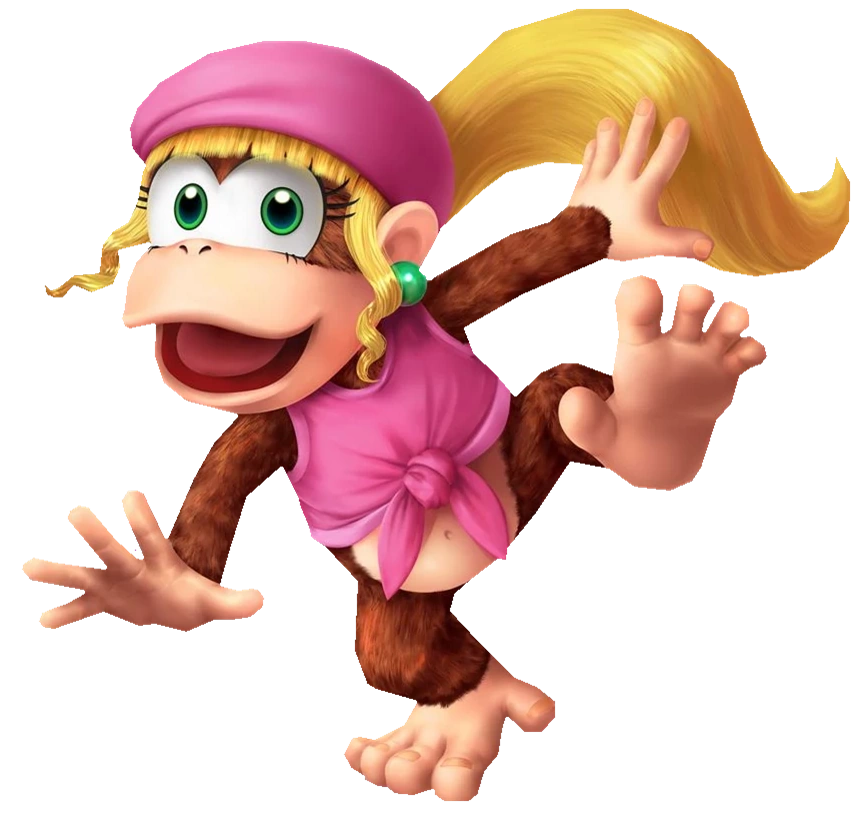
Dixie Kong Gives It a Whirl! (Donkey Kong) |
|
Dixie Kong enters the battle with a battle style based on the idea of “death from above”; an utter menace in the air who mainly uses the ground as a means to get her opponents onto her home turf, the air. Dixie’s main ability is her ability to both slow and control her fall through the use of her ponytail, which she can spin like a propeller as well as using it to grab opponents and pick up items. Dixie’s hair gives her a wide variety of trucks to use, but they are not her only tools. Rather, Dixie also uses a variety of weaponry and abilities from throughout the Donkey Kong series. Despite Dixie’s remarkable air prowess, amazing mix-up options, and ability to both approach and escape with ease, Dixie does not have a lot of kill potential in her moves, and as a result must land a risky move in order to finish her opponents off. |
|
|
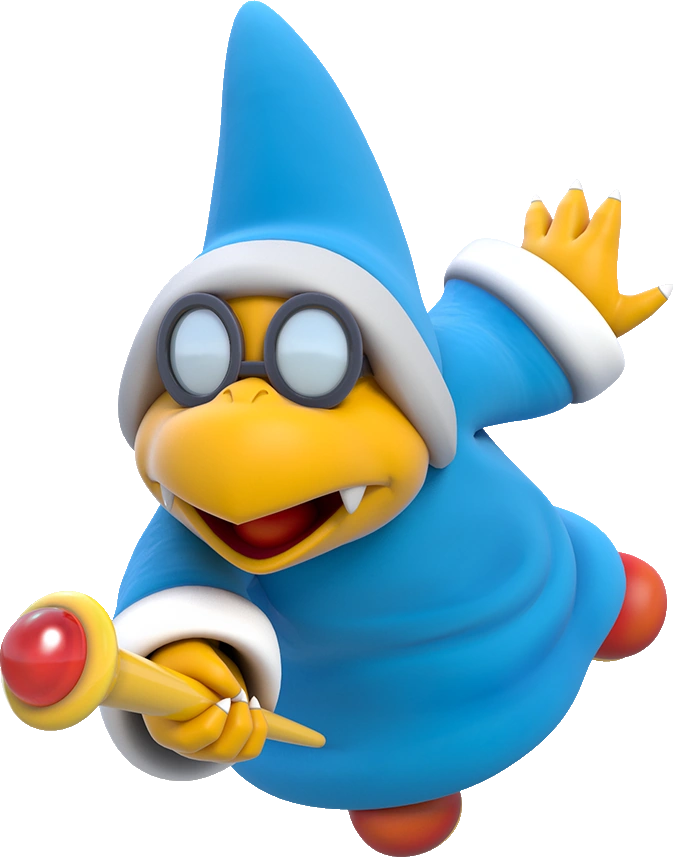
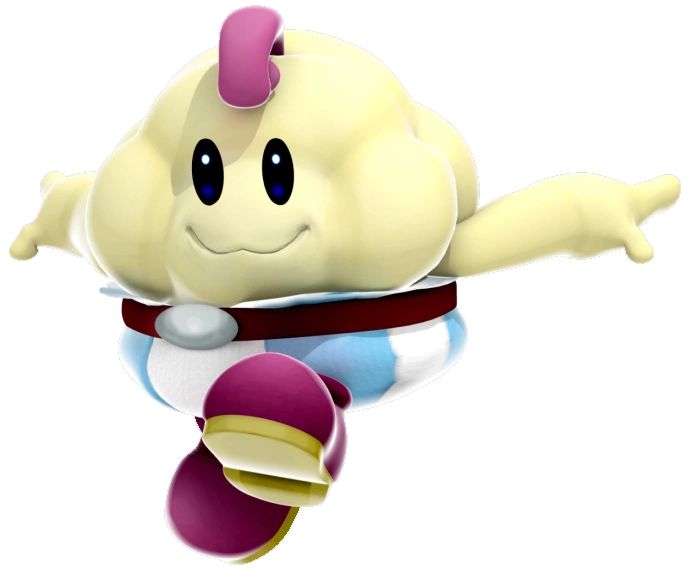
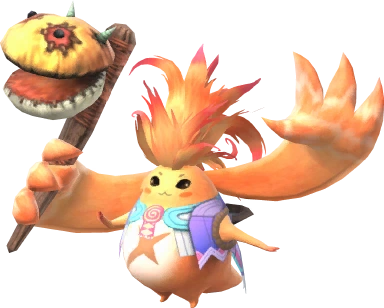
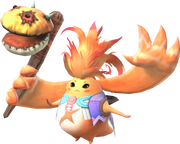
Kamek Spells Trouble! (Yoshi) |
|
GIMMICK: Minion Summon Kamek is a unique character in that he attacks almost exclusively through magic moves, having very weak physical strength in exchange for very powerful magic that he casts using his scepter. Despite the high power on his magical moves, his spells take time to cast, and Kamek must often keep his defenses covered in order to allow him to use his powerful magical spells without being sent flying into the blast-zones due to his light weight. Luckily, Kamek has a multitude of options to keep opponents at bay, including summoning minions to do his fighting for him and having a variety of escape options through his very fast-moving and free-moving Broomstick up special, as well as his powerful aerials. However, besides his Broomstick, Kamek’s mobility is atrocious, and is best for him to stand back and bulk up his minions in order to charge up his own attacks in order to send opponents flying after being barraged by Kamek’s minions, which he can summon five of at a time to wreak havoc on the battlefield. While Kamek’s minions are weak on their own (unless bulked up by his magic), the sheer numbers of them can make them a great tool to whittle opponents down while Kamek prepares for the KO and tries to evade getting hit. |
|
|
Lip Blooms Into Battle! (Puzzle League) |
|
GIMMICK: Healing through Lip's Stick Lip is one of the lightest characters in the series, making it very easy for her to be knocked around and launched into the blast zones at higher percentages. However, Lip has two main tools to counteract this: one, her attacks all hit pretty powerfully and she has a lot of launching potential despite her tiny size, and two, her ability to heal herself through the use of her signature Stick. Whenever Lip attacks someone through using the Stick (her normal attacks and aerials for the most part), it will place a flower on their head that does gradual damage over time, and the next time Lip delivers an attack to that opponent, she will heal all the damage the flower just did. Lip’s unique tools and mindgames are balanced out by her light weight, meaning that Lip must always have her defenses covered in order to wreak havoc on the battlefield, as well as keeping herself at very low percentages. |
|
|
Captain Syrup Sweetens the Deal! (Wario) |
|
Captain Syrup is a character built around baiting opponents into doing her work for her, much like she does in her home games. Many of Captain Syrup’s moves, while weak on their own, work well to turn opponents’ moves against them, often having reflective or counter properties that put opponents on edge from using their more powerful attacks unless they have Captain Syrup in an extremely vulnerable position, which she isn’t one to get into easily. Unfortunately, despite her many options to exploit the behavior of opponents and overall decent mobility, her moves on their own don’t do much damage, being mainly used as a means for her to relieve pressure and do weak damage in circumstances where she can’t exploit the moves of opponents immediately. Captain Syrup uses a variety of tools from her boss battles, as well as generic pirate items, in her moveset, and each is used to benefit her strategy of baiting opponents into hurting themselves. |
|
|
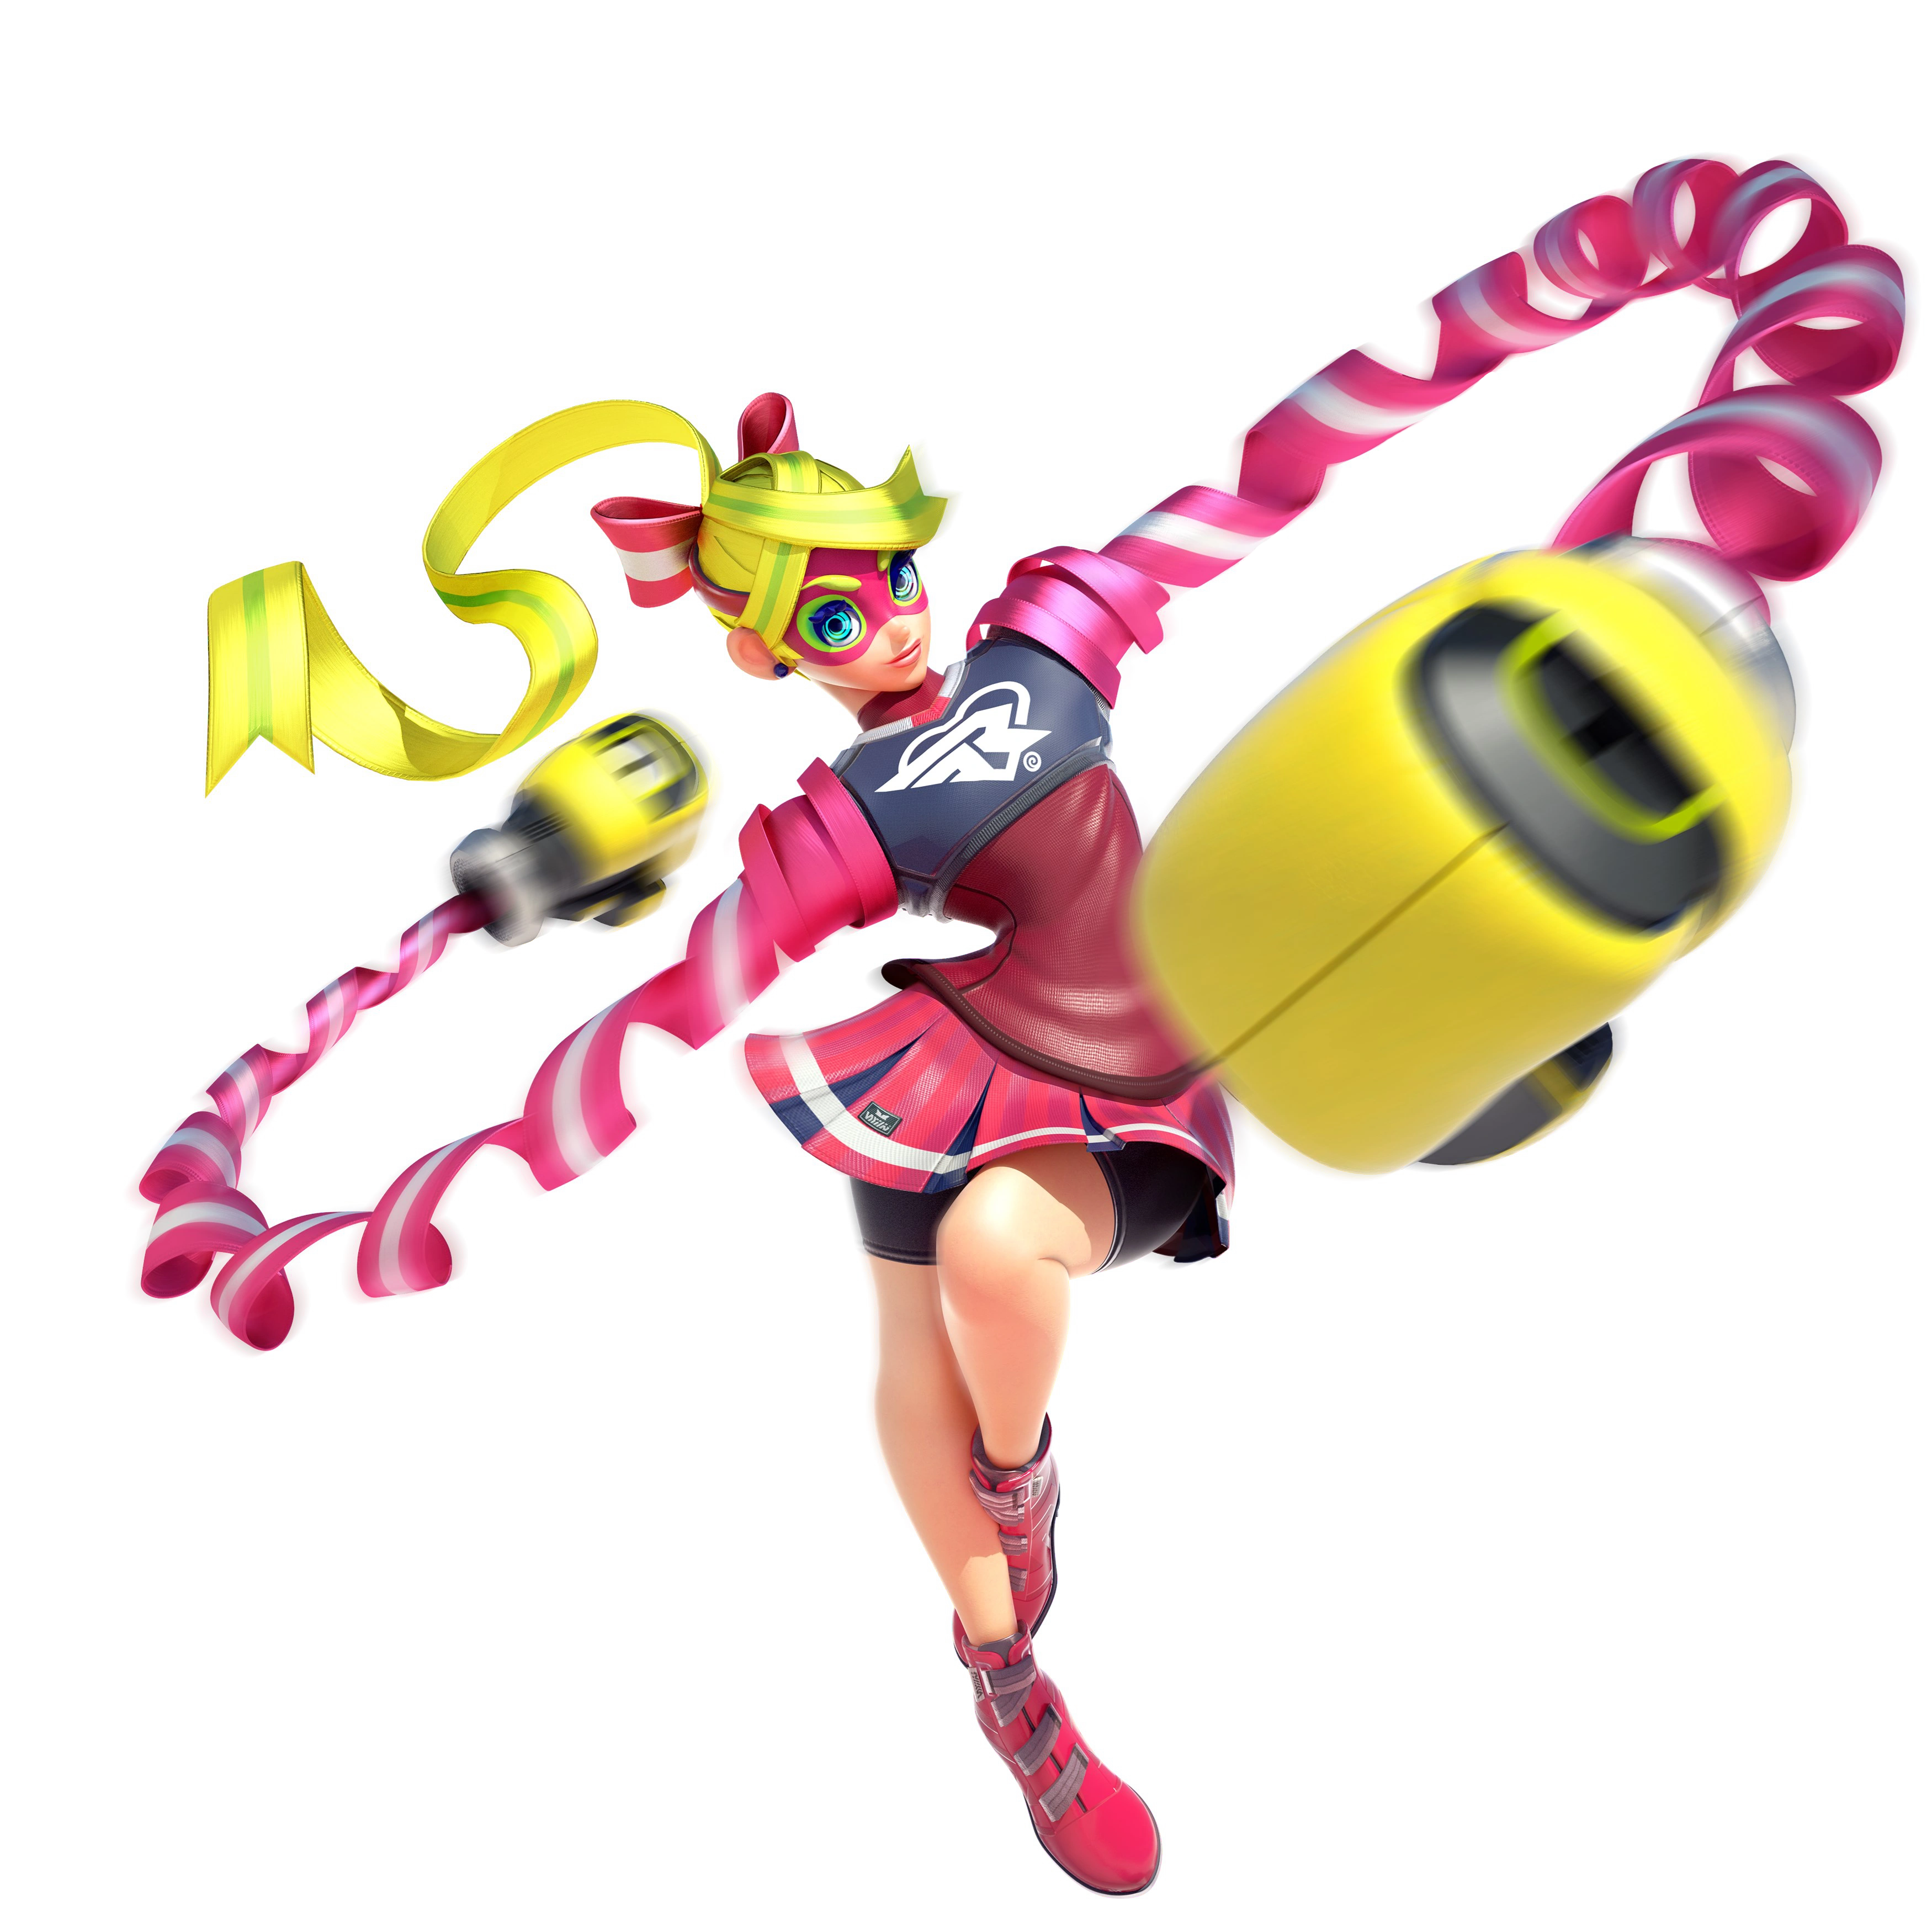
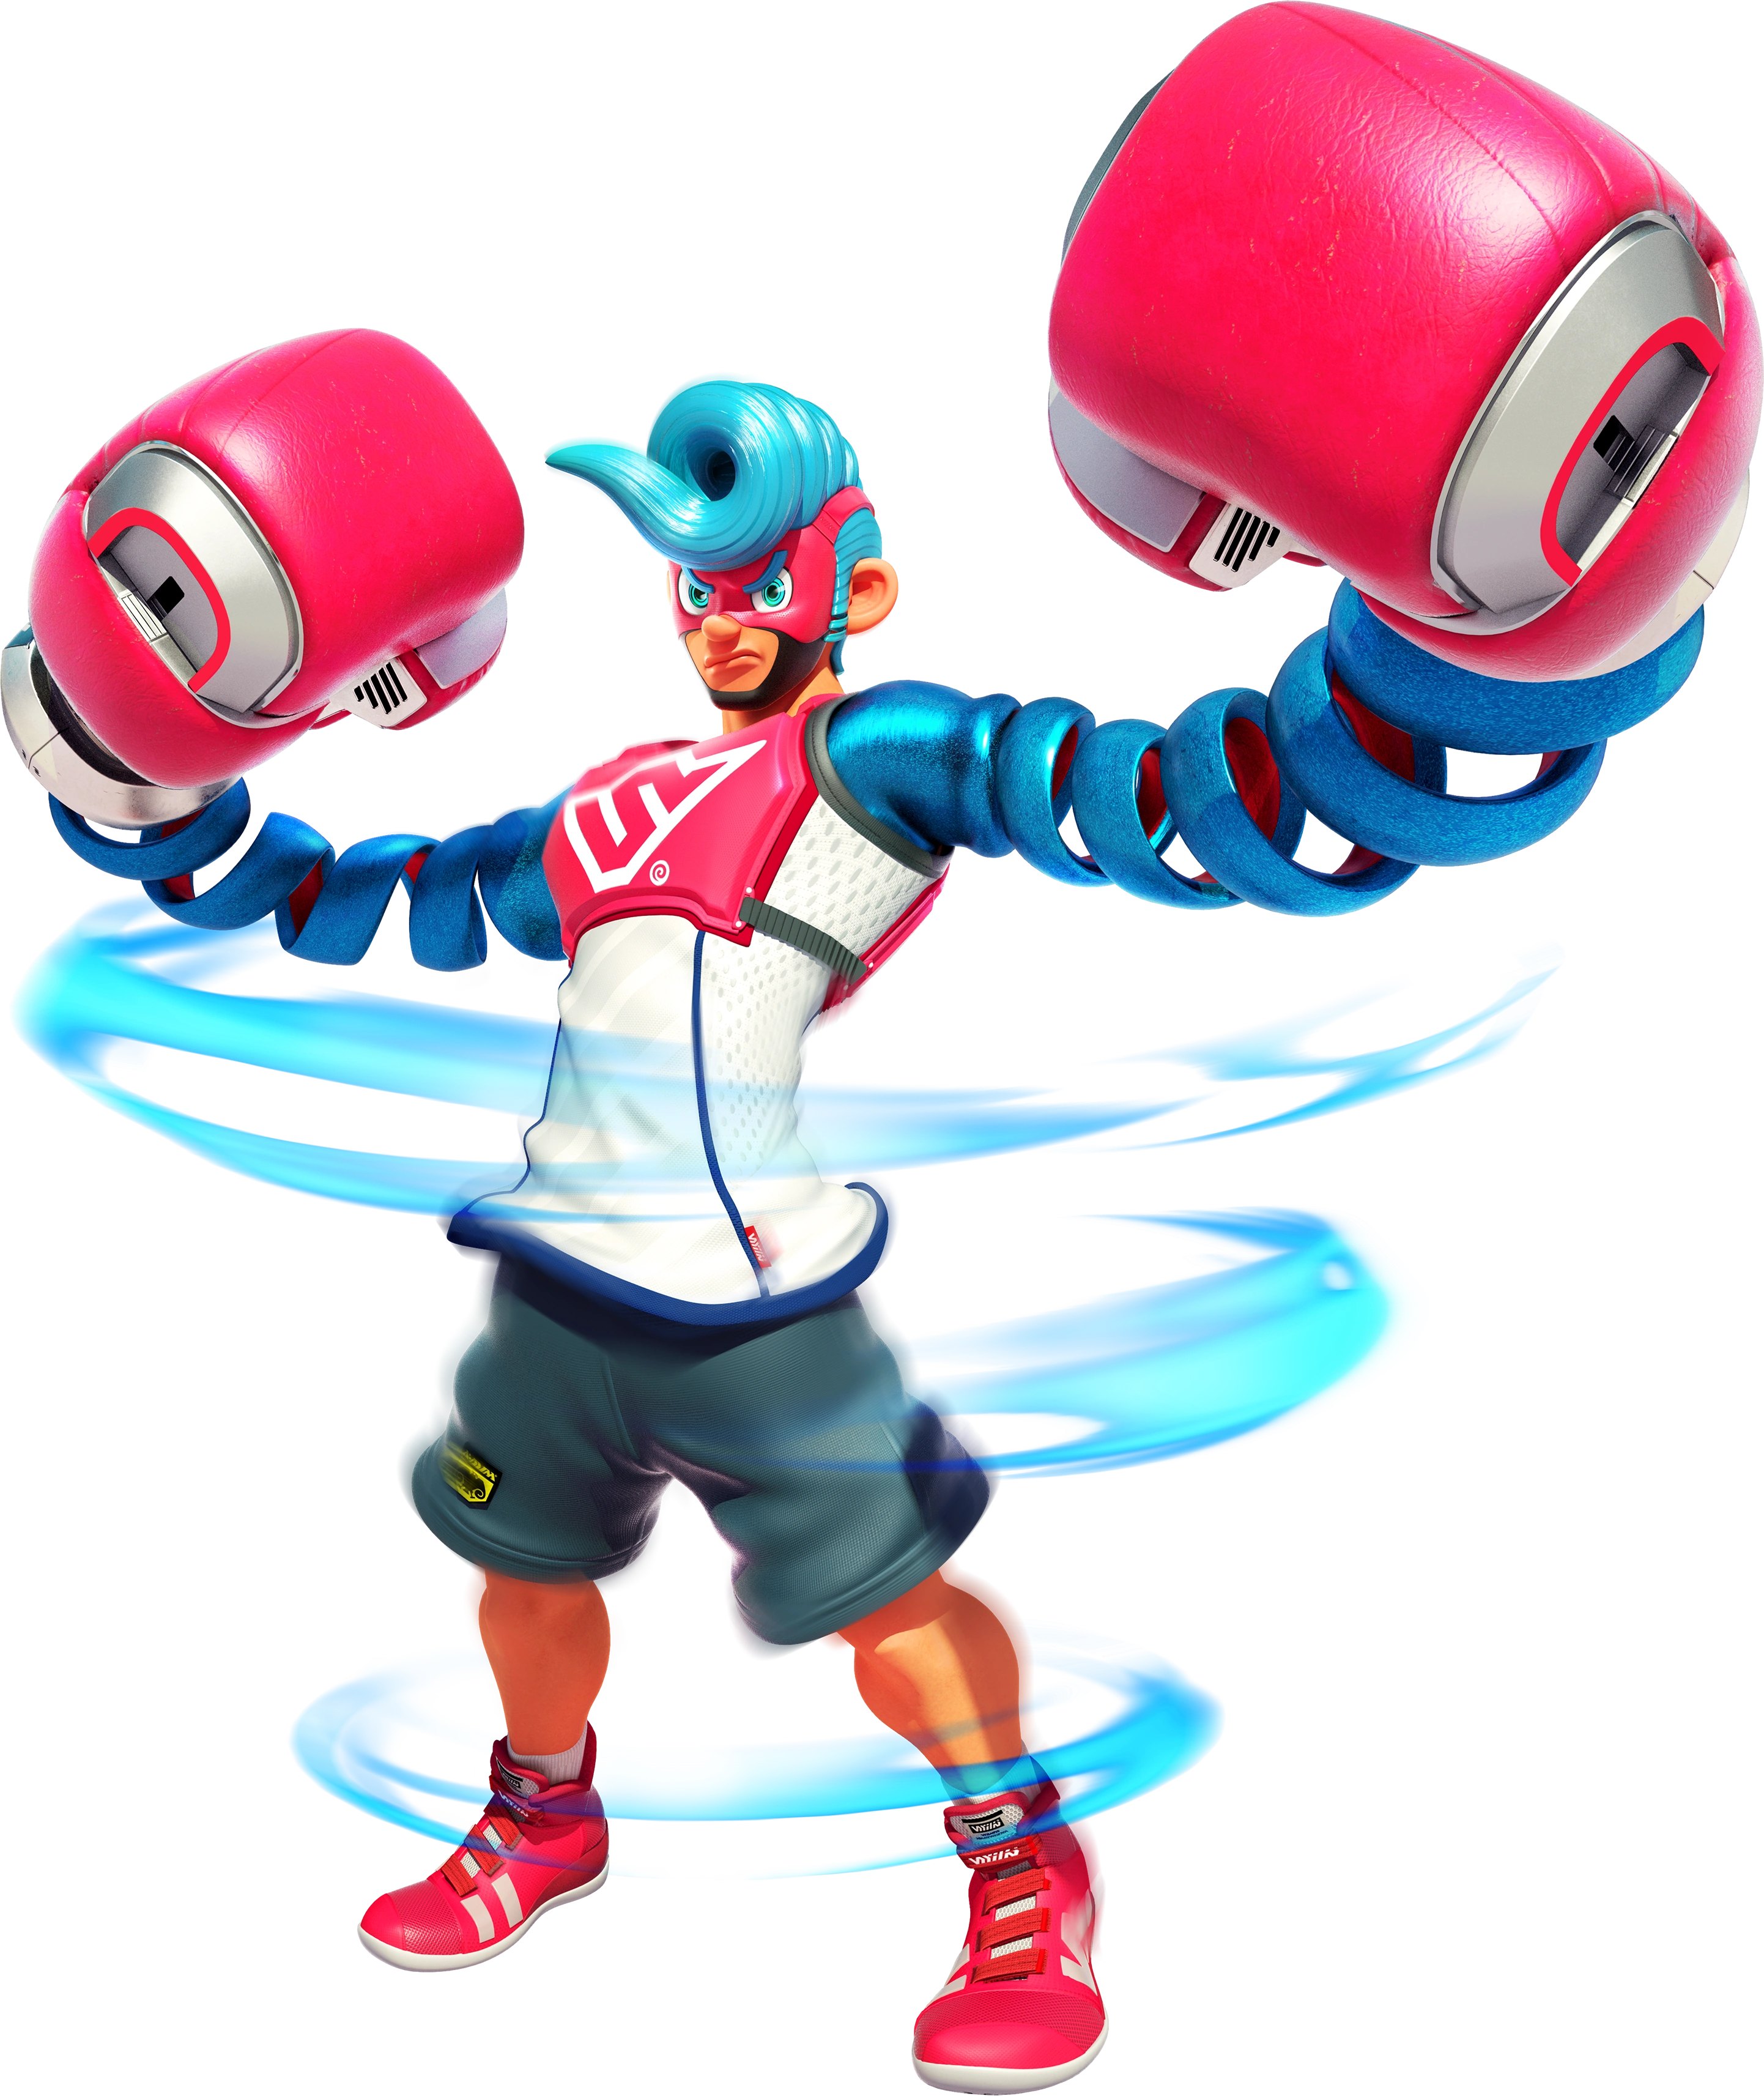
Ribbon Girl Bears ARMS! (ARMS) |
|
GIMMICK: ARMS Swap Ribbon Girl is a character built around preventing opponents from approaching with her insane range and vertical mobility to prevent them from taking advantage of her weak ground movement and lack of up-close defensive options. The bread-and-butter keystones of Ribbon Girl’s playstyle are her ability to switch her ARMS to fulfill different functions (with three different options with extremely different uses) as well as her unique four jumps. Ribbon Girl functions best when she has ground over her opponents, as she has rather weak horizontal movement and, as mentioned, a complete lack of up-close options other than her jab, which is her main weakness. |
|
|
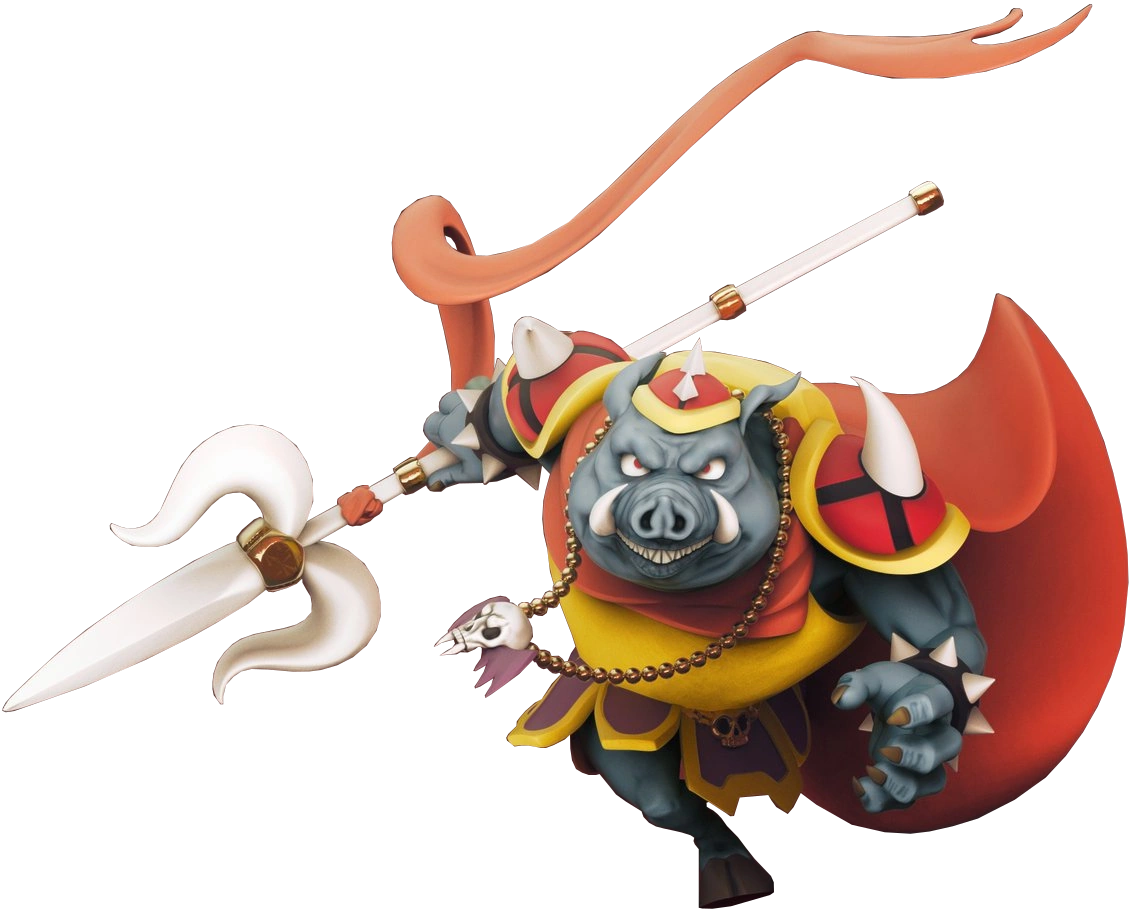
Return of Ganon! (The Legend of Zelda) |
|
Based heavily on his appearance from A Link to the Past, Ganon is a large, heavy character who utilizes a weapon with a lot of range in his Trident. While a huge, slow target, Ganon both has brute strength and a lot of extremely powerful magic to keep opponents at bay. While being easy to juggle, Ganon is also absurdly difficult to kill, having one of the highest weight stats in the entire series, along with having insane range due to the length of his Trident. Ganon is also surprisingly mobile due to his ability to teleport through the use of several of his moves, but his run and walk speeds remain absurdly slow (amongst the slowest in the series). Overall, Ganon is a character who can turn the tide of a battle the moment he has an open window to attack, but has to work very hard in order to obtain that window. |
|
|
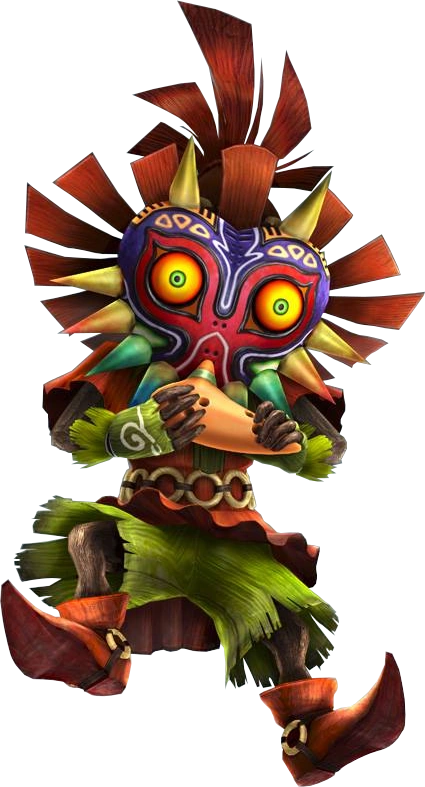
Skull Kid Clocks In! (The Legend of Zelda) |
|
Skull Kid, despite being named as such, is really not the fighter in control here. Rather, it is Majora’s Mask who is the main one in control, and this is shown through Skull Kid’s attacks. Skull Kid wields his signature ocarina, which he uses in several of his attacks, while also wielding Majora’s disturbing magical abilities, and being followed around by his two fairy friends, Tatl and Tael. Skull Kid is a semi-heavy fighter who is tricky and fast, utilizing magic that, while not having a lot of kill potential, is great at keeping Skull Kid’s bases covered and his defenses up. |
|
|
Tingle Bribes Into Battle! (The Legend of Zelda) |
(stock icon coming soon) |
GIMMICK: Rupees Tingle is a fast lightweight character who specializes in using his bizarre tools to barrage opponents while remaining out of harm’s way through the use of his hiring Bodyguards. How does he hire these Bodyguards? Tingle has the unique gimmick of having the Rupees as a system of currency for his attacks, starting with five and gaining Rupees every time he lands a hit himself, but losing them whenever he gets hit or hires a bodyguard. If Tingle runs out of Rupees, certain attacks become weaker and some even become borderline useless without Rupees. To prevent Tingle from being hit, he can hire one of his Bodyguards to take hits for him, but they cost a lot of Rupees and won’t be able to get any back for Tingle, making them a temporary solution. Despite Tingle’s weak defenses, he is a surprisingly agile and powerful fighter that can hit rather hard if opponents are prepared for him, and is fast enough to get out of harm’s way before they can knock the Rupees out of him. |
|
|
Louie Bugs the Opposition! (Pikmin) |
|
Louie, unlike his fellow captain, Olimar, does not use Pikmin in his moveset at all. Rather, Louie’s abilities come from riding atop the Titan Dweevil, a creature that served as the final boss of Pikmin 2 that Louie may have been control of the entire time, as he is here. Under Louie’s command, the Titan Dweevil is a rather wide fighter with bizarre hurtboxes that can seem rather slow, awkward, and unwieldy but makes up for it through the sheer power and range of its attacks, of which the main ones it utilizes are from its boss fight. The Titan Dweevil is also one of the series’ heaviest fighters, drastically increasing its survivability, and its high-traveling and powerful recovery undermines one of the main pitfalls of other heavyweight fighters. Louie is a character with very prevalent and affecting weaknesses, but his strengths are also just as extreme to balance it out. |
|
|
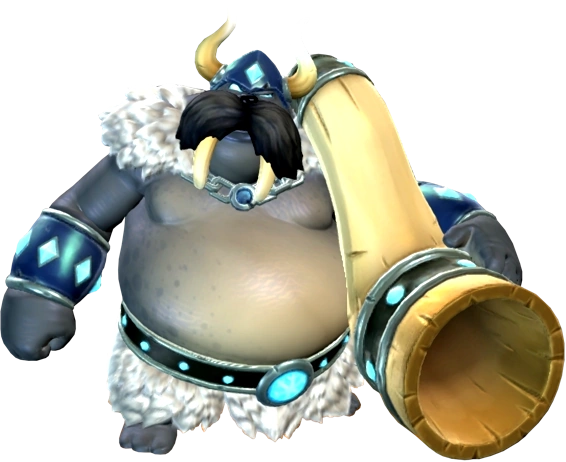
Kraid Makes His Big Debut! (Metroid) |
(stock icon coming soon) |
GIMMICK: Mini-Kraids Kraid is the most massive character in the game, standing at a full head taller than other tall characters like Ridley, and being far heavier than characters like Bowser and Donkey Kong. He has the power to match it too, and hits incredibly hard…if he can actually manage to hit that is. Kraid’s large size and power make him extremely slow and laggy, having a ton of lag on a lot of his attacks, making it very difficult for him to get a hit off in any circumstances, in addition to having his eyes and mouth be a massive weak spot that can stun him for far longer than being hit anywhere else. Kraid also has utterly atrocious aerial mobility, barely being able to lift himself off the ground before being dragged back to Earth by his high fall speed. How does Kraid manage to remain viable? By summoning weaker but far faster Mini-Kraid through his Down Special, who echo Kraid’s commands for neutral attacks in a much faster way, but are not as durable as Kraid himself with having just as atrocious airgame, meaning that Kraid will likely have to summon multiple Mini-Kraids over the course of a battle. Kraid’s status as a commander of his Mini-Kraids means that he can often sit back, providing support to his Mini-Kraids from afar with his surprisingly powerful and versatile projectiles. However, if an opponent manages to break through Kraid’s defenses and get up close, he is, for all intents and purposes, combo food and will have a very difficult time fight back unless he can somehow find a window to use one of his zoning tools. Kraid is a character with very glaring weaknesses, but his Mini-Kraids make him a force to be reckoned with. |
|
|
Porky Pigs Out! (EarthBound/Mother) |
|
Porky Minch attacks using a backpack containing the spider legs of his mech from EarthBound, as they make him far more powerful than he would be otherwise. While Porky is a rather slow walker due to hobbling along on his normal legs, when he runs he gains his spider legs and becomes much more mobile. When Porky is on the offensive, he is utterly relentless, but his smug demeanor can cause him to leave weaknesses in his attacks, such as large hurtboxes, meaning that one slip up can lead to Porky fleeing with his tail between his legs like the dirty coward he is. Porky’s smug, bratty attitude makes an appearance in all of his attacks, and he will often blow raspberries and act like a child whose won a game whenever he lands an attack. |
|
|
Samurai Goroh Hunts His Bounty! (F-Zero) |
(stock icon coming soon) |
Samurai Goroh is similar to a character like Wario in that he has a very large frame but is surprisingly mobile, and he has a decent amount of power to back that mobility up. Samurai Goroh wields a katana that delivers quick but powerful blows with high knockback, and as a result is best used with incredible aggression. His high dash speed, air speed, and fall speed, makes him able to zip around the stage just as much as he pleases, barreling into opponents with extremely powerful attacks to send them flying and then being able to wind up for another hit when they try to recover. However, Samurai Goroh is not without his weaknesses: his high weight and fall speed means that he is combo food if characters manage to break through his defenses, which with him can be somewhat easy due to the high lag on some of his better moves making him extremely punishable. Samurai Goroh also finds vertical recovery somewhat difficult, but his high mobility usually manages to serve him well without creating a need for it. |
|
|
Isaac Joins the Party! (Golden Sun) |
|
Isaac, despite being a swordsman, does not use his sword as the main part of his moveset. Rather, it is his Venus Psynergy, his ability to control the earth, that is the main bread-and-butter of his moveset. Isaac is best in situations when he can react to his opponents’ mistakes, as although he has attacks with a lot of range, they have a high amount of starting and ending lag on average, and as a result he has very few options out of shield and a limited approach game. However, he makes up for this for being able to apply an enormous amount of pressure the moment he has an opening, and a lot of edge-guarding options that allow him to keep himself in control of a situation. Isaac has decent mobility and weight, and can keep opponents under pressure as long as he still has his tools, but his incredibly circumstantial recovery is easy to exploit. |
|
|
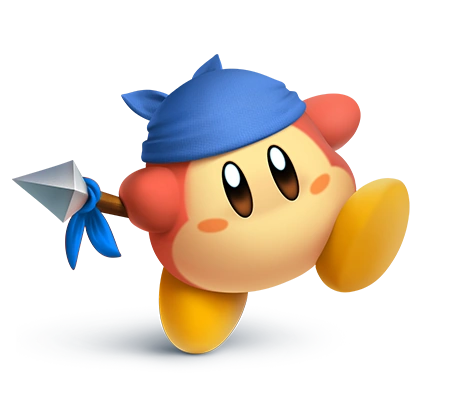
Bandana Dee Gets to the Point! (Kirby) |
|
Bandana Dee is the first character in Smash Bros. to wield a spear, bringing a whole new style of play with him. As his spear is only really a weapon on the tip, this creates a new niche for Bandana Dee in keeping opponents far away from him so he can hit them with the tip of his spear. If they are hit with any other part of the spear, it will do no damage at all and be useless. However, his spear is immensely powerful if it does hit, making him a very “high-risk, high-reward” character. Bandana Dee is also surprisingly sturdy, a reference to his appearance in Kirby Super Star Ultra as The Arena’s Waddle Dee. Bandana Dee has a number of tools besides his spear, but his spear is all Bandana Dee needs to get the job done. |
|
|
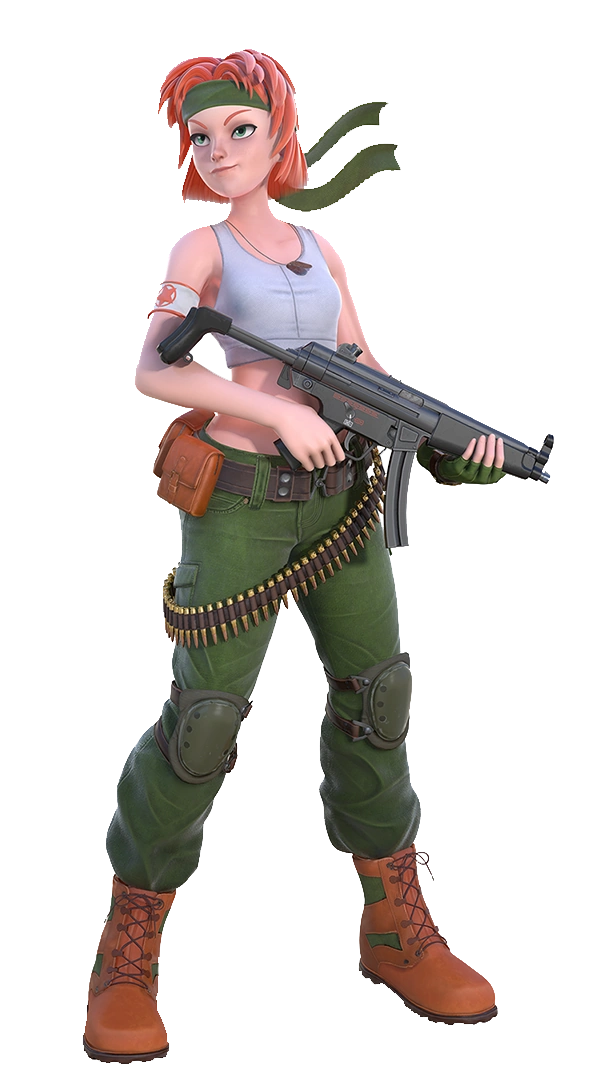
Sami Opens Fire! (Advance Wars) |
(stock icon coming soon) |
GIMMICK: Ammunition Sami is a medium-slow, medium-heavyweight character who wields a machine gun in battle, along with a wide variety of other tools that allow her to keep opponents at bay while she barrages them with attacks from afar. Sami’s machine gun provides her with the unique experience of having to reload her gun with Ammunition, which she does by pressing the button whilst in shield, similar to the Inklings. Sami’s bullets don’t do a ton of damage by themselves, but Sami can rack up damage very quickly from how fast she shoots with her neutral attack, as well as applying excellent shield pressure. However, Sami’s mediocre mobility has its drawbacks, as it makes it very difficult for her to approach opponents, especially due to the high startup on a lot of her more powerful attacks. However, a lot of Sami’s defensive tools can be whipped out quickly, and her ability to cover the stage with Infantry and Artillery can cause an opponent to go right where Sami wants them so she can go in for the KO. |
|
|
Chibi-Robo Plugs In! (Chibi-Robo!) |
|
Chibi-Robo is one of the smallest characters in the entire series, but packs a surprising amount of power to match it. Chibi-Robo’s tiny hurtbox is balanced out by his extremely light weight and limited mobility, making him easy to pursue but not super easy to hit. Chibi-Robo has a surprising amount of range for a character so small due to use of a plug as a weapon, as well as having a few projectiles through his Side Special to keep opponents on edge without having to utilize his mediocre mobility. Chibi-Robo also has a tether grab and recovery in the form of his plug, which allows him to utilize his very powerful throw combos without having to directly rush opponents. |
|
|
Fossil Fighter Asserts His Dominance! (Fossil Fighter) |
(stock icon coming soon) |
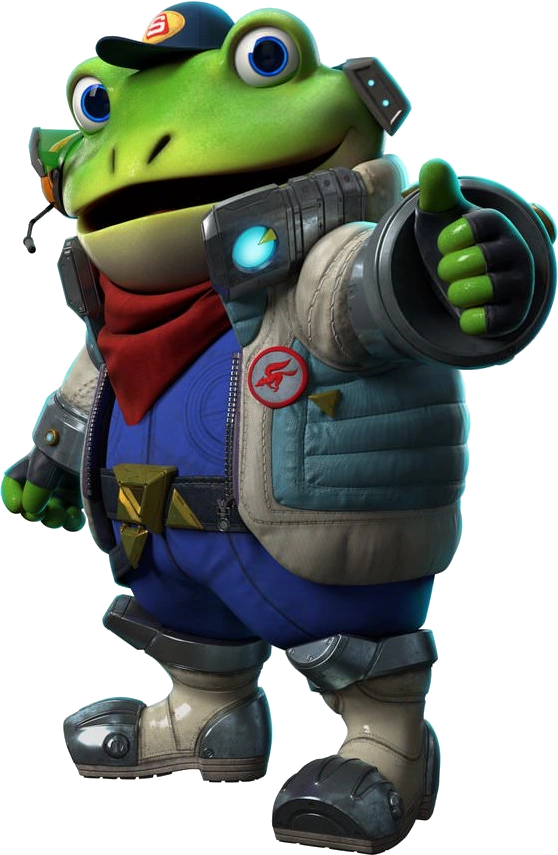
(coming soon) | (coming soon) |
|
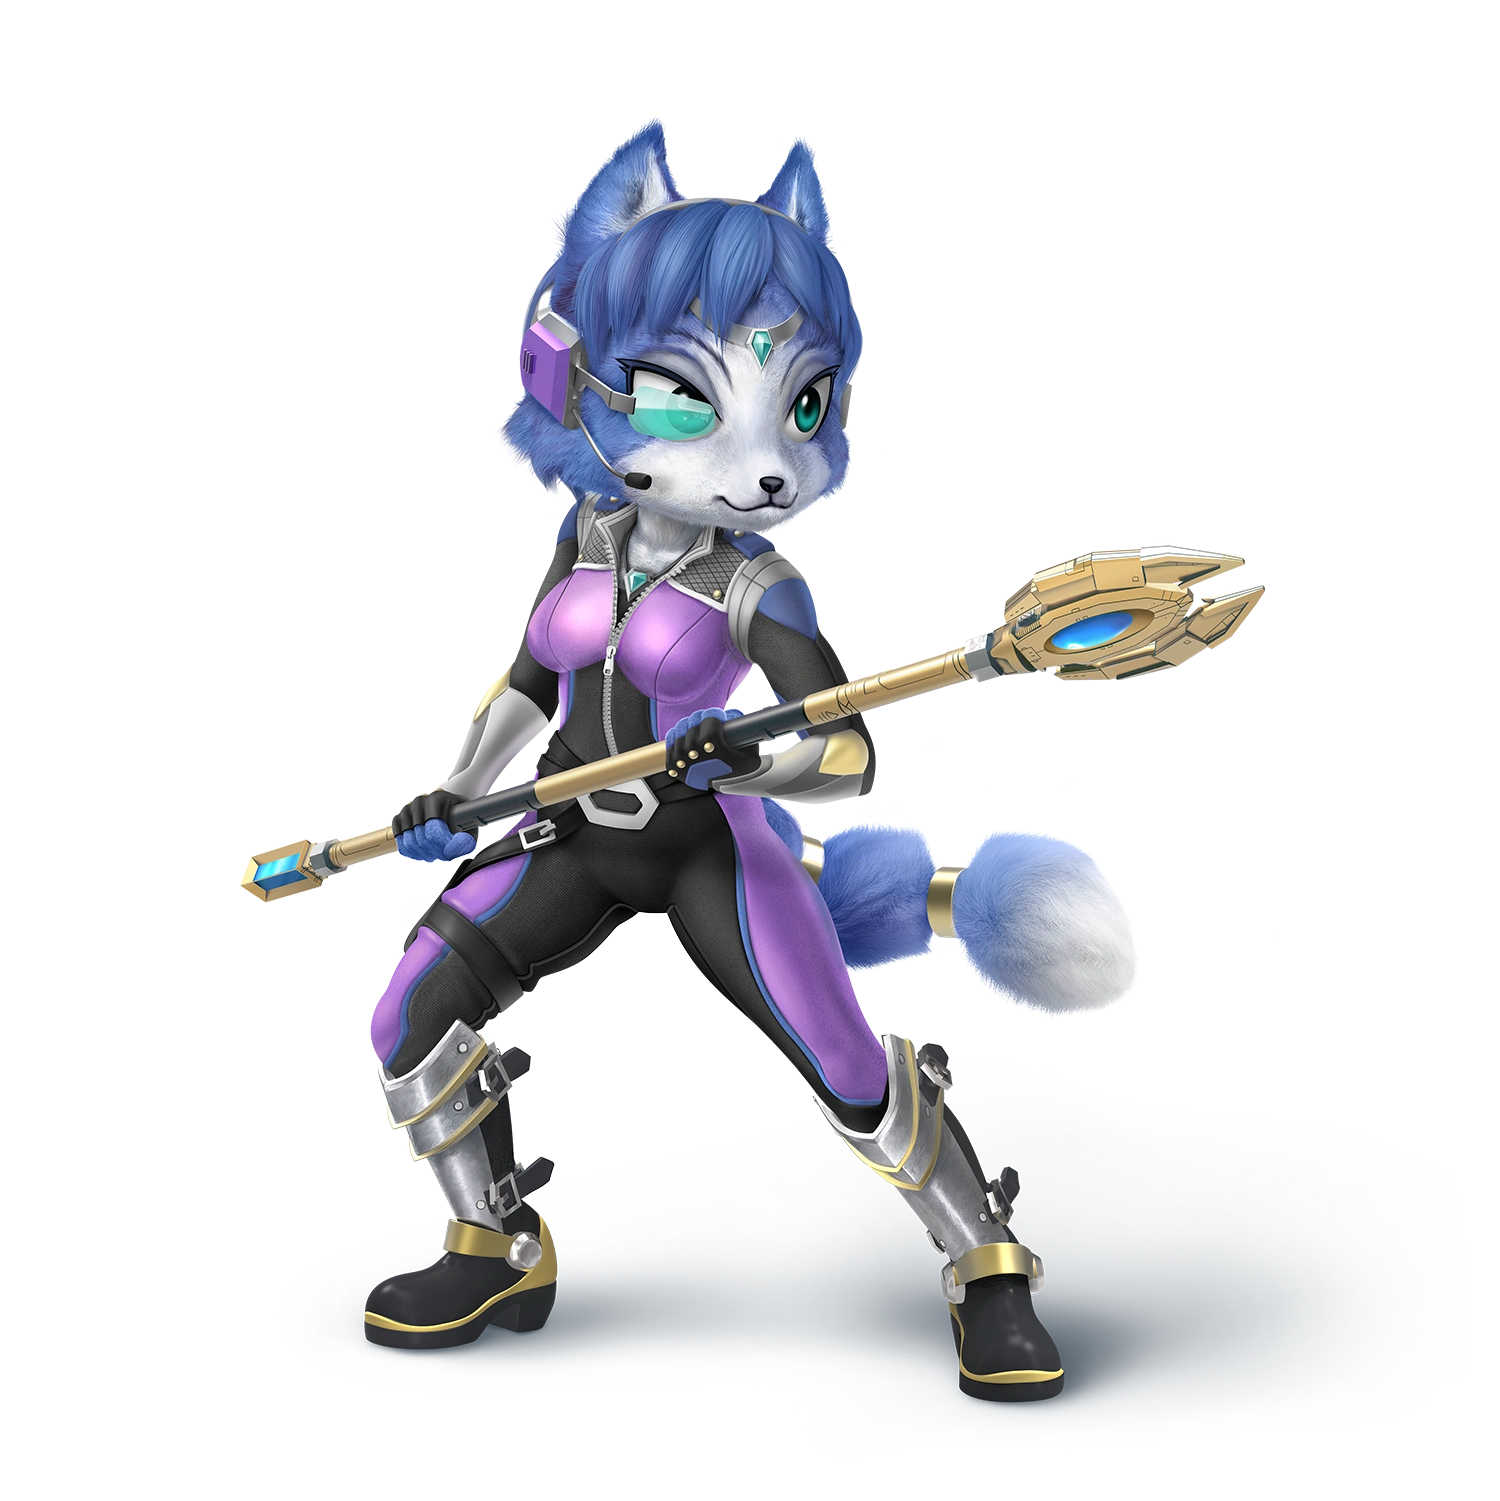
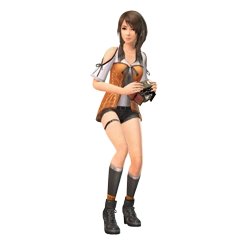
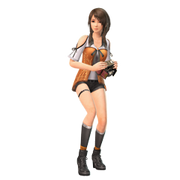
Krystal Answers the Call! (Star Fox) |
|
Krystal is a unique character in the context of Smash Bros. in that she wields a staff, and mainly uses it and its magical abilities in her attacks. Krystal has similar attributes to the other Star Fox characters, being extremely fast and light and hitting with speedy moves that can lead into hard-hitting combos. However, Krystal’s light weight can also be a curse, as her weak defensive options combined with her light weight and fast fall speed can make her easy to finish off at earlier percentages. Krystal’s more powerful attacks also have a bit of lag, meaning that while she can rack up damage pretty effectively, she will need a window in order to actually finish opponents off due to her more powerful attacks leaving her extremely vulnerable. Krystal is also significantly less mobile in the air than her Star Fox contemporaries, contributing to her vulnerability alongside her light frame and laggy finishers. |
|
|
Mach Rider Rides Into Battle! (Mach Rider) |
|
GIMMICK: Gear Shift Mach Rider is a unique fighter in that she is the first fully vehicle-based fighter, and rides around on her bike. Mach Rider’s main means of setting herself apart from the rest is her bike’s gear-shifting, allowing her to increase her power and speed in exchange for control. Mach Rider also has a unique momentum mechanic; she will build up momentum the longer she is driving around, enabling her to slam into opponents with more force after she’s kept moving for longer. However, there is a drawback to this mechanic; increased momentum means it is more difficult for Mach Rider to stop after having been kept moving for longer. Mach Rider also has poor vertical movement, but her horizontal recovery balances this out and allows her to increase her survivability. Mach Rider is also somewhat incapable of fast combos due to the momentum-based nature of her attacks, but her attacks have enough raw power to make it for it. |
|
|
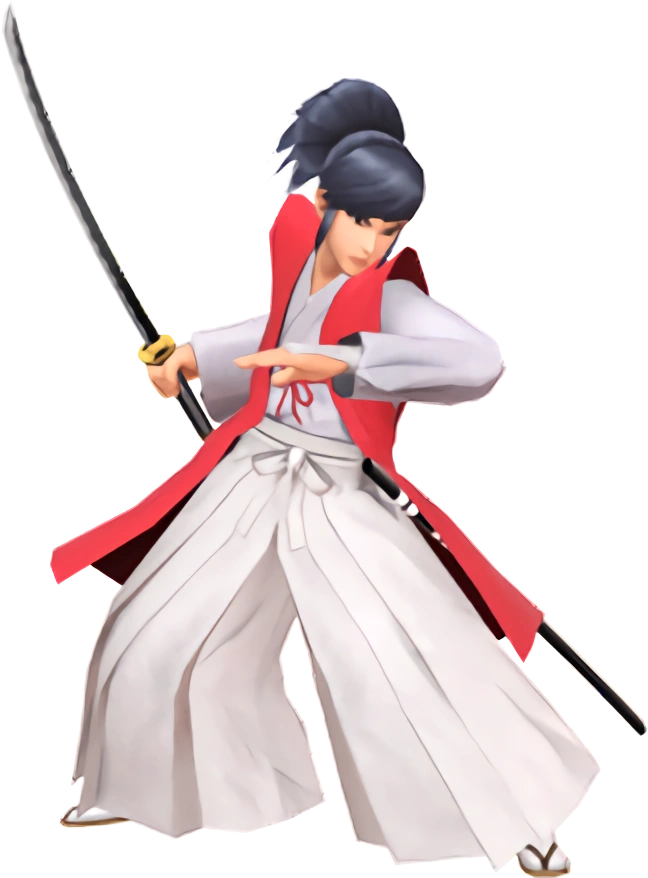
Takamaru Strikes! (The Mysterious Murasame Castle) |
|
Takamaru is a very fast character with a lot of weapons and projectiles to keep opponents from getting a window in on him. Takamaru’s main weapon is his Katana, which he uses in quick strikes to overwhelm opponents, especially in the air. Takamaru’s high speed and combo potential makes him a very viable offensive character, but his light weight and difficulty in KOing means that Takamaru must be careful in order to survive. Takamaru also has a very solid airgame with high jumps as well as being generally mobile, and is overall an incredibly solid character with few weaknesses minus, once again, his lack of launching potential. |
|
|
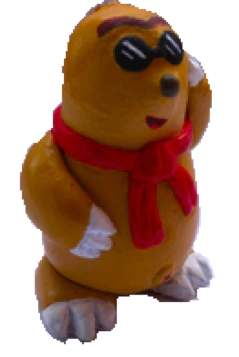
Muddy Mole Gets Dirty! (Mole Mania) |
(stock icon coming soon) |
GIMMICK: Holes and Burrowing Muddy Mole is a small character with somewhat subpar ground speed and aerials, but makes up for it with two main things: one, his ability to cover the stage with traps that make opponents sitting ducks for Muddy to come and attack, and two, his ability to create what is essentially a teleporter to transport himself from one part of the stage to the other in no time at all through the use of his Burrowing ability. Muddy’s ability to control the stage is absolutely off-the-charts, and more than often makes up for his other, less desirable attributes. Muddy can work off of setups incredibly well, and he can set up a ton of them, but his lack of any real ability to be a threat without his traps and changing location due to his more powerful and useful attacks taking longer to charge means that Muddy Mole must always be running a cautious defense in order to to have an effective offense. |
|
|
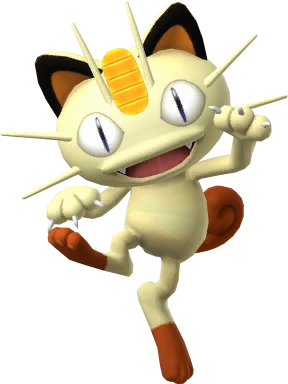
Meowth, That's Right! (Pokémon) |
(stock icon coming soon) |
GIMMICK: Coin Charm Meowth is a small, fast character with a lot of tricky moves based on his appearance in the Pokémon anime, being one of the only Pokémon (along with Mewtwo and Lucario) to speak full English while he attacks. Meowth’s main gimmick is his Coin Charm, which boosts his attacks while he has it, but it can be knocked off by opponents’ particularly powerful attacks and severely gimp his knockback potential, causing him to immediately scramble to get it back in order to remain viable. Luckily, Meowth’s high speed (on the ground and in the air) and small size makes it usually easy to get his Coin Charm back, but it won’t spawn again after flying off the stage until Meowth has lost a stock, essentially gimping Meowth if he loses it to lose a stock. Meowth is also somewhat lightweight, and becomes even more so without his Coin Charm, adding another incentive to keep an eye on it. |
|
|
Gardevoir Takes Control! (Pokémon) |
|
GIMMICK: Trace Gardevoir is a character built around her unique Trace ability, which allows her to, when using her neutral special and hitting opponents, to take on their attributes to increase her survivability and decrease their’s. Gardevoir is slow and light, but makes up for it with immensely powerful attacks, making her an extremely formidable force when her weight is altered. However, Gardevoir becomes easier to combo when she is heavy, as well as being significantly slowed down by her increased weight; it creates a tradeoff between survivability and mobility, even if Gardevoir is going to be somewhat slower than average no matter what. Gardevoir has solid aerials and approach options, but her light weight and low mobility makes her incapable of really barraging opponents. |
|
|
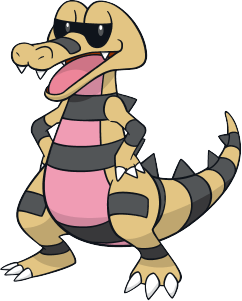
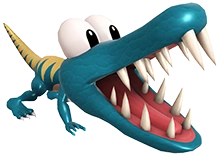
Krokorok Rocks the Opposition! (Pokémon) |
(stock icon coming soon) |
(coming soon) | (coming soon) |
|
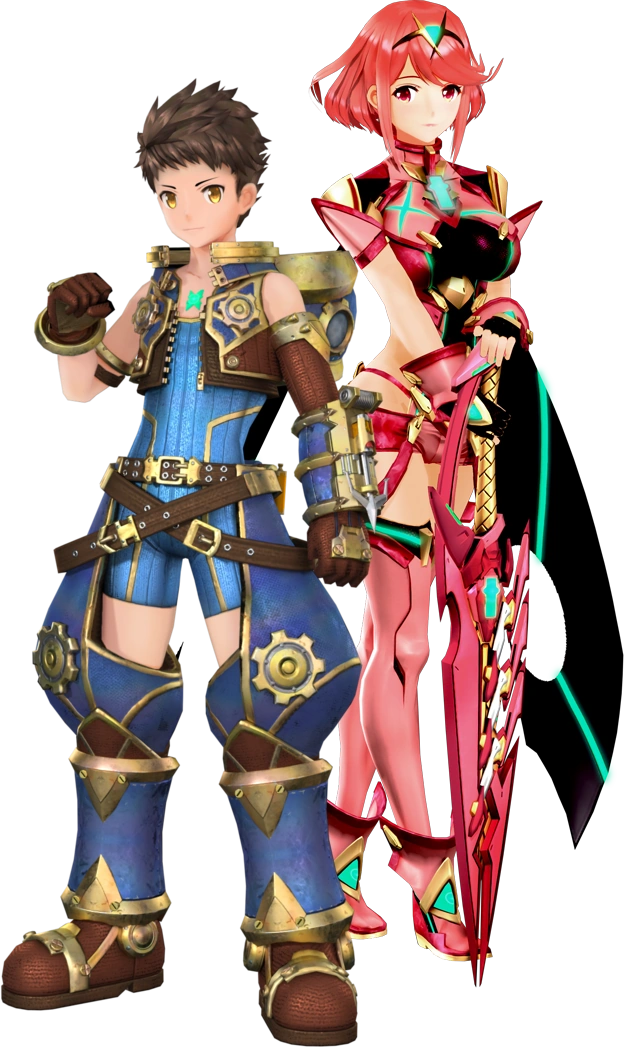
(Xenoblade) |
|
GIMMICK: Affinity Rex and Pyra are a different kind of duo character compared to previous duos like the Ice Climbers and the Rosalina-duo combo in that separating them actually makes them worse, as opposed to improving their range as it does with the former two. The player controls Rex while Pyra follows along behind with a glowing Affinity line between them, which is a visual aid for Pyra’s presence boosting the power of Rex’s attacks. There are two factors in increasing the strength of Rex’s attacks through the Affinity mechanic: first, the distance between Rex and Pyra (the closer together they are, the more Rex’s attacks will be boosted), and second, the time Pyra has been on the battlefield (the longer Pyra has been on the field, the more the capacity to boost Rex’s attacks increases). Rex must balance these two factors throughout the battle to try and protect Pyra in order to max out the boost his attacks get in order to send opponents flying. On his own, Rex is a fairly bulky character with average mobility and power, his only real strength being his ability to survive. Pyra is slower than Rex and will echo his neutral and aerial attacks while following along behind him. Pyra’s AI works a bit differently from other duo characters in that she will only go off an edge if knocked off by an opponent rather than her own accord. However, boosted by Pyra’s Affinity, Rex becomes an extremely powerful character and a force to be reckoned with if opponents don’t know what they’re in for. |
|
|
Dillon Rolls In! (Dillon's Rolling Western) |
|
Dillon is a fast character with a lot of powerful moves at his disposal, and benefits most from a very aggressive style of play where he can overwhelm opponents with combos and powerful attacks to compensate for his light weight and somewhat circumstantial recovery. While Dillon’s style of play is not enormously complicated, that does not mean he does not have a few more complex tools to keep opponents on their toes, as he has a wide variety of projectiles and odder moves in his arsenal that are great tools for not only launching opponents, but also for setting up combos. Aesthetically, while Dillon matches his appearance from the first two games in his series, he does have four alternate palletes based on his appearance in Dillon’s Dead-Heat Breakers. |
|
|
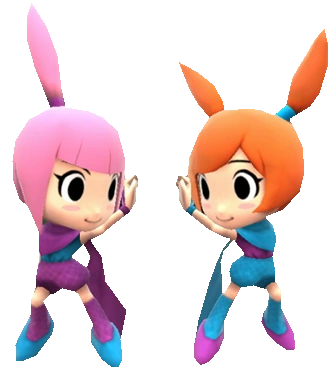
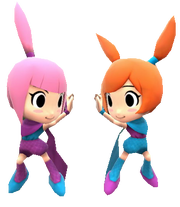
Chorus Kids Get Into the Groove! (Rhythm Heaven) |
|
GIMMICK: Rhythm The Chorus Kids have several unique features that set them apart from other characters. For starters, they are a trio character, making up for their individually weak moves by attacking one after the other, as well as being able to trap opponents in their attacks. Another thing that makes the Chorus Kids unique is their Rhythm mechanic, where, if they attack with a consistent rhythm, their attacks will be twice as powerful on every hit after the second. Although this is incredibly situational, if Chorus Kids happen to attack to the beat of the stage’s music, their attacks will become three times as powerful. Unlike the Ice Climbers, another character consisting of multiple entities, the best way to use the Chorus Kids is to keep them all together, as they have far higher potential in terms of both kills and combos when they are working together due to their weak individual power. The Chorus Kids are fast-moving, but their light weight and slow fall speed makes it difficult for them to survive for long, so a “safety in numbers” game as well as getting them in, delivering a powerful attack, and fleeing before opponents can react is the way to go with these characters. |
|
|
Tails Takes Flight! (Sonic the Hedgehog) |
|
GIMMICK: Flight Tails is a semi-clone of Sonic with several added features and differing attributes and moves to differentiate him from Sonic. For starters, while he is fast, Tails is not as fast as Sonic is, but has a number of other tools to help him stand out. For starters, Tails’ double jump allows him to fly for short time, giving him some of the best recovery in the game due to his ability to pretty much recover out of any situation. This, combined with Tails’ high-utility aerials and the effectivity of his aerial mobility, makes Tails one of the most terrifying air fighters in the game. Tails has the added benefit over Sonic of having a projectile or two in his arsenal, making him far more effective in matchups where Sonic would struggle. Tails is not, however, without his weaknesses: he is lighter than Sonic, and as a result has more difficulty withstanding powerful attacks than he does, despite his incredible recovery. Tails can also only fly for a short amount of time before getting fatigued and going into freefall, making him very vulnerable if his flight is overused. |
|
|
(Banjo-Kazooie) |
|
GIMMICK: Stance Change The Bear and Bird duo join the battle as a medium-heavy fighter with a lot of tricks up their sleeve, as well as an ability to switch their mobility with their down special, which switches which of the two is dominant. When Banjo is in control, the duo’s normal attacks are more powerful at the expense of slower, more lumbering movement. When Kazooie is in control, the duo becomes significantly faster and nimbler, but at the expense of losing a lot of the knockback potential that Banjo has. A true master of the two will switch between them constantly to keep opponents on edge and prevent them from truly knowing what the two are going to do. Between the two of them, they have a variety of projectiles and abnormal attacks that help keep opponents at bay and at attention, as well as having great aerial tools in the form of Kazooie’s extra jump. |
|
|
Rayman Becomes a Legend! (Rayman) |
|
Rayman is a medium-light fighter with somewhat slower movement whose main weapons in battle are his floating hands, and lack of limbs attached to them, as well as his abilities from his appearances in Rayman Origins and Rayman Legends. Rayman’s hands can travel a considerably far range away from Rayman’s body, and this works very well when Rayman is on offense. However, Rayman must keep his attacks constant and bombarding in order to prevent opponents from getting to his unprotected body, which is especially vulnerable if opponents manage to get around his fists. Rayman also his decent ability to get around in the air as well due to his ability to glide using his helicopter hair. |
|
|
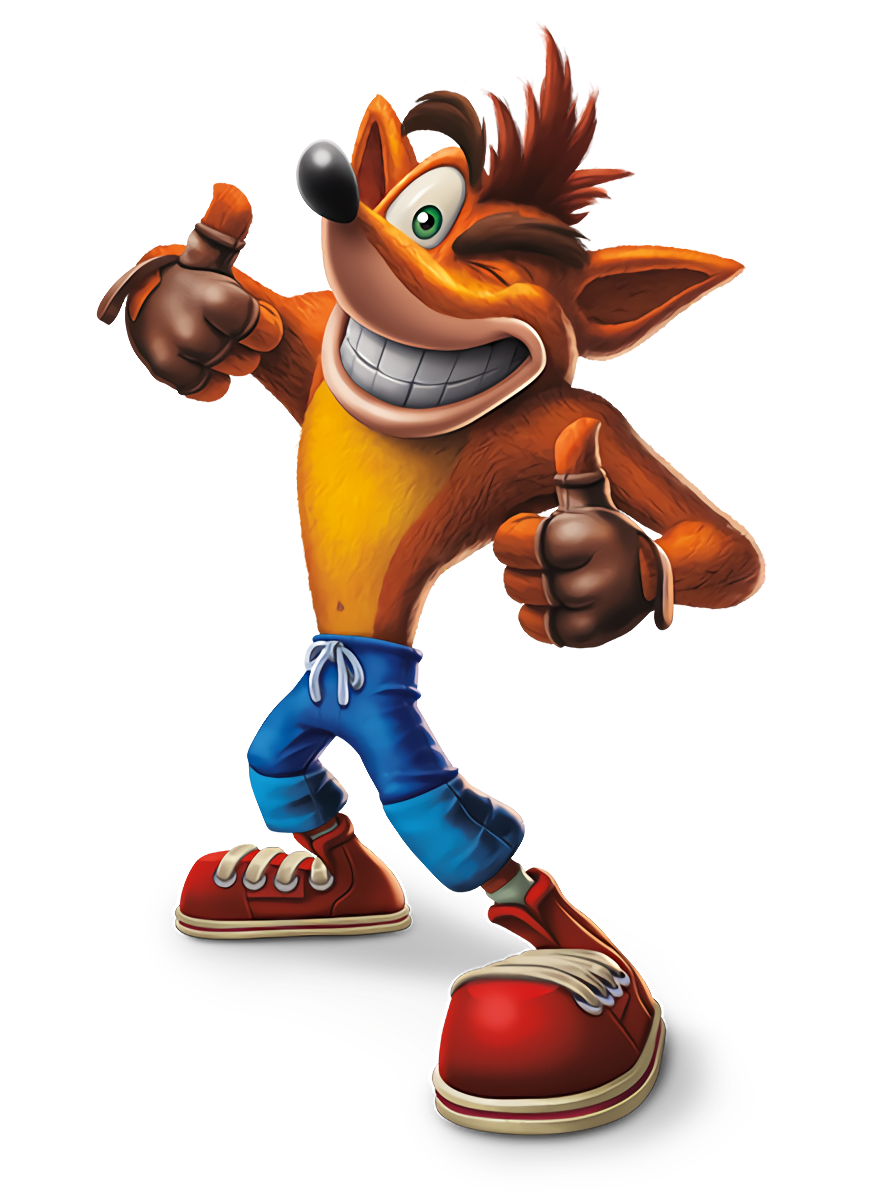
Crash Bandicoot Goes for a Spin! (Crash Bandicoot) |
|
Crash Bandicoot is a decently well-rounded characters with attributes that, while not particularly spectacular on their own, all sit firmly in the territory of “above average”. Crash’s main drawback is his lack of stellar horizontal mobility in the air, but his wide arsenal of tools usually covers this weakness decently well. Crash has a lot of moves that come out very quickly with a lot of launching power, but they often leave Crash very vulnerable if they miss and do not have any super armor whatsoever and as a result are usually cancelled out if an opponent reads Crash well enough to attack back in time. Nonetheless, though he doesn’t have any particular gimmick, Crash is a character who can easily hold his own in any fight. |
|
|
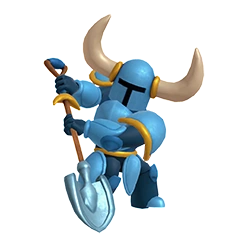
Shovel Knight Digs In! (Shovel Knight) |
|
Shovel Knight is a stocky, slow-moving character with fast fall speed, making him seem like he could very easily just be combo fodder, combined with a somewhat weak recovery. However, Shovel Knight also has surprisingly high jump height, and a variety of unorthodox abilities with a high amount of damage backed up by surprisingly little lag to keep opponents on their toes. Among the rather strange weapons in Shovel Knight’s arsenal are the ability to use opponents as leverage for horizontal recovery (making punishing him offstage extremely risky for opponents) and the ability to temporarily render himself invulnerable in exchange for severely weakened damage output, and this can catch opponents off-guard. When Shovel Knight is aware of all the tools in his arsenal, he becomes an utter nightmare to fight, and opponents must be on guard for his unique tools. |
|
|
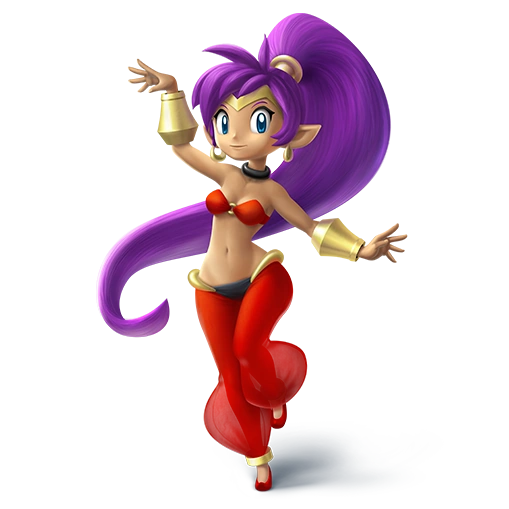
Shantae Shakes It Up! (Shantae) |
|
Shantae is a character with a lot of range in the form of her hair, which she uses in most of her neutrals like a whip, albeit being less powerful than the whip of the Belmonts in exchange for being snappier and less laggy. Aside from her hair, Shantae can come across as slower than a lot of other characters of her type, but this does not mean she does not have a wide variety of other tools at her disposal to put pressure on just as much as anyone else. Her Genie abilities prove themselves throughout a lot of her more powerful attacks to make her hit a lot harder than she would otherwise, especially in her Smash attacks and specials. Shantae also has great aerial momentum, meaning that she can recover easily as well as getting right in her opponents’ space when need be to make up for her mediocre ground mobility. |
|
|
Steve Picks a Fight! (Minecraft) |
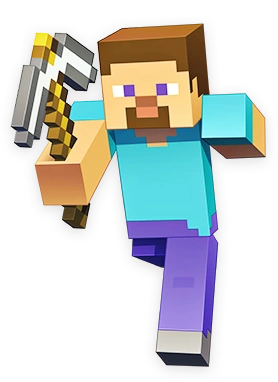 
|
GIMMICK: Placing Blocks In terms of his attributes, Steve is both average and intuitive. Operating in a very similar fashion to the way he does in his home game, Steve does not excel in any particular attribute, but has a wide variety of tools that set him apart from the average fighter, including his wide range of tools including a Diamond Pickaxe (his usually held weapon) and Sword, the ability to create Armor for himself, as well as, the bread and butter of his moveset, the ability to create towers out of Blocks to get in the way of opponents. These Blocks can make the field a living nightmare for the opponent, as they can make mobility difficult and give Steve an incredible amount of control over the stage. However, Steve is not entirely positive attributes; he is far lighter than he looks, and as a result can be easily picked off by opponents if they manage to make their way through Steve’s built-up battlefield, combined with having slow, floaty fall speed that make it very difficult for him to escape combos he finds himself trapped in. Steve has the unique distinction of being the only character with customizable alts, as Minecraft skins can be loaded into the game and onto Steve. |
|
|
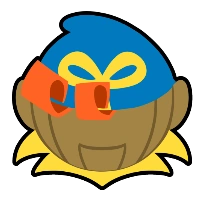
Bomberman Has a Blast! (Bomberman) |
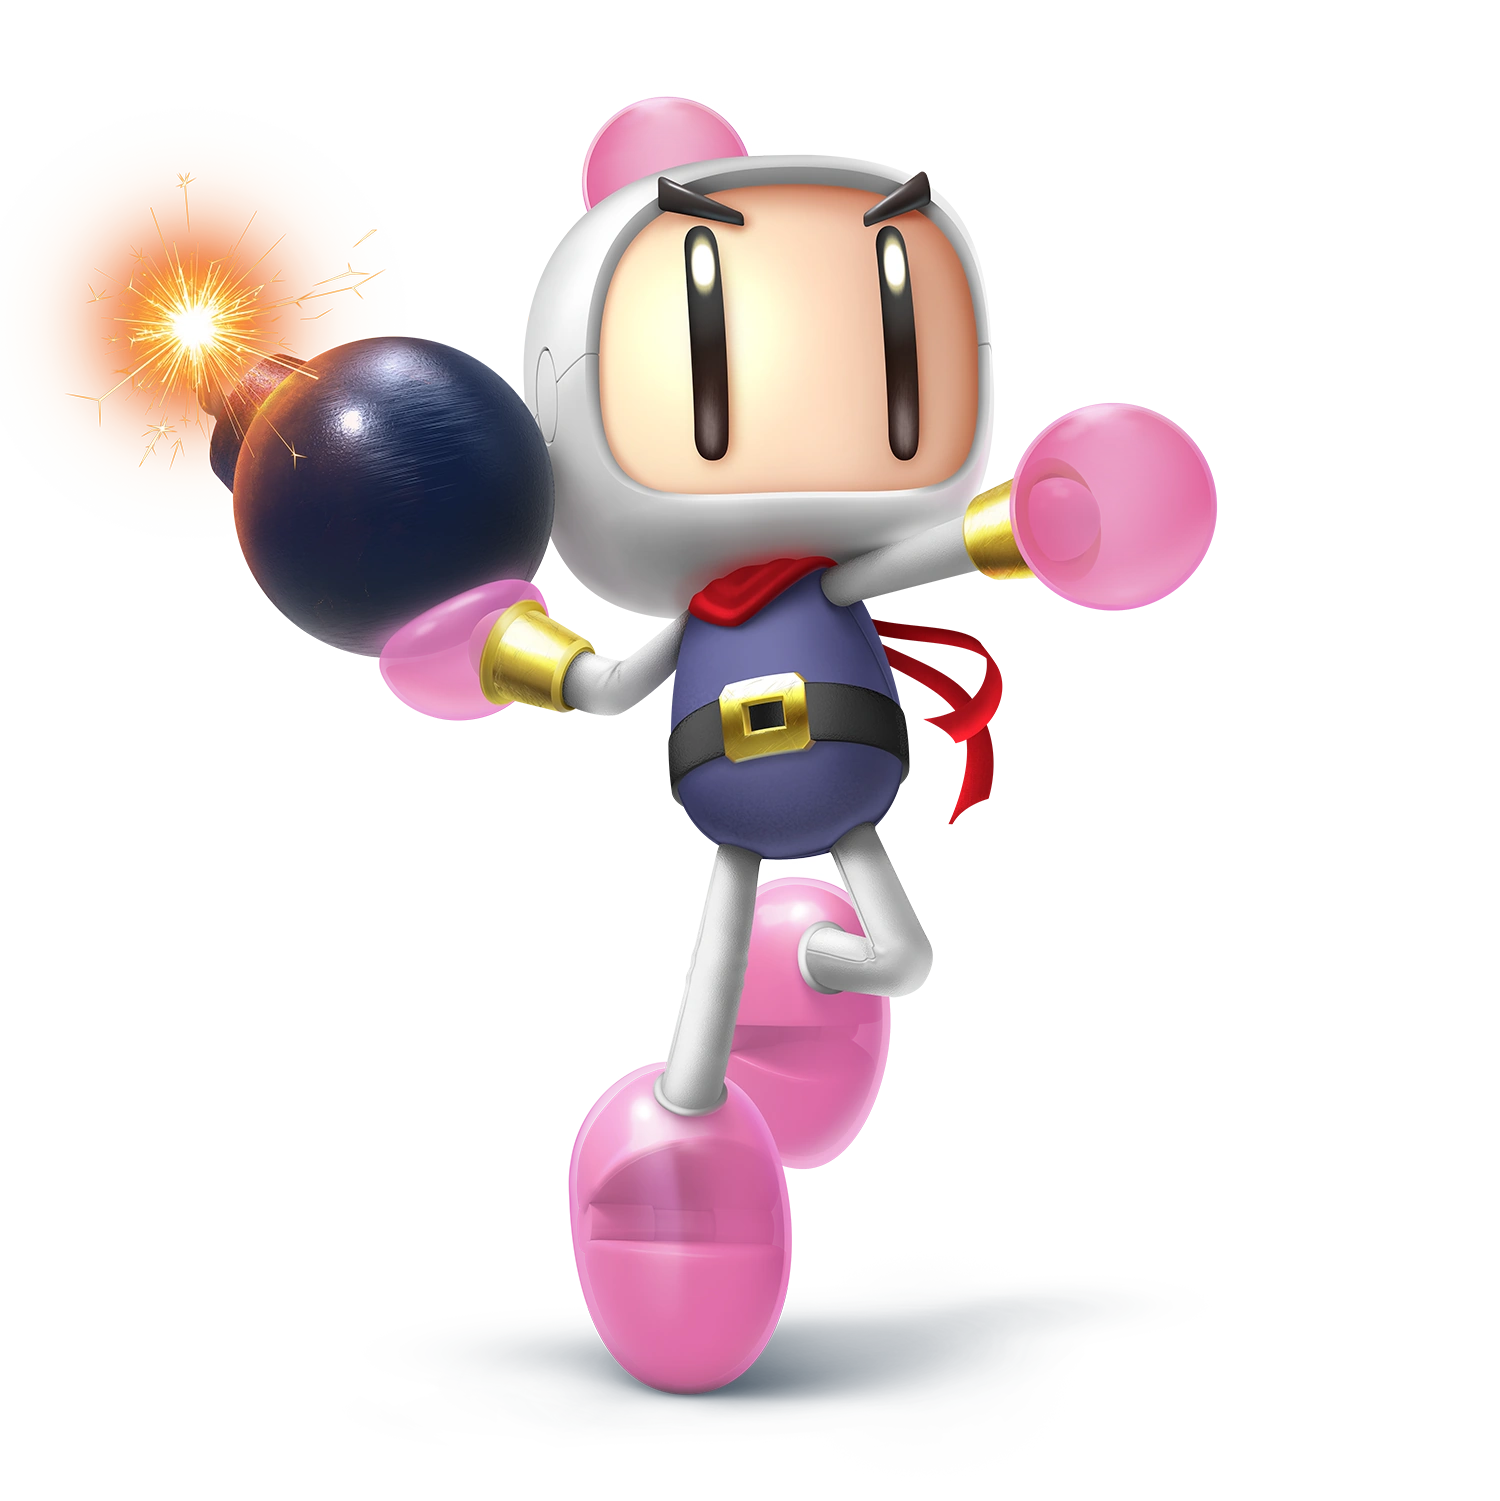 
|
(coming soon) | (coming soon) |


Echo Fighters[]
There are 18 Echo Fighters in Chase's Super Smash Bros., seven of which return from Ultimate. Echoes also have aspects of their movesets and attributes changed that they did not before, making the Echoes seem more different than ever. (This will be redone as a table soon)
Returning Echo Fighters[]
- Peach - Daisy
- Samus - Dark Samus
- Pit - Dark Pit
- Marth - Lucina
- Roy - Chrom
- Ryu - Ken
- Simon Belmont - Richter Belmont
New Echo Fighters[]
For Veterans[]
- Bowser - Dry Bowser (lighter and faster, blue flame effects)
- Donkey Kong - Funky Kong (some attacks have a water effect)
- Inkling - Octoling (heavier and harder hitting on their own, but the damage multiplier on the Ink is reduced)
- Sheik - Impa (uses Chain from Melee instead of the Burst Grenade, slower on the ground but faster in the air)
- Ness - Ninten (Ness' attributes and normal attacks with Lucas' aerials and Mewtwo's Down Special)
- Captain Falcon - Black Shadow (essentially Melee Ganondorf with renamed attacks and higher speed)
- Meta Knight - Galacta Knight (more powerful attacks with higher knockback but increased lag)
- Sonic - Shadow (Slightly slower but more powerful, Mewtwo's Up Special)
For Newcomers[]
- Captain Toad - Toadette (less extreme changes in weight and speed compared to Captain Toad)
- Isaac - Matthew (longer sword so easier to approach, but reduced raw power and mobility)
- Gardevoir - Gothitelle (faster and better at surviving by default, but cannot change her attributes like Gardevoir can)
- Rayman - Globox (heavier and slower in the air, but hits harder and is faster on the ground)
Non-Playable Characters[]
Assist Trophies[]
| Name/Franchise | Image | Function |
|---|---|---|
|
(Mario) |
  |
|
|
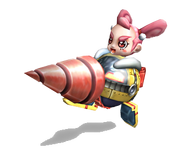
Flies and Hand (Mario) |
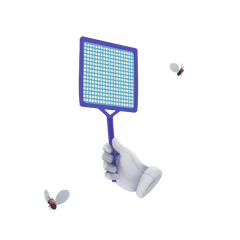 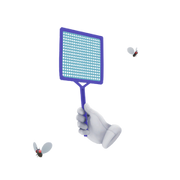 |
|
|
(Mario) |
  |
|
  |
||
|
(Mario) |
  |
|
|
(Mario) |
  |
|
|
(Mario) |
  |
|
|
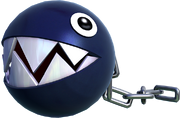
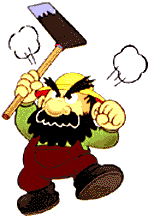
O'Chunks (Paper Mario) |
  |
|
|
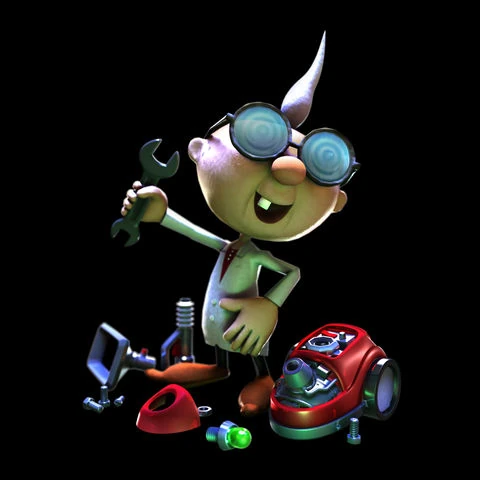
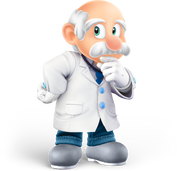
(Super Mario RPG) |
  |
|
|
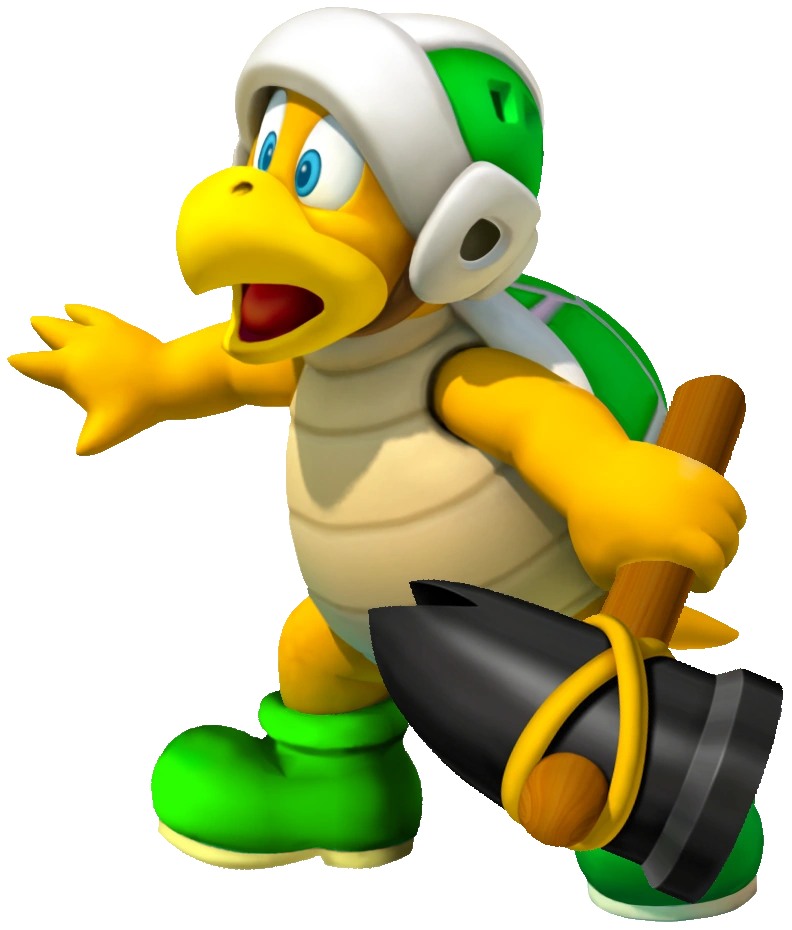
(Donkey Kong) |
  |
|
|
(Donkey Kong) |
  |
|
|
(Yoshi) |
  |
|
|
(Wario) |
  |
|
|
(Wario) |
  |
|
|
(Wario) |
  |
|
|
(Punch-Out!!) |
||
|
(Splatoon) |
  |
|
|
(ARMS) |
  |
|
|
(The Legend of Zelda) |
  |
|
|
(The Legend of Zelda) |
  |
|
|
(The Legend of Zelda) |
  |
|
|
(The Legend of Zelda) |
  |
|
|
(The Legend of Zelda) |
  |
|
|
(The Legend of Zelda) |
  |
|
|
(Animal Crossing) |
  |
|
|
(Animal Crossing) |
  |
|
|
Burrowing Snagret (Pikmin) |
  |
|
|
Charlie and Rock Pikmin (Pikmin) |
   |
|
|
(Metroid) |
  |
|
|
(Metroid) |
  |
|
|
(Metroid) |
  |
|
|
(Kid Icarus) |
  |
|
|
(Kid Icarus) |
  |
|
|
(EarthBound/Mother) |
  |
|
|
(EarthBound/Mother) |
  |
|
|
(EarthBound/Mother) |
 |
|
|
(F-Zero) |
  |
|
|
Felix (Golden Sun) |
  |
|
|
(Kirby) |
  |
|
|
(Kirby) |
  |
|
|
Nightmare (Kirby) |
  |
|
|
(Kirby) |
  |
|
|
(Kirby) |
  |
|
|
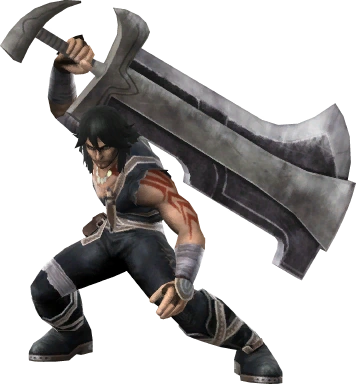
(Fire Emblem) |
  |
|
|
(Fire Emblem) |
  |
|
|
(Fire Emblem) |
  |
|
|
Celica (Fire Emblem) |
  |
|
|
(Advance Wars) |
  |
|
|
(Star Fox) |
  |
|
|
(Star Fox) |
  |
|
|
(Ice Climber) |
  |
|
|
(Gyromite) |
  |
|
|
Jinbe (Mole Mania) |
 |
|
|
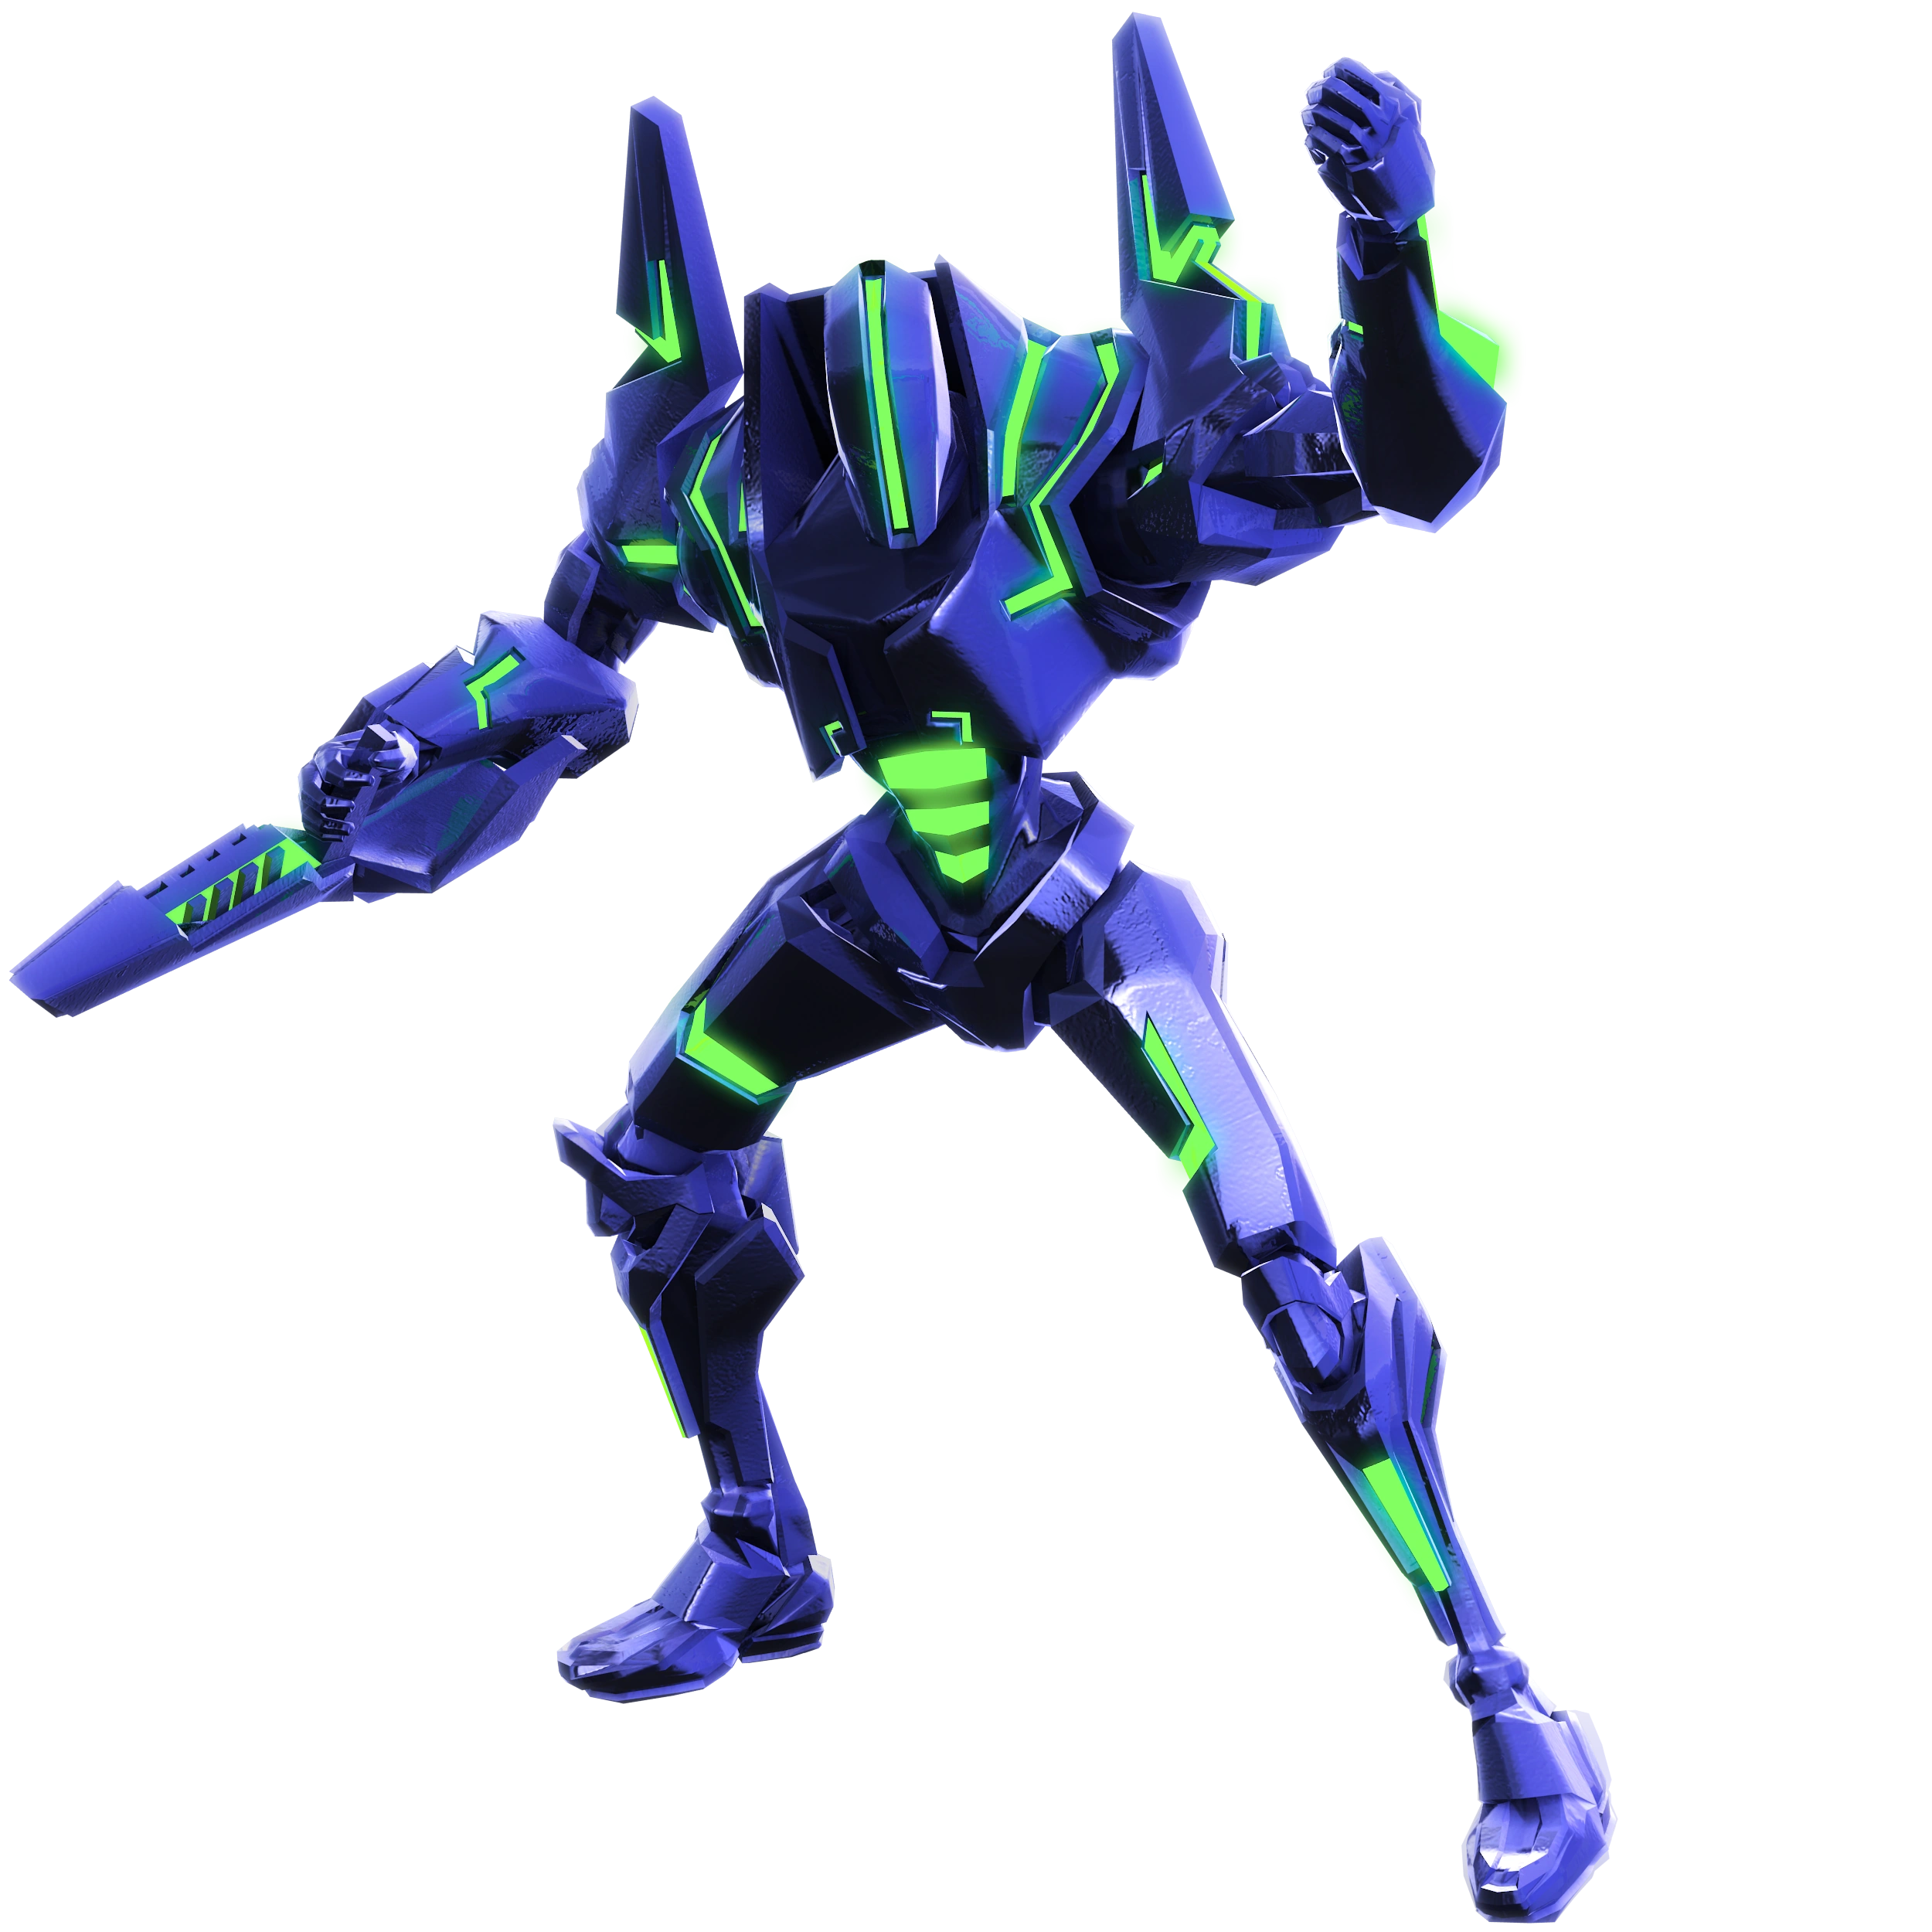
(Xenoblade) |
  |
|
|
(Xenoblade) |
  |
|
|
(Dillon's Rolling Western) |
  |
|
|
(Rhythm Heaven) |
  |
|
|
Vince (Art Academy) |
  |
|
|
(Brain Age) |
  |
|
|
(Color TV-Game) |
  |
|
|
Ray Mk. III (Custom Robo) |
  |
|
|
(Devil World) |
  |
|
|
Jill (Drill Dozer) |
  |
|
|
(Swapnote) |
  |
|
|
(Nintendogs) |
  |
|
|
(Joy Mech-Fight) |
  |
|
|
Yuri Kozukata (Fatal Frame) |
  |
|
|
(The Frog for Whom the Bell Tolls) |
  |
|
|
Helirin (Kuririn) |
  |
|
|
(Nintendo Badge Arcade) |
  |
|
|
(Sheriff) |
  |
|
|
(Sin & Punishment) |
  |
|
|
(Starfy) |
  |
|
|
(Codename: STEAM) |
  |
|
|
Wonder Red (The Wonderful 101) |
  |
|
|
(Clu Clu Land) |
  |
|
|
Balloon Fighter (Balloon Fight) |
  |
|
|
(Sonic the Hedgehog) |
  |
|
|
Mighty the Armadillo and Ray the Flying Squirrel (Sonic the Hedgehog) |
  |
|
|
(Metal Gear) |
  |
|
|
(Mega Man) |
  |
|
|
Wily Capsule (Mega Man) |
  |
|
|
(Mega Man) |
  |
|
|
(Pac-Man) |
  |
|
|
(Street Fighter) |
  |
|
|
Rodin (Bayonetta) |
  |
|
|
Alucard (Castlevania) |
  |
|
|
(Banjo-Kazooie) |
  |
|
|
Rabbids (Rayman) |
  |
|
|
Dr. Neo Cortex (Crash Bandicoot) |
  |
|
|
(Shovel Knight) |
  |
|
|
(Shantae) |
  |
|
|
Killer Rabbit (Minecraft) |
||
|
Black Bomberman (Bomberman) |
  |
|
|
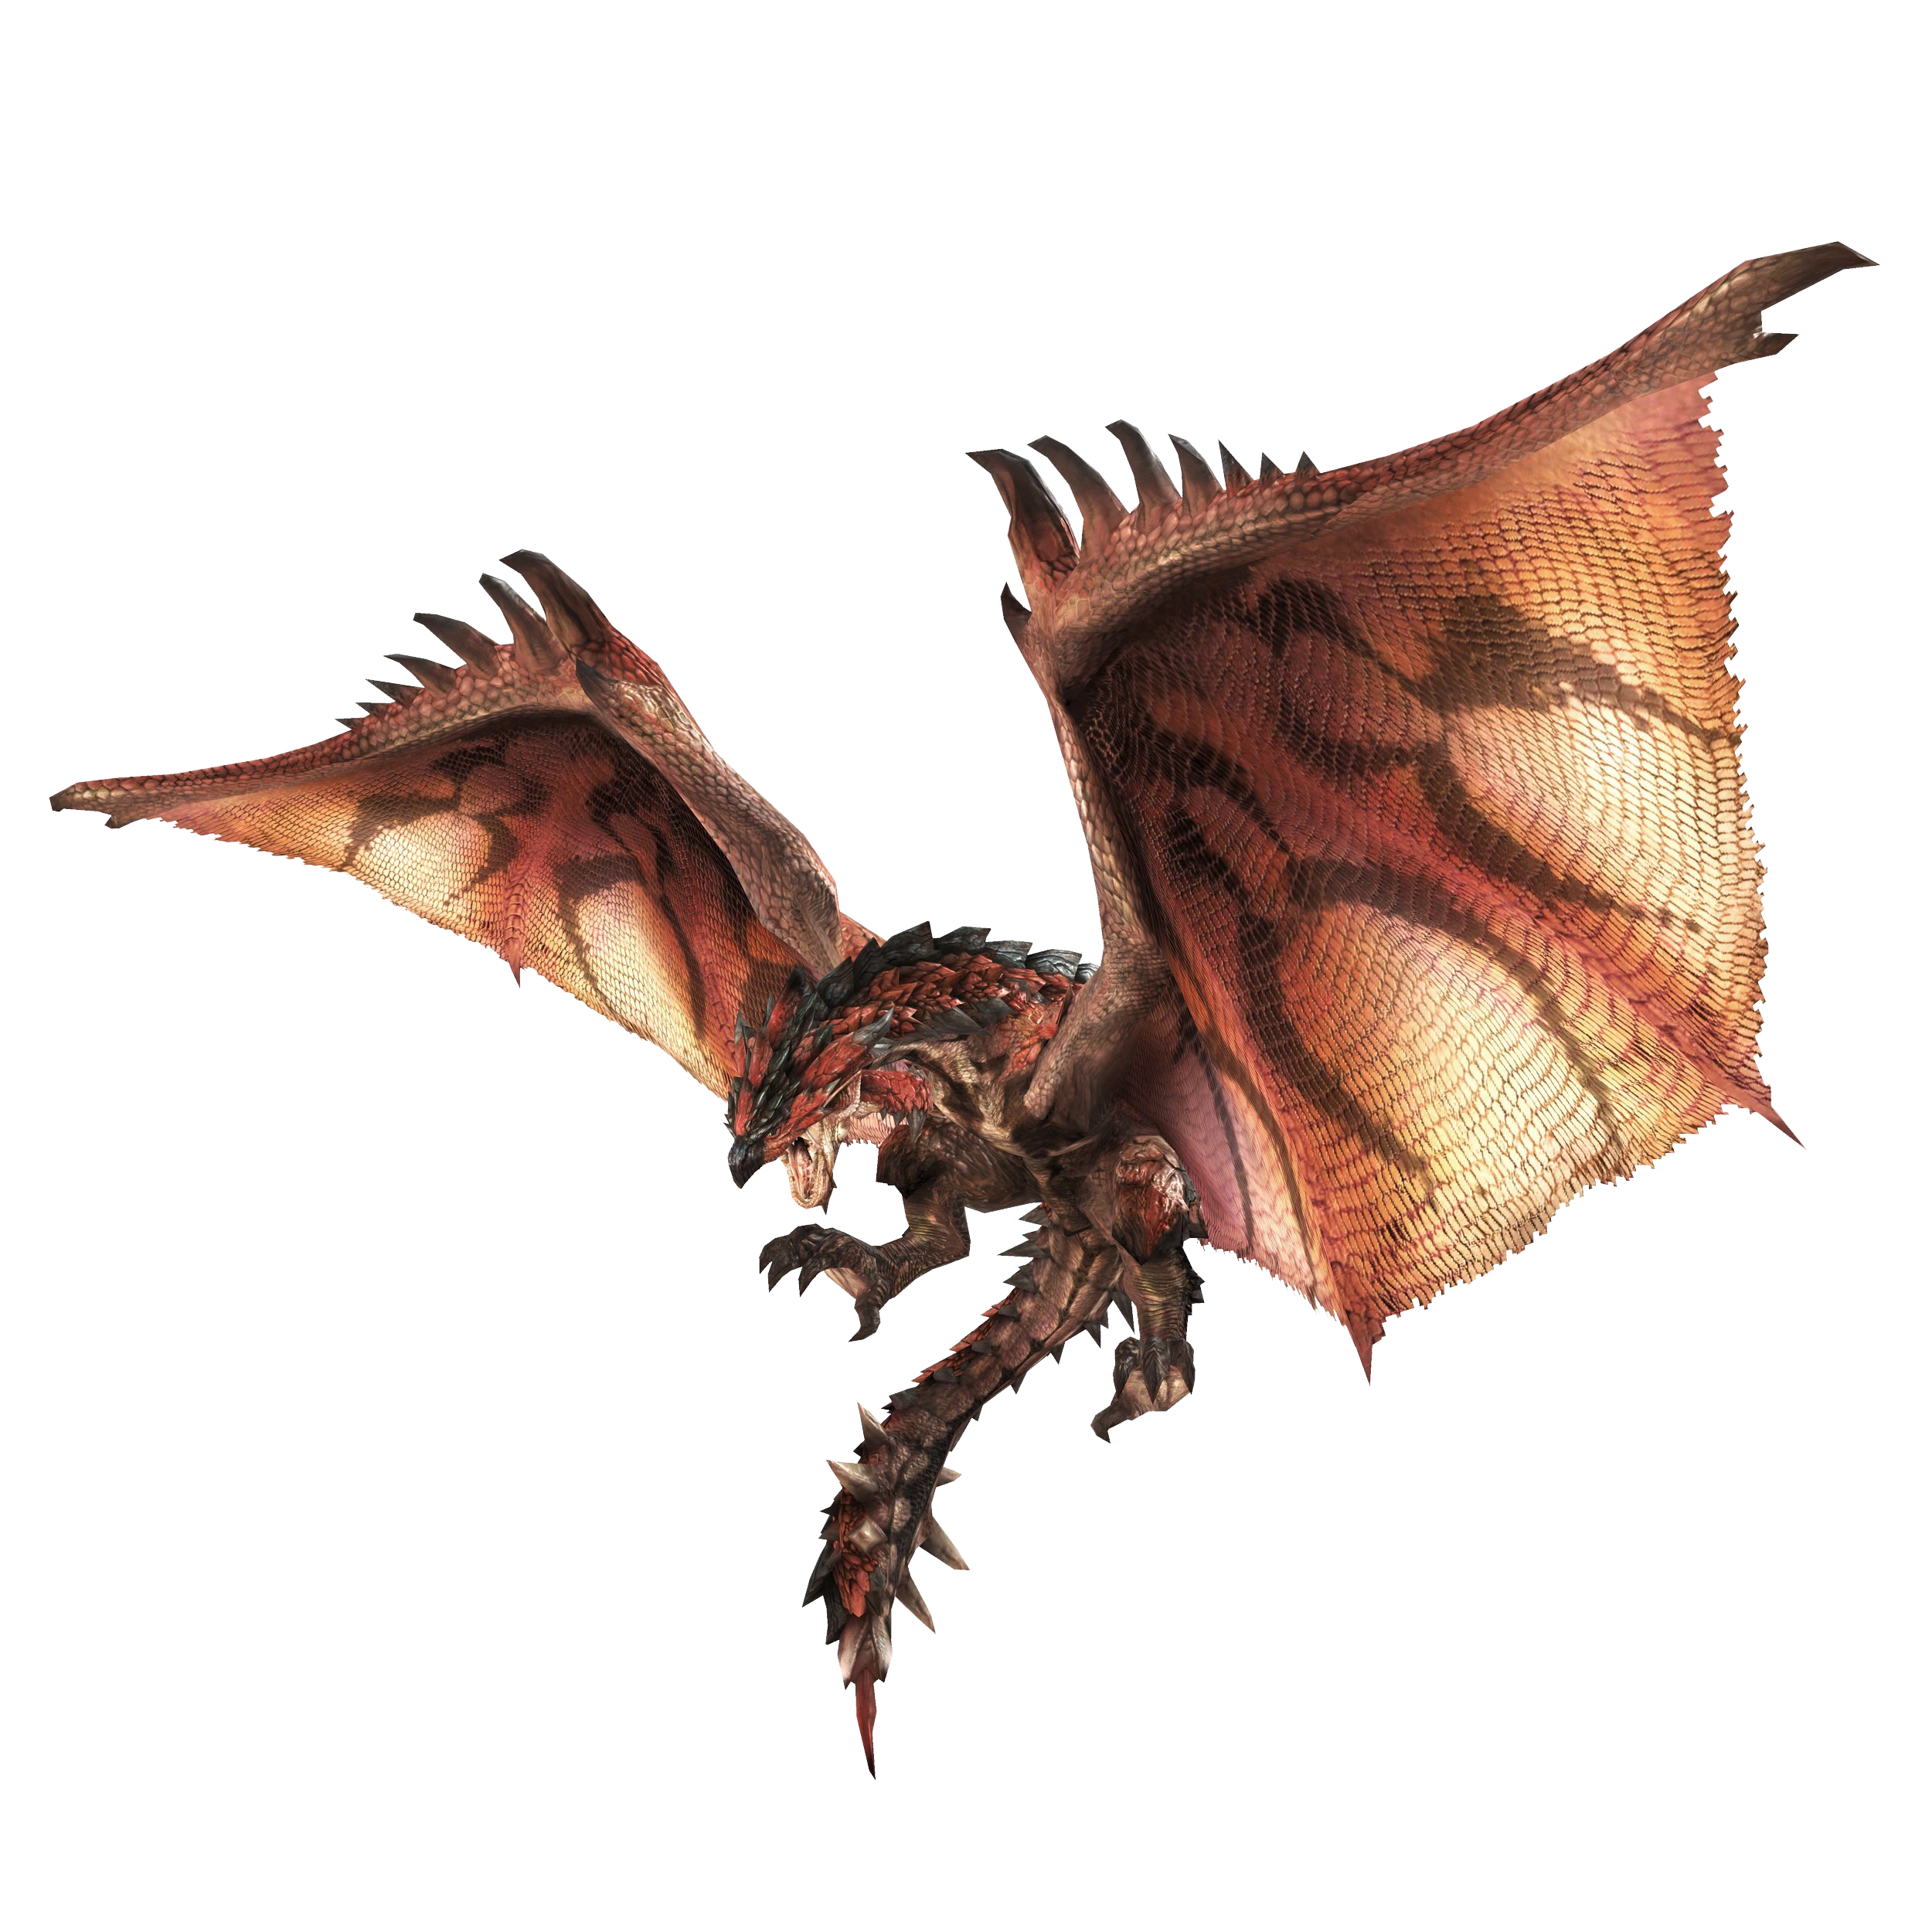
(Monster Hunter) |
  |
|
|
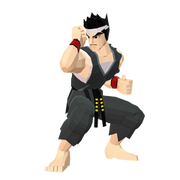
Akira (Virtua Fighter) |
  |
|
|
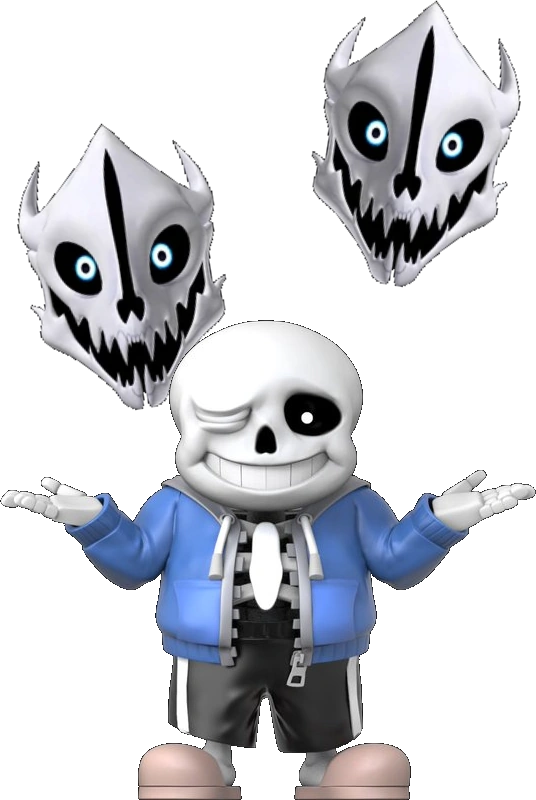
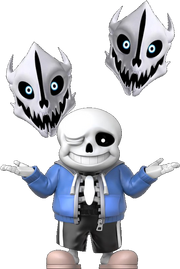
Sans (Undertale) |
  |
|
|
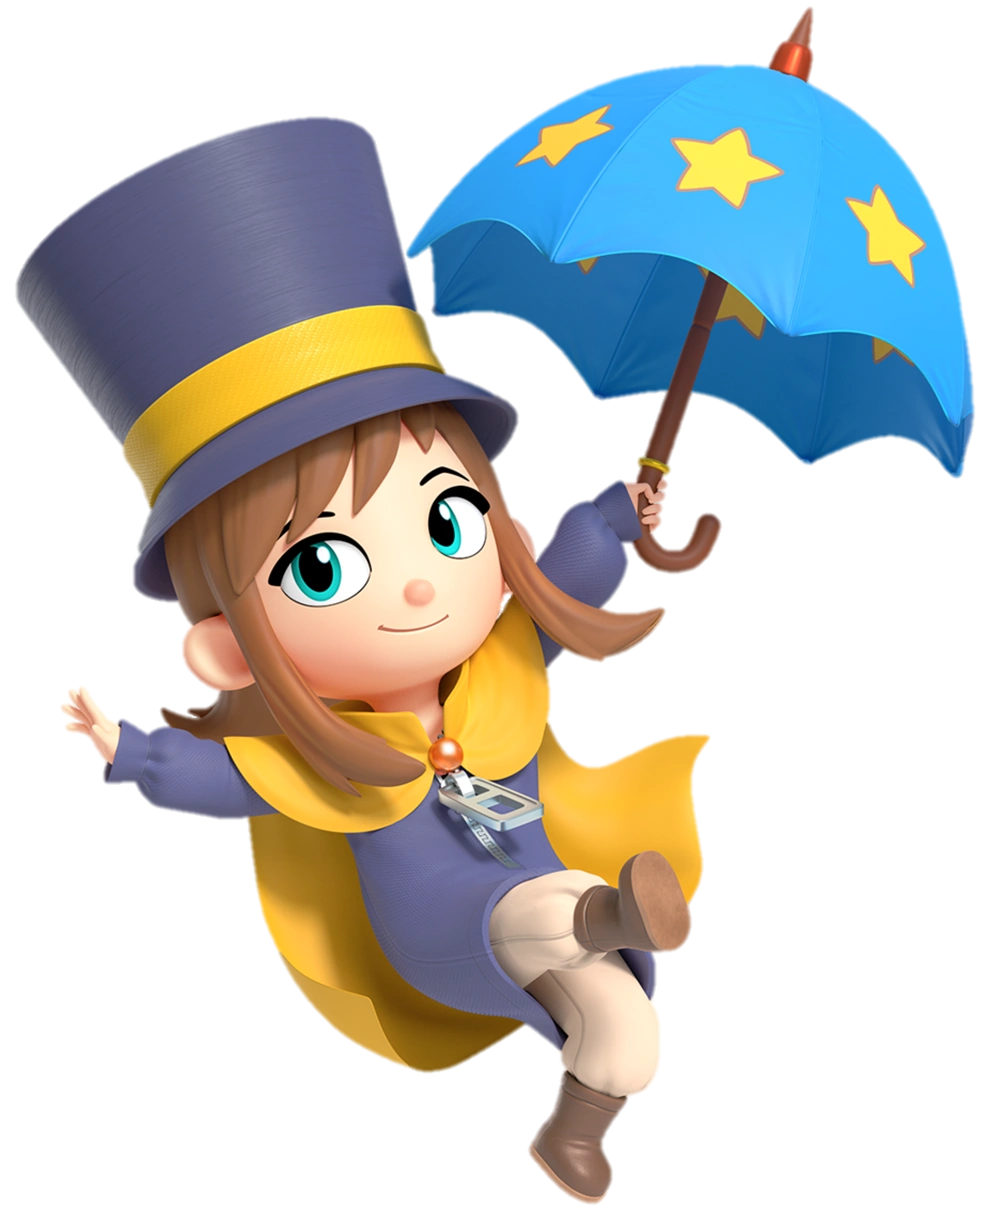
The Noid (Yo Noid!) |
  |
|
|
Hat Kid (A Hat in Time) |
  |
.png)
.png)
.png)
.png)
.png)
.png)
.png)
.png)
.png)
.png)
.png)
Poké Ball Pokémon[]
Bosses[]
Returning Bosses[]
- Master Hand - Super Smash Bros.
- Crazy Hand - Super Smash Bros.
- Giga Bowser - Super Smash Bros.
- Rayquaza - Pokémon
- Metal Face - Xenoblade
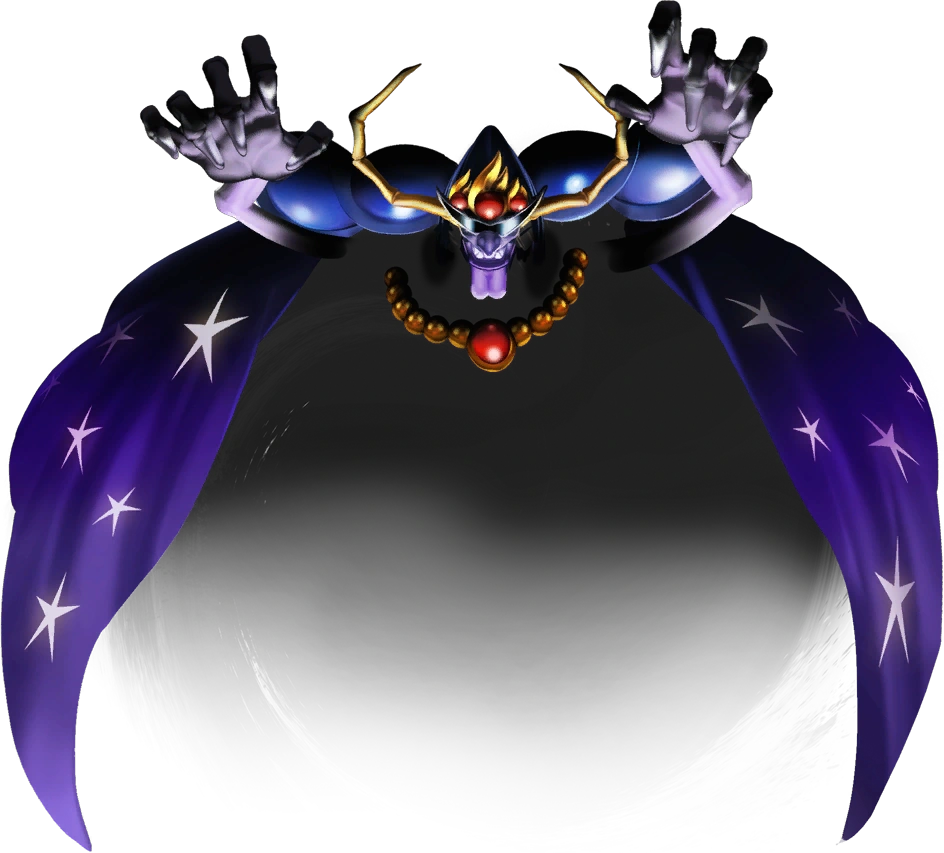
- Yellow Devil - Mega Man
- Dark Emperor - Find Mii
- Marx - Kirby
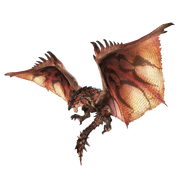
- Rathalos - Monster Hunter
New Bosses[]
- Big Bob-omb - Mario
- Wingo - Captain Toad: Treasure Tracker
- Blooper - Paper Mario
- Raphael the Raven - Yoshi
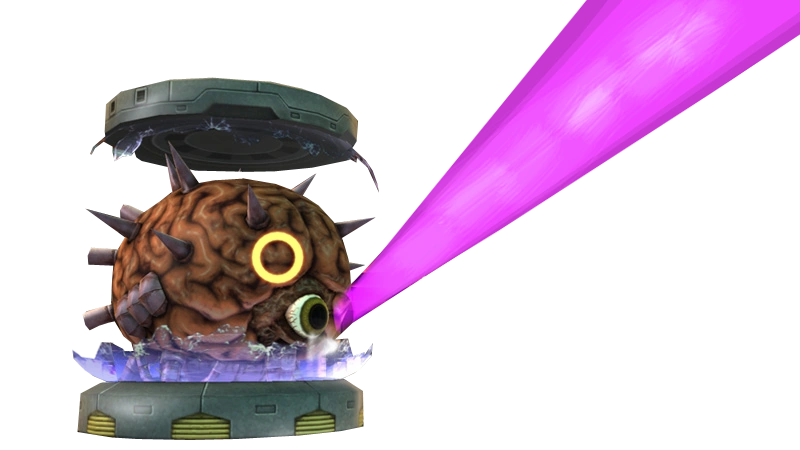
- Gohma - The Legend of Zelda
- Dr. Eggman - Sonic the Hedgehog
- Ender Dragon - Minecraft
- Wither - Minecraft
- The Noid - Yo Noid!