| "Stories of the Past, Technology of the Future." |
Kirby: Android of Death is a platformer released on the Nintendo Switch, following in the steps of recent games such a Planet Robobot and Star Allies. It is also a prequel to an upcoming Kirby game, Kirby: Paradox Hour. The game was completed and published on May 5th, 2018.
Plot Synopsis[]
Planet Pop Star is visited by an extraterrestrial android, who has begun setting up bases and releasing destructive machines. With her motive being unknown, Kirby must set out on his own to find out her end goal and stop both her machines and the regional threats she has unleashed.
Full plotline and cutscene descriptions can be found here.
Characters[]
| Character | Description |
|---|---|
 Kirby Hero of Popstar |
The Star Warrior, and hero of Pop Star! Kirby can use his unique inhale ability to suck up enemies and gain their powers. Even without them, he's a force to be reckoned with! When a spaceship arrives in Dreamland with destructive equipment, it's up to our hero to put a stop to it! |
 LiSA Limitless Surveyor Android |
An alien machine of unknown origin. LiSA has established a base on Pop Star, and is sending out mechanical probes to analyze the planet. Is she really just studying the area, or is her final objective more sinister? Only one way to find out! |
Gameplay[]
Android of Death retains most of the gameplay elements introduce in Return to Dreamland, but puts greater emphasis on combat than previous entries. In so doing, the game plays like a hybrid between a standard platformer and a beat-em-up. Kirby's basic movement and abilities have been changed to fit the new pseudo-3D control scheme, but the moves themselves are mostly unchanged. Since ![]() and
and ![]() now controls Kirby's lateral movement only, moves that previously required players to press
now controls Kirby's lateral movement only, moves that previously required players to press ![]() or
or ![]() now use
now use ![]() or
or ![]() respectively.
respectively.
One addition made to support this dual-gameplay style is Star Power, represented by a power meter that fills as Kirby deals and takes damage. When it is full, Kirby can execute a powerful Star Technique by pressing ![]() . Each ability has a unique Star Technique that functions as a finishing move. These moves also have context-sensitive applications that can be used to solve puzzles and open alternate routes.
. Each ability has a unique Star Technique that functions as a finishing move. These moves also have context-sensitive applications that can be used to solve puzzles and open alternate routes.
Abilities[]
 | |
| Standard Controls | |
|
|
 FIRE |
 ICE |
| Get fired up with the power of fire! Light fuses, melt ice, burn grass - anything is possible with fire! Turn up the heat and roast your enemies with Final Flare! | Chill out and play it cool with this slick ability! Skate freely across earth and water alike, and freeze enemies solid with a blast of air! Charge up enough, and put foes on ice with Big Blizzard! |
Fire is relatively unchanged, but a few moves gain some new functionality.
|
Ice is relatively unchanged, but a few moves gain some new functionality.
|
 STONE |
 SPARK |
| Take on the power to manipulate the earth itself! Transform into stone for defense, or project rocky spires from the ground! Draw on the energy from the planet, and unleash Gaia Grounder! | Thunder and lightning, use Spark for fighting! Generate a shield of plasma energy, or use sparks to activate power plugs! Take command of a devastating storm from atop your Thunder Throne! |
Stone has received minor alterations, as well as new moves.
|
Spark is relatively unchanged, but a few moves gain some new functionality. One new move is also added.
|
 BEAM |
 BOMB |
| Take control of these strange electric bursts! Fashion energy into extendable whips, bouncing spheres, or destructive blasts! Unleash a Burning Beam for an explosive attack! | You're all set to have a blast! Toss bombs, throw bombs, drop bombs, roll bombs - you can even lay proximity mines! Embrace the chaos, and let loose with Fireworks Frenzy! |
Beam has received several new moves, with no major changes to existing ones.
|
Bomb has received minor alterations, with some new moves replacing old ones.
|
 CUTTER |
 HAMMER |
| A trusty weapon with plenty of utility! Throw rebounding cutters in all directions, and master powerful close-range combos! Take aim, and hurl the immense Crisis Cutter! | Crush the opposition with your mighty hammer! Slam foes away with powerful strikes, and pound in stakes with ease! Nothing can stand against the Maxima Mallet! |
Cutter has received moderate alterations, but no new moves.
|
Hammer has received minor alterations, but no new moves.
|
 SWORD |
 PARASOL |
| The undisputed king of weapons returns! Wield this blade with lightning speed and accuracy, and use it to sever ropes and slice grass! Finish the fight with the Sonic Sword technique! | Weather the elements with this handy tool! Float through the sky, block attacks from above, and batter foes with your bumbershoot! Become a Weather Wizard to spread destruction everywhere! |
Sword has received minor alterations, but no new moves.
|
Parasol has received minor alterations, but no new moves.
|
 WHIP |
 WHEEL |
| Take up this weapon and indulge your inner adventurer! Grab treasure from afar, or snag foes and toss them around! Charge up and go wild with Lariat Limit! | Roll up and rule the road! Ram foes as a speedy wheel, and leave flames in your wake! At top speed you are completely unstoppable! Show 'em what real speed is with Wild Wheel! |
Whip has received minor alterations, as well as a new move.
|
Wheel has received significant alterations, including a new move.
|
 NINJA |
 FIGHTER |
| Strike unseen from the shadows with this ancient art! Throw ninja stars, drop smoke bombs, and slice foes with your katana! Finish off with a flourish - execute a magnificent Blossom Bomb! | Enter the ring and get ready to fight! You have tons of devastating moves at your disposal - punches, kicks, energy blasts! Unleash one of two finishing moves - Final Force and Ultra Upper! |
Ninja has received major alterations, with new and returning moves replacing old ones.
|
Fighter has received few significant alterations, but has two Star Techniques rather than one.
|
 BEETLE |
 WATER |
| Harness the power and speed of the mighty beetle! Fly freely with your quick wings, and grab projectiles or enemies with your horns! Take to the sky with the impressive Scarab Spiral! | Go with the flow with this fresh power! Launch bubbles, ride waves, and manipulate geysers of water - perfect for cooling fires! Create a Flash Flood, and wash away your enemies! |
Beetle has received minor alterations, but no new moves.
|
Water has received minor alterations, as well as a new move.
|
 ARCHER |
 ESP |
| Take aim with this deadly weapon - arrows can lock onto foes in any direction, or even strike multiple targets! Afterwards, take cover behind a handmade disguise! Deal the final blow with Assassins Arrow! | Tap into mysterious powers and become a mind-master! Remotely control electric bursts, or throw enemies with you mind! Break the barrier between dimensions with Psychic Shatter! |
Archer has received minor alterations, as well as new moves.
|
ESP has received major alterations, including several new moves.
|
 MIKE |
 CRASH |
| Rock on! Take on the power of music with this remixed ability! Attack with mike stands, guitars, and your own voice! With the volume up to the max, end your concert with a magnificent Swan Song! | An old favorite returns with devastating new moves! Project spikes of energy, and create small-scale explosions! Charge up enough power, and spread destruction with Atomic Apocalypse - but only once! |
Mike has received major alterations, now becoming a full ability.
|
Crash has received major alterations, now becoming a full ability.
|
Levels[]
In a departure from past titles, each world in Android of Death consists of a giant map made from interconnected levels; rather than entering a golden door at the end of a level, a new stage picks up right where the previous one ended. Some levels have split paths, and will lead to multiple levels. The path connecting two levels goes through a safe room; from these areas, Kirby can fast travel to any other safe room with the Warp Star. Even outside these areas, Kirby can travel to one of them, and can choose to leave a spawn point behind - he can fast travel to that specific point from the safe rooms at will. Only one spawn point can be active at a time.
Levels are laid out as wide hallways, allowing Kirby to move a little along the Z-axis. Most of Kirby's attacks are still restricted to the X-Y plane he is on, but this isn't the case for all of them: some can home in on foes or be guided in 3D space, while others cover a wide area around or in front of him. Kirby can still access various techniques for abilities through the traditional button combinations.
The primary collectable in this game are Mix Discs, which contain remixes of past Kirby tunes to play in the Jukebox. Each level contains 3 hidden Mix Discs: the specific songs found in each level can be found under Mix Disc Tracks. Each world also contains one secret level, containing sections similar to the Challenge Rooms from Return to Dreamland, requiring mastery of four different abilities to complete. Clearing these challenges and defeating the Ultra mid-boss at the end rewards the player with one of five Cover Pieces, fragments of the cover of an ancient book. The cover itself isn't used until the following game, but collecting all 5 unlocks a secret ending cutscene.
Scarlet Sunset A calm hillside in Dreamland, tinted red as twilight approaches. A series of destructive excavations has damaged the landscape. Who could be behind it?
|
Pink Pasture - Rolling hills set against the setting sun. Serves as the standard starting level, introducing basic movement, copy-abilities, and the like. Connects to High-Yield Field. |
| High-Yield Field - Farmland that is currently being used to grow vegetables. The latter half of the stage is on fire, due to a rampaging Fire Lion, who is fought as the world's mid-boss. Connects to Secret Shaft. | |
| Secret Shaft - A mining shaft excavated by an unknown machine. The cave was likely the home of the Fire Lion from before. This stage has many secret areas, including the entrance to the secret level, Heavy Metal. Connects to Crab Crest. | |
| Crab Crest - The top of the highest hill in the area. The level is occupied by the world boss, Hermech Crab. Upon its destruction, Kirby sees an airship take off from a distant coast and fly out of sight. Kirby heads to where it left from on his Warp Star to investigate. | |
| Heavy Metal - A secret inner cave sealed off from Secret Shaft. The level contains various challenging rooms that require use of Fire, Stone, Whip, and Cutter abilities. The level ends in a battle with Fire Lion Ultra. |
Icicle Isle A frosty beach off to the north, with quick-flowing currents and icy fog. Strange energy signals can be found here, but the hostile environment makes exploration difficult.
|
Rapid Ride - Rushing rivers that flow into the icy bay below. The water moves too fast to swim against - Kirby can instead jump along rafts that flow down the river. The river leads to Cool Coast. |
| Cool Coast - The chilly bay of Icicle Isle. The level's first half consists of the sandy beach, where Bonkers is fought. The second half extends into the icy water - from here, continuing on the surface leads to Making Waves, while diving beneath the surface leads to Deeper Creeper. | |
| Making Waves - The rough waters between the coast and an island in the center of the bay. The wind is too strong to float against, and the water is too cold to swim in. By carefully platforming along icy blocks, Kirby will eventually reach Arctic Circle. | |
| Deeper Creeper - The deeper water near the bay's floor, warmed by strange energy flowing along the ground. Almost the entire level involves swimming, so an underwater weapon is advised. Some sections dip into dry, underwater caves, one of which contains the entrance to Energy Field. Otherwise, Kirby will eventually arrive at Arctic Circle. | |
| Arctic Circle - An icy, windswept island in the middle of the bay. The island contains trace amounts of the strange energy found on the bay floor; these are being analyzed by Flochilla, which Kirby must fight as the world boss. Upon its destruction, Kirby pursues the damaged Flochilla into the forest on his Warp Star. | |
| Energy Field - A secret underwater cave, brimming with the energy from the bay floor. After challenging rooms that require use of Ice, Water, and Parasol, Kirby must battle Bonkers Ultra. The final segment of the level makes prominent use of the Hammer ability. |
Gigantic Gyro A massive supercomputer erected in the midst of an alpine forest. Whoever sent out the two probes must also of built this - but what could it be for?
|
Woodwork Way - The woods surrounding the massive tower. The trees themselves need to be scaled to get over the wall surrounding the building, leading to Tower Grounds. |
| Tower Grounds - The courtyard just outside the tower, as well as the ground-level floor. Grand Wheelie is encountered inside of the tower, amd must be defeated to continue. The ground floor contains two elevators, taking Kirby up to either Top Stopper or Belter-Skelter. | |
| Top Stopper - The internal workings of the tower, run by a variety of gyroscopes. The level portion is a long climb up the machine, maneuvering between the gears within. Reaching the top floor leads to Performance Peak. | |
| Belter-Skelter - A series of silicone conveyor belts, which are used by the computer for data storage. Kirby may find difficulty running against the fast-moving belts, forcing him to float in some places. The level ends in a second elevator, leading up to Performance Peak. | |
| Performance Peak - The main computer room on the top floor. LiSA has already finished setting up the computer, and leaves before Kirby can confront her - he must instead fight Krackulator, modules controlled by the machine. Kirby then pursues LiSA to her supply depot, the Imperial Iliad. Reentering the elevator instead of fighting Krackulator takes Kirby up to Liftoff Run. | |
| Liftoff Run - The roof of Gigantic Gyro, where various aircraft and recon drones land and takeoff - navigating this area requires use of the Wheel, Beam, Spark, and Bomb abilities. The level ends in a fight with Grand Wheelie Ultra. |
Imperial Iliad An ancient fortress, repurposed as an air base and supply depot. The scale suggests immense ships are expected to dock here - find a way through their defenses!
|
Grand Gates - The gates sealing off the outer wall. The rooms within the wall make up most of the level, where Kirby must battle through waves of enemies. Once through the wall, Kirby reaches Ship Shapes, but cannot enter it until he destroys the generators in the three surrounding towers. Kirby can also reach the Inner Sanctum through a secret door. |
| Ancient Tower - A tower decorated with blue banners, housing water cooling towers and icy hazards. Kirby must reach and destroy the blue generator here. Kirby will also fight Shuri the ninja if he visits this tower third. | |
| Battle Tower - A tower decorated with red banners, and filled with fiery machinery. Kirby must reach and destroy the red generator here. Kirby will also fight Shuri the ninja if he visits this tower third. | |
| Carrier Tower - A tower decorated with yellow banners, housing charging stations and flying drones within. Kirby must reach and destroy the yellow generator here. Kirby will also fight Shuri the ninja if he visits this tower third. | |
| Ship Shapes - The base of the large central tower, connected to the three major towers around it. As Kirby climbs the tower, he will have to enter the various ships under construction in the docks. Climbing the entire way up leads to Astro Observatory. | |
| Astro Observatory - The tower roof, opened up to the night sky and filled with astronomy equipment. LiSA, now recognizing Kirby as a threat, sets the Stellasphere to destroy him while she observes his techniques. Upon its destruction, she retreats to the Laboratoreum with Kirby in pursuit. | |
| Inner Sanctum - The basement of Grand Gates, untouched by LiSA's conversion of the fortress. Kirby must pass several trial rooms, utilizing the Ninja, Fighter, Beetle, and Archer abilities, before facing off against Shuri Ultra. |
Laboratoreum LiSA's home base, constructed around her spaceship. It's time to dismantle her operations and find out what her plans are - but not until after a fierce battle!
|
Lab Gates - The entrance to the Laboratoreum. The gates are protected with energy fields and cannons, which must be destroyed while enemies swarm in. Once all the gates are penetrated, Kirby is confronted by Gigant Edge before he can proceed. Kirby can choose to go to Bio Brain or Cube Tubes via shuttle. |
| Bio Brain - The internal control structures for the defense systems, composed of biological machines. Kirby must destroy them to reach Central Control. If he hasn't gone to Cube Tubes, Kirby can get there using the shuttle. | |
| Cube Tubes - The main data-storage units of the base, protected by drones and traps. Once the tubes are destroyed, Kirby can reach Central Control. If he hasn't gone to Bio Brain, Kirby can get there using the shuttle. | |
| Central Control - The central research center of the Laboratoreum, where LiSA is at work. With nowhere to go, she fights Kirby by herself. During the battle her armor is destroyed, forcing her to retreat. Following her leads to Havoc Hall. | |
| Havoc Hall - The hallway leading to LiSA's ship at the heart of the base. Kirby must hurry down the hall or be shut out by the blast doors, forcing him to battle more enemies. One of these rooms leads to X Sector if he chooses to get sealed inside, otherwise he reaches the Launch Deck. | |
| Launch Deck - The housing room for LiSA's ship, where she fights Kirby in her true form as Calamity LiSA. Her suit is critically damaged after the battle; she self-destructs in a bid to defeat Kirby, leading to the destruction of the Laboratoreum. | |
| X Sector - The secret testing rooms based on observations made about Kirby. He will need the Sword, ESP, Crash, and Mike abilities to clear the tests. At the end, Kirby faces off against Gigant Edge Ultra. A secret room can also be found in here, leading to an alternate battle with Ice Dragon. |
Bosses[]
Android of Death has many different types of bosses. Mid-bosses are encountered in the middle of each world; unlike past titles, each is fought only once. World Bosses are fought at the end of each world, and are tougher, multi-phase battles against powerful foes. Both types of bosses have Ultra variations, fought on higher difficulties of Star Warrior Way. The Ultra versions of the mid-bosses are also encountered in the world's secret stages. There is also a secret mid-boss encountered in the main game, and a secret final boss fought only on the hardest difficulty of Star Warrior Way.
Mid-Bosses[]
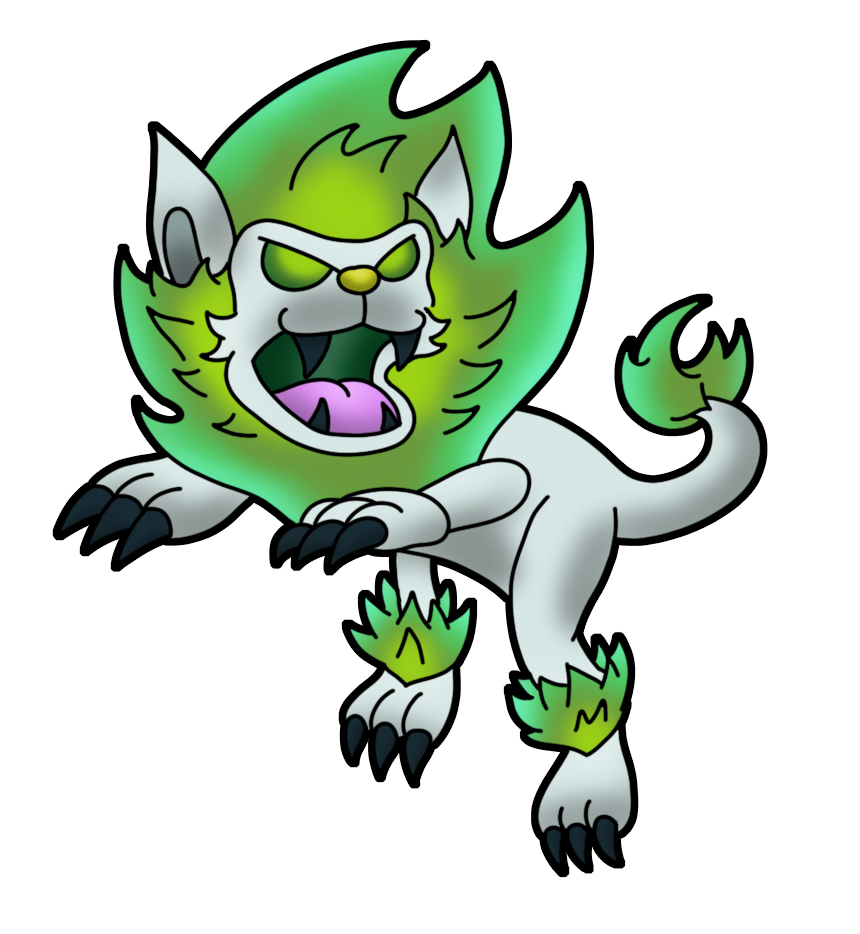
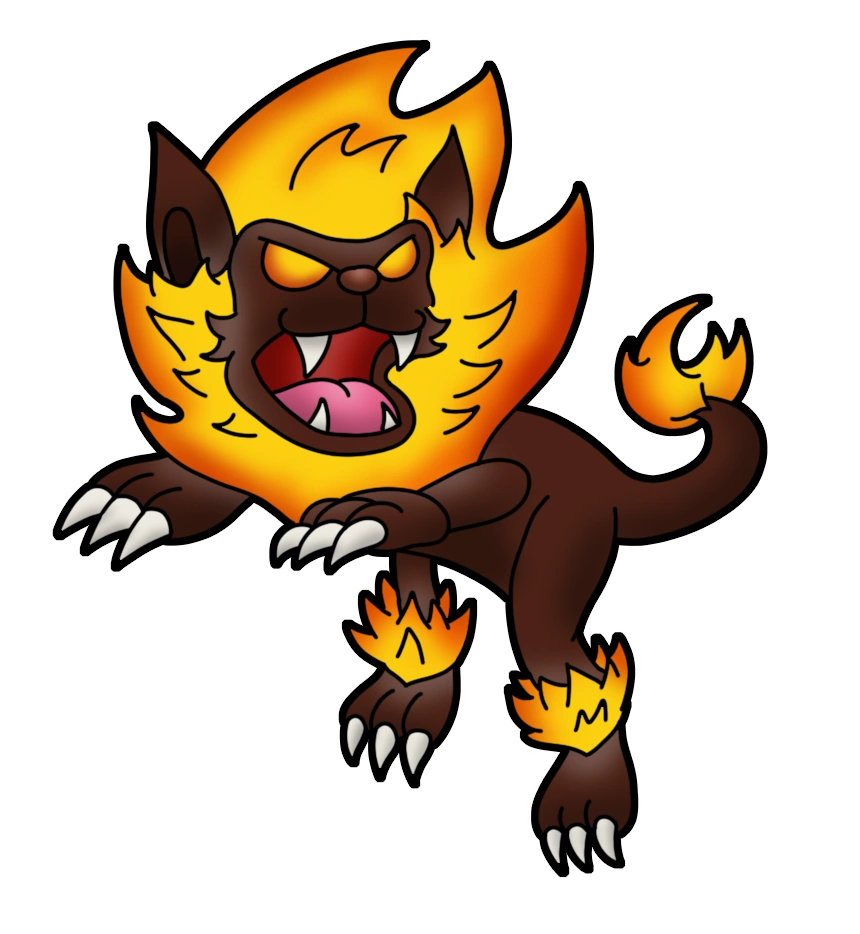 FIRE LION |
A flaming feline, rearing for a fight! Fire Lion has battled Kirby before, but after many defeats it went into hiding in the nearby mountains. Fire Lion retains many of its iconic moves, such as a flaming dash, a dashing grab, and a leaping strike attack (that leaves it vulnerable on a miss). It also has a new attack, using flames to create a temporary clone of itself to also attack Kirby. As one would expect, it grants the Fire ability when defeated. |
 BONKERS |
The wandering, hammer-wielding thug. Bonkers frequents the beaches of Dreamland, and likes nothing more than causing trouble. Bonkers is largely unchanged from his past version: he throws explosive coconuts, bounces along the ground with his hammer, spins wildly with his hammer, and does a smashing strike with his hammer. He can now move while charging the Hammer Flip, so watch out! Bonkers grants the hammer ability upon defeat, and is the only enemy in the game to do so. |
 GRAND WHEELIE |
The massive rolling machine, back to rule the road! Grand Wheelie usually runs free across open plains and hills, but has been captured to provide extra power to Gigantic Gyro. Grand Wheelie is quick in combat, rolling across the stage, and spinning while engulfed in exhaust fumes. It can also perform a spinning strike attack from the air, and charge up its dash to create a flaming trail. When defeated, Grand Wheelie grants the Wheel ability. |
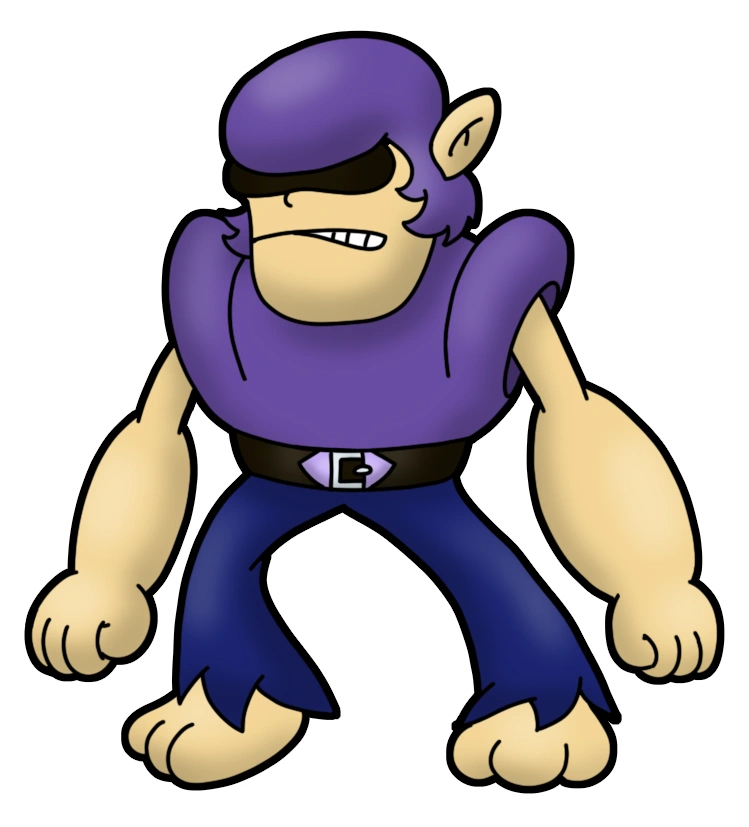
 WAUI |
A ninja from Kirby's past, who has since gone into seclusion. His desired solace was found in the old fortress Imperial Iliad, which has since been converted into a space port. Waui wields cutter-like blades that he can throw straight ahead or down at an angle - they lodge in the ground and remain as an obstacle. He can also teleport above foes and stomp them, kick the ground to create a flaming wave around him, and dash at foes to grab and slam them. Upon defeat he grants the Ninja Ability. |
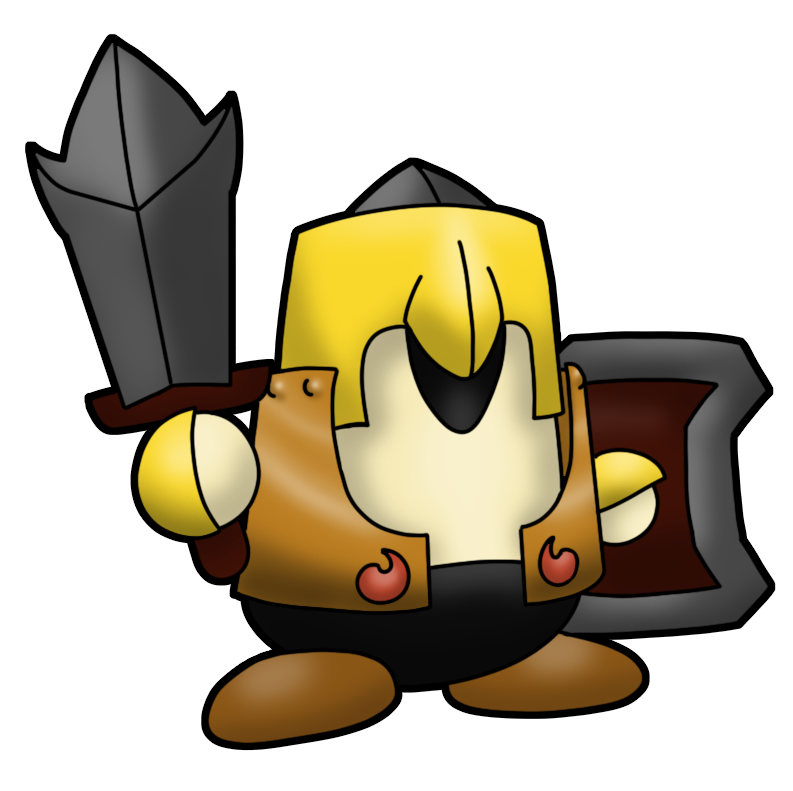
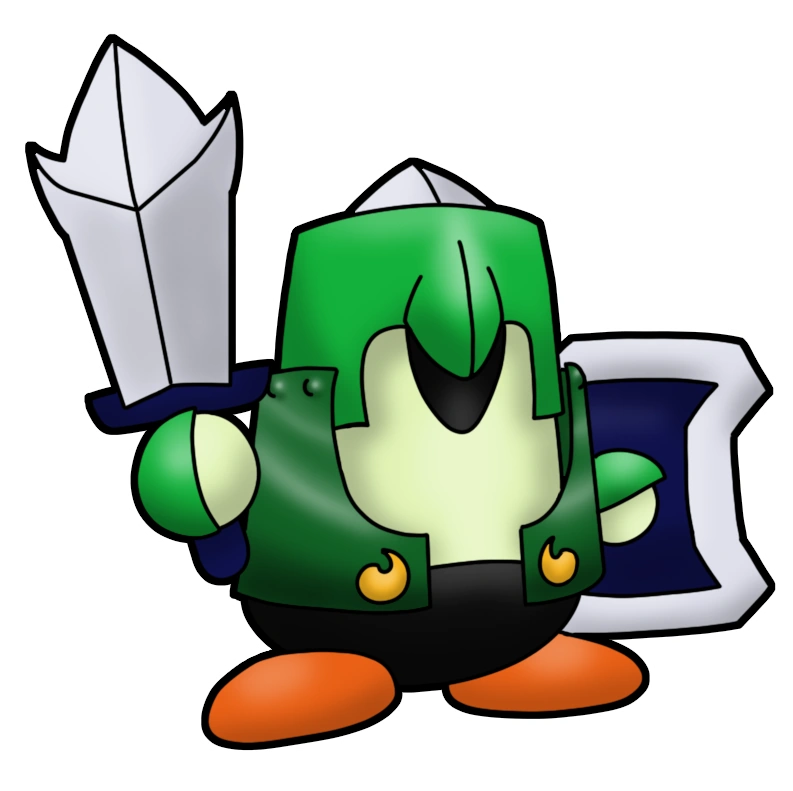 GIGANT EDGE |
The armored swordsman who wanders across Dreamland. Gigant Edge encountered and battled LiSA at some point prior, but was defeated and transported to the Laboratoreum to serve as a guard. Gigant Edge retains all his past moves, such as powerful sword strikes, a dash attack, and the ability to throw his sword like a boomerang. He also utilizes a powerful strike against the ground that knocks away foes near him, and can raise his shield to gain brief invincibility. Upon defeat, he grants the Sword Ability. |
 ICE DRAGON |
The mystical ice dragon returns! Ice Dragon was encountered by LiSA while investigating Icicle Isle, and transported to the Laboratoreum to be researched. It can manipulate ice in various ways, such as breathing ice shards, dropping icicles from the roof, kicking sliding ice spires across the ground, and spitting razor snowflakes. As a new power move, Ice Dragon can slam into the ground and raise icy spikes from the ground around it. When defeated, Ice Dragon grants the Ice ability. |
World Bosses[]
 HERMECH CRAB |
A device collecting earth samples from Pop Star. It is armed with two massive drills that double as claws, and a head mounted cannon. The Hermech Crab has been wandering aimlessly across the countryside, and is responsible for driving Fire Lion from its den. |
| It remains largely immobile for its first phase, launching bouncing rocks from its head and jabbing with its drills. It can form a giant rock with its claws and slam it down. In its second phase it will begin moving, stomping around the stage, staying close to the center. It will launch tons of rocks in all directions, spin in place with drills outstretched, or launch its drills like missiles. | |
 FLOCHILLA |
A floating aquatic machine, scanning energy patterns around Dreamland. It can shoot streams of water, launch ice shards, or extend an electric whip. Despite being ostensibly the ideal analysis machine, it is prone to getting distracted by new phenomena unrelated to its mission. |
| Flochilla drifts around slowly in its first phase, occasionally shooting a stream of water from one of its side hatches. It attacks by either extending its whip and firing electric sparks from the tip, or lobbing icy shards from its hatches. In its second phase it moves much faster and more erratically. In addition to its past attacks, it can scrape its whip along the ground to create electric trails, and shoot rotating lasers from the hands on its face. | |
 KRACKULATOR |
A modular analysis machine running the data collected by LiSA. Krackulator is capable of performing more than 50 trillion calculations every second. It has five basic attacks based on mathematical relationships, and can throw excess modules as projectiles. |
| Krackulator floats on one side of the stage, and switches sides after each attack. In addition to lobbing its modules at Kirby, it can fire slow homing crosses, launch bar-shaped explosives, or create horizontal lasers above and below it. In its second phase, it gains two new attacks: it can assemble a duplicate machine from spare modules and fire energy blasts from both, or split itself in two, firing a massive laser from the opening. | |
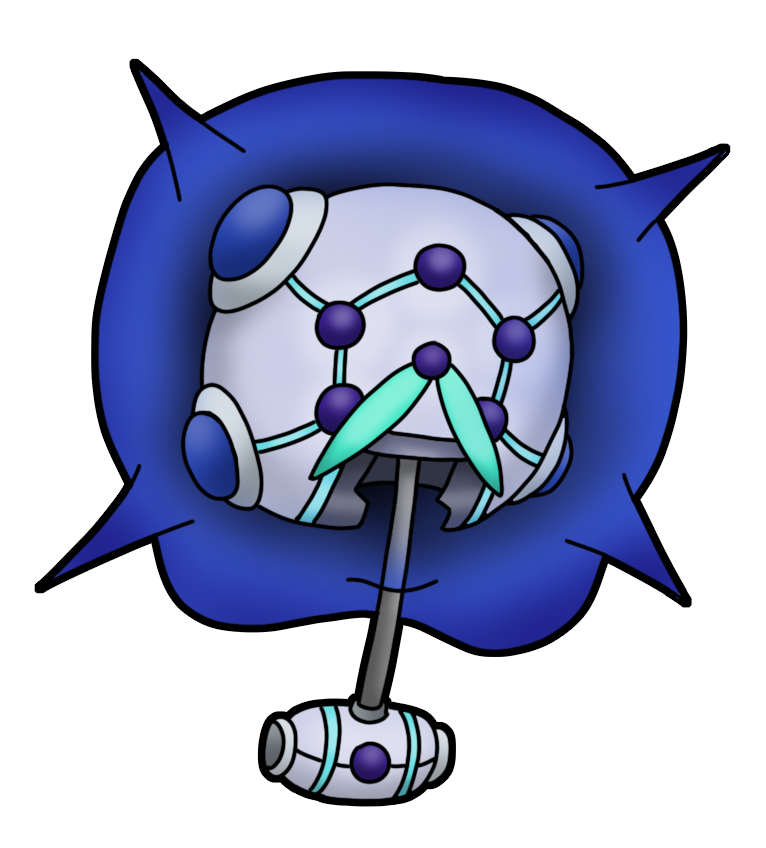
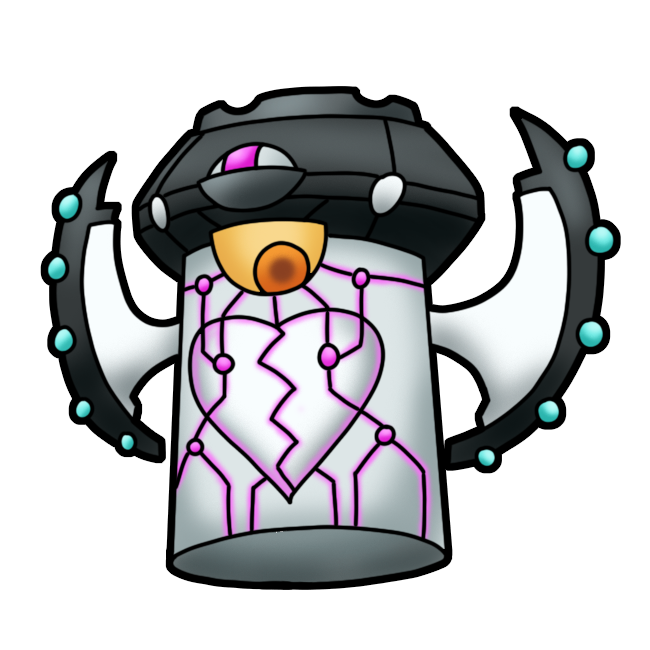
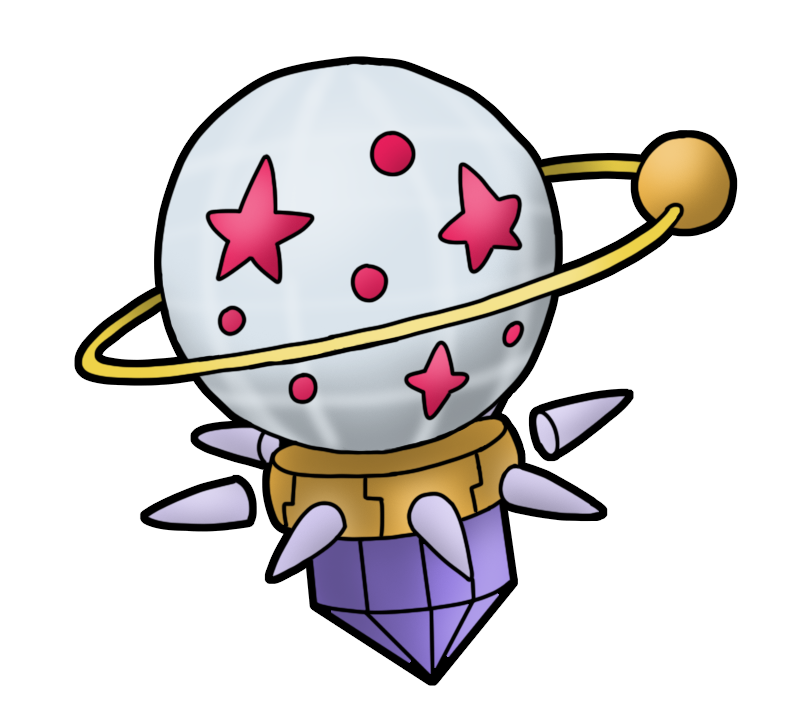
 STELLASPHERE |
A star chart designed to track air and space shipments from the sky above its base. Stellasphere retains knowledge of constellations and celestial objects from numerous galaxies. It can use its orbiting "moon" as a projectile or laser cannon, as well as fire energy stars. |
| Stellasphere rests on a base that spins like a top, making its movements somewhat erratic and unpredictable. It can launch bouncing stars along the stage, quickly dash across the stage, or hurl its moon at Kirby. In its second phase, it spins and moves much faster. It also gains new attacks: it can open its moon to fire an energy cannon, slam its moon into the ground, creating a shockwave, or fire a stream of homing stars. | |
LiSA |
The Limitless Surveying Android, sent abroad to evaluate planets across the universe. Its motives are largely unknown, but it doesn't seem to regard Kirby as a threat. LiSA can remotely control two razor discs in battle, as well as engage in close combat with her fists. |
| LiSA floats just above the ground, and can move quite fast. Her razor discs float on either side of here, making it difficult to hit her when she is idle. She attacks by throwing the discs at Kirby, or spinning them rapidly around her as she crosses the stage. She will also try to trap Kirby between them, but of they miss they will be inactive for a while. The discs are destroyed in her second phase, leaving LiSA with her energy attacks. She can fire homing energy blasts, create sliding electric bars that span the entire screen, and electrocute the panels along the ground. | |
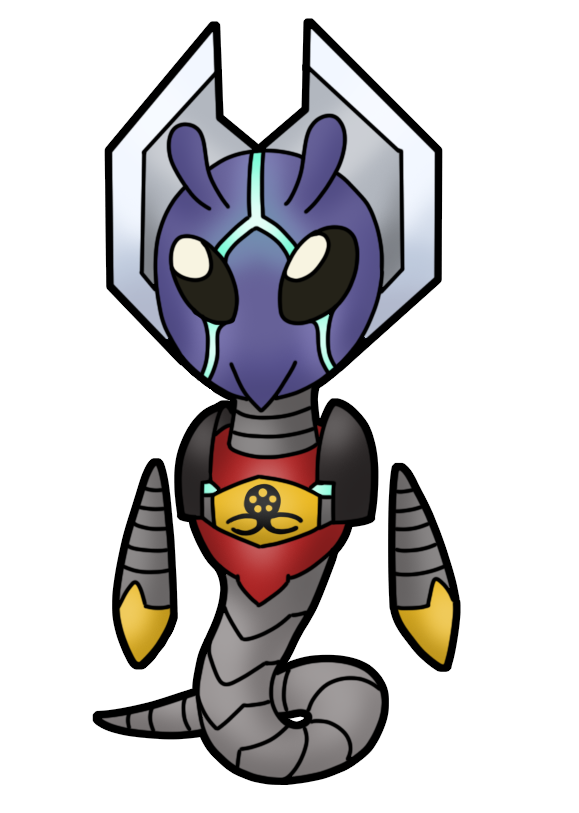 Calamity LiSA |
LiSA when stripped of her armor. It now seems that LiSA is not entirely mechanical. In her snake-like form, she can move much faster, emit devastating sonic shouts, use her bladed helmet to ram, and launch electric spheres. |
| Calamity LiSA can no longer fly, but can move at incredible speeds for short bursts. She retains the same attacks from her second phase, and can also emit powerful shockwaves that knocks Kirby away. In her second phase, she gains even more attacks: she can jump in the air and slam down with her bladed helmet, dash across the stage helmet-first in an attempt to catch Kirby, and fire a giant laser from her chestplate. | |
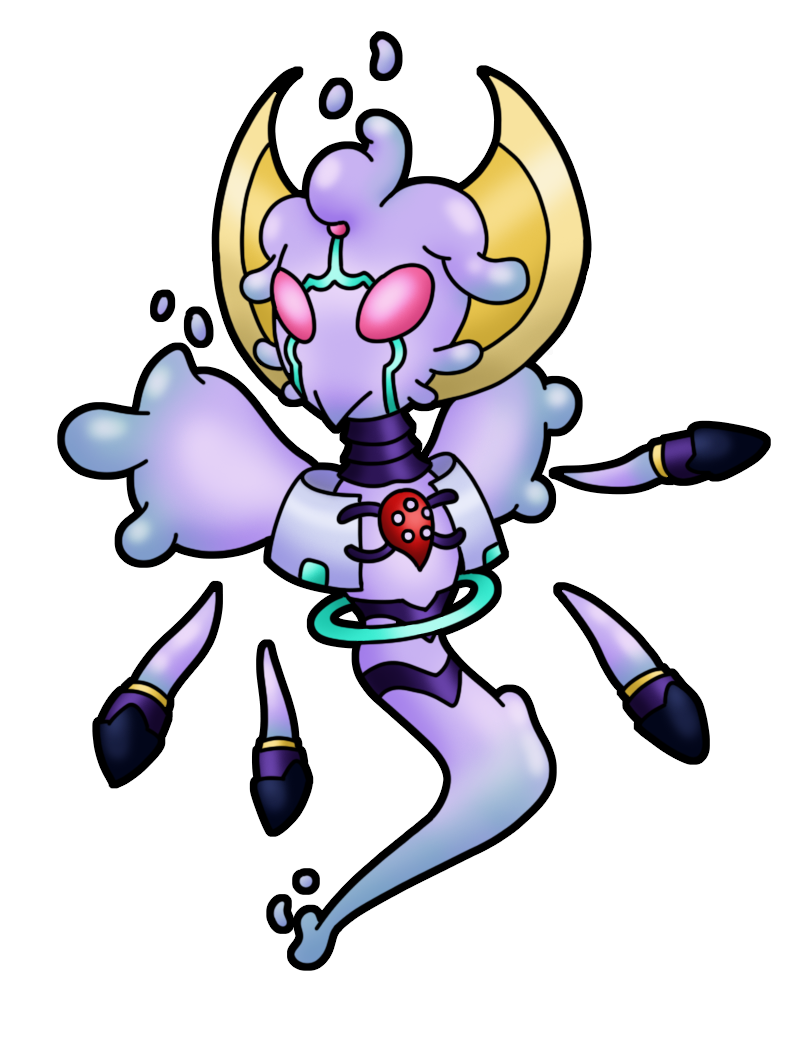 Celestial LiSA Only fought in Star Warrior Way |
In her hour of greatest need, LiSA has unlocked her full potential! Prepare yourself for the final battle! Celestial LiSA can manipulate astral energy into blades, beams, and massive explosions. |
| Celestial LiSA moves swiftly about the battlefield, almost appearing to teleport from place to place. In this form, LiSA can fire arcing cutter blades from her body, launch homing star bullets, and generate explosions of energy around herself. In her second phase, she becomes more unstable and becomes semi-fluid. In this state, she can split her wings into spikes that extend outwards, crush the player as a gooey ball, or split herself in half while generating a wormhole in her chest. She also constantly drips biotic goo that pools into harmful puddles on the ground, and she can summon spikes from said goo at will. | |
Sub-Games[]
There are two main subgames in Android of Death. The first is Mecha Defenders , a 3D fighting game, and the second is Star Warrior Way , the usual boss rush mode.
Mecha Defenders[]
Kirby mans a robot suit to battle various mechanical menaces! Each level takes place in a larger mech on a grander scale.
Mecha Defenders is a 3D fighting game starring Kirby and Mecha Kirby, a machine similar to the Robobot. The goal of each match is to defeat the boss monster as quickly as possible, while maintaining Mecha Kirby's health and energy.
Mecha Kirby has a few basic attacks. It can execute a close range punch combo or a long range rocket punch with ![]() , shoot rapid-fire lasers with
, shoot rapid-fire lasers with ![]() , and charge a giant laser by holding
, and charge a giant laser by holding ![]() . Pressing
. Pressing ![]() will make the mech jump, and it can hover for a short time by holding
will make the mech jump, and it can hover for a short time by holding ![]() . The mech dashes with
. The mech dashes with ![]() , and can block with
, and can block with ![]() .
.
Mecha Kirby has both health and fuel. The machine self-repairs, so its health is always refilling, but if it takes significant damage it can lose all its health. It will be left vulnerable while it heals up again, which also costs lots of energy. The mech loses fuel gradually at all times, and every move costs energy to execute. Some use more than others, with the charged laser consuming the most energy. If Mecha Kirby ever runs out of fuel, Kirby automatically fails the mission.
During a battle, Mecha Kirby can clash with a variety of attacks: in these situations, Kirby can perform certain inputs to gain the upper hand:
- Punch Parry: If Mecha Kirby punches at the same time as an enemy, he enters the Punch Parry mode. Counter directional punches by pressing
 in the correct direction, and when there is an opening press ! Mash once the opponent is vulnerable to rack up damage.
 - Dash Parry: If Mecha Kirby dashes into a foe that's charging towards him, Kirby enters Dash Parry mode. Mash the button until the enemy tires out, then either press to jump over them, throwing them behind you, or spin to swing them around you, throwing them forwards.
- Beam Parry: If Mecha Kirby fires his charged laser at the same time an enemy fires one, Kirby enters Beam Parry mode. Hold to keep the laser going, but release it regularly to prevent it from overheating. Once the laser reaches the enemy, it will deal massive damage and stun them for a while.
- Grapple Parry: If Kirby presses while shielding near an opponent, he can enter a special Grapple Parry. While the opponent is grabbed, Mecha Kirby can do four things - deal lots of damage with rapid punches by mashing , fire a laser to break its armor by holding , lift and throw the target into hazards with , or slam the foe down with , knocking loose energy if possible. Large projectiles and objects can also be picked up this way.
There are a total of eight bosses in the game. Upon completing each battle, Kirby is given a medal rank based on how much health and energy he had remaining, how fast the battle was won, and how much damage Kirby did to the environment (the more the better!). The possible ranks, from worst to best, are Bronze, Silver, Gold, and Platinum (with a lower Copper rank if Kirby fails the mission). In order to battle the last boss, each of the previous seven must be beaten with at least a Silver rank.
| Boss | Description |
|---|---|
 Waddle Dee Tank Threat Level: Building |
A low level foe designed to test Mecha Kirby's abilities. The machine is armed with two side-mounted guns that shoot homing missiles, as well as a laser cannon mounted on the back of its rotating head. It can also charge at Kirby, and drop bombs as it moves about the stage. The arena it is fought in is fairly empty, except for four pillars in the center of each quadrant of the room. |
| Waddle Tank is fairly simple to defeat, but there are a couple of tricks that can make the battle even easier. Kirby is encouraged to enter a Dash Parry whenever Waddle Tank charges, and Kirby can throw it into one of the pillars to damage it. When it begins using its laser, Kirby can Beam Parry it. While not made obvious, its bombs can also be grabbed and thrown. | |
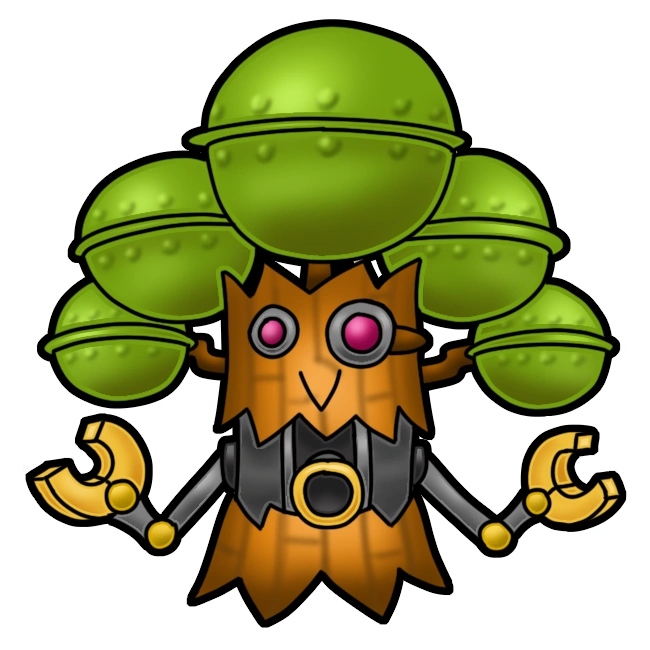 Clanky Woods Threat Level: City |
A mechanical monstrosity constructed by a mad doctor in the woods. This metal treant moves around on four crab-like legs that have drills built into their tips. Its mouth contains a rocket launcher as well, and the metal spheres on its head can be shaken loose to create explosives. It is fought in a park at the center of the city: the very center of the stage is a fountain, with a large square area of grass around it. The edges of the ring are asphalt, with buildings forming the stage walls. |
| Clanky Woods is a fast and powerful foe, but has many moves that can be countered. Its dash attack can be countered with a Dash Parry, and throwing it backwards will topple it over. If Kirby manages to Grapple Parry it on the grass, slamming it down will lodge it into the dirt, leaving it vulnerable to follow-up attacks. If it tries to attack with its drills, it can be Punch Parried fairly easily. The metal spheres it shakes loose can also be Grappled, and either thrown for extra damage or slammed down to regain fuel. | |
 Dynamo Blade Threat Level: State |
A cyborg recreation of a legendary bird. The device wasn't properly programmed, so it has begun running wild across the region. It is armed with a flamethrower mounted in its mouth, an extendable neck that gives it impressive range, a chest laser fired from its gem chestplate, and spiked egg mines it can drop at will. It can also summon smaller Drone Chicks to provide backup fire. Lastly, it can obviously fly, and with its bladed wings, a direct hit at high speed can be devastating. It is fought in an ancient ruin, with two massive pillars on opposite corners and a variety of walls. |
| Dynamo Blade is fast and mobile, so ranged damage is generally the way to go. In the few cases where it does come in close, parrying correctly can make the battle much faster. This mainly happens when it swoops down to ram the player: initiating a Dash Parry requires aiming for its head, as grabbing the wings will damage Kirby. Kirby can also Grapple Parry this move if he times it right; using laser upon a success will destroy the chest plate and disable its laser attack. Either way, throwing it forward won't work since it can fly, so instead slam it down or pummel. Its chest laser can be beam parried, but the flame breath should be avoided by hiding behind a wall. The drone chicks can be Grappled if they attack, and slammed for energy. | |
 Mega General Threat Level: Country |
A massive war robot designed after alien blueprints. The machine gained sentience after being activated, and is now a threat to all of Dreamland! Mega General is armed with a giant laser sword, homing missiles, and electric drones. It can also launch small mines and summon an electric shield. It is fought inside a massive military complex, with fuel towers and buildings serving as minor obstacles. |
| Mega General keeps mostly to the ground and specializes in close-range combat. Its laser sword can be Punch Parried, but doing so is risky since missing will deal lots of damage to Kirby. If it dashes at Kirby, he can Dash Parry the General, and throw it into a fuel tower to damage it. Its shield, when active, blocks Kirby's energy laser, but its electric drones can be Grappled and thrown at the shield to overcharge it. The General will be stunned for a while, and can then be Grappled and pummeled for immense damage. The drones can also be converted into energy. | |
 Heavy Lobster Threat Level: Continent |
An ancient machine that has been hibernating on the ocean floor for centuries. It has emerged from its slumber to wreak havoc on the land! Heavy Lobster is armed with two massive flamethrowers, autonomous Lobster Drones, and crushing claws. It can dash incredibly fast with its jet engines, and can jump a great distance as well, creating shockwaves when landing. It is fought in a bay far from civilization, with two immense mountains in two adjacent corners of the map, and deeper water opposite them. |
| Heavy Lobster lives up to its name by being difficult to lift, but its weight can be an advantage to Kirby as well. Its charge attack cannot be Dashed Parry if it is running on foot, but if it is tucked into jet mode it can be - throwing it forward is possible in this specific case, and leaves it open to a powerful attack such as the laser. Its claws can be Punch Parried, but missing will cause Mecha Kirby's fists to be crippled temporarily. After Heavy Lobster uses its stomp attacks, it will be briefly open to a Grapple - pummeling it will shatter its eyes and make it unable to aim its Flamethrowers. | |
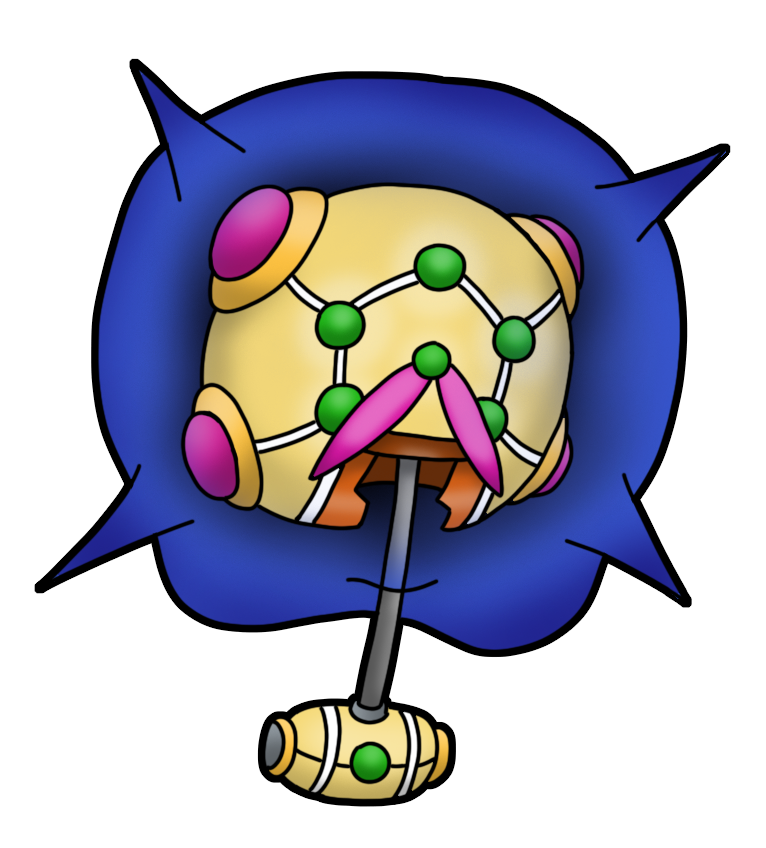
 Queen Mechtonia Threat Level: Planet |
A sentient mechanical being that answered a signal sent into space. It now intends to dominate the entire planet! Mechtonia is armed with two giant staffs that can fire energy bolts, as well as two swords for close combat. It can also materialize golden discs and throw them from a distance, or launch fast gems that cannot be blocked. Its arena is an alien spaceship in orbit around Pop Star, with spiked columns circling the platform. |
| Mechtonia utilizes a mix of ranged and melee combat which can be tricky to counter. Its swordplay can be countered with either a Dash Parry or Punch Parry, depending on if it swoops or approaches with rapid sword jabs respectively. it can be thrown into the spiked pillars to damage her, but Kirby can also be thrown into them if he fails a parry. Its energy discs can be grappled and thrown for extra damage, but not the gems. It has relatively few parry-able moves, so be sure to keep racking up damage with fist rockets and lasers. | |
 Star Dream Threat Level: Galaxy |
An alien satellite from beyond the stars, intent on destroying all life in the galaxy. Take to space to counter this menace! Star Dream is armed with homing missiles, heart mines it can suspend in the air, a massive chest laser, and an energy shield. It can also slam the ground in drill form, summon energy bullets or meteors from wormholes, and teleport about the stage. Its arena is set in space on a platform made of Code Cubes, which Star Dream can raise or lower at will. |
| Star Dream is an immense threat - its battle will be lengthy, so be on the lookout for extra energy whenever possible. Its laser can be Beam Parried, but only if Kirby's laser is charged to the maximum. The heart mines will limit Kirby's movement, so it is advised to shoot them down when possible. Its shield can be broken with Grapple Parry if Kirby uses his laser, or by throwing a few meteors into it. The meteors can also be Grappled for energy. While lodged in the ground from the drill attack, Star Dream can be grappled and either pummeled or thrown into a Code Cube platform (if any are raised). | |
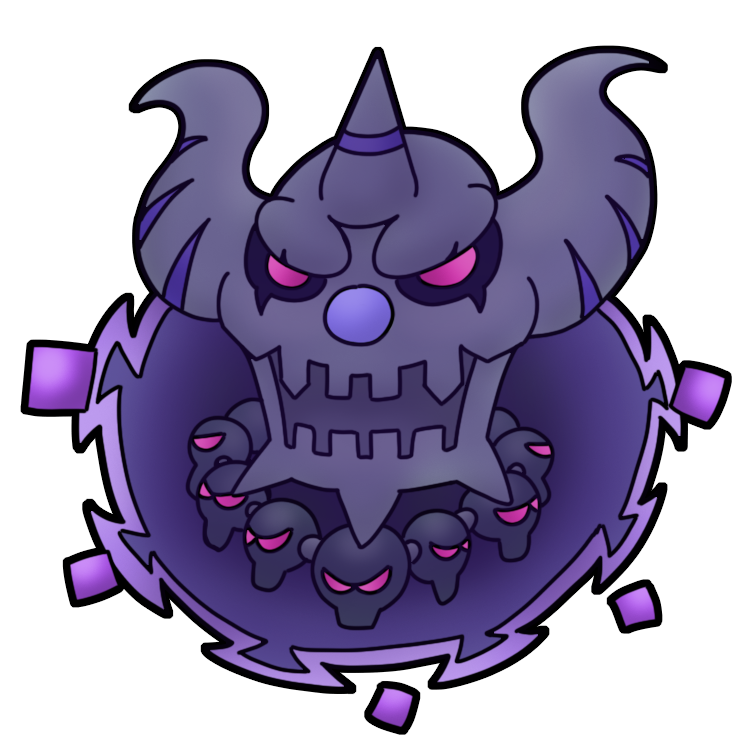 NEO Codeus Threat Level: Universe |
An eldritch machine from another dimension, seeking the end of existence! Fight it in the ultimate showdown! NEO Codeus is armed with two armored hands, which it can use to punch at high speed, shoot lightning or fire giant lasers. It can also create mines that shoot lasers, fire electric spheres, and summon Virus Skullies to restrain Kirby's mech. The arena it is fought in is a void, with the floor being made of astral energy. |
| NEO Codeus is the only two-phase battle in the game. In its first phase, only its hands are active, meaning it can attack from two directions at once. Its hands can be Dash Parried during a punch, or Beam Parried during a laser attack. The only way to defeat the hands is to Grapple and slam them once they are damaged enough, giving Kirby extra fuel. In its second phase, NEO Codeus' head enters the battle. Its mines can be grabbed and destroyed before the fire, granting Kirby energy. The swarms of Cyber Skullies can be Punch Parried to disperse them, and his energy spheres can be deflected this way. The head itself can be Punch Parried when it moves in to chomp Kirby, exposing its eye to attack. To finish the fight, Kirby must Grapple Neo Codeus' head, and then blast it with a laser beam. | |
Star Warrior Way[]
Star Warrior Way is a boss rush mode, similar to The Arena and The Ultimate Choice from past games. Much like Ultimate Choice in particular, there are several preset difficulty levels to choose from, rather than the two separate Arena and True Arena modes. At the same time, there aren't as many difficulty levels to choose from, with only four difficulty settings. Way of the Student and Way of the Warrior are available after the story mode is complete, while Way of the Master and Way of the Legend must be unlocked by clearing the prior difficulty levels.
The difficulty level determines how many foes will be fought in each round, whether they appear in their regular or ultra forms, if the game's secret bosses will be encountered, how much health Kirby has, and how many healing items are available between rounds.
| WAY OF THE STUDENT | |
| An easy way to get used to boss fights. Kirby battles the normal versions of each boss and mid-boss separately. If Kirby dies, he can retry the battle he lost rather than restart the whole boss rush. He has access to 2 Maxim Tomatoes at first, which are replaced with Pep Brews as they are used. | |
VS Fire Lion |
VS Hermech Crab |
| Round 1 | Round 2 |
VS Bonkers |
VS Flochilla |
| Round 3 | Round 4 |
VS Grand Wheelie |
VS Krackulator |
| Round 5 | Round 6 |
VS Waui |
VS Stellasphere |
| Round 7 | Round 8 |
VS Gigant Edge |
VS LiSA |
| Round 9 | Round 10 |
VS Calamity LiSA | |
| Round 11 | |
| WAY OF THE WARRIOR | |||||
| The regular mode, offering a decent challenge. Mid-bosses are faced in sets of three rather than separately, and a secret mid-boss joins the fray. From here onward, dying in a battle forces a restart. Kirby has access to 2 Maxim Tomatoes, which are replaced with regular tomatoes as they are used. | |||||
VS Hermech Crab |
VS Flochilla | ||||
| Round 1 | Round 2 | ||||
VS Fire Lion |
VS Grand Wheelie |
VS Bonkers | |||
| Round 3 | |||||
VS Krackulator |
VS Stellasphere | ||||
| Round 4 | Round 5 | ||||
VS Waui |
VS Ice Dragon |
VS Gigant Edge | |||
| Round 6 | |||||
VS LiSA |
VS Calamity LiSA | ||||
| Round 7 | Round 8 | ||||
| WAY OF THE MASTER Unlocked by clearing Way of the Warrior
| |
| The ultimate boss rush! All bosses are encountered in their Ultra versions, and mid-bosses are faced simultaneously in pairs, rather than one after the other. Kirby has access to 1 Maxim Tomato, which is replaced by a Pep Brew and a regular tomato after use. | |

|

|
| VS Bonkers Ultra and Grand Wheelie Ultra | |
| Round 1 | |
 VS Hermech Crab Ultra |
 VS Flochilla Ultra |
| Round 2 | Round 3 |
|

|
| VS Gigant Edge Ultra and Waui Ultra | |
| Round 4 | |
 VS Krackulator Ultra |
 VS Stellasphere Ultra |
| Round 5 | Round 6 |
|

|
| VS Fire Lion Ultra and Ice Dragon Ultra | |
| Round 7 | |
 VS LiSA Ultra |
 VS Calamity LiSA Ultra |
| Round 8 | Round 9 |
| WAY OF THE LEGEND Unlocked by clearing Way of the Master
| |||||
| The true final battle! World Bosses are fought simultaneously in pairs, and mid-bosses each appear in twin matches with their regular and ultra versions. There is also a new final boss! Kirby has access to 1 Maxim Tomato, which is replaced with a Regular Tomato after use. | |||||
VS Twin Bonkers |
VS Twin Grand Wheelie | ||||
| Round 1 | |||||
VS Hermech Crab Ultra & Flochilla Ultra | |||||
| Round 2 | |||||
VS Twin Waui |
VS Twin Gigant Edge | ||||
| Round 3 | |||||
VS Krackulator Ultra & Stellasphere Ultra | |||||
| Round 4 | |||||
VS Twin Fire Lion |
VS Twin Ice Dragon | ||||
| Round 5 | |||||
VS LiSA Ultra |
VS Calamity LiSA Ultra | ||||
| Round 6 | Round 7 | ||||
VS Celestial LiSA | |||||
| Round 8 | |||||
Mix Disc Tracks[]
Scarlet Sunset Mix Discs from Scarlet Sunset contains remixes from Kirby's Dream Land and Kirby's Adventure.
|
Pink Pasture - Green Greens / Float Islands / Bubbly Clouds |
| High-Yield Field - Stage 1 (KA) / Vegetable Valley / Yogurt Yard | |
| Secret Shaft - Butter Building / Orange Ocean / Ice Cream Islands | |
| Crab Crest - Fountain of Dreams / Ending (Adv) / Grape Garden | |
| Heavy Metal - Boss Battle (Adv) / Vs. King Dedede / Vs. Nightmare |
Icicle Isle Mix Discs from Icicle Isle contains remixes from Kirby's Dream Land 2, Kirby's Dream Land 2, and Kirby and the Crystal Shards.
|
Rapid Ride - Big Forest, Cloudy Park, Kine the Fish |
| Cool Coast - Iceberg (DL2), Dark Castle, Wielder of the Rainbow Sword | |
| Making Waves - Sand Canyon, Iceberg (DL3), Ripple Field | |
| Deeper Creeper - Miniboss (DL3), Ripple Field Medley, Credits (DL3) | |
| Arctic Circle - Battle Among Friends Medley / Rock Star / Grab-Grab Battle | |
| Energy Field - Dark Matter Medley (DL2), Hyper Zone Medley (DL3), 0^2 battle |
Gigantic Gyro Mix Discs from Gigantic Gyro contains remixes from Kirby Super Star (Ultra), Kirby Squeak Squad, and Kirby and the Amazing Mirror.
|
Woodwork Way - Together with Spring Breeze, Marshmallow Castle, Candy Mountain |
| Tower Grounds - Halberd Medley, Vs. Meta Knight, Friends and Sun | |
| Top Stopper - Having Fun Outside, Treasure Scuffle, Gazing into the Blue | |
| Belter-Skelter - Rainbow Route, Radish Ruins, Mustard Mountain | |
| Performance Peak - Olive Ocean, Carrot Castle, vs Dark Meta Knight | |
| Liftoff Run - Vs. Galacta Knight, Vs. Dark Nebula , Dark Mind Medley |
Imperial Iliad Mix Discs from Imperial Iliad contains remixes from Kirby: Canvas Curse, Kirby's Epic Yarn, Kirby and the Rainbow Curse, and Kirby's Return to Dreamland.
|
Grand Gates - Training, Room Guarder, World of Drawcia |
| Ancient Tower - Rainbow Falls, Dusk Dunes, Lava Landing | |
| Battle Tower - Fountain Gardens, Vs. Yin Yarn, Future City | |
| Carrier Tower - Battle Alone, Vs. Claycia, Kirby Rocket's Big Blastoff | |
| Ship Shapes - Cookie Country, Hyah! Super Ability, Exciting! Boss Battle | |
| Astro Observatory - Road to Victory, Challenge Stage, Vs. Landia | |
| Inner Sanctum - Drawcia Medley, Vs. Dark Crafter, C-R-O-W-N-E-D |
Laboratoreum Mix Discs from the Laboratoreum contains remixes from Kirby Triple Deluxe, Kirby Planet Robobot, and Kirby Star Allies.
|
Lab Gates - Floral Fields, Hypernova Medley, Attack! |
| Bio Brain - Moonlight Capital, Revenge of the Enemy, Dirty and Beauty | |
| Cube Tubes - Patched Plains, Spinning Roulette, Haltmann Works Medley | |
| Central Control - Robobot Medley, Money Machine, Mind in a Program | |
| Havoc Hall - Vs. Boss (Allies), Infiltrating the Jambastion, Prayer Song to God Medley | |
| Launch Deck - Star Flung Medley (Planet Towera, Star Lavadom, Planet Caverna), Sacred Square, Vs. Hyness | |
| X Sector - Moonstruck Blossom, P-R-O-G-R-A-M Medley, Void Termina Medley |
Gallery[]
Character Art[]
")
")
Mid-Boss Art[]
")
")
")
")
")
")
")
")
")
")
")
")
Boss Art[]
")
")
")
")
")
")
")
")
")
")
")
")
Mecha Defenders Art[]
")
")
")
")
")
")
")
")