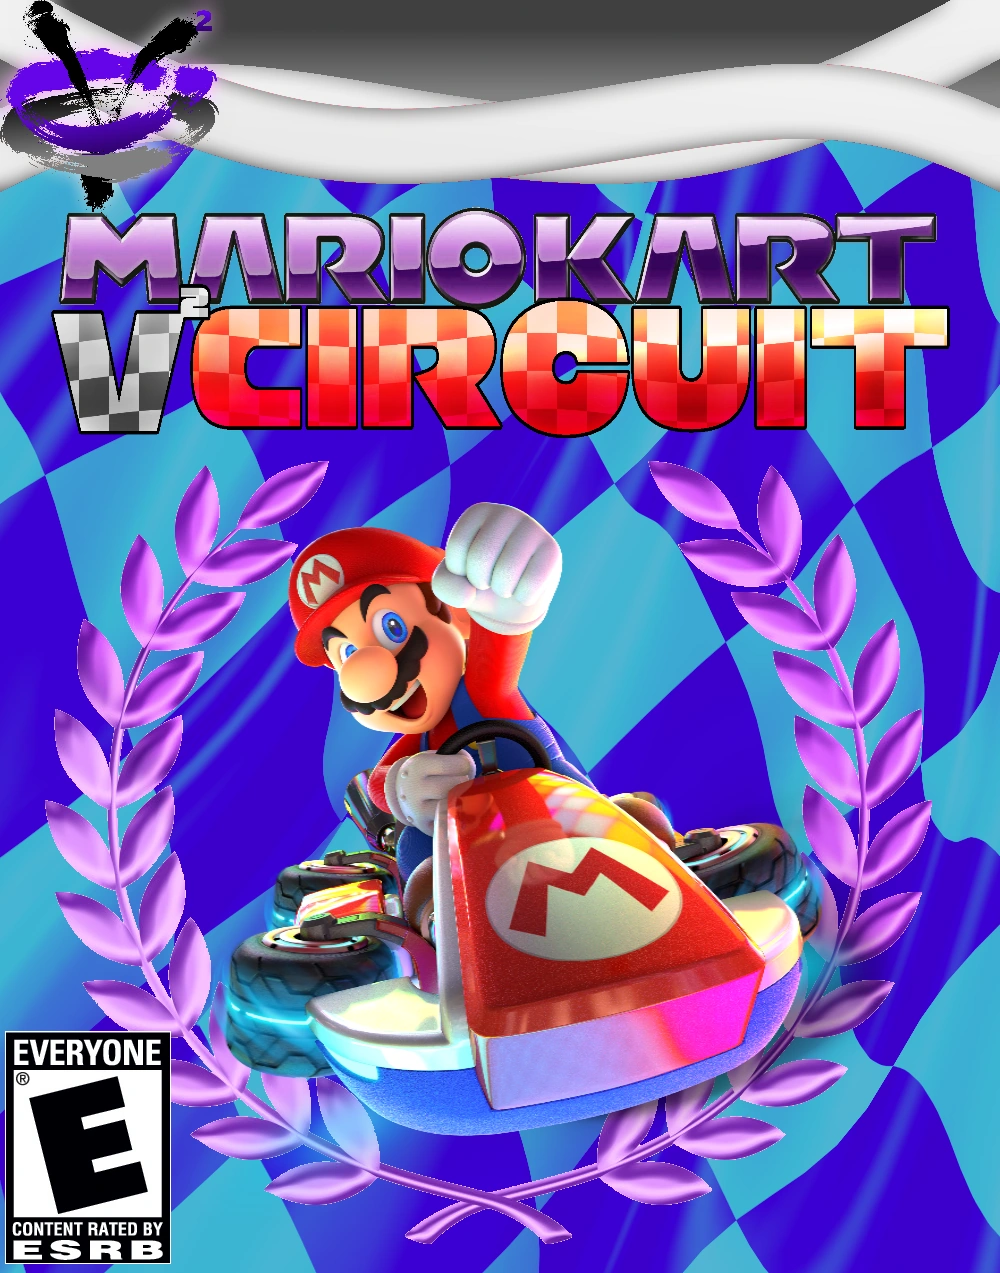
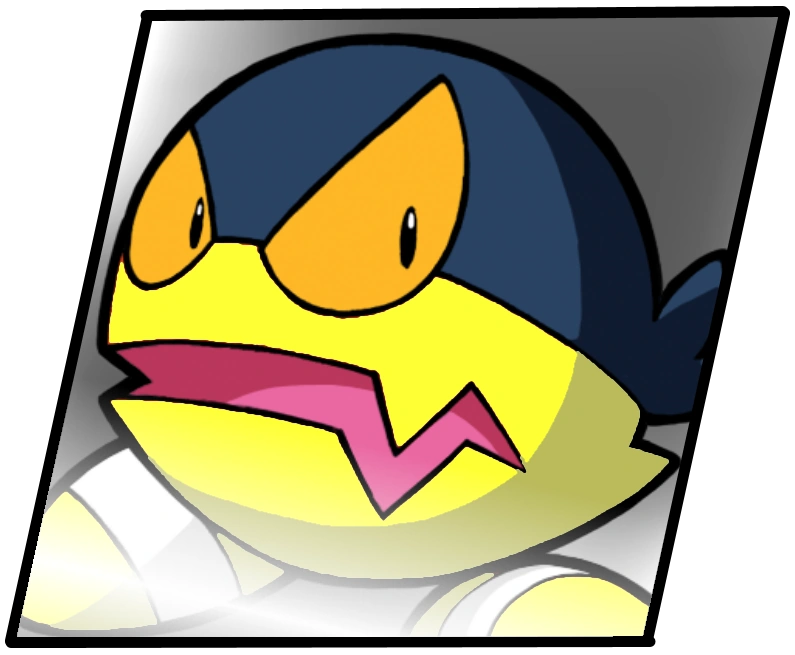
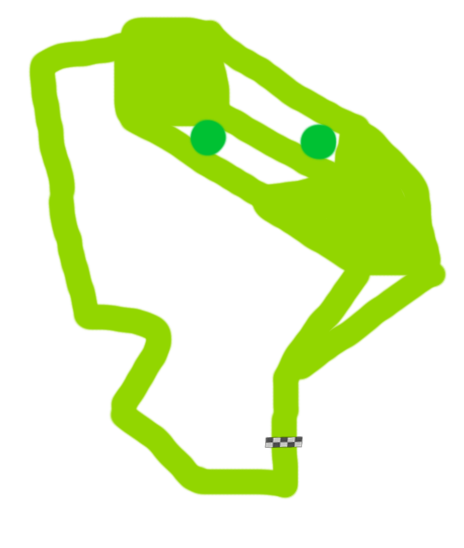
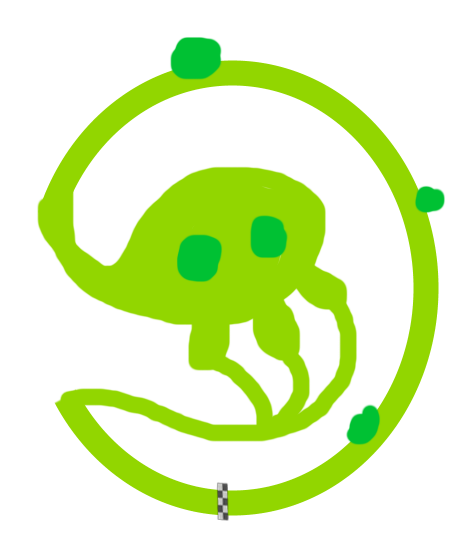
Mario Kart: V² Circuit is a entry in the Mario Kart franchise created for The V² by Toroko with conjunction from Nintendo. The game features a entirely new roster, mostly re-imagining it from the ground up. It returns many mechanics that were present in previous games such as vehicle customization and kart transformation through land, air, water, and anti-gravity. New to this installment is a casual story mode ala Mario Tennis Aces and the Phantom Drift move. Interestingly, this is the first installment to introduce a racing mode without items.
The game's title is a callback to the Game Boy Advance title Super Mario Circuit and features a similar cover. Additionally, elements from the Super Mario GP series appear as well, such as the subseries' unique lock-on feature for firing items and power slides.
Mario Kart: V² Circuit plays pretty similarly to other Mario Kart titles in that the player races eleven other characters on a track, using items from Item Boxes to change the tide of the race. Races can have different objectives based off what mode the player is in. Karts return with the customization they had from Mario Kart 7 and Mario Kart 8, as well as the land, underwater, air, and zero gravity modes they had.
New to this installment is the Phantom Drift. This appears as a small meter that can be seen on the lining of most of the tires in the game and appears as a small meter on the ui as well. When activated, this drift allows the kart to phase briefly through opponents as well as perform extremely sharp turns extremely quickly. The Phantom Drift meter fills as you drift, incentivizing drifting.
You can also now lock onto opponents to fire items at them. This only works with a certain range, but allows you to fire quickly with precision. You can also lock your camera onto nearby racers if you are close by. When drifting, holding it longer for 2 seconds will allow you to perform a powerslide that blocks most attacking items. You can also perform it quicker if you drain some of your built up Phantom Drift energy.
Smart Steering and Auto-Accelerate return from Mario Kart 8 Deluxe, although the double item holding does not return.
Grand Prix[]
The Grand Prix mode can be played up to two players with six available cups to race in. Each cup has four races on four unique tracks. The player must consistently win in the lead in these races to win, amassing enough points to top the leaderboard. The player can select from 10cc, 50cc, 100cc, 150cc, and 200cc engine classes.
Master's Prix[]
The Master Prix mode is the Grand Prix mode stripped of items and the kart modes (no underwater, air, or zero gravity modes). Additionally, the player can "super boost" when they drift; when then are drifting a meter will appear, dropping and raising. By consistently hitting the triggers on the controllers when the gauge is full, the player will amass more speed. The player can select from 10cc, 50cc, 100cc, 150cc, and 200cc engine classes.
Vesus Mode[]
With up to eight players, the players can race against each other in custom races. They can select what items appear and the rarity of them, the cpu difficulty levels, how many races and how many laps appear on each race. They can also select between Team or Solo races as well as what courses appear.
Double Mode[]
Pick two characters on your kart and switch between them during the race. The character hanging off the kart will carry an item while the character's stats transfer if they are driving the kart. This opens a lot of possibilities as you can have two items held at once and can swap your entire stat range in a instant, making for a lot of interesting mix-ups.
Time Mode[]
Cosmic Clone Trials[]
Race against a Cosmic Clone of your character to beat their time. After defeating the game's Cosmic Clone, you can try for a better score or get data from online Cosmic Clones that steadily rack up in difficulty, allowing for bigger and bigger rewards of coins. Beating a track's Cosmic Clone will also also unlock a character.
Frog Trials[]
Inspired by Wario Land 4, Frog Trials are strict time trials where you have to navigate the course and complete a lap in time to get to the vortex and escape before the Frog Switches triggered at the start of the race explode the course. These versions of the courses feature a lot of coins and Bonus Medals, which are rare items that only appear in this mode and only feature four per track.
Battle Mode[]
Each player has three balloons and drive around in specialized battle arenas using item boxes to grab items to attack other players with. Players can tell who hit whom with a area on the bottom of the screen alerting players of hits, as well as a balloon leaderboard showing how many balloons each player has. After a player gets hit, they have 1.7 seconds of invincibility to prevent flurry attacks from taking out their entire balloon stock.
Adventure Mode[]
A strange, powerful racer known only as Phantom X has arrived on Kartios Island, challenging the Mario gang to the race of a lifetime. Take your character of choice and go through many trials to train against this mysterious racer.
More details to come soon.
Hub Area
Info
Kartios Shores
TBA
Tanglewreck Tropics
TBA
Mystic Mansion
TBA
Savage Land
TBA
Wario's World
TBA
Phantom Mountain
TBA
Playable Characters[]
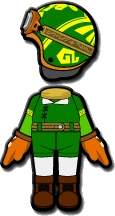
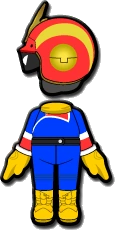
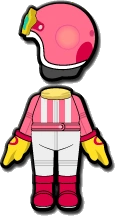
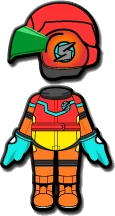
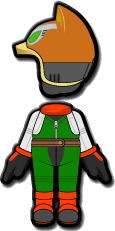
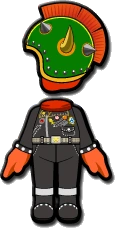
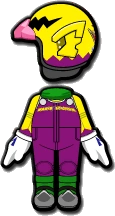
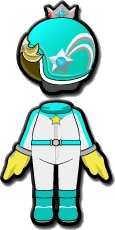
There are 121 unique characters that are playable in Mario Kart: V² Circuit. There are 36 starting characters, 54 unlockable characters, and 30 unlockable characters. On top of this, there is the Mii, who has variable stats and is designed more or less by the player.
Like Mario Kart 8, each character is unlocked in a random order except for Mii. Mii is always unlocked fifth or unlocked when the character uses a amiibo to unlock a Mii outfit. To unlock characters, the player must place first in a cup with any of the engine classes. Additionally, characters can be unlocked through collecting Coins and purchasing them on the menu using the coins.
Base Character Stats[]
Although you can create a vehicle out of parts similar to Mario Kart 7/Mario Kart 8, characters still have base stats that inform how vehicle parts effect them. Some characters start great in certain stats while some do not.
Speed: Top speed when going across the normal ground. Generally the speed is consistent across all types of terrain, although each presents a different drag that impacts all characters.
Acceleration: How fast you get to this top speed. After getting stunned or knocked off track, you will probably want to get back to top speed when possible. The bigger the number, the better.
Weight: The weight of a character puts them into certain classes. 1-2 are featherweights, 3s are mediumweights, and 4-5s put them into heavyweight categories.
Handling: This stat determines well can you turn on the terrain. Better grip means your car turns quicker and can do sharper turns.
Traction: How well you stick to the ground. This helps against slippery surfaces and can negate some of the lost speed you gain when you go off track.
Mini-Turbo: The length of a vehicle's mini-turbo in seconds, activated after drifting or gaining 10 coins. This stat is secret and not seen in normal gameplay. It is not effected by vehicle parts.
Click on the character icons to go back to their section in the character section.
Character
Speed
Acceleration
Weight
Handling
Traction
Mini-Turbo
Toad
2.5
2.75
2
2.75
4.5
2.5
Toadette
2.5
2.5
2
2.5
4.75
2.5
Koopa Troopa
2.25
2.25
2
2.5
4.5
2.75
Goomba
2
2.75
1
2.5
4.5
2.75
Shy Guy
3
1.75
1
2.5
4.5
2.75
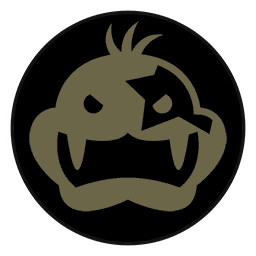
Bandinero
2
2.5
1
3
4.5
2.5
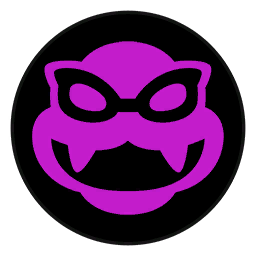
Wanda
2.75
2
1
2.5
4.25
3
Burt the Bashful
2
1.75
2
3.5
3.5
3.75
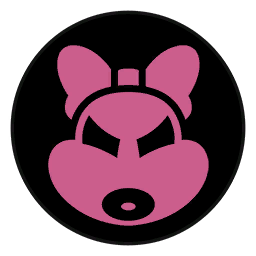
Mimi
3
1.5
1
3.75
2.5
3.75
Diddy Kong
4
3.5
1
1.75
1.5
4
Koopa Kid
3.5
1
2
2.75
3.5
3.5
Stork
2.5
2
1
3.25
3
3.75
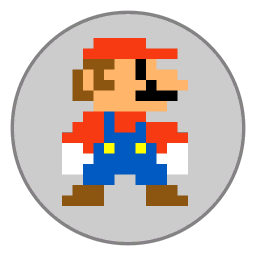
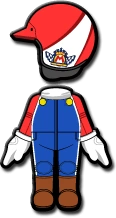
Mario
2.75
2.75
3
2.75
2.5
3
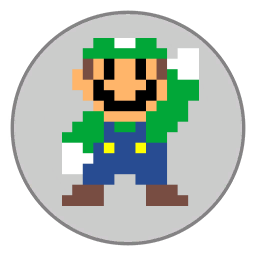
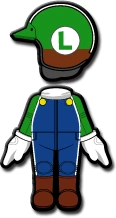
Luigi
2.75
2.75
3
2.25
3
3
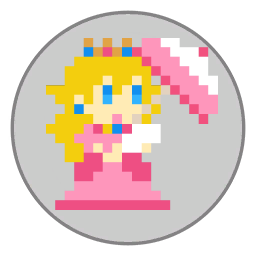
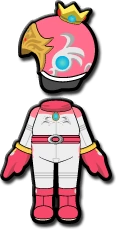
Princess Peach
3
2.5
3
3
2.25
3.5
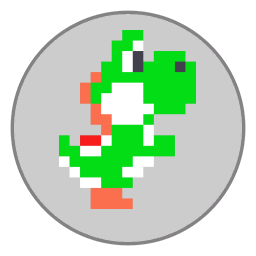
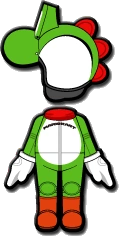
Yoshi
2.5
2.75
3
3
2.50
3.75
Princess Fusee
1.5
4.75
3
2
2.50
3.75
Princess Daisy
3.75
1.75
3
1.75
3.5
3.75
Kritter
1.75
1.75
3
3.75
3.5
3
Broque Monsieur
1
2.75
3
3.75
3.25
4.5
Rex
2.5
2.5
3
3.25
2.5
3
Pauline
4.75
2.75
3
2.25
2
3.25
Princess Shokora
2.5
2.75
3
2.25
3.25
3.75
Cranky Kong
1.25
1.25
3
3.25
5
2.25
Wario
3.25
2.25
4
2.25
3
4
Bowser
2.25
3.25
5
2.5
2.75
4
Donkey Kong
2.25
2.25
5
3.5
2.75
4.25
Captain Syrup
4.25
1.25
4
3.5
1.75
4.25
Waluigi
3
1.25
4
4.5
2
4.5
Rosalina
4
2.25
5
2.5
2
4.75
Midbus
1.25
3.25
5
3.5
2.75
4.75
Funky Kong
4.5
1.75
5
1.5
3
3.5
Madame Broode
1.25
1.25
5
4.5
3.75
3.5
Cosmetta
4.25
2.5
5
2.5
1.5
4.75
Boom Boom
2.25
2.25
5
2.5
3.75
4
Shake King
3.25
2
5
2.5
3
4.5
Dixie Kong
2.25
2.25
2
3.25
3
2.75
Kirby
1.5
1.5
1
4.5
3.25
2.25
Olimar
1.75
1.25
1
3.5
4.25
2.5
Goombella
2.5
2.5
1
2.5
2.25
2.25
Vivian
3
1
2
3
3.25
2.75
Nabbit
4.75
3
1
1
2
2.75
Mewshi
2.5
2.25
2
3.25
2.75
2.5
Cappy
2.5
2
1
3.5
2.75
2.75
Bowler
3
1.5
1
3.5
2.75
2.75
Tiny Kong
2.25
2.25
1
2.25
3
2.75
Dry Bones
1.5
1.5
1
3.5
4.25
2.25
Banana Fairy Princess
4.5
1.5
1
3.5
2.25
1.25
Gooigi
2.75
2.75
1
2.25
3
3.5
Suna
2.75
3
1
2
3
2.75
Jane B. Christie
2.25
1
1
4.50
2
4.75
Blinky
2
5
1
2
1.75
2.75
Ms. Pac-Man
3
4
2
2.25
1.5
2.5
Mametchi
4
3
2
2.5
1.25
2.5
Slanito
2.5
2.5
3
3.25
2.5
3
Inkling
2.25
2.25
3
3.75
2.5
3.75
Link
2
2
3
3.25
4.5
3.25
Mona
3.5
1.5
3
3.25
2.5
3.5
Captain Toad
2.5
2.75
3
2.75
4.5
3
Captain Toadette
2.5
2.5
3
2.5
4.75
3
Bowser Jr.
2.5
3.75
3
2.25
2.25
3.25
Nastasia
2.5
1
3
3.75
3.5
3.75
Hammer Bro.
2.5
2.5
3
3.5
2.25
3.75
Birdo
3.5
1.75
3
3.25
2.25
3.25
Bandit
4.5
3
3
1.25
2
3.75
Lanky Kong
2.25
2.75
3
3.25
2.5
4
Queen Merelda
2
3
3
3
2.75
3.5
Princess Lotus
2.25
2.25
3
3.75
2.5
3.75
Captain Falcon
3.25
2.5
3
3.25
1.75
4
Geno
3.5
2.5
3
2.25
2.5
3.75
Mach Rider
3.75
3.25
3
2.25
1.5
3.75
Pac-Man
4
2
3
2.5
2.25
3.75
Lubba
2.5
3.5
5
2.5
2.25
4
Samus
3.5
2.5
4
1.5
3.25
4.25
R.O.B.
3
3
4
2.75
2
4.75
King K. Rool
2.5
3.5
5
2.25
2.5
4.75
Rudy the Clown
1.5
3.5
5
2.25
3.5
4.25
Metal Mario
2.75
2.75
5
2.75
2.5
4
Queen Ruby
2.5
2.5
4
3.25
2.5
4.25
Petey Piranha
3.5
1.5
5
3.25
2.5
4.5
King Boo
2.25
2.75
5
3.25
2.5
4.5
Pom Pom
3.25
2.75
4
1.25
2.5
4.75
Xananab
2.5
2.5
4
2.75
3
4.5
Chunky Kong
1.25
1.5
5
3.5
4.5
4.25
Princess Cinnabon
1.75
2
5
2.5
4.5
4.25
Chiro
3.25
1.5
4
2.5
2.5
4.5
Deathborn
1.25
1.25
5
3.75
4.5
4.75
Don-Chan
2
3
4
3.75
2
4.5
Foreman Spike
1.75
2.25
4
3.5
3.25
4.5
Pink Gold Peach
3
2.5
5
3
2.25
4.5
Mii
Variable
Variable
Variable
Variable
Variable
Variable
Morton Koopa Sr.
2
3.5
5
2.25
4
4.5
Iggy Koopa
3
2.5
3
2.25
4
3.5
Larry Koopa
2.25
3.25
3
2.25
4
3.25
Lemmy Koopa
3
2.5
1
4.25
2
2.5
Ludwig Von Koopa
3
2.5
3
2.25
4
3.5
Roy Koopa
2.5
3
4
2.75
3.5
4.25
Morton Koopa Jr.
1.5
2.5
5
4.25
3.5
4.5
Wendy O' Koopa
3.25
2.25
2
3
3.25
2.5
Dry Bowser
3.25
2.25
5
2.5
2.75
4.25
Princess Bowser
3.5
2
4
3
2.25
3.5
Lakitu
3
2.5
1
2
4.25
2.5
Villager
2
2.5
3
3
4.25
3.5
Isabelle
2
1.5
1
4
4.25
2.5
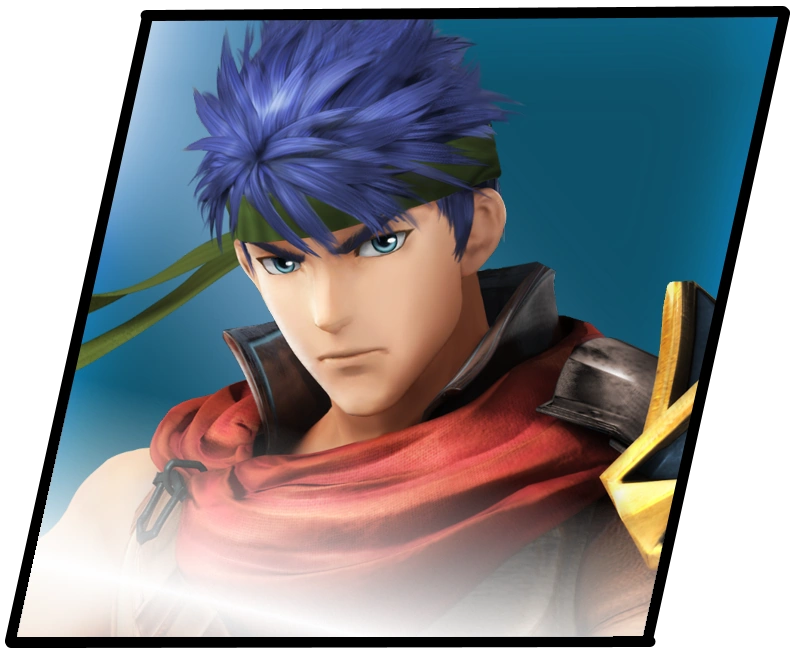
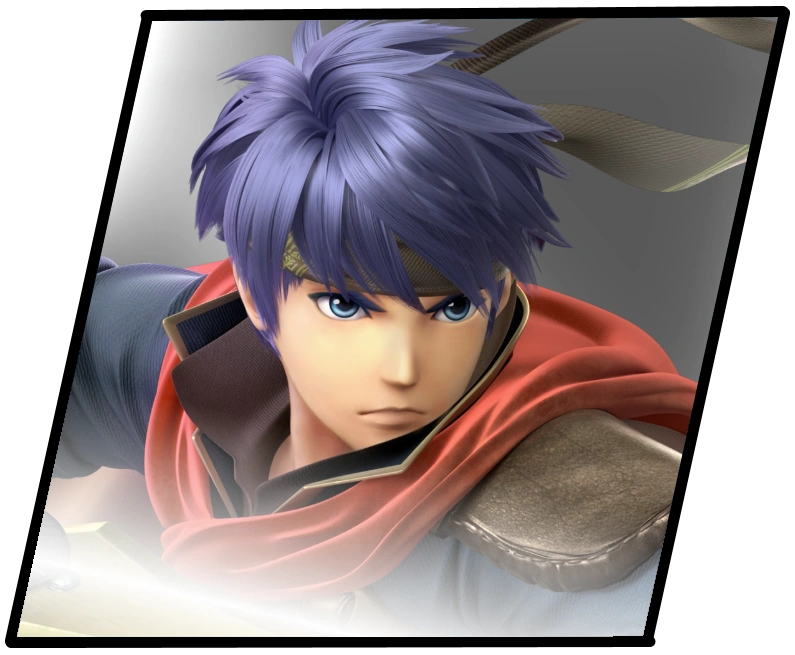
Ike
2.5
1.5
4
3.5
4.25
5
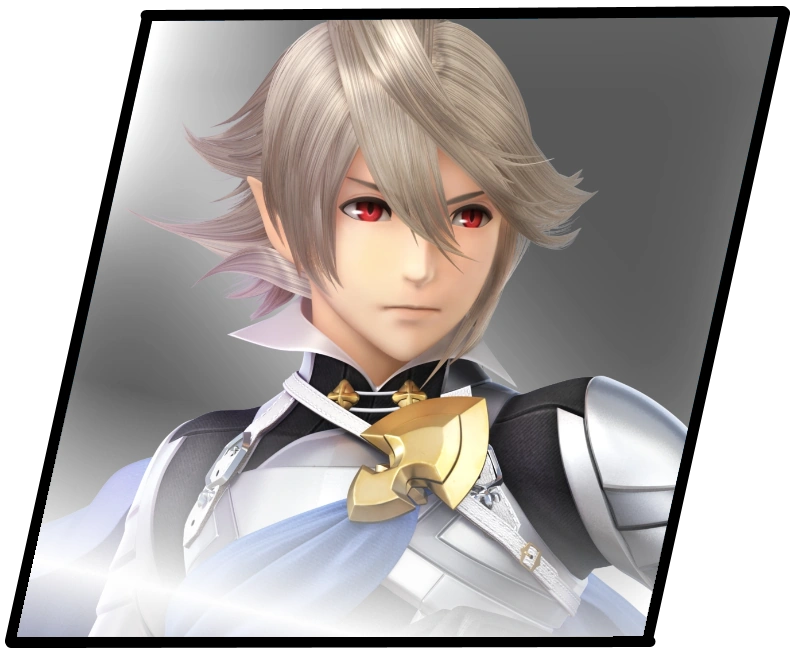
Corrin
3
2.75
3
3
3
3.75
Pit
4.25
1.25
2
2.75
3.5
2.75
Palutena
3.25
2.25
1
3.5
1.75
2.75
King Bob-Omb
1.5
4
5
1
4.25
3.5
Taj the Genie
4
1.5
5
2.25
4
4.5
Wizpig
4.5
1
5
2
4.25
4.5
Timber
4
3.5
3
1.75
1.5
3.5
Mary O.
2.5
3.5
3
1.5
3.25
3.25
King Watinga
2.25
2.75
5
3.75
3
4.50
Builder Mario
2.5
2.5
3
3.25
2.5
3.75
White Mage
2.5
2.5
3
3.5
3.25
3
Black Mage
2
3
3
3.75
3
3
Slime
1
2.25
1
5
3
3
Jade
2.5
2.25
3
3.5
4
3
Sonic
5
3.25
3
2
2
3.75
Shadow
4.75
3.25
3
2.25
2
3.75
Don Bongo
1.5
2.25
5
4.5
4.5
4.25
Pak E. Derm
4.25
3.25
3
2.75
2
4
Aqualea
3.5
3.25
3
2.5
3
3.25
Dr. Wright
1.25
2.5
4
4.25
4.75
4
Vampire Wario
3.25
2.25
3
2.25
3
3.75
Wart
2.5
3.25
5
3.25
3.25
3.25
Color Variants[]
Character
Variants
Bandinero
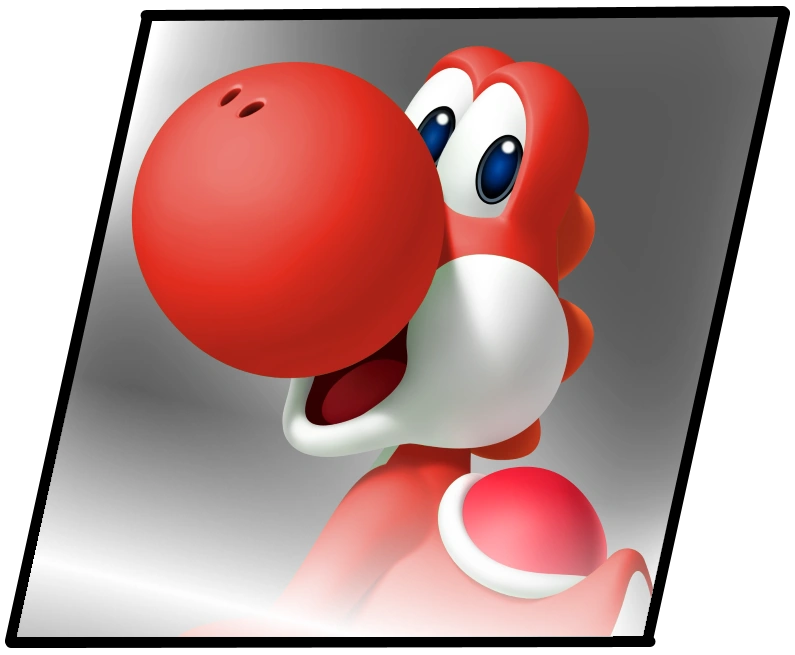
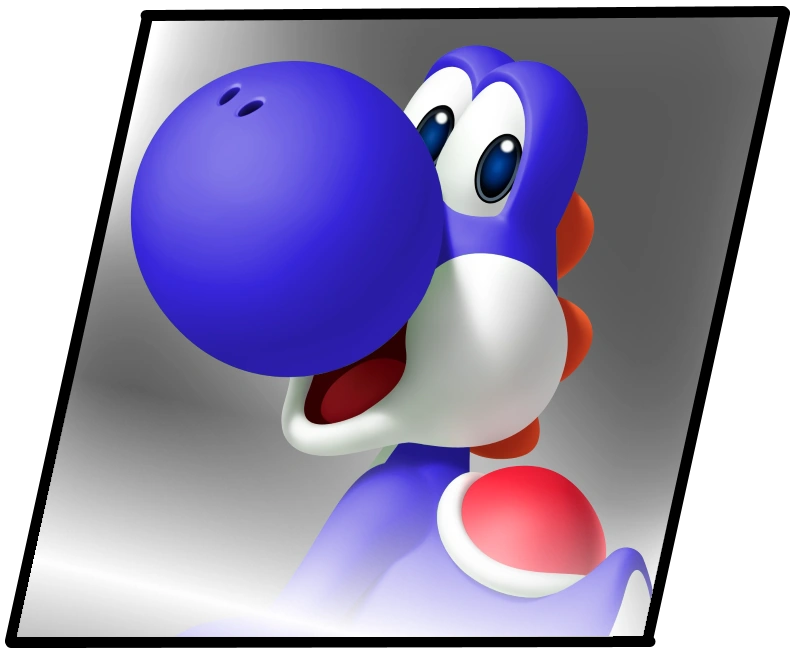
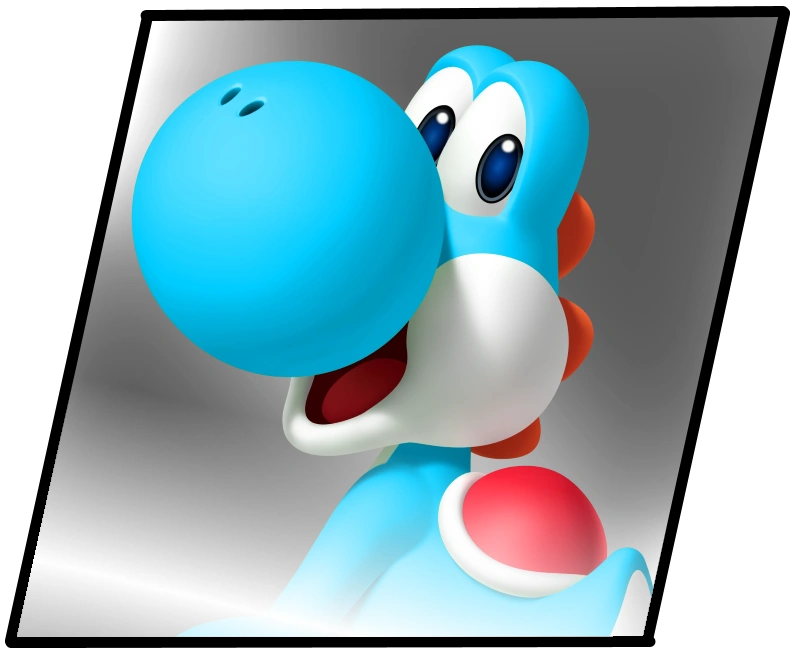
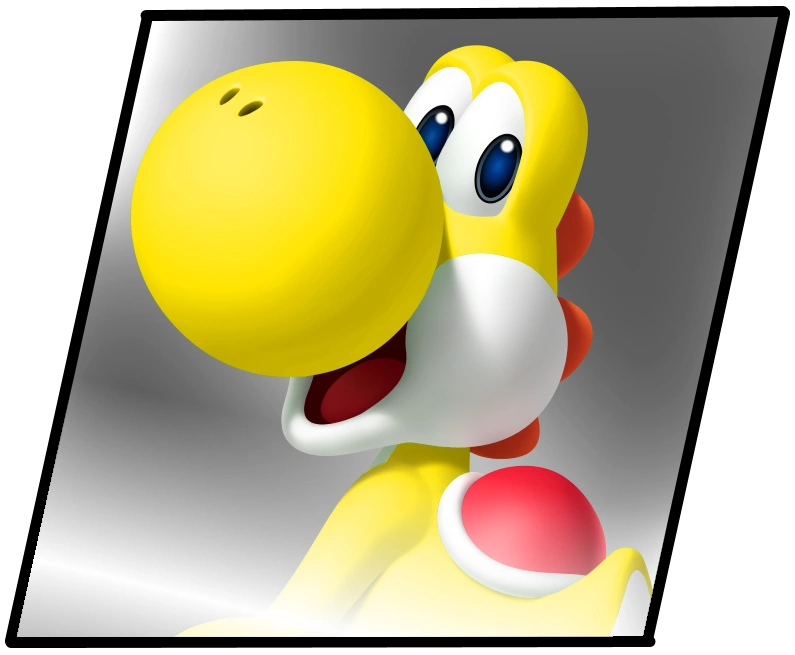
Yoshi
Ike
Corrin
Race Courses[]
Each Cup features four tracks.
Mushroom Cup[]
Mushroom Cup
Image + Name
Info
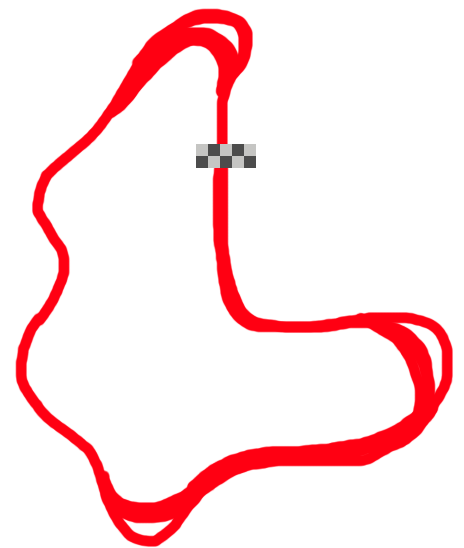
Super Circuit
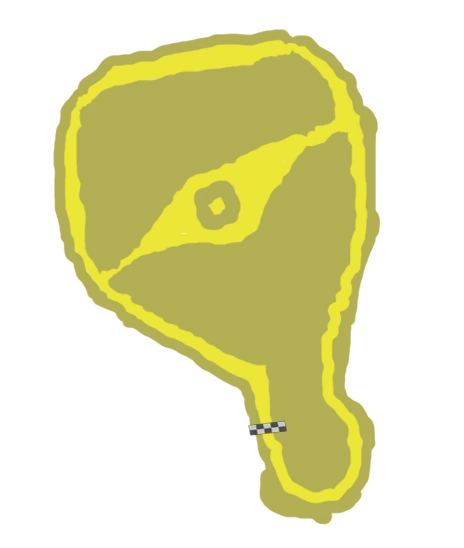
Super Circuit is your standard Mario Kart track, featuring a couple bends here and there. It is a redone version of Peach Circuit from Mario Kart: Super Circuit but features splits in the track that loop back to the main course. These alternate paths contain anti gravity shifts but are much tighter and more dangerous to take.
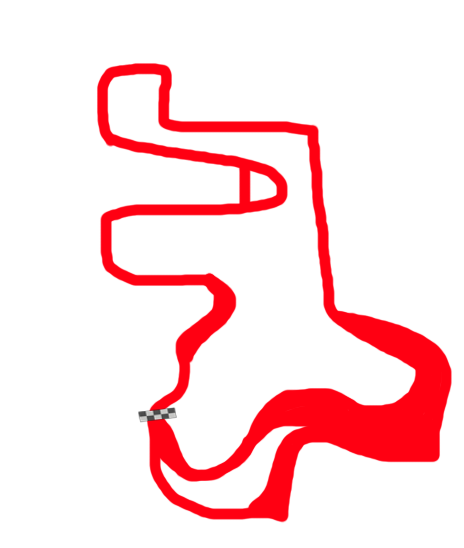
Wario Castle
Wario Castle takes you across a grassy atoll populated by Spritelings from Wario World before eventually coming into the gold coated castle. There is two paths during the grassy atoll and a shortcut inside the mansion for those with high steering stats. The mansion is tighter than the grassy atoll but opens back up to the finish line. There is barely any coins outside the mansion, but plenty inside.
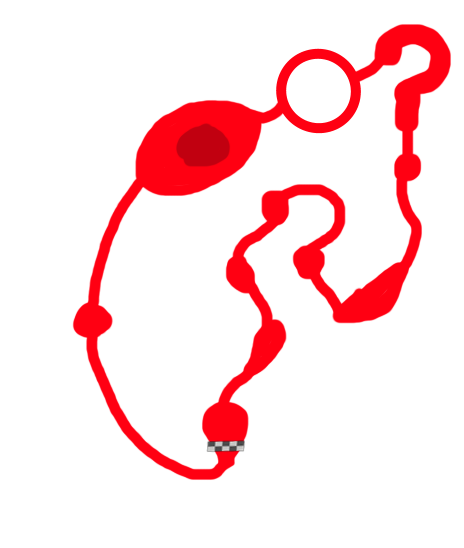
Gusty Gardens
Gusty Gardens starts you on a round disc planet and has you shoot through a star-dust/flowers road with several glider and antigravity segments. You will go through the Pear Planets, the Curve Planet, the Question Mark planets, the hedge ring planet, and Major Burrow's planet before making your way back to the finish line, going through a disk planet as you do. The only obstacle here is Flipbugs, which run away from the race if they're in the way and don't stun the driver on impact.
Bowser's Blossom Bastille
Bowser's Blossom Bastille is an expansive map full of tight turns on a giant battleship that is littered with sakura blossom trees. Tox Boms litter the wider turns of the stage, exploding in a posion that slows drivers down for a short time after they get stopped by the blast. An alternate glider route can be found early on in the track.
Flower Cup[]
Flower Cup
Image + Name
Info
New Donk Sewers
New Donk Sewers is based off the sewers of New Donk City and feature a variety of spinning walls that you will have to slow or speed through to get through the map safely. Additionally, Urban Stingbys appear during the thin road segments of this map, requiring speedy dodging to avoid getting hit by them.
Bullet Bill Battlegrounds
Bullet Bill Battlegrounds is a expansive course featuring giant stone bullet bill launchers and dart bills that shoot out if your car drives over certain tiles embedded into the ground. Avoid the Bullet Bills and watch out as the latter half of the course begins to squeeze into a tighter section. A giant mountain stands in the center of the track, acting as a wall.
Boo Library
Boo Library is a tight and intricate track that opens up early on and branches into three paths, with two giant Boohemoths pacing between the paths. A tight turn into a much more compact part of the track follows, which requires the racers to watch out for flying Bookends until the first turn of this segment, which is also another tight turn.
Rudy's Circus
Rudy's Circus is a fairly standard circular map until it turns into a wide expansive area shaped like a skull. Watch out for Omodons, Mr. Moons, and Suns, who appear as obstacles in the map; Mr. Moons appear as you come from the finish line while Suns punctuate the end of the track. Omodons appear inside the skull area.
Moon Cup[]
Moon Cup
Image + Name
Info
Foulwater Falls
Foulwater Falls is based off the canyon of the same name from Wario Land: Shake It!!!. It is a giant ravine with two branching paths- one of a wider and shorter route but requires tight turns, while the longer way around is tighter and features a underwater section. It lacks real hazards, although it is the introduction to underwater portions in the courses.
A faster variation of the Red Shell with nearly twice the speed of a Red Shell.
Triple Pink Shell
1 Rare
3 Rare
5 Rare
7 Rare
9 Common
11 Common
2 Rare
4 Rare
6 Rare
8 Rare
10 Common
12 Common
A faster variation of the Red Shell with nearly twice the speed of a Red Shell. Good luck trying to miss this, especially in a 3 pack!
Blue Winged Shell
1 Unavailable
3 Unavailable
5 Unavailable
7 Rare
9 Rare
11 Rare
2 Unavailable
4 Unavailable
6 Unavailable
8 Rare
10 Rare
12 Rare
The rarest and most infamous item to grace Mario Kart. It automatically targets the player in the lead and comes through the air before slamming into kart to stun them hard. You can boost to avoid it, but your timing has to be tight!
Red Winged Star
1 Rare
3 Rare
5 Rare
7 Unavailable
9 Unavailable
11 Unavailable
2 Rare
4 Rare
6 Rare
8 Unavailable
10 Unavailable
12 Unavailable
The inverse of the Blue Winged Shell. It can be utilized to give the player in last place a boost by giving them the star power-up, which makes them invincible and much faster.
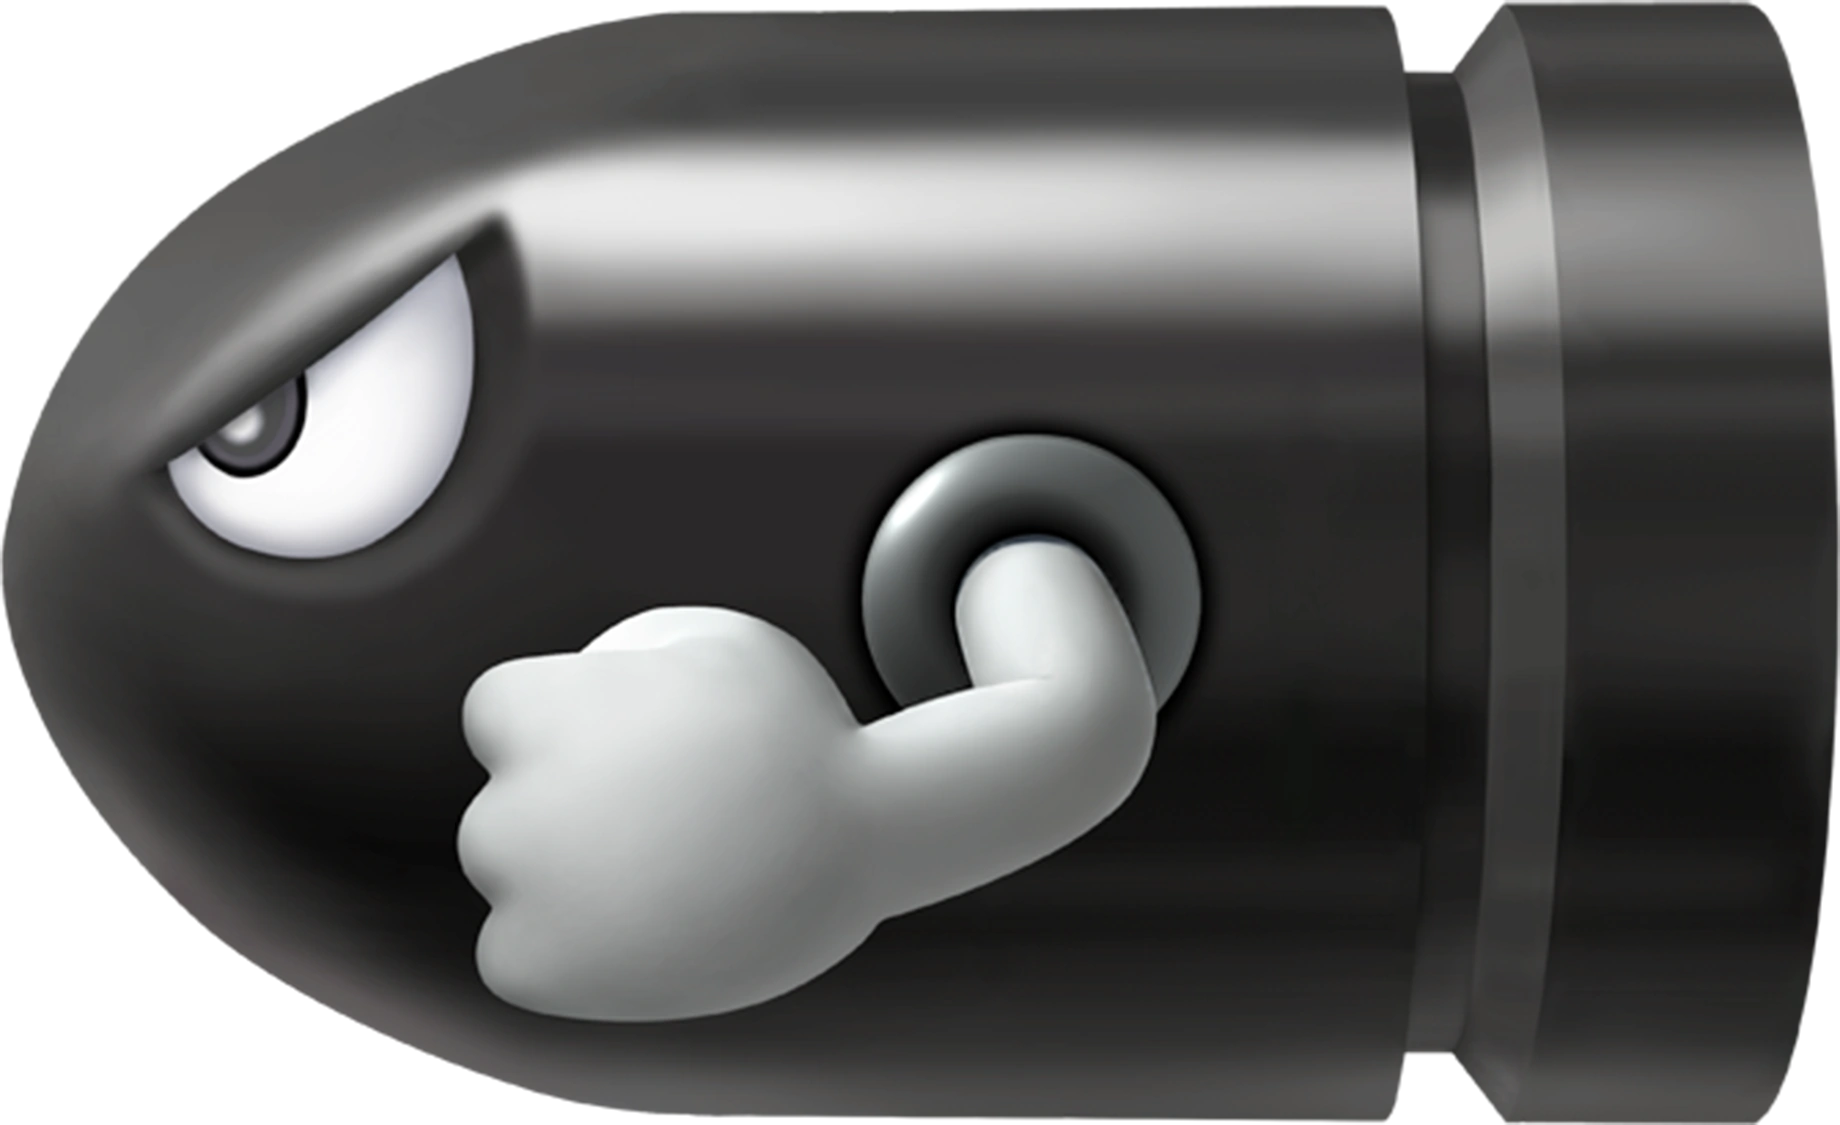
Transforms the kart into a giant bullet bill that speeds rapidly forward with very little input from the controller. Speeds through opponents and ignores collision with items.
Bullet Bill Express
1 Unavailable
3 Unavailable
5 Rare
7 Rare
9 Common
11 Common
2 Unavailable
4 Unavailable
6 Rare
8 Rare
10 Common
12 Common
Transforms the kart into a giant speeding train that oppresses all opponents in it's way! A longer, albeit nowhere near as fast version of the Bullet Bill item. Unaffected by collision or item effects. Has some limited tilt input from the controller to lean into nearby opponents.
Has the kart boost it's acceleration rapidly, giving a great burst of speed. Will knock opponents away if hit with the boosting kart. Acceleration quickly normalizes seconds after activation.
Acts as three mushrooms, with each activation using one of the mushrooms to accelerate. The boosting effect stacks but won't increase the time you stay boosted, merely just the speed.
Boost rapidly forward by repeatedly tapping the button. It runs off a timer system as opposed to a use system, so you only have 10 seconds to utilize your unlimited boosts from the Golden Mushroom once you activate it.
Accelerate forward while slowly ascending and descending into the air. Allows you to dodge shells that are coming towards you if timed correctly while acting as a somewhat extended boost forward.
Has the kart boost forward with a large amount of energy coming from the front of the vehicle. Acts as a very quick boost with large offensive potential- crashing into another kart with the boost will knock them straight up into the sky, halting all speed.
Acts as three garlic pots, with each activation using one of the garlic pots to accelerate. The boosting effect stacks but won't increase the speed, but rather the time it stays activated.
Charge rapidly forward. Each charge forward will briefly slow the momentum of the kart when at the end of the animation, although you can immediately boost to regain your speed. You have 8 seconds to utilize it and it has the same effects as the normal Garlic Pot.
Shoot bubbles forward or behind to capture objects and have them float in bubbles. You can also set up bubbles to briefly trap opponents if they drive into it. Acts on a timer system similar to the Golden Mushroom.
Use the Magenta Baby Yoshi as a balloon to raise yourself into the air. Use it to extend your air time while in air mode. Acts as somewhat of a drag while in the air, slowly decreasing your speed. Hit the gas right when you get back on the ground to gain a boost.
Use the Glowing Baby Yoshi as a illuminating light. While active, you can press the item button to have Glowing Baby Yoshi illuminate even more to stun opponents nearby. Your timing has to be tight to do this!
The fire bar swings around the kart, having four fireballs circle around the kart. It stuns opponents on hit and removes one fireball, needing to be hit up to four times to remove all the fireballs. Fireballs also slowly disappear with every 10 seconds.
Can be used to clear away paint puddles created by the Magic Paintbrush. Additionally, can be used to spray opponents to slightly redirect their direction or used on the ground to make the ground slightly more slippery. Runs off a meter of water.
Bucket
1 Common
3 Common
5 Rare
7 Common
9 Rare
11 Common
2 Common
4 Common
6 Common
8 Rare
10 Common
12 Common
The Bucket can be used to obscure your opponent's vision, making them unable to lock onto foes and causing their steering stat to temporarily dip. This does not actually effect your opponent's screen oddly enough.
The Punch Ball can be thrown to hit opponents to stun them. They remain on the ground and become punted if run over. The only way to get rid of a Punch Ball once it's on the track is through other items like shells or Thwomp Stompers.
The Thwomp can be set up like a Banana Peel, laying on the track in the air. The Thwomp appears to do nothing if nobody is nearby, but will stomp down when a racer comes near. This can flatten the racer, making them lose speed on the ground but gain aerial distance or stun them if just hit with a shockwave.
The Thwomp Stompers act as a large shockwave when used and can destroy nearby Thwomps for a large distance. The shockwave with stun and spin out opponents. If used while gliding, it will extend your aerial distance with a rocket boost instead.
The Sun Blossom electrifies the kart for a short time, causing opponents who bump into it to spin and out and shrink as if they were electrified. Lasts for 12 seconds.
When you place down a banana peel, it'll stay on the track until a car slides over it, causing them to spin out. You place it behind you or throw it in front of you, making placement of it rather key.
When you place down this banana peel, your opponent doesn't spin out when they drive over it. Instead, they gain a boost in speed while on fire, which prevents them from using items and makes them control slightly worse as their driver panics.
You get three of these to place and cause opponents to burn for a short time, making their kart speedier but harder to control. Somewhat rarer than the single variety.
When you place down this banana peel, your opponent doesn't spin out when they drive over it. Instead, they become entrapped to the ground, unable to move. While stuck, they can spin their wheels. When the stuck period ends, they can gain a boost.
You get three of these to place and cause opponents to become stuck for a short time, making them unable to move forward from their current location. Somewhat rarer than the single variety.
When you place down this banana peel, your opponent doesn't spin out when they drive over it. Instead, they slide as if they're on ice for the next 7 seconds.
When you place down this banana peel, your opponent doesn't spin out when they drive over it. Instead, they become tiny and become slower as a result, somewhat similar to the effects of a thunder cloud.
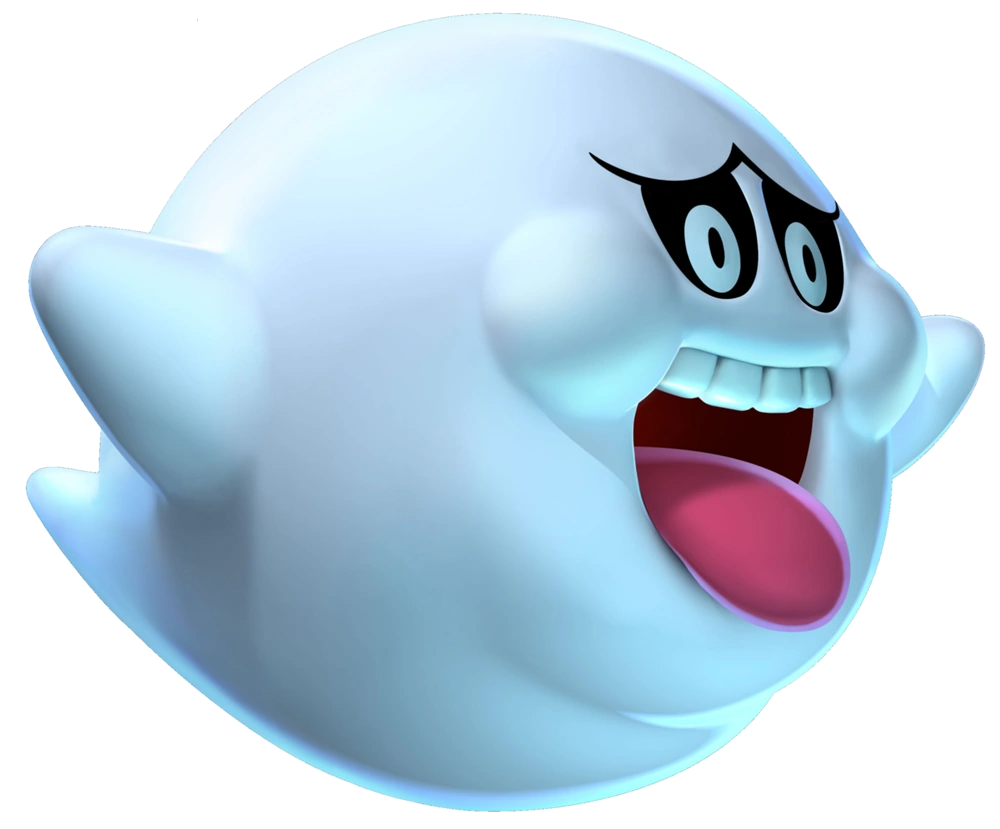
Send a Boo to steal a nearby opponent's item if they have one. If there is no nearby opponent with a item, the Boo just stays still frozen in fright until a suitable opponent appears nearby.
Send out an Ecto-Boo to create slippery puddles that will spin out foes if they're going top speed and will otherwise make handling slightly more slippery.
Wheel Virus
1 Rare
3 Rare
5 Rare
7 Rare
9 Rare
11 Rare
2 Rare
4 Rare
6 Rare
8 Rare
10 Rare
12 Rare
Taking the form of a chilling virus, the Wheel Virus locks onto opponents when fired and will screw up the opponent's turning. The Wheel Virus is passed from player to player through bumping, which will remove it from the original host. After a set period of time, the Wheel Virus disappears.
Invisi-Mushroom
1 Rare
3 Rare
5 Rare
7 Rare
9 Rare
11 Rare
2 Rare
4 Rare
6 Rare
8 Rare
10 Rare
12 Rare
When used, the Invisible Mushroom will cause the opponent to become invisible, disappearing off the map for their opponents for 7 seconds. Lock-on items won't track them but they can still be hit.
Raceshroom
1 Unavailable
3 Unavailable
5 Rare
7 Rare
9 Rare
11 Rare
2 Unavailable
4 Unavailable
6 Rare
8 Rare
10 Rare
12 Rare
The Raceshroom grants the player a green shell, a red shell, a pink shell, a garlic pot, a mushroom, a fludd shot, and a coin coffer with a red coin. It's incredibly rare and each item circles around the player, being fired off in the order listed above when the button is tapped.
The Boss Galaga can be sent to pull a opponent up into the air with it's tractor beam, causing them to lose all momentum and time in the race. This dastardly item has a strong pull but if you're going fast enough, even if you're in it's sights, you can avoid it.
Cosmic Clones appear as racers in Cosmic Clone Trials, using ghost data to race against the player. Initially, Cosmic Clones utilize ghost data from the developers of the game and remain the same across all players who play the game, but after beating the Cosmic Clone for a course for the first time, it will pull ghost data from other players online to encourage players to get a better and better time on every course, scaled for difficulty.
Frog Switch
Frog Switches are set up at the beginning of races in Frog Trial races. When the player crosses the starting line, they trigger a trip wire that sets off the Frog Switches, which show a bomb concealed inside and then show a ticking timer. "Hurry Up!" can be heard instead of "Go!" as you begin this very strange time trial. If the player doesn't complete a lap and enter the vortex at the finish lap in time, they lose as the track explodes.
Bonus Medals are scattered across the tracks in Frog Trial races. There are four for each course, and there is a challenge of getting them while also making it in time to get to the vortex at the end of the course. Bonus Medals can be used to unlock characters faster, unlock more emblems for use, or unlock the amiibo costumes for Miis without using the amiibos.
Non-Playable Characters[]
Hazards[]
Image + Name
Info
Flipbug
Appear in Gusty Garden.
Flipbugs aren't really much of a hazard where they appear, running away from incoming Karts and not doing anything to the driver if they do make contact, getting knocked away if they hit the driver. They can cancel out a boost if they are hit.
Tox Bom
Appear in Bowser's Blossom Bastille.
Tox Boms are toxic bom-ombs that when they go off, explode in a slowing shower of poison that slows your kart and can stun you briefly. They go off prematurely if you hit them. They come from launchers that are placed off the side of the track.
Urban Stingby
Appear in New Donk Sewers.
The New Donk city version of Stingbys, the Urban Stingby appear as larva before transforming into a fuzzy black bug that accelerates with its stinger. If it hits a kart, expect to be knocked away and spun out.
Bullet Bill
Appear in Bullet Bill Battlegrounds.
Bullet Bills are fired straight ahead from cannons and can knock away foes and spin them out if they are hit. They also appear as an item in the game, but touching them when they fire from a cannon won't help you during the race.
Dart Bill
Appear in Bullet Bill Battlegrounds.
Dart Bills are fired when a player runs over a button to activate them, which they will fire quickly out of the wall. Getting hit with one will only slow you down, but being riddled with three will knock you out and cause your racer to stop for a short time.
Boohemoth
Appear in Boo Library.
Boohemoths pace up and down the track. If you catch their attention by going too slow, they will send boos after you to steal your item and spin you out. Bumping into them will also incur their wrath.
Boo
Appear in Boo Library.
Sent by Boohemoths, Boos lock onto the player and steal their item. If they have no item, they will instead spin the kart out, halting all momentum.
Bookend
Appear in Boo Library.
Bookends fly off the shelves to chomp at racers if they don't avoid them in time. They have slight homing, but generally stay on a straight path to the other bookshelf.
Omodon
Appear in Rudy's Circus.
Omodons act similar to Thwomps in that they will squish opponents that get under them which will the racer down considerably. They stay down much longer than Thwomps as well as their Omodonmeka still have to lift them back up.
Mr. Moon
Appear in Rudy's Circus.
Mr. Moon roams around outside the track, firing lightning bolts at karts which will turn them tiny and slow. His aim is very scattershot and he doesn't really seem to aim for an opponent, just an area in general.
Mr Sun
Appear in Rudy's Circus.
Mr. Sun roams around outside the track, firing fireballs at karts which will cause them to burst into flames, becoming very fast but hard to handle. His aim is very scattershot and he doesn't really seem to aim for an opponent, just an area in general.
Background Characters[]
These characters appear as background cameos in some of the courses. They are listed in order of appearance.
Toadsworth
Spriteling
Major Burrows
amiibo[]
Emblems[]
You can equip emblems to have them show up as your Kart and avatar in online modes. This is a feature returning from Mario Kart DS. You unlock emblems every race until you have them all, although in a random order. You can also unlock them via amiibo.
001
002
003
004
005
Mario
Luigi
Peach
Daisy
Rosalina
006
007
008
009
010
Yoshi
Red Yoshi
Blue Yoshi
Light Blue Yoshi
Yellow Yoshi
011
012
013
014
015
Orange Yoshi
Pink Yoshi
Black Yoshi
Grey Yoshi
White Yoshi
016
017
018
019
020
Toad
Koopa Troopa
Red Koopa Troopa
Pink Koopa Troopa
Blue Koopa Troopa
21
22
23
24
25
Shy Guy
Lakitu
Toadette
King Boo
Metal Mario
26
27
28
29
30
Bowser
Blossom Bowser
Dry Bowser
Bowser Jr.
Koopa Kid
31
32
33
34
35
Iggy Koopa
Morton Von Koopa
Lemmy Koopa
Larry Koopa
Morton Koopa Jr.
36
37
38
39
40
Roy Koopa
Wendy O' Koopa
Dry Bones
Wario
Waluigi
41
42
43
44
45
Donkey Kong
Diddy Kong
Dixie Kong
Cranky Kong
Funky Kong
46
47
48
49
50
Cosmetta
Captain Syrup
Princess Shokora
Question Block
Broque Monsieur
51
52
53
54
55
Pak E. Derm
56
57
58
59
60
Pixel Mario
Pixel Luigi
Pixel Peach
Pixel Toad
Pixel Yoshi
Mii Costumes[]
Mii Costumes
Mario
Luigi
Peach
Yoshi
Link
Captain Falcon
Kirby
Samus
Fox
Toad
Bowser
Wario
Rosalina
Olimar
Animal Crossing
Mega Man
Gold Mega Man
Pac-Man
Sonic
Inkling Girl
Shadow
Inkling Boy
Gallery[]
Logo for the game
Boxart for the game
App icon for the game
Trivia[]
The page uses modified versions of Mirai Moon(t∣b∣c)'s templates that were previously used for Mario Kart Silver. Interestingly enough, these templates also use code taken from Antiblaze and Fortresses of Light.
This game features several fan-created characters.
Additional fan characters include Princess Fusee, Cosmetta, Bowler, who all have been in past Toroko Mario projects and were created by the page creator.
Princess Bowser is a interesting case, as the idea was originally created by twitter user ayyk92 but has since been toyed with other users on the wiki. Her personality is based off Helena Harper(t∣b∣c)'s take on the character but her design for this game comes from Computerboy64(t∣b∣c).
This is the first Mario Kart since Mario Kart 7 to not feature any of the baby characters introduced in past installments.
References to other games[]
Punch Ball Mario Bros. - Punch Balls appear as an item in this game as well as being part of the title for one of the game's cups.
Super Mario Bros. 3 - Boom Boom appears as part of the game's roster.
Super Mario World - Rex appears as a playable racer, having debuted in this game and staying primarily out of future Mario games for whatever reason.
Super Mario World 2: Yoshi's Island - Burt the Bashful appears as a racer in this game as well as the Stork.
Mario vs. Wario - Wanda appears as a playable racer in this game. The bucket appears as an new item and comes from this game.
Super Mario Land 3: Super Wario Land: The 10 Coin from this game makes an appearance as a item with the design seen in that game.
Mario Kart: Super Circuit - The name of this game is a direct reference to this Game Boy advance title.
Mario Kart GP - Powerslides from this game appear as a mechanic in this game. Additionally, the lock-on feature for items was inspired by this game. Pac-Man, Ms. Pac-Man, and Blinky all make their return, having been previously part of this game's roster. Additionally, the Invisi-Mushroom and Driver Virus items come from this game.
Mario Kart GP 2 - Mametchi returns, being previously from this game's roster.
Mario Kart GP DX - Don-chan returns, being previously from this game's roster.
Mario Party series - Koopa Kid makes his reappearance as a playable racer, being part of the earlier games as Bowser's assistant.
Donkey Kong 64 - Multiple colored bananas appear as items in this game. Their colors are no accident- they are a reference to the five type of banana collectibles that appeared in this game. While their effects are generally not a reference to the Kongs that collected them, the purple banana, which turns characters tiny, is a reference to Tiny Kong, who could turn herself tiny as one of her unique abilities in this game.
Paper Mario: The Thousand Year Door - Goombella and Vivian appear as part of this game's roster of characters.
Super Paper Mario - Mimi and Nastasia appear as part of this game's roster of characters.
Wario Land 3 - Rudy the Clown appears as part of this game's roster of characters. Additionally, the level Rudy's Circus features three enemies from this game as well as being a general reference to Wario Land 3.
Wario Land 4 - Princess Shokora appears as part of this game's roster of characters. Additionally, the Frog Trials are a direct reference to this game's level design.
Wario Land: Shake It!! - Shake King, Bandinero, and Queen Merelda all appear as playable racers in this game. Additionally, Captain Syrup retains her design she had from this game.
Mario and Luigi: Bowser's Inside Story - Midbus and Broque Monsieur appear as part of this game's roster of characters.
Super Mario Run - Bonus Medals, which debuted in this game, make a reappearance here as part of the Frog Trial mode.
Super Mario Odyssey - Pauline, Madame Broode, and Cappy all appear as part of this game's playable roster. Additionally, the new race courses New Donk City Sewers, Tostarena Canyon, and Steam Greenhouse are all based off locations in this game.
Super Mario Maker Phi - Princess Fusee appears as a playable racer, having debuted in this game. Additionally, Horostars, which made their debut in that game, appear as part of the name of a cup.
Super Mario Bros.: The Lost Worlds - Pink Shells appear as a new item and come from this game specifically. Bowser's Blossom Bastille also appears as a course in this game, which directly references the last world in the game.
Super Mario Bros. (film) - The Thwomp Stompers from this film appear as an item and can be used like they were seen in the movie to extend distance with a rocket boost.
Hotel Mario - Bowser's Seizures Palace Hotel appears as a course in the game's Punch Ball Cup.


")
")
")
")
")