Roster[]
Victorious Smash Bros. sports the largest roster of any game in the series, at a whopping 132, including 12 Echo Fighters. Notably, the roster contains 60 newcomers, the highest amount in the series' history. The roster also includes 51 third-party characters, including indie fighters, a first for the series.
| Click on a link to go to the corresponding character, once they're finished. | |||||
|---|---|---|---|---|---|
| Mario | Peach | Daisy | Bowser | Bowser Jr. | Rosalina & Luma |
| Luigi | Yoshi | Wario | Waluigi | Paper Mario | Donkey Kong |
| Funky Kong | Diddy Kong | Dixie Kong | King K. Rool | Link | Zelda |
| Ganondorf | Impa | Toon Link | Midna | Lana | Samus Aran |
| Ridley | Sylux | Rundas | Dark Samus | Kirby | Meta Knight |
| King Dedede | Bandana Dee | Magolor | Fox McCloud | Falco Lombardi | Wolf O'Donnel |
| Pikachu | Mewtwo | ??? | ??? | Lucario | ??? |
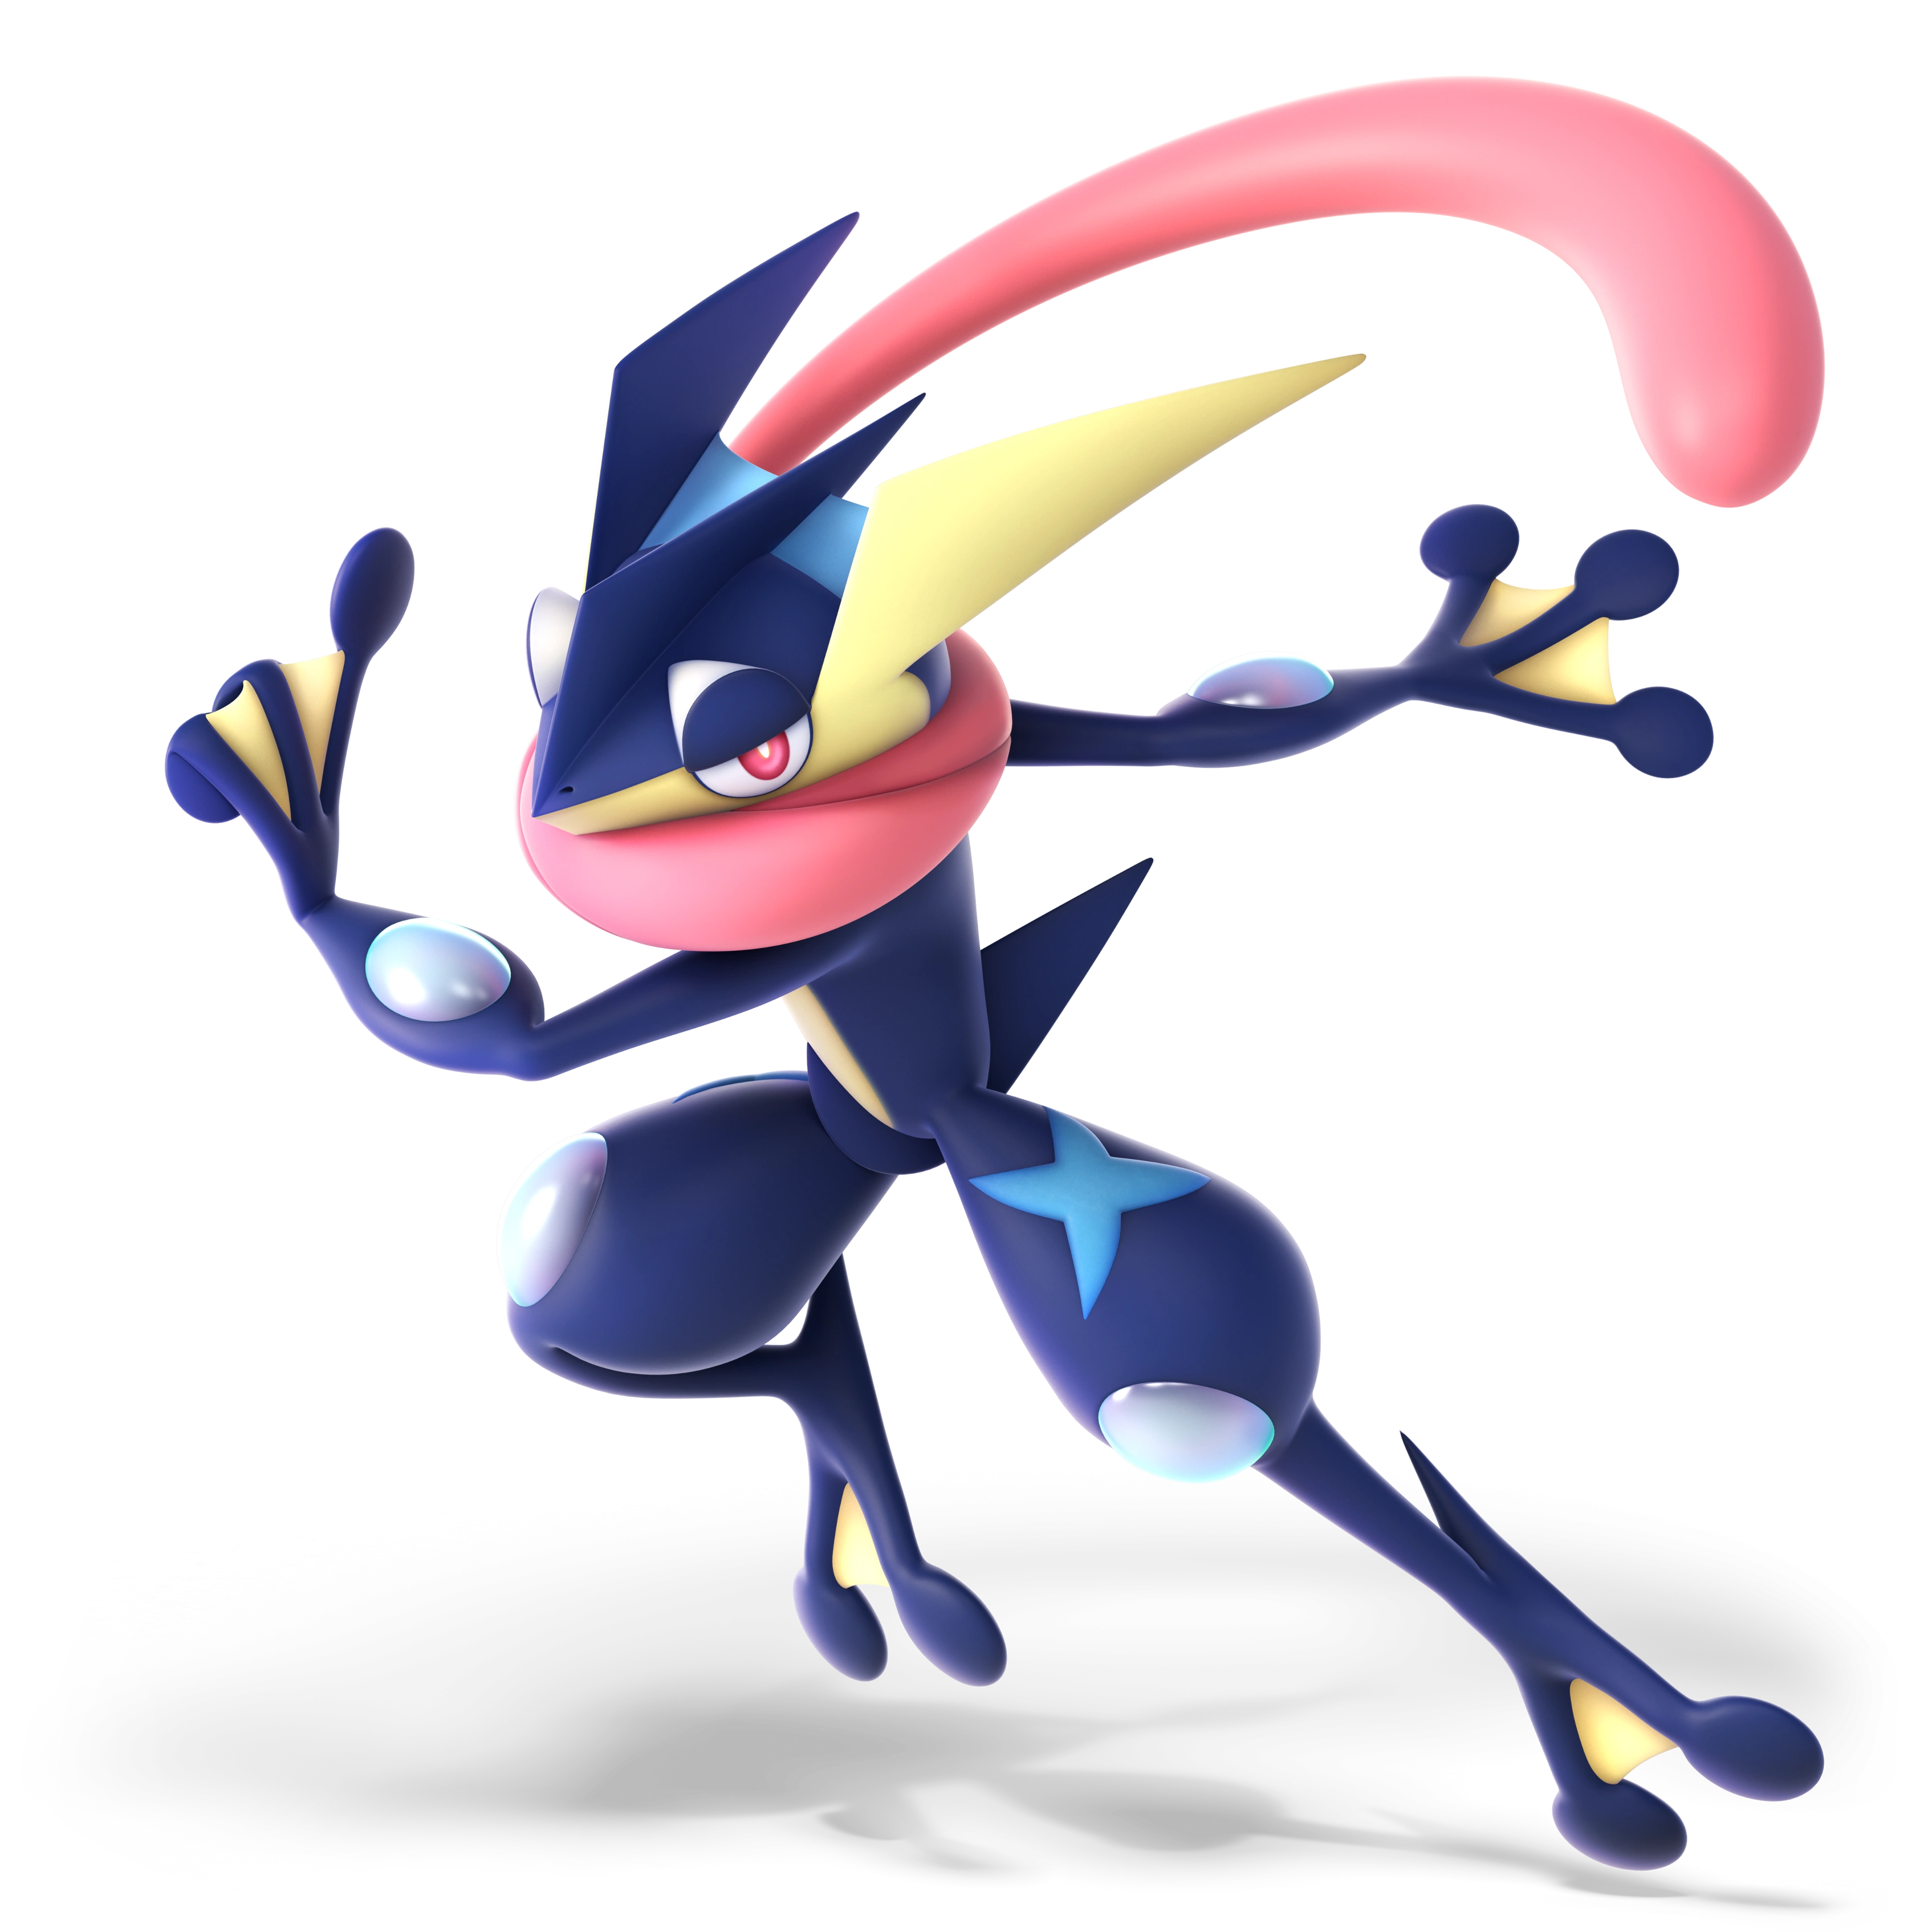
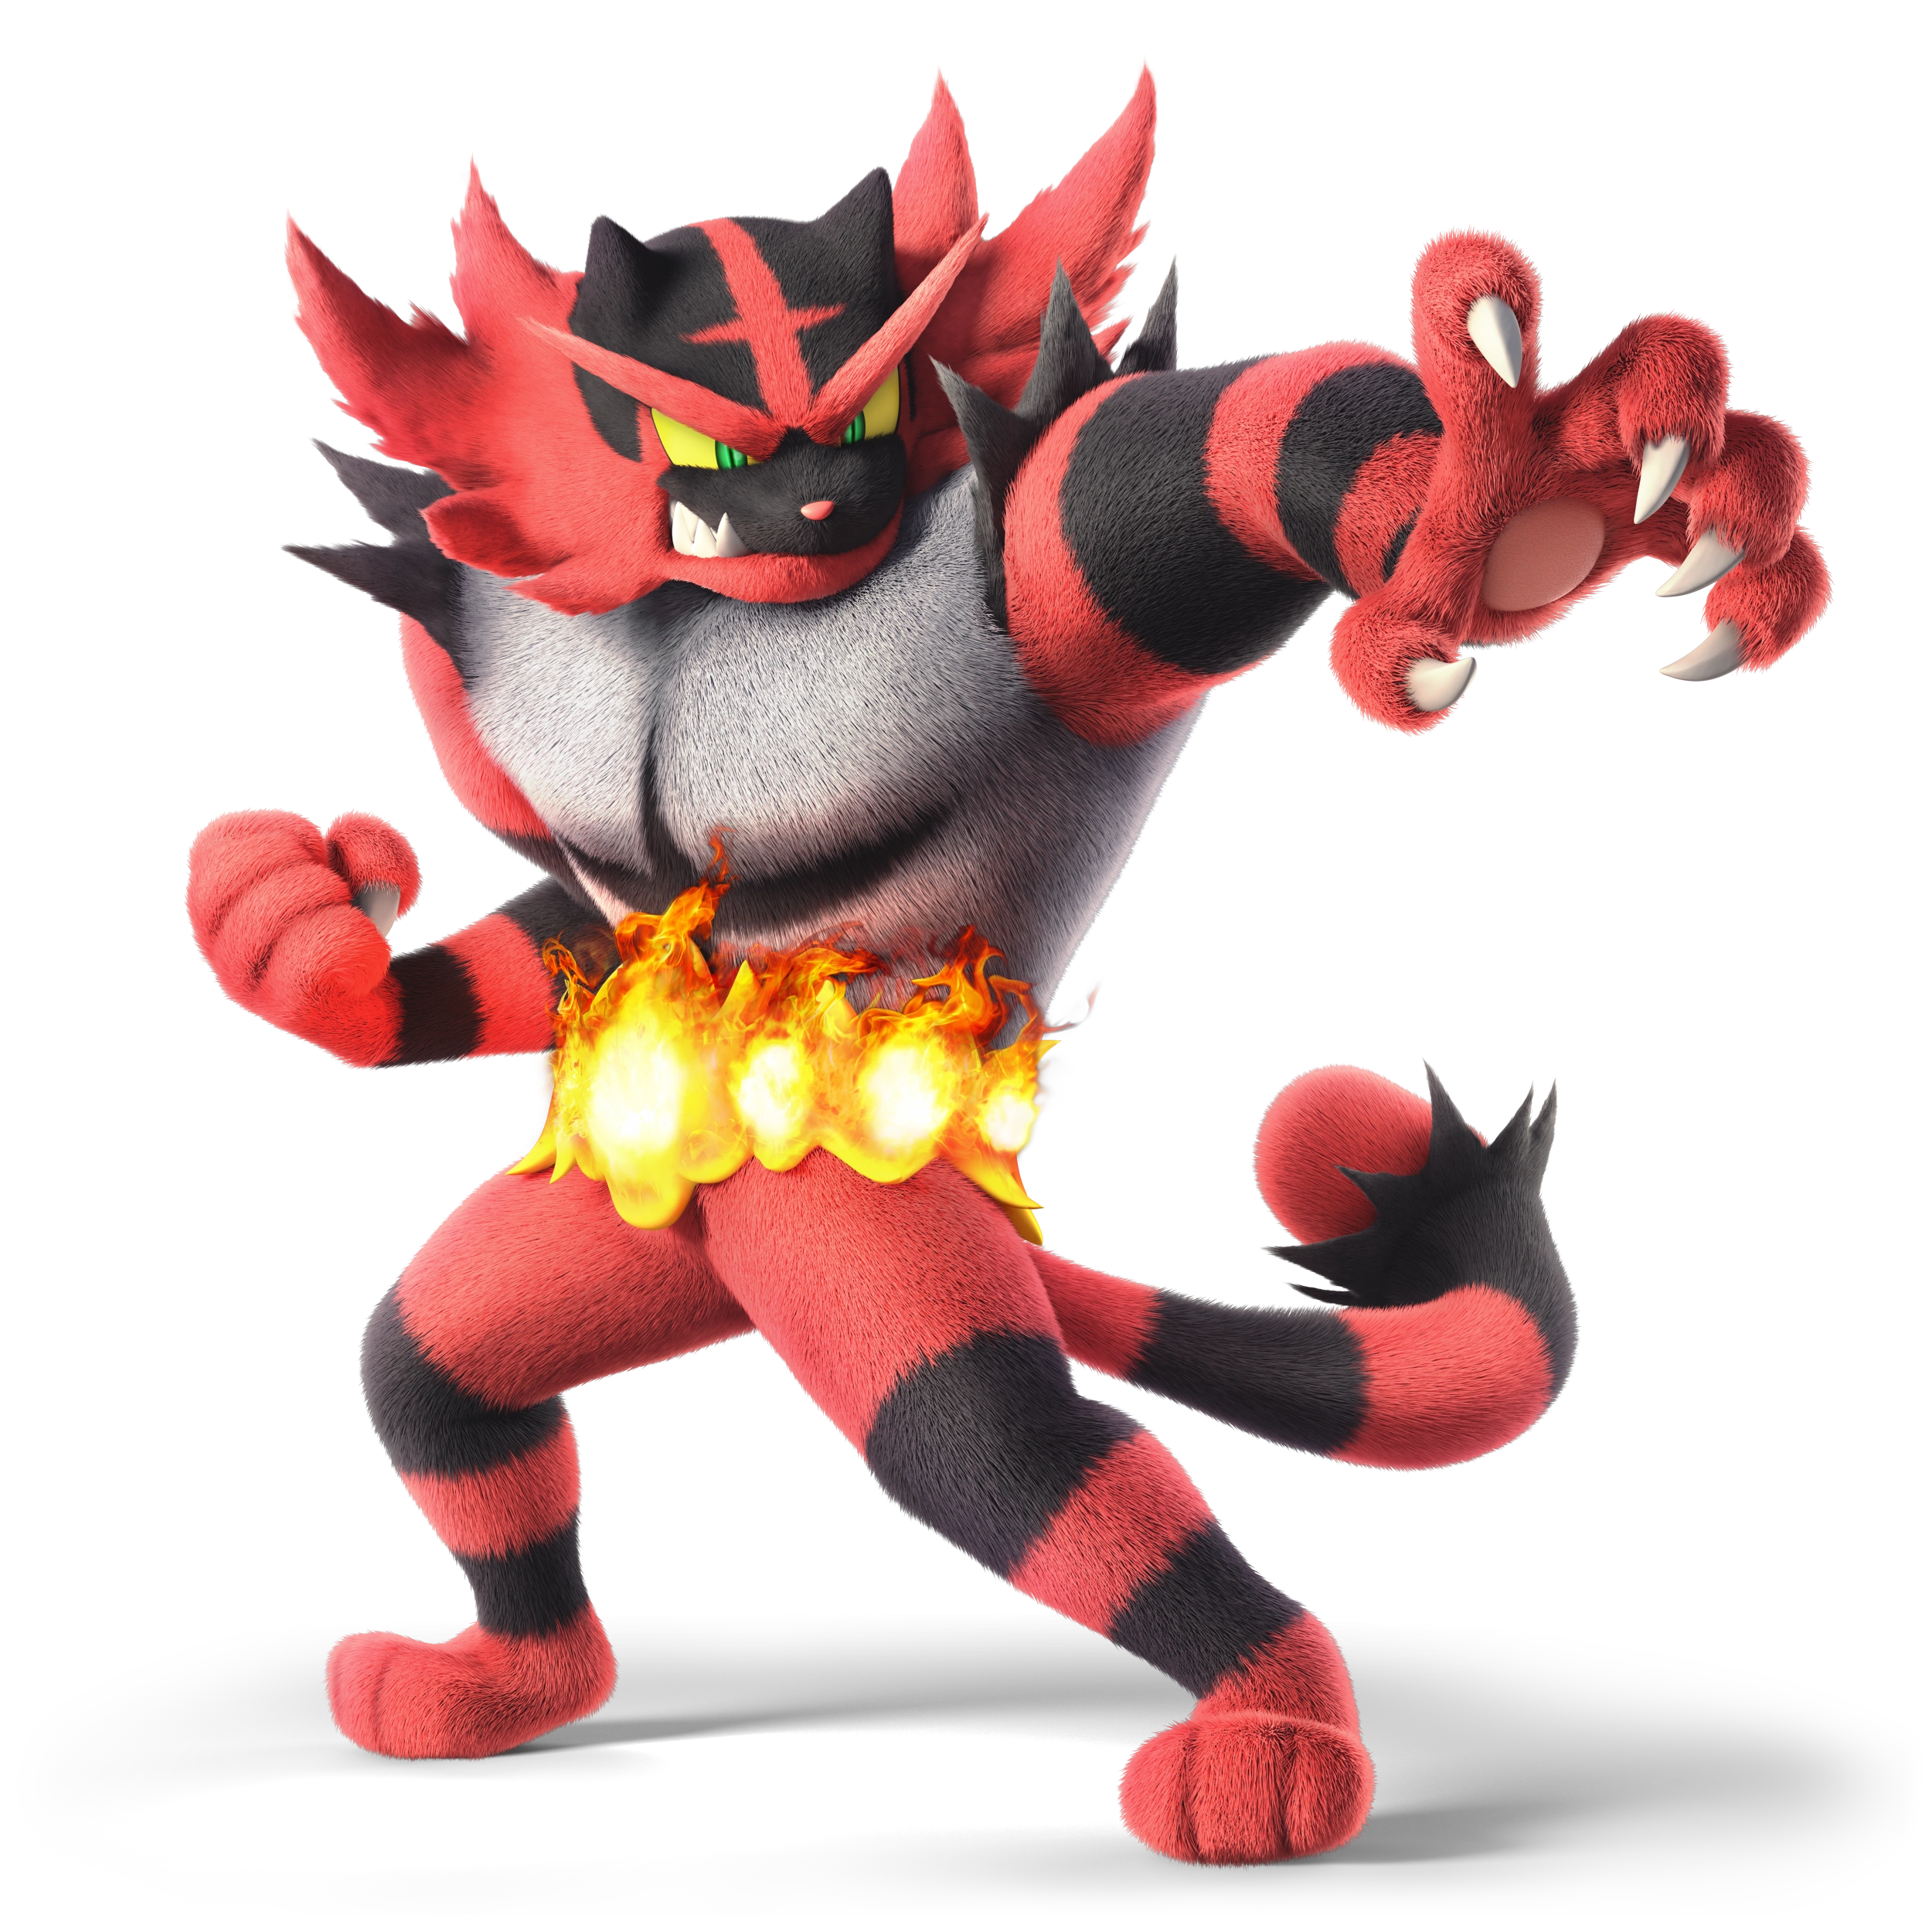
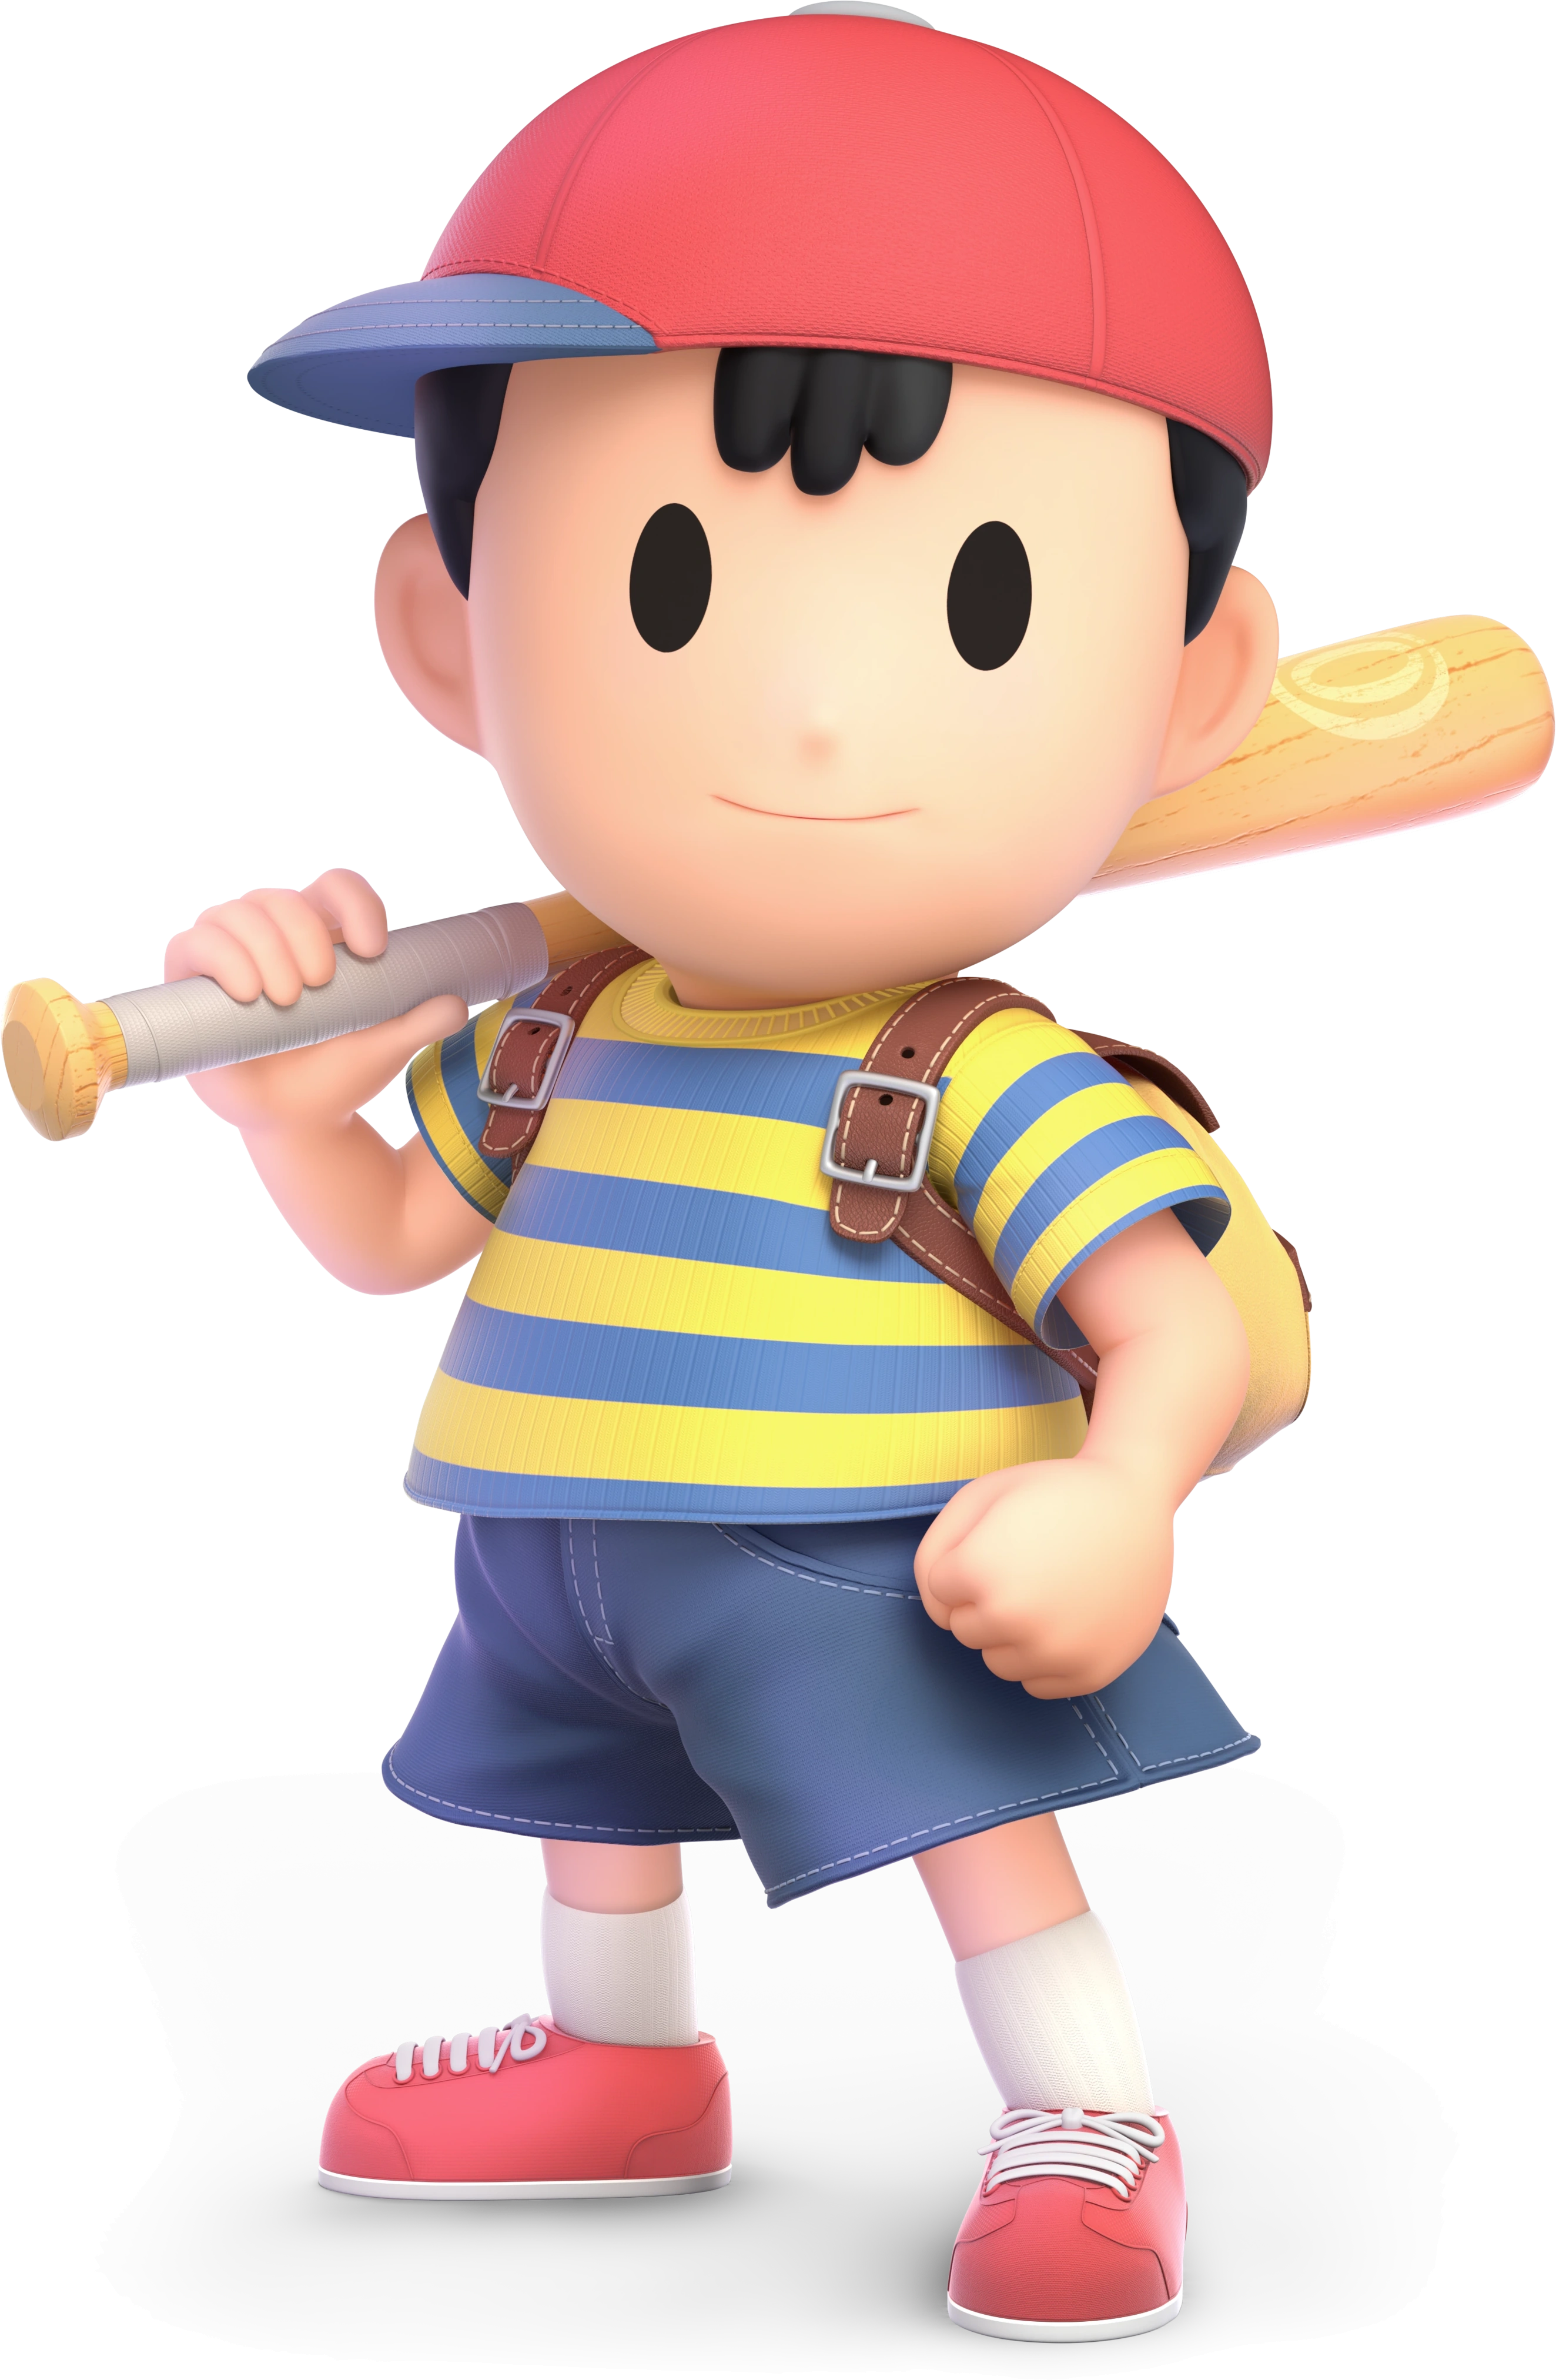
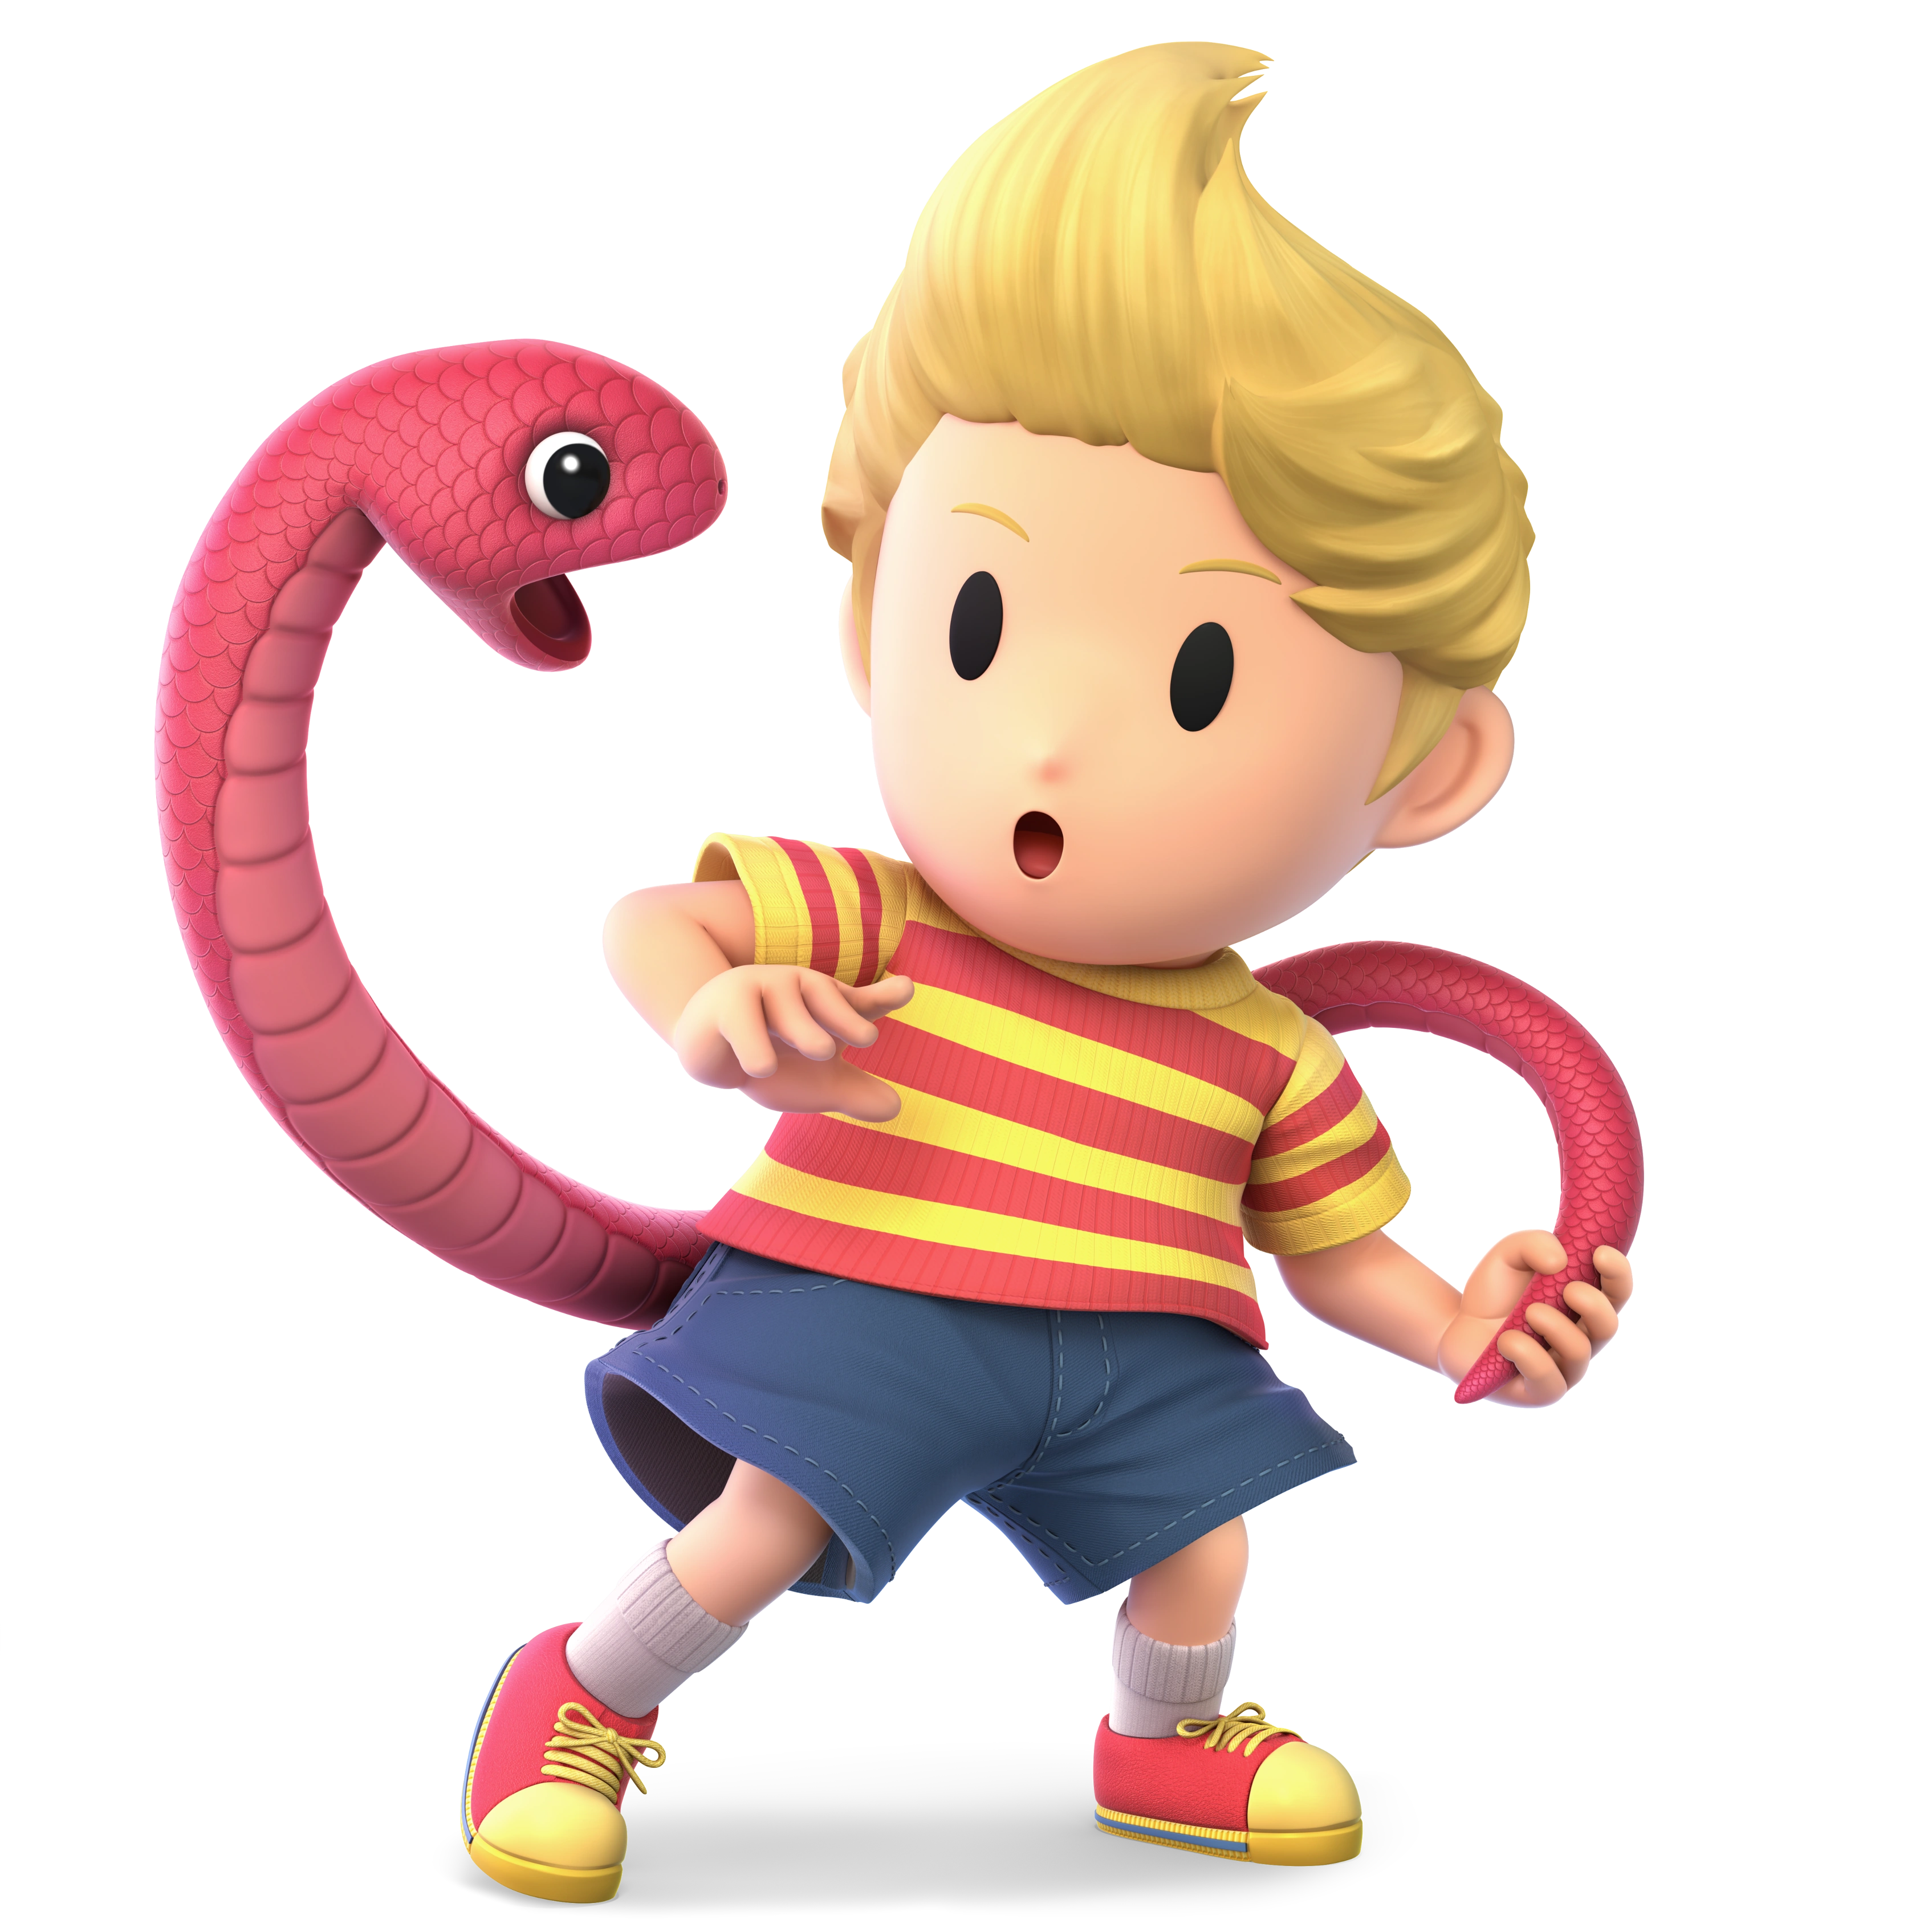
| Greninja | Incineroar | ??? | Ness | ??? | Lucas |
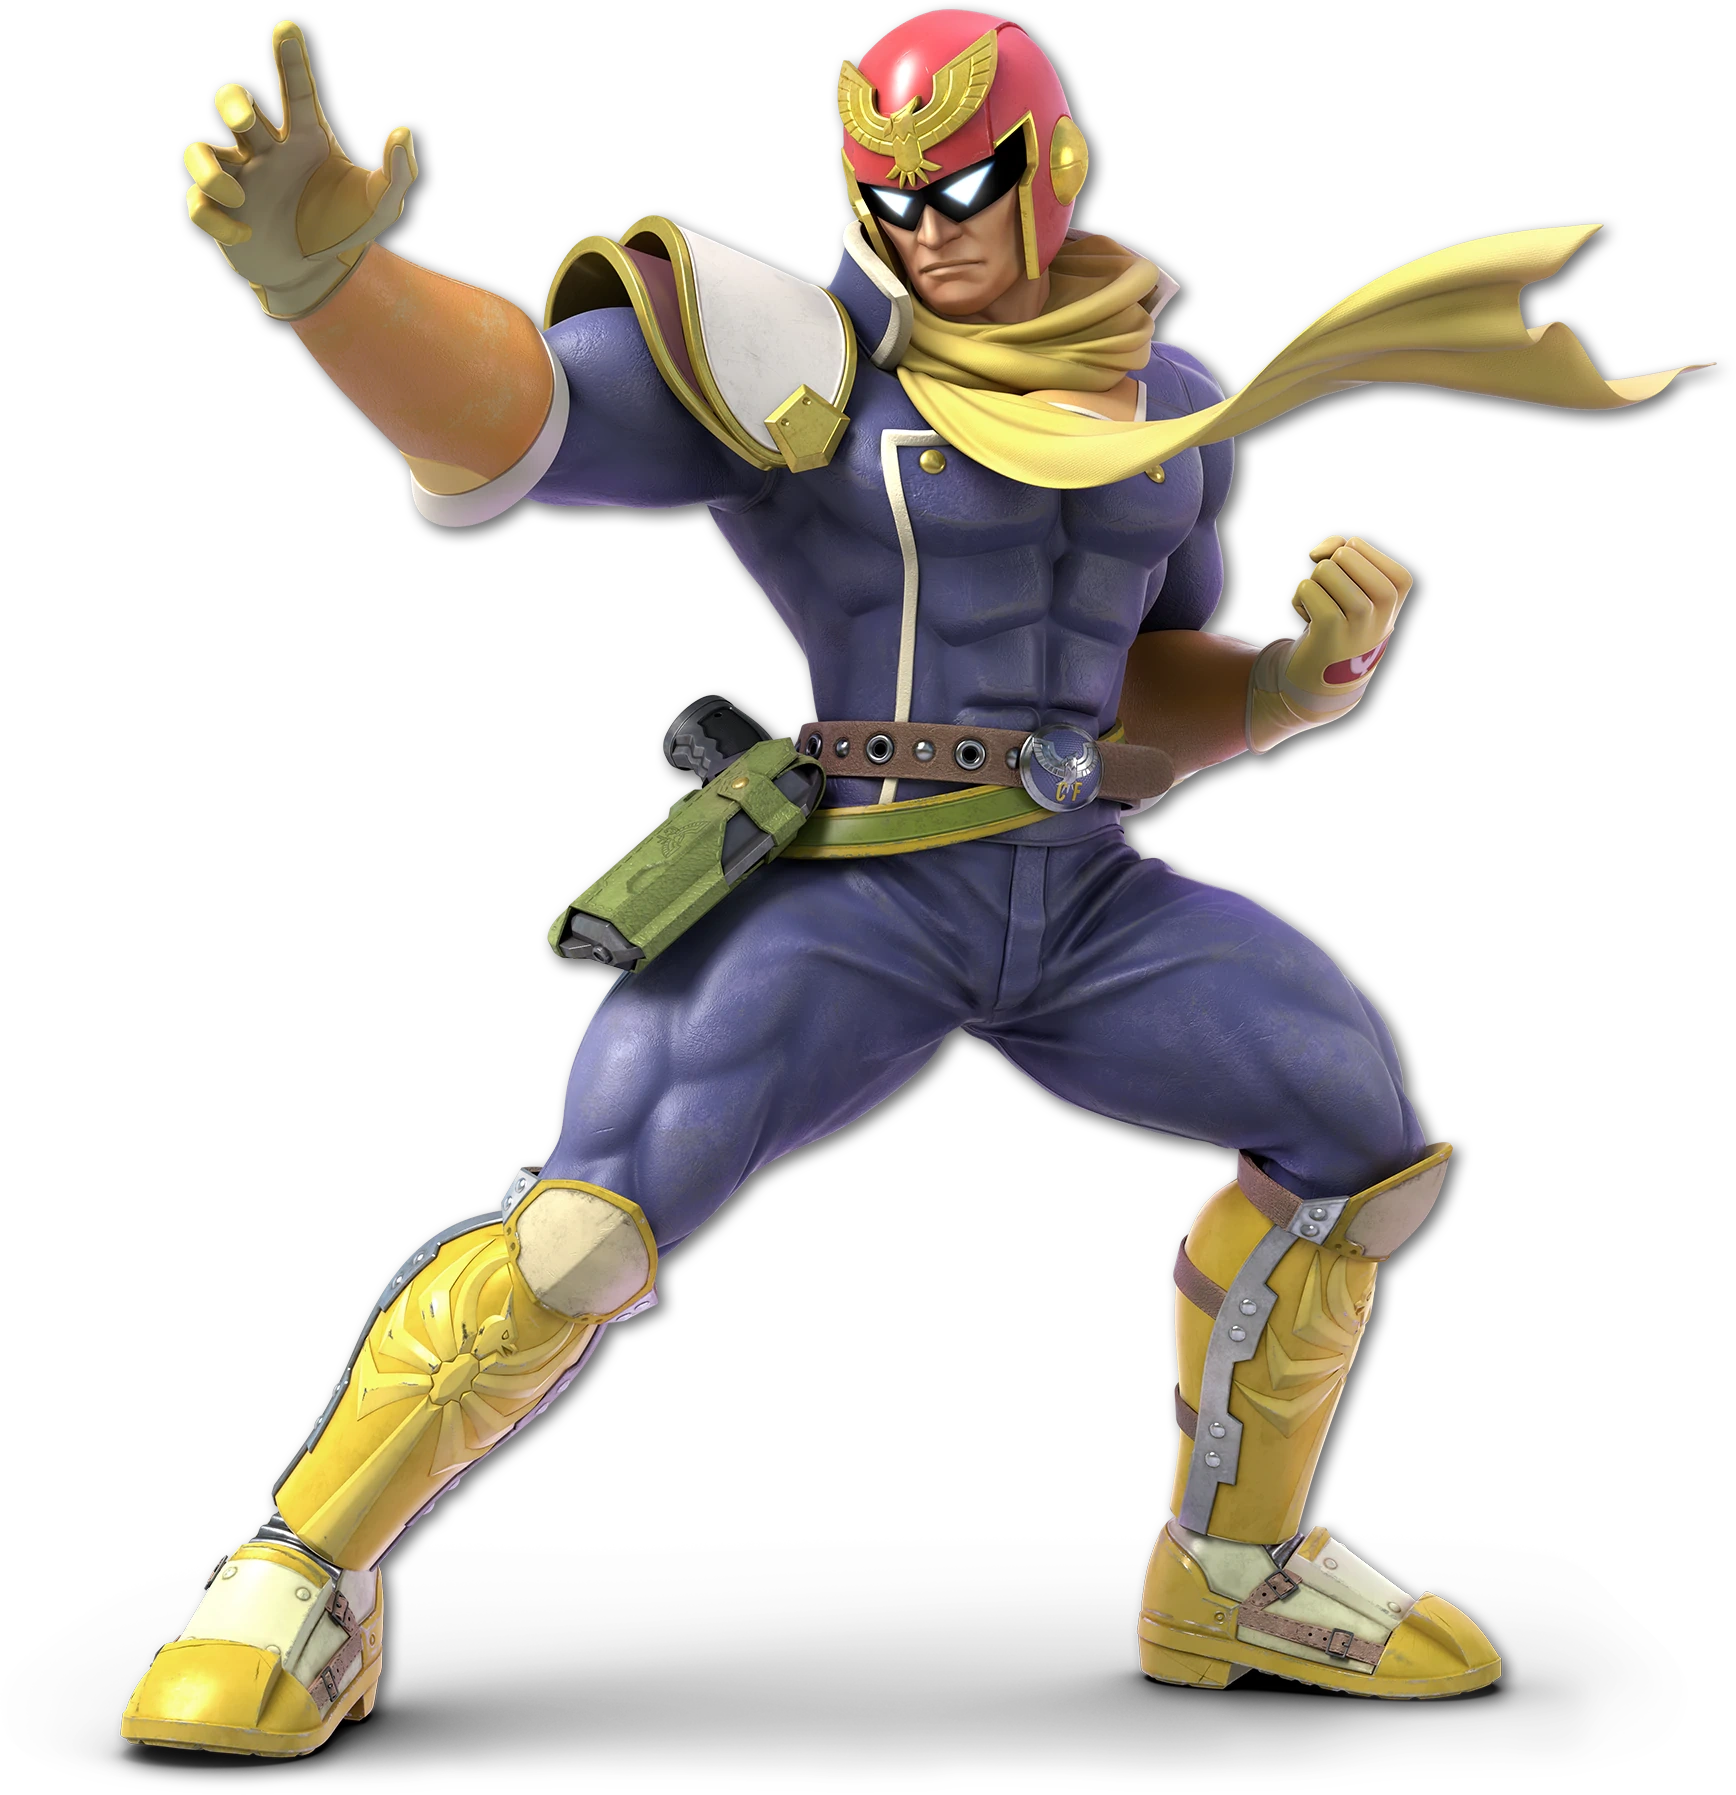
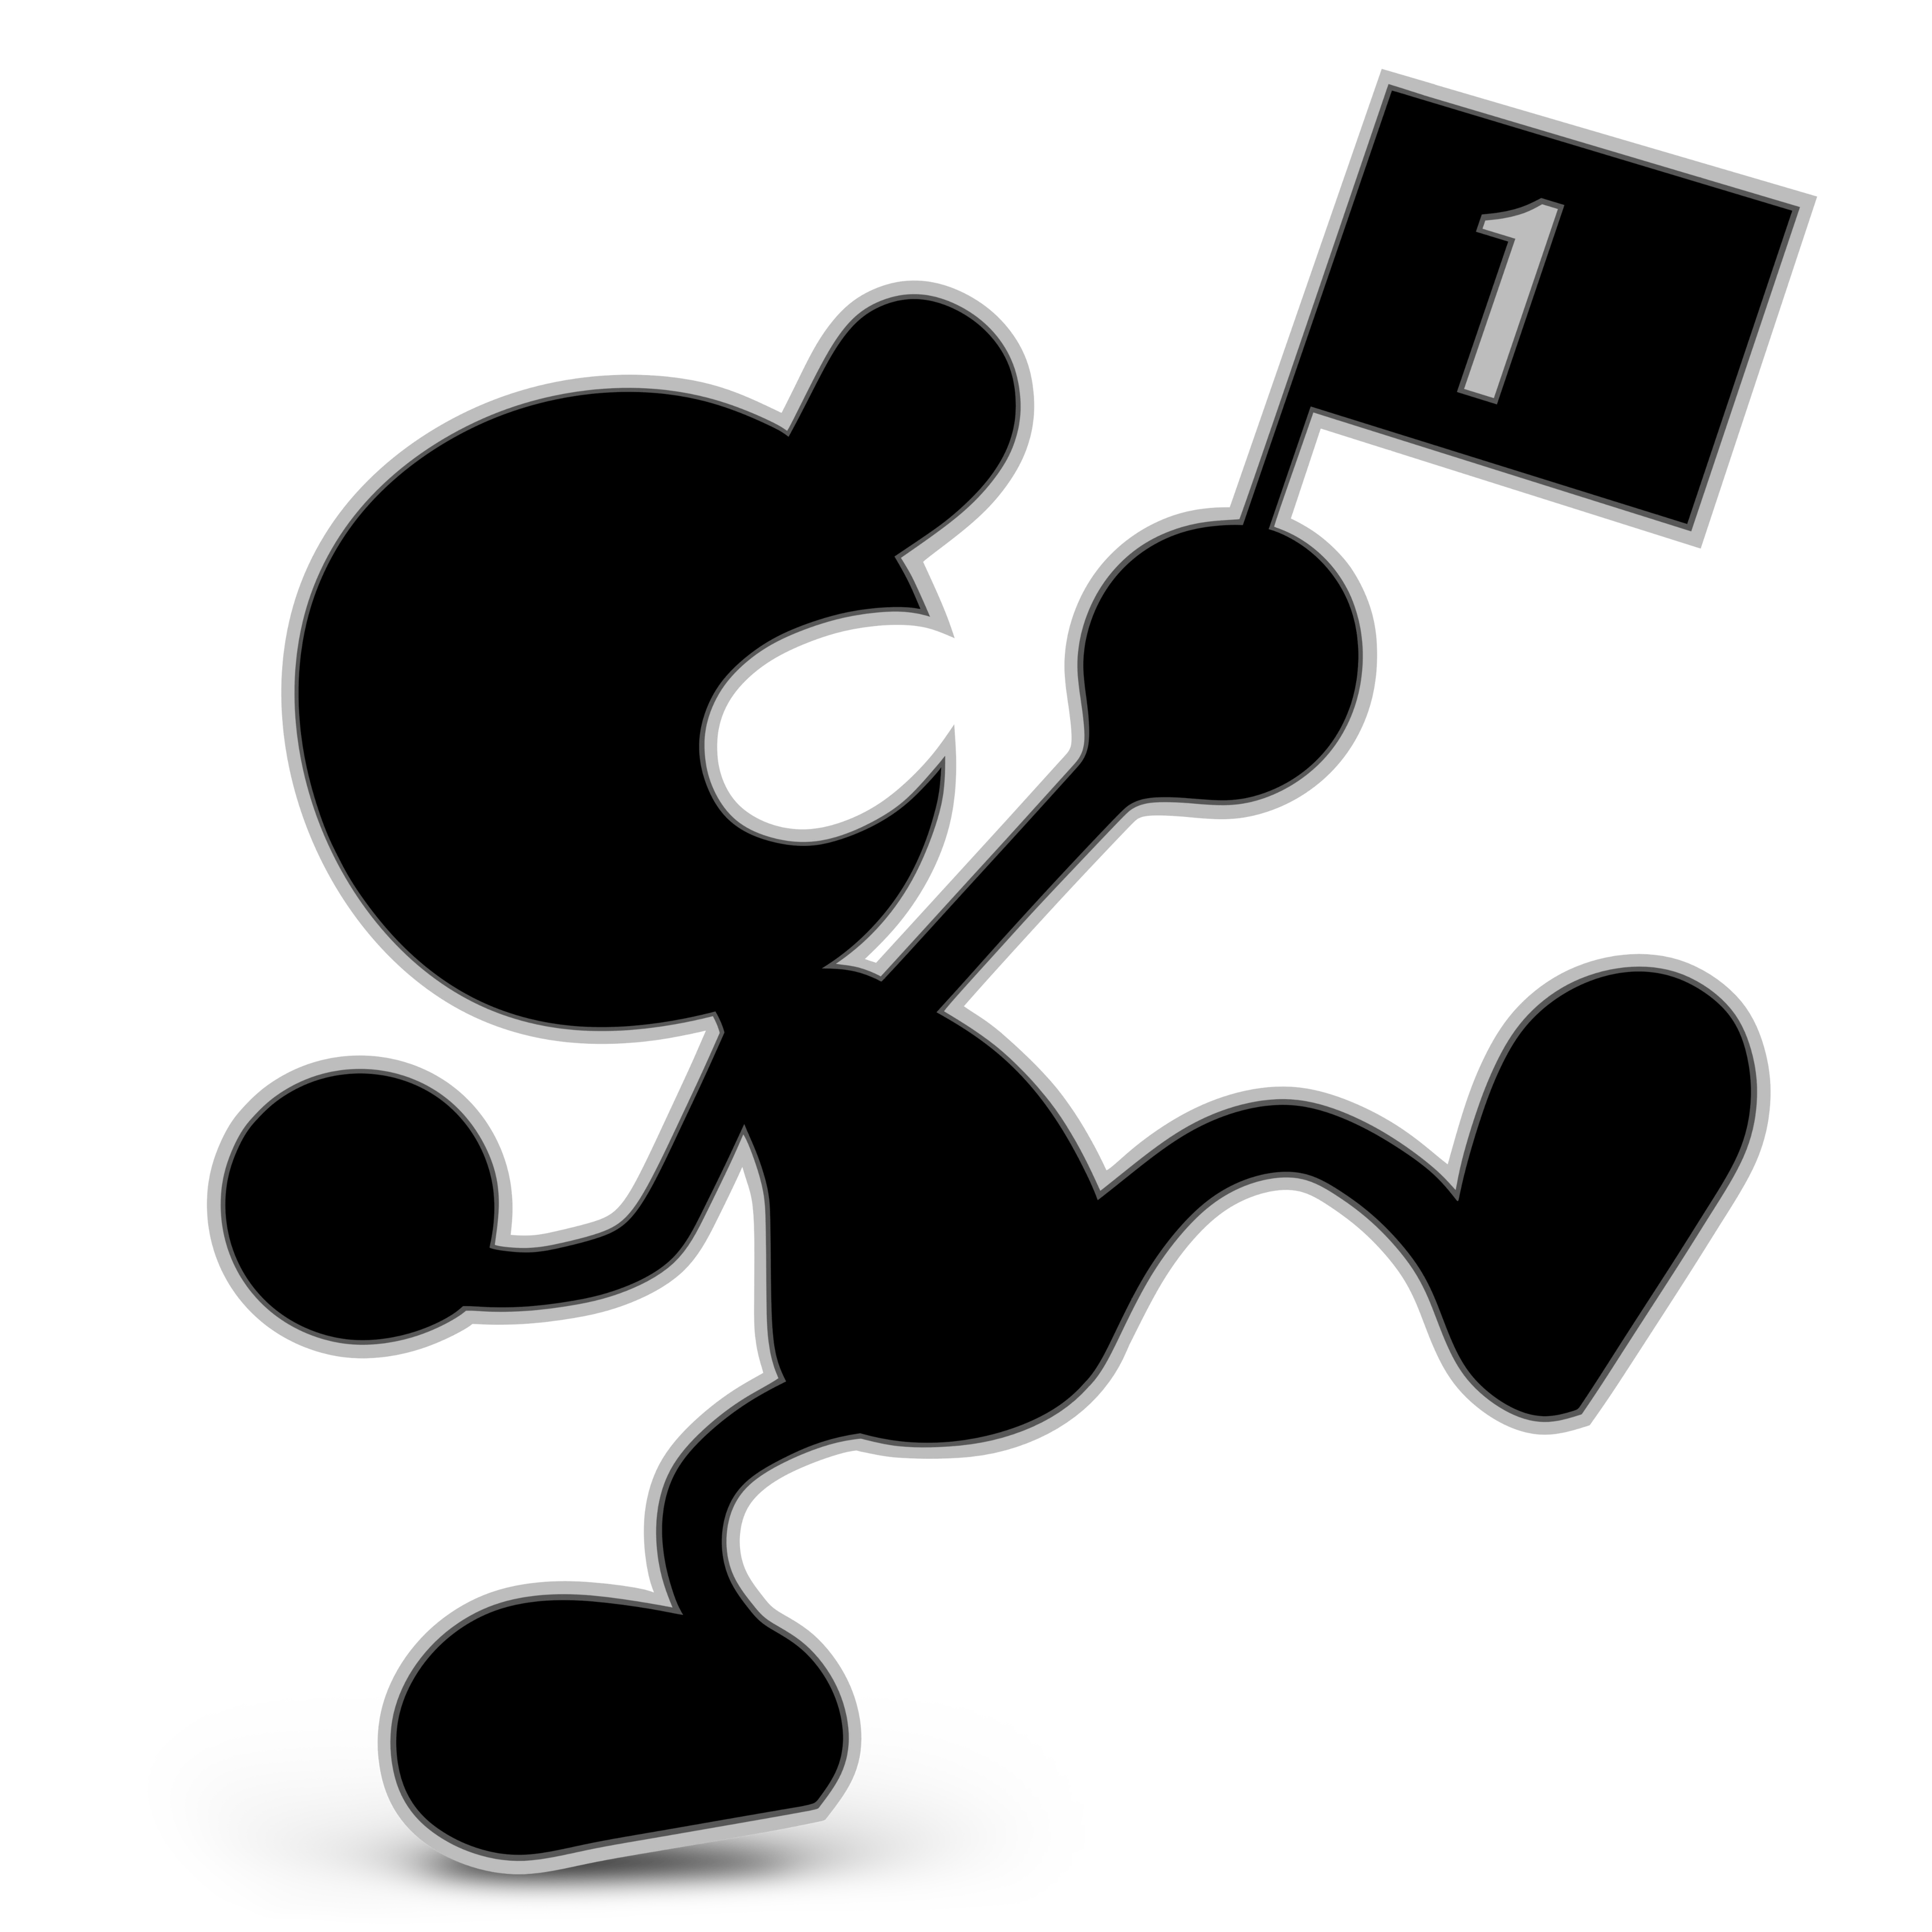
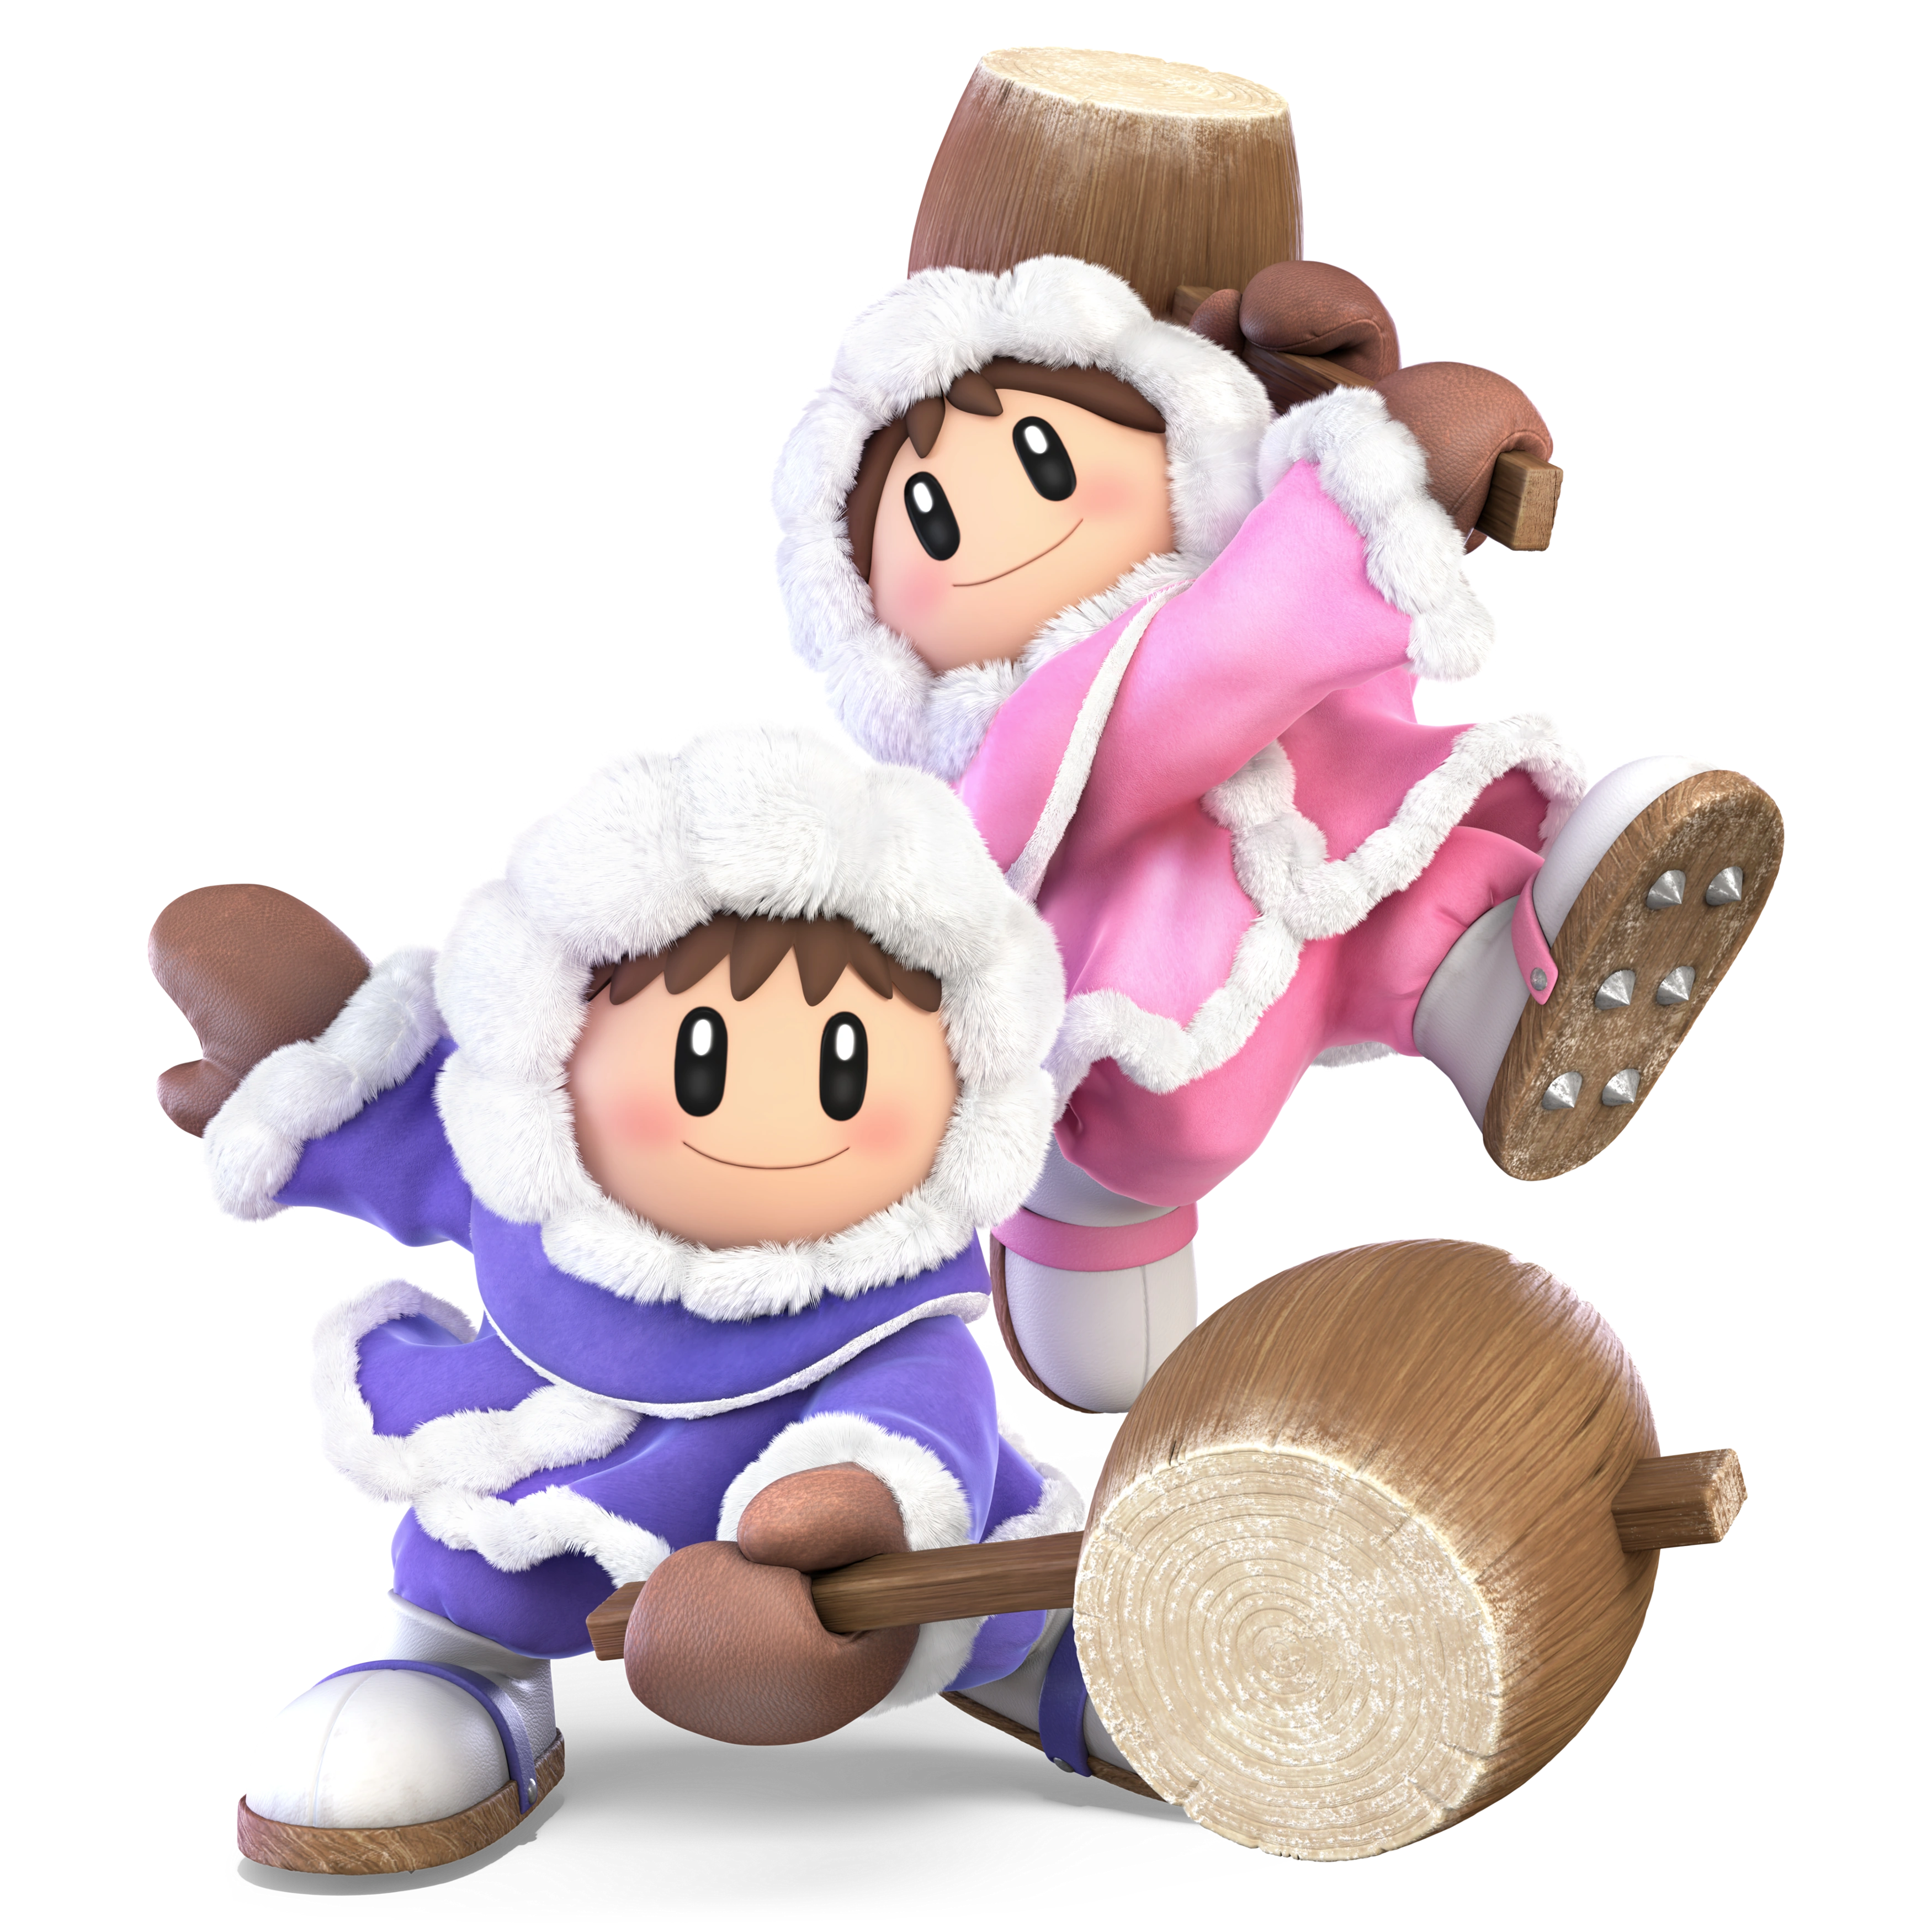
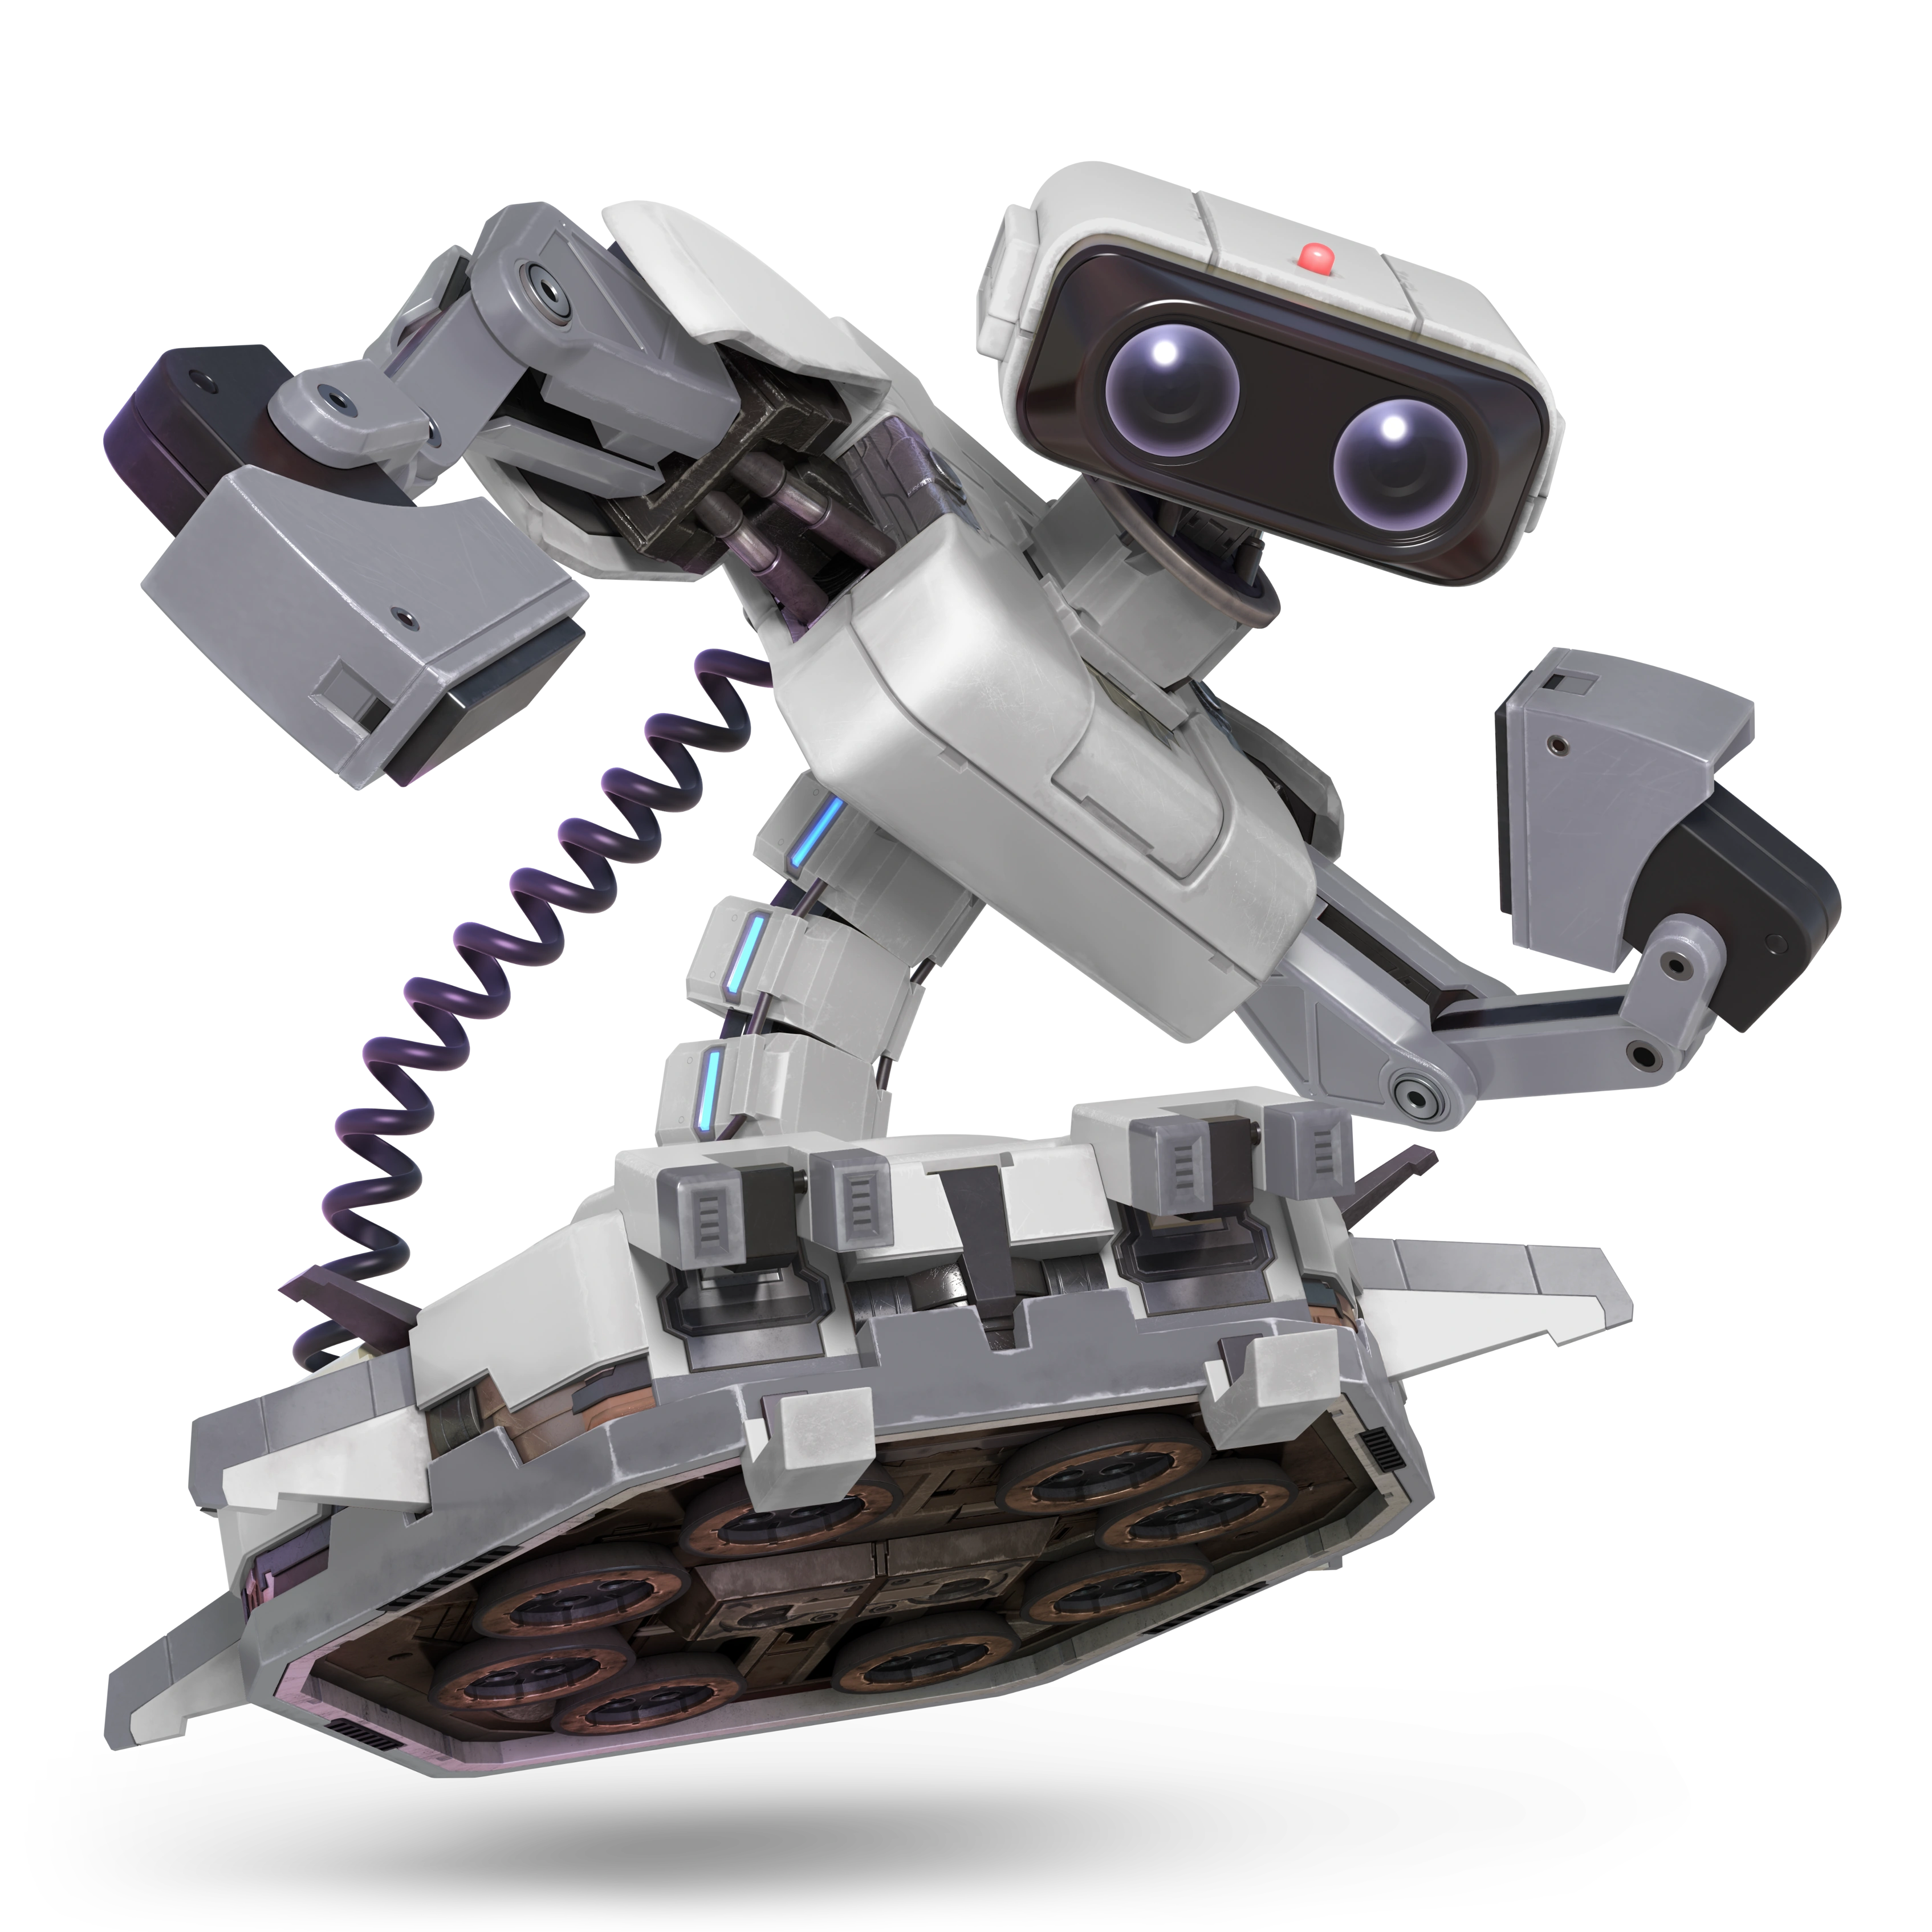
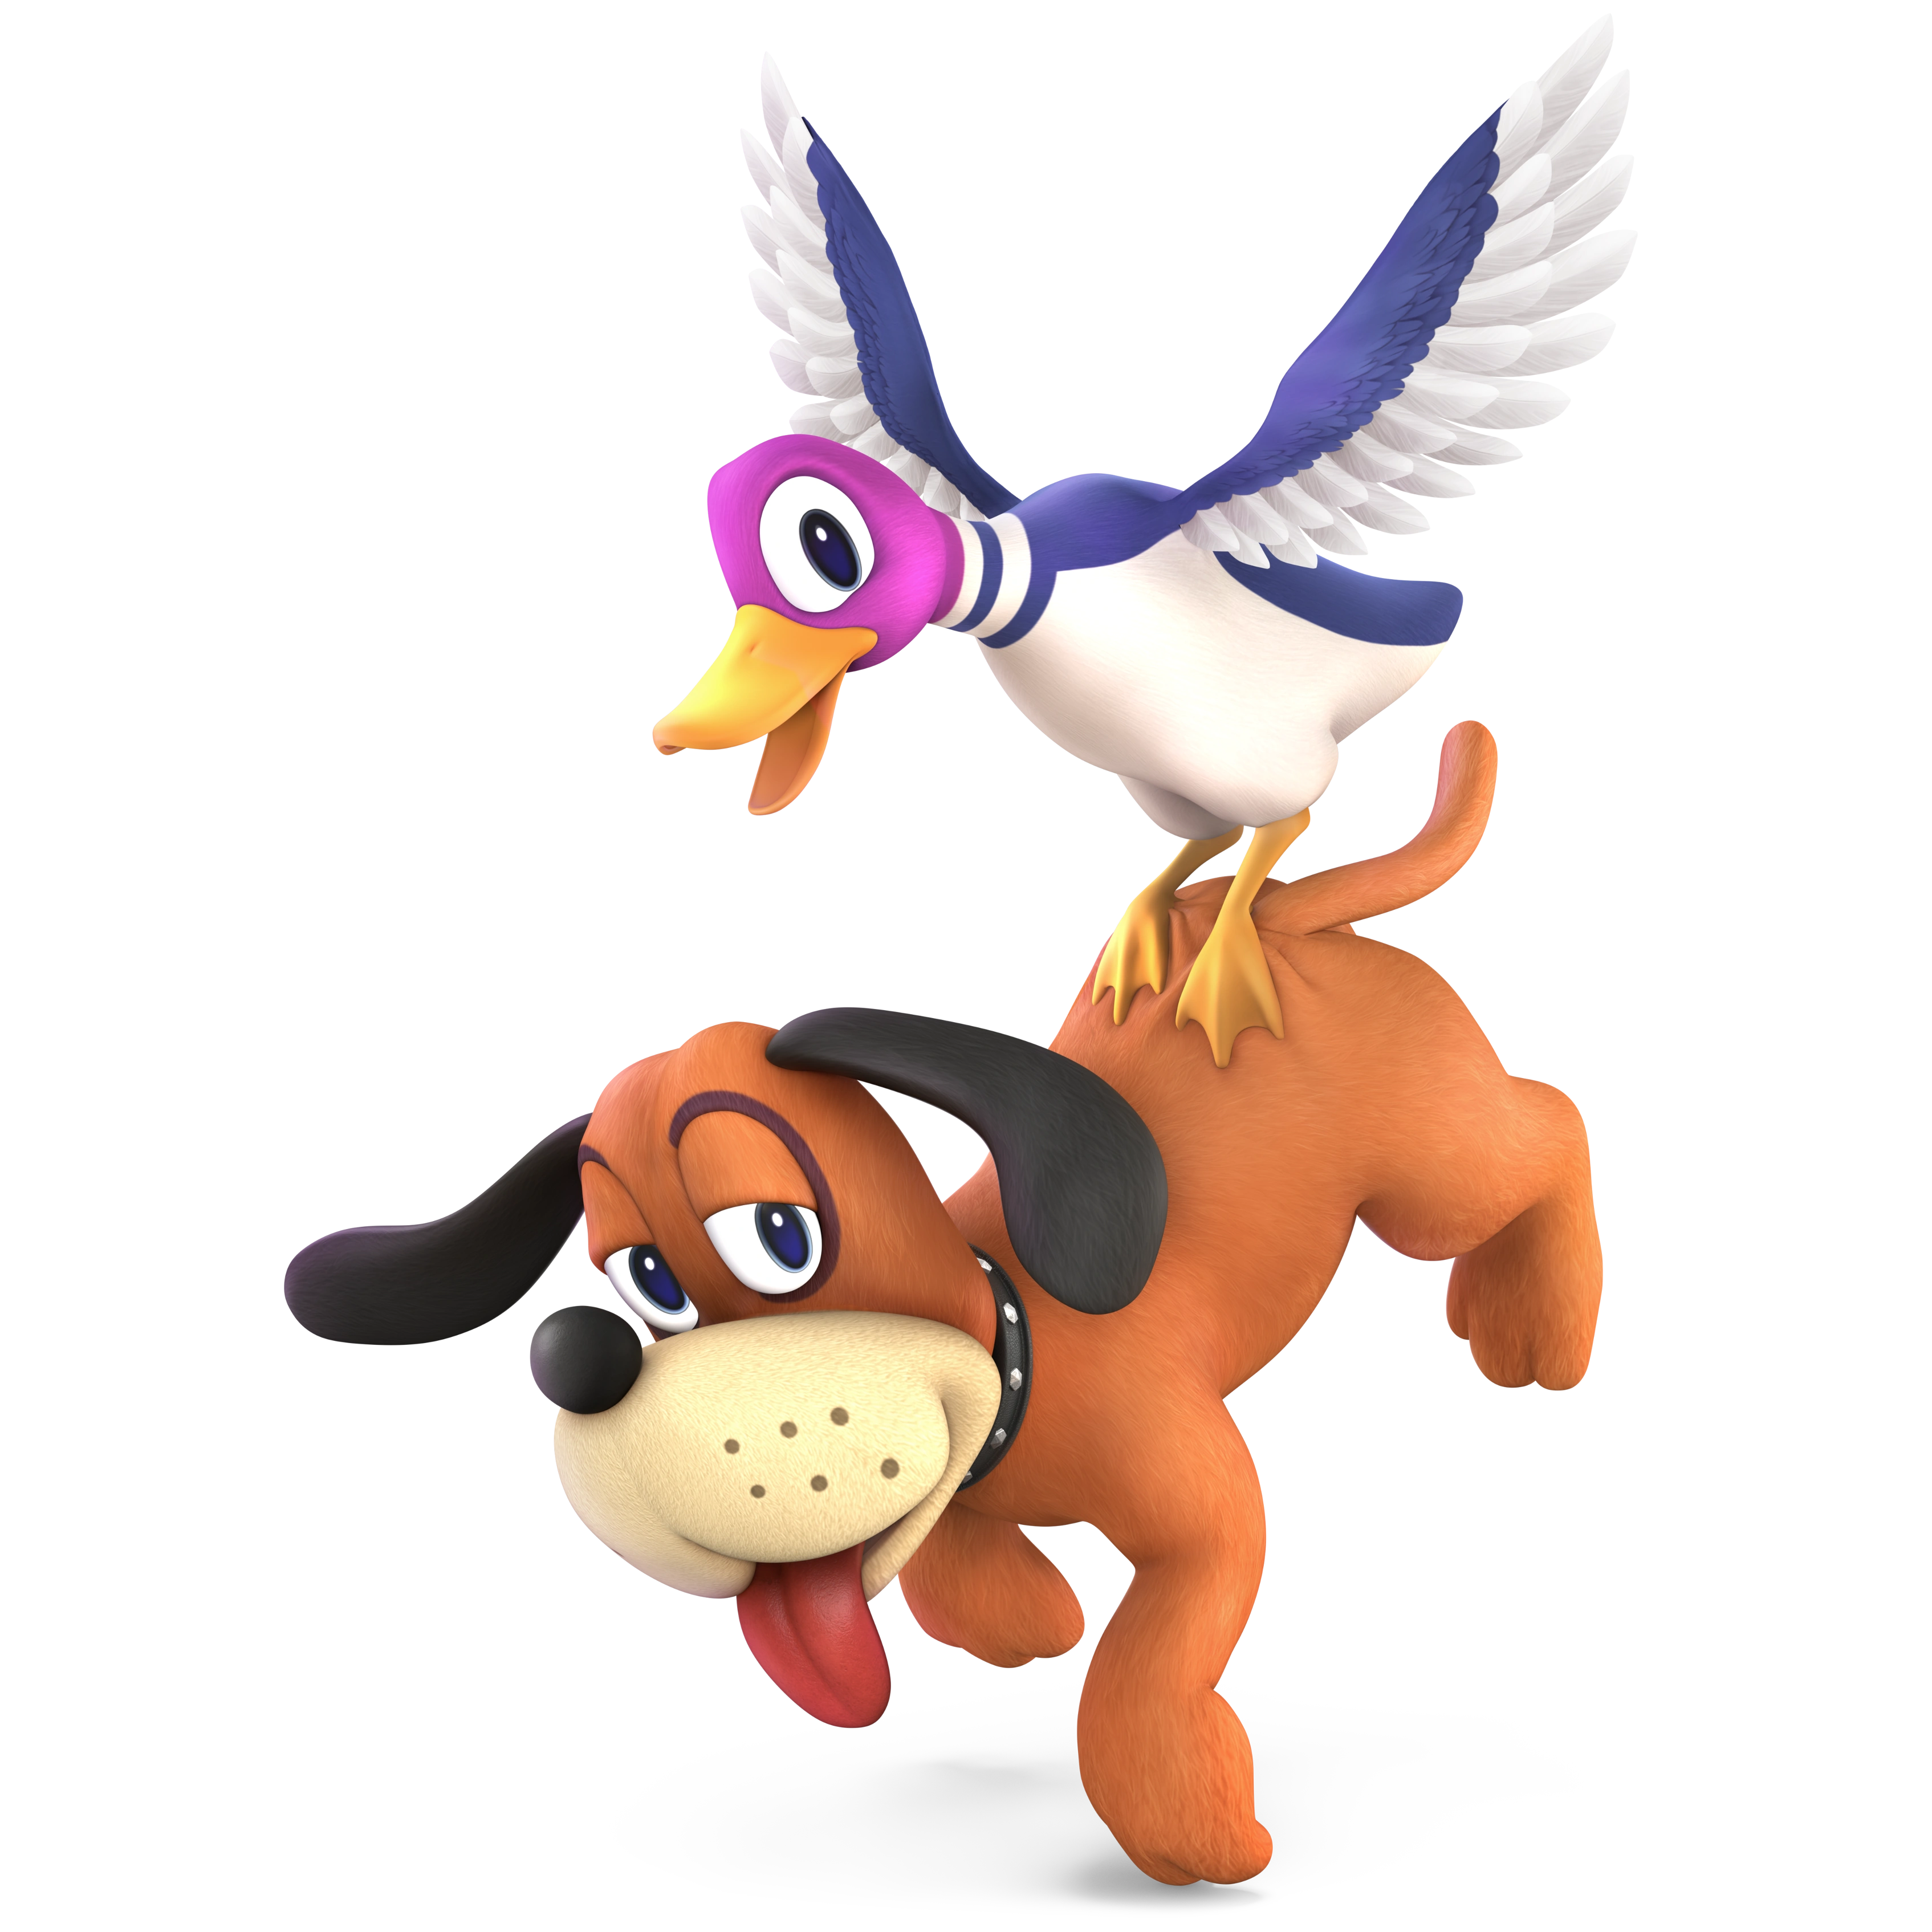
| Captain Falcon | ??? | Mr. Game & Watch | Ice Climbers | R.O.B | Duck Hunt |
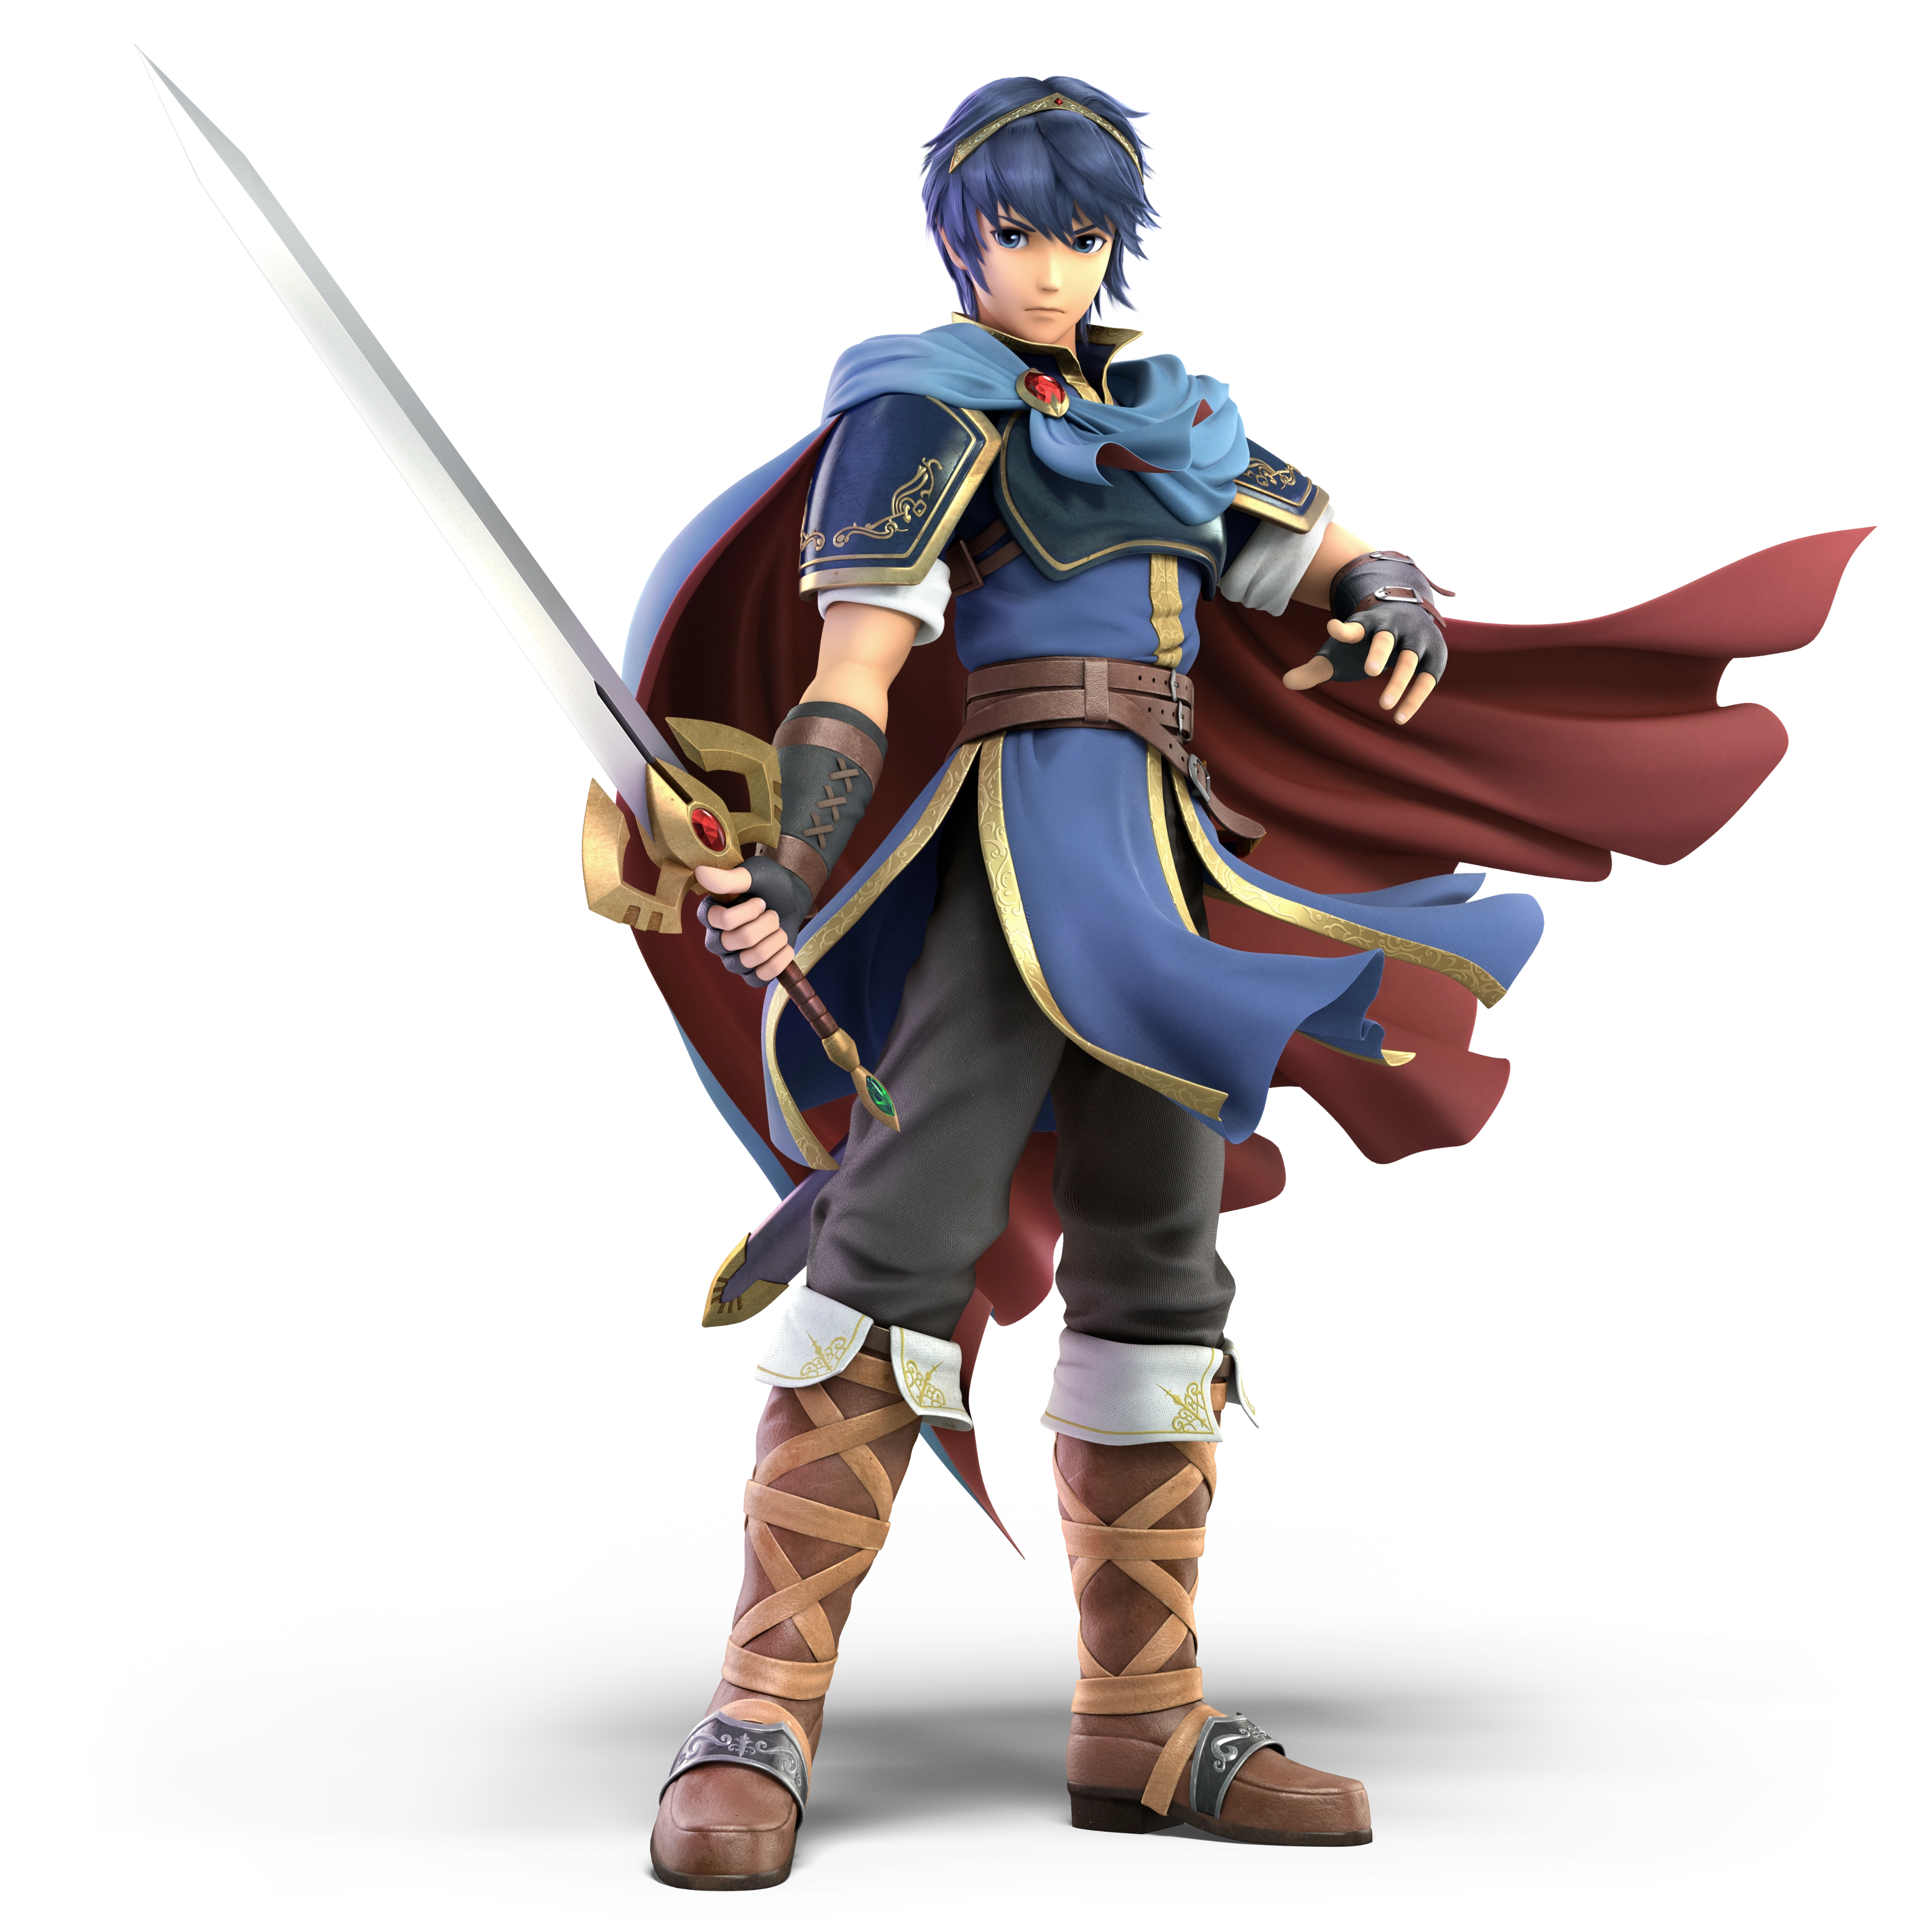
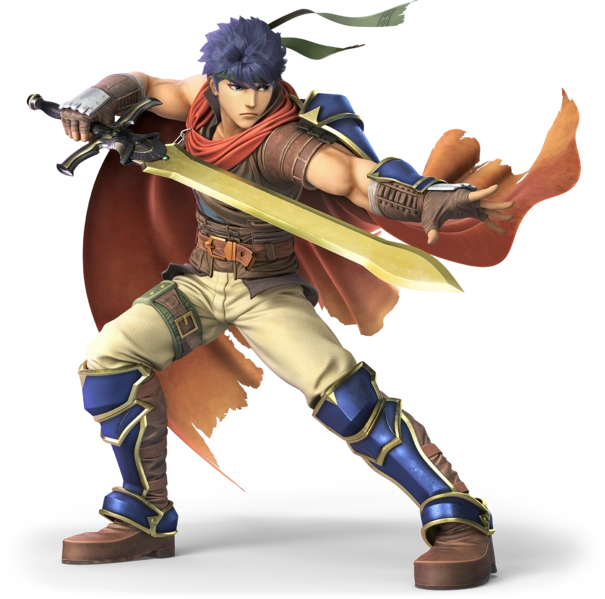
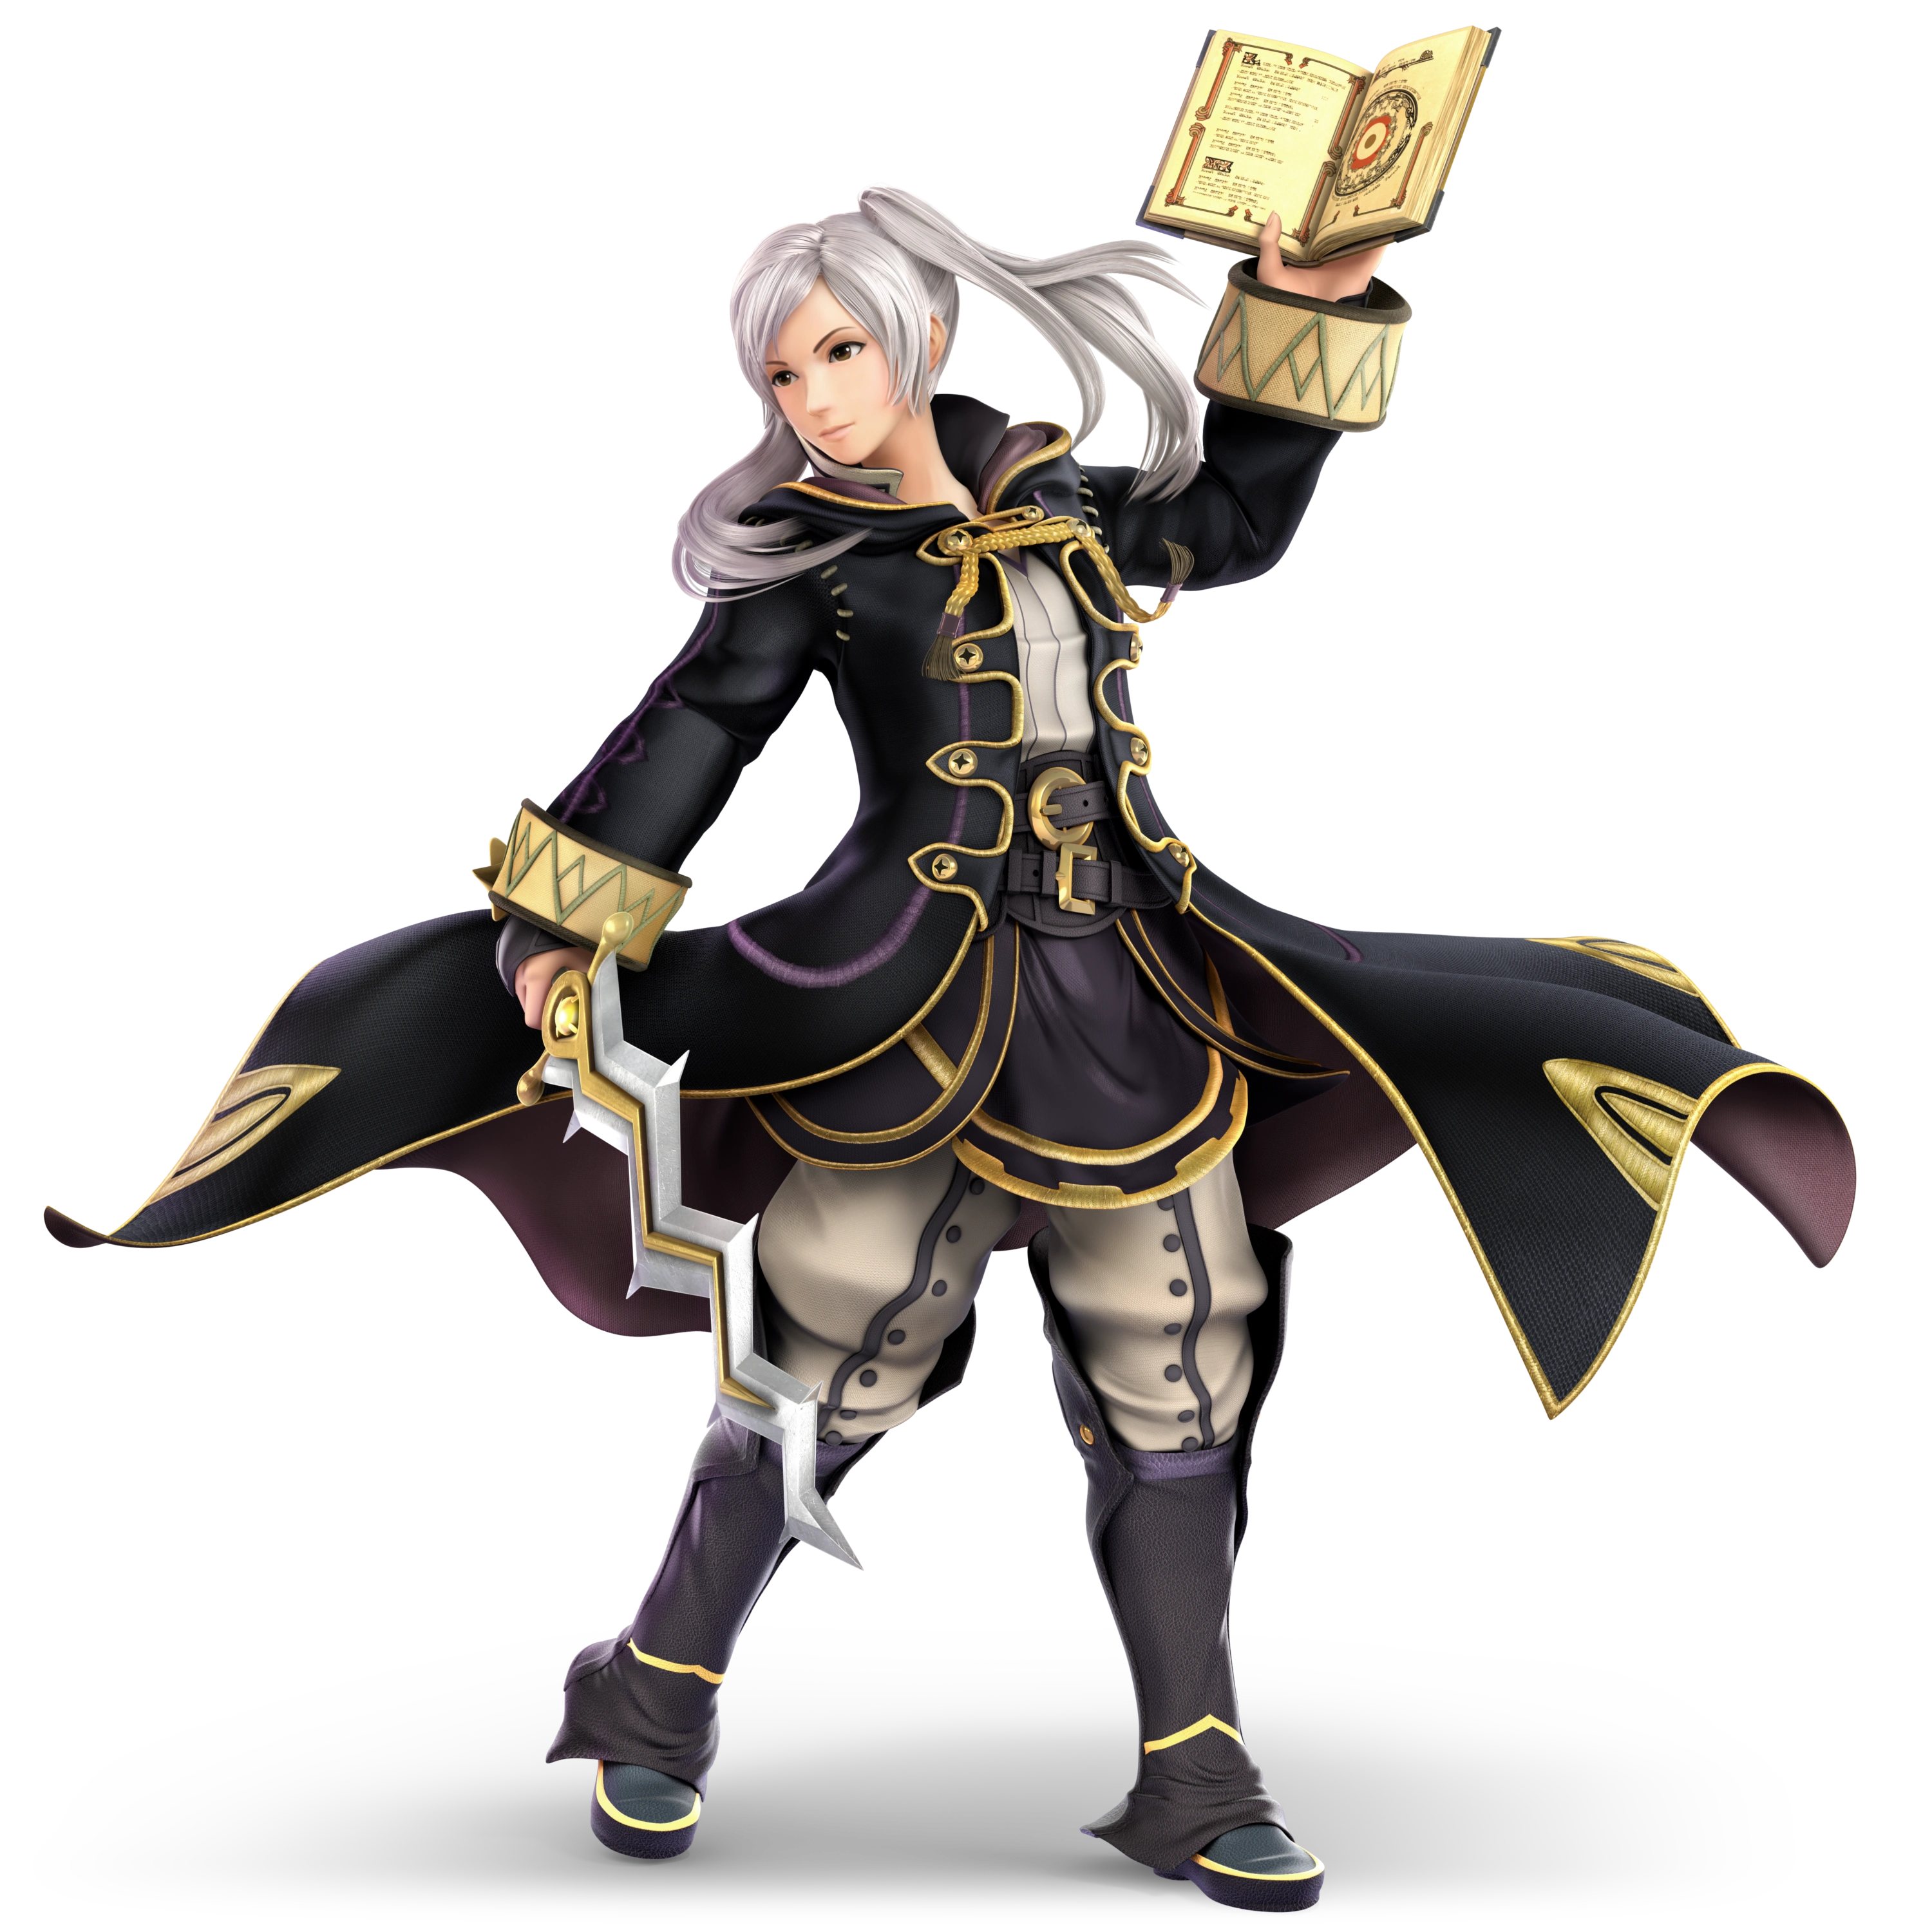
| ??? | Marth | ??? | ??? | Ike | Robin |
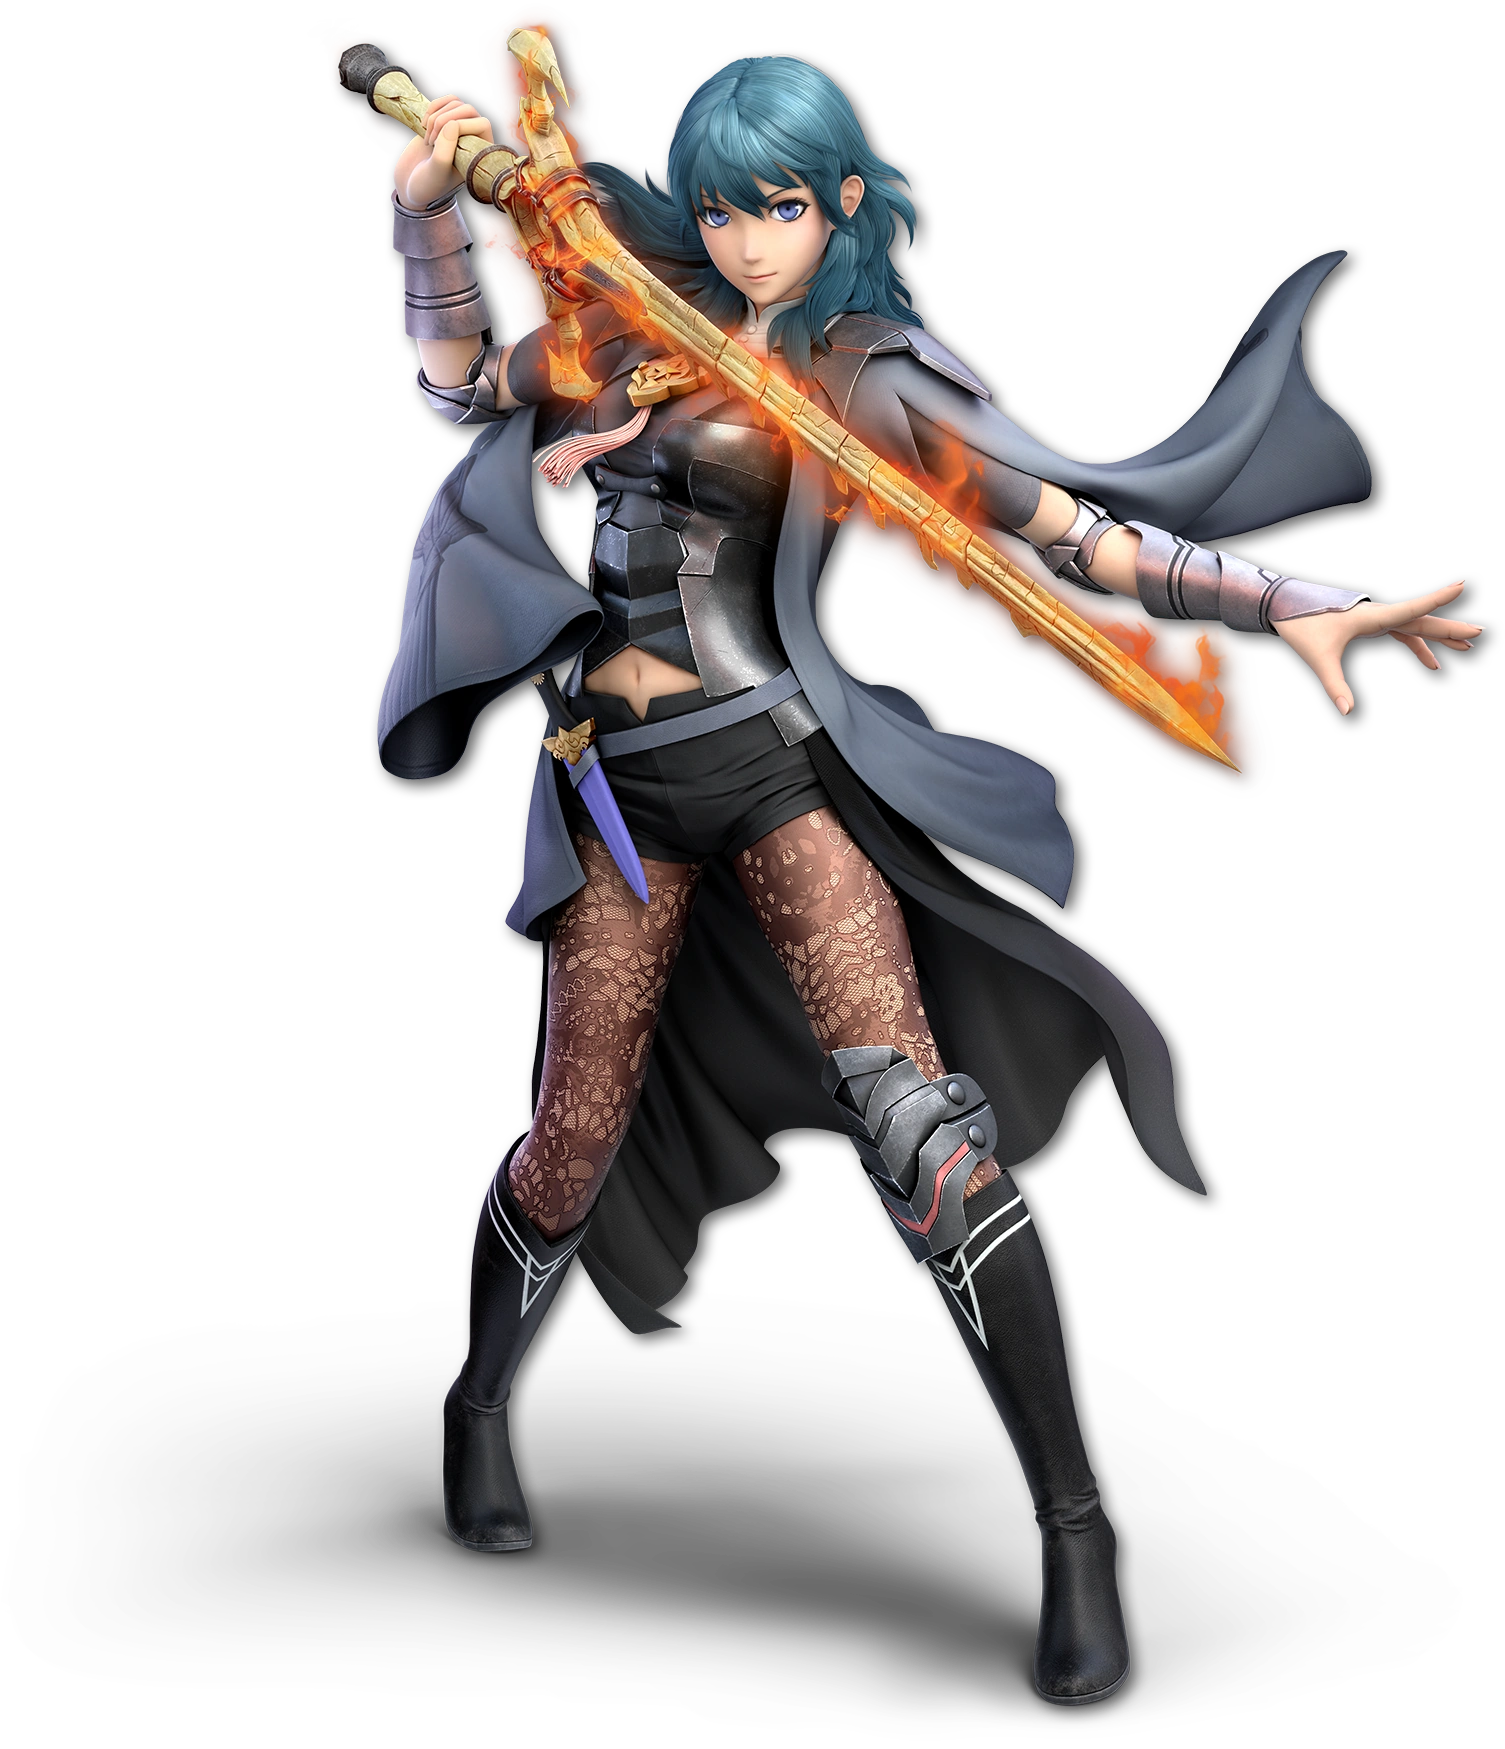
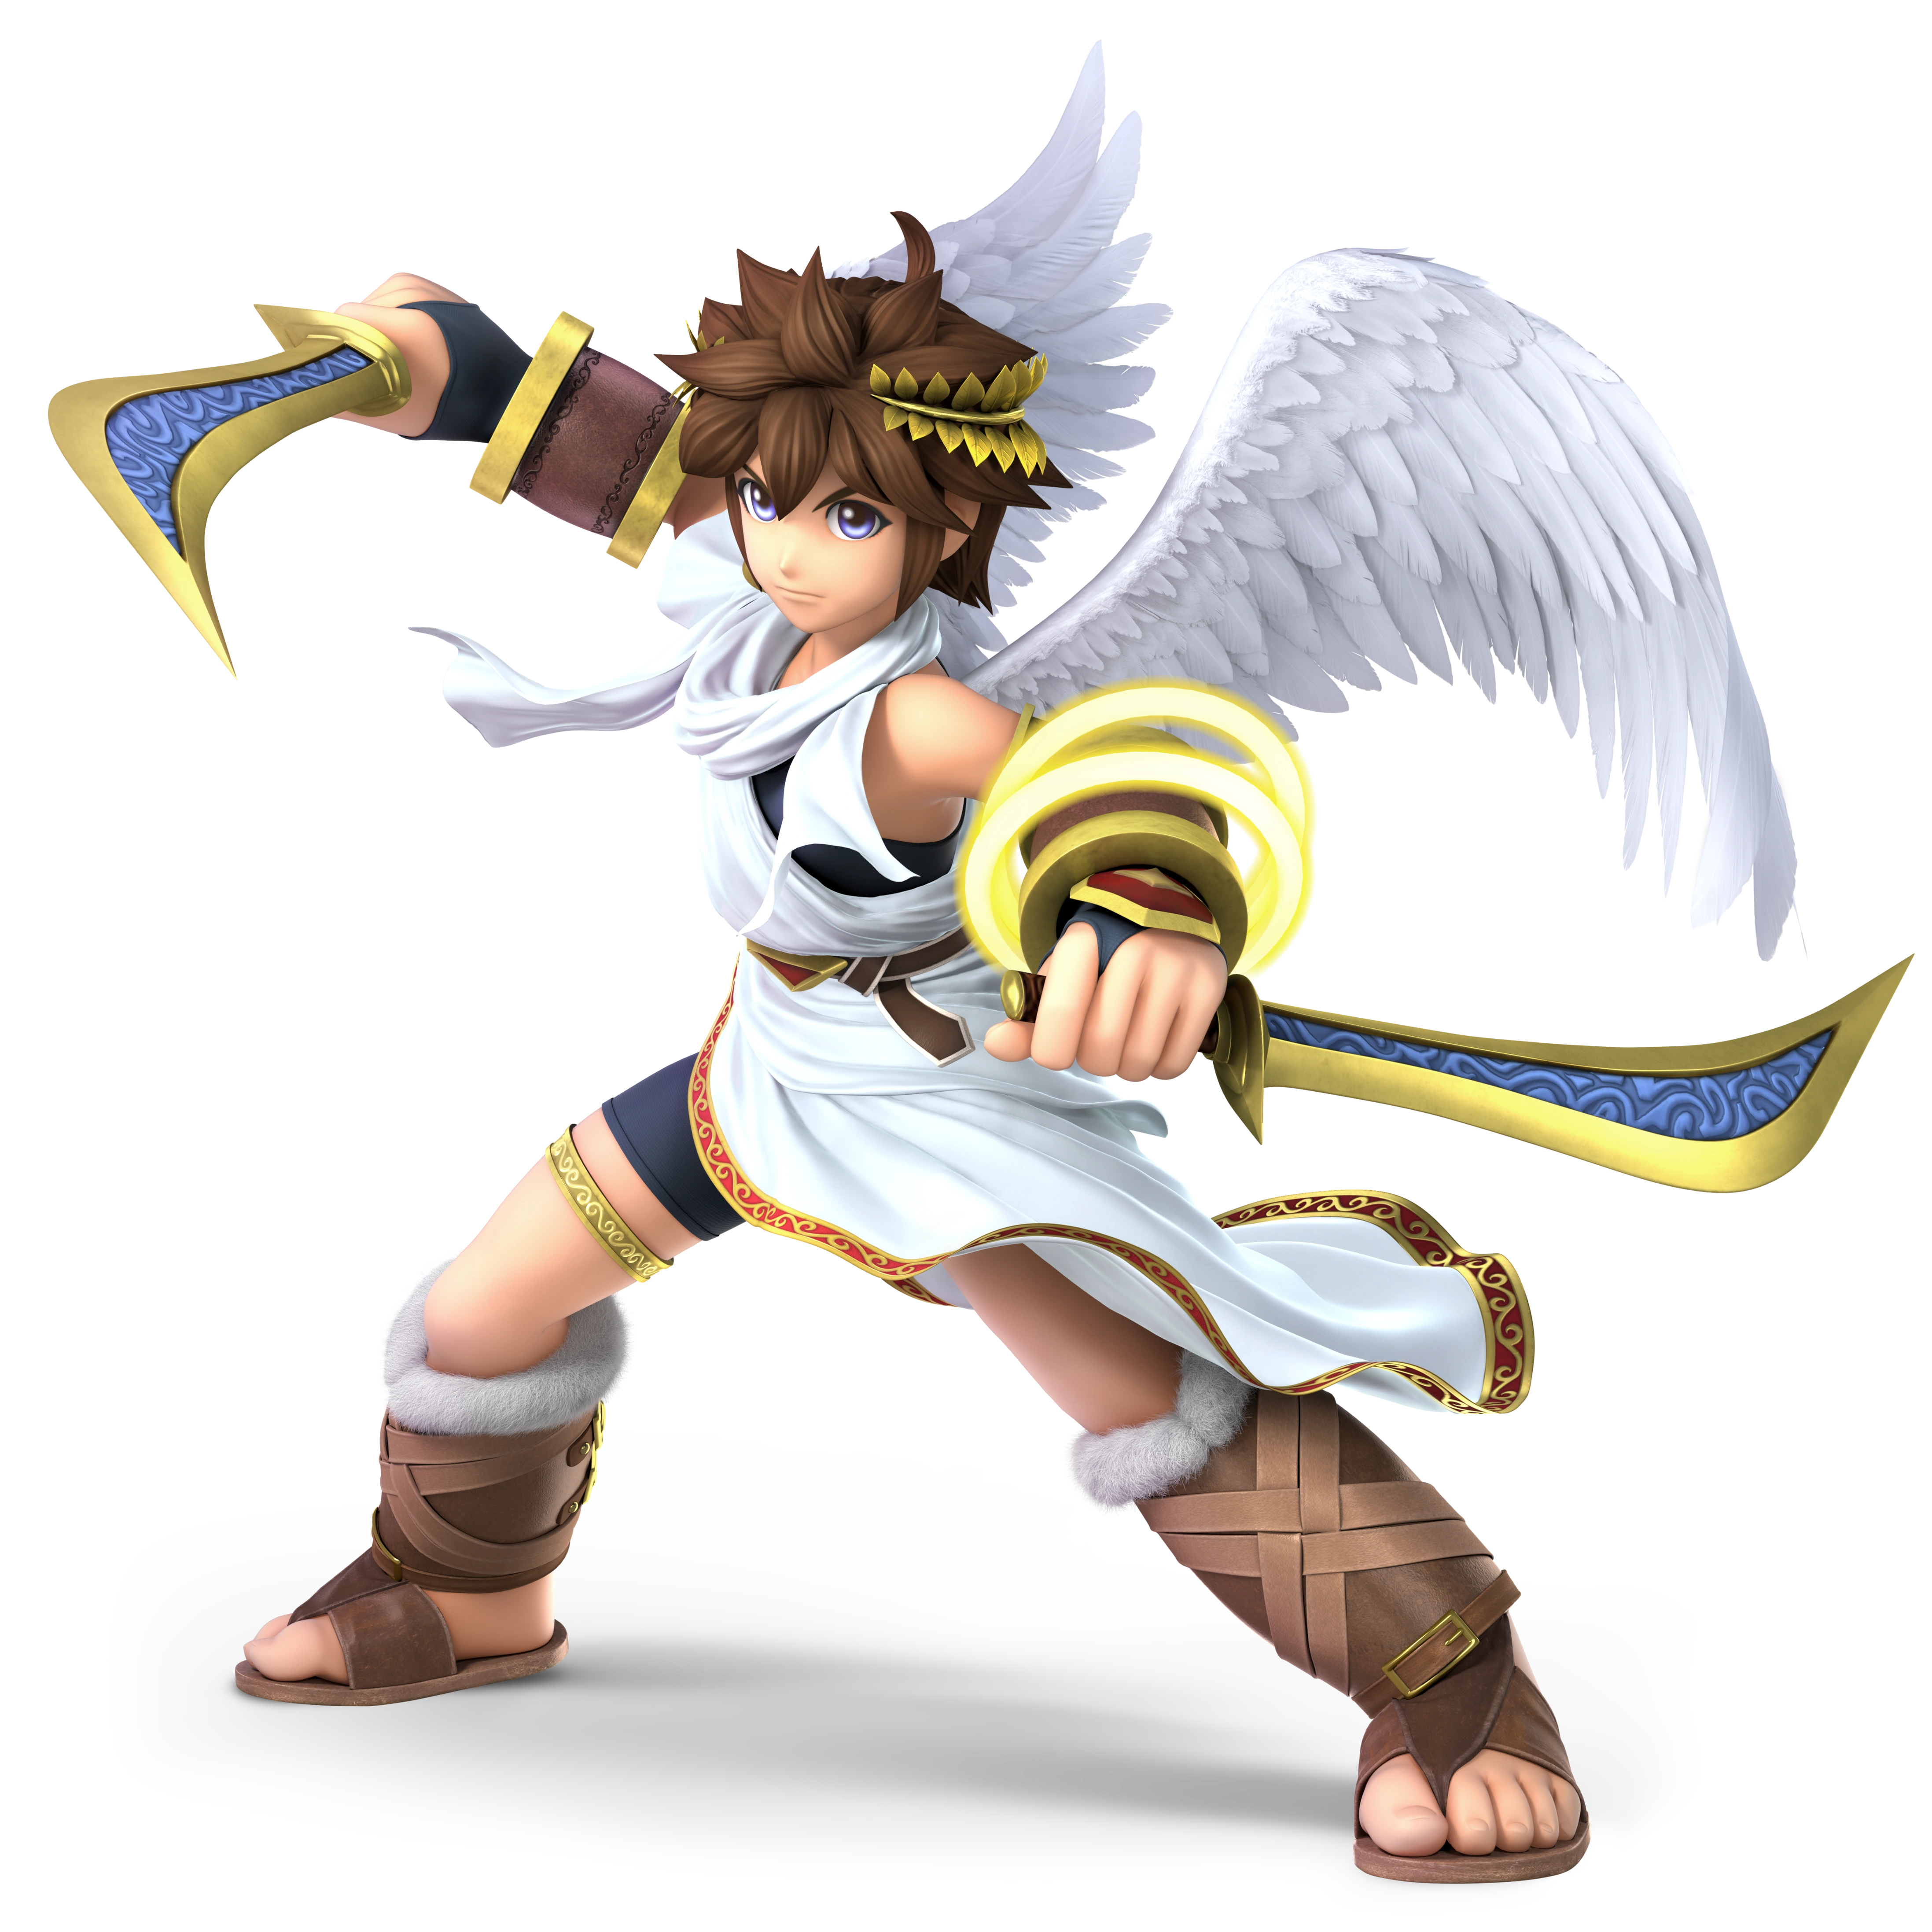
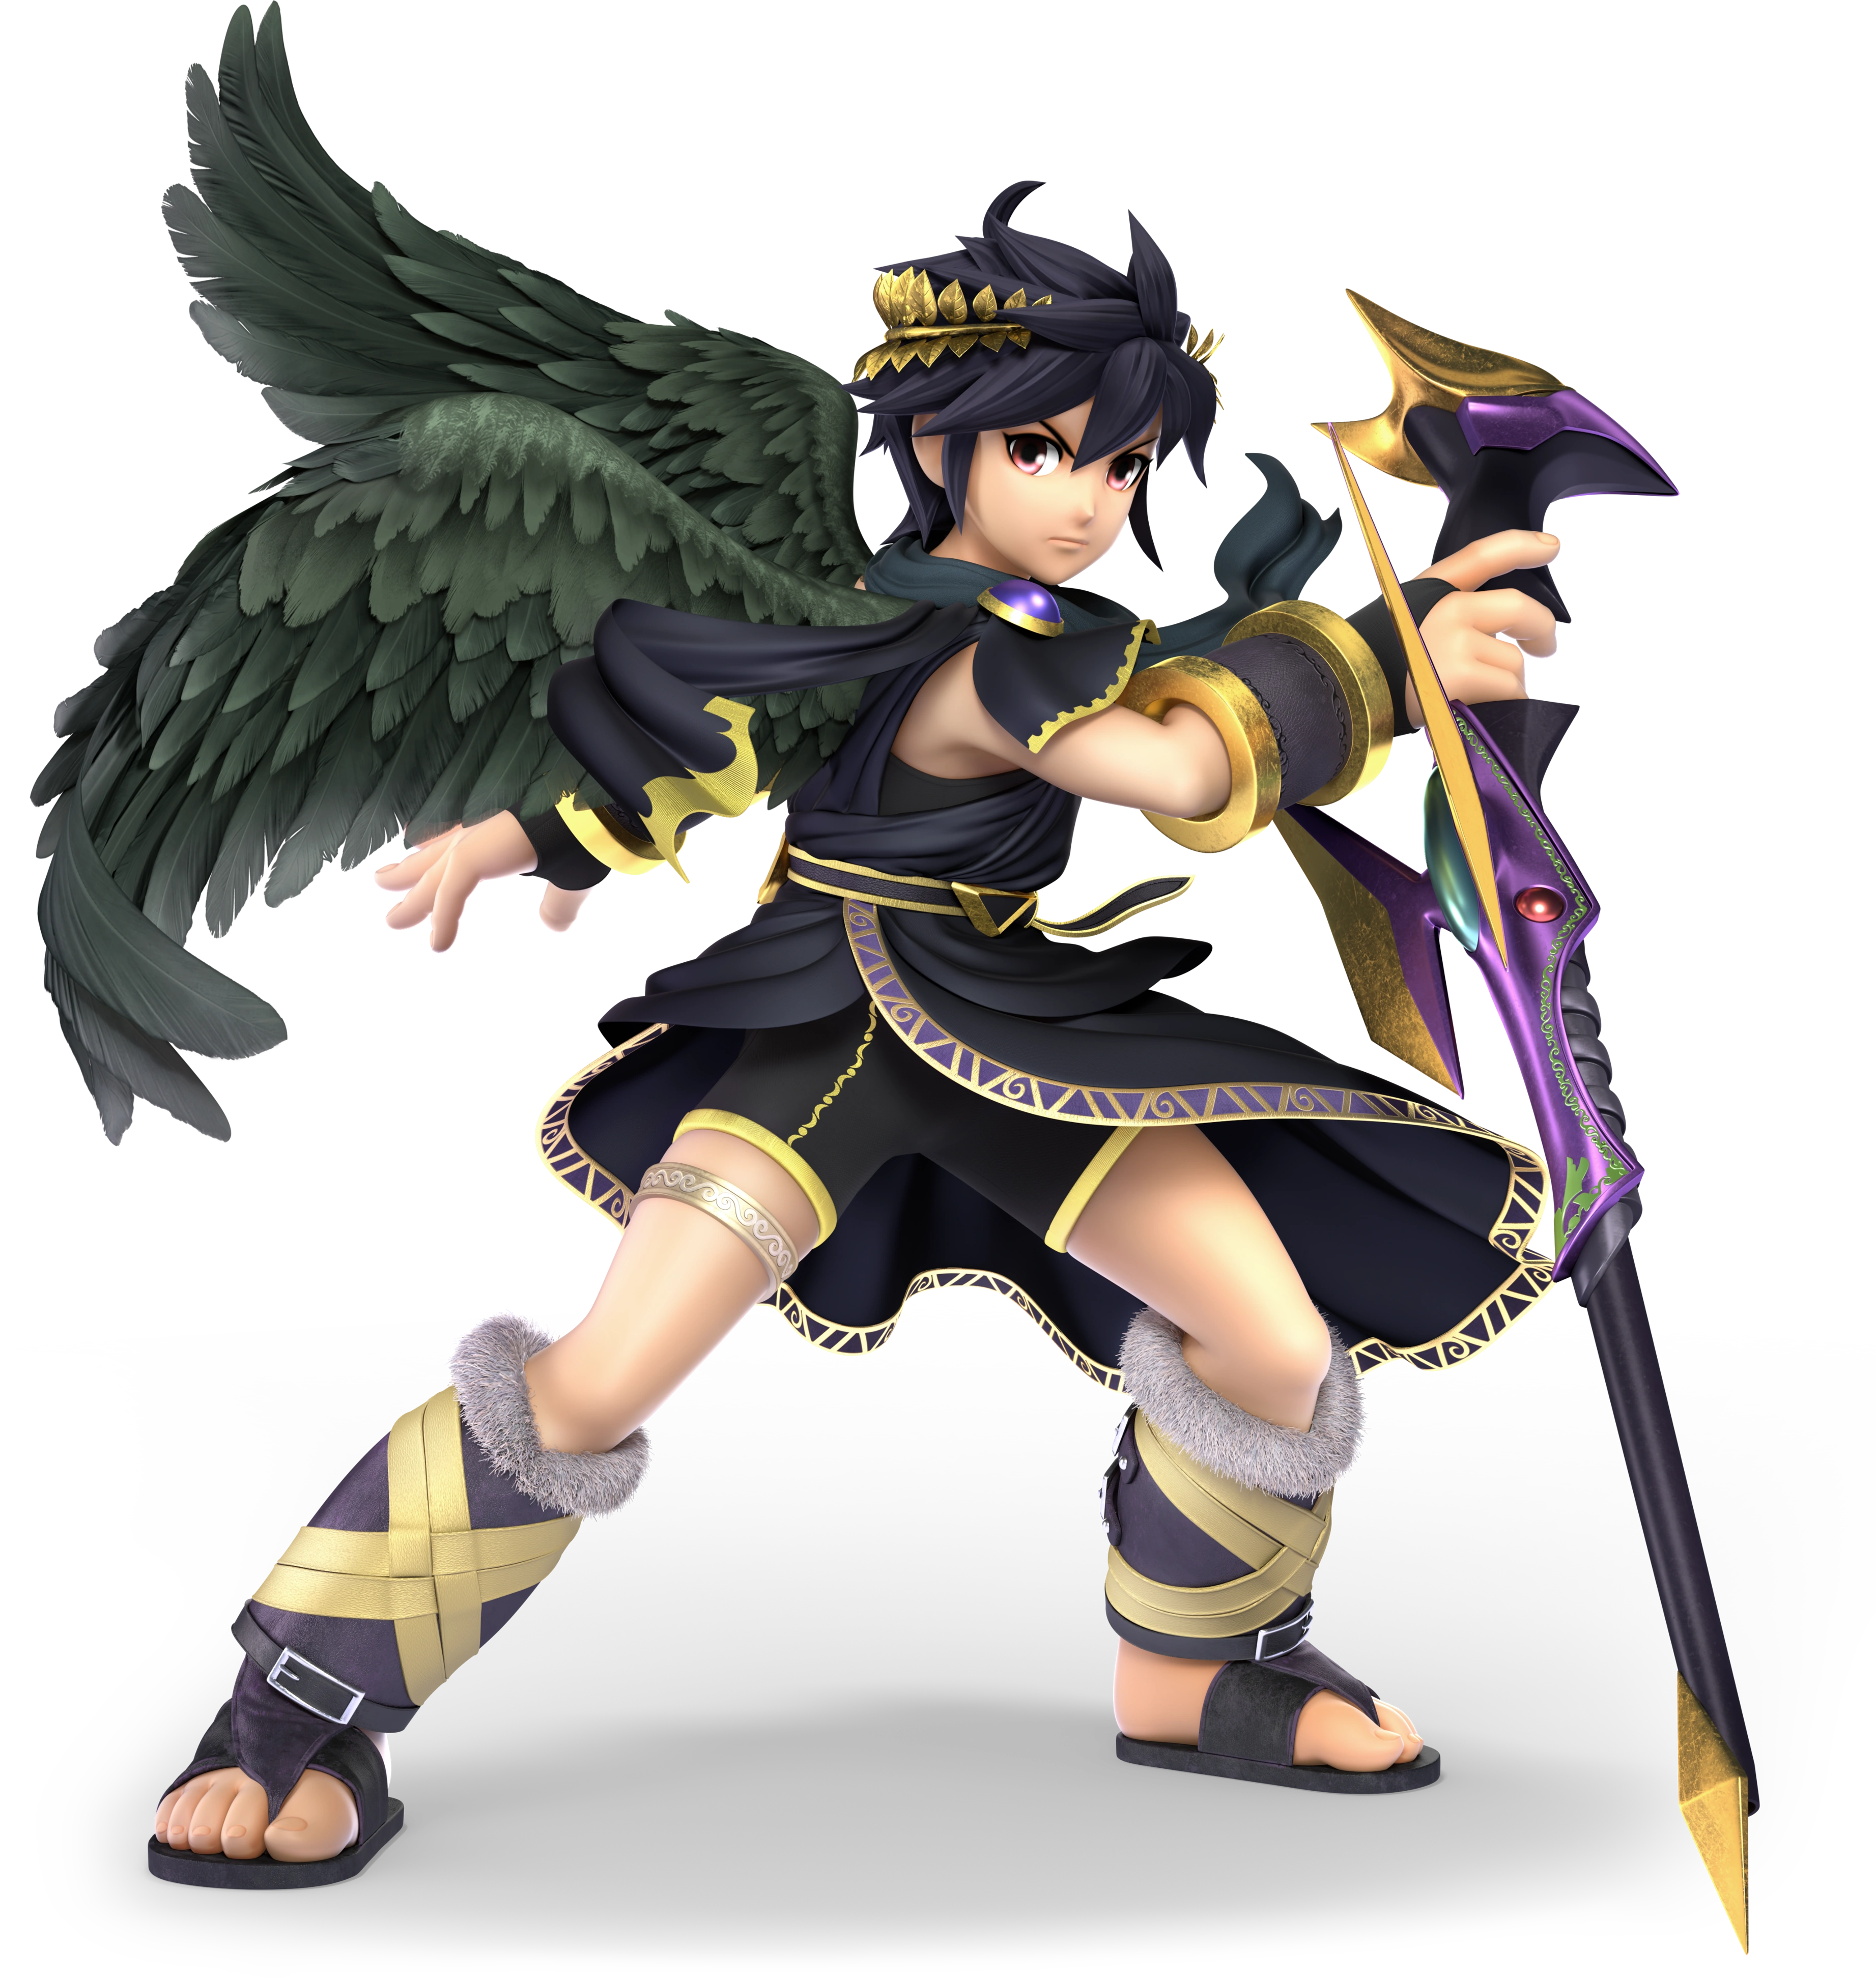
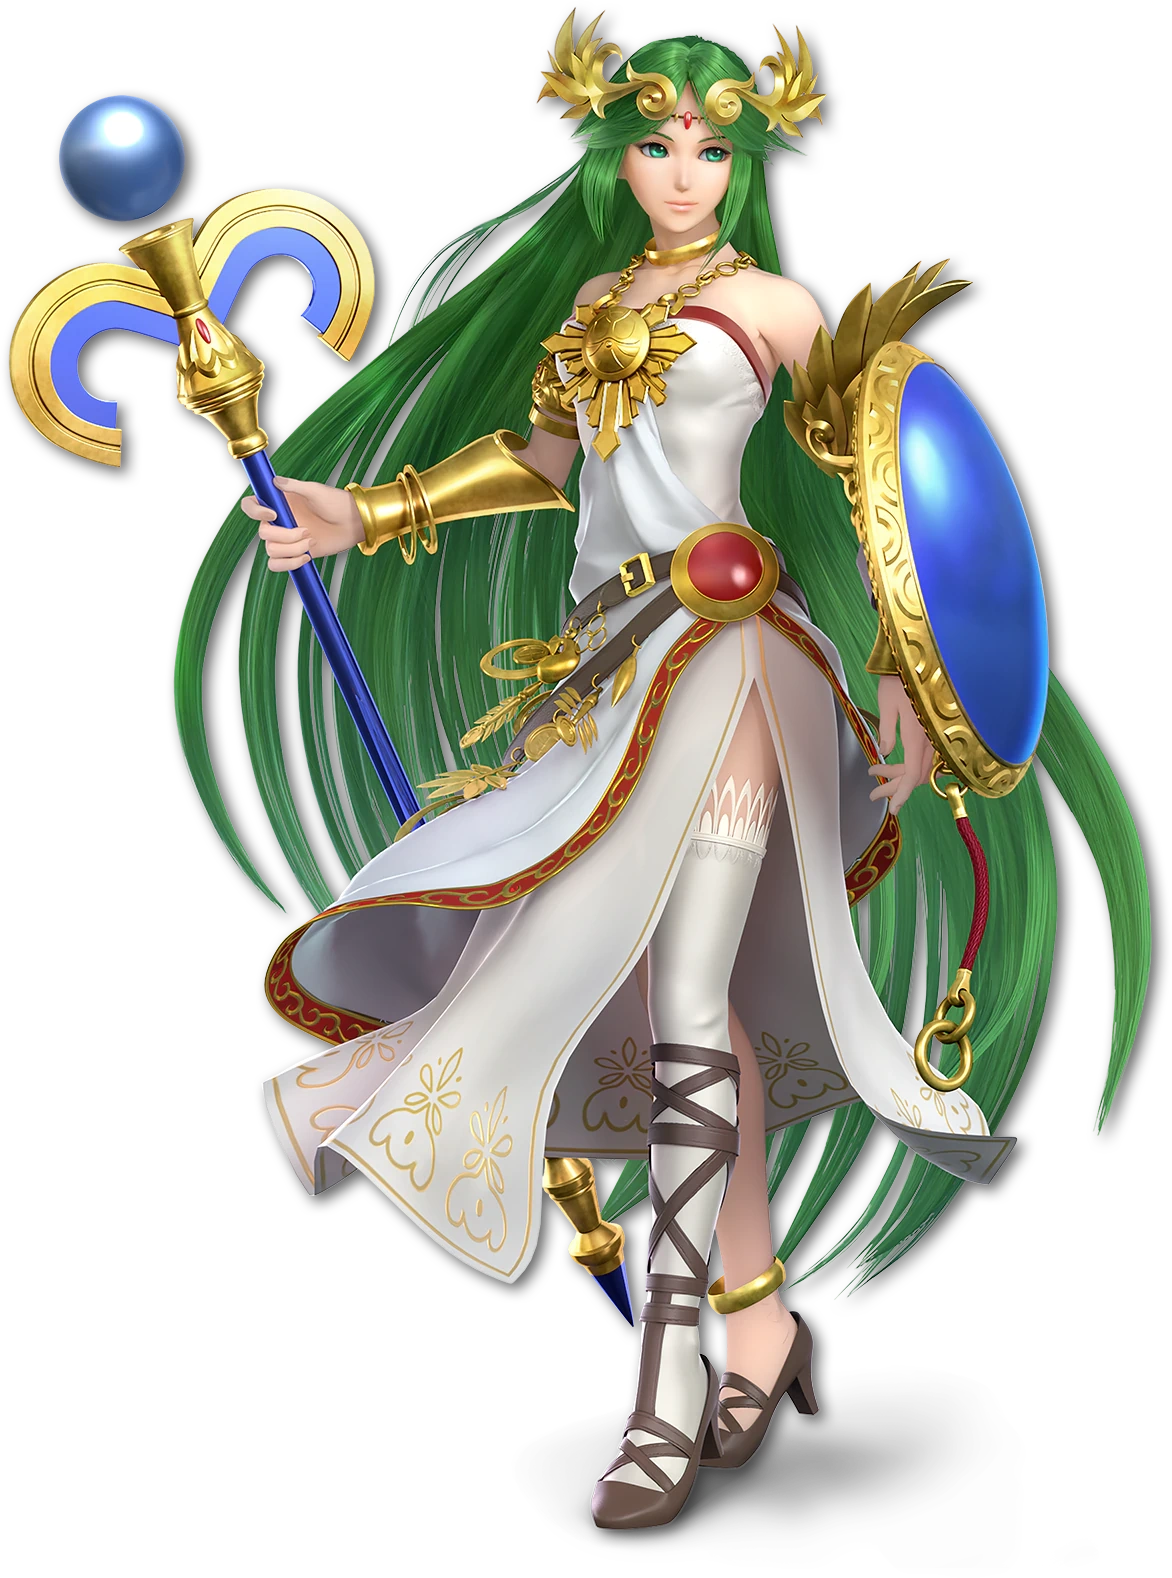
| Byleth | Pit | Dark Pit | Palutena | ??? | Olimar |
| ??? | Villager | Isabelle | Shulk | ??? | ??? |
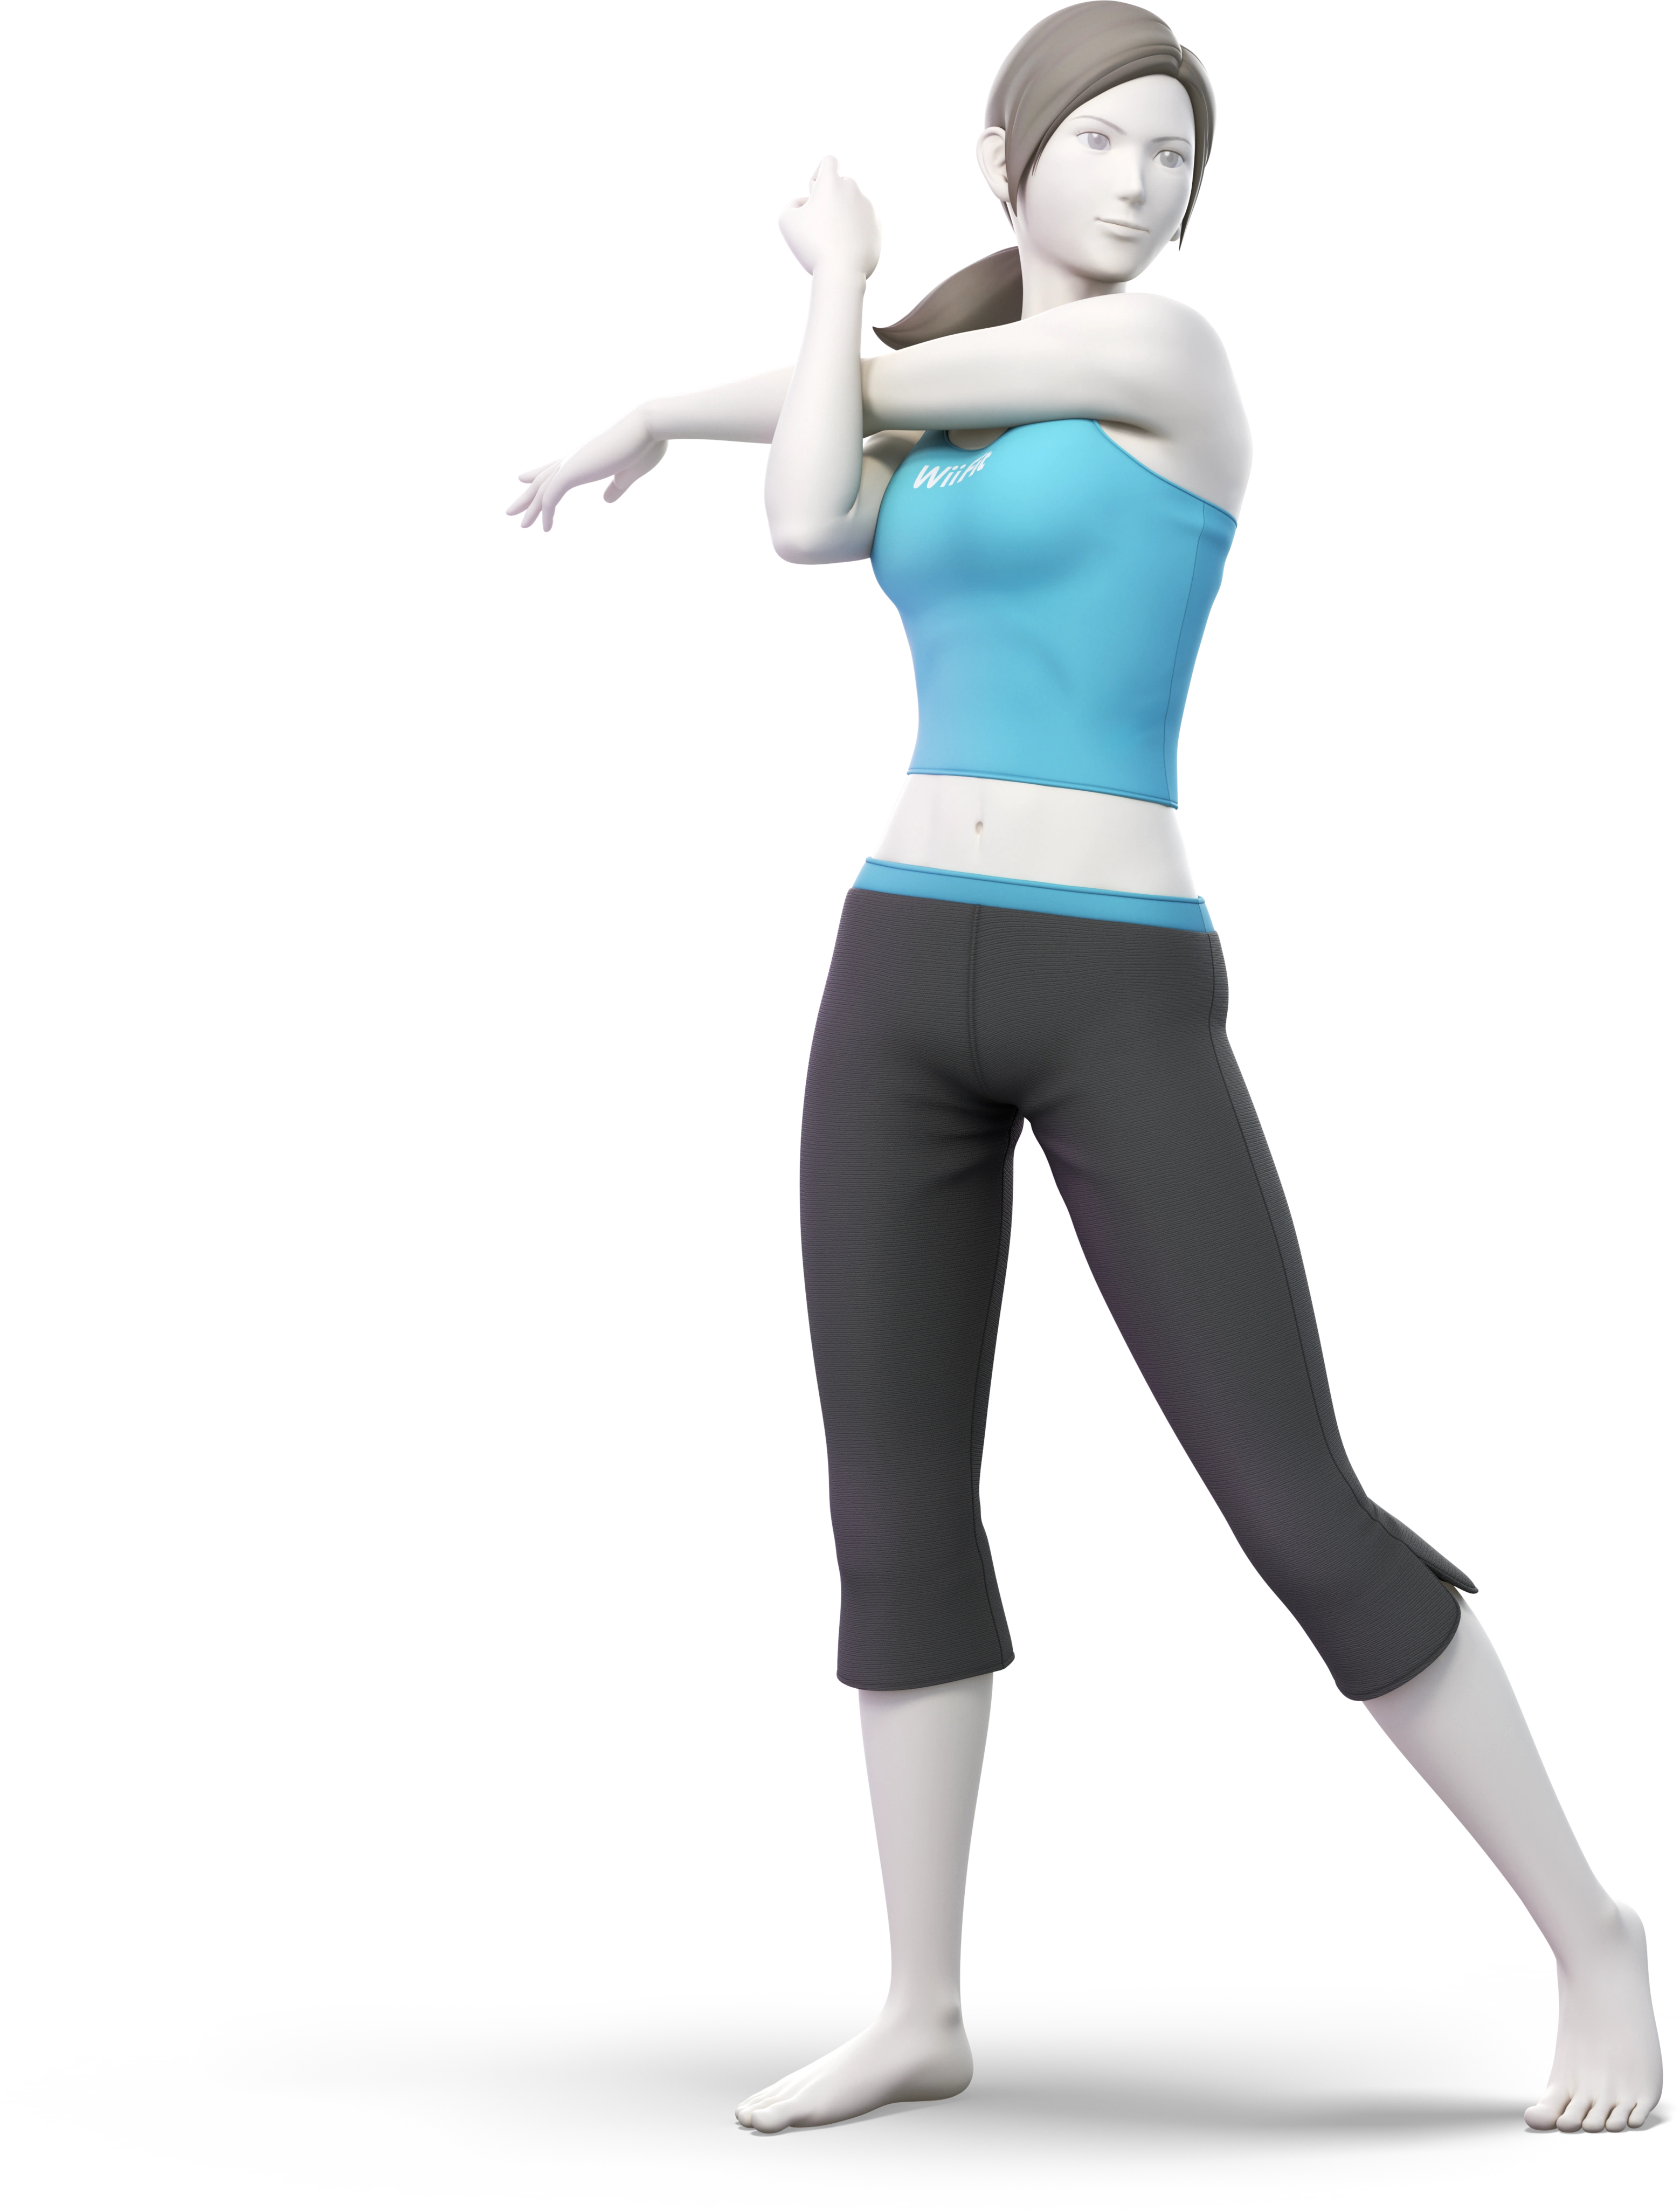
| Inkling | ??? | ??? | ??? | Wii Fit Trainer | Little Mac |
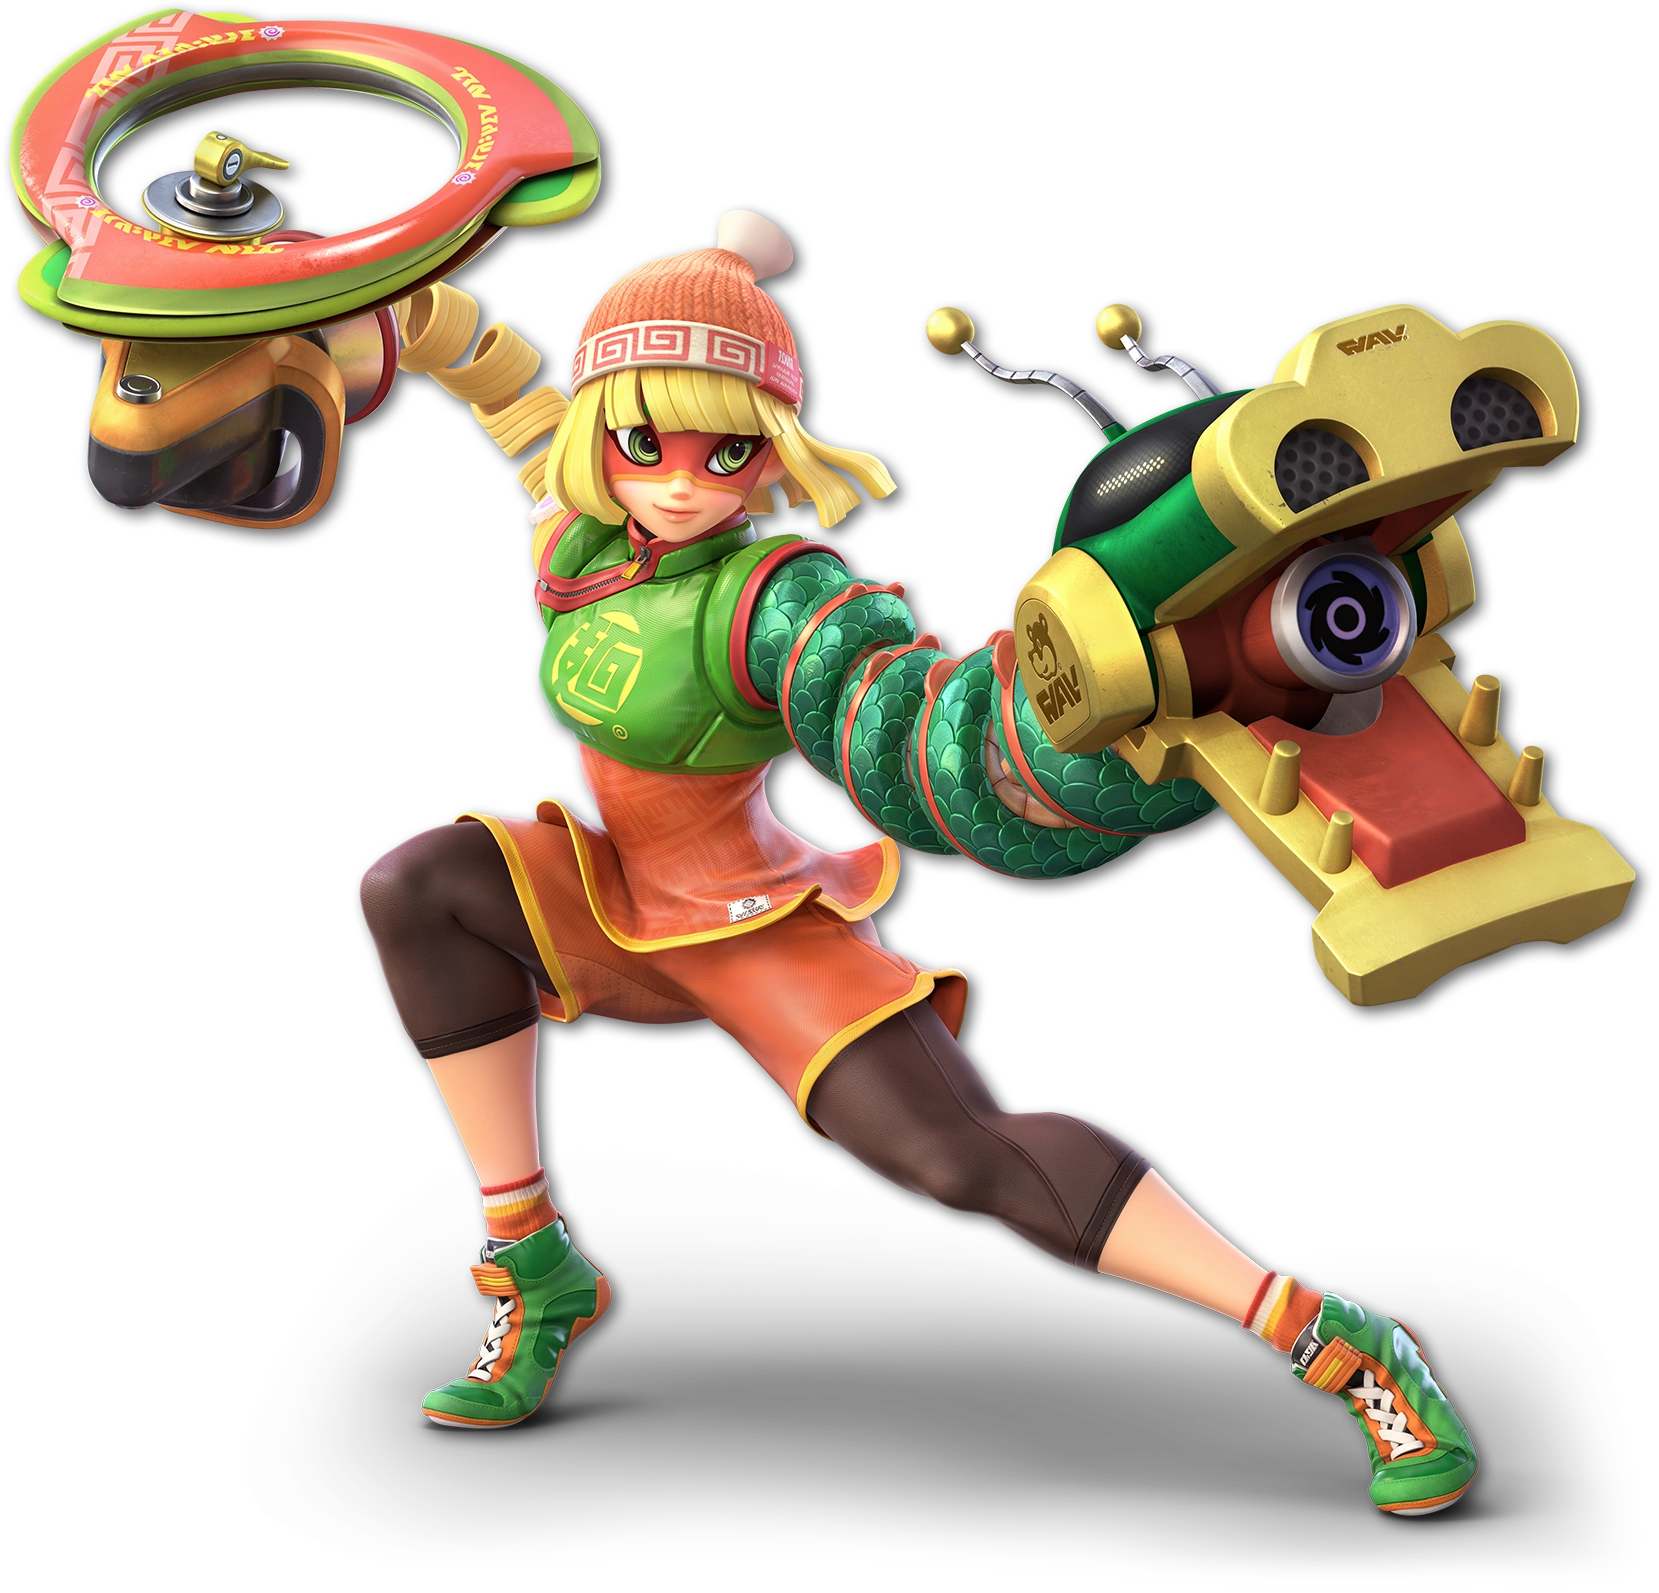
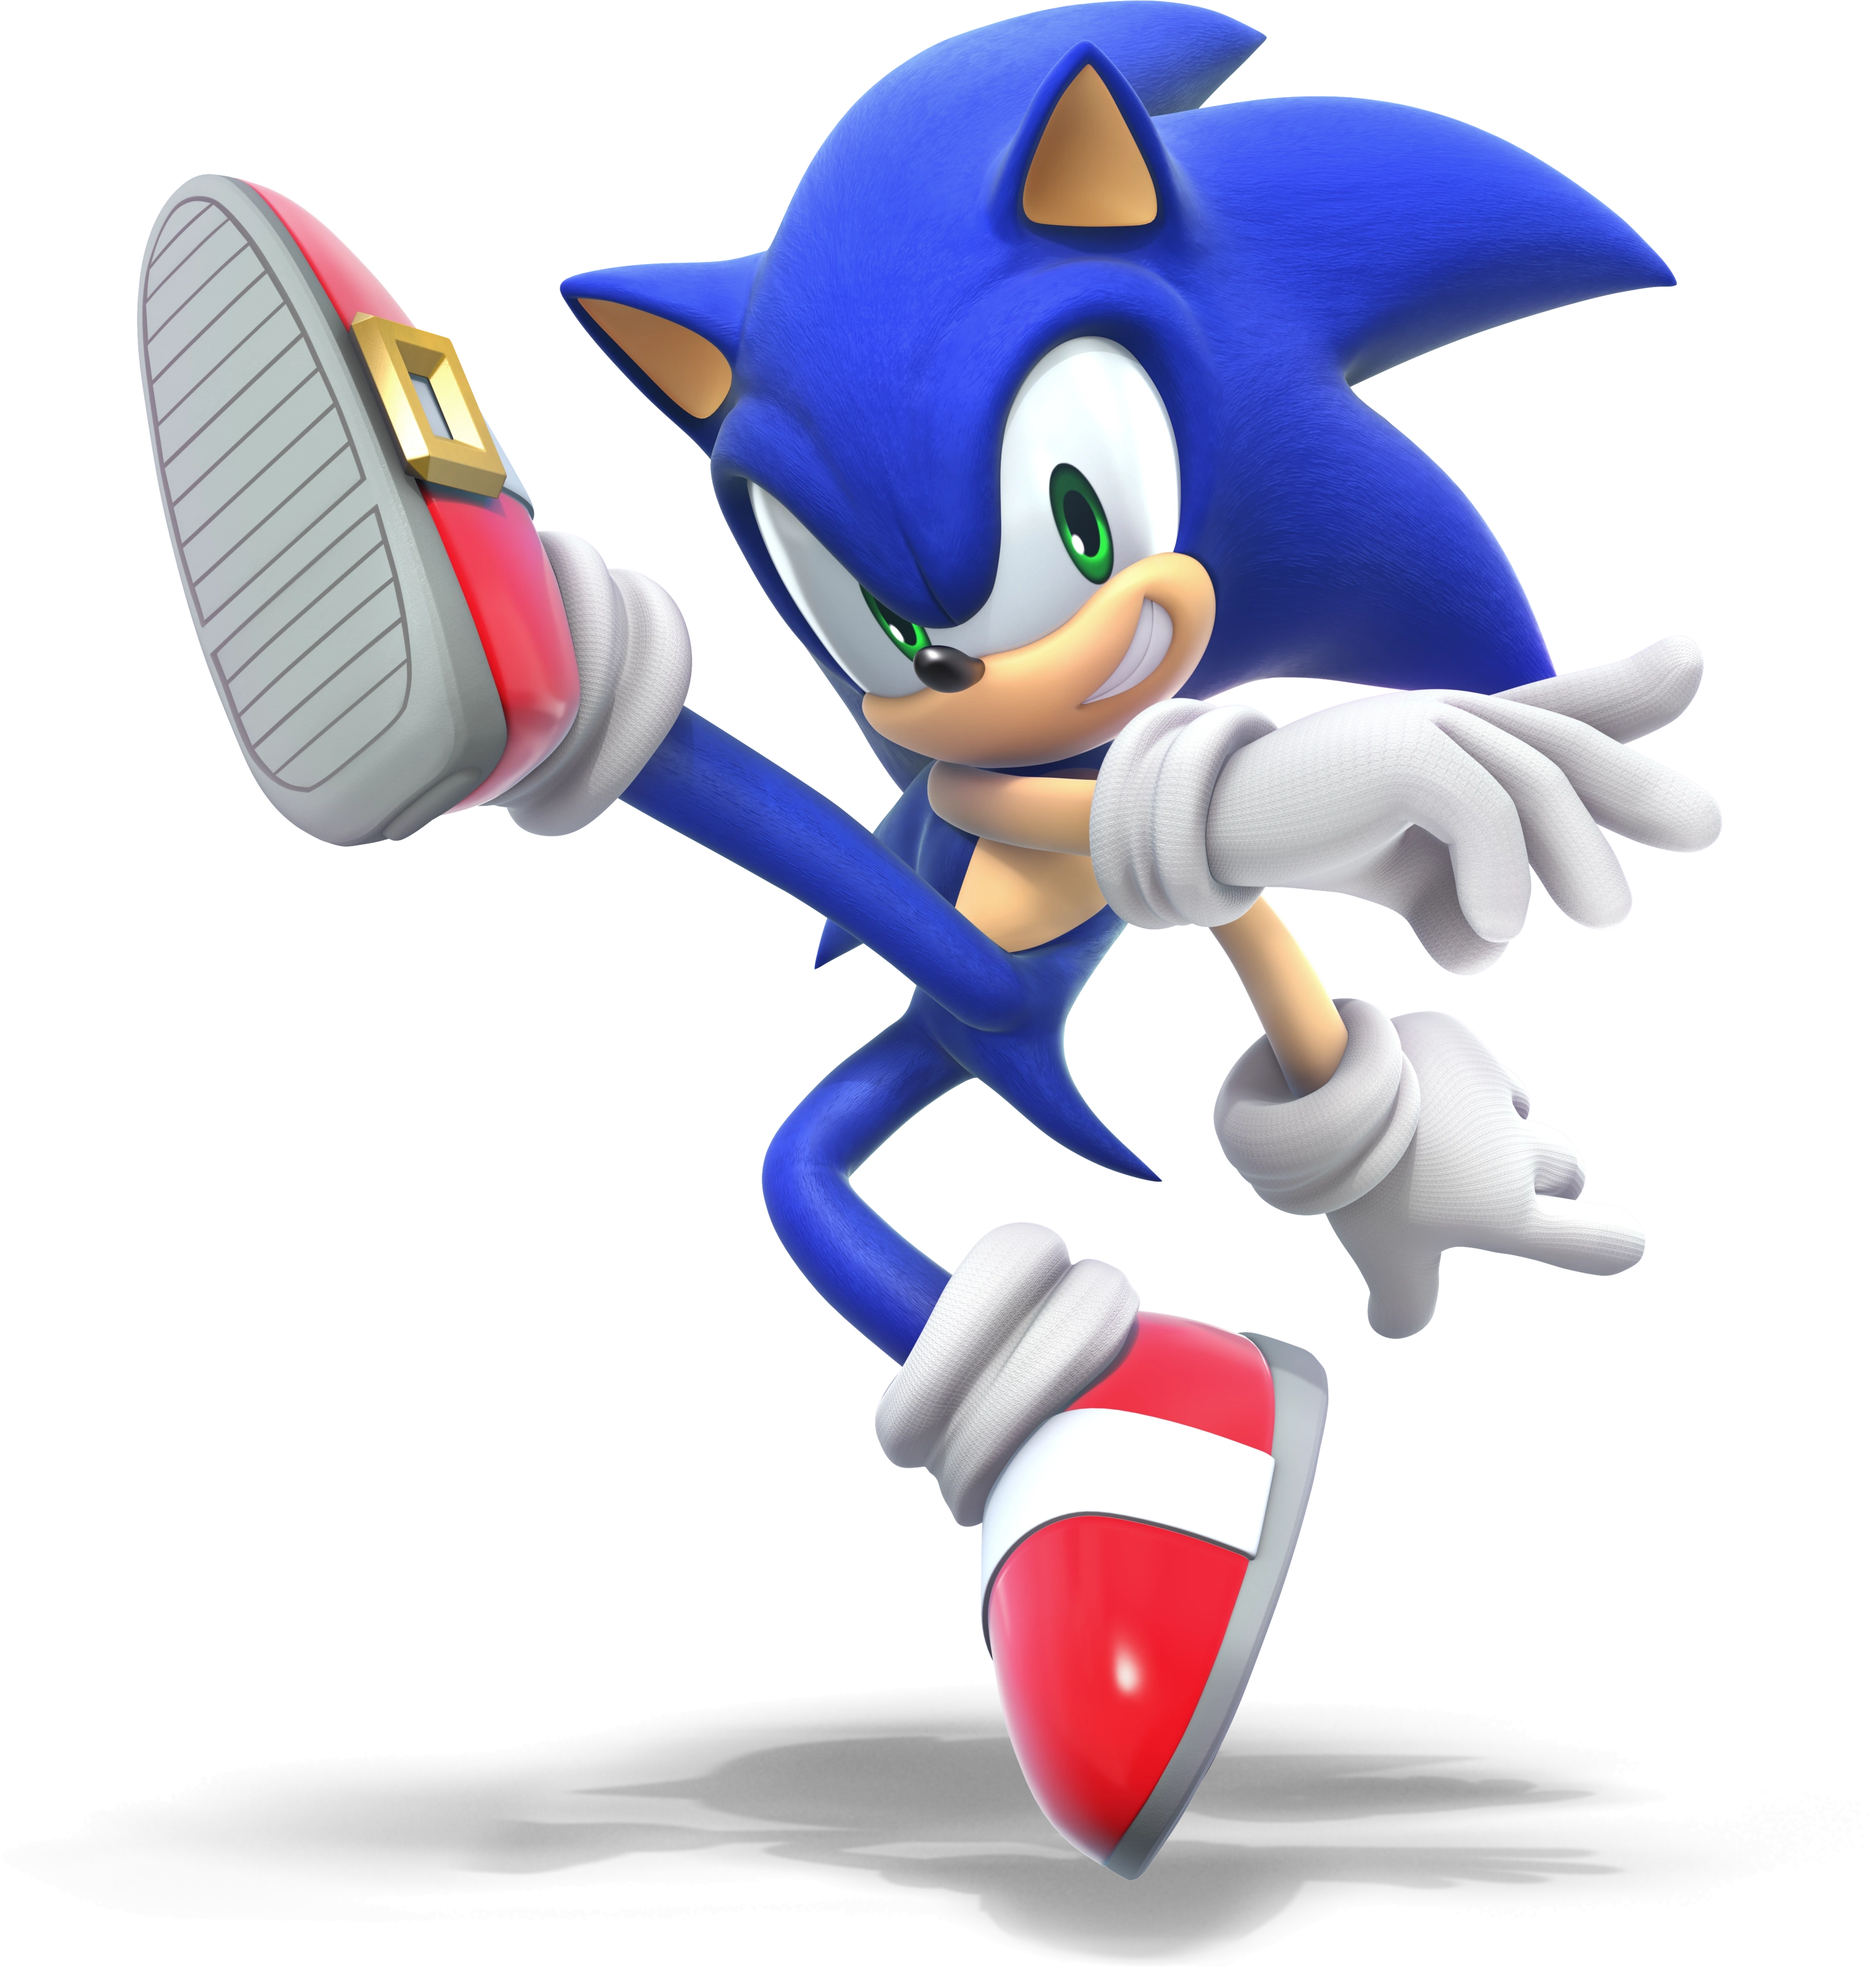
| Min Min | ??? | ??? | Sonic the Hedgehog | ??? | ??? |
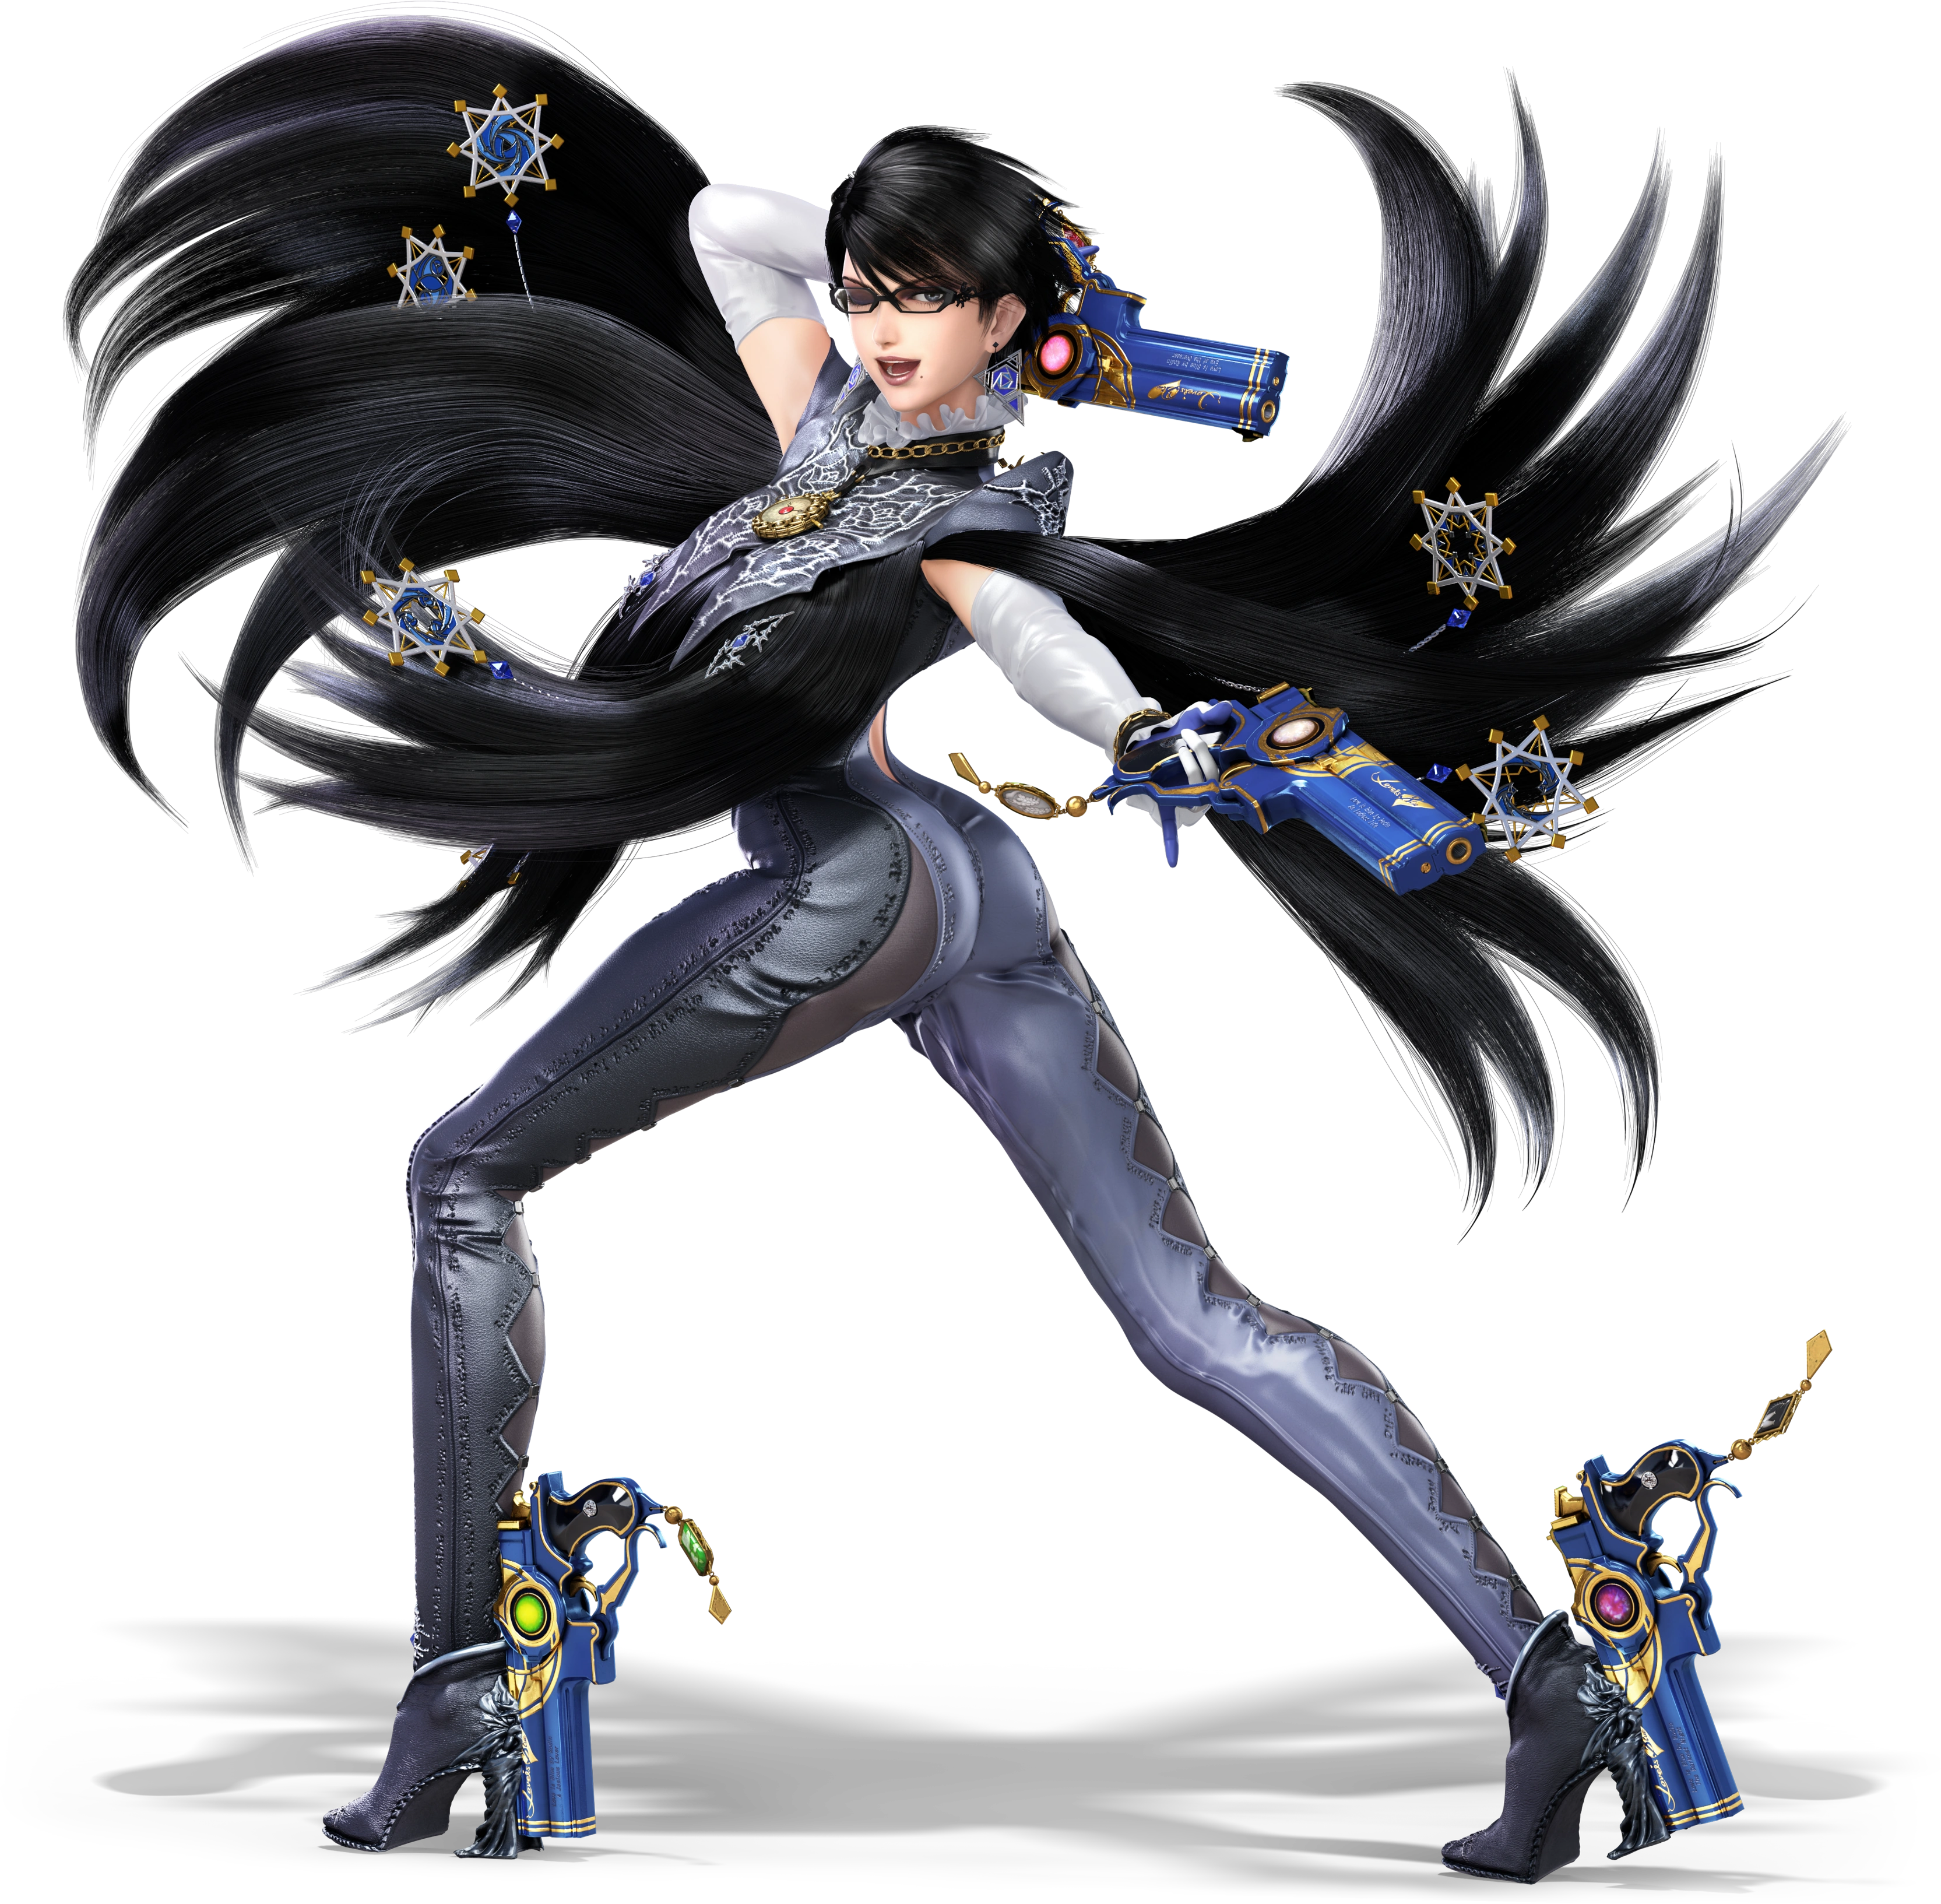
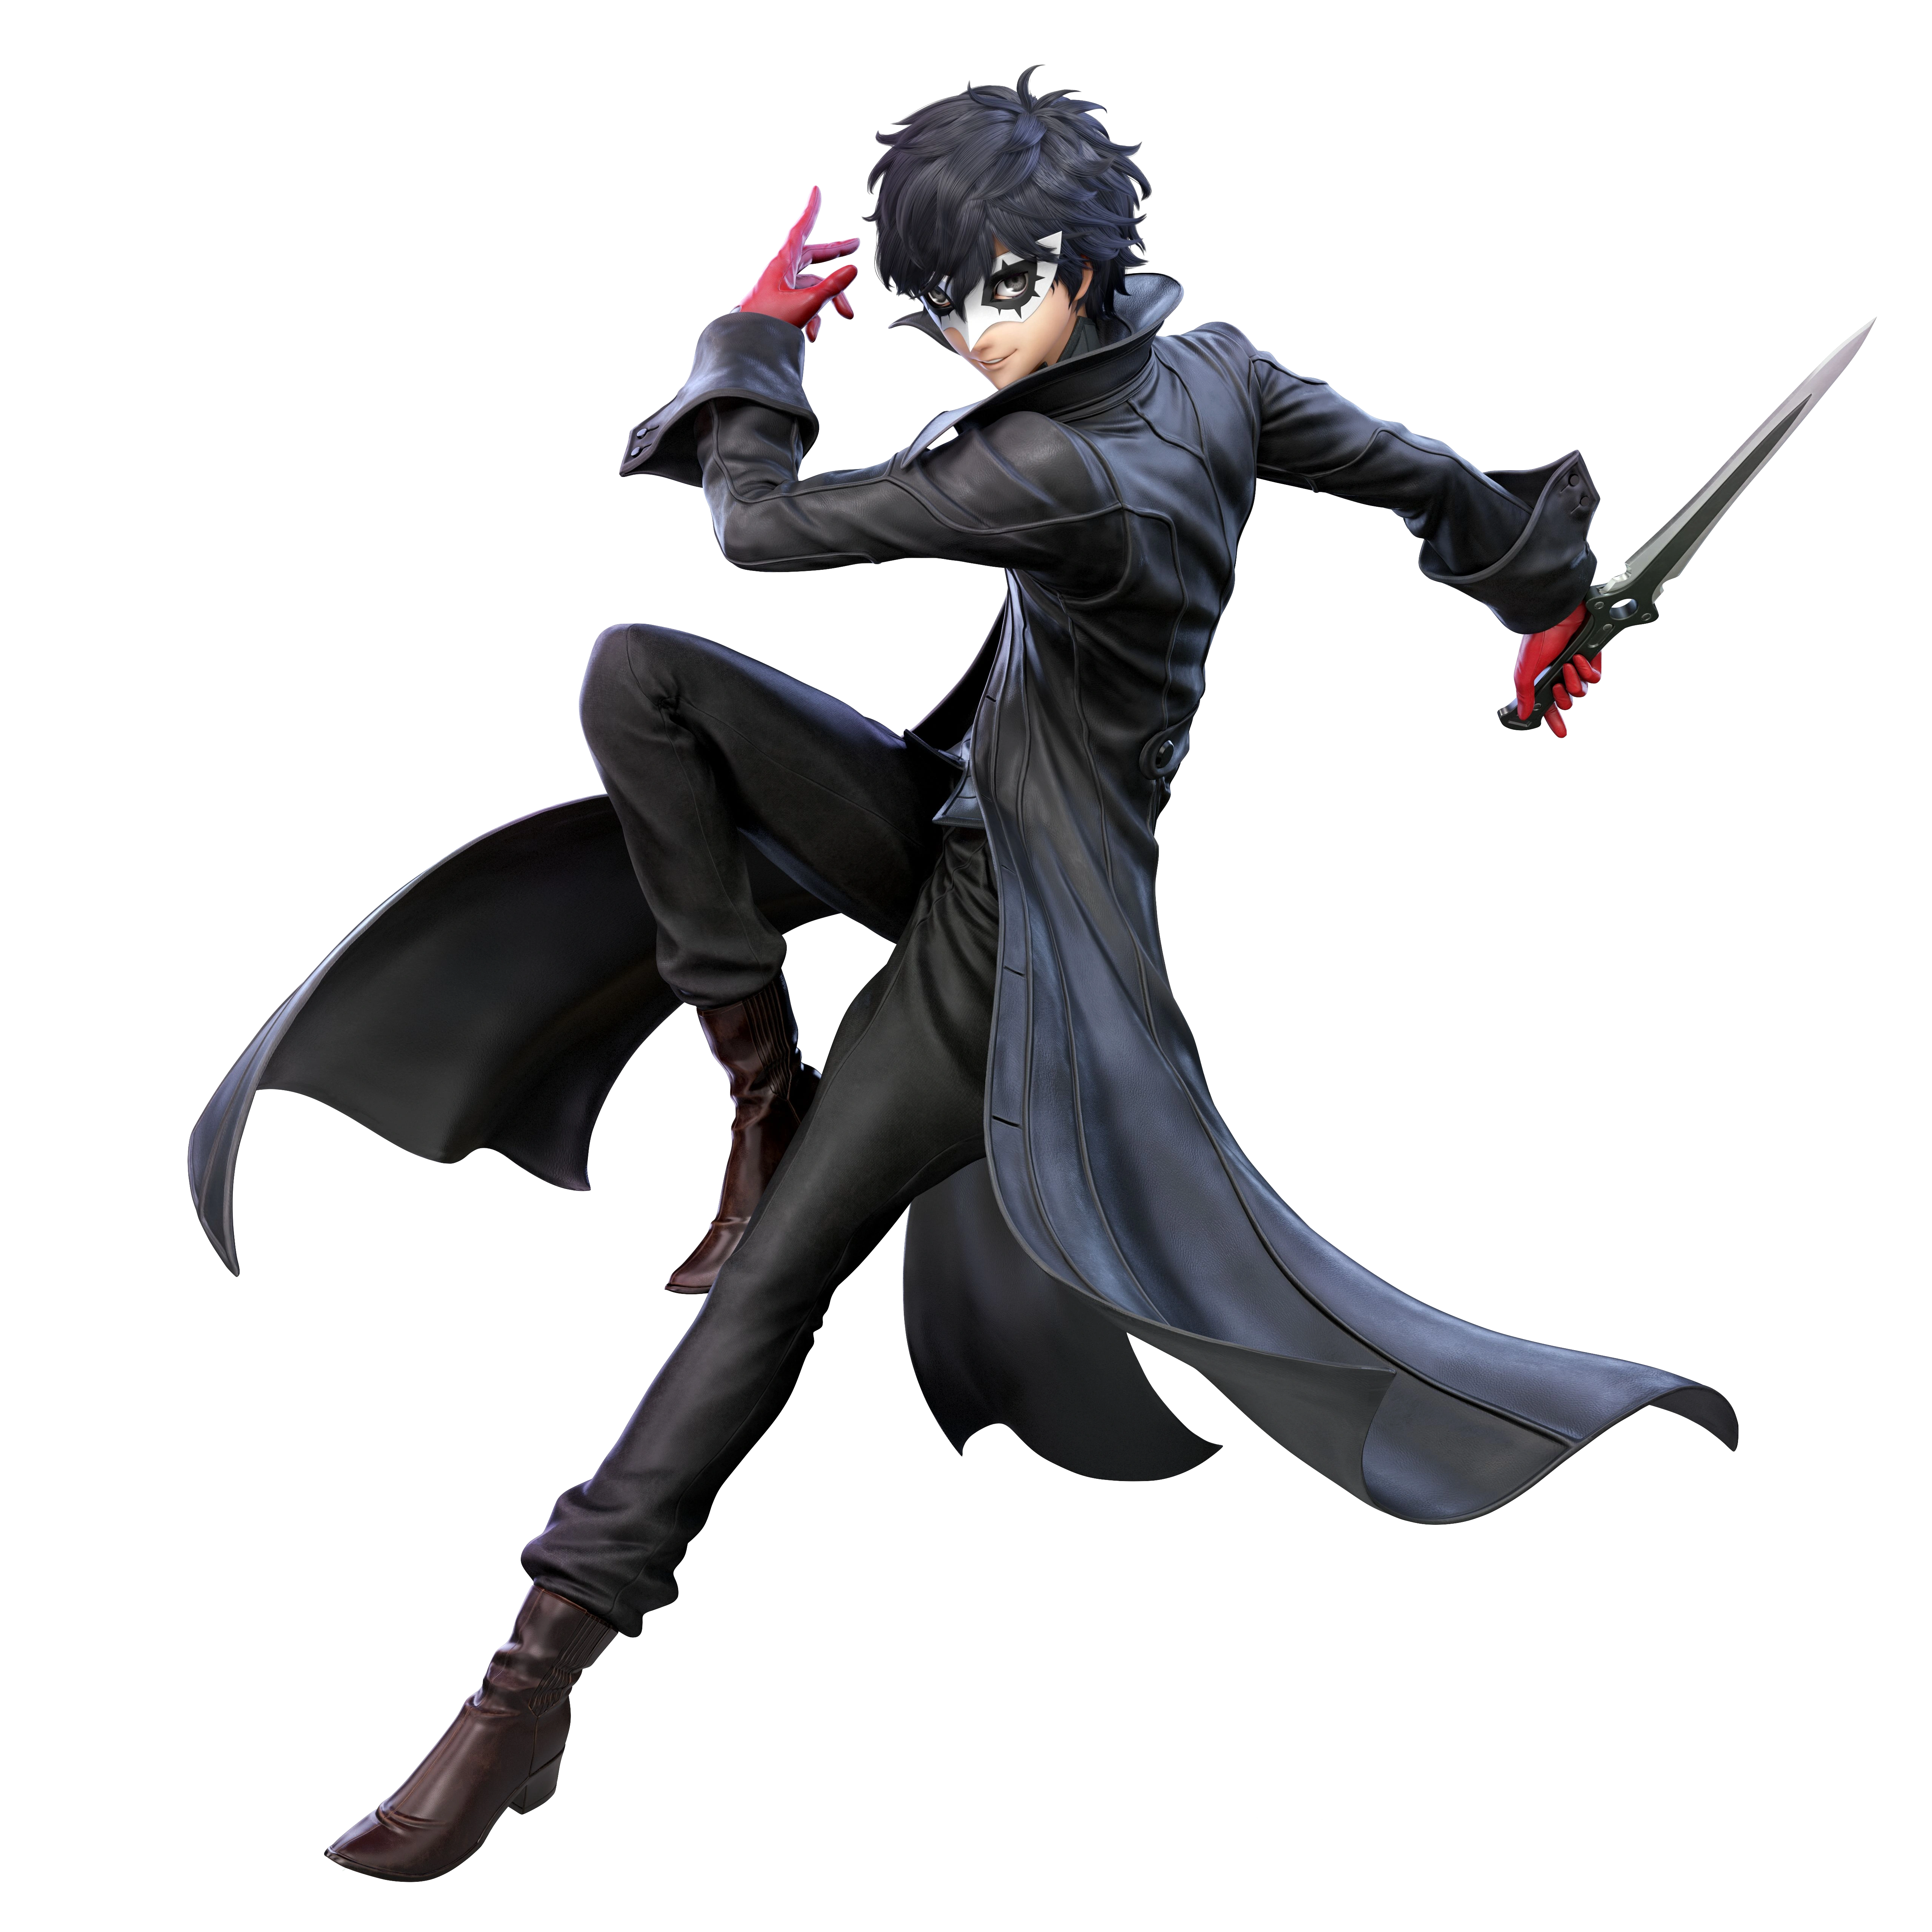
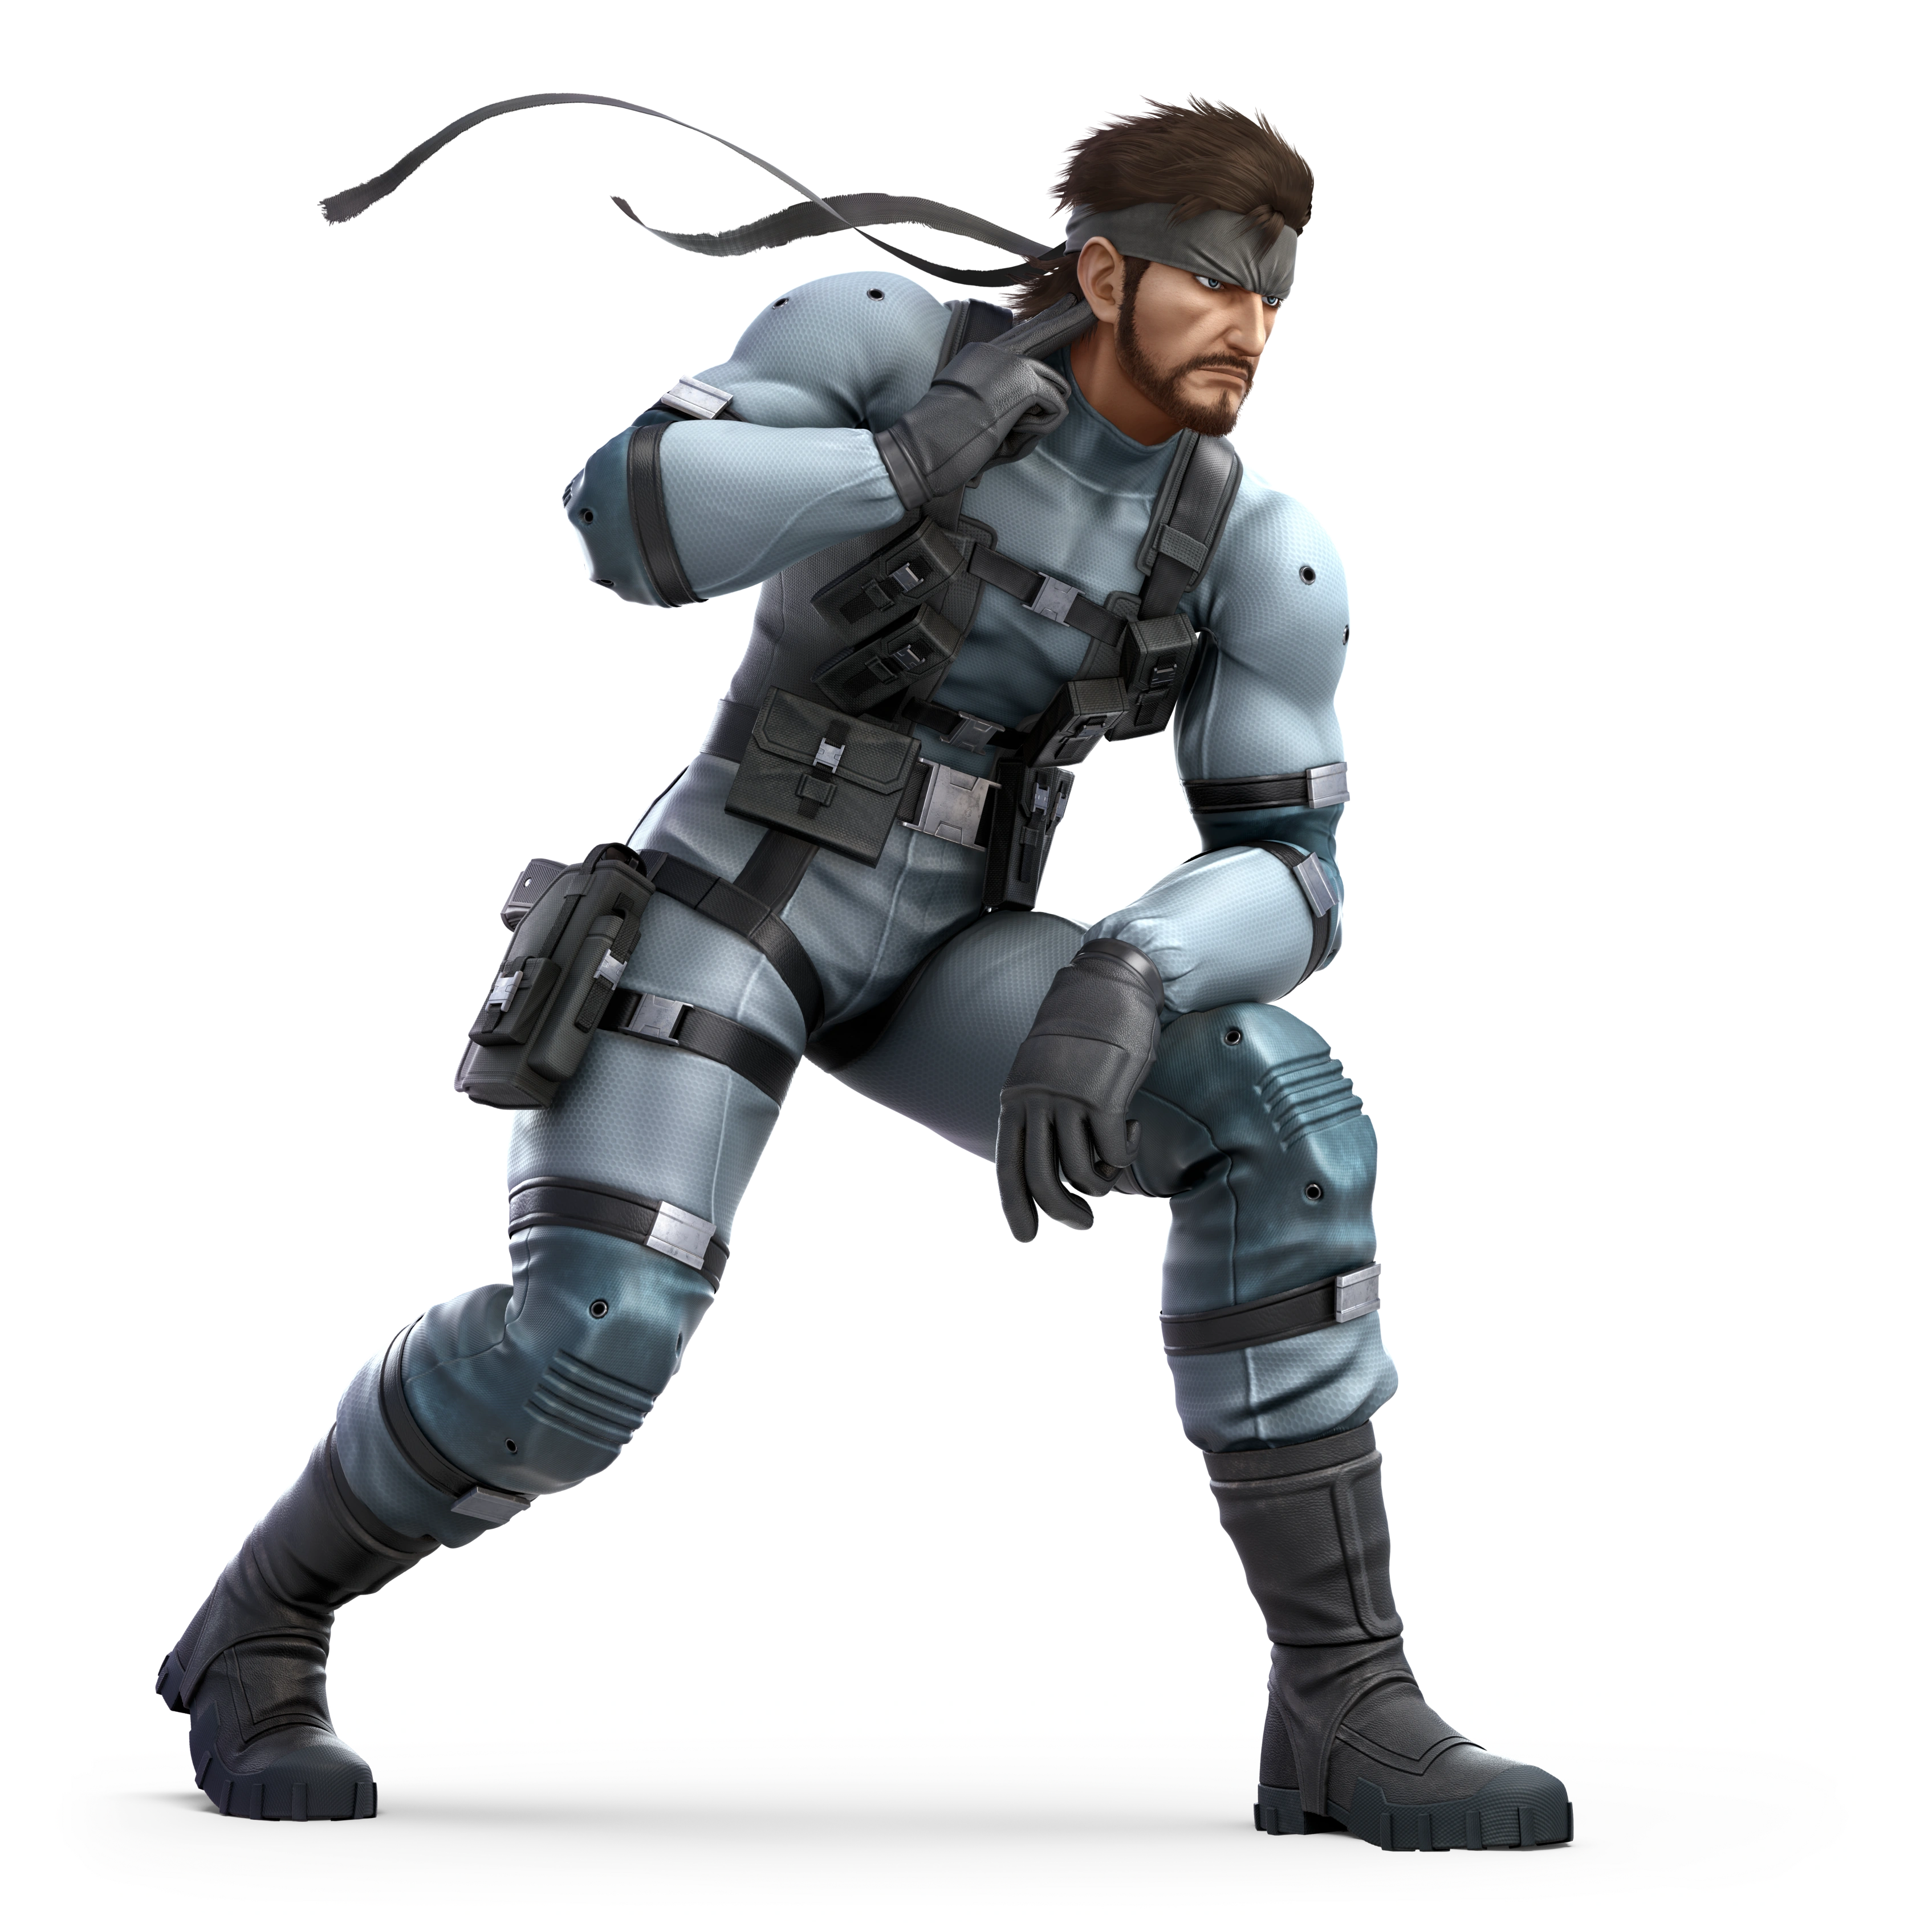
| ??? | Bayonetta | ??? | Joker | Solid Snake | ??? |
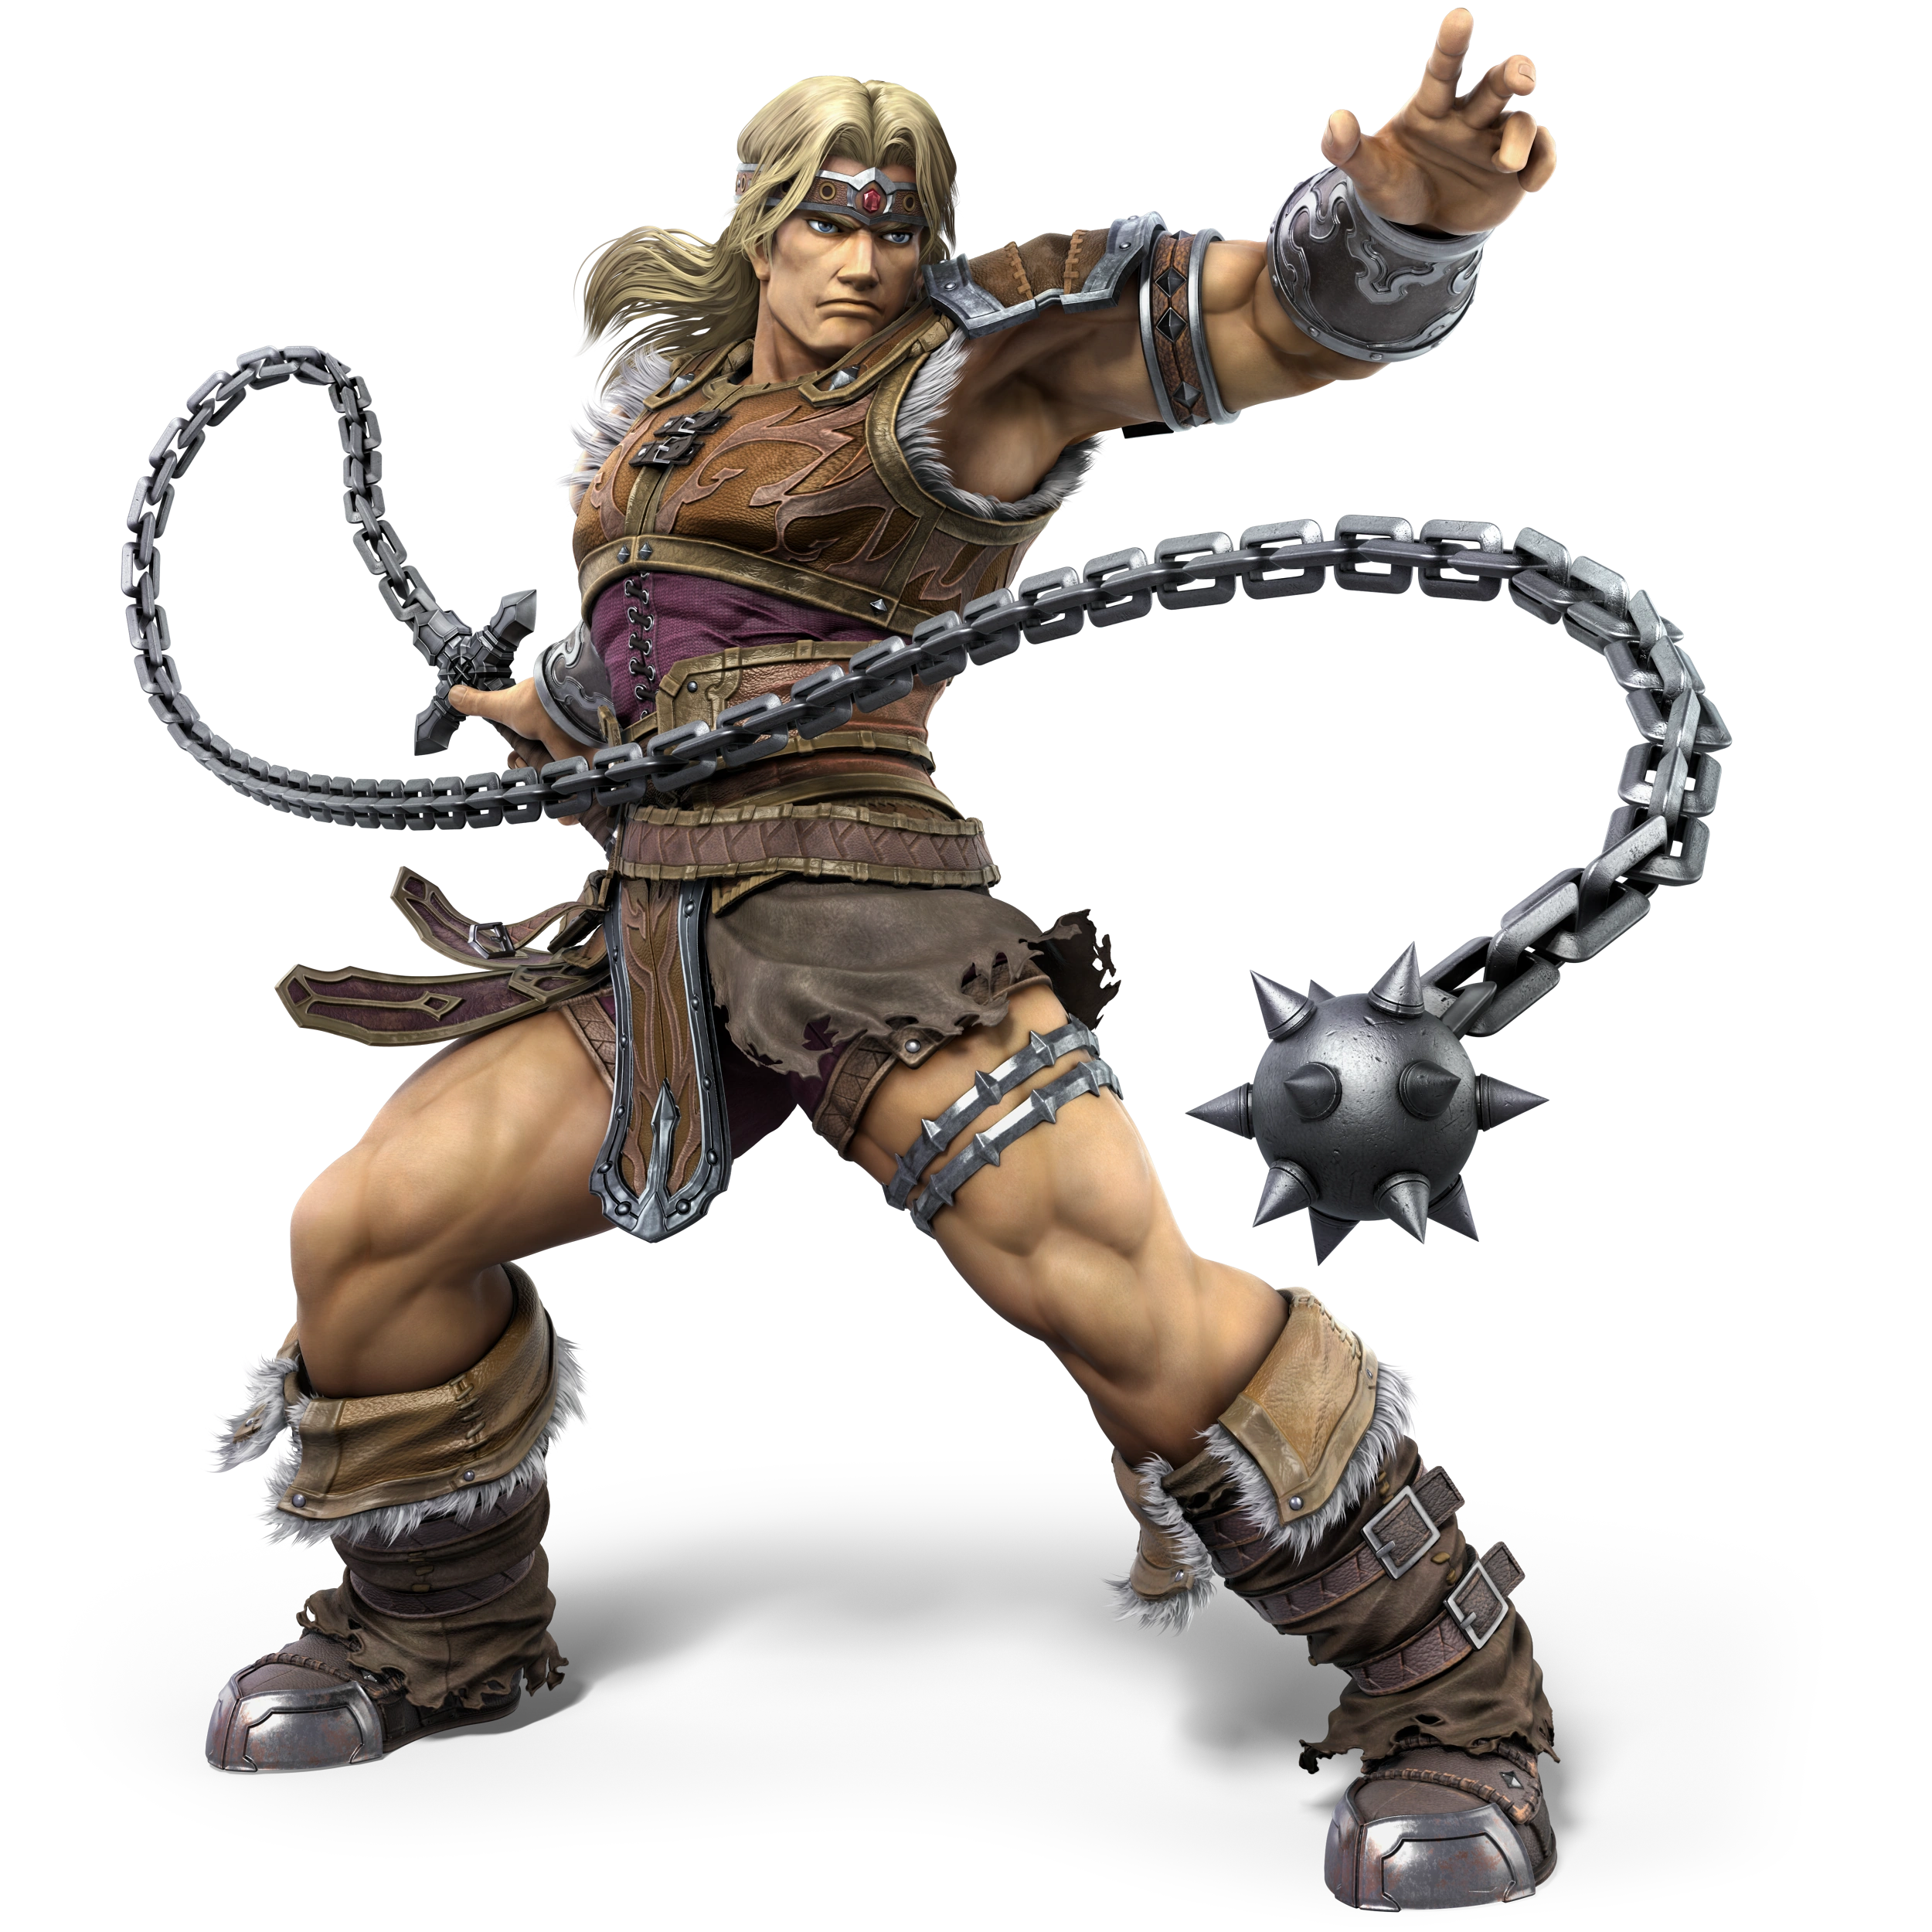
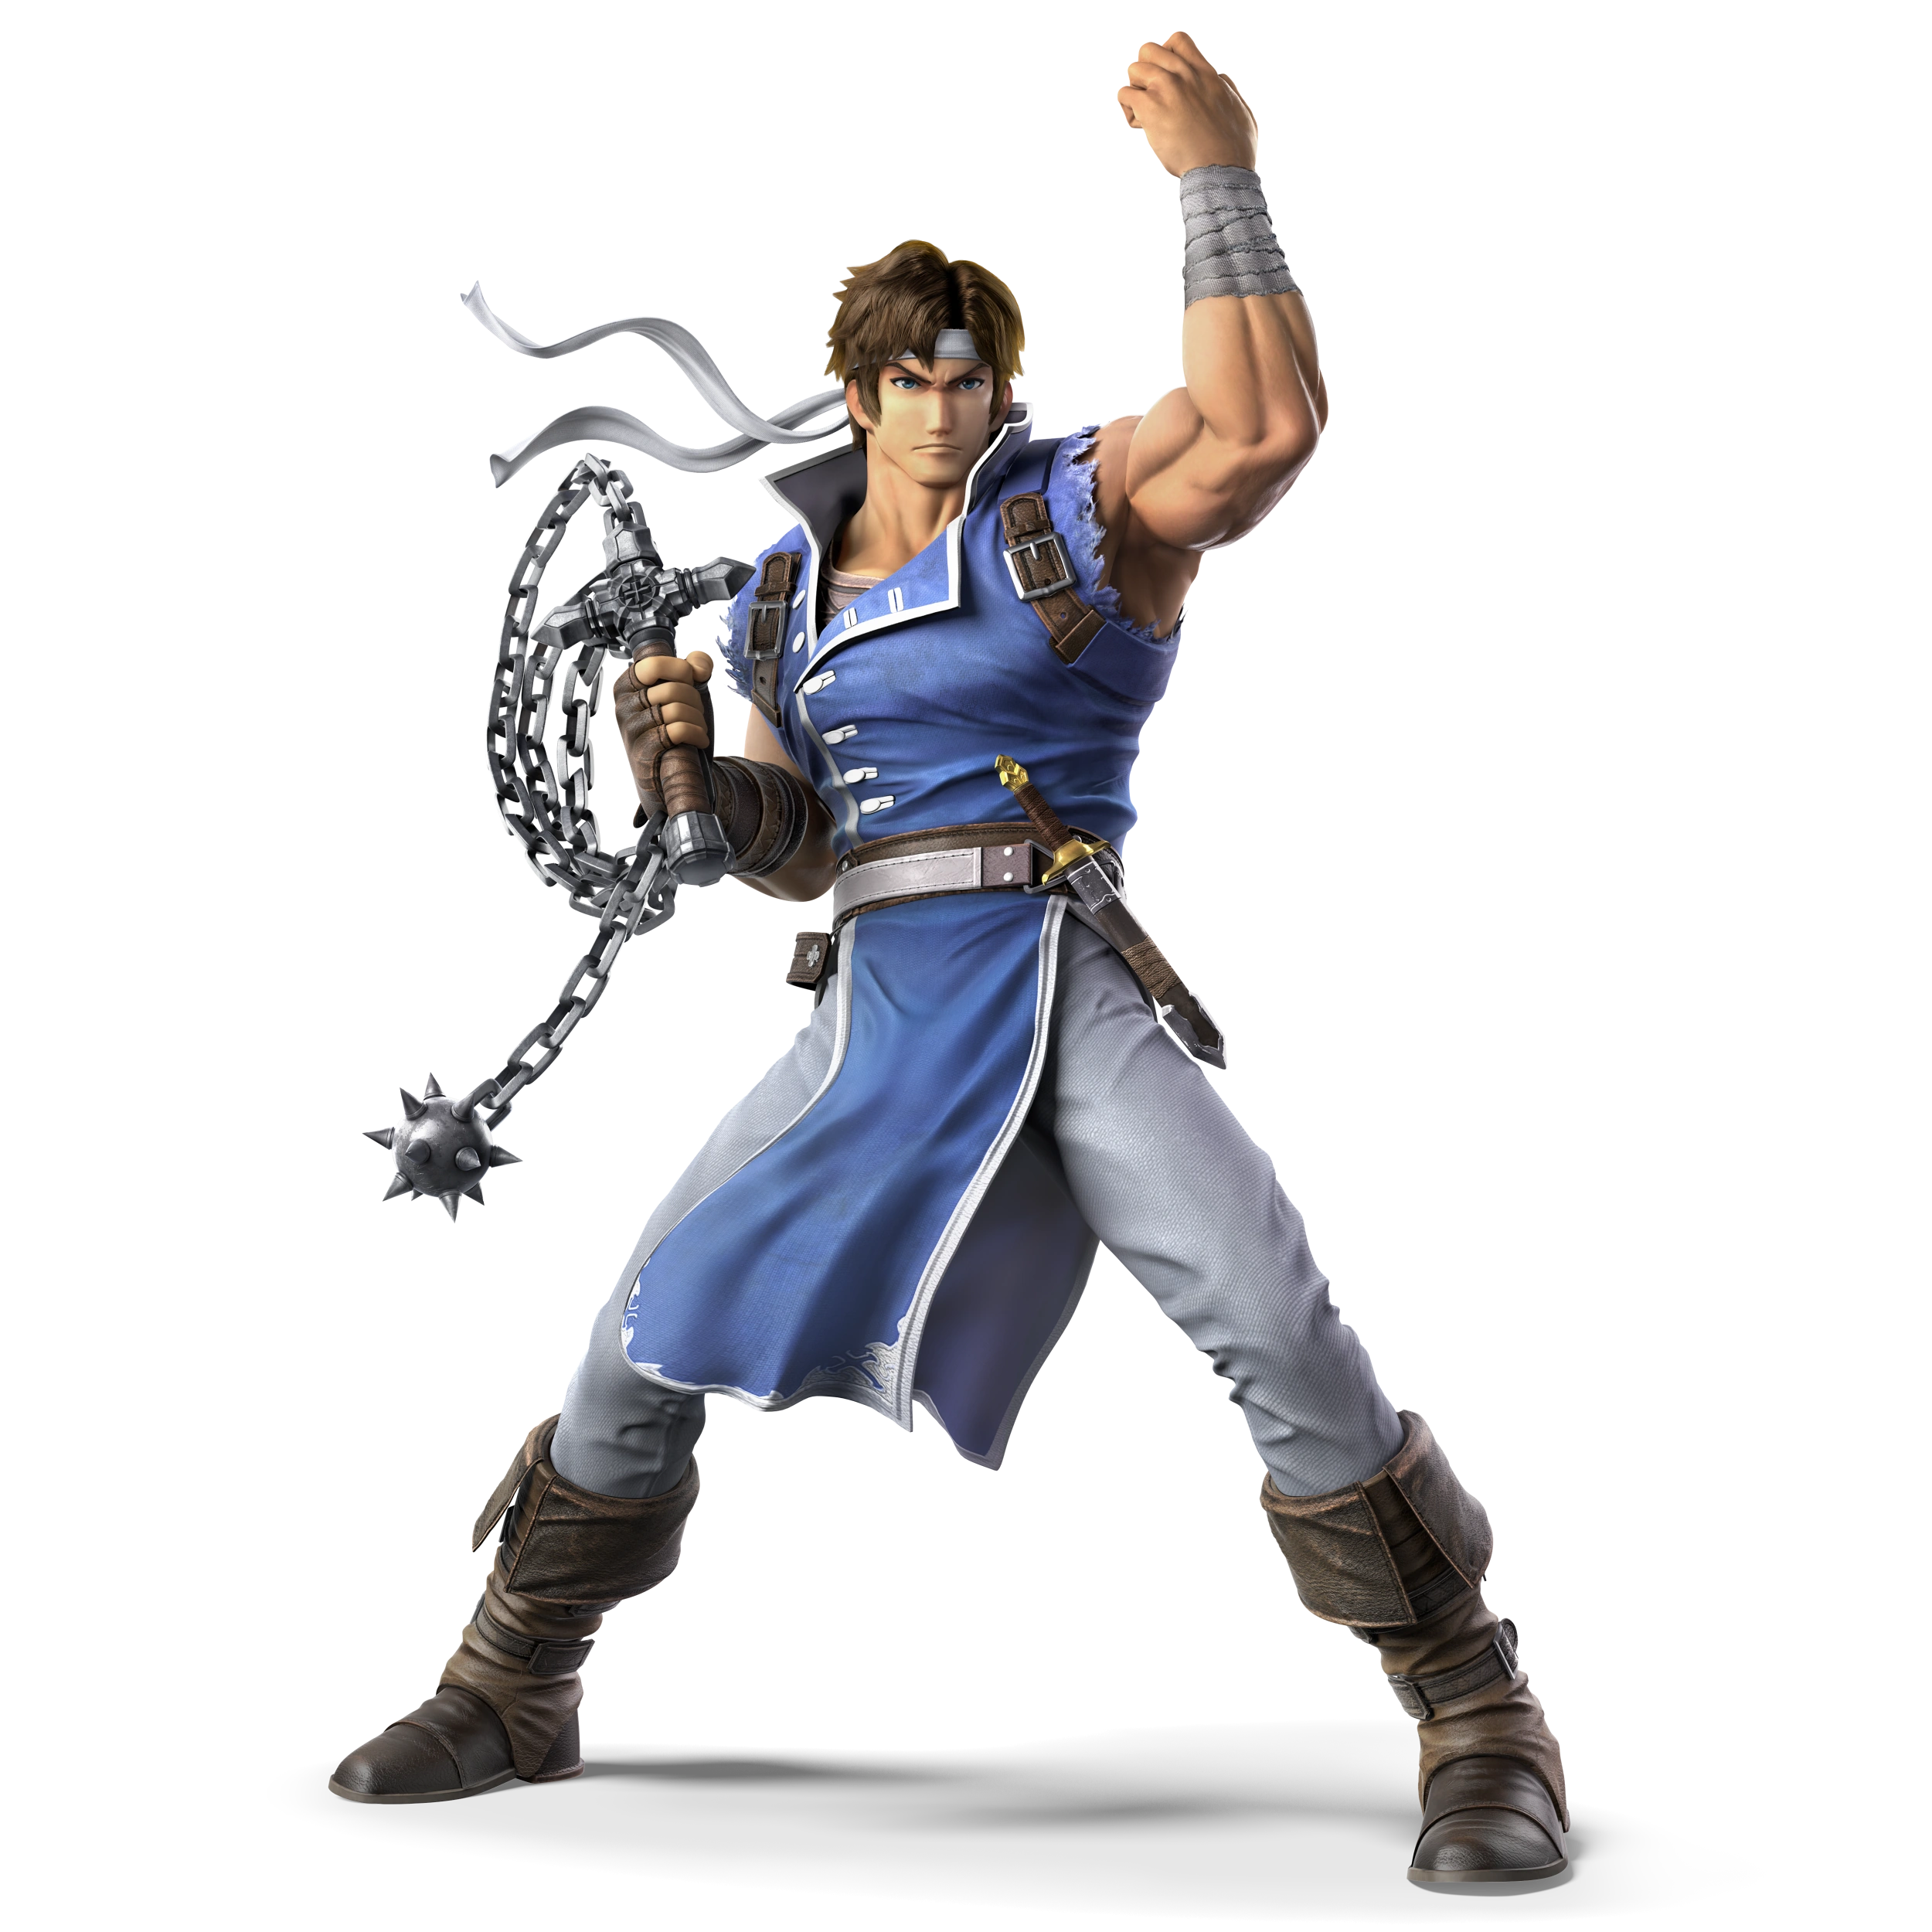
| ??? | Simon Belmont | Richter Belmont | ??? | ??? | Mega Man |
| ??? | ??? | Ryu | Ken Masters | ??? | ??? |
| ??? | ??? | Pac-Man | ??? | Cloud Strife | ??? |
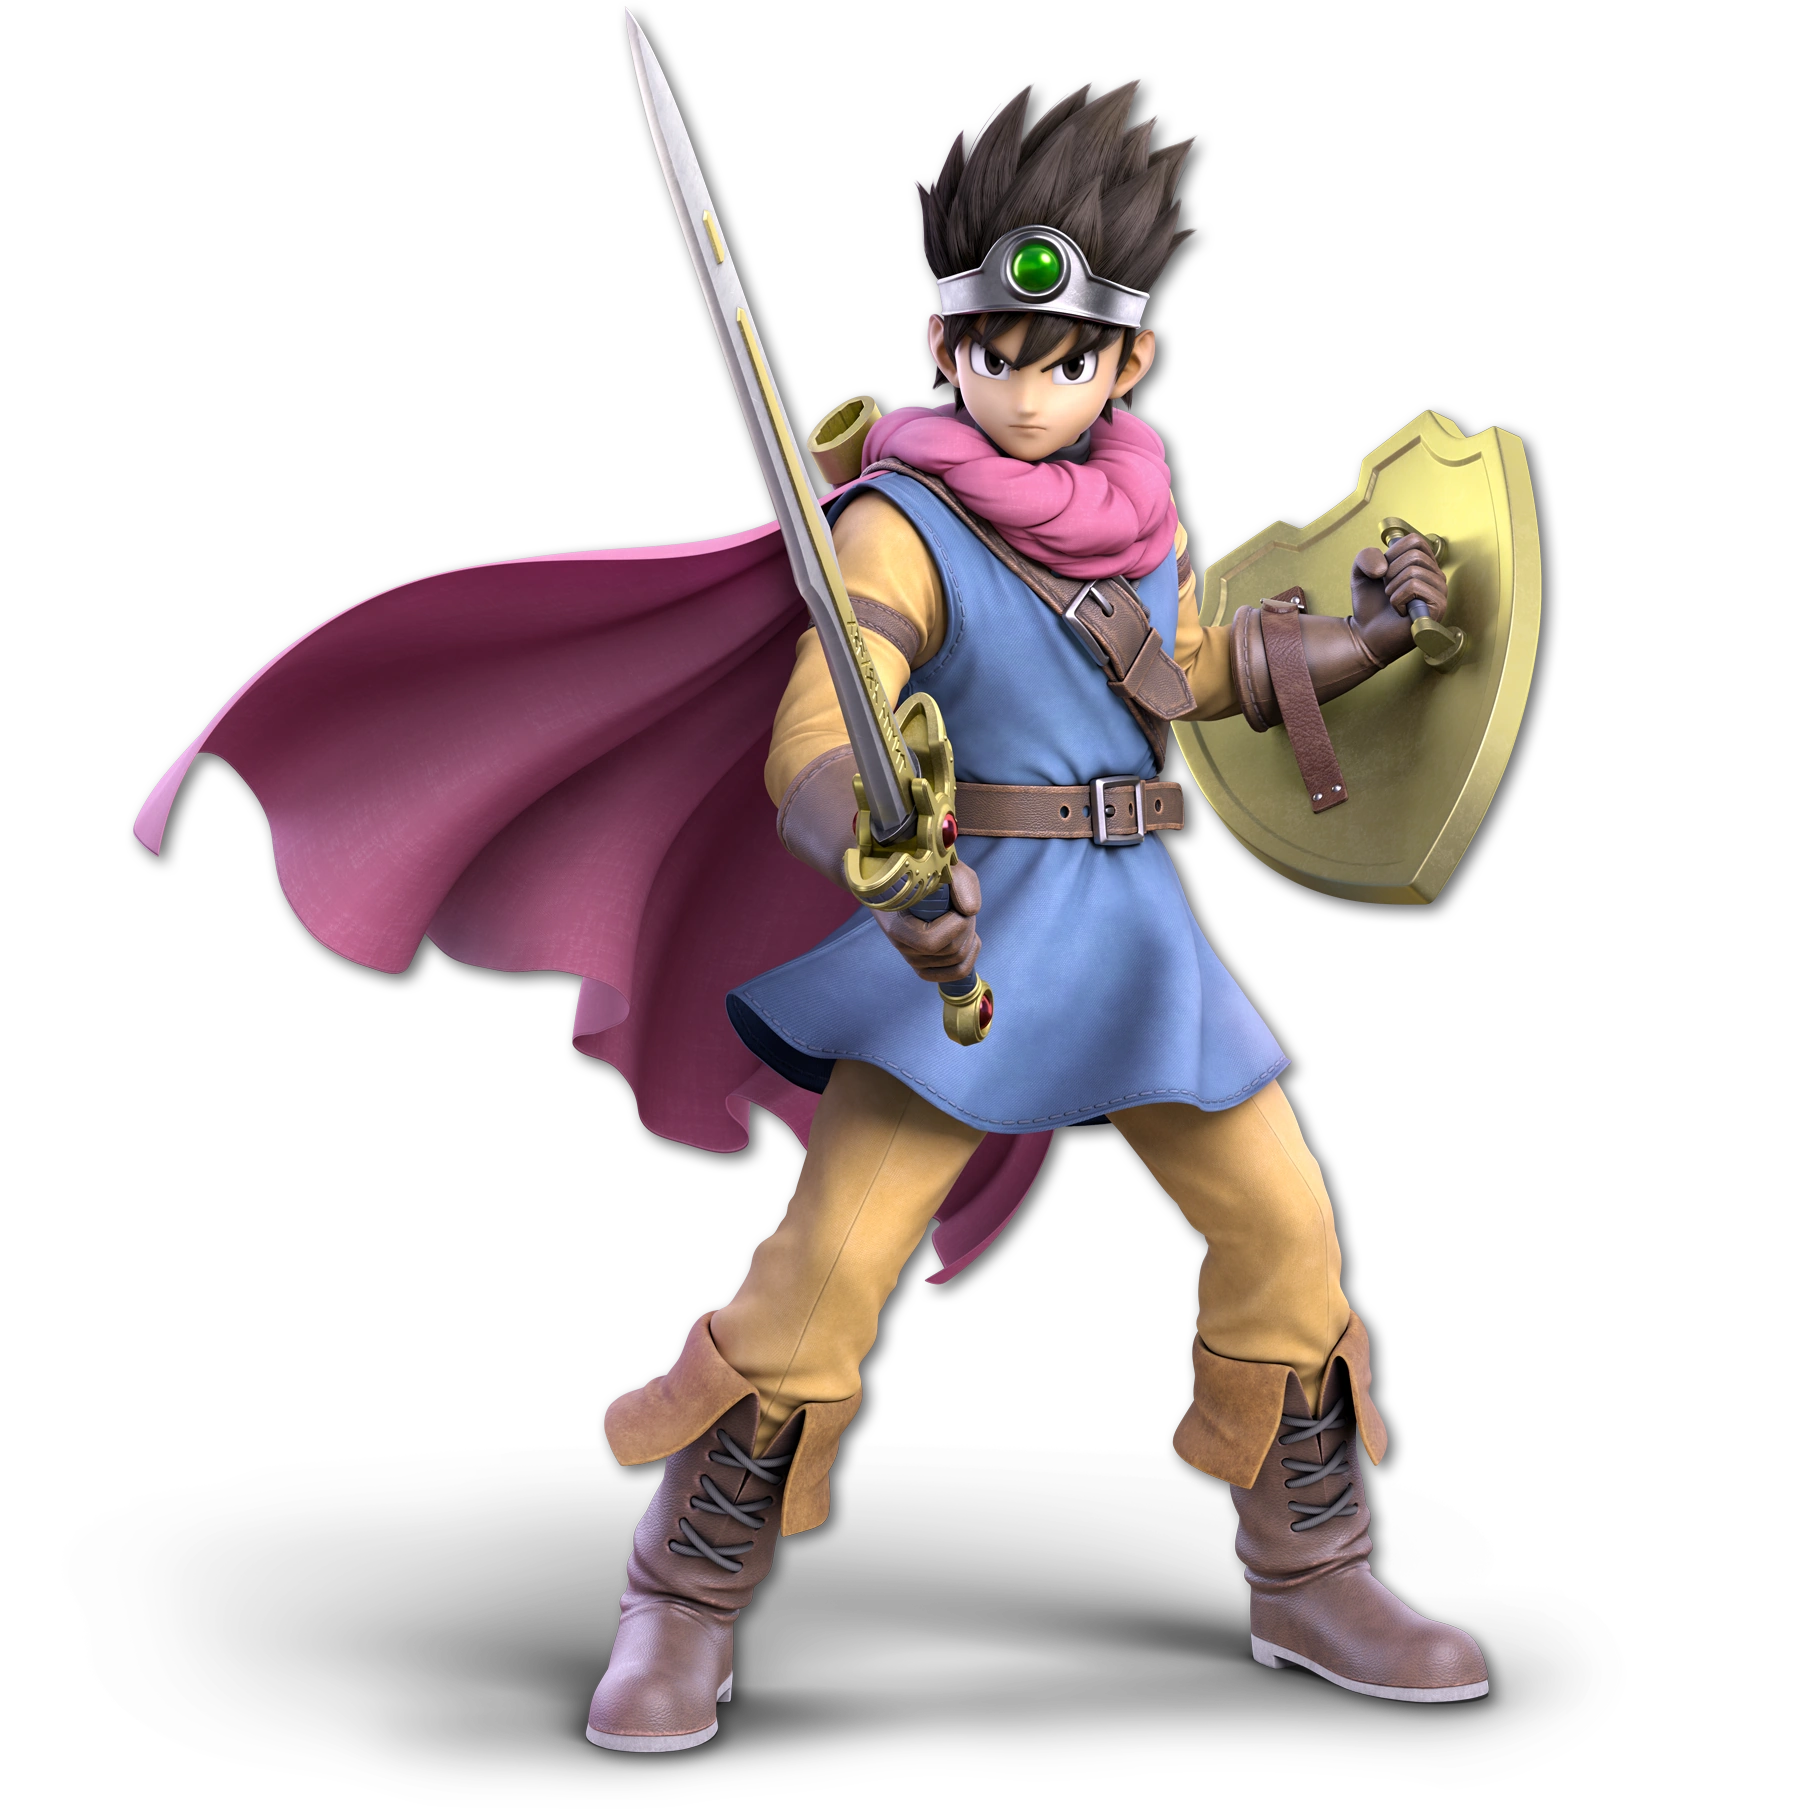
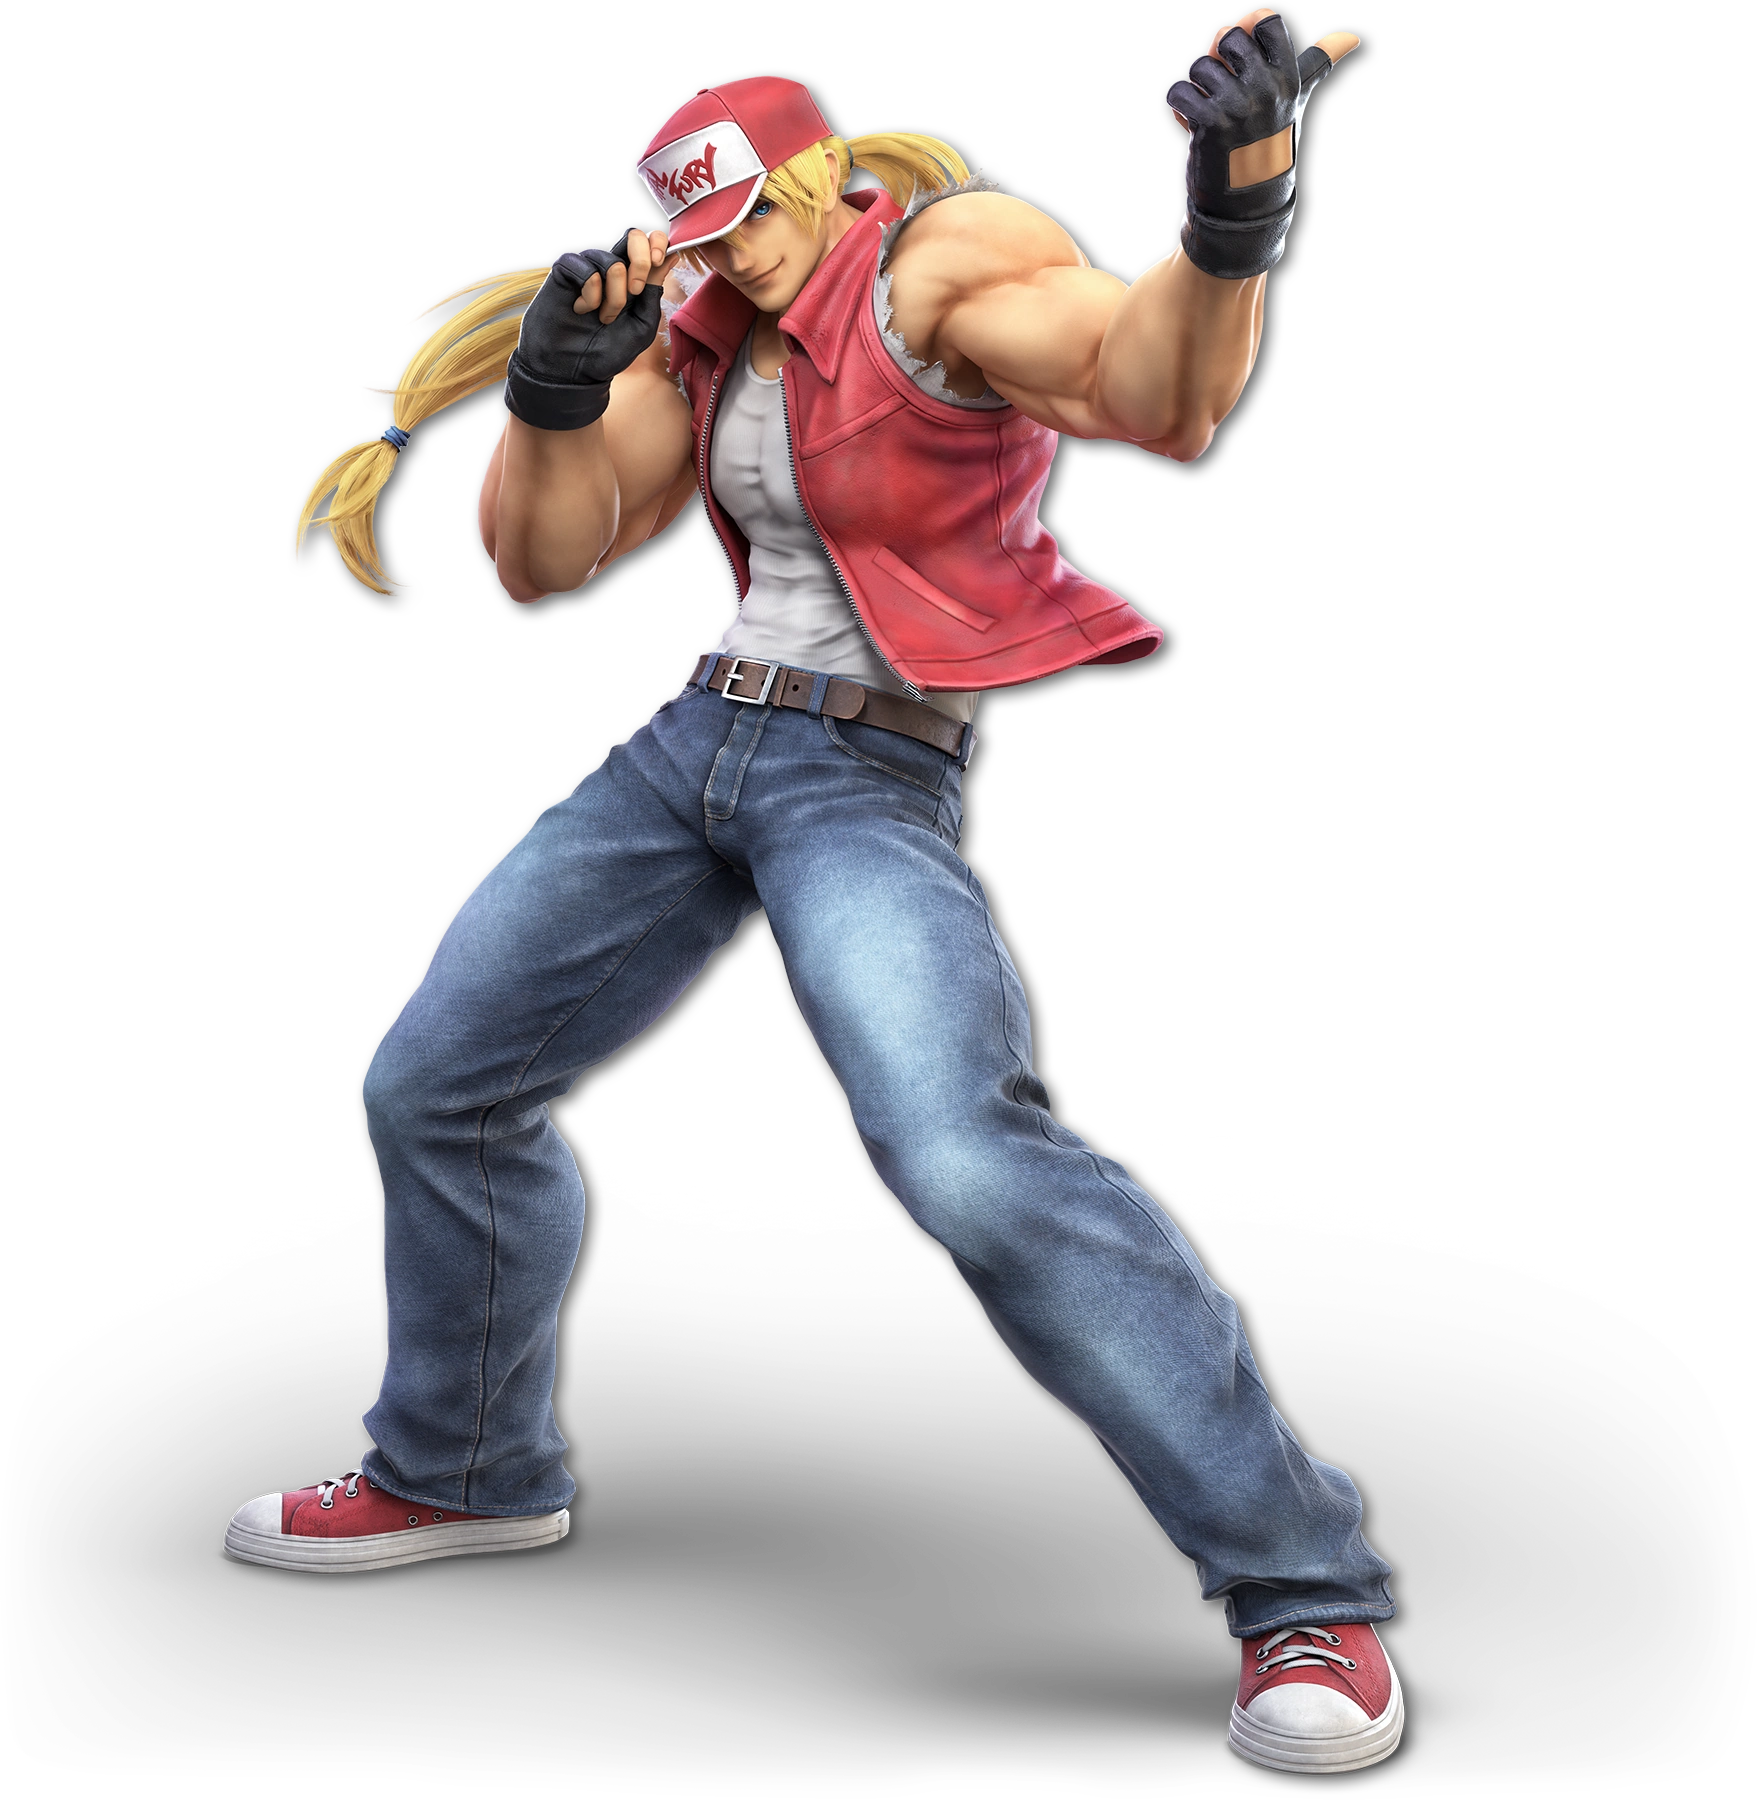
| Erdrick | Terry Bogard | ??? | ??? | ??? | ??? |
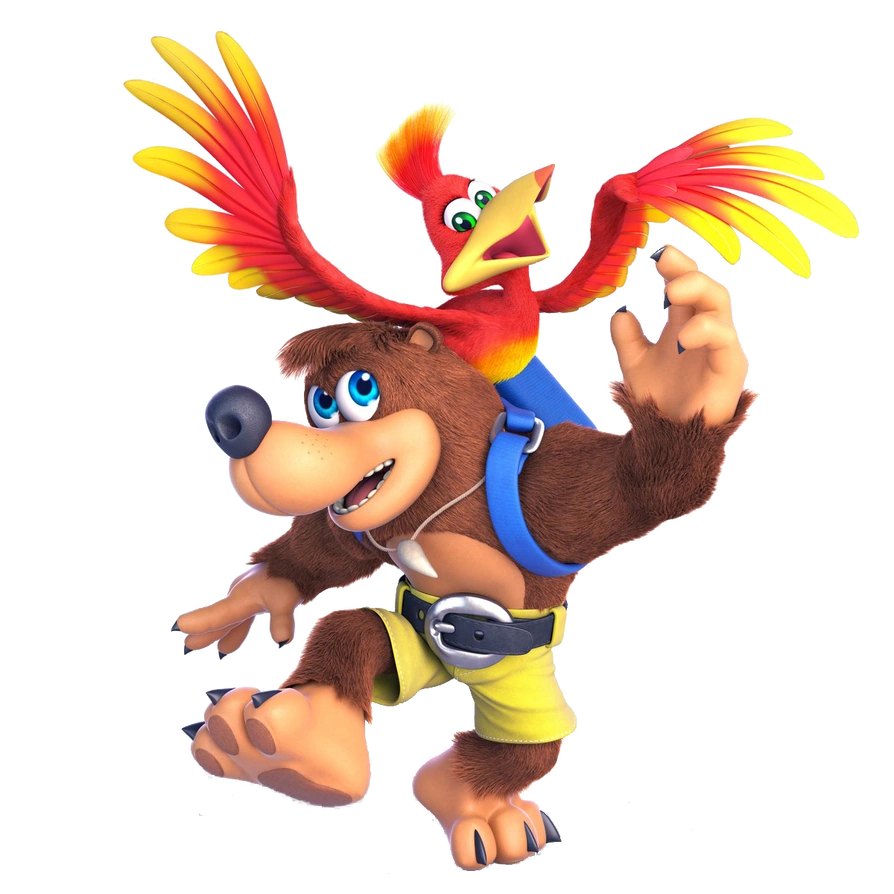
| ??? | ??? | ??? | ??? | ??? | Banjo & Kazooie |
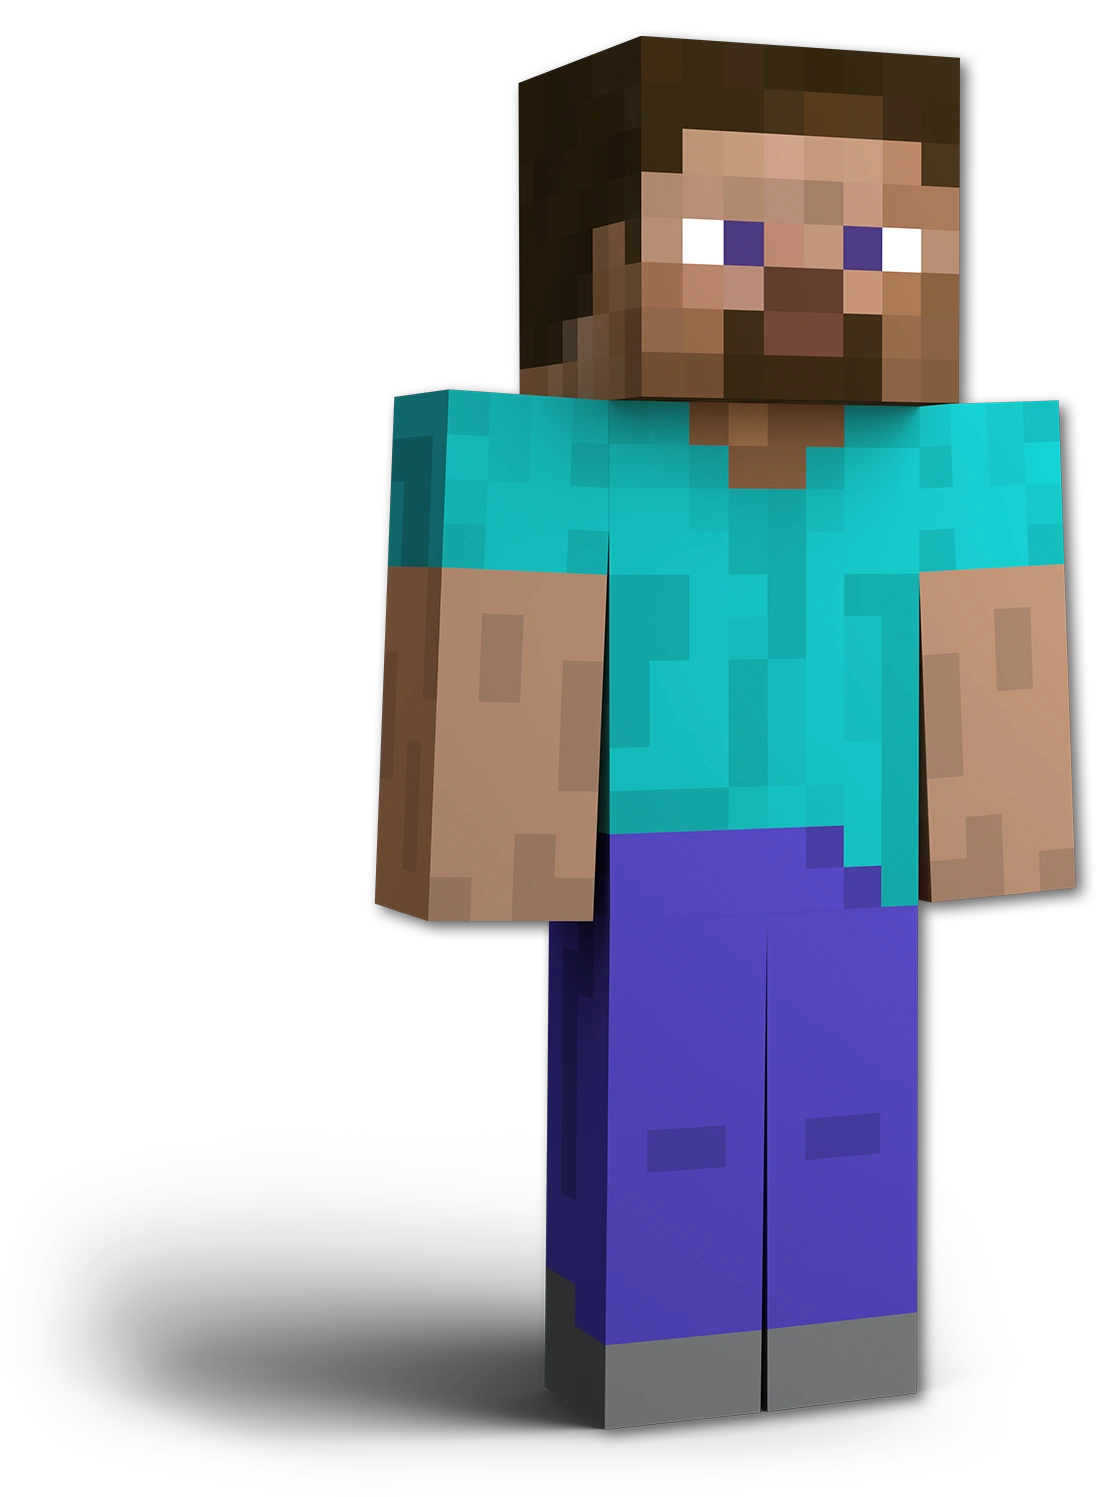
| Steve | ??? | ??? | ??? | ??? | ??? |
| ??? | ??? | ??? | ??? | ??? | ??? |


Fighters[]
Mario | |||||
|---|---|---|---|---|---|
 Mario Mr. Video Game Himself |
Super Mario Bros. (1985, NES) It's-a him, red-clad hero of the Mushroom Kingdom and THE video game all-star, Mario himself! A heroic plumber with a love for spaghetti, Mario is easily the face of Nintendo. In his many home series, he regularly squares off with Bowser (And occasionally others) and saves many a kingdom, with his heroics reaching as far as outer space! Well-versed in the art of jumping and strong enough to break bricks with his fists, Mario is further aided by numerous power-ups and allies made during his travels. Always bet on the red! | ||||
|
Mario, being the mascot of Nintendo and one of the most recognizable characters of gaming-If not THE most recognizable-Has a balanced, easy-to-learn fighting style that neither suffers nor excels in any one place, making him a good for beginners. However, in Victorious Mario has adopted a minor slant towards jumping and power, to better represent his home series. In addition, the changes to his kit give him better range, helping his poor approach options in past installments. In Victorious, Mario has received the following changes:
| |||||
| Moveset
| |||||
| |||||
|
Animations
|
Alternate Costumes ") Default ") Dr. Mario ") Builder Mario ") Wedding Mario | ||||
Peach | |||||
|---|---|---|---|---|---|
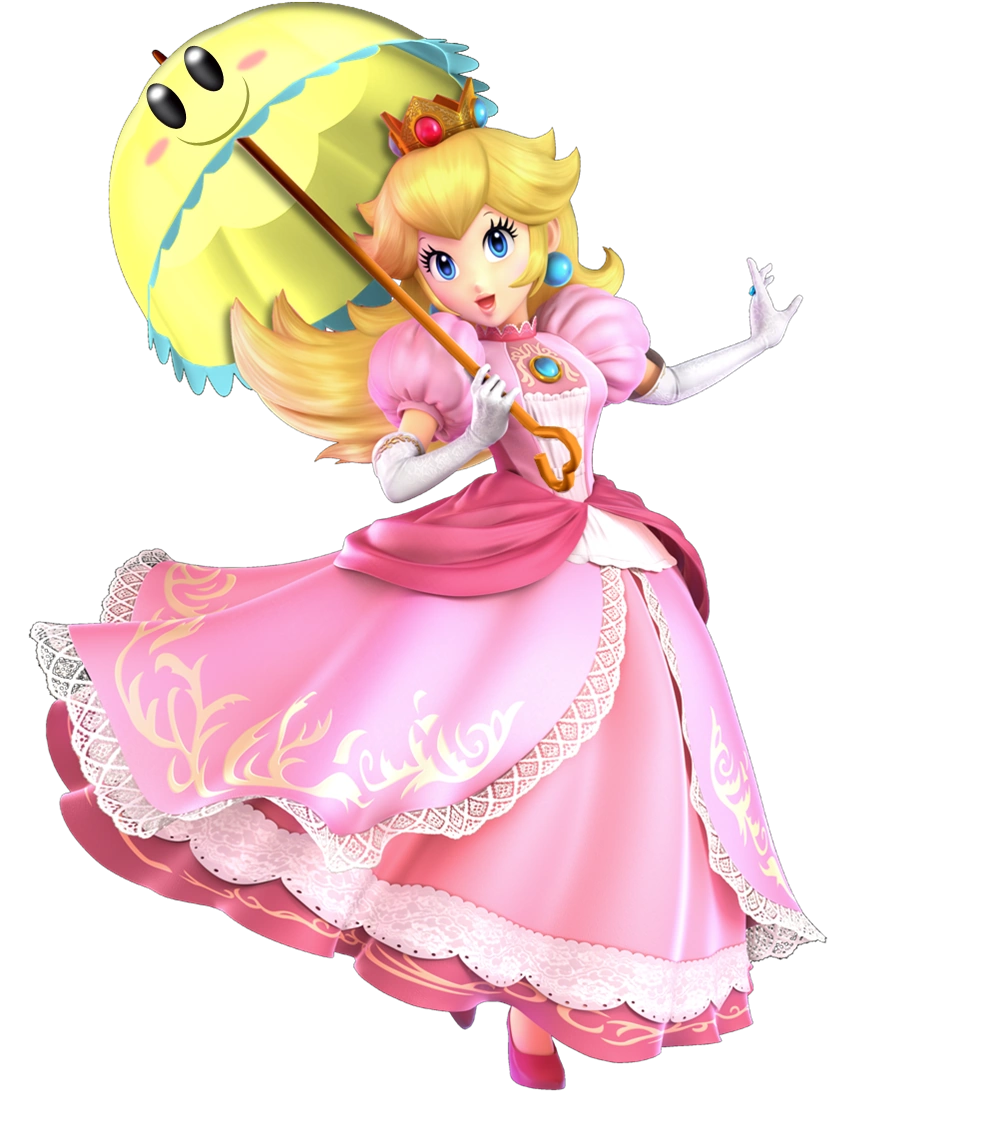 Peach Princess of Toadstools |
Super Mario Bros. (1985, NES) Peach is the ruler of the Mushroom Kingdom (Don't ask about the king and queen, we don't know either). Sweet and optimistic, Peach is a beloved ruler, both inside and outside her kingdom. Unfortunately for her, this appreciation extends to Bowser, King of the Koopas, who has made a habit of kidnapping her to ask her hand in marriage and spurring Mario into rescuing her for the umpteenth time. Despite this constant misfortune, Peach is far from defenseless, being strong-willed and more than capable of holding her own. Don't mess with this princess! | ||||
|
Peach leans more towards the technical side of things, and as such, she is fairly difficult to get a hang of. To master her, one must get around her most glaring weaknesses. She is light, floaty, and she is quite vulnerable on the ground. However, she is a monster in the air, bringing powerful aerials to the table and aided by her potent Float ability. In Victorious, Peach has received the following changes:
| |||||
| Moveset
| |||||
| |||||
|
Animations
|
Alternate Costumes ") Default ") Wedding Peach | ||||
Daisy | |||||
|---|---|---|---|---|---|
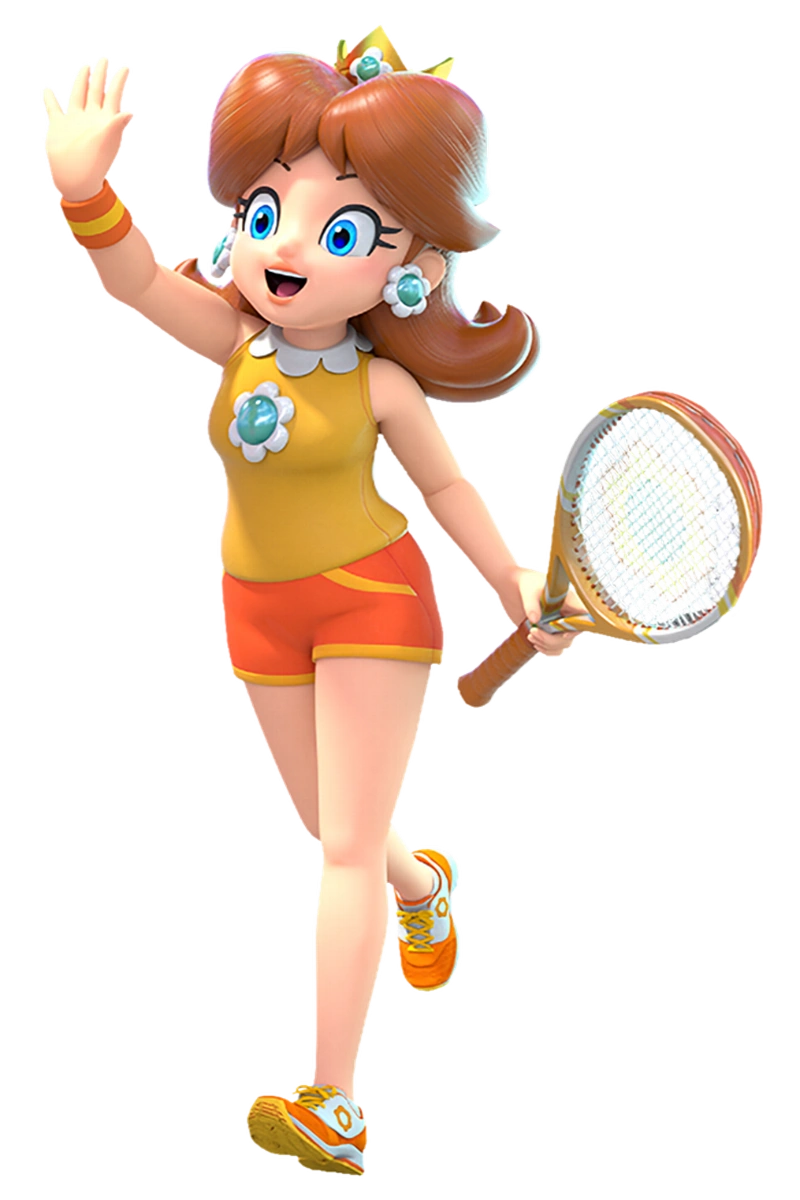 Daisy Sarasaland's Chipper Princess |
Mario Tennis (2000, Nintendo 64) Daisy is the princess of Sarasaland, a kingdom some distance away from the Mushroom Kingdom (Not sure exactly how far, though. Nintendo never gave us a map.) Compared to her fellow princess Peach, Daisy is more active, energetic, and tomboyish, being a constant competitor at the Mushroom Kingdom's sporting events. Heck, she even slapped Bowser into the sky that one time-Daisy don't need no plumber to save her... Except that one time with Tatanga. Actually, we don't know all that much about her life in Sarasaland. Maybe next game, we'll learn a bit more... | ||||
|
In Victorious Smash Bros., Daisy's entire moveset has been overhauled to represent the Mario sports games-She's practically a newcomer now! Fighting with sports equipment of varying types, Daisy takes the role of a jack-of-all-stats, not really excelling or struggling with any one spot. Additionally, she has quite a few versatile projectiles, making her a very effective zoner. Her main struggles are her so-so aerial game and mediocre recovery-Once you get past that, you're golden! | |||||
| Moveset
| |||||
| |||||
|
Animations
|
Alternate Costumes ") Default ") Striker Daisy | ||||
Bowser | |||||
|---|---|---|---|---|---|
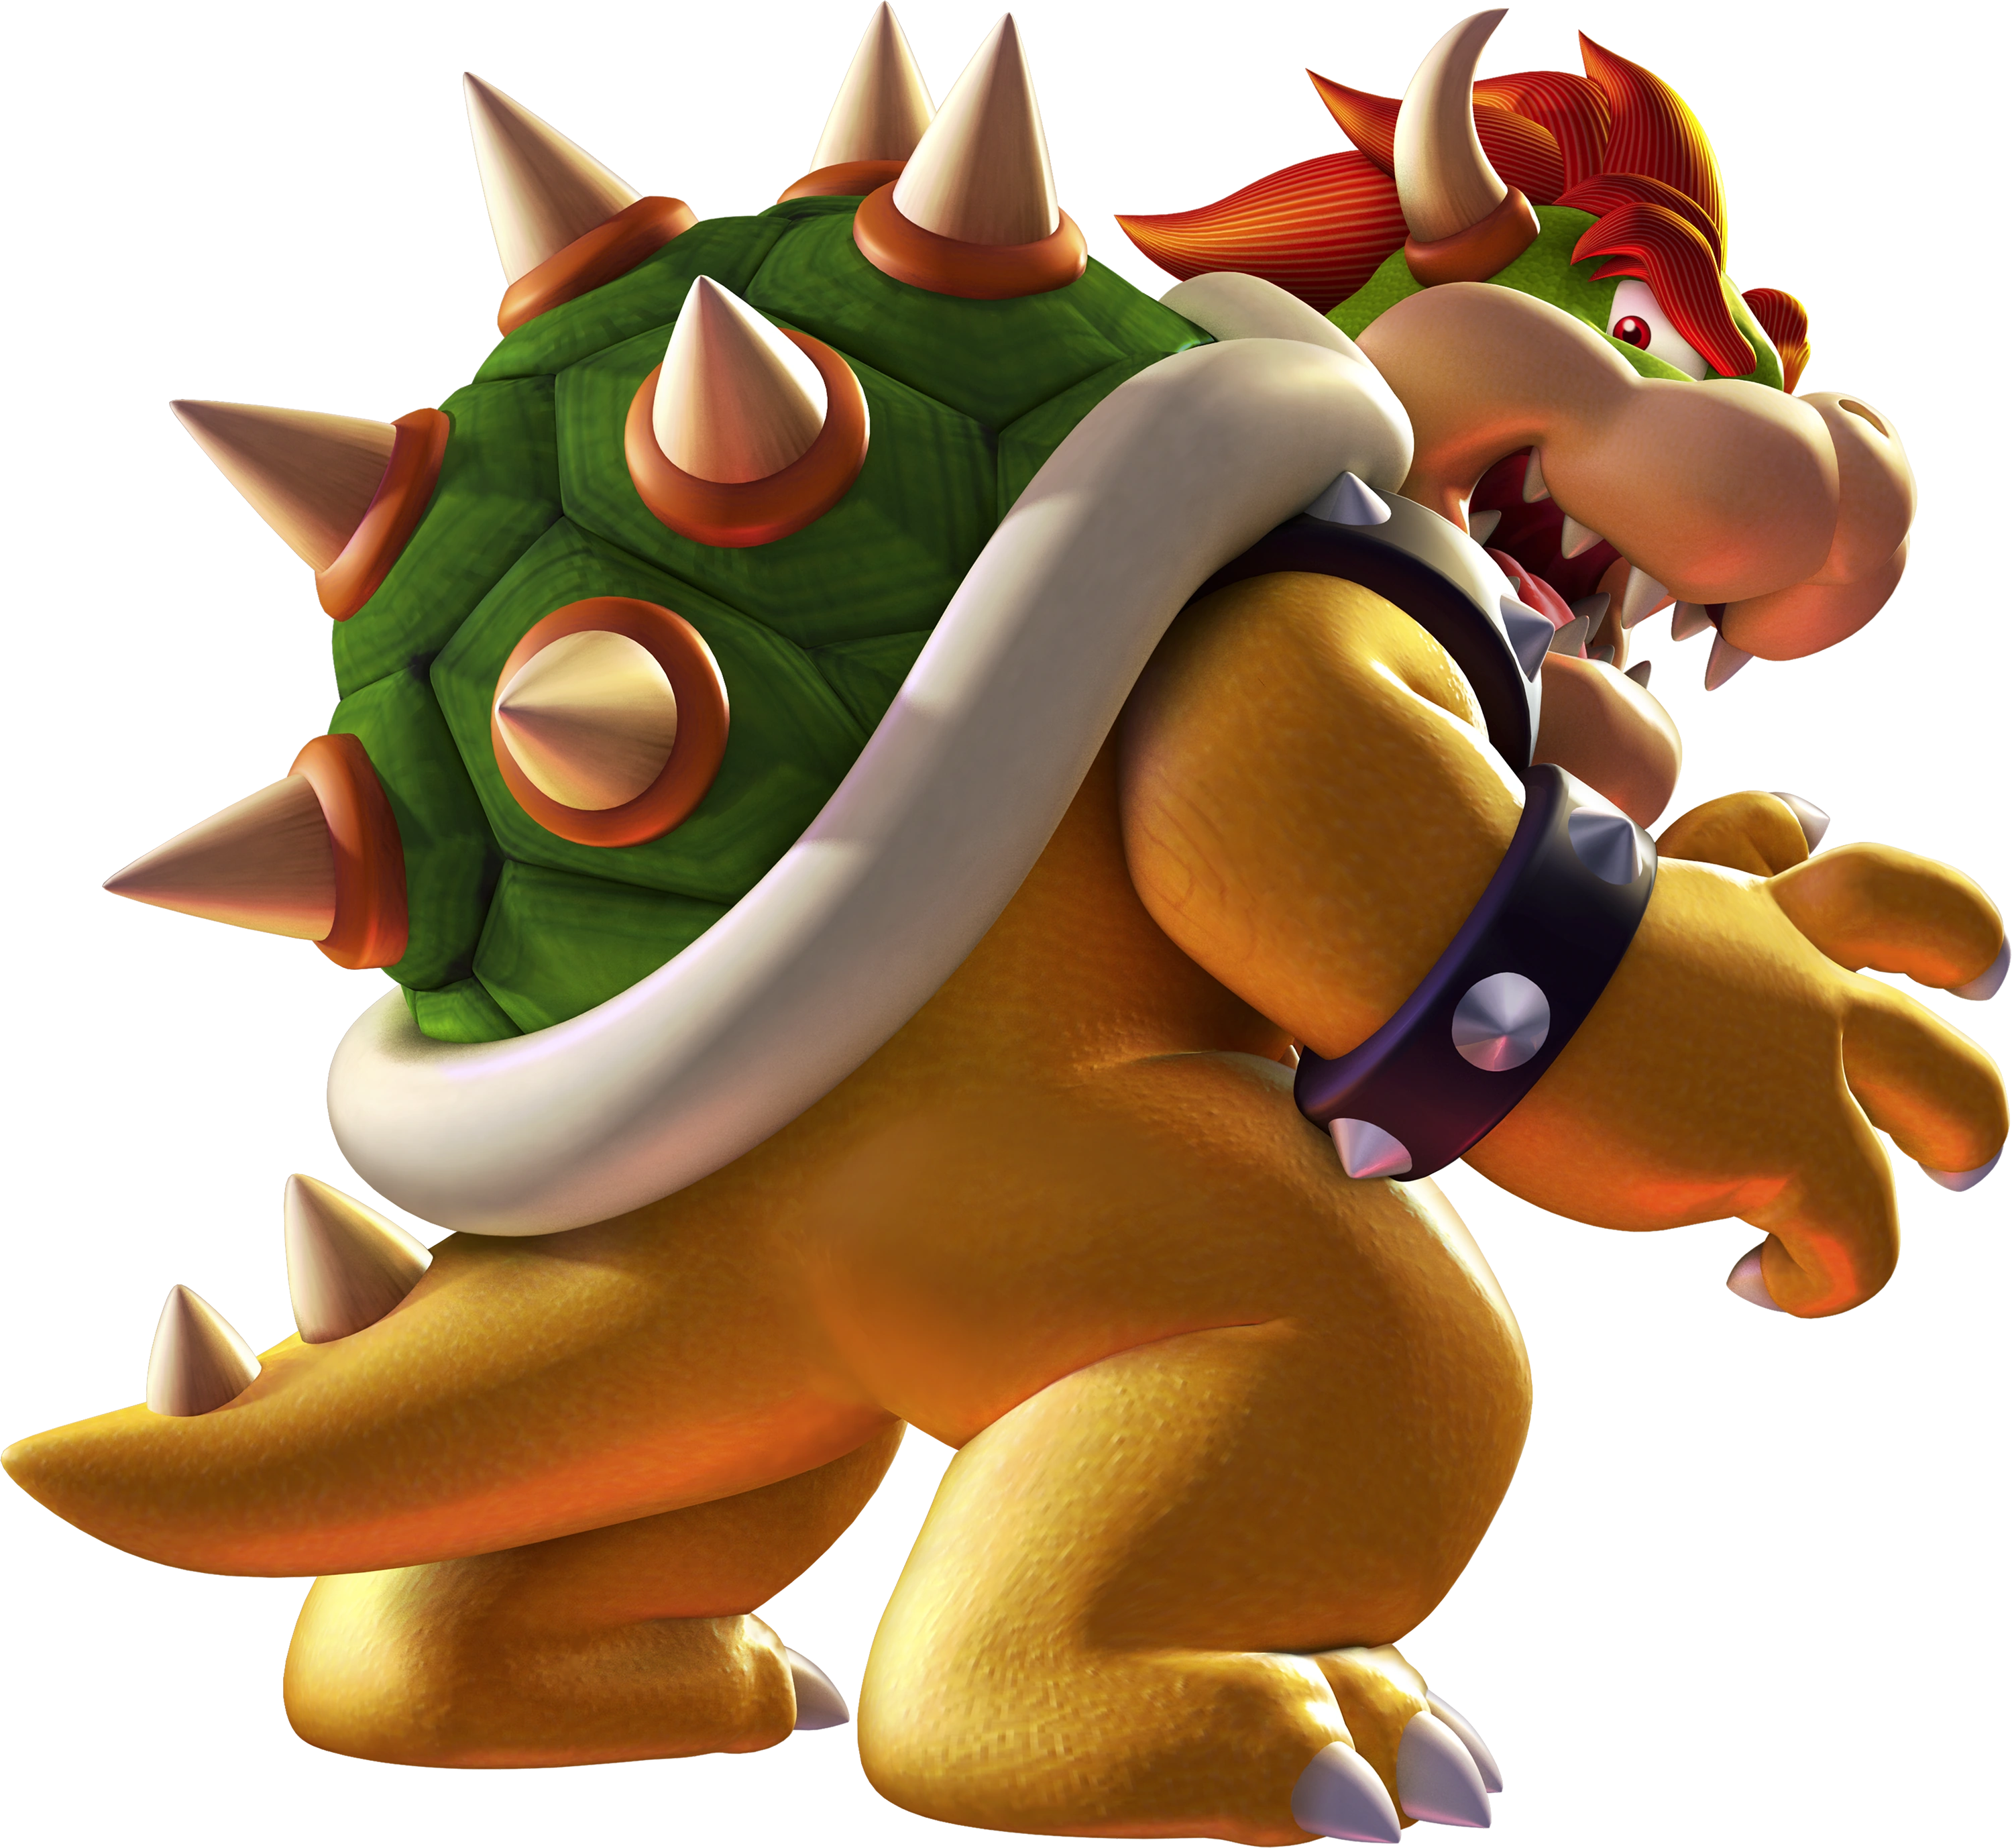 Bowser King of the Koopas |
Super Mario Bros. (1985, NES) King of the Koopas, Mario's all-time arch-nemesis, and the biggest, baddest brute around, give it up for Bowser! The ruler of the Koopa Troop, Bowser is the most constant threat to the Mushroom Kingdom, kidnapping Princess Peach and getting thwarted by Mario basically every other day. Bowser proudly puts his villainy on display for all to see, being rude, bad-tempered, and selfish. That being said, when you get to know him, you'll find that he's actually a doting father, and is surprisingly nice to him minions. He's not all evil, only mostly. | ||||
|
In battle, Bowser is the archetypal super-heavyweight-The second heaviest in the game, in fact! His walking speed is slow, he's as tough as a tank, and he hits like a truck. However, Bowser is also quite well-rounded for a heavyweight-His dash speed is surprisingly fast, and his specials give him some respectable zoning power. However, his large size and weight makes him an easy target, and he is quite vulnerable to combos. In Victorious, Bowser has received the following changes:
| |||||
| Moveset
| |||||
| |||||
|
Animations
|
Alternate Costumes ") Default ") Wedding Bowser | ||||
Bowser Jr. | |||||
|---|---|---|---|---|---|
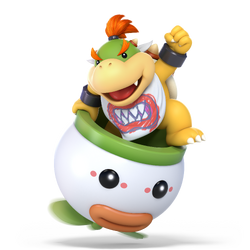
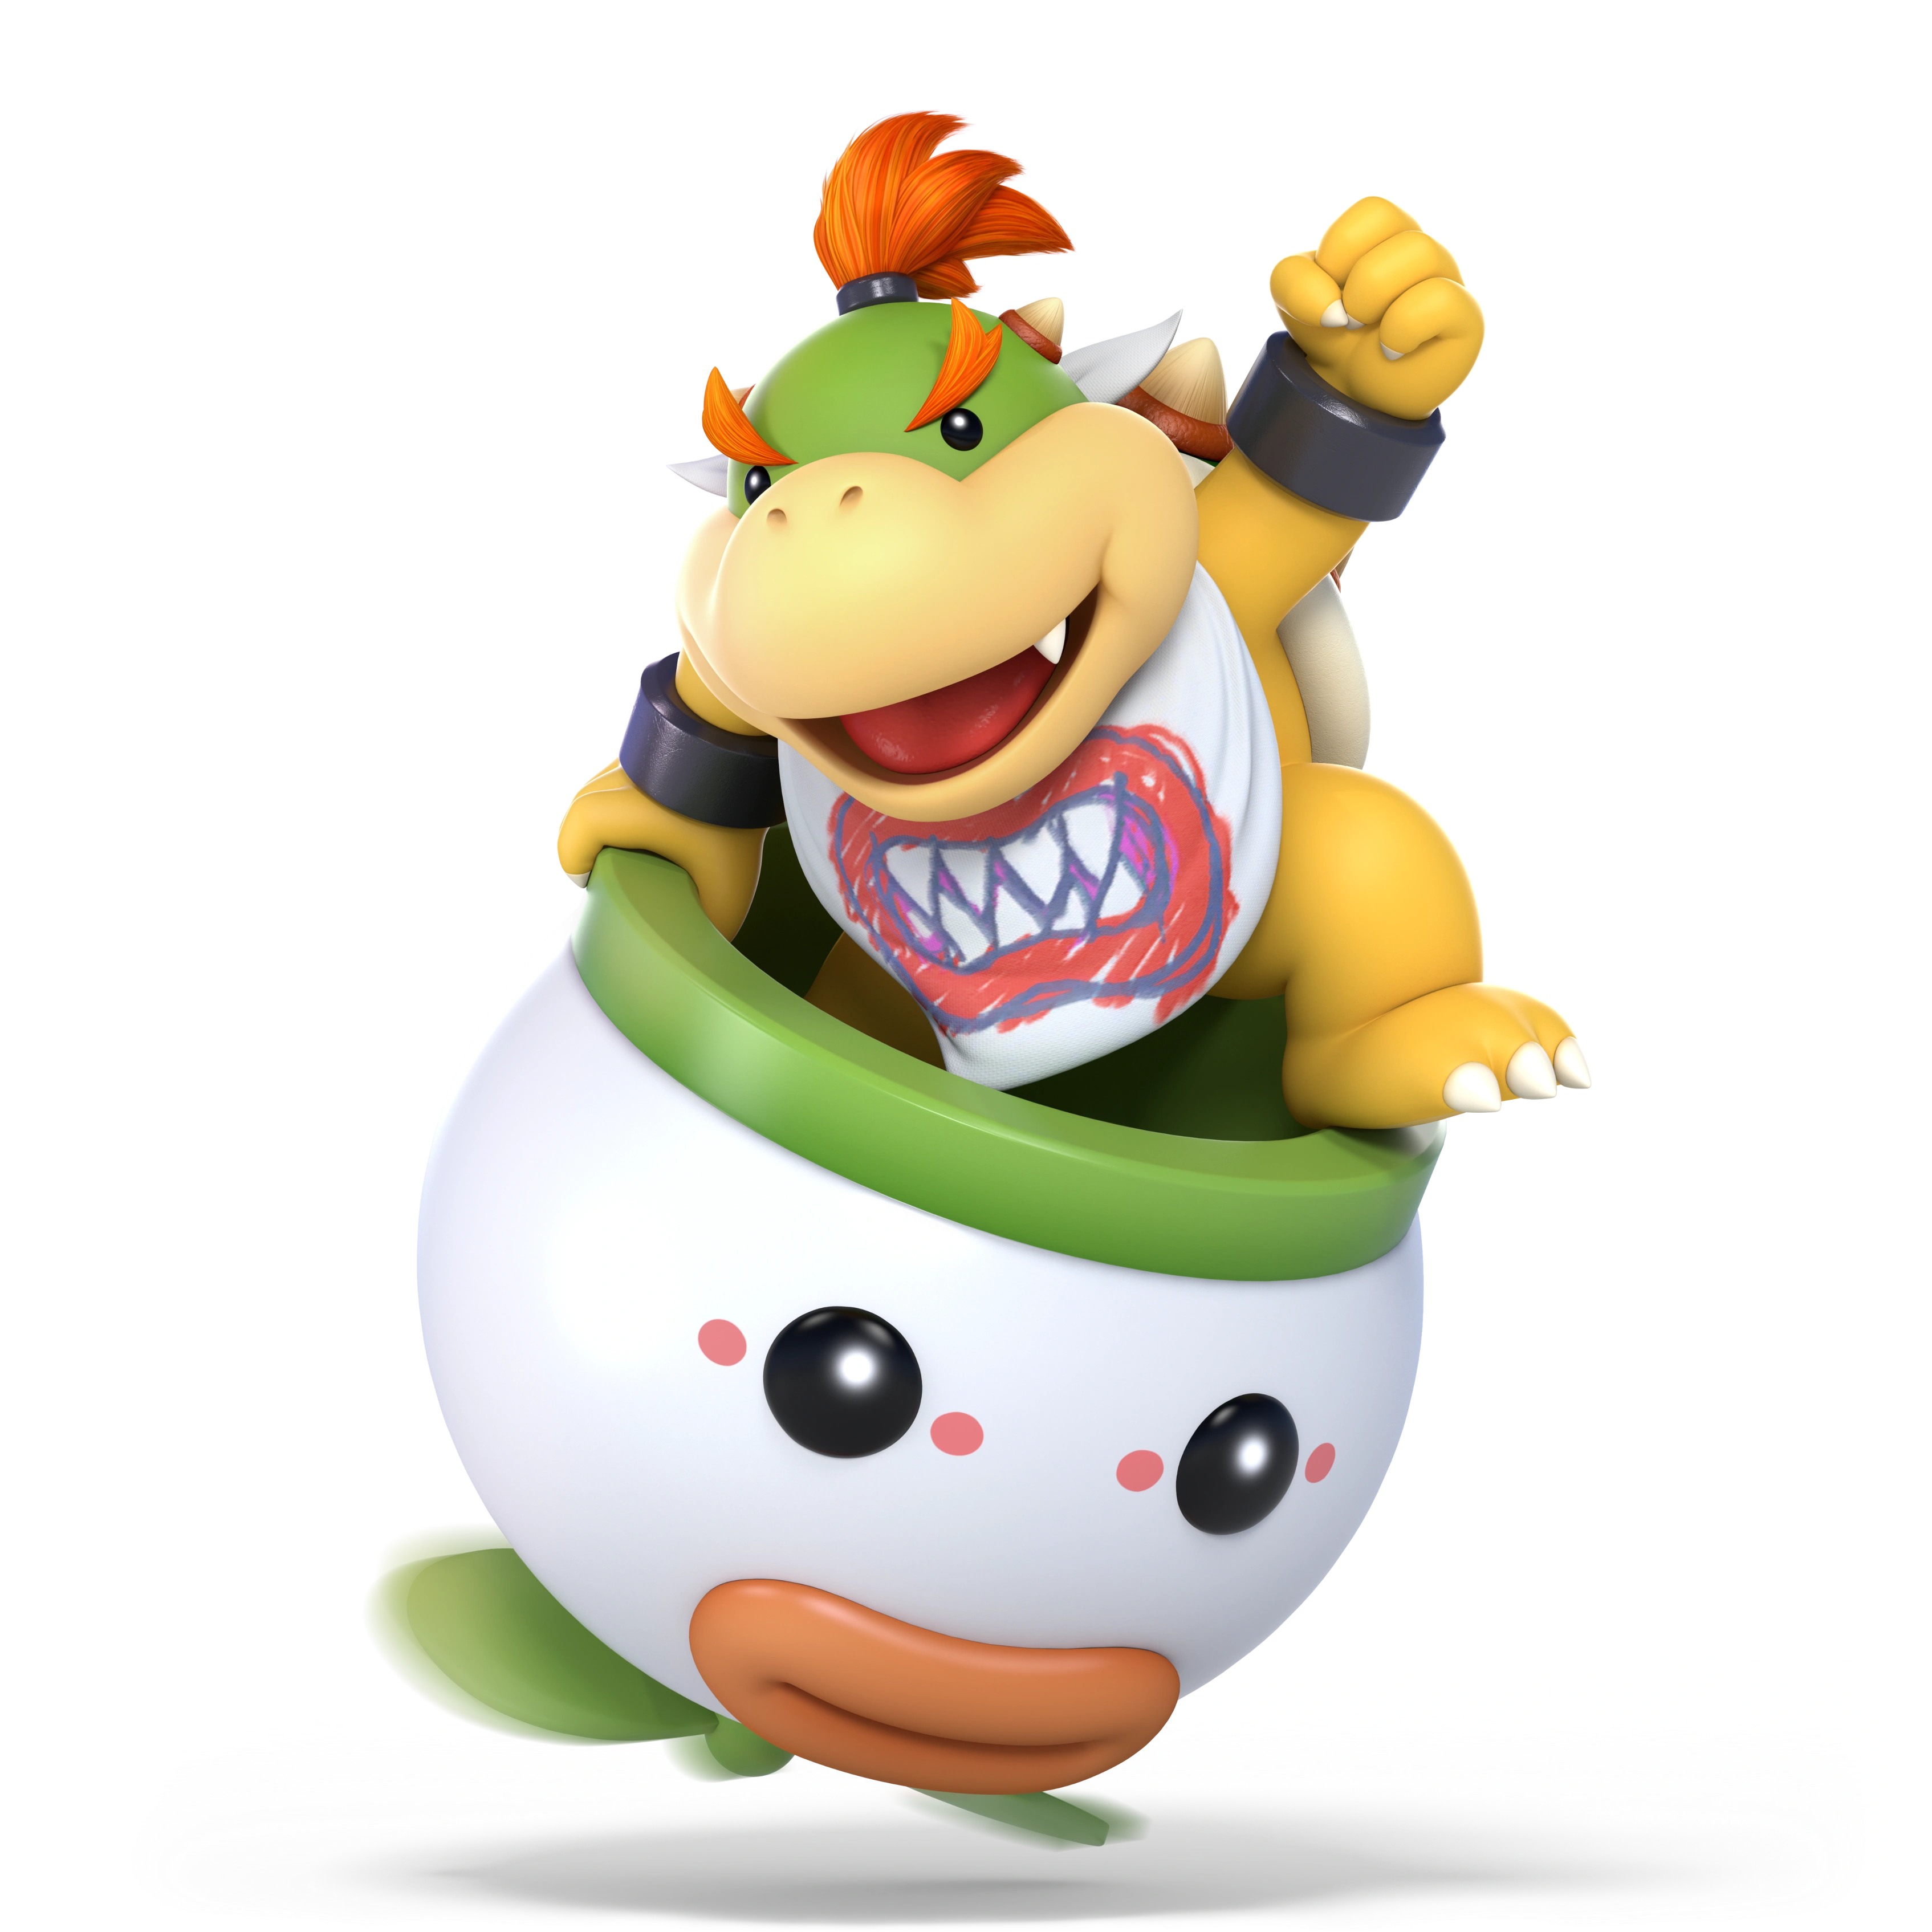 Bowser Jr. Prince of the Koopas |
Super Mario Sunshine (2002, GameCube) Bowser Jr. is, as his name suggests, the son of Bowser and prince of the Koopas. Inheriting his father's bad attitude and villany, Junior is a spoiled, selfish, and energetic troublemaker who absolutely hates it when he loses or is looked down upon. In addition, he's quite a whiz with technology. Junior is also backed up by the Koopalings, a group of seven Koopas with ambiguous relation to Bowser. That being said, Junior gets a custom model while the Koopalings get the shoddy standard-end models-Parental favoritism, much? | ||||
|
In battle, Junior is a unique heavyweight zoner, as he and his Clown Car have separate hitboxes. As a result, his survivability varies. Junior's hits pack a mighty punch, and his specials give him some useful projectiles and mobility options. However, he suffers from a lack of decent KO options and a predictable moveset. Overall, Junior excels in racking up damage, but struggles with actually finishing the match. In Victorious, Bowser Jr. has not received any major changes. | |||||
| Moveset
| |||||
| |||||
|
Animations
|
Alternate Costumes ") Default ") Larry Koopa ") Roy Koopa ") Wendy O'Koopa ") Iggy Koopa ") Morton Koopa Jr. ") Lemmy Koopa ") Ludwig Von Koopa | ||||
Rosalina & Luma | |||||
|---|---|---|---|---|---|
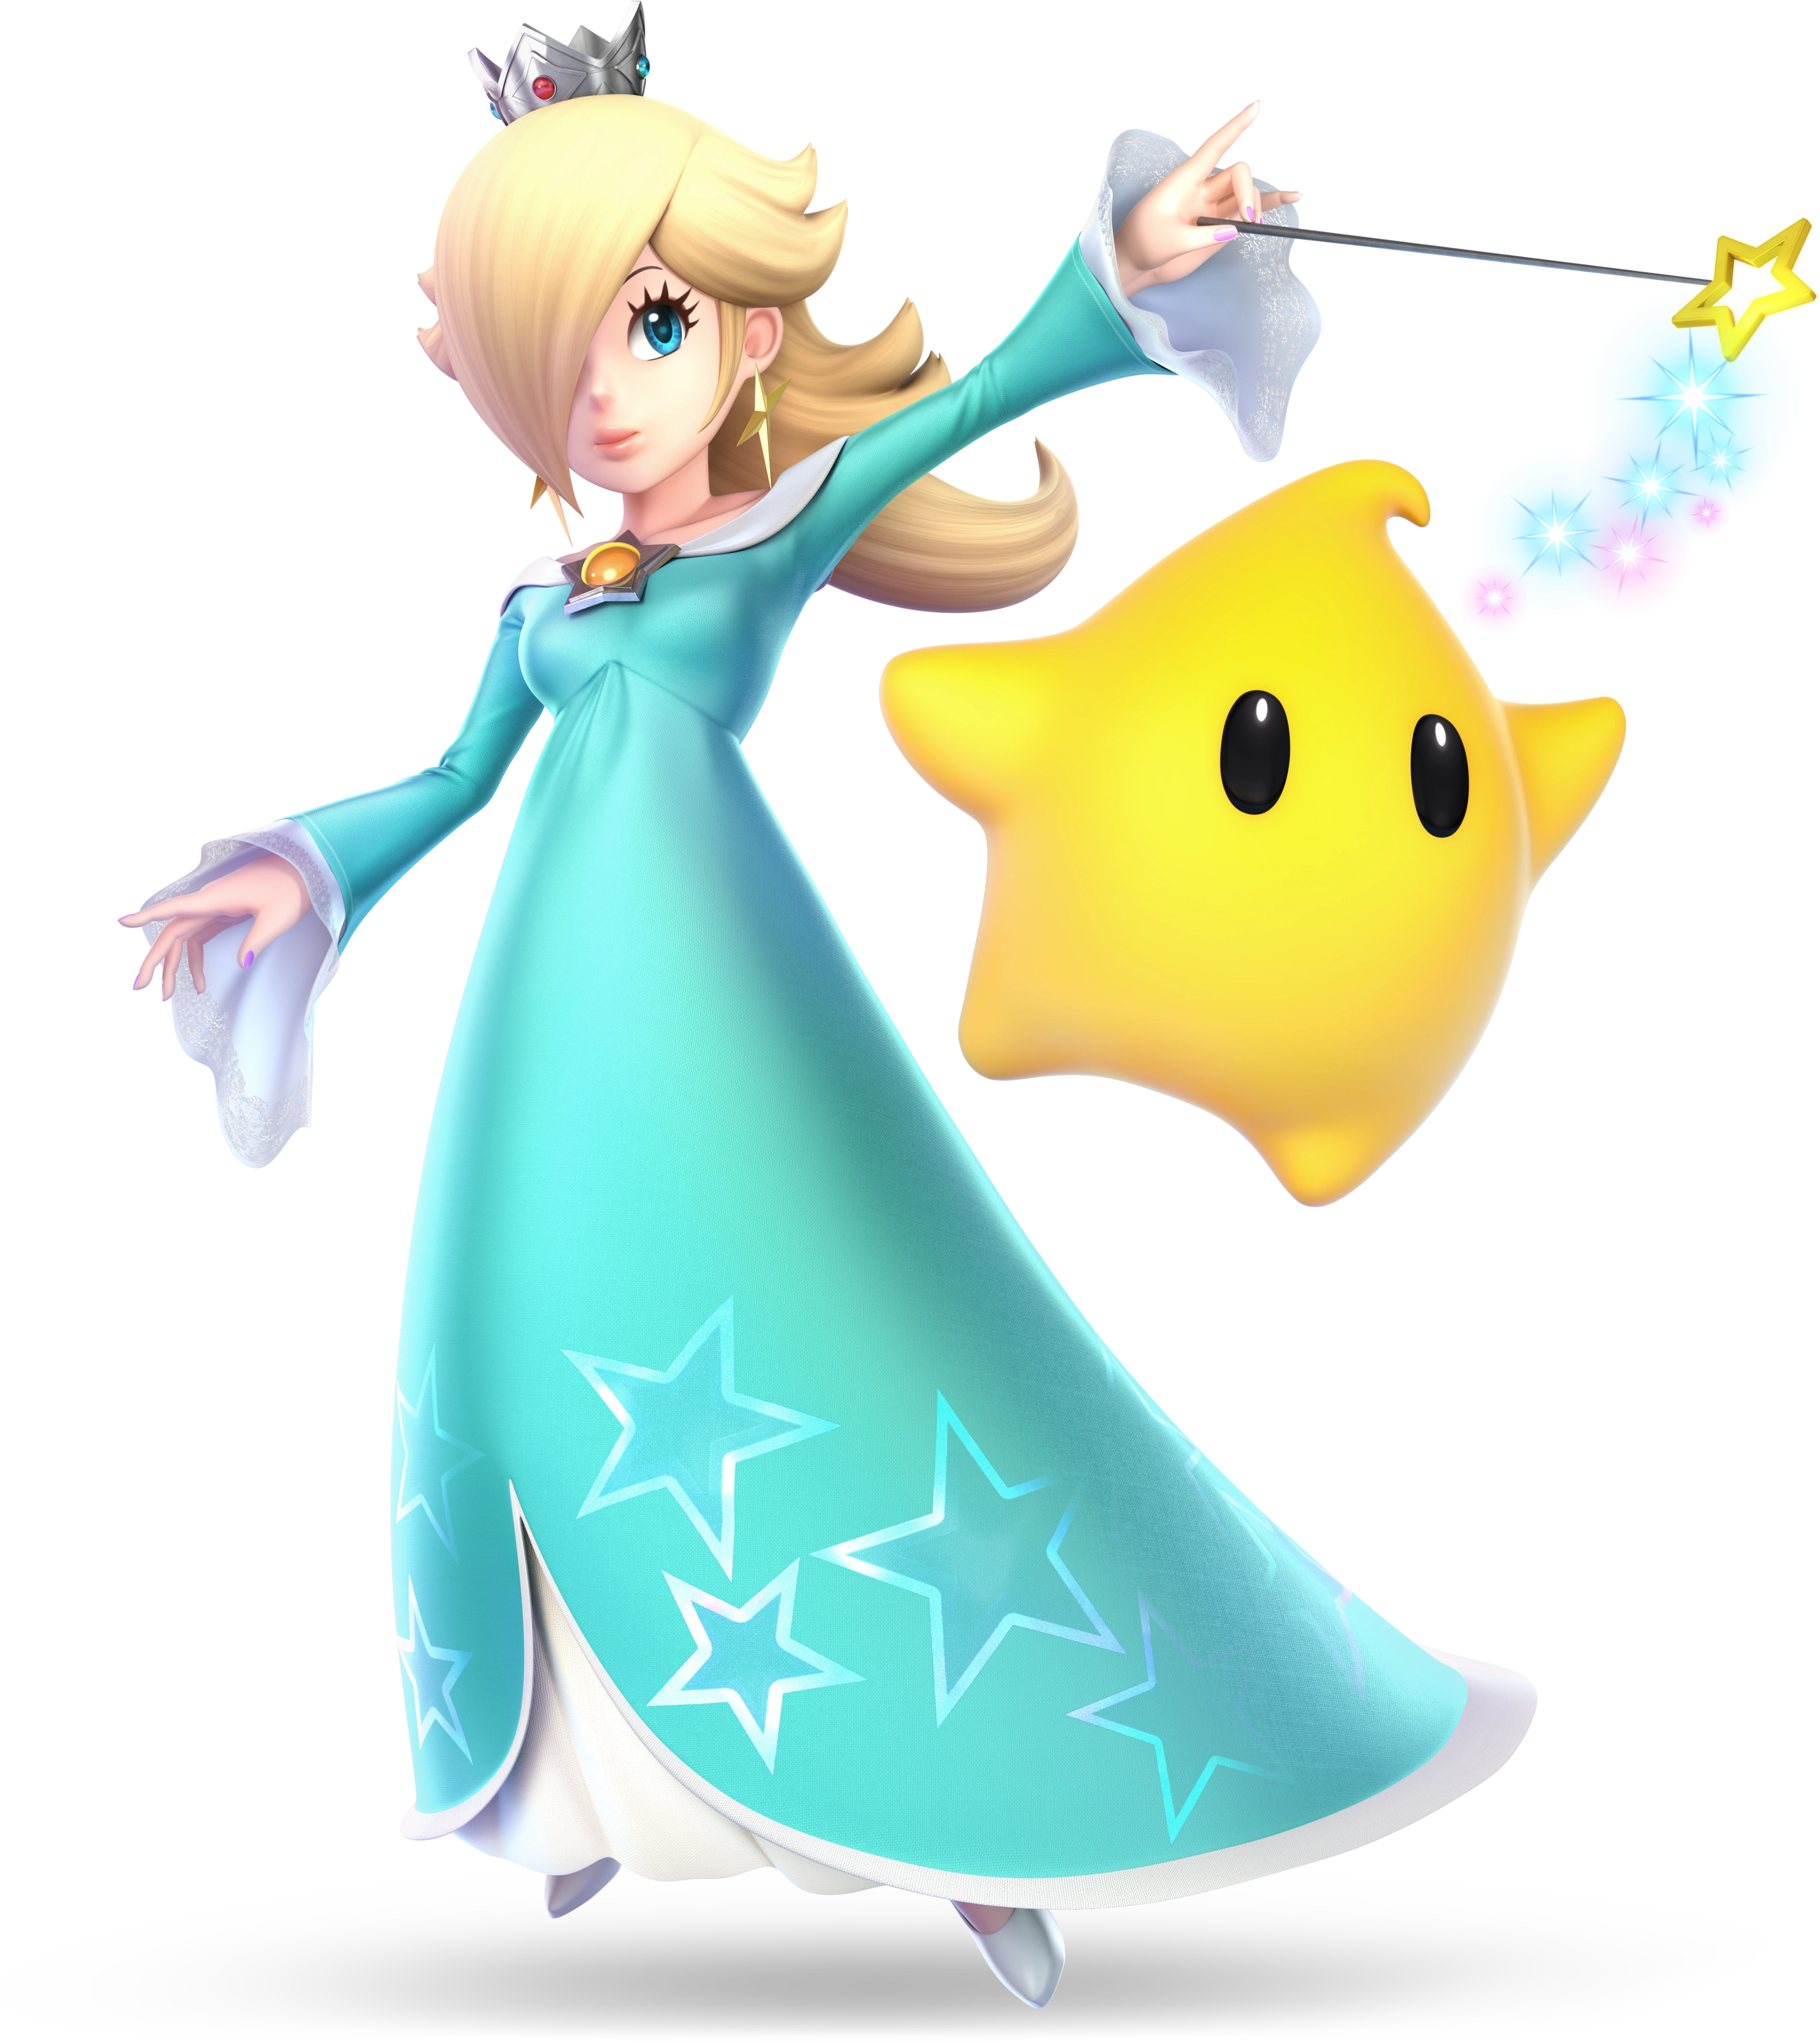 Rosalina & Luma The Cosmic Travellers |
Super Mario Galaxy (2007, Wii) Rosalina is a powerful figure in the Mario universe, as well as the adoptive mother of the Lumas. Her job is to watch over and protect the cosmos, and she does so from her spaceship, the Comet Observatory. Rosalina is stoic and introverted, rarely raising her voice and holding vast knowledge of the universe, backed up by incredible cosmic powers that make her among the most powerful characters in the roster. Despite all this, she is kind, doting, and motherly to the Lumas, caring for them as if they were her own children. Say, I wonder what stories she tells them before bed... | ||||
|
Rosalina is among the more difficult fighters to play. She's fast but floaty, tall and light, and requires players to get around the awkwardness of having to play two fighters at once, not at all helped by the fact that Rosalina is quite dependent of her Lumas. Once you get around all that, however, you gain a major threat at your fingertips, with Luma giving extra range and increasing damage output. In Victorious, Rosalina and Luma have not received any major changes. | |||||
| Moveset
| |||||
| |||||
|
Animations
|
Alternate Costumes ") Default | ||||
Luigi | |||||
|---|---|---|---|---|---|
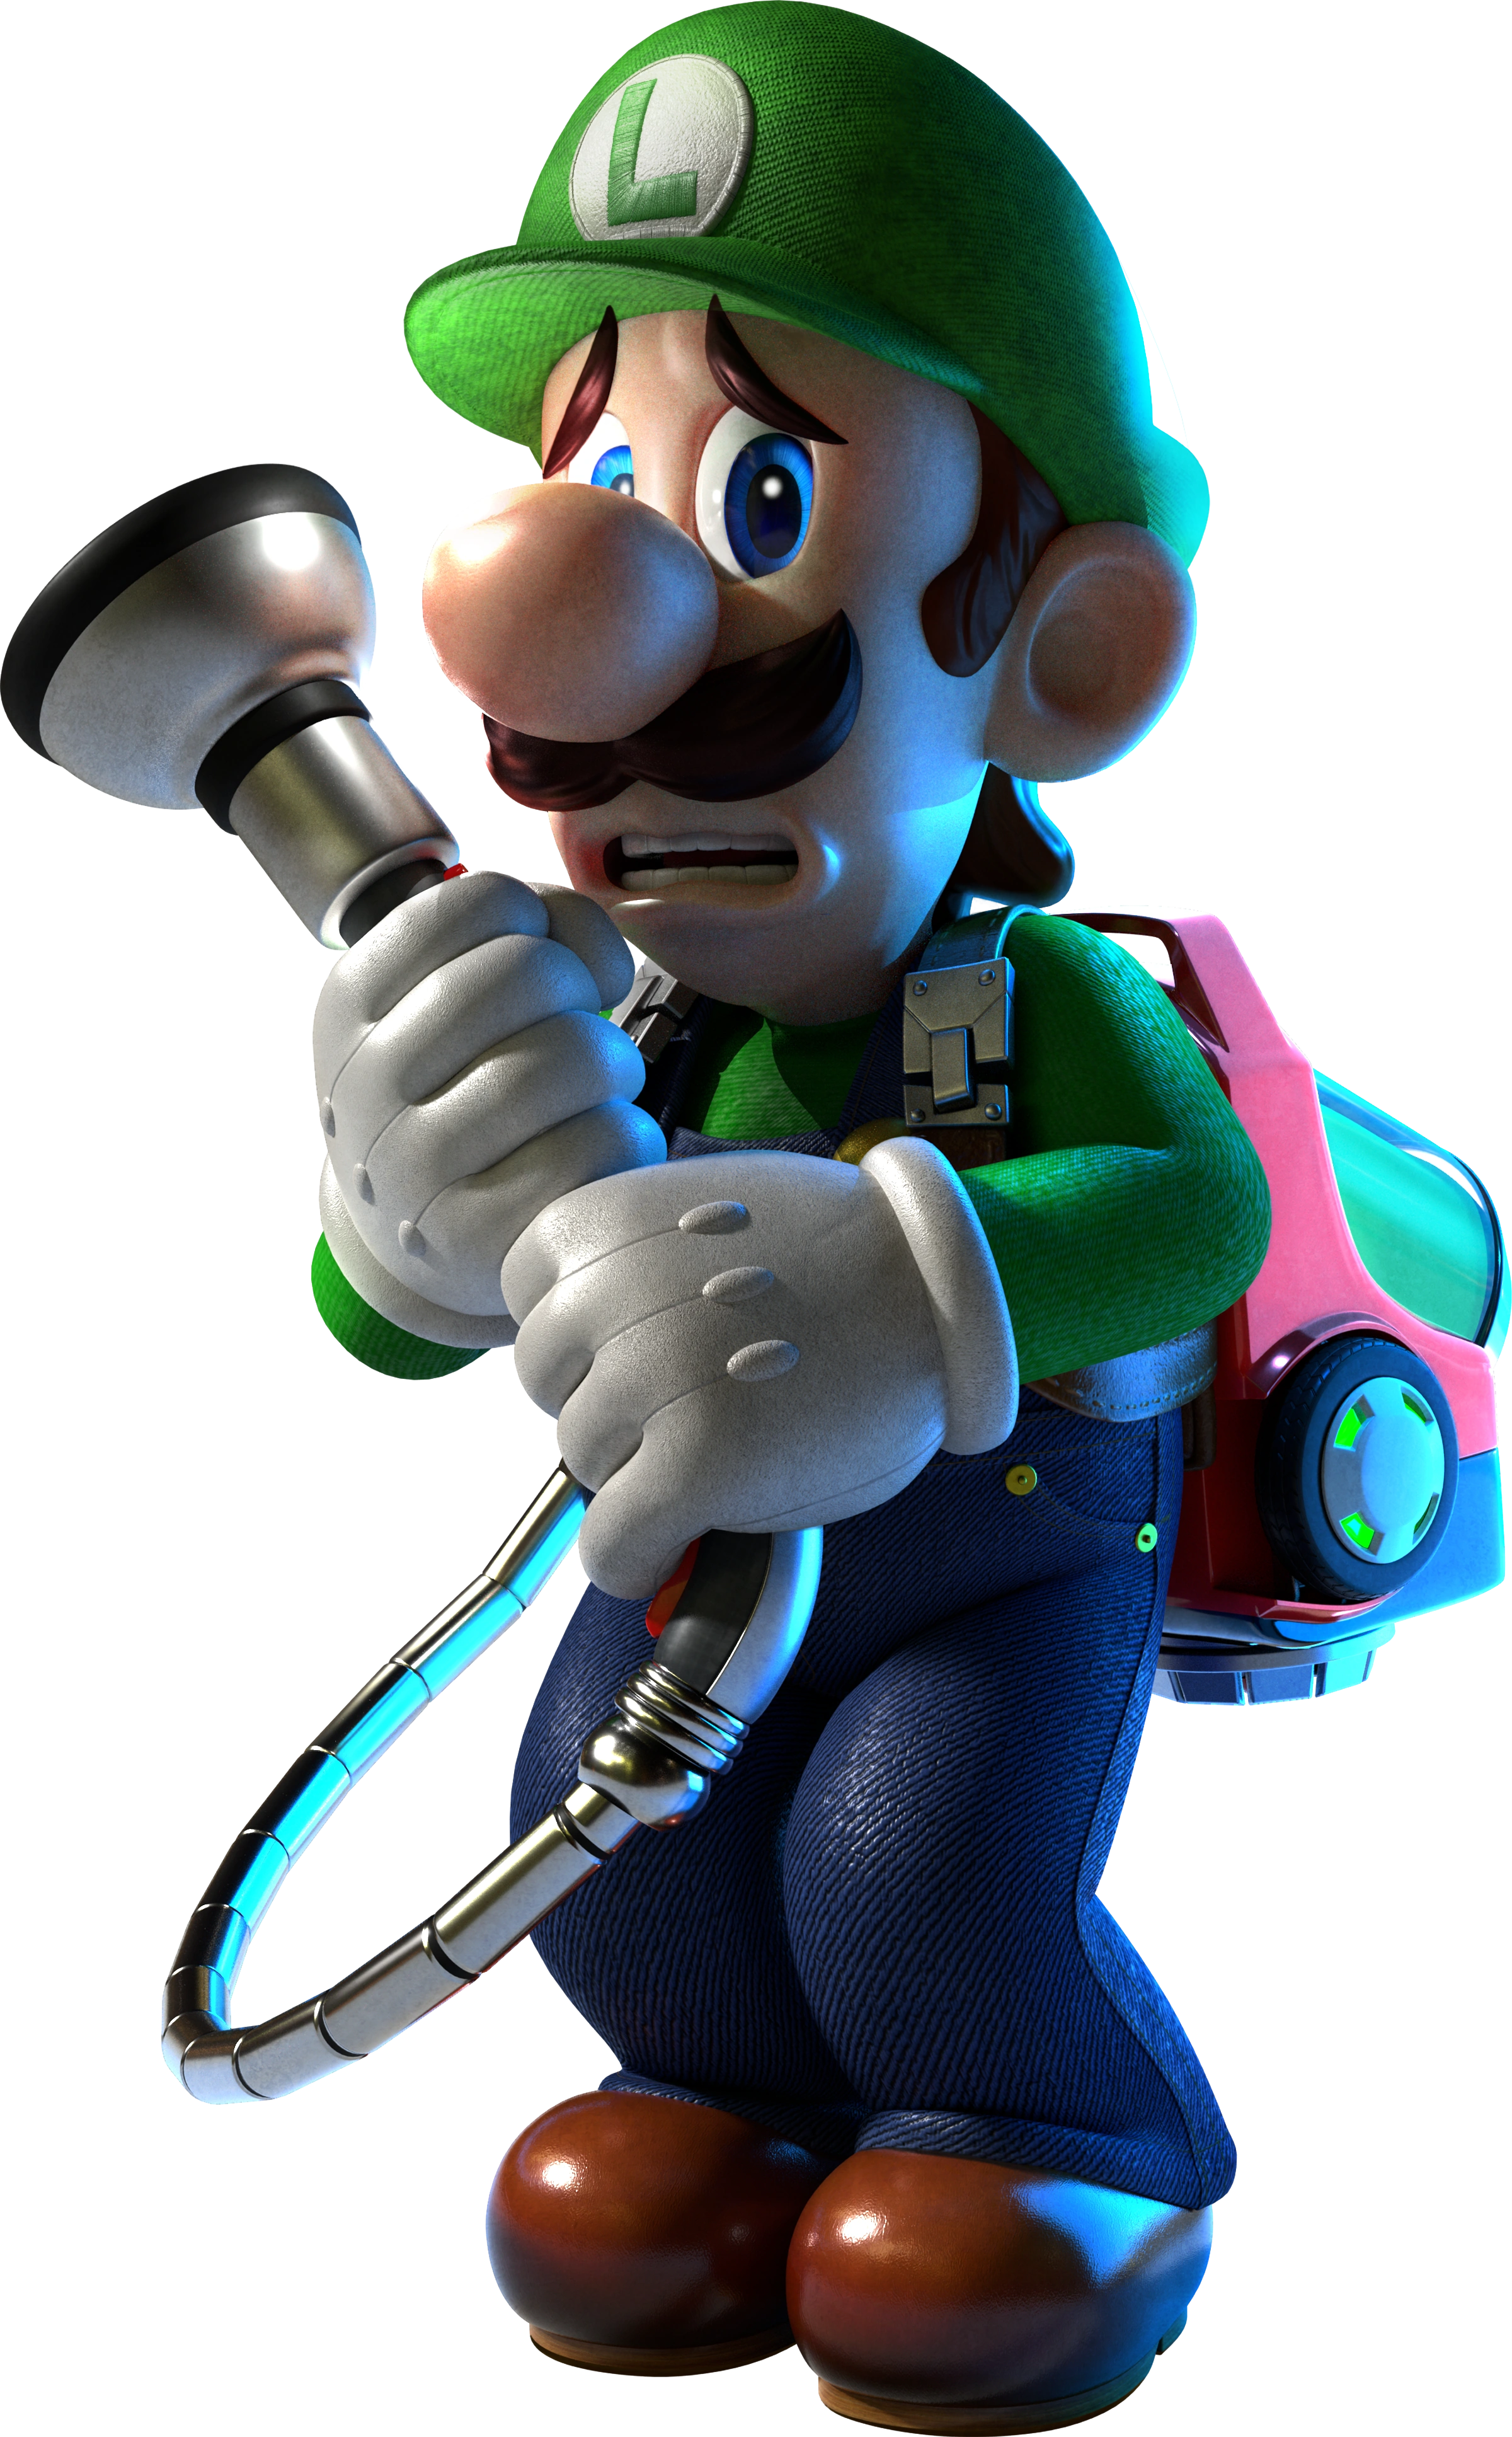 Luigi The Eternal Understudy |
 Luigi's Mansion (2001, GameCube) Mario's younger brother, though certainly not lesser, Luigi is a scaredy-cat hiding the heart of a hero. The eternal player two, Luigi has always had to live in his brother's shadow. While he harbors no grudge to his brother's success, it hasn't been kind to his self-esteem. Luigi is timid and cowardly, and can only dream of being a brave hero like his brother... But truthfully, he already is. When push comes to shove, he'll prove to you that he's every bit as capable as his brother. Make way for the lean, green, fighting machine! | ||||
|
Luigi is a floaty middleweight with an emphasis on grappling. In terms of pros and cons, he tends to run hot and cold. He has great throws and can pull off jaw-dropping combos, but he suffers from poor recovery and mobility. His new Poltergust attacks helps a bit with his range, but on the flip side, he has been deprived of his one projectile, Fireball, forcing him to get up close to do any real damage. Overall, Luigi is a high-risk, high reward character. In Victorious, Luigi has received the following changes:
| |||||
| Moveset
| |||||
| |||||
|
Animations
|
Alternate Costumes ") Default ") Doctor Luigi | ||||
Yoshi | |||||
|---|---|---|---|---|---|
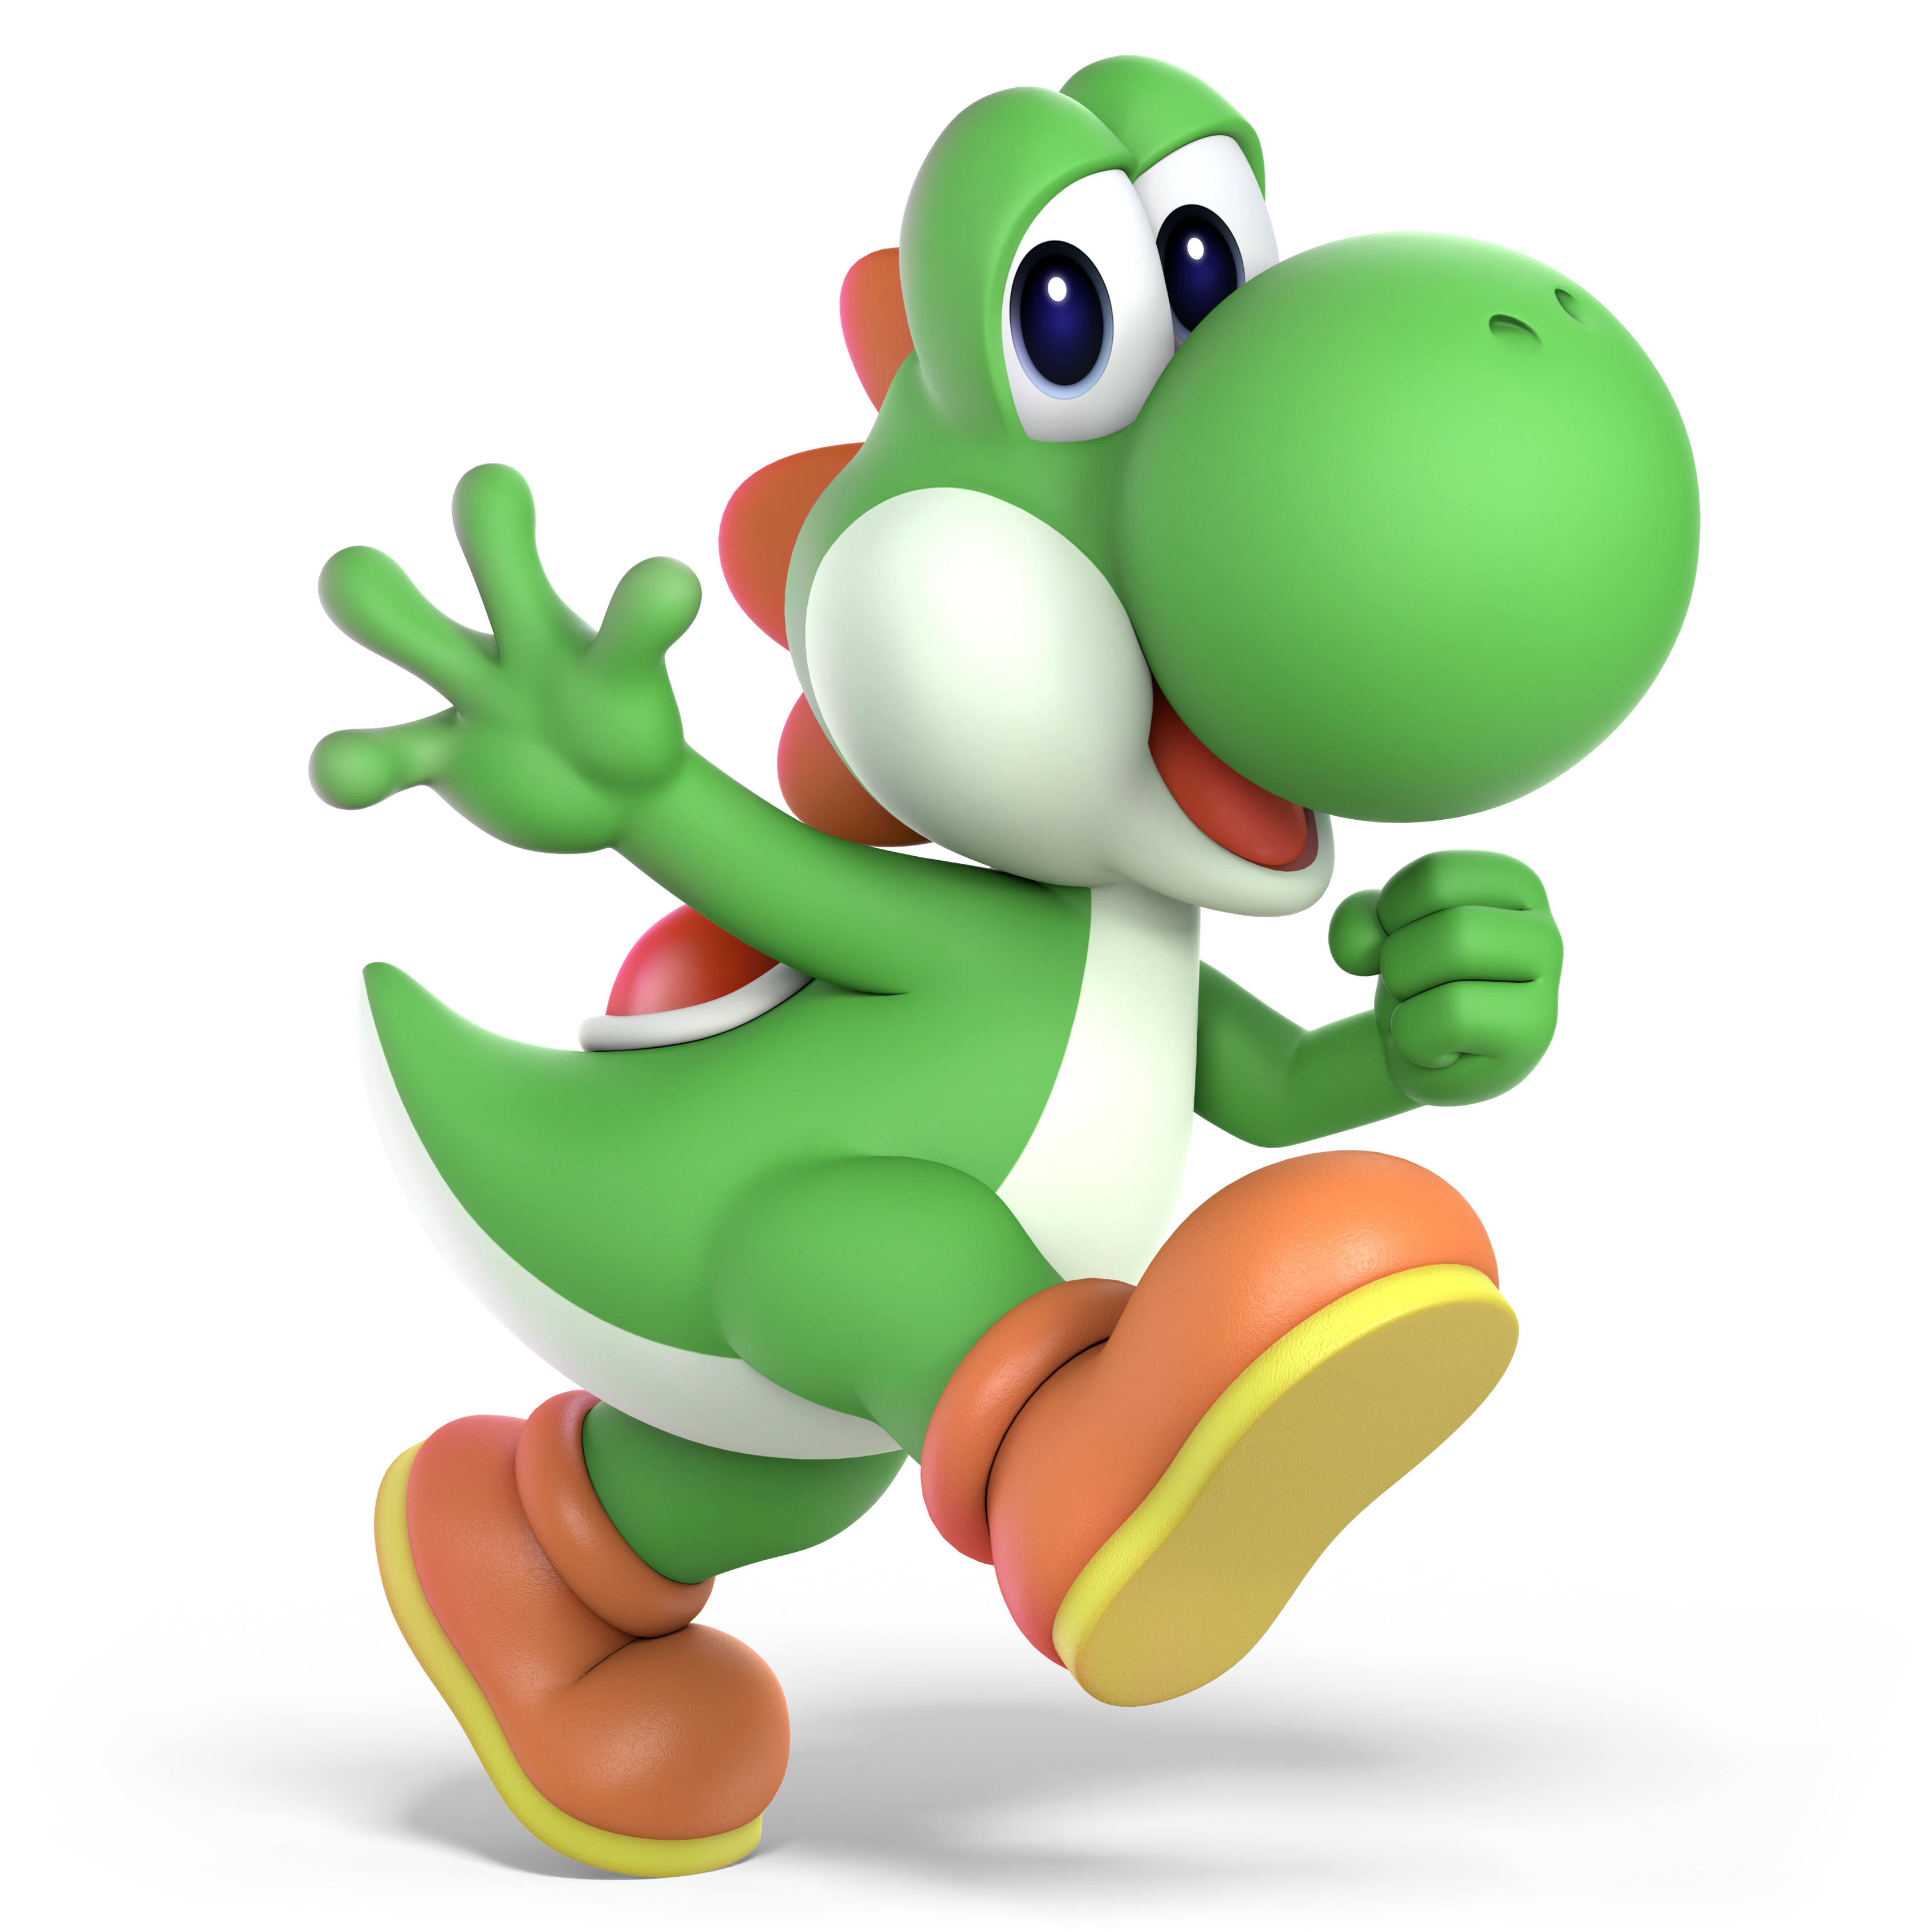 Yoshi Omnivore of the Year |
Super Mario World 2: Yoshi's Island (1995, SNES) Yoshi is but one of many of a species of dinosaurs. Equal parts heroic and hungry, Yoshi is always willing to lend Mario and his friends a hand in the battle against Bowser and the Koopa Troop. Yoshi usually helps out by giving his pals a ride on his back and gobbling up everything in his way with his ultra-stretchy tongue, the occasional power-up optional. In Smash, however, the ride is closed-This time around, Yoshi's fighting solo! | ||||
|
As a fighter, Yoshi is a fairly mobile heavyweight. While his ground attacks are fairly useful, he really shines when he's in the air. The green dino is blessed with high air speed and incredibly powerful aerials. In addition, his specials make for some good damage-rackers and his up special is a powerful projectile. There's just one little problem-Due to his up special being a projectile, he is robbed of what would normally be his main source of recovery. Be careful when you're fighting off-stage! In Victorious, Yoshi has regained his original Final Smash, now under the name of Super Yoshi. Beyond that, he has not recieved any major changes. | |||||
| Moveset
| |||||
| |||||
|
Animations
|
Alternate Costumes ") Default ") Crafted Yoshi | ||||
Wario | |||||
|---|---|---|---|---|---|
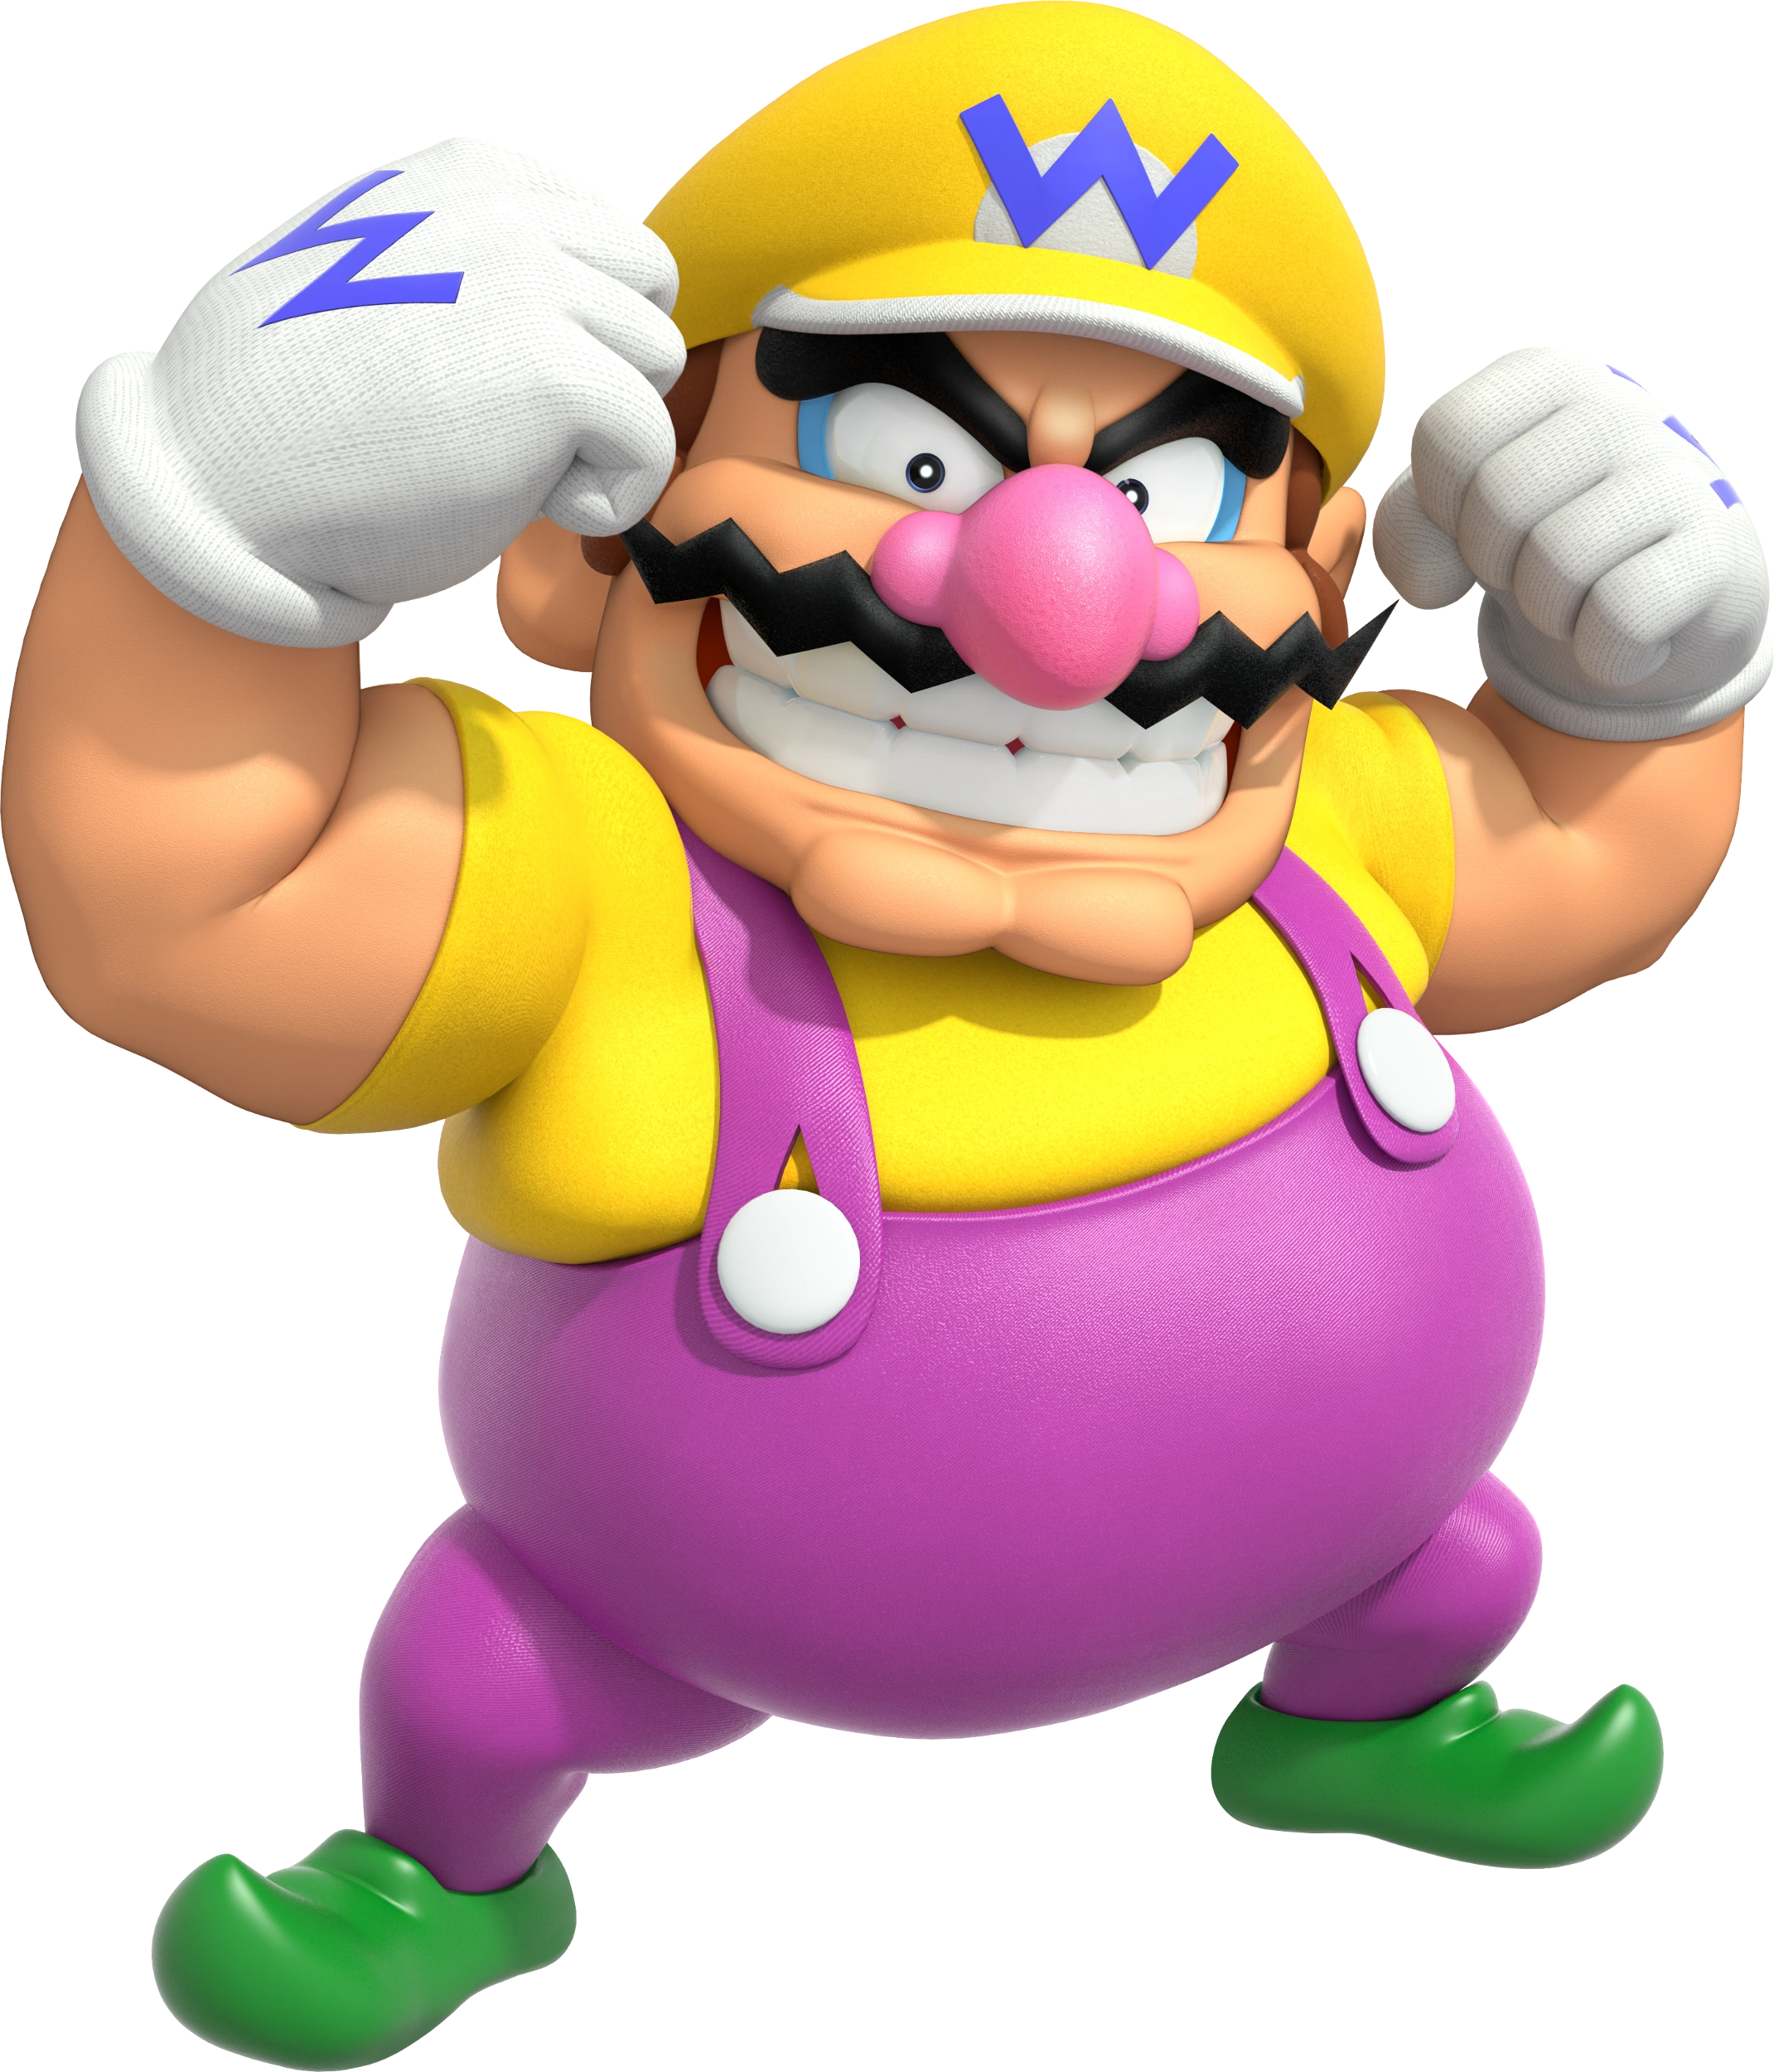 Wario Scoundrel with a Fart of Gold |
 
Wario Land: Super Mario Land 3 (1994, Game Boy) A rather unpleasant man, Wario is Mario's rival... Assuming there's incentive to do so. Wario is lazy, greedy, and overweight, with special places in his heart dedicated to gold and garlic, respectively. Constantly desiring the world's riches, Wario has two flavors of get-rich-quick schemes; Making games with his pals and raiding ancient ruins with nothing but his brute strength alone. Yes, despite his many layers of fat, Wario has a surprising amount of muscle, and he'll proudly show it off in Smash!... Provided he gets the promised reward, of course. | ||||
|
In Victorious, Wario has been retooled into a more straightforward brawler character. He combines his short height with a heavyweight status and surprisingly good mobility, giving him great survivability. His attacks pack quite a punch as well, with his specials in particular giving him some good setup and approach options. However, Wario suffers from a short range and an unreliable recovery, forcing players to come up creative and unorthodox ways to get around his flaws. In Victorious, Wario has received the following changes:
| |||||
| Moveset
| |||||
| |||||
|
Animations
|
Alternate Costumes ") Default ") Biker Gear | ||||
Waluigi | |||||
|---|---|---|---|---|---|
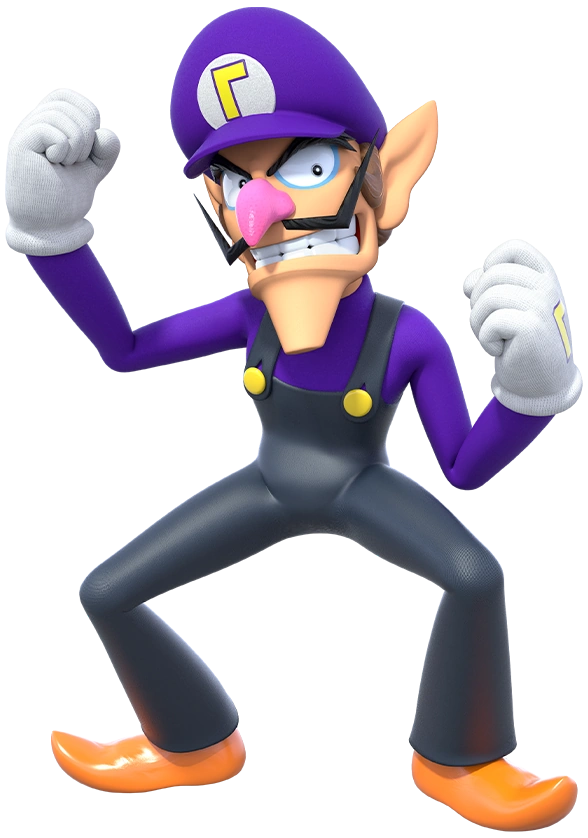 Waluigi WAH |
Mario Tennis (2000, Nintendo 64) Waluigi is a bit of an enigma. Nobody knows exactly where he came from, or what his relation to Wario and the Mario Brothers is. What is known is that Waluigi is bizarre, rude, and has a tendency to cheat. He is arrogant, boastful and... Houses a surprising amount of self-pity and frustration, for good things happen to everyone but him. He's constantly snubbed, and never seems to get any major appearances, always been relegated to the sidelines. But no more! Waluigi is finally in Smash, and now it will always be Waluigi Time! Hope you like the color purple! | ||||
|
Waluigi is among the most bizarre and unorthodox characters in Smash. His attacks are odd, janky, and have awkward hitboxes, making him both hard to get a hang of and hard to fight against. In addition, he is rather light, meaning he'll easily be launched if you don't know what you're doing. However, once you get a hang of him, you'll find that he has an amazing damage output, great defensive abilities, and outstanding combo potential. Get ready, because now is Waluigi's time! | |||||
| Moveset
| |||||
| |||||
|
Animations
|
Alternate Costumes ") Default ") Tennis Outfit | ||||
Paper Mario | |||||
|---|---|---|---|---|---|
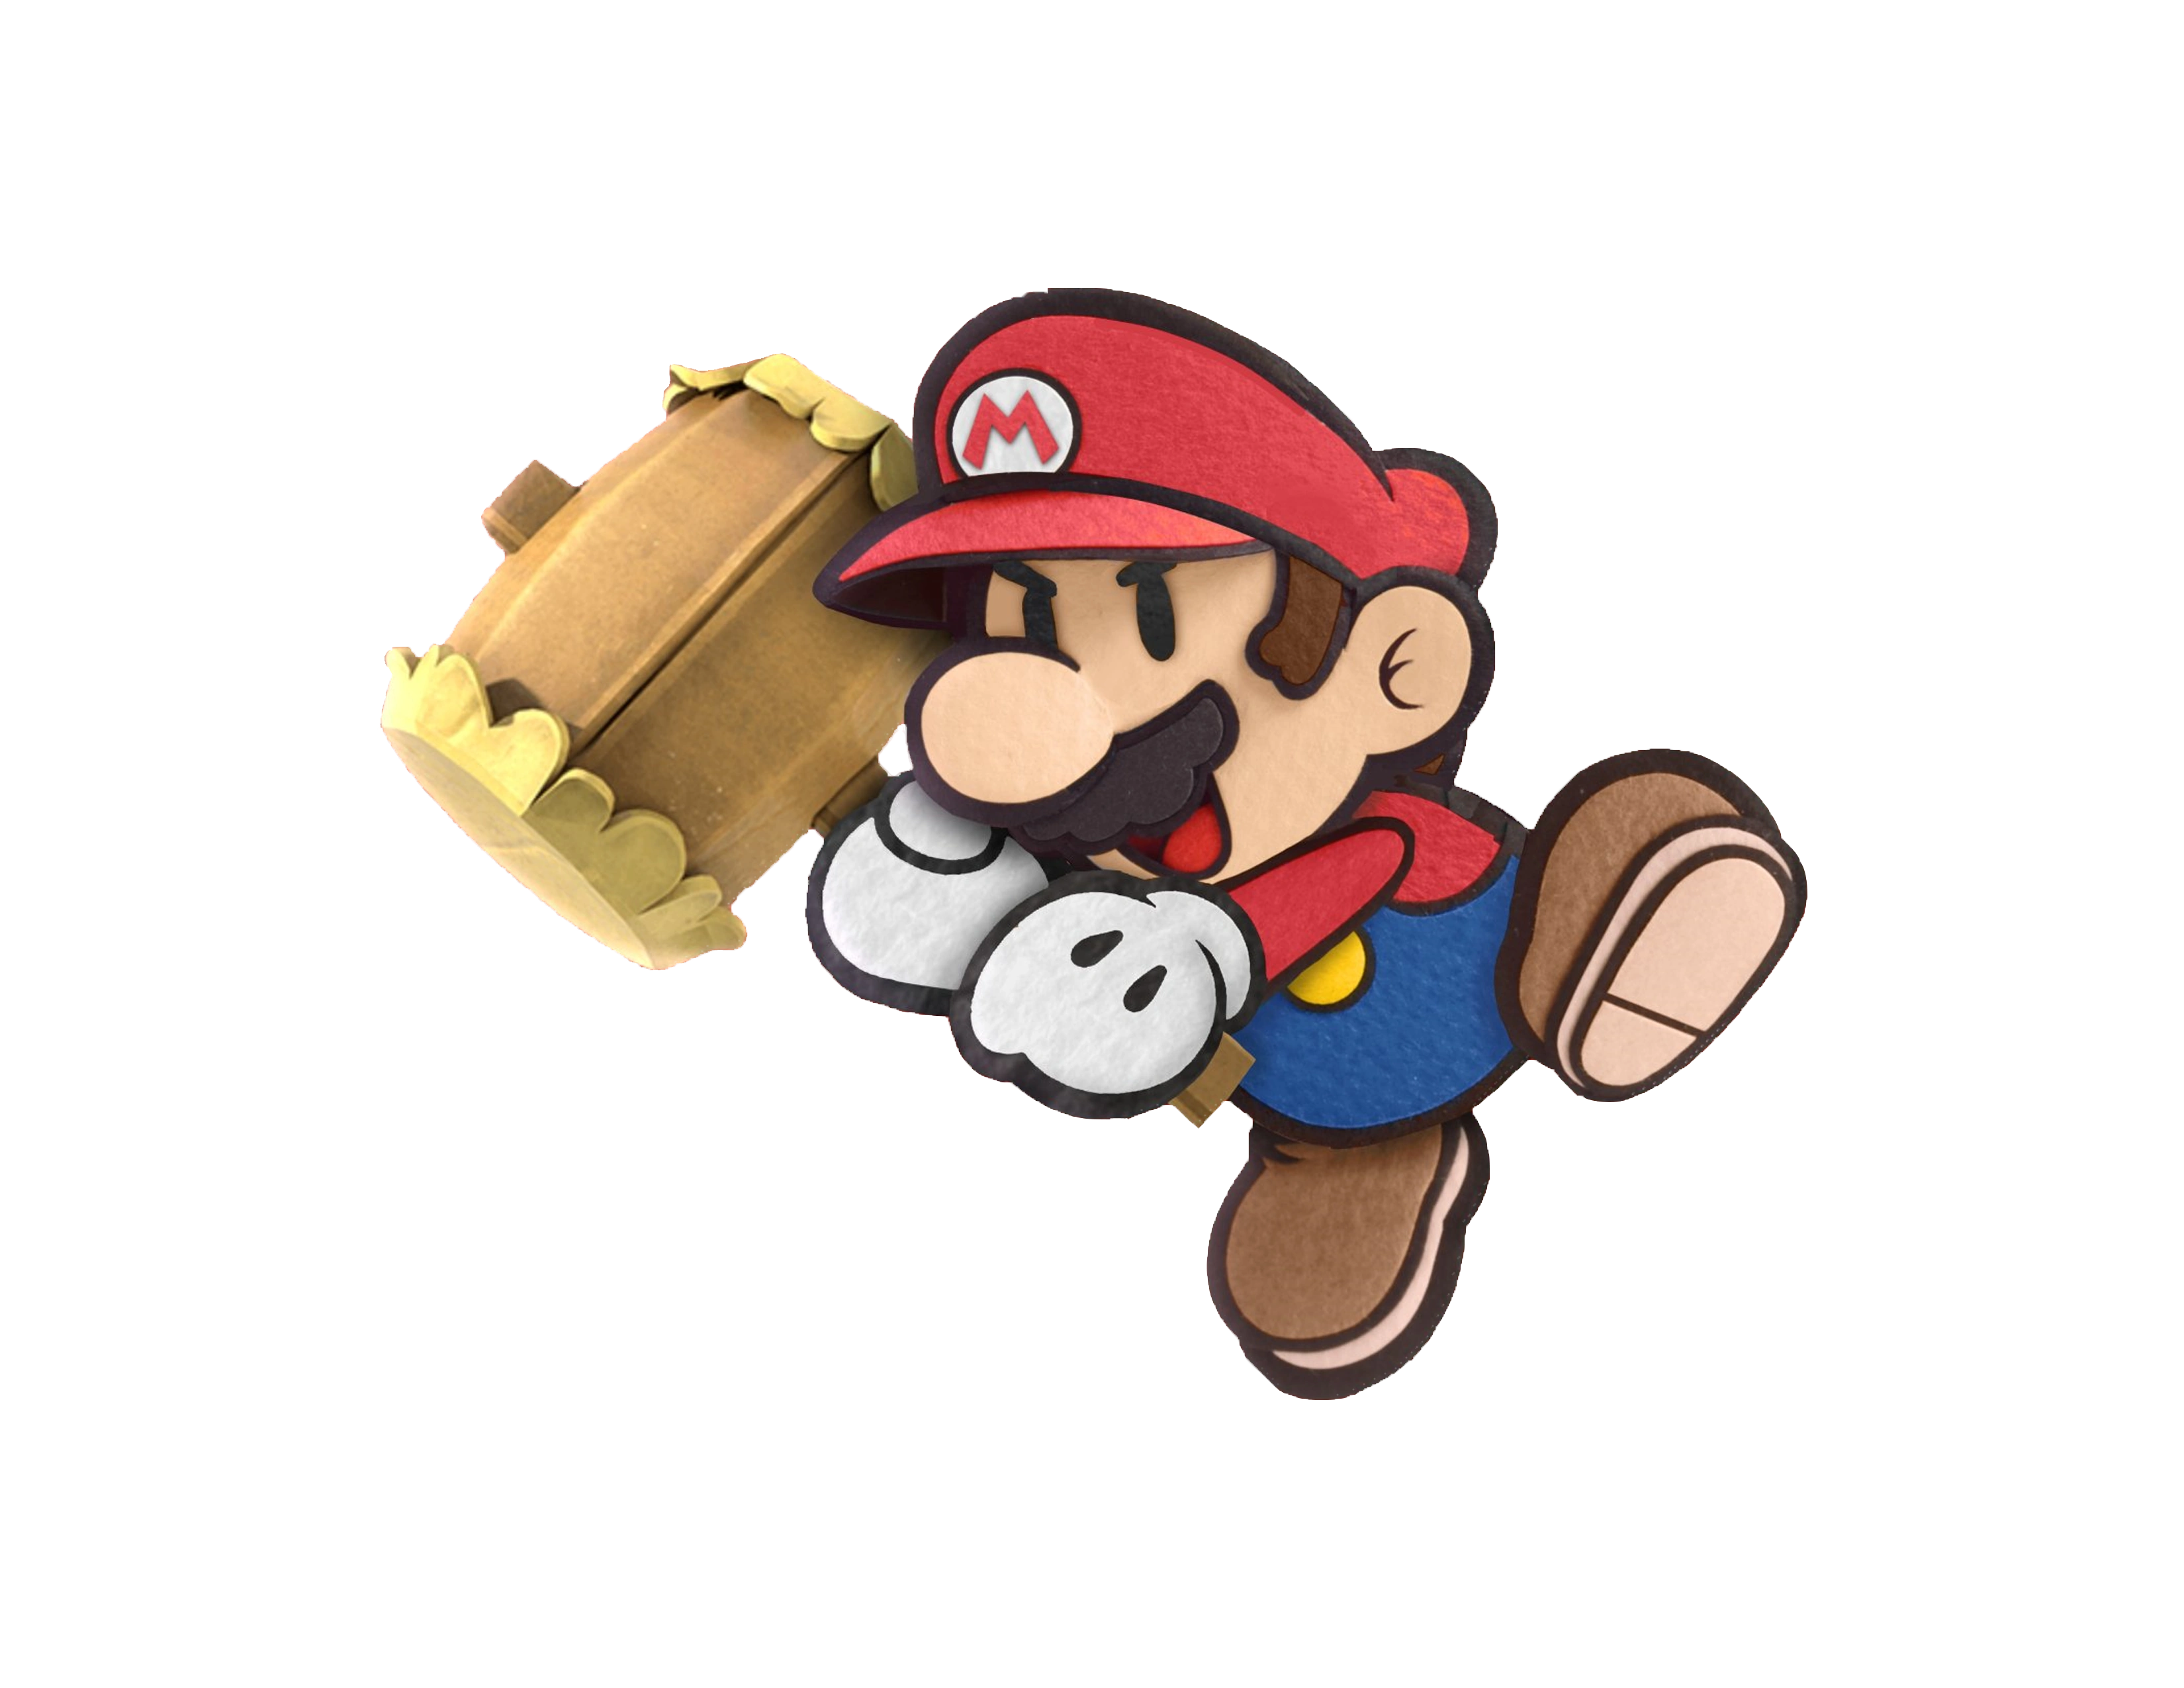 Paper Mario Wafer-Thin Warrior |
Paper Mario (2000, Nintendo 64) Ah, Mario. We all know the story; Stomp on Goombas, beat up Bowser, and save the princess. But this Mario is different. He's from another world, he's defeated different villains, and most importantly... He's made of paper! I mean, it's right there in the name... Either way, Paper Mario is unique and distinct from his mainline counterpart. His hammer packing a mighty punch, and he is backed up by the many partners and allies he's made along the way. He may be wafer-thin, but he's larger than life! | ||||
|
Paper Mario is a paperweight fighter (duh) that plays quite differently than the regular Mario. His paper composition gives him fast air speed and slow falling speed, turning his jumps into a sort of pseudo-glide. However, his greatest strengths are his partners; Various allies that attack in his place during certain attacks. Since they attack and not him, he is able to move separately from them, allowing him to deliver a follow-up attack or make a getaway. As a trade-off, he is the lightest character in the game and is easily tossed around, meaning any false move can prove fatal. | |||||
| Moveset
| |||||
| |||||
|
Animations
|
Alternate Costumes ") Default | ||||
Donkey Kong | |||||
|---|---|---|---|---|---|
 Donkey Kong King of the Jungle |
Donkey Kong Country (1994, SNES) Bigger, faster, and stronger too, Donkey Kong is here, performing for you! Donkey Kong is the leader of Donkey Kong Island, but you probably knew that from the image of his face carved into a mountain. While DK is carefree and friendly, he is NOT to be trifled with. Mess with his bananas, his island, or his friends, and you'll be on the receiving end of his mighty fists! Despite his strength, he's not slow or dumb either, and he won't take kindly to anyone saying otherwise. It's no surprise that he's the first member of the DK Crew! | ||||
|
As far as heavyweights go, Donkey Kong is the undisputed grappler. He can pick up opponents without slowing down, and forward throw leads into four other throws. In addition, DK is surprisingly fast for a heavyweight, and his attacks hit hard. He mainly suffers from his lack of defensive options, as he lack projectiles and his attacks are somewhat slow. However, if you can work around these issues, you'll have a powerful grappler on your hands! In Victorious, Donkey Kong has received the following changes:
| |||||
| Moveset
| |||||
| |||||
|
Animations
|
Alternate Costumes ") Default ") Boxer | ||||
Funky Kong | |||||
|---|---|---|---|---|---|
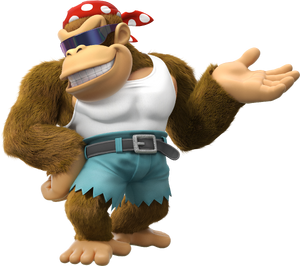
 Funky Kong The Cool and Creative Kong |
Donkey Kong Country: Tropical Freeze (2018, Nintendo Switch) While DK and pals are on an adventure, someone has to supply them with gadgets and weapons, and this laid-back Kong is just the ape for the job! Funky Kong is casual and peppers his speech with 90's slang, and is much more comfortable tinkering with machines than adventuring like DK and co. Despite this, he's a surprisingly competent fighter. With a bunch of weapons at his disposal, he'll show you he's not just a lazy bum! Surf's up, dude! | ||||
|
While Funky's moves are mostly the same as DK's, being his Echo and all, he plays quite differently. His attacks have less power and more speed, and many of his specials are traded out for various gadgets and tools. In addition, Funky's grab game is much worse than his base's, being weaker and lacking the cargo throw mechanic, and he lacks DK's meteor smash attacks. All this makes Funky Kong into more of a zoner, compared to the close combat tank that is Donkey Kong. Differences from Donkey Kong:
| |||||
| Moveset
| |||||
| |||||
|
Animations
|
Alternate Costumes ") Default ") Donkey Kong 64 | ||||
Diddy Kong | |||||
|---|---|---|---|---|---|
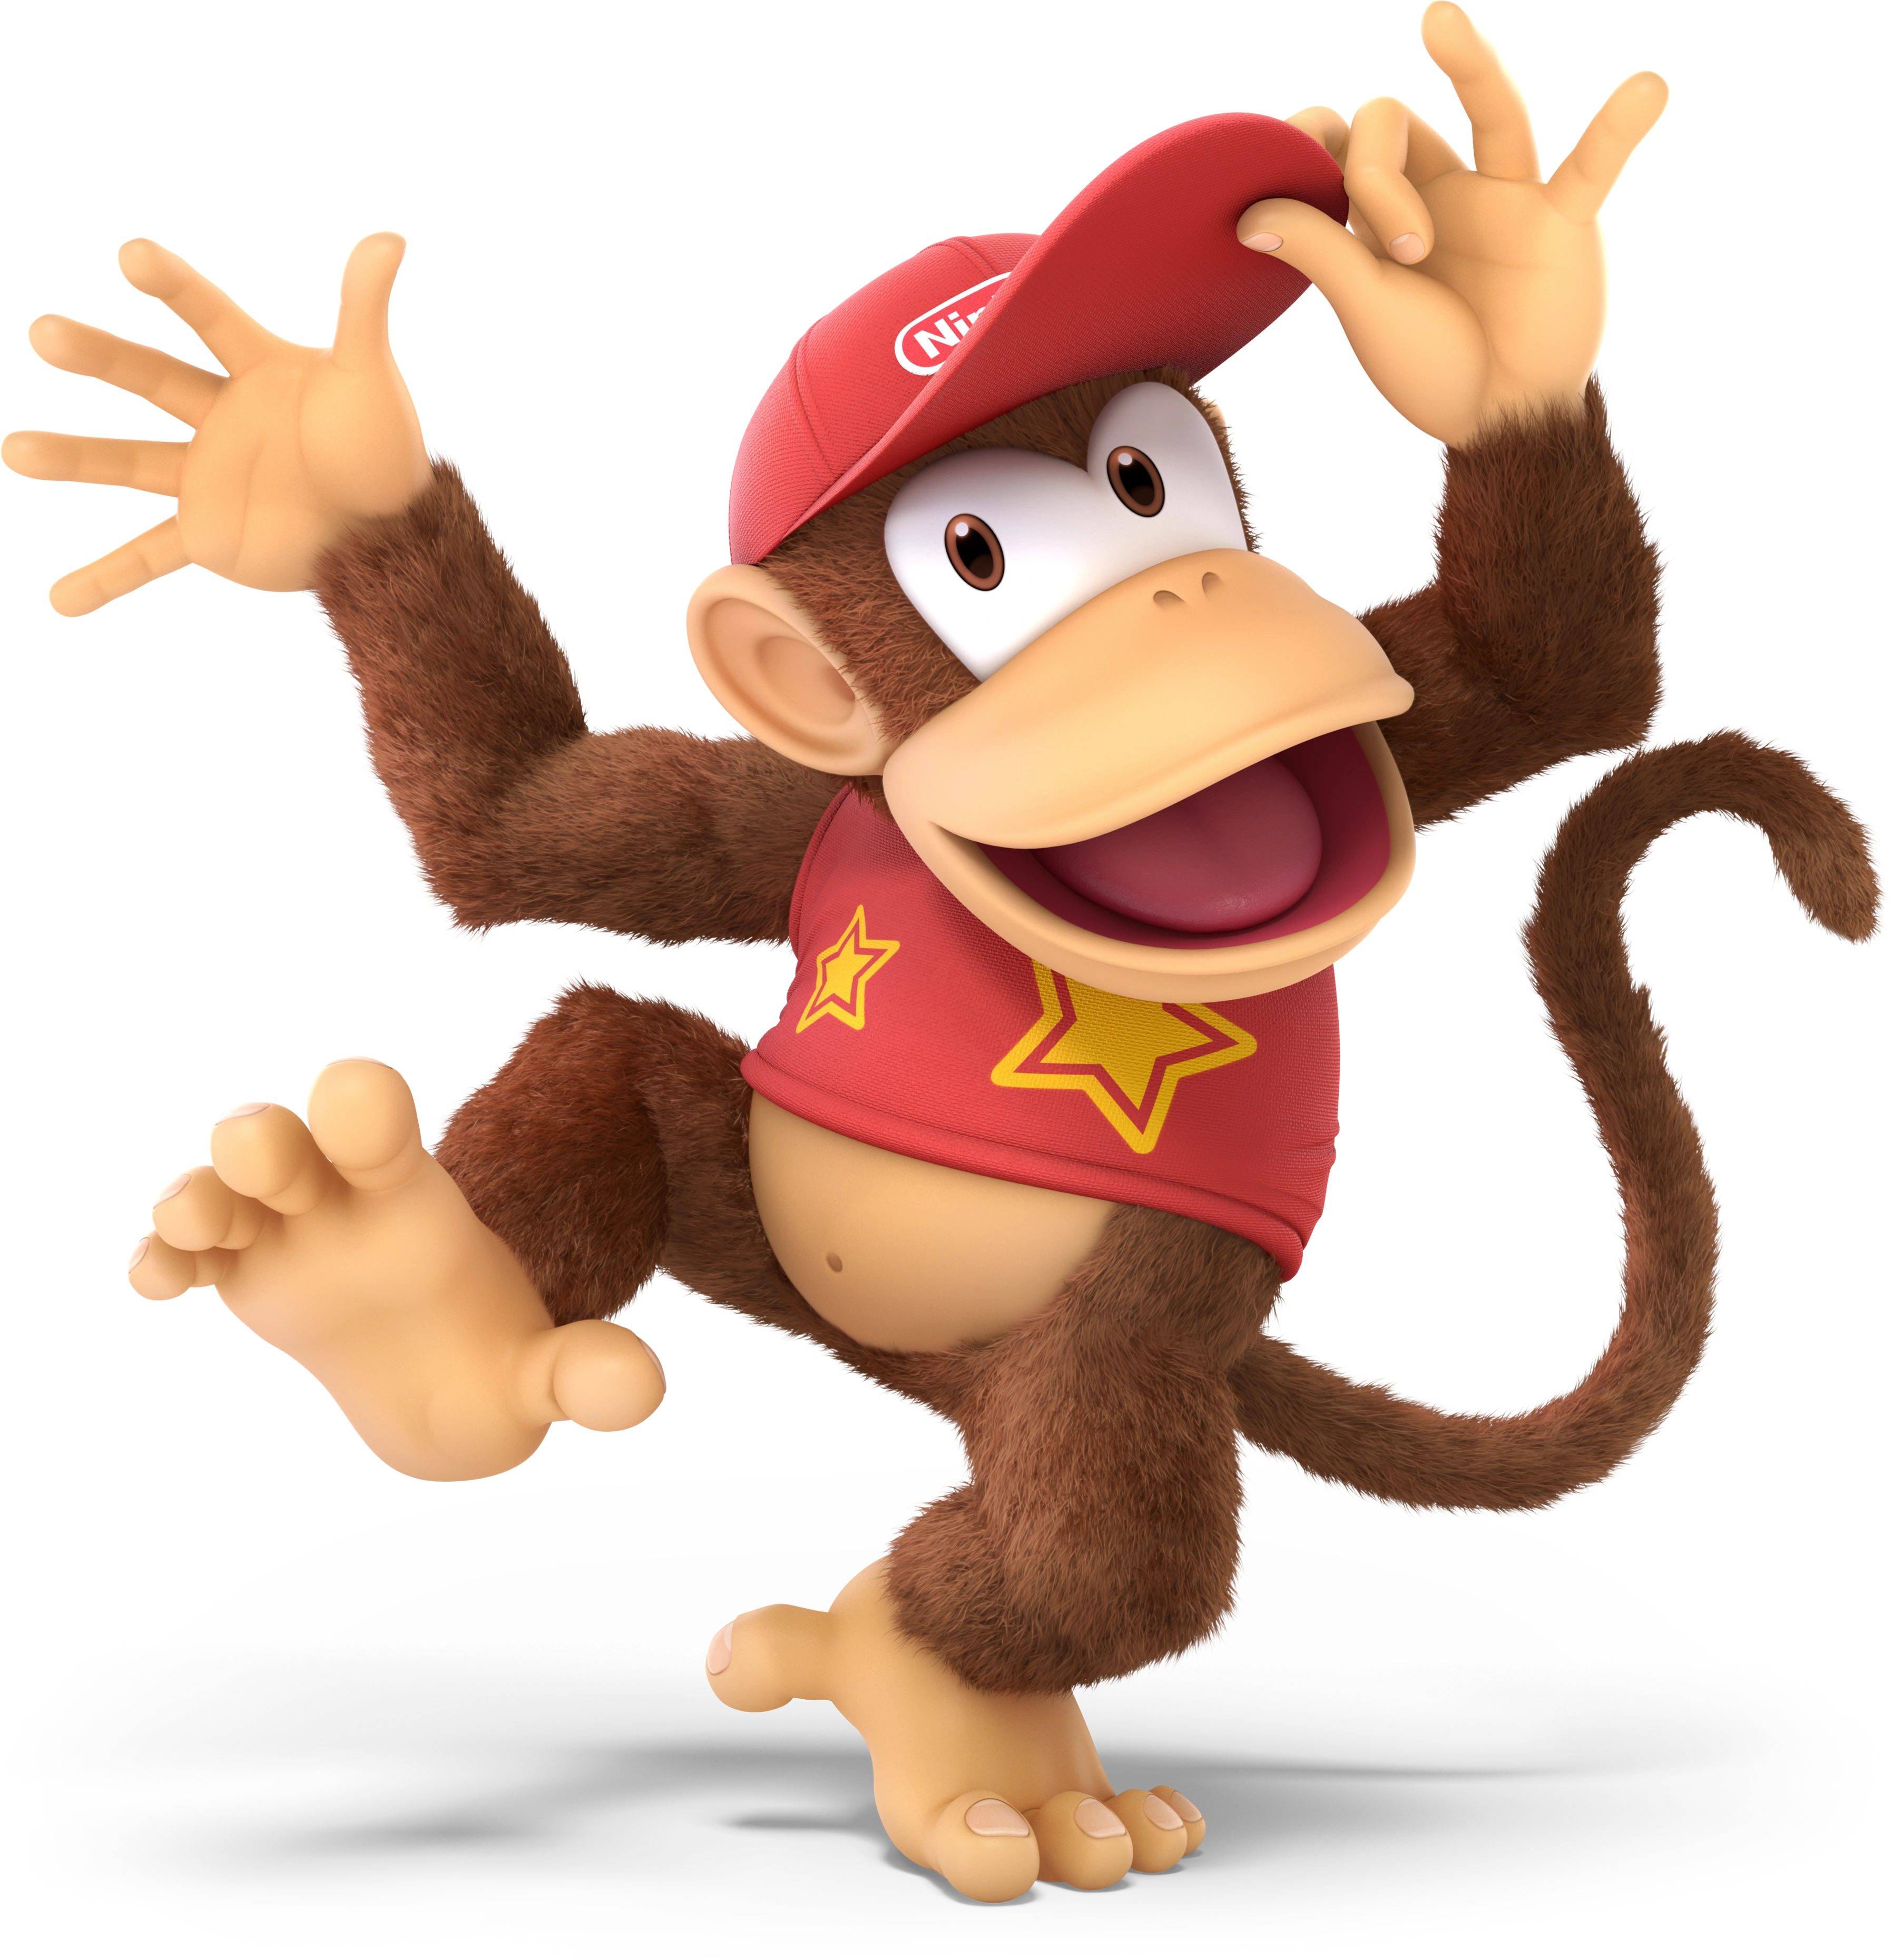 Diddy Kong The Acrobatic Ape |
Donkey Kong Country 2: Diddy's Kong Quest (1995, SNES) Every hero needs a number two, and Diddy Kong is there for Donkey Kong! A small, excitable chimpanzee, Diddy Kong is DK's best friend. They may not be related, but they might as well be. While not as big or well-known as his buddy DK, Diddy is not to be underestimated. He matches DK's strength with his speed and agility, enough that he's starred in his own games now. The little guy complements DK's style perfectly; It's no surprise he was chosen to accompany his big buddy in Smash! | ||||
|
Diddy Kong is a speedy rushdown character. His small size and high mobility allows him to dance around opponents while dishing out attacks, aided by his amazing attack speed. His moveset is aided by a plethora of combo starters, giving him a lot of options for stringing together moves. However, he has two major issues: Rcovery and KOing. Many of his attacks lack kill power, and his recovery is quite risky. Despite all this, Diddy's amazing speed and combo power make him a force to be reckoned with, and should not be taken lightly. In Victorious, Diddy Kong has received the following changes:
| |||||
| Moveset
| |||||
| |||||
|
Animations
|
Alternate Costumes ") Default | ||||
Dixie Kong | |||||
|---|---|---|---|---|---|
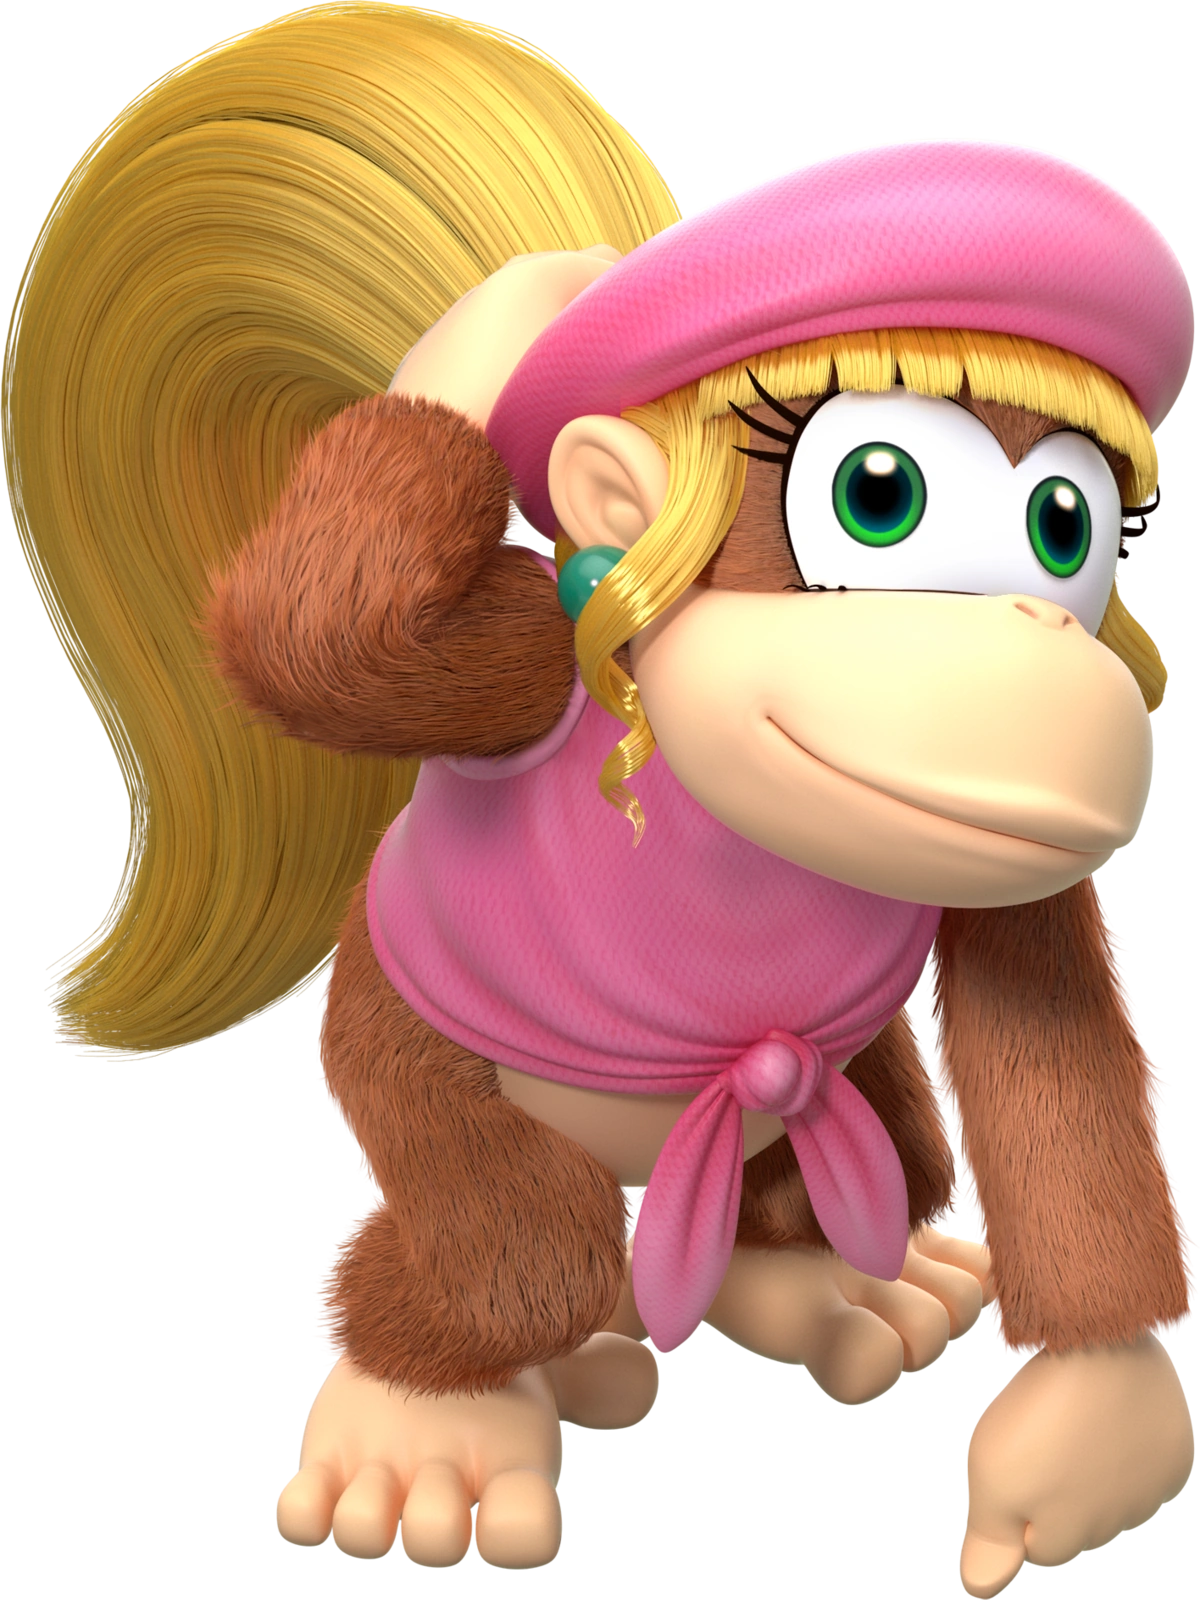 Dixie Kong TBA |
Donkey Kong Country 3: Dixie Double Trouble! (1995, SNES) The sidekick to Diddy Kong-Who himself is the sidekick to Donkey Kong-Dixie Kong is a heroic Kong with a powerful ponytail. Cheerful, lively, and somewhat tomboyish, Dixie is always eager for some adventure. Dixie is strong and nimble with her ponytail, enough to head adventures of her own, she's quite skilled with the guitar, she can blow huge bubbles with gum... Is there anything this Kong can't do? Oh, fun fact-Apparently, her ponytail is an actual tail too. Yeah, we don't know either. | ||||
|
Dixie Kong could be described as a long-range equivalent of Diddy Kong. Like Diddy, Dixie is a speedy lightweight fighter. However, Dixie doesn't share many other attributes with Diddy, aside from a couple shared aerials and somewhat similar specials. Her ponytail gives her decent range, in exchange for Diddy's combo potential, and her specials grant her some decent tools for zoning and recovery. However, her mobility is somewhat lacking, and she suffers from a lack of reliable KO moves. | |||||
| Moveset
| |||||
| |||||
|
Animations
|
Alternate Costumes ") Default | ||||
King K. Rool | |||||
|---|---|---|---|---|---|
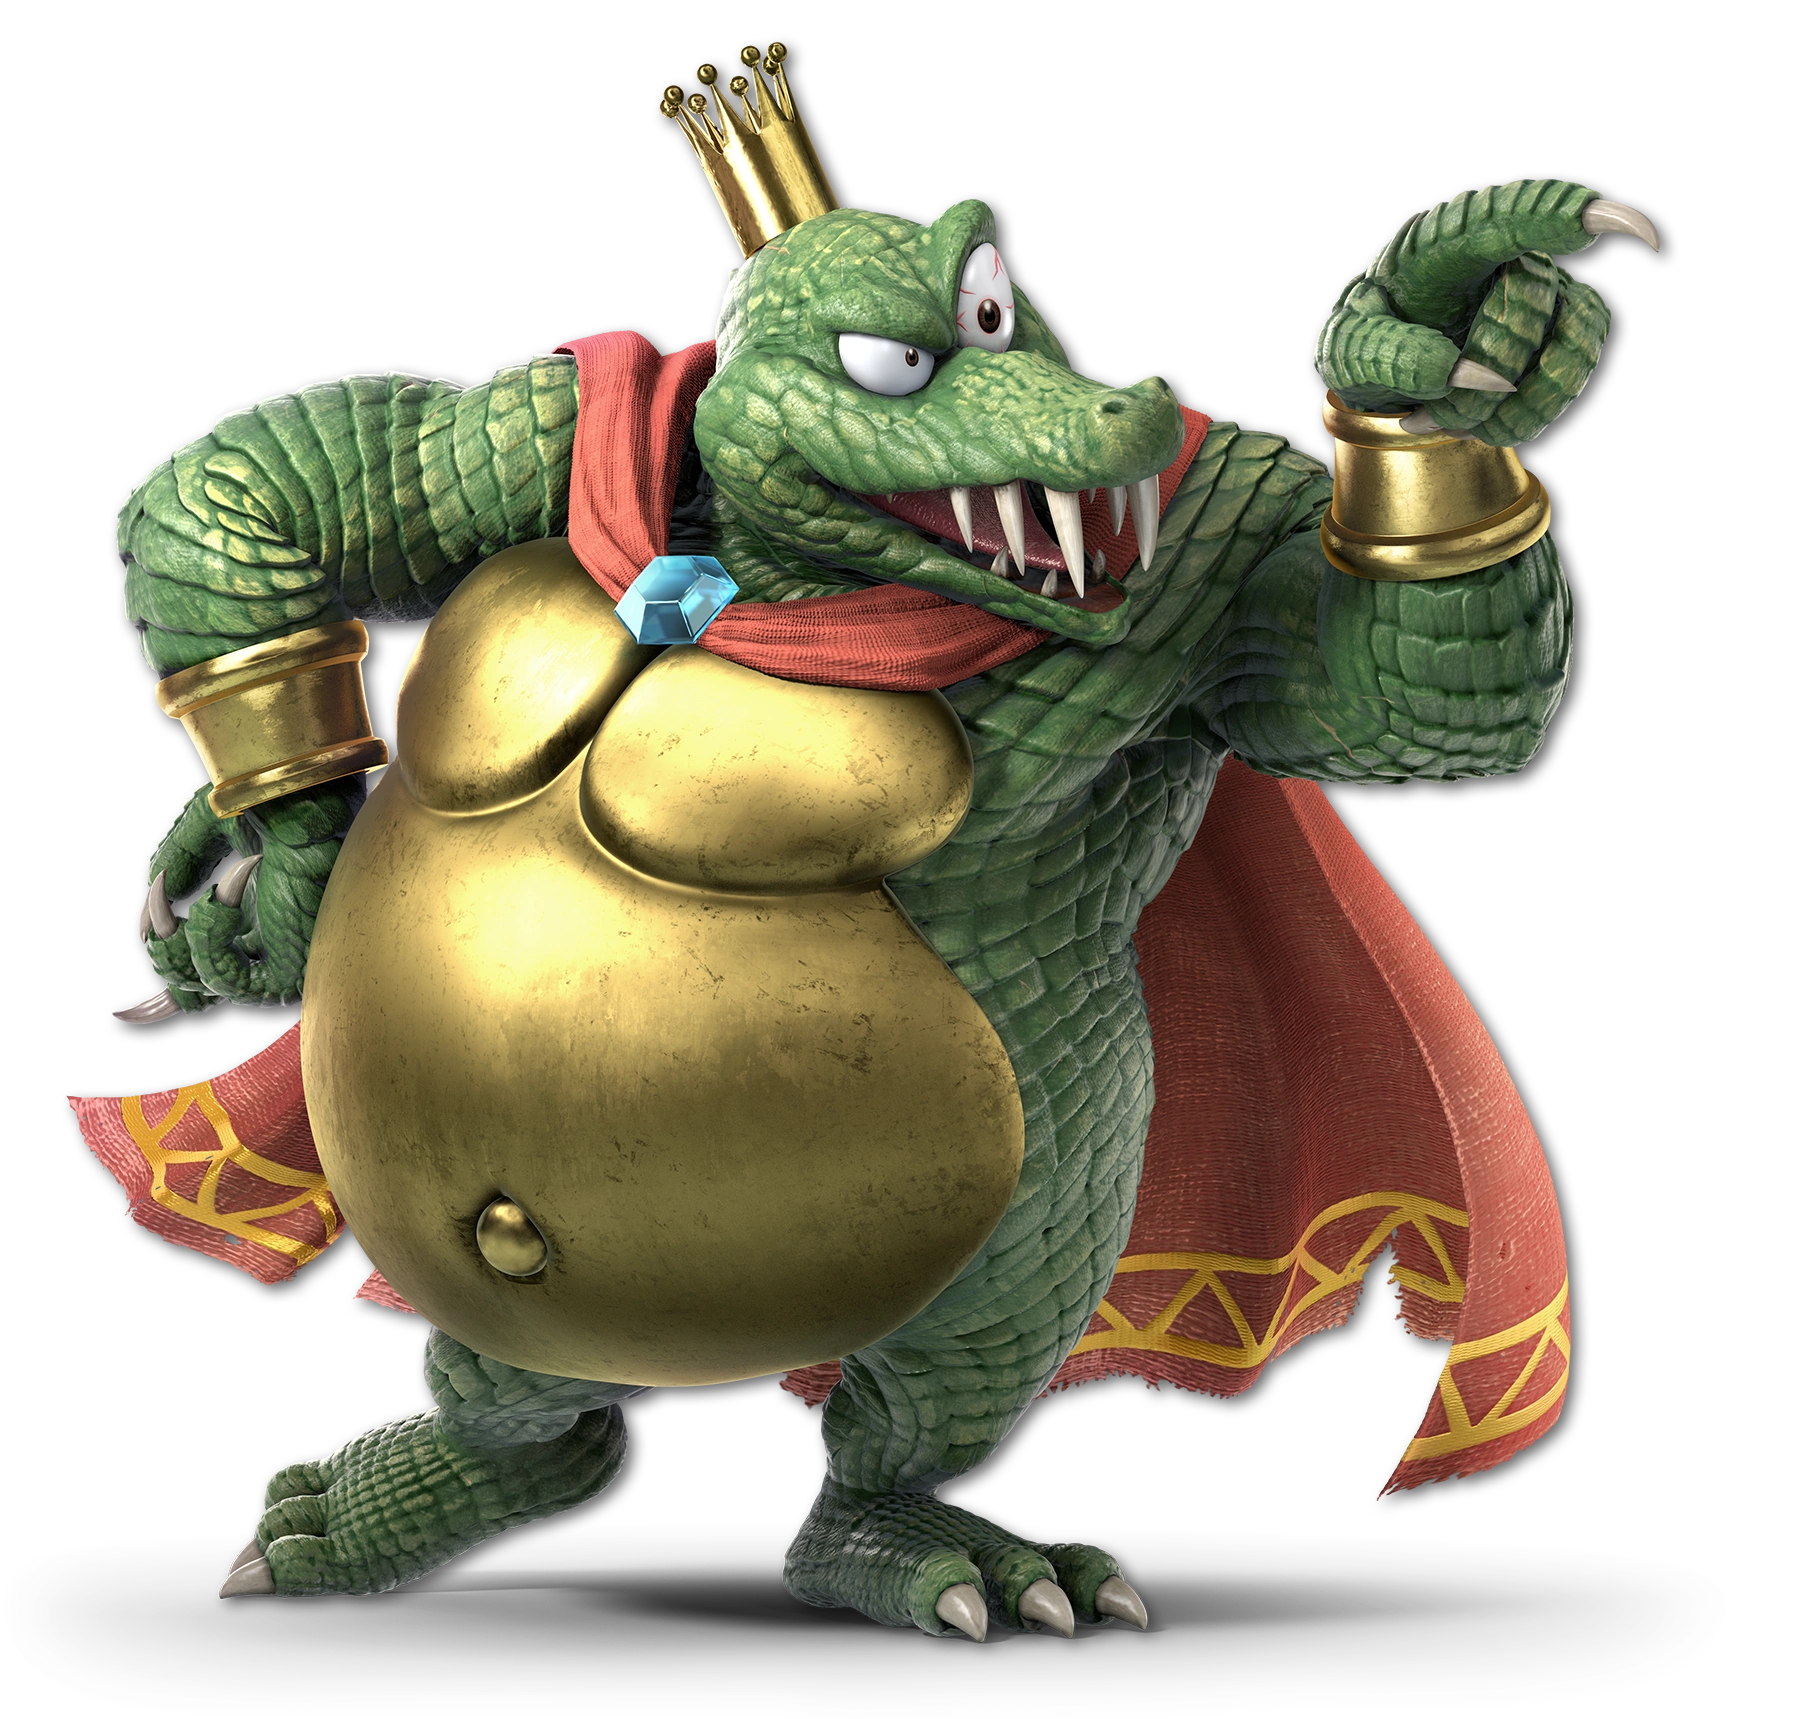 King K. Rool The Kremling Kommander |
Donkey Kong Country (1994, SNES) King K. Rool is the leader of the Kremlings, and the Kong's fiercest enemy, K. Rool is a rather overweight crocodile who will stop at nothing to see the Kongs destroyed. He may be tubby and his fighting style is awkward an unpolished, but don't let that fool you-K. Rool is brutal. He mistreats his minions, unflinchingly tortured Donkey Kong, and has tried to wipe out the Kongs entirely on multiple occasions. There's nothing to smile at with this crocodile!. | ||||
|
King K. Rool is best described as a heavyweight that doesn't act like one. While he is very heavy, sluggish, and powerful, his moves have a surprising amount of utility. His unique belly armor allows him to power through attacks, and his specials give him great zoning tools and vertical mobility that are not seen in other super-heavywieghts. However, his attacks are slow and laggy, his recovery is easily interrupted, and his air game is poor. In general, K. Rool is a fighter that smashes through lower-skill players, but drops off in higher levels of play. In Victorious, King K. Rool now uses voice clips from Toshihide Tsuchiya, who reprises his role from past Donkey Kong installments. Beyond that, he has not received any major changes. | |||||
| Moveset
| |||||
| |||||
|
Animations
|
Alternate Costumes ") Default ") Kaptain K. Rool ") Baron K. Roolstein ") King Krusha K. Rool | ||||
Link | |||||
|---|---|---|---|---|---|
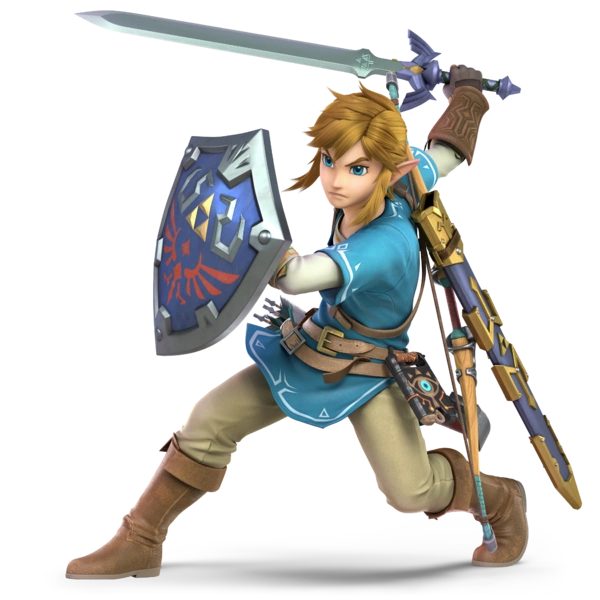 Link Champion of Hyrule |
The Legend of Zelda: Breath of the Wild (2017, Nintendo Switch) Evil never goes away. No matter how many times it is defeated, it will someday return. And when the darkness looms, a hero will rise to fight it. Bearing a name passed down throughout the history of the kingdom of Hyrule, Link is strong but silent, courage personified. This Link in particular was a brave Knight of Hyrule, set into a 100-year sleep. When he awoke, he suffered from amnesia and Hyrule was ravaged by a great calamity. Taking up a sword in one hand, a shield in the other, and grabbing whatever gear he could hold, he set off to meet his heroic destiny. | ||||
|
Link is a balanced, versatile character who can be either a close-range fighter or a zoner. His melee attacks are powerful and have great KO power, and his specials contain useful projectiles and setup tools. However, Link's versatility is hampered by his sluggish movement, especially in the air. While a powerful zoner, the player must be aware that Link cannot be played too recklessly. In Victorious, Link has received the following changes:
| |||||
| Moveset
| |||||
| |||||
|
Animations
|
Alternate Costumes ") Default ") Tunic of the Wild | ||||
Zelda | |||||
|---|---|---|---|---|---|
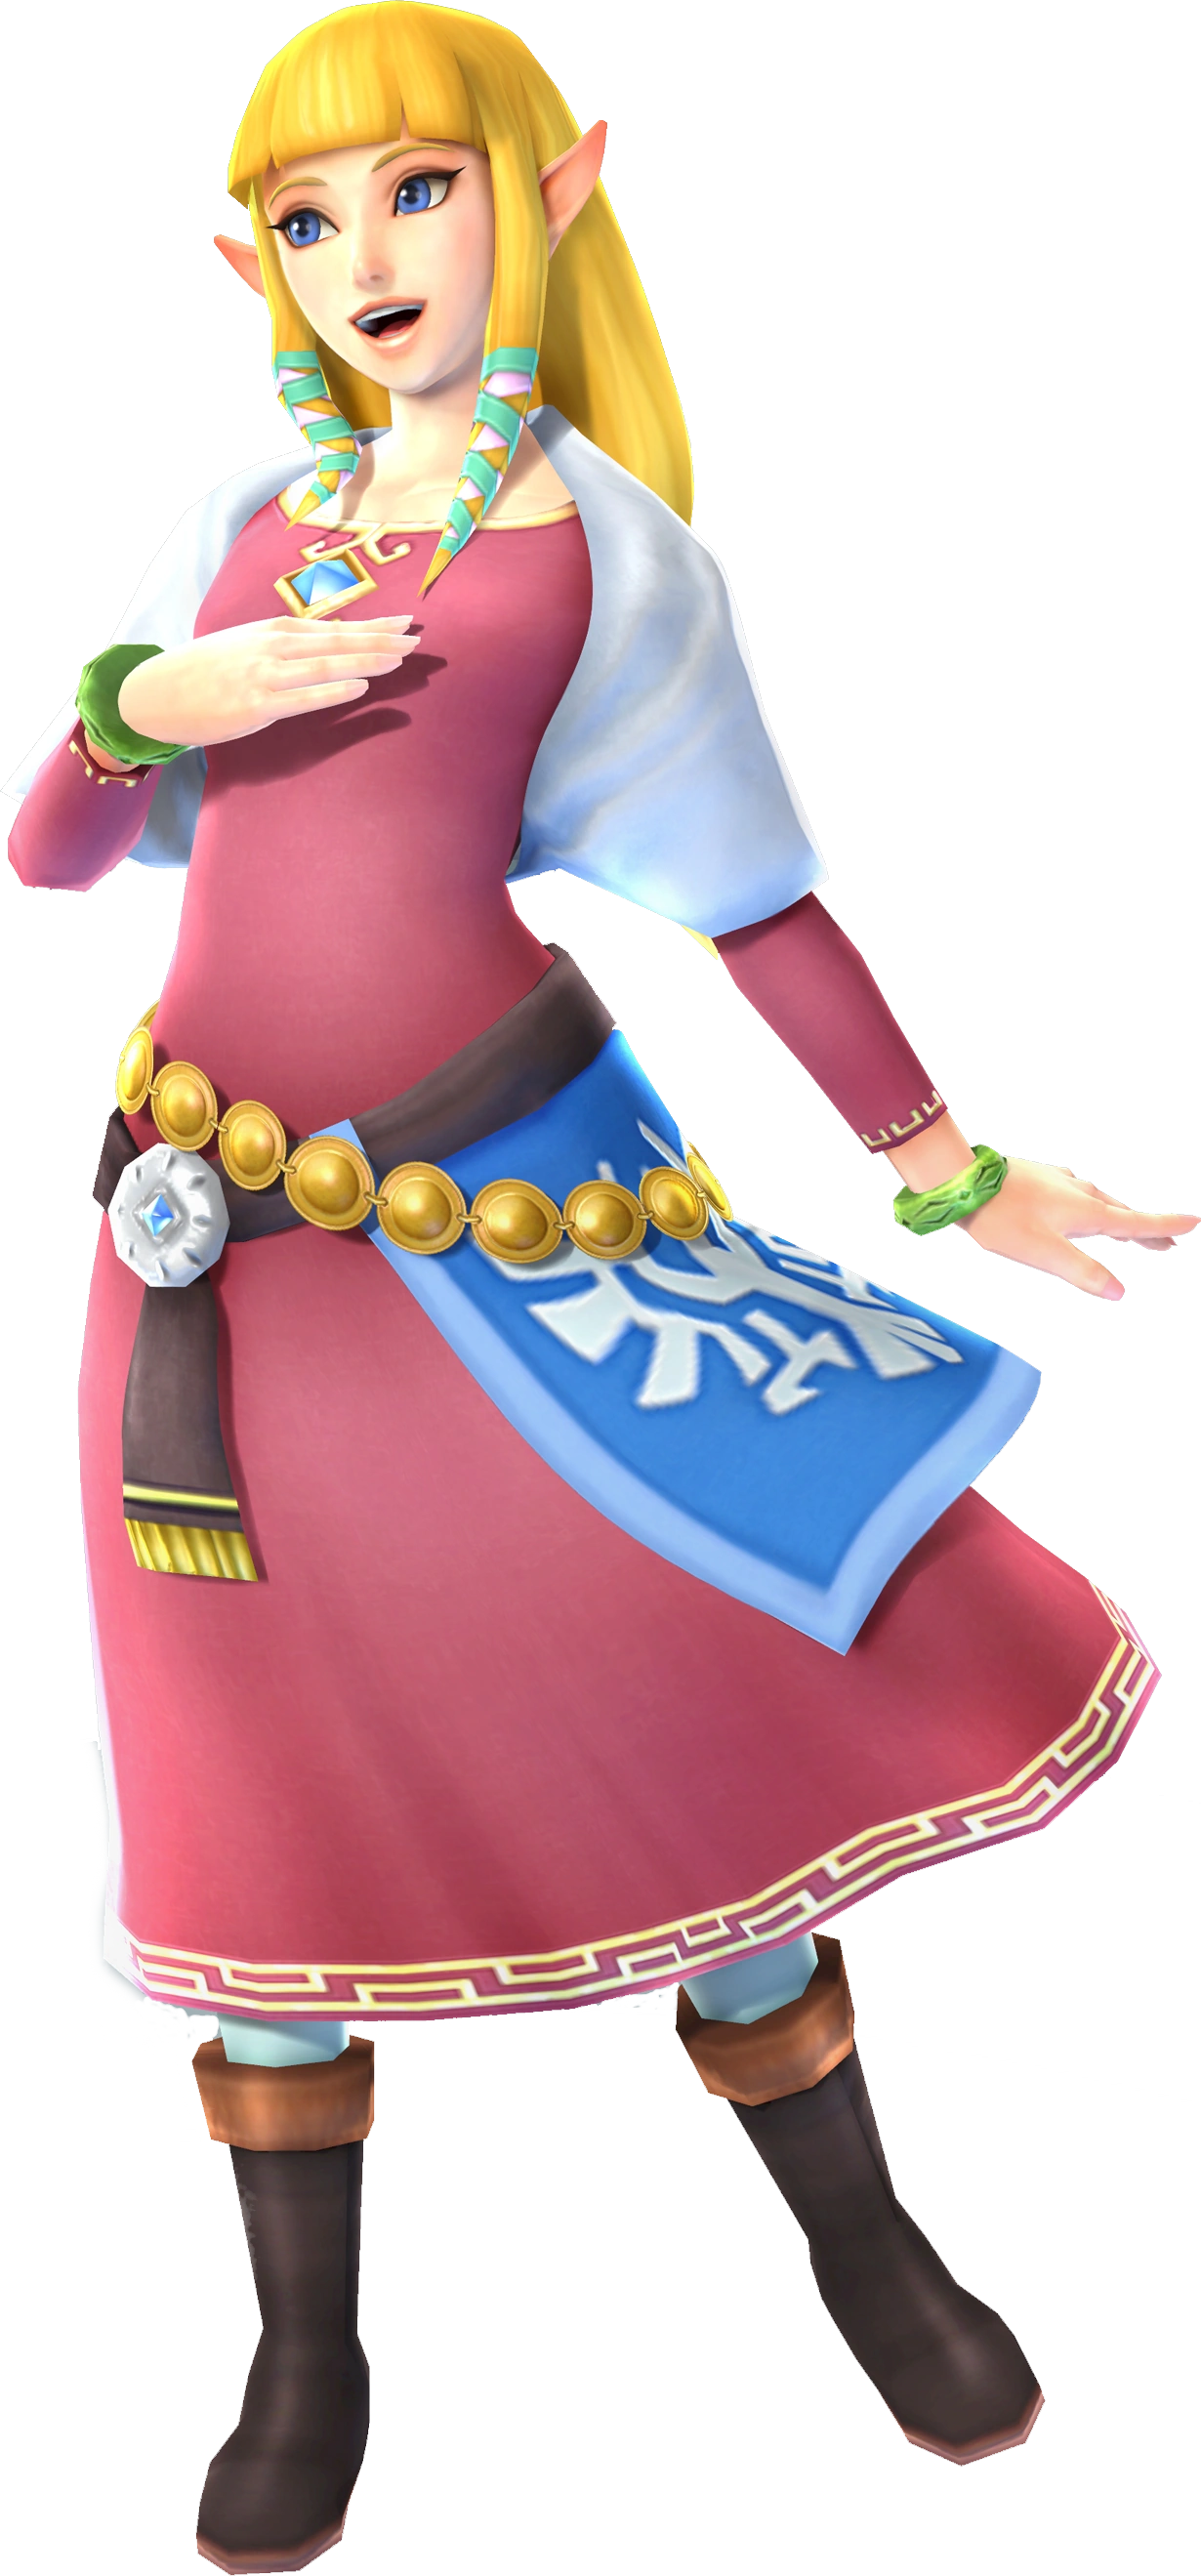 Zelda Reincarnation of Hylia |
The Legend of Zelda: Skyward Sword (2011, Nintendo Wii) Thousands of years ago, the goddess Hylia sealed away a great evil. Knowing this seal would eventually break, she willingly chose to be reincarnated as a mortal, becoming Princess Zelda of the Hyrulian royal family. Reincarnated time and time again, Zelda shares a few traits between her different incarnations, such as possessing magic abilities and the Triforce of Wisdom. Her role varies between the times; Some a damsel in distress, others an active ally to the brave hero Link. However, one thing remains consistent: Hylia is always watching over her people. | ||||
|
Zelda is an interesting character in that she is a lightweight fighter with traits that are usually found in heavyweights. She is a rather tall fighter with subpar movement options, which gives her poor survivability. These flaws are compensated by powerful attacks and useful defensive specials. Zelda especially shines in the air, thanks to her powerful aerial attacks. Overall, Zelda is a powerful zoning glass cannon who works best when things are working in her favor and falls apart when her opponents gain the upper hand. In Victorious, Zelda has received the following changes:
| |||||
| Moveset
| |||||
| |||||
|
Animations
|
Alternate Costumes ") Default ") Classic Zelda ") Ocarina of Time ") Twilight Princess ") A Link Between Worlds ") Hyrule Warriors | ||||
Ganondorf | |||||
|---|---|---|---|---|---|
 Ganondorf Great King of Evil |
The Legend of Zelda: A Link to the Past (1991, SNES) Reincarnation of the Demon King Demise and bearer of the Triforce of Power, Ganondorf is the eternal enemy of Hyrule. The king of the Gerudo, he grew to despise the arduous desert he grew up in. He set out to attain the Triforce and conquer the lush plains of Hyrule, but was sealed away. However, the curse of Demise meant he always broke free or revived, and he will never stop until Hyrule falls under his control. Time and again, he returns, and no matter how many times he is defeated, the darkness will never fade. | ||||
|
Ganondorf's moveset is generally built around the concept of disrespect. His attacks deal high damage, his trident gives him great range, and his specials give him a mix of powerful melee moves and unique zoning tools. However, his movement is slow, his attacks are laggy, and a couple of his moves will send him into the blast zone if used off-stage. This is worsened by his poor recovery and vulnerability to combos. All this together makes Ganondorf a risky, but flashy, powerful, and crowd-pleasing heavyweight. In Victorious, Ganondorf has received the following changes:
| |||||
| Moveset
| |||||
| |||||
|
Animations
|
Alternate Costumes .png "Ganondorf Trident (Hyrule Warriors).png (1.09 MB)") Default ") Ocarina of Time .png "Ganondorf (SSB 3DS & Wii U).png (108 KB)") Twilight Princess | ||||
Impa | |||||
|---|---|---|---|---|---|
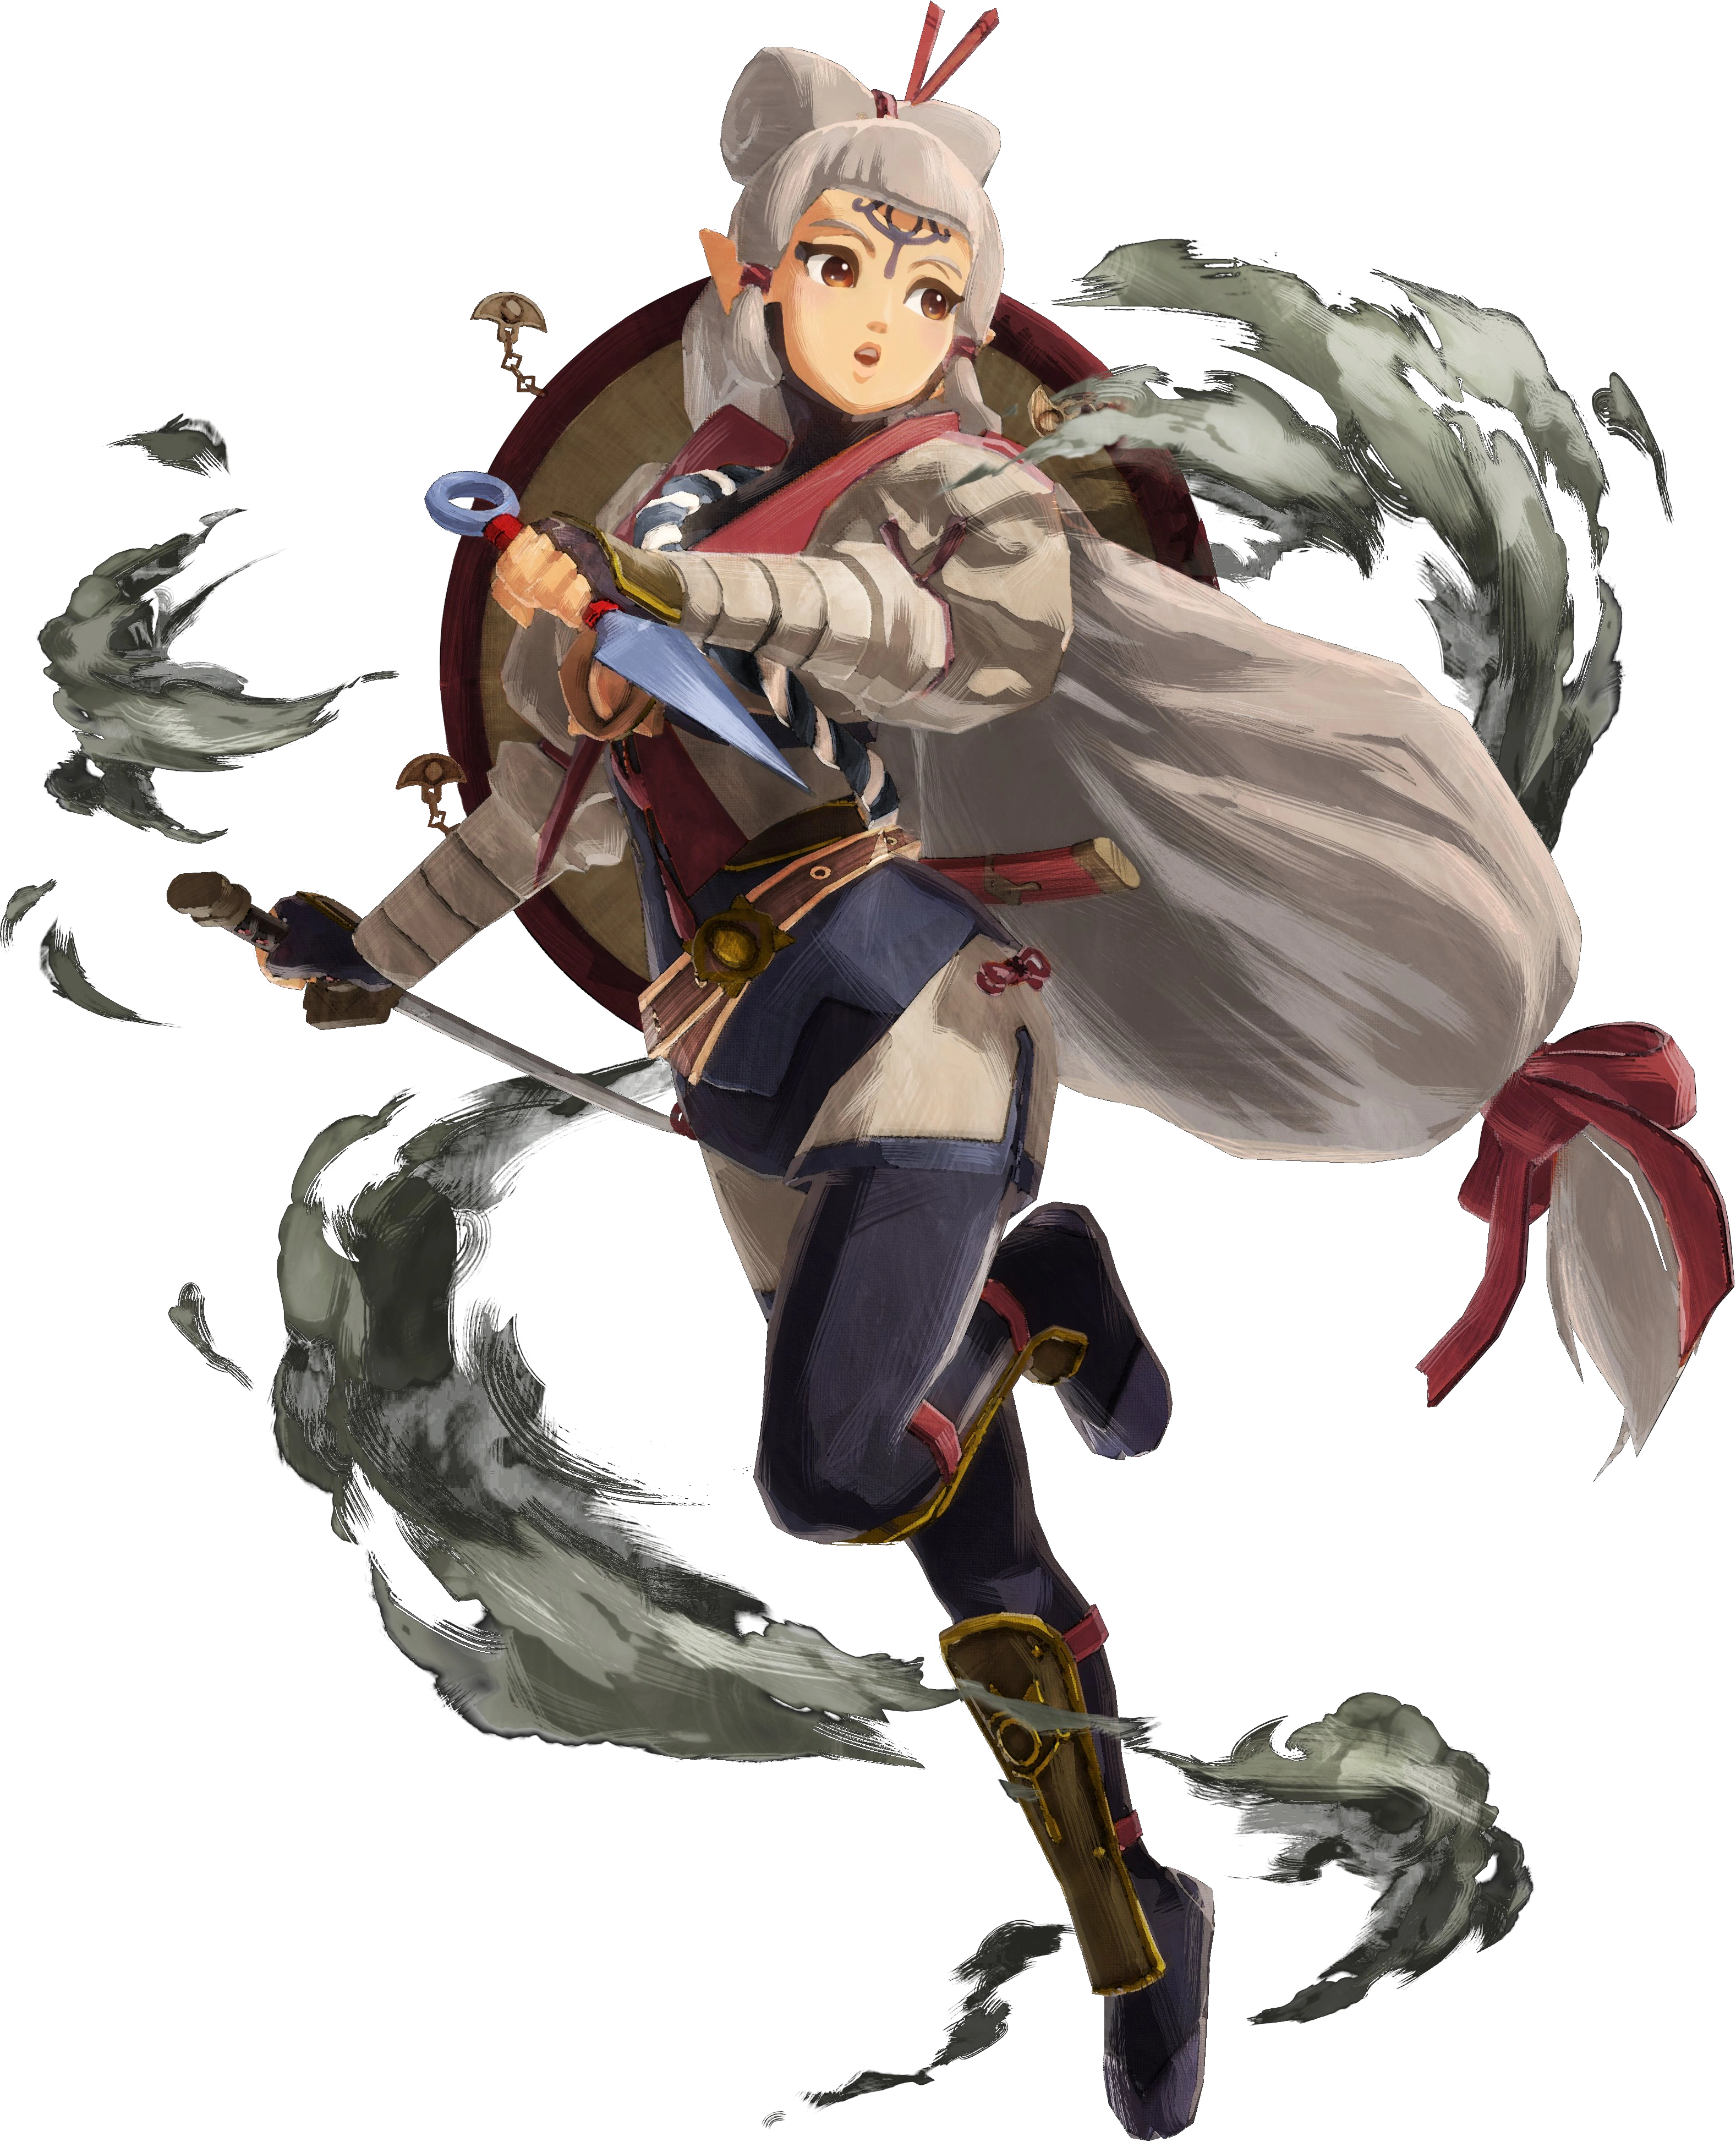 Impa Zelda's Growing Guardian |
Hyrule Warriors: Age of Calamity (2020, Nintendo Switch) Impa is a family name passed down through the Shiekah Tribe, a mysterious race created by Hylia as servants of the Hyrulian Royal Family. Consistently a caretaker and bodyguard for the princess Zelda, Impa is a skilled warrior and a source of guidance to the brave hero Link. Proficient in the ninja-like arts of her tribe, anyone who dares to even think of harming the princess will have to go through her... Even if this Impa's still learning the ropes. | ||||
|
Impa is a speedy, versatile middleweight. Her Shiekah martial arts and weaponry are great combo tools, and her blinding speed allows her to dance around her foes. However, she suffers from a lack of kill power and damage output, forcing her to rack up hits through combos that most fighters could deal in a single blow. This, coupled with her light weight, gives her a hard time actually landing the finishing blow. | |||||
| Moveset
| |||||
| |||||
|
Animations
|
Alternate Costumes ") Default | ||||
Toon Link | |||||
|---|---|---|---|---|---|
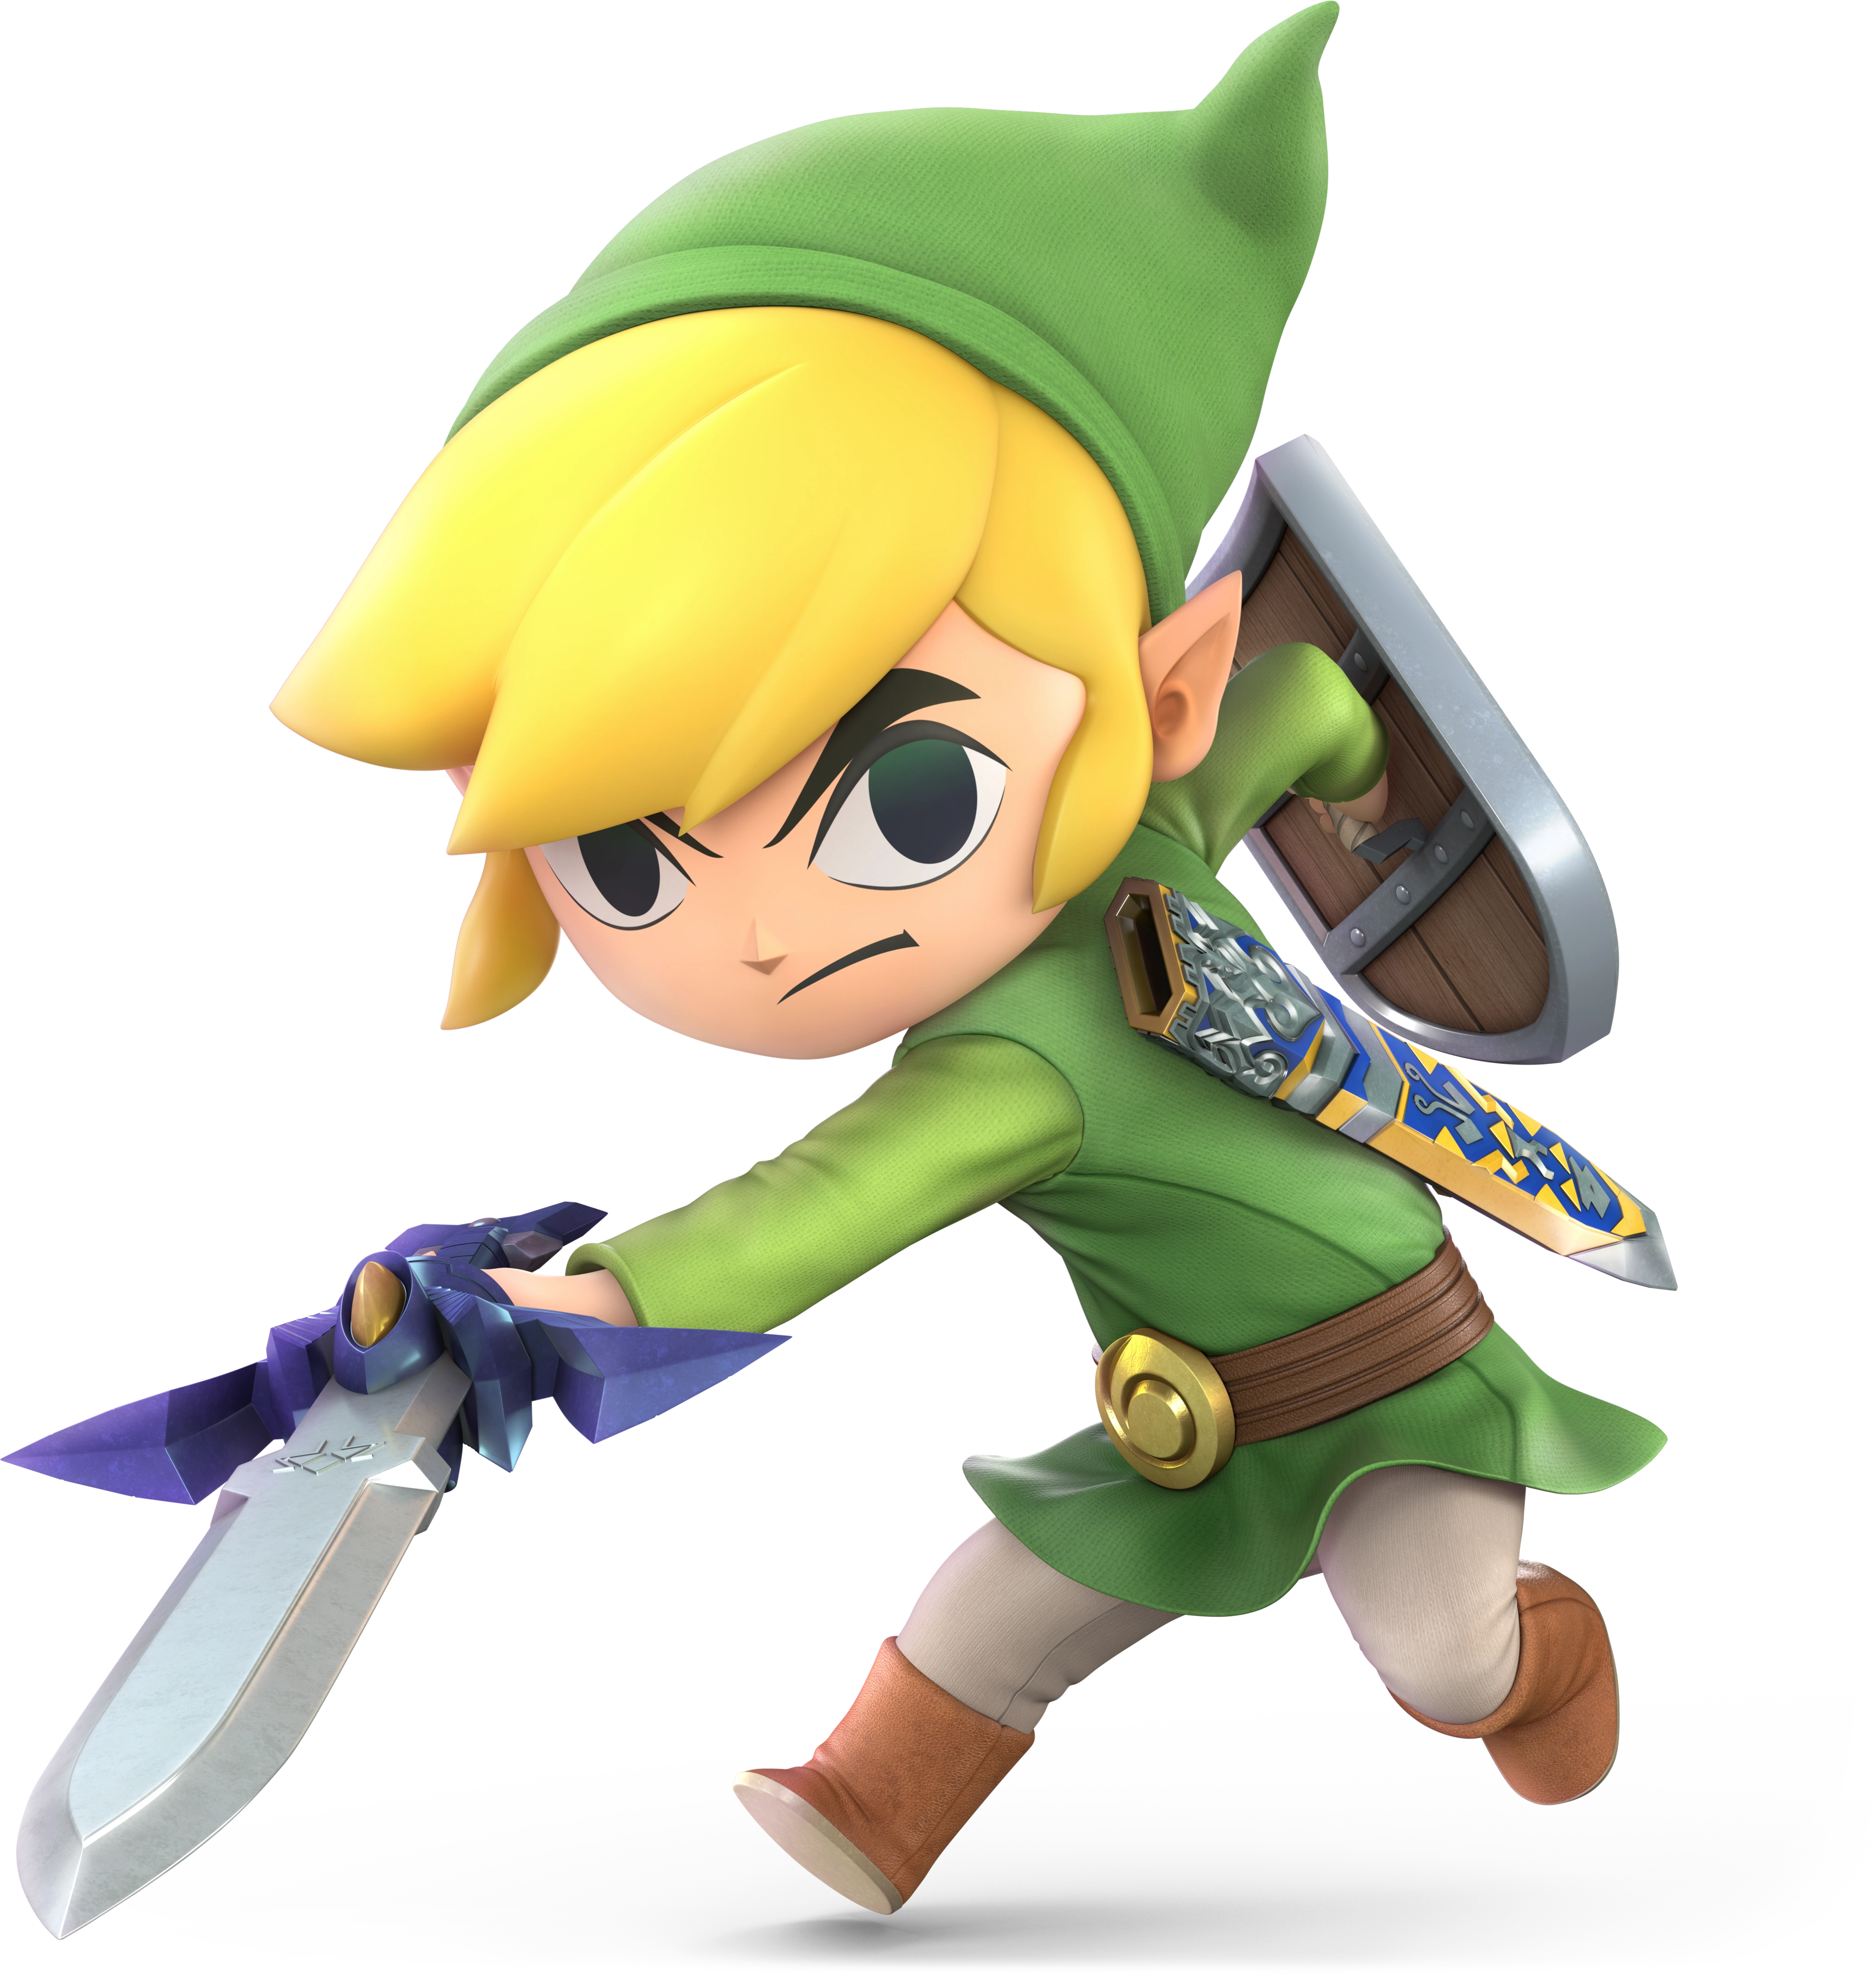 Toon Link Wind-Waking Warrior |
The Legend of Zelda: The Wind Waker (2002, Nintendo GameCube) Some heroes are born destined for greatness. They go in with their sword raised and a fire in their eye, their path laid out before them. Toon Link is not one of those heroes. This Link is just some kid coming of age on Outset Island, forced to team up with pirates and ride on a magic boat after his sister was kidnapped. He's got no experience, no heroic destiny, and doesn't even have a serious art style. But make no mistake, this Link carved out a path with his own hands. Get in his way, and he'll make you just another footnote in his story. | ||||
|
Like the standard Link, Toon Link is a balanced fighter with tools for both melee and zoning. However, compared to his counterpart's more defensive zoning, Toon Link prefers a more aggressive rushdown playstyle. His swings are rough and unpolished, his attacks are faster and have more combo potential, and his specials value offense over defense. Toon Link is held back by the usual pitfalls of his size and weight class; Easy launches, vulnerability to combos, and a short range. However, some quick thinking should be enough to get around that. In Victorious, Toon Linkhas received the following changes:
| |||||
| Moveset
| |||||
| |||||
|
Animations
|
Alternate Costumes ") Default ") Second Quest ") Engineer | ||||
Midna | |||||
|---|---|---|---|---|---|
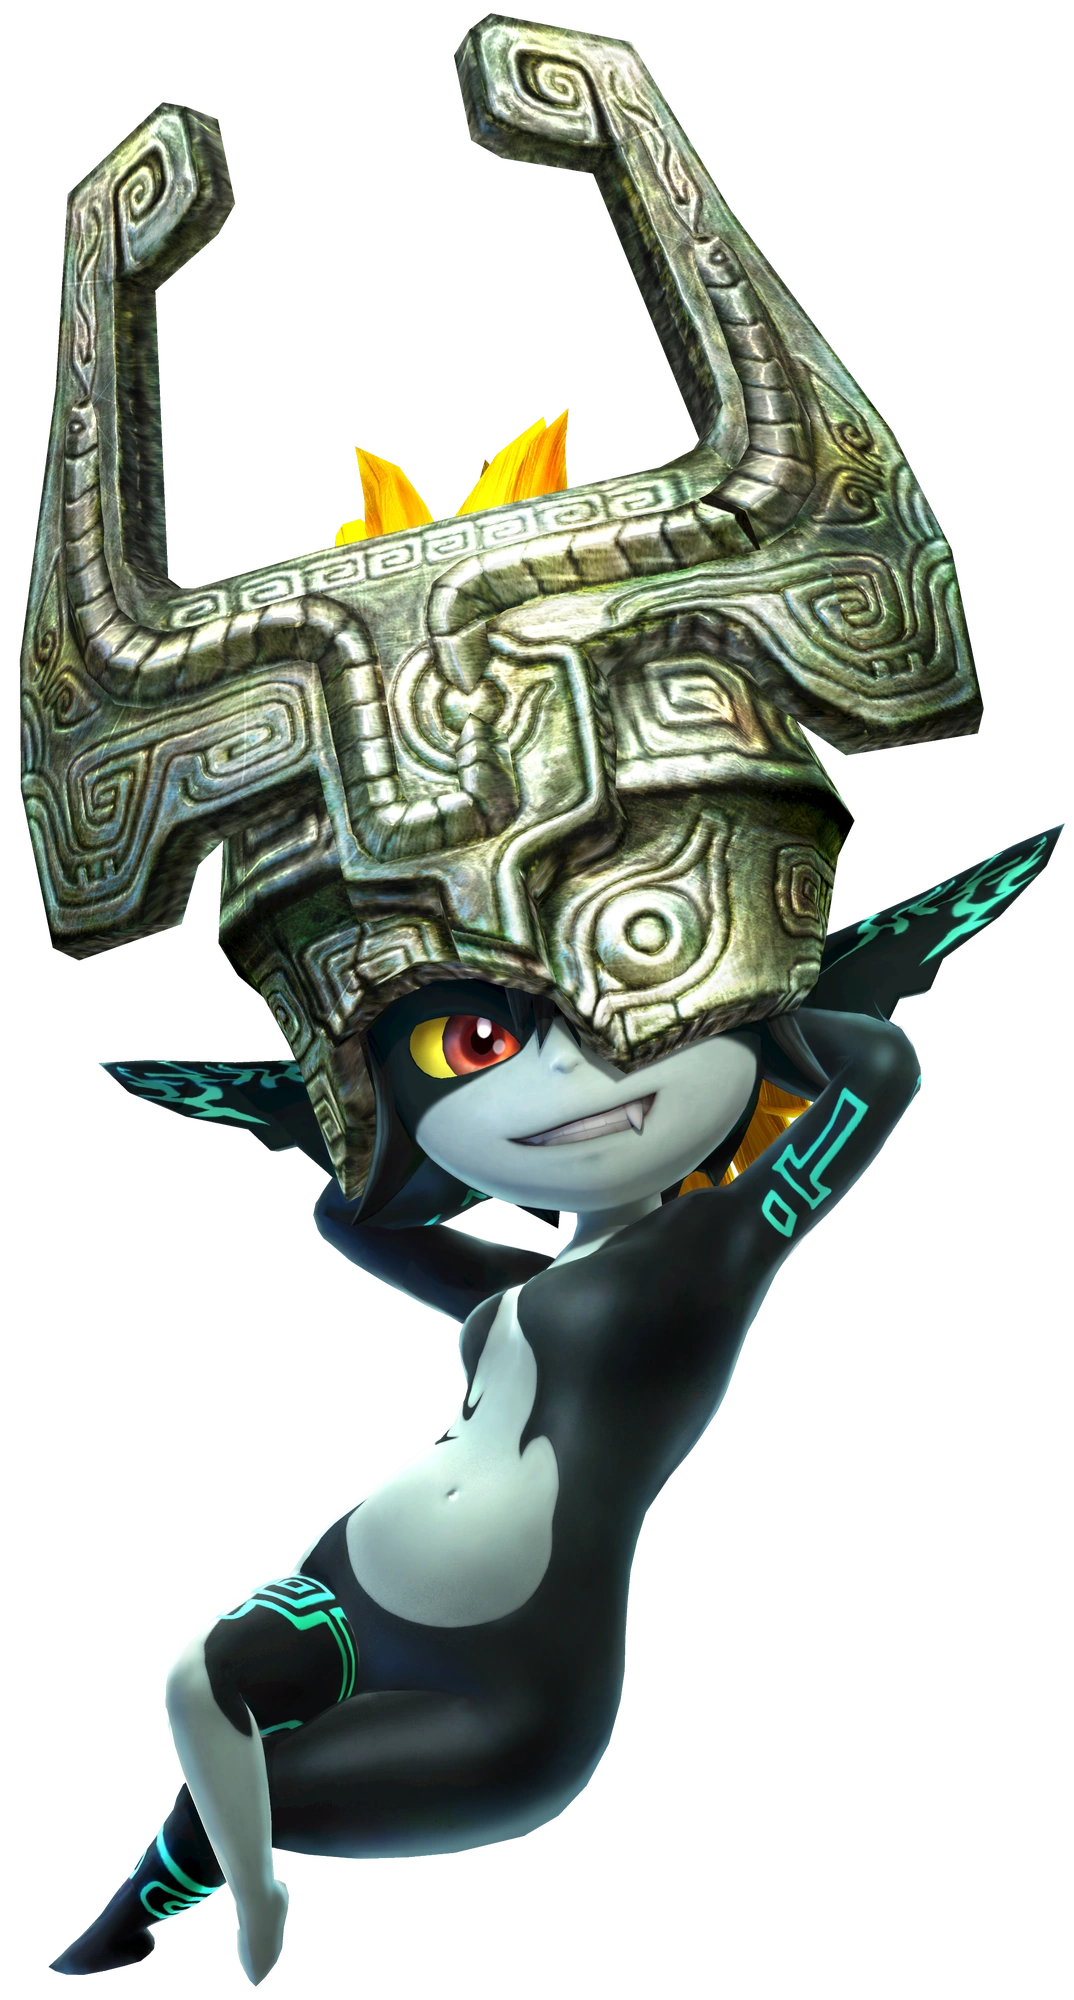 Midna The Twilight Princess |
The Legend of Zelda: Twilight Princess (2006, Nintendo GameCube) Midna is the princess of the Twili, a race of shadowy beings who inhabit the world of shadows known as the Twilight Realm. During an uprising staged by the usurper Zant, Midna was cursed into her current imp form, leading her to team up with the Link of her era. Despite her form, Midna still retains her powerful magic and her biting wit, and she will NOT lie down and let her kingdom to rot. With someone like Midna, size doesn't matter. | ||||
|
Midna is an interesting character, being a small middleweight character who acts like a large heavyweight. Her mobility is slow, she's surprisingly heavy for her size, and her attacks have a surprising amount of strength and reach. Her most powerful asset are her grabs, having a long range and a lot of power behind them. On the flipside, her lack of speed and high startup lag means that her attacks are highly telegraphed and easily punished. | |||||
| Moveset
| |||||
| |||||
|
Animations
|
Alternate Costumes ") Default | ||||
Lana | |||||
|---|---|---|---|---|---|
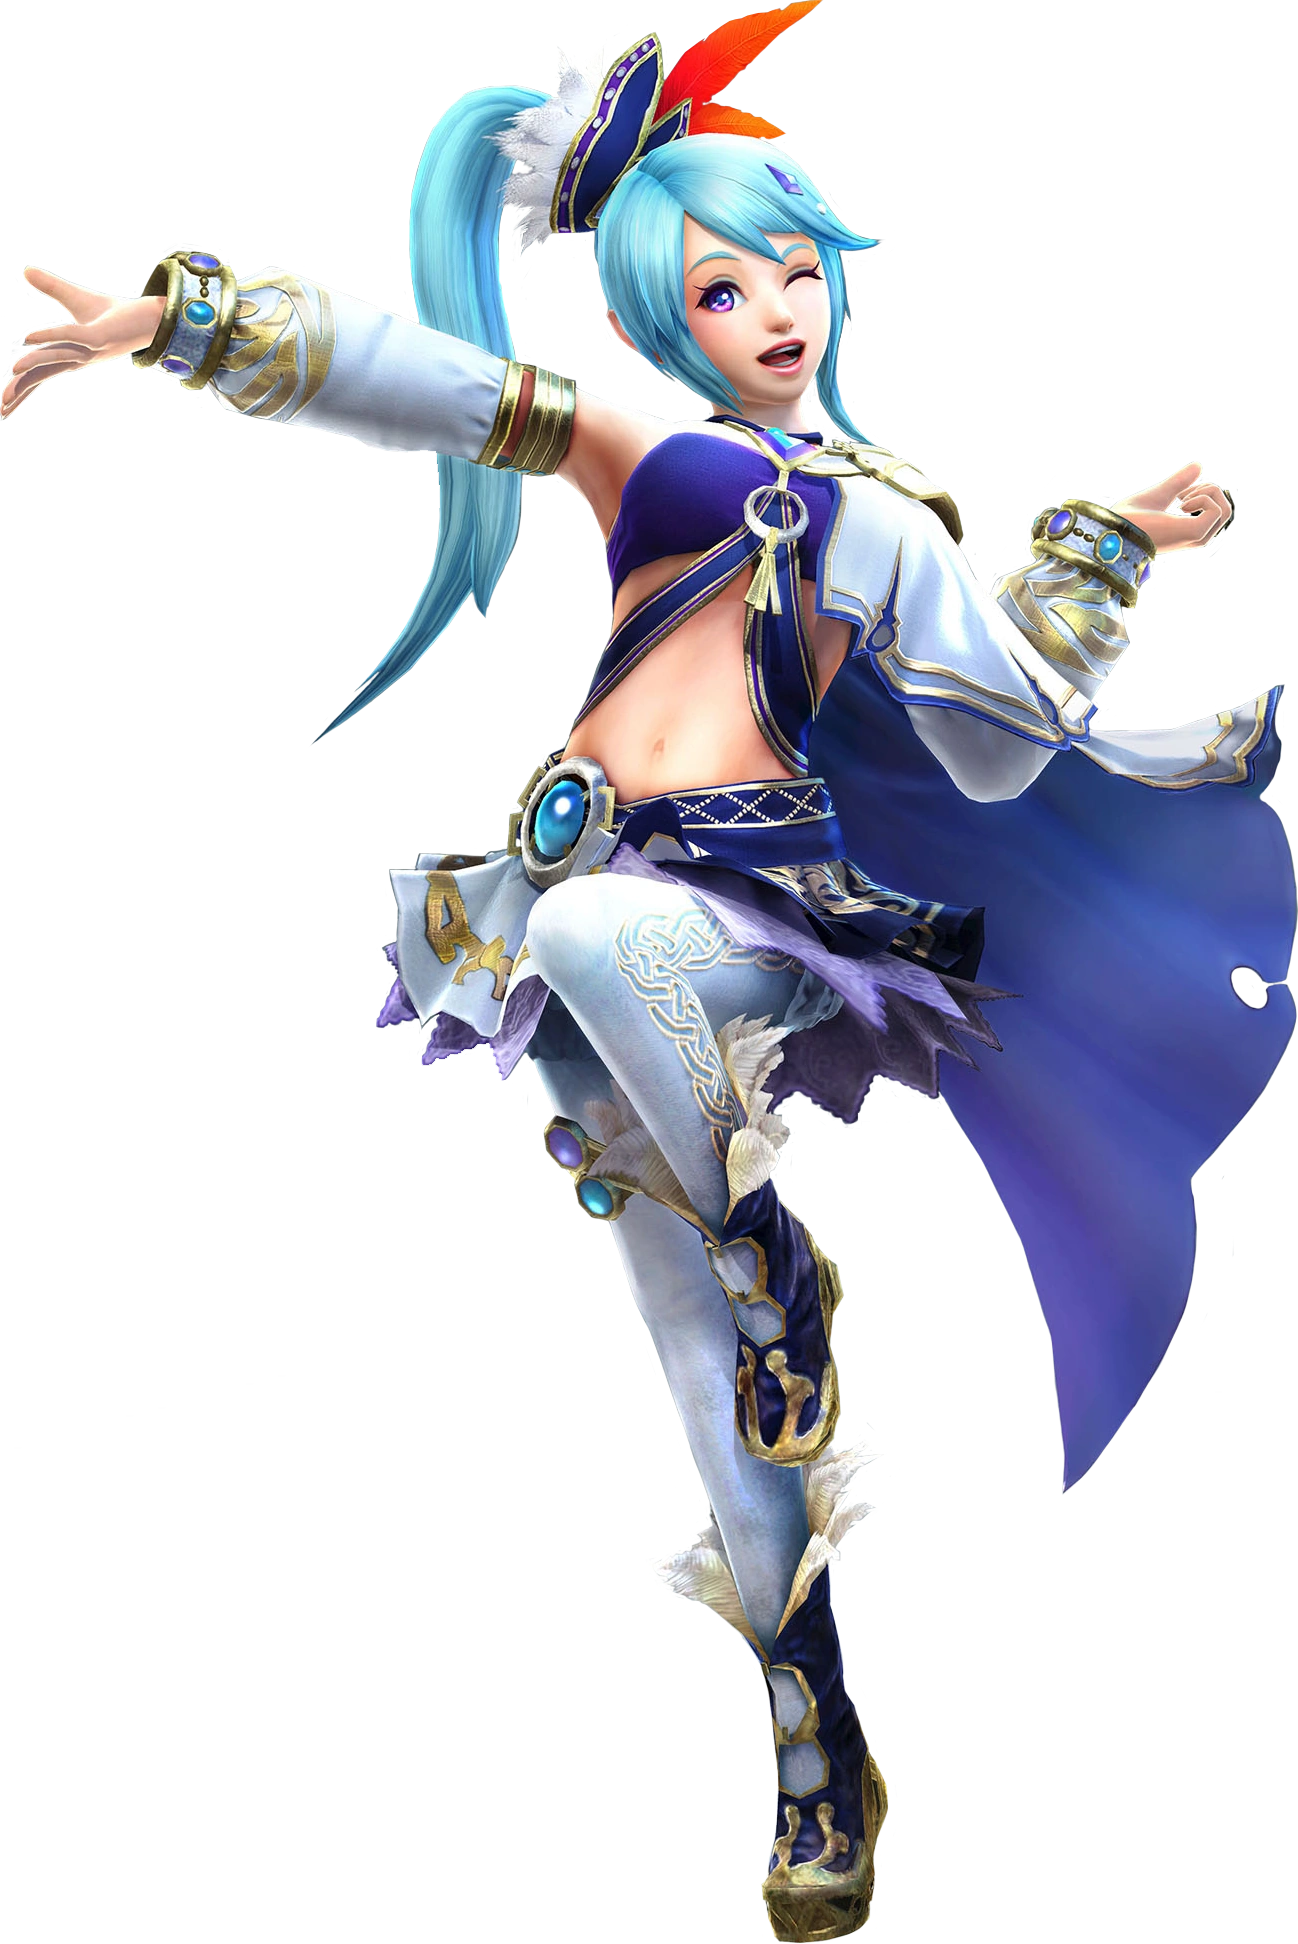 Lana The White Sorceress |
Hyrule Warriors (2014, Wii U) Lana is the good half of the Guardian of Time, Cia. Cia's duty was to watch over the Triforce, which allowed her to peer into different timelines. She became infatuated with Link, and jealous that she could not be with him. This allowed a fragment of darkness to corrupt her, forcing the light of her soul to take the form of Lana. While she acts peppy and upbeat, Lana is often rather sorrowful, due to concern for her evil half Cia and her unrequited feelings for Link. Perhaps there will be better times ahead for her... | ||||
|
Lana is a speedy defensive character, making use of her magic to rack up damage and protect her. The main crux of her playstyle revolves around her barriers, which are highly versatile and are great tools for combos, defense, and spacing. However, she suffers risky attacks and a lack of raw power, further hampered by her light weight. These two flaws mean that Lana has to finish her fights quick, lest the battle be drawn out for longer than she can handle. | |||||
| Moveset
| |||||
| |||||
|
Animations
|
Alternate Costumes ") Default ") Guardian of Time ") Skull Kid Clothes | ||||
Samus Aran | |||||
|---|---|---|---|---|---|
 Samus Aran Bounty Hunter Extraordinaire |
 Metroid (1986, NES) Samus Aran was born a normal human on the colony planet of K-2L. The colony was attacked by Space Pirates when she was only three, leaving her the sole survivor. She was adopted by the Chozo, a peaceful, highly-advanced race of bird-like aliens and imbued with their DNA. After the Chozo were attacked by Space Pirates as well, Samus was left as their successor, armed with a Chozo Power Suit and a wide and versatile arsenal. Now a heroic bounty hunter, Samus shoulders on. Despite the many losses she has experienced, she will always be there for the galaxy. | ||||
|
Samus is a heavyweight zoner character, built for defensive play. Heavily altered from her appearance in Ultimate, many of Samus' attacks are projectiles, giving her awesome range in exchange for melee capabilities. In addition, her Morph Ball form gives her extra speed and acts as a good escape option. However, like most heavyweights, Samus suffers from sluggish speed; This is especially apparent in the air, where she can't use her Morph Ball form without falling. Overall, Samus works best from a distance and suffers at close range. In Victorious, Samus has received the following changes:
| |||||
| Moveset
| |||||
| |||||
|
Animations
|
Alternate Costumes ") Default ") Gravity Suit ") Dark Suit ") Light Suit ") Fusion Suit | ||||
Ridley | |||||
|---|---|---|---|---|---|
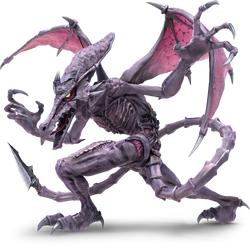
 Ridley Cunning God of Death |
Super Metroid (1994, SNES) Ridley is the leader of the Space Pirates, and Samus' arch-nemesis. While his origins are unknown, it is known that he is a cruel, horrible monster, leading the massacre on Star Colony K-2L, and later on the Chozo. However, these actions would give rise to Samus Aran, now a legendary bounty hunter, at the hands of which Ridley seemingly met his demise. However, time and time again, he would reappear to hound Samus, no matter how many times he appeared to die. Ridley is among the cruelest beings in Smash, and will stop at nothing to see Samus dead. | ||||
|
Ridley is a heavyweight high-risk, high-reward character. He boasts outstanding raw power and pressuring capabilities, especially in the air, allowing him to shred through foes like a demon. However, he suffers from a large hitbox (One of the biggest in the game, in fact!), as well as startup lag, sourspots, and general unreliability in much of his attacks. Overall, Ridley is the glass cannon of the heavyweights. He is able to dish out lots of damage, but one false move could prove fatal. In Victorious, Ridley has received the following changes:
| |||||
| Moveset
| |||||
| |||||
|
Animations
|
Alternate Costumes ") Default ") Meta Ridley ") Omega Ridley ") Ridley Clone | ||||
Sylux | |||||
|---|---|---|---|---|---|
 Sylux Enigma Against the Federation |
Metroid Prime Hunters (2006, Nintendo DS) Very little is known about Sylux. Their name, species, origins, and motivations are all a mystery. What is known is that they hate the Galactic Federation with every fiber in their being, and has launched a crusade against them. Using technology stolen from the Federation, they first made their appearance in Samus' mission in the Alimbic Cluster, in search of the rumored Ultimate Power. What they would use it for, only they know... | ||||
|
Sylux is a middleweight with unusually low attack power and high defense, giving them traits that are uncharacteristic for their weight class. Their moveset is geared towards outlasting opponents and slowly grinding away with multiple attacks and strategic traps. Sylux requires a bit of skill to play. In the wrong hands, they become a glorified punching bag, but play your cards right and they become a cunning and strategic killer. | |||||
| Moveset
| |||||
| |||||
|
Animations
|
Alternate Costumes ") Default | ||||
Rundas | |||||
|---|---|---|---|---|---|
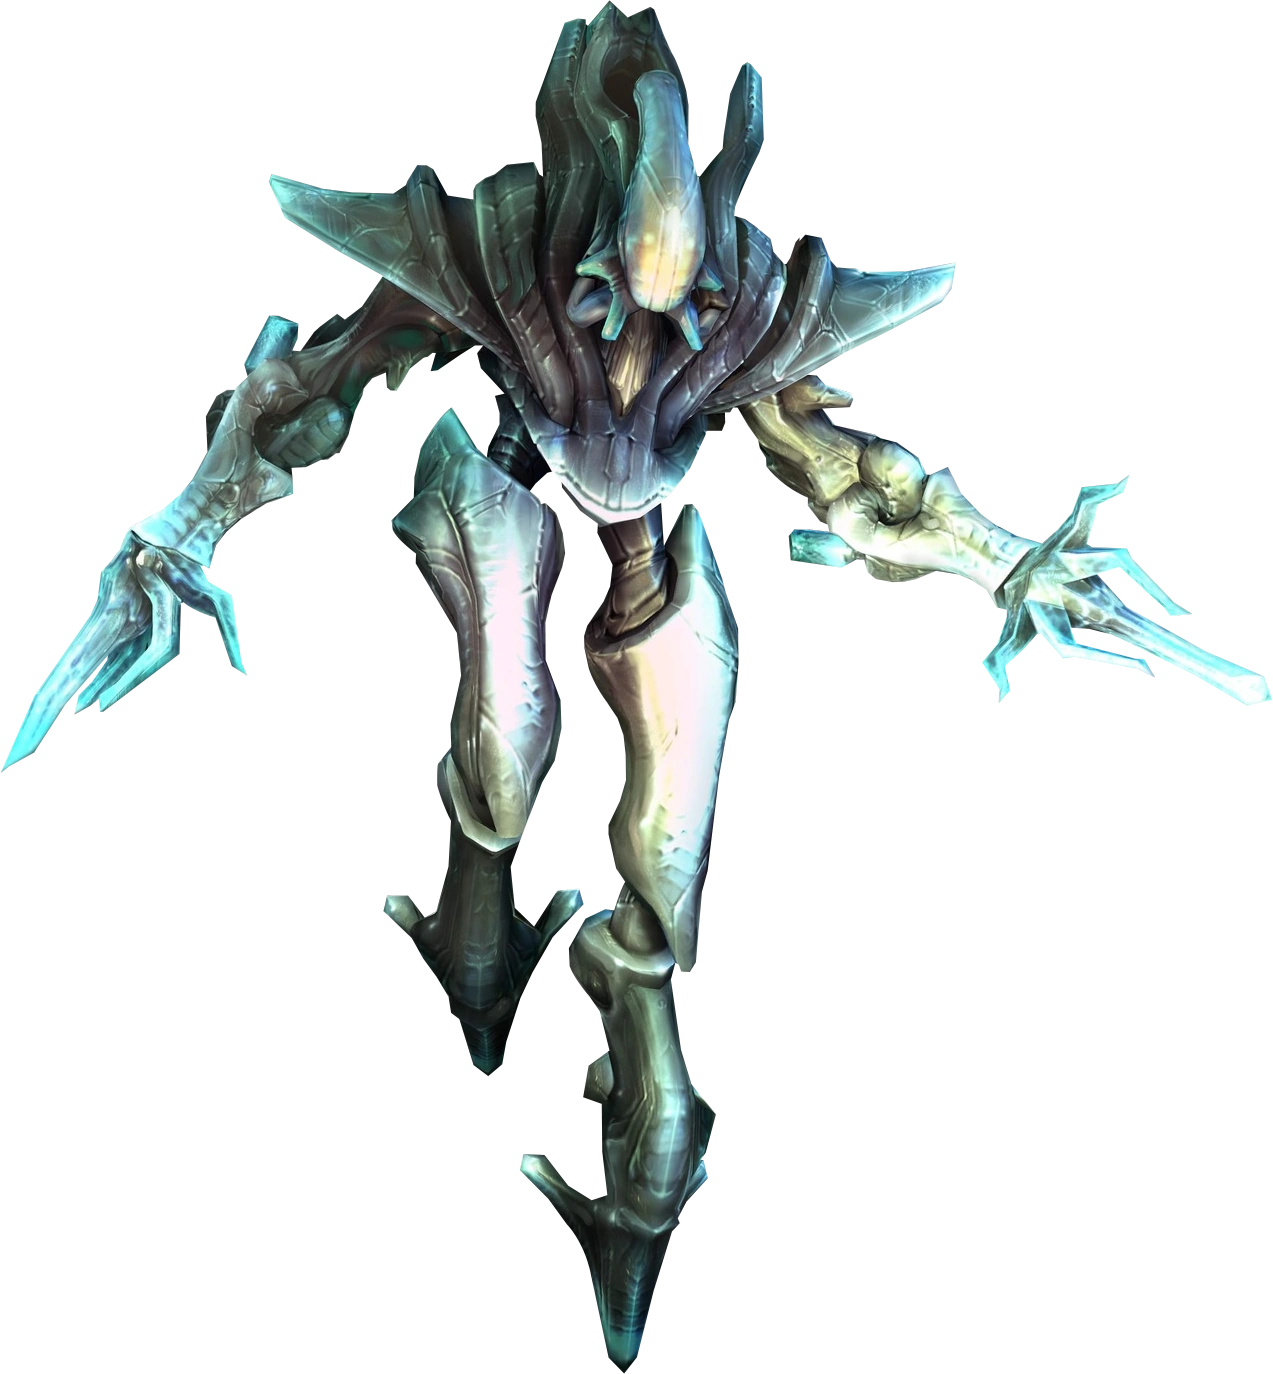 Rundas Ice-Cold hunter |
Metroid Prime 3: Corruption (2007, Nintendo Wii) A bounty hunter from the moon Phrygis, Rundas had his species' natural ability to manipulate and generate ice. However, unlike most of his kind, Rundas put his powers to use in the field of bounty hunting, to great effect. Rundas is a friendly and easygoing hunter, but he takes great enjoyment in his work and pride in his skills. The melting pot of fighters that is Smash is the perfect place to show of his prowess! | ||||
|
Rundas is a heavy-middleweight fighter, built around outlasting the opponent while gradually building up damage through combos. True to his personality, Rundas' run speed is fairly slow and his raw power is somewhat lacking, as if he doesn't think the battle is worth his best effort. However, Rundas benefits from an impressive range, solid aerial mobility, and decent weight, giving him great survivability. Even with his downsides, anyone who underestimates Rundas will soon find that he is more than a match for them. | |||||
| Moveset
| |||||
| |||||
|
Animations
|
Alternate Costumes ") Default ") PED | ||||
Dark Samus | |||||
|---|---|---|---|---|---|
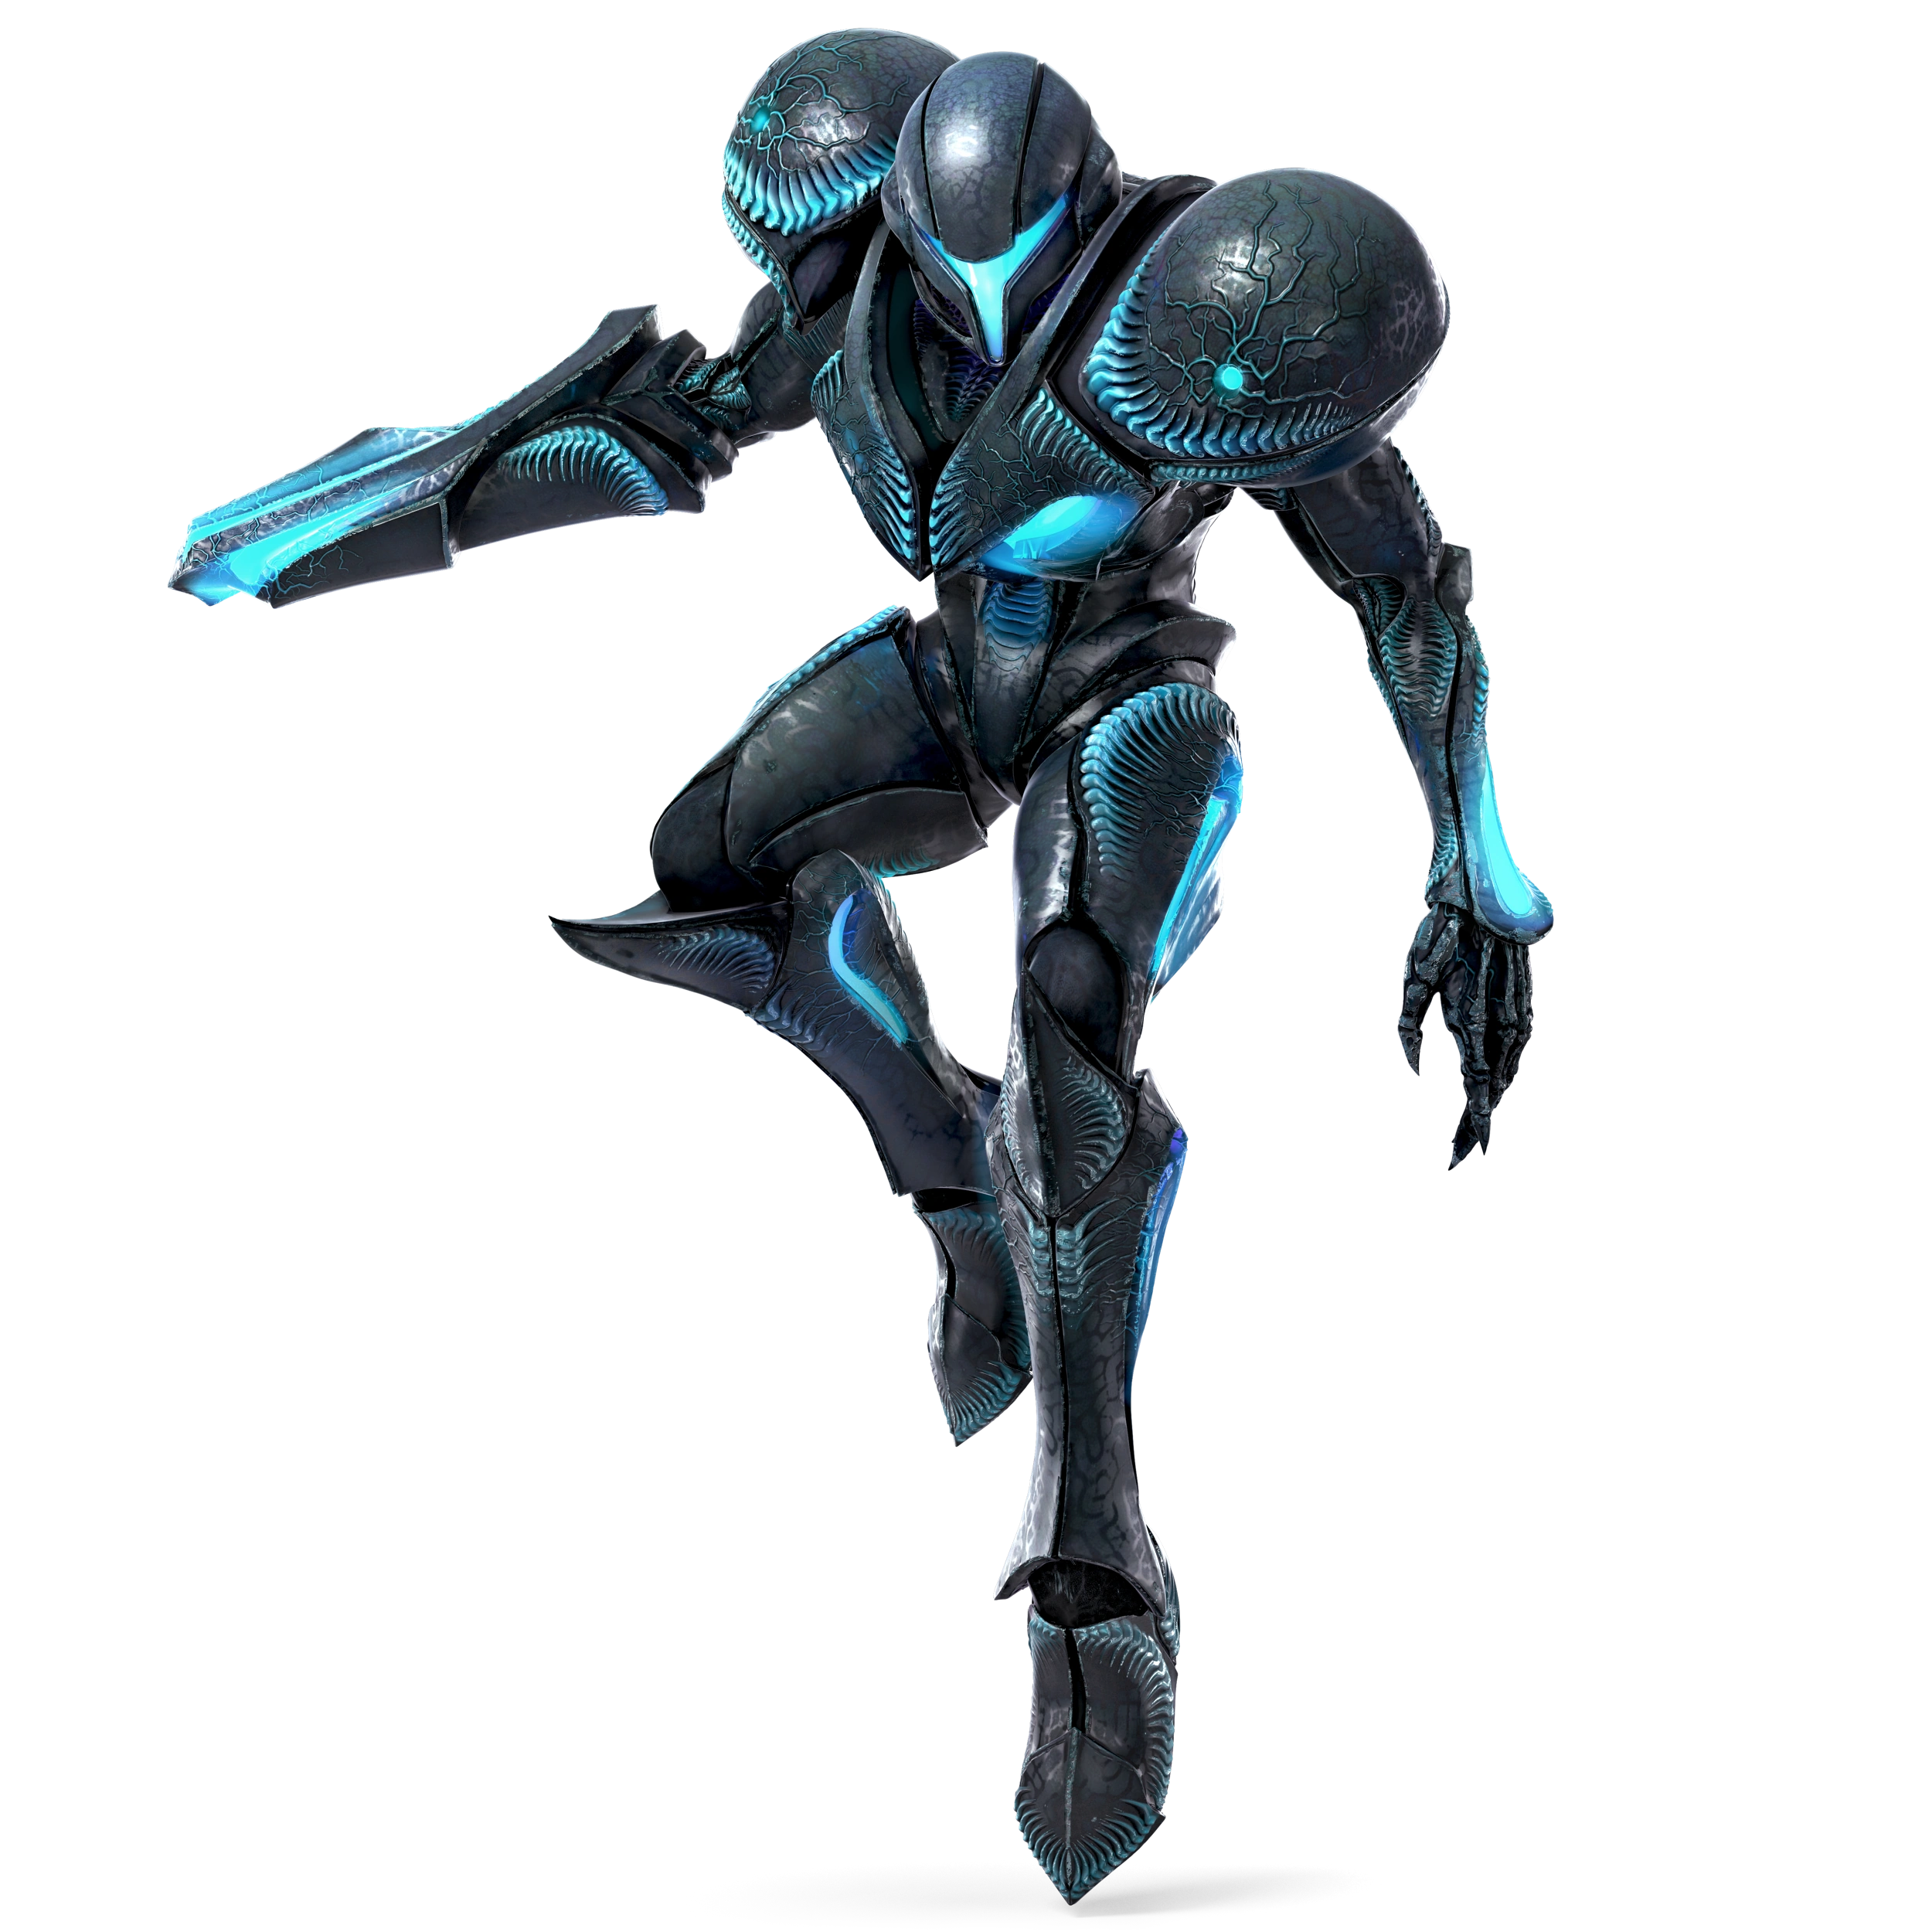 Dark Samus Phazon Incarnate |
Metroid Prime 2: Echoes (2004, Nintendo GameCube) Formerly a mere Metroid on the planet Tallon IV, the mutagenic substance Phazon gave rise to the monstrous Metroid Prime. Samus ventured over to Tallon IV and defeated the mutant, but it stole her DNA, forming into the Phazon-fueled abomination Dark Samus. Desiring more power, Dark Samus took control of Phaaze, the source of the Phazon, and began spreading the substance across the galaxy. Cruel and cunning, Dark Samus is one of the galaxy's greatest threats, and must be stopped at all costs. | ||||
|
Dark Samus is an odd character who is difficult to master. They're light, floaty, and their damage output is low. Without the proper mastery, they'll be easily battered around. However, they have many powerful tools at their disposal that make it a frightening adversary when used right, most notably their unique Phazon mechanic, allowing them to switch between chipping away at their opponent's health and healing themselves. In the right hands, Dark Samus becomes a deadly mastermind, carefully picking apart their opponent until nothing's left. | |||||
| Moveset
| |||||
| |||||
|
Animations
|
Alternate Costumes ") Default ") Metroid Prime 2 | ||||
Kirby | |||||
|---|---|---|---|---|---|
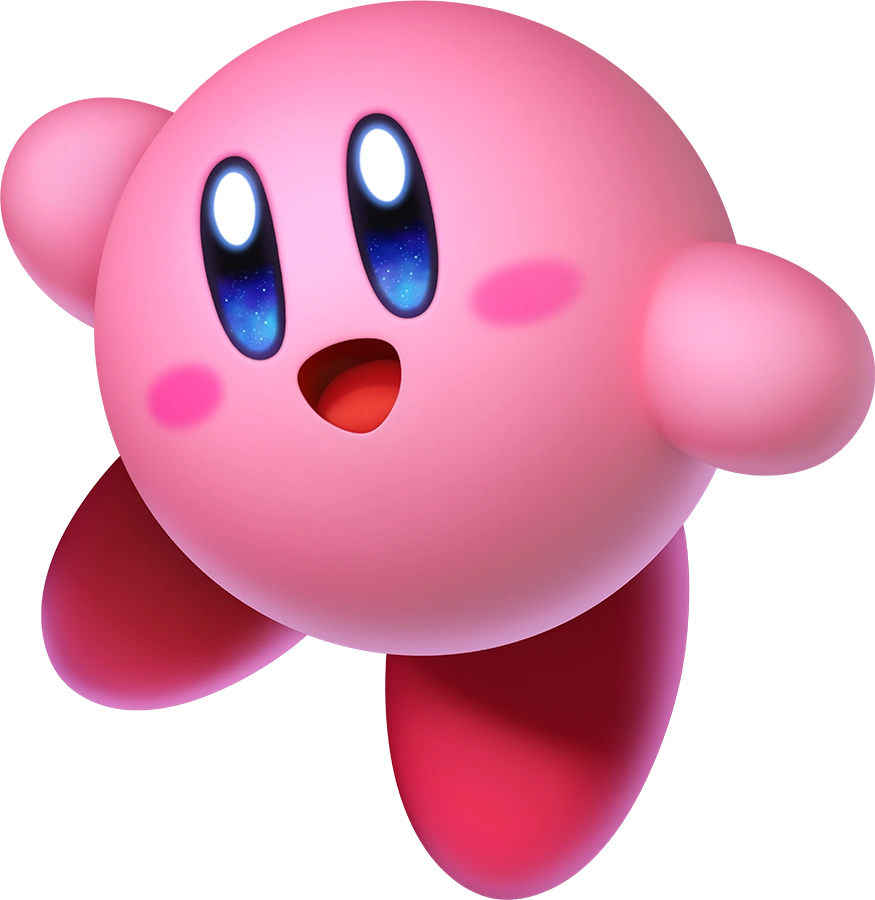 Kirby The Pink Demon |
 Kirby's Dream Land (1992, Game Boy) It's everybody's favorite super-tough pink puff, Kirby! Kirby is a jolly little fellow who inhabits Dream Land, a carefree country on the planet Pop Star. Kirby is innocent and friendly, being content to spend his days running around, having fun, and eating his heart out. However, his cheery demeanor belies a truly powerful being. Kirby is immensely powerful, durable, and versatile, possessing infinite power and the ability to copy the powers of anything he inhales. Thankfully, Kirby is lacking in any animosity or grudges, and will happily befriend any villain he defeats... Assuming they're still alive, that is. | ||||
|
Kirby is a versatile lightweight fighter designed to be easy to pick up and learn. His attacks come out fast and have little in the way of endlag, allowing his to chain together powerful combos, and his small size makes him hard to hit. Kirby's utility is bolstered by his unique neutral special, Inhale, allowing him to copy an opponent's neutral special and use it himself. However, Kirby's range, while better than past installments, is still rather short, and his light weight makes him easy to launch, forcing him to stay on his toes.
| |||||
| Moveset
| |||||
| |||||
|
Animations
|
Alternate Costumes ") Default ") Classic Kirby | ||||
Meta Knight | |||||
|---|---|---|---|---|---|
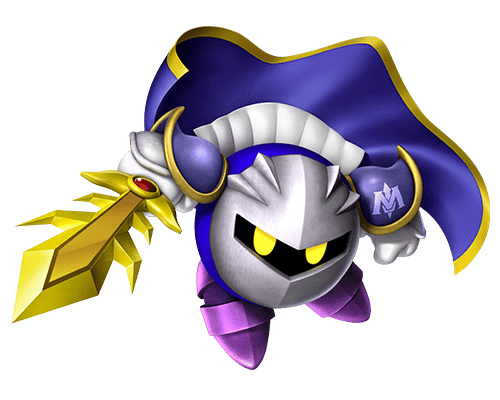 Meta Knight The Masked Swordfighter |
Kirby's Adventure (1993, NES) Meta Knight is a mysterious masked swordsman who has both fought and aided Kirby across his many adventures. Nobody really knows where he came from, and his motives are often kept to himself. However, Meta Knight has a strong sense of honor, and works in his own solitary way to protect Dream Land and Planet Popstar. When not defending the planet, he seeks out a fair fight with powerful opponents, wielding the legendary sword Galaxia and offering them a sword of their own to defend themselves. Don't let him know I told you this, but rumor has it he looks just like Kirby underneath that mask of his... | ||||
|
Meta Knight is a fast fighter with great mobility and attack speed alike, allowing him to rack up damage through a a barrage of swift, weak attacks. His six jumps and specials all give him some form of recovery, allowing him to dance around opponents and hack them to pieces. However, his comparatively short range and quick attacks mean he has to get up close to ensure his hits connect, putting him at risk; Due to his light weight, one false move can be fatal. In Victorious, Meta Knight has received the following changes:
| |||||
| Moveset
| |||||
| |||||
|
Animations
|
Alternate Costumes ") Default ") Classic Meta Knight | ||||
King Dedede | |||||
|---|---|---|---|---|---|
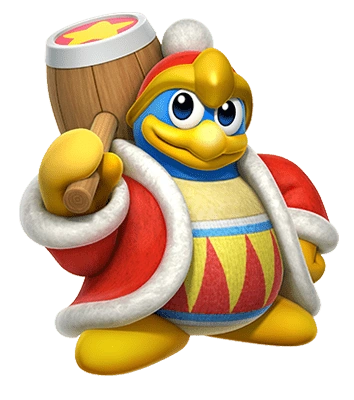 King Dedede Self-Proclaimed King of Dreamland |
Kirby's Dream Land (1992, Game Boy) Dedede, that's the name you should know! A large, hammer-toting penguin, King Dedede is the mighty ruler of Dreamland! ...Or, so he says. He has castles everywhere, but he never really does anything beyond eating and nobody ever listens to him anyway. He used to cause trouble for the inhabitants of Dreamland, causing Kirby to set out and thwart him, but as of late he's improved quite a bit. Despite his silly antics and gluttony, Dedede is not to be underestimated. His hammer packs a wallop, and he can inhale and float just like Kirby. He doesn't need any Copy Abilities, though; He's already perfect. | ||||
|
King Dedede is a super heavyweight, and like most fighters of his weight class, he benefits from high damage, strong KO potential, and great endurance. On the flipside, he suffers from sluggish movement and is vulnerable to combos. His hammer gives him decent spacing power, and his multiple jumps grant him surprisingly good control and recovery in spite of his poor air speed. Dedede is a character that requires a bit of skill to use; His attacks can be used against him, but time it right, and he can quickly salvage the situation. In Victorious, Diddy Kong has received the following changes:
| |||||
| Moveset
| |||||
| |||||
|
Animations
|
Alternate Costumes ") Default | ||||
Bandana Dee | |||||
|---|---|---|---|---|---|
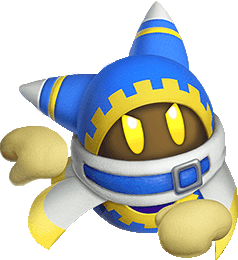
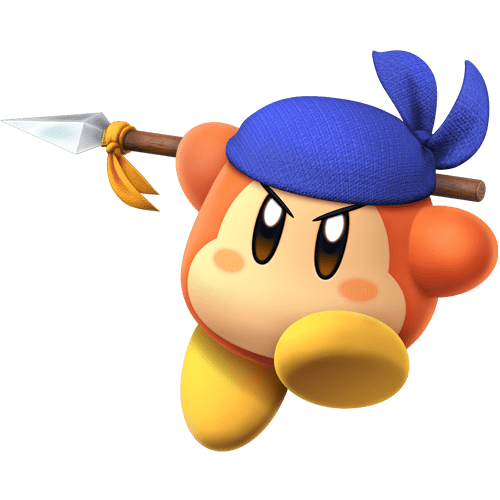 Bandana Waddle Dee Dream Land's Rising Star |
Kirby's Return to Dream Land (2011, Nintendo Wii) Waddle Dees are common beings that inhabit Pop Star, Dream Land especially. Waddle Dees are, for the most part, docile and carefree. They don't follow anyone, but they will help out with whoever's nice to them. Yes, Waddle Dees are harmless and innocent... But not this one! Desiring to become a brave hero like his friends, Bandana Waddle Dee trained and trained, and now he can defend Dream Land just as well Kirby can. Donning a distinctive blue bandana and brandishing his trusty spear, this little Dee puts himself apart from the rest! | ||||
|
Bandana Waddle Dee is fairly unique, being a small fighter with long-range disjoints. He plays more on the defensive side, using his high mobility and good range to keep opponents from getting a good hit in. This is important, because Bandana Dee is among the lightest fighters in the game, and is knocked around pretty easily. Bandana Dee could also be considered a beginner's zoner, much like how his pal Kirby is a general beginner character. His attacks are simple and straightforward, and he is good deal easier to understand than many of the other zoners in the game. | |||||
| Moveset
| |||||
| |||||
|
Animations
|
Alternate Costumes ") Default Clay Bandana Dee | ||||