Welcome to the guide to CSS! In this tutorial, we will teach you how to use CSS to edit the way your screen looks when you browse Wikia. Please note that we're still working on this, so it is not complete.
Where do I start?[]
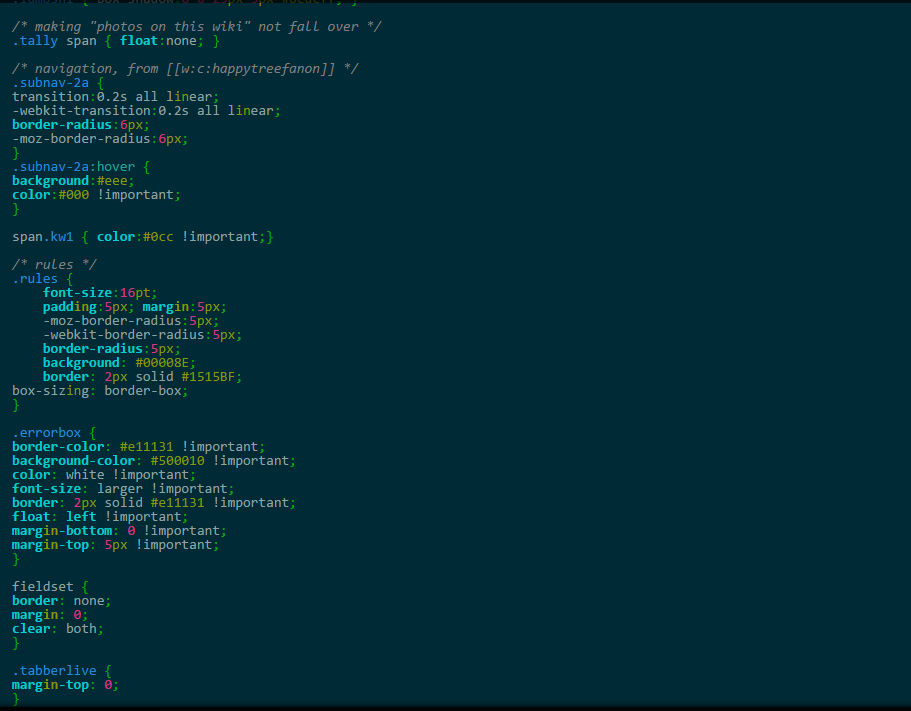
Well, there are two places where the CSS can be edited on wikia; Special:MyPage/wikia.css and Mediawiki:Wikia.css. The first link is your own personal CSS, which only affects what YOU see, and the second one is the entire Fantendo CSS, which affects what EVERYONE on the wiki sees (unless in conflicts with personal CSS, in which case that user will see what they have set theirs to).
This is the basic look of CSS. As you learned in the last tutorial, HTML, the basic framework of many sites on the world wide web, including Wikia, is made with HTML. But to really make it look good and stand out, CSS is needed.
How do I do it?[]
Well, the first thing you need to know is Selectors. These are the bits of text at the beginning of every piece of code which tell the CSS what to target. So for example, if you told it to target <p> tags, all paragraphs using that tag would be affected. Here's an example of a selector:
But what if you want to target only specific paragraphs, and not all of them? Then in your HTML or wikicode, you put an extra attribute to whatever tag you are selecting with either ID="name" or Class="name". At first, you might not notice the difference between ID's and classes, but essentially, you can only have one item be the same ID on a page and each item can only be one ID, while each class can be used multiple times and an item can be many classes.
Regardless, when you first tell a tag to become a class or ID, it doesn't really change much. That's because we have't told it how to change it! In the CSS, we are going to set the selector to be either .name, for class, or #name, for ID. See how we did it below:
Now, only tags that have the class or ID of "name" will be affected by this bit of code! Pretty snazzy, right? Lastly, we will talk about how to get items that are "nested" within one another. This means that we can select only a specific tag that is within another specific tag. This could be useful for, for example, selecting only list items within unordered lists, and not ones in ordered lists. Here's how we do it:
As you see, we put the item that we want the tag to be in first, and then the tag that we want to affect second. Now, only images that are within tables will be affected by the code!